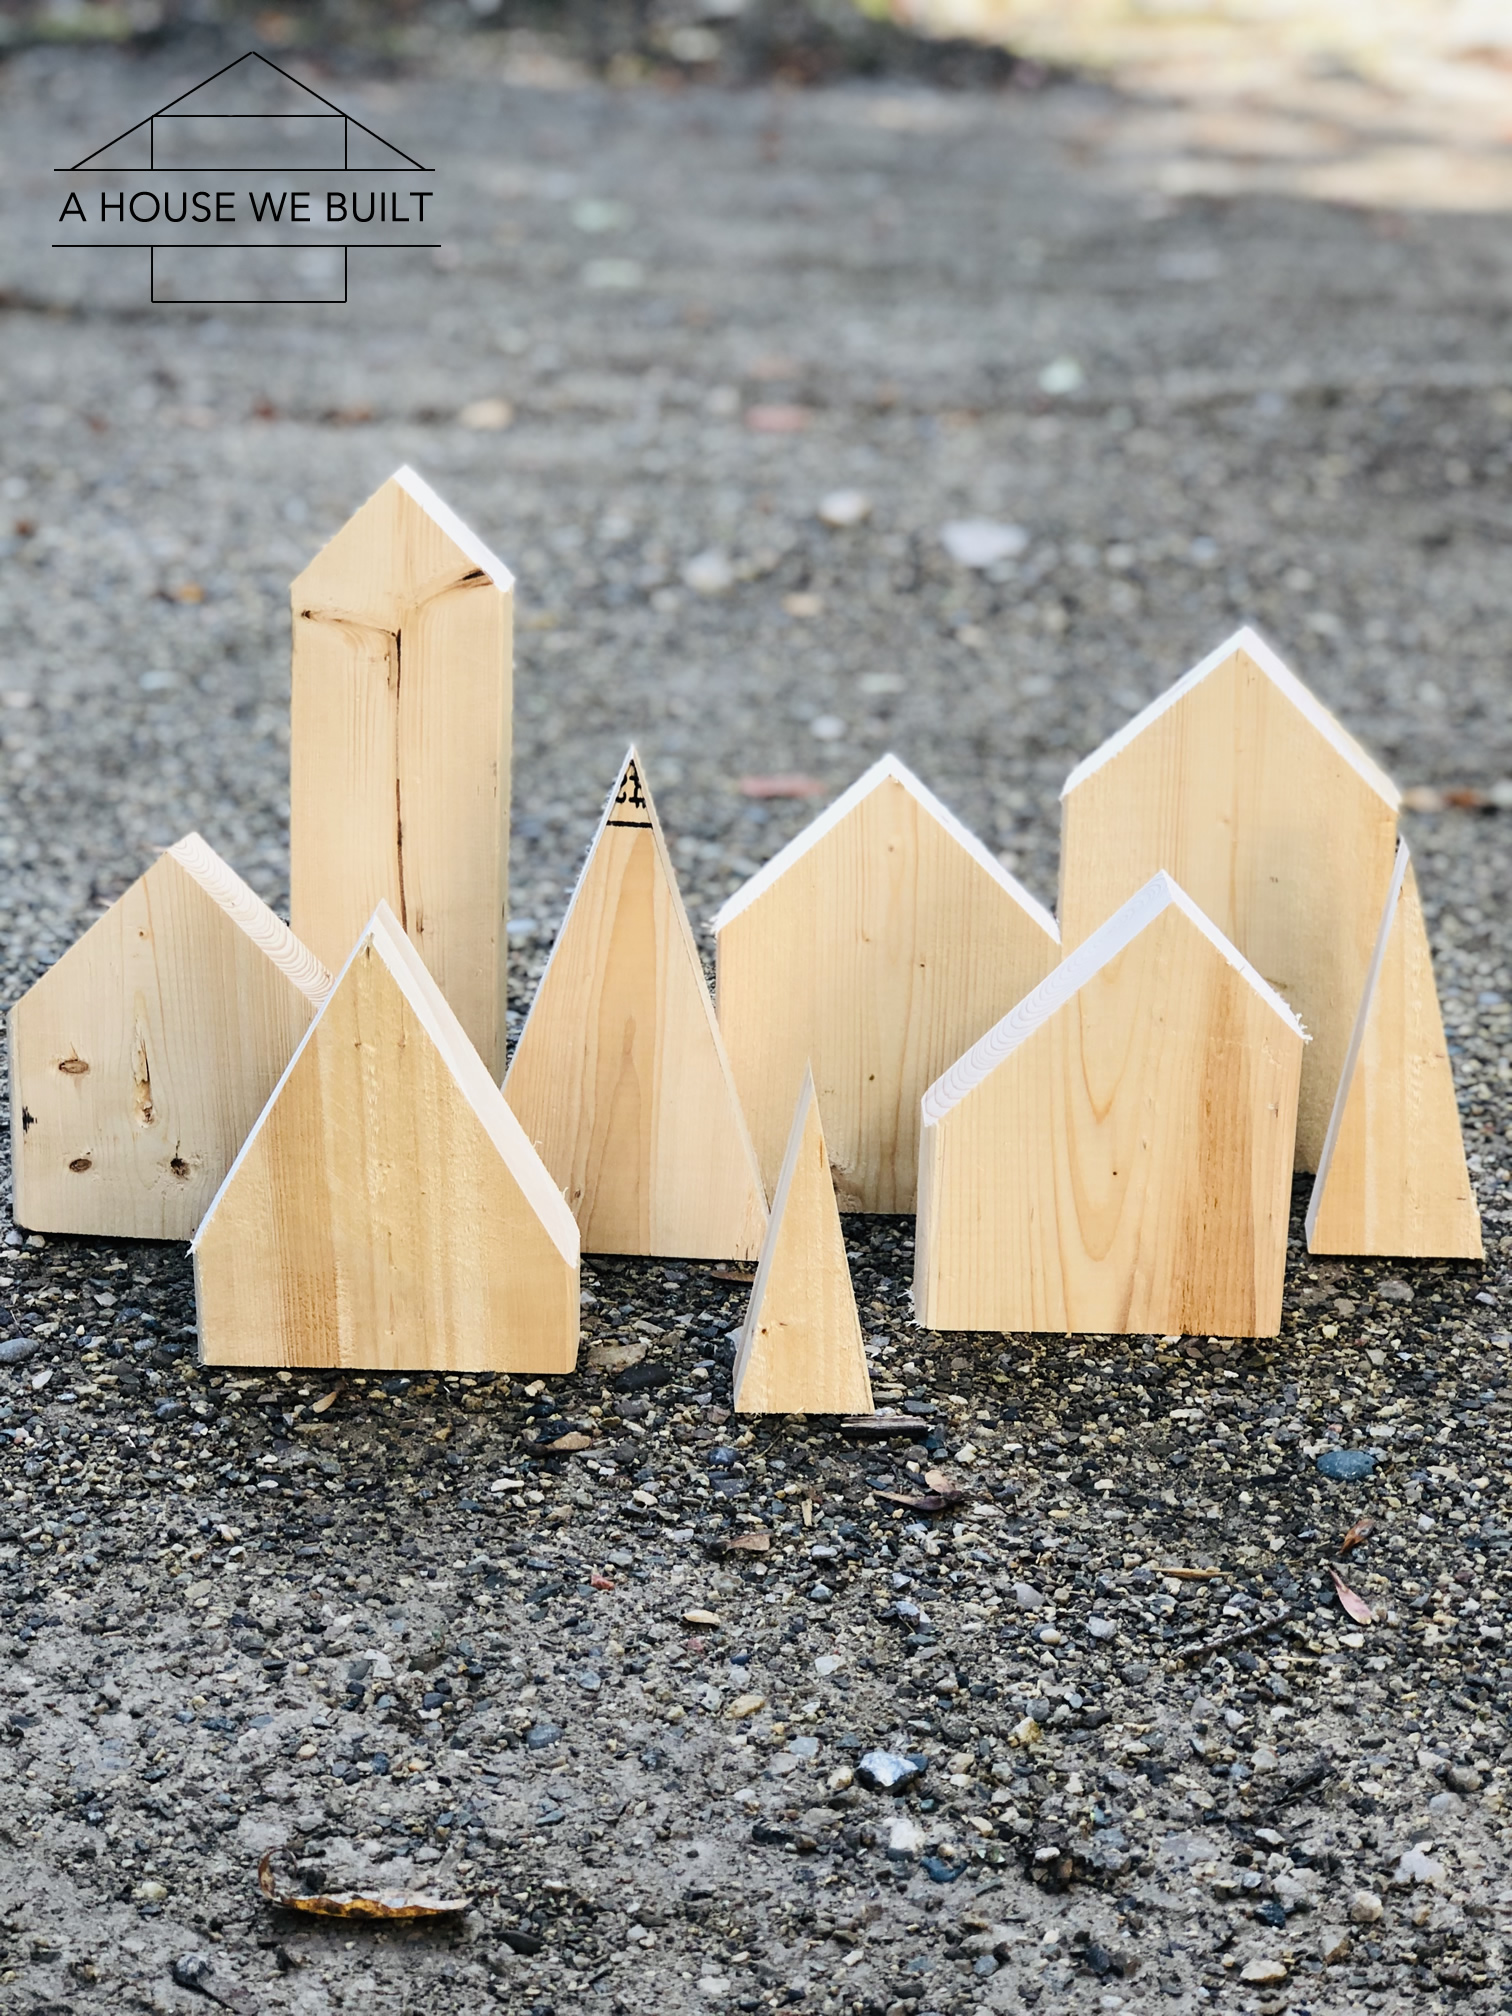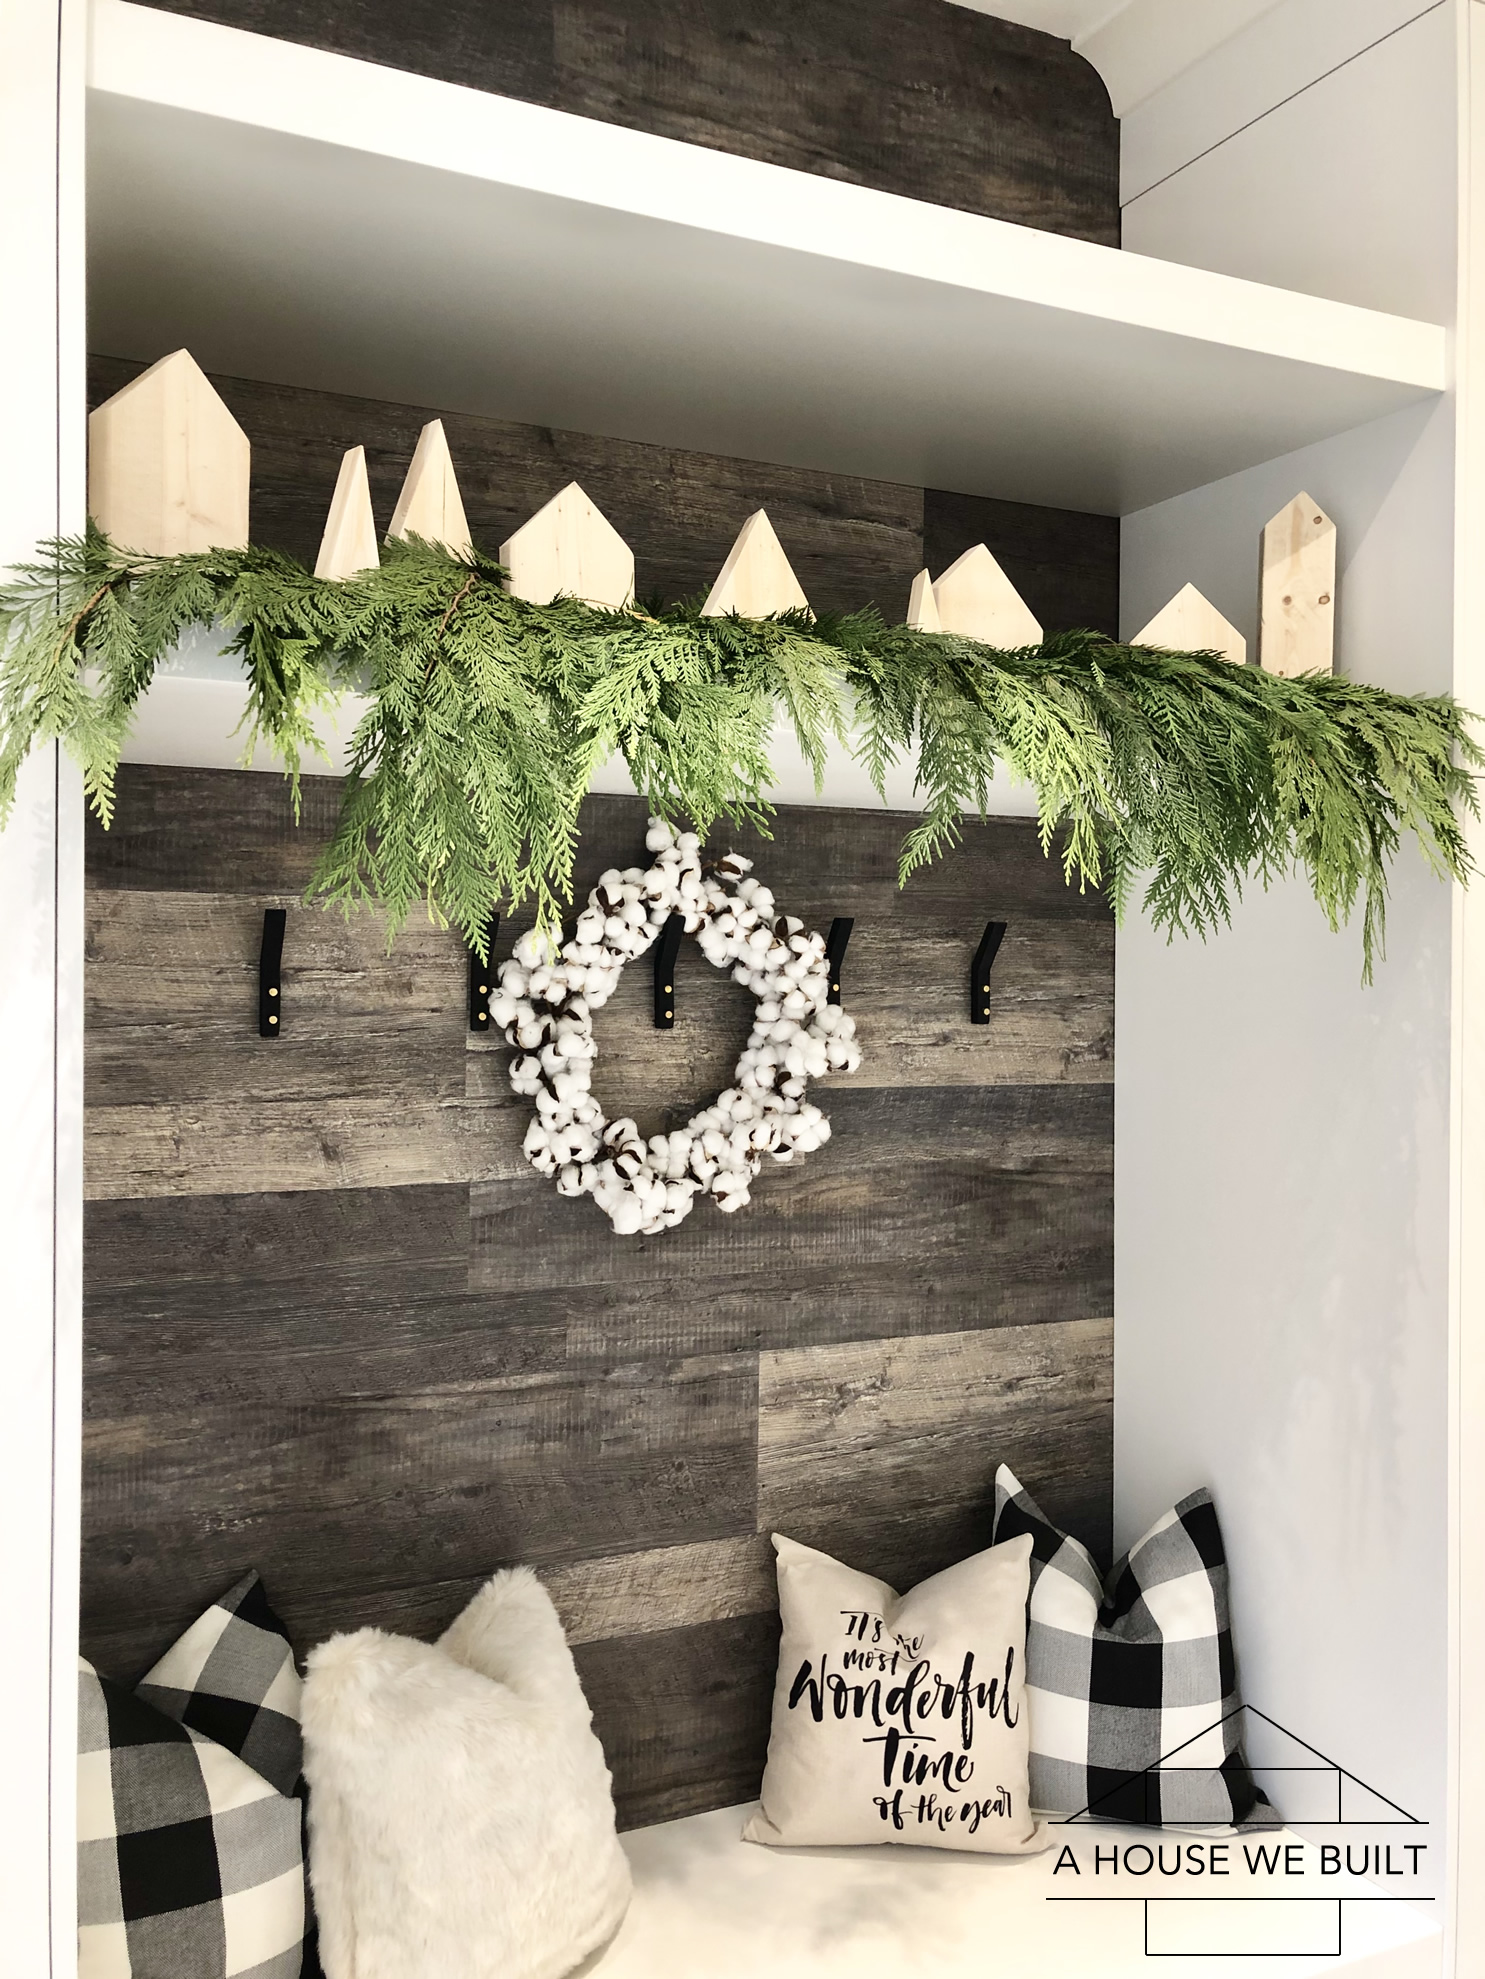

This is one of the simplest little DIY projects ever because there are almost no rules to how you make these minimal little Nordic-inspired wooden Christmas Village houses and trees and they are super cute!
For the wood, you can literally just use up whatever scrap 2×4, 2×6, 2×8, 2×10 2×12 pieces you have (or even 4x’s)- or if you don’t have any, just buy framing lumber at a hardware store – it’s super cheap!
Once you have your lumber, make sure there’s one fully flat bottom side cut at 90 degrees. Then you can leave as much room as you want for the body (though I recommend staying under 10″ of total height so they don’t easily tip over) and simply cut the top side to whatever angle you want. And that’s literally it!!!
The top angles don’t have to be perfect or even symmetrical. If you want a perfect peak, just mark the middle of the wood, then cut each side back at 45 degrees. Honestly, I eyeballed most of my angles.
If you want to add little Christmas trees to the houses you’re making, just cut some of the wood pieces into a sharp triangle to make the basic 3-sided shape of a Christmas tree. You can do all sorts of sizes.
I used our miter saw to cut the wood (ours is like this: Home Depot) but if you don’t have one, and don’t mind putting in a little more work, you could do this all by hand with a back saw (Home Depot) too.
When you’re done cutting up the pieces, just sand the edges a little so that they’re smooth to the touch.
From that point you can either leave them natural like I did, or stain them, or paint them, or decorate them, or literally do anything you want to them! If you want to stain them, I’ve listed my personal favorite stain color down below (it’s the stain that I used on our dining table, console table, and Christmas Tree box):
- Pre-stain conditioner: Amazon (don’t skip this step!!)
- Gray stain (one coat): Amazon
- Matte top coat: Amazon
If you cut up a whole bunch of little houses and tree shapes in advance, then painting them can be a fun family (or friends) holiday activity to do together too! It’s like carving pumpkins but for Christmas 😉
If you prefer the idea of buying Christmas village houses instead of making them, I love the look of these ones:Bed Bath & Beyond | Crate & Barrel.
For more sources from our mudroom, click here.
For more of our DIY tutorials, click here.
To explore the other rooms in our house, click here.
Sherry says
Love this Christmas Village, my kids love to do DIY craft with me I am sure they would love to make it for me. My daughter made a paper castle and won a prize for her craft. Thank you for sharing this tutorial, it is very creative
admin says
You’re welcome! It’s a fun project to make 🙂
Landon Edgington says
This looks very cute and opens a lot of flexibility on what to put inside the village as well. I might do this next Christmas and hope it’ll be a fun mini project that I can do with my kids.
admin says
Agreed, lots of flexibility. The houses are also fun for kids to paint.