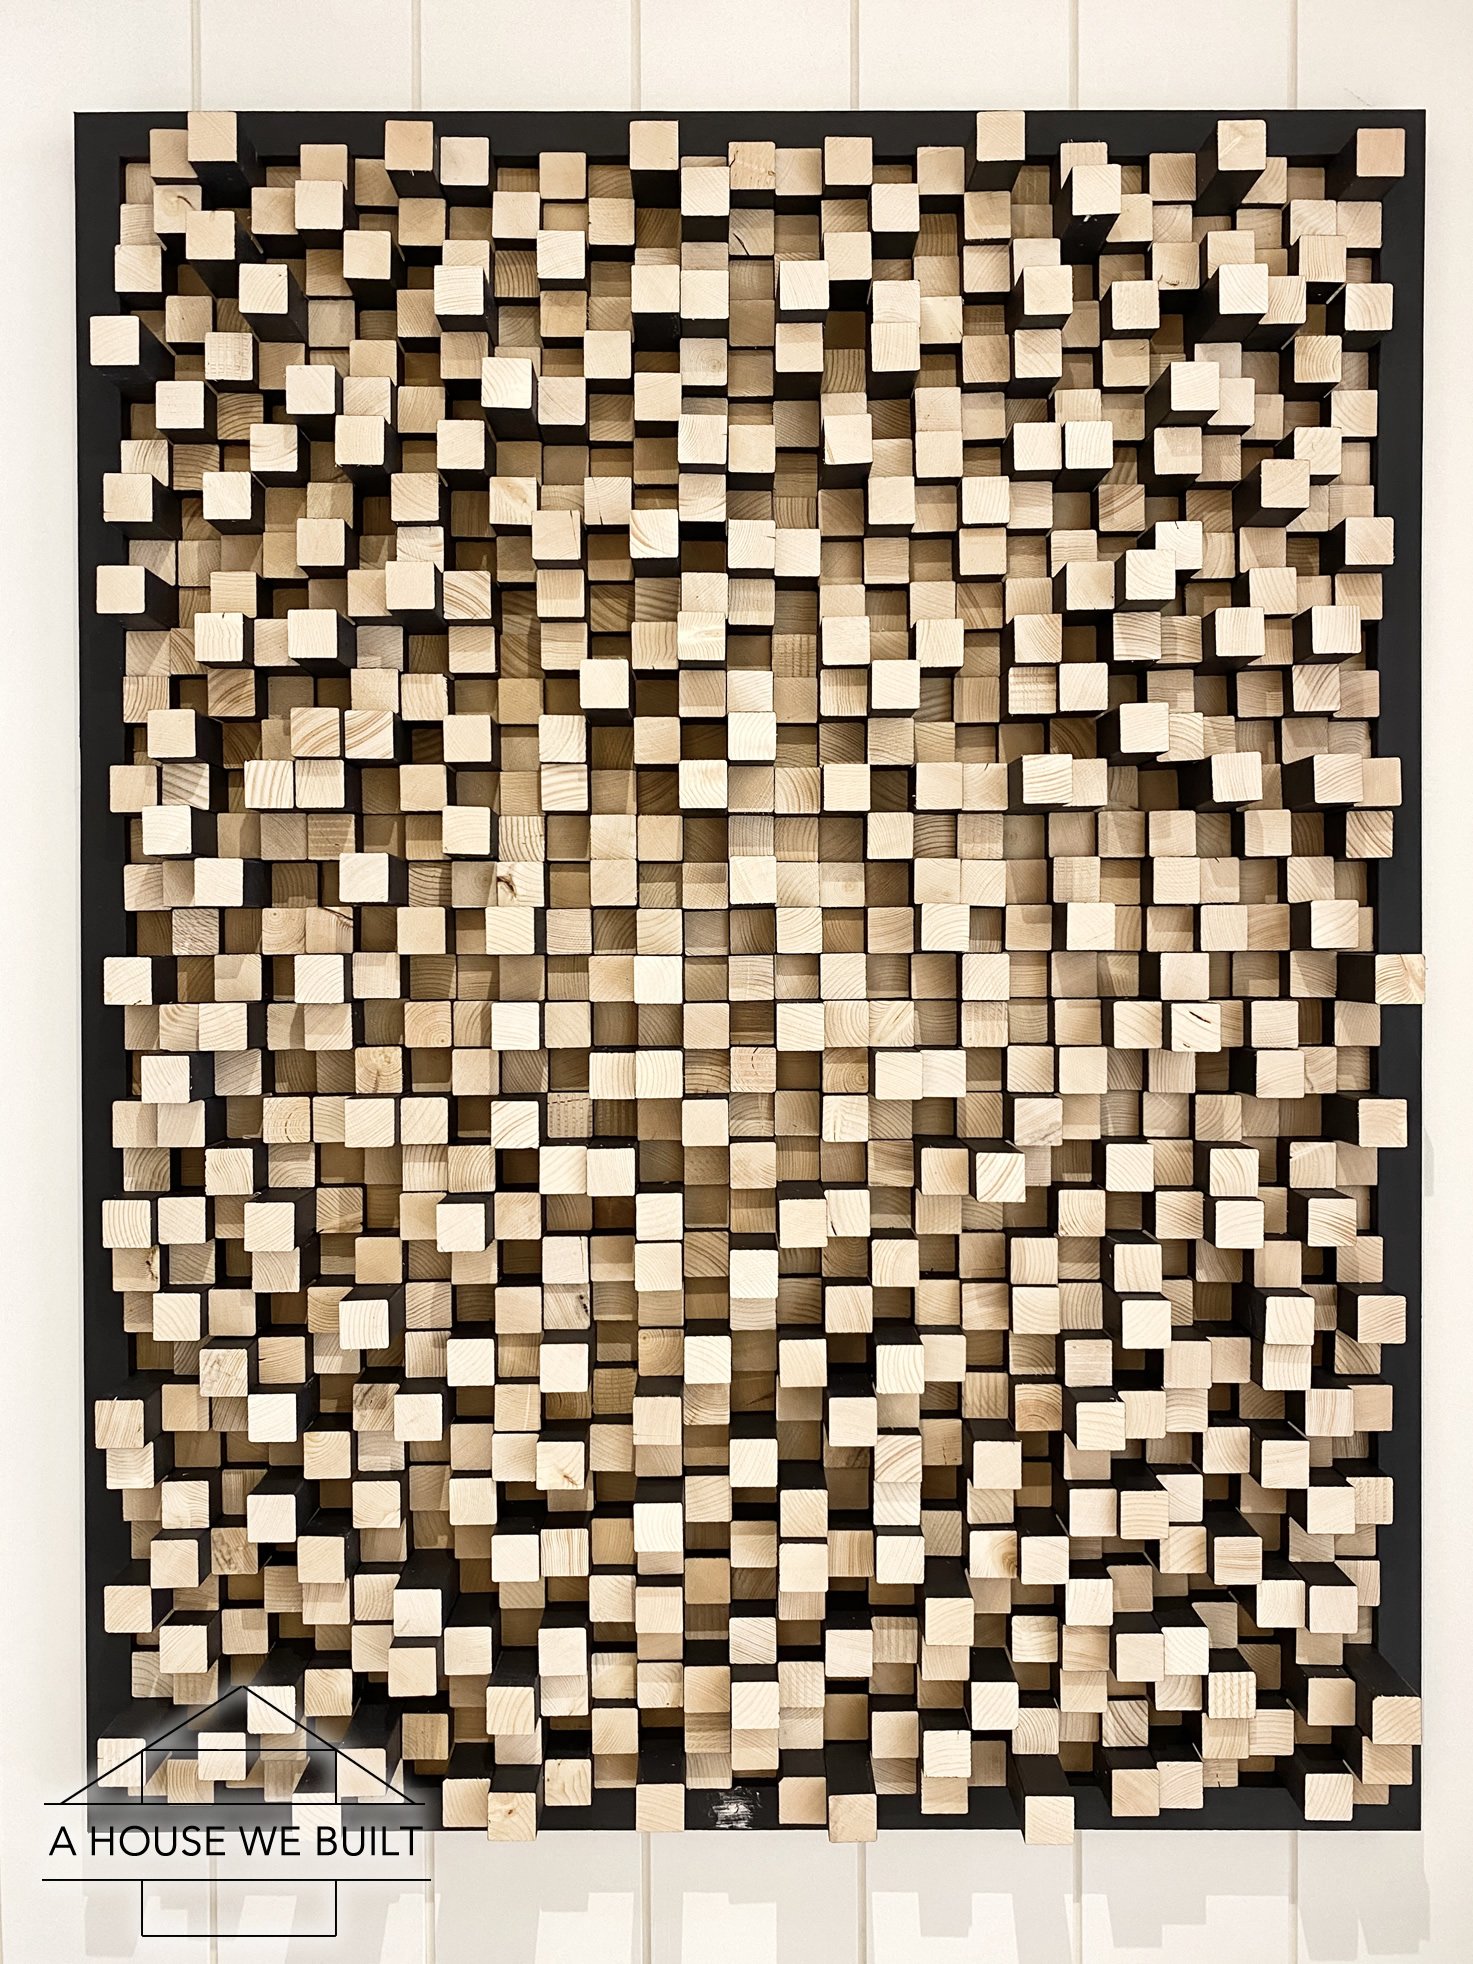
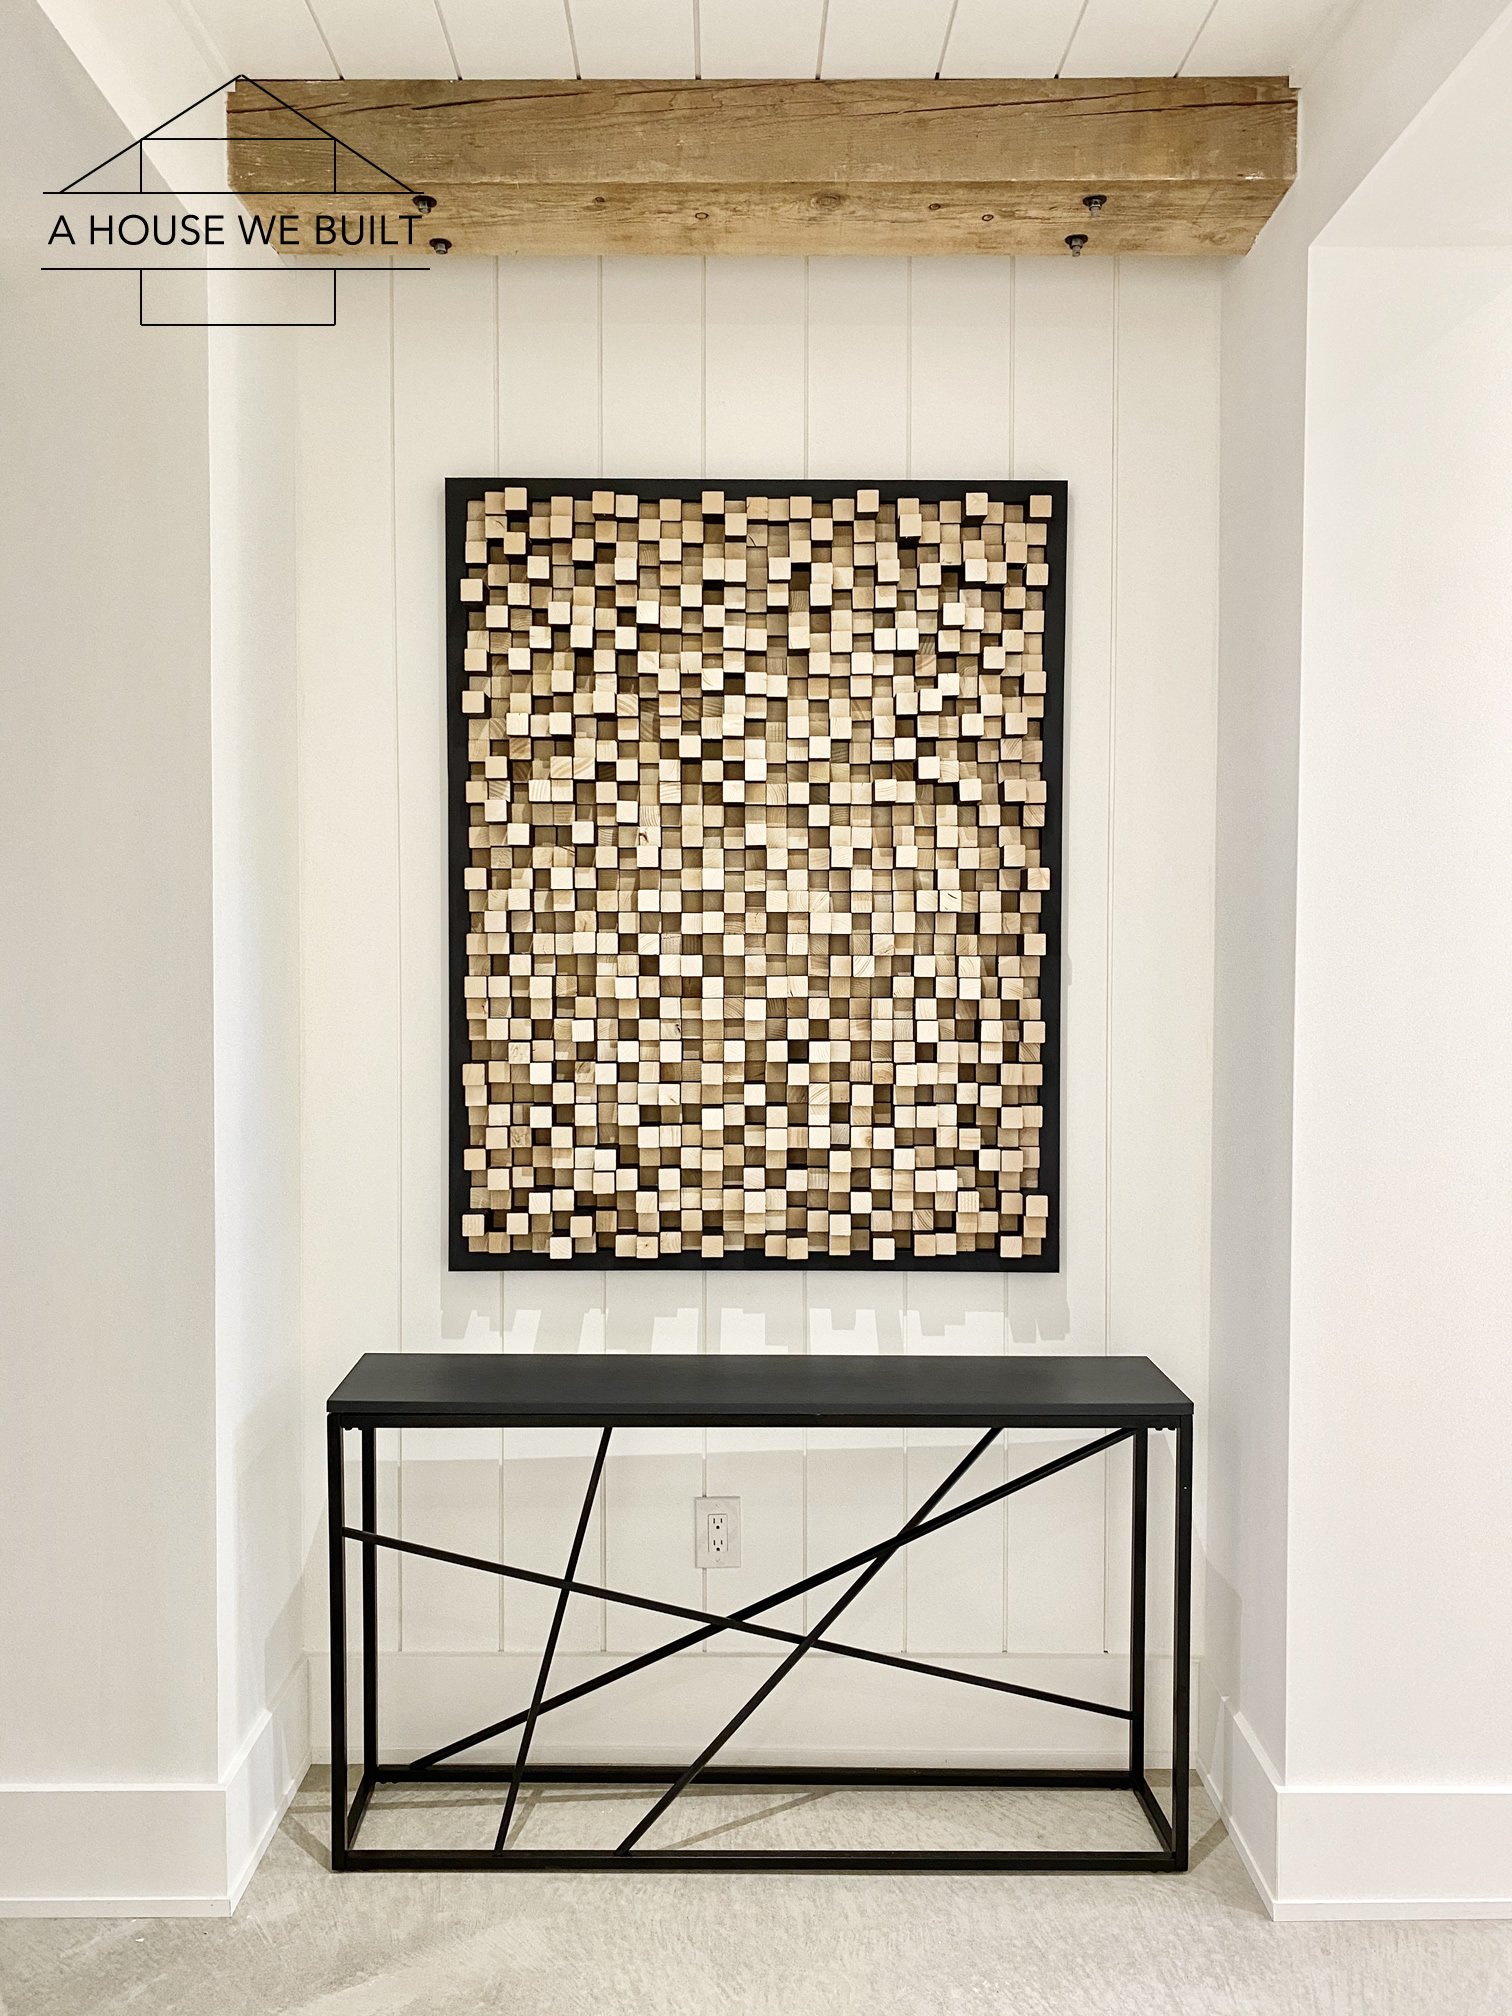
We made an art piece for our home out of little blocks of wood and it’s seriously my new favorite thing ever so I wanted to share how we made it here in case you want to try your hand at making one too!
I’m honestly very picky about art and about what I hang on my walls. If I’m going to display something in my home, I prefer it to be something with special meaning to us or to be something we made ourselves.
We were researching sound diffusers for hubby’s office when we came across this idea that we found dozens of different examples of all over for using simple wood blocks to create acoustic panels or sound diffuser boards. Some favorite variations were on Etsy and I’ll link a few fav examples (each one goes to a different piece): Etsy | Etsy | Etsy | Etsy | Etsy | Etsy | Etsy | Etsy | Etsy | Etsy | Etsy | Etsy. These options were beautiful, but for our hallway wall nook, we needed a very specific frame size and none of the options we found were exactly the right size or style that we wanted… So we decided to make one!
Two important notes:
- In this tutorial, I’m just sharing the process for how we made this particular art piece, but it’s such a versatile art style and there are dozens of different color combinations, sizes, materials, shapes, and configurations that you could make this type of wood art. You could do different colors, use stains instead of paint or even leave it all natural, use different materials or different sizes of wood, etc. I used 2×2 pine lumber for everything for example, but you could use a thicker wood for the frames, use 4x4s instead of 2x2s, I mean the options are endless. So the sizes and quantities I’ve shared here are just what I chose to use but I suggest you take the “concept” away from this tutorial and adapt it to whatever style/colors appeal most to you because there are no real rules to this art.
- The size of the art piece we built is around 42 inches x 52 inches. Even if you make this same size piece, you’ll probably need to adjust the frame size slightly depending on the type of lumber you use for the blocks. I used 2×2 framing lumber which has a real size of just under 1 1/2″ x 1 1/2″ so remember that lumber sizes vary and your final frame size is fully determined by the length of exactly how many blocks of the exact type of wood you’re using fit the length and width of your rows.
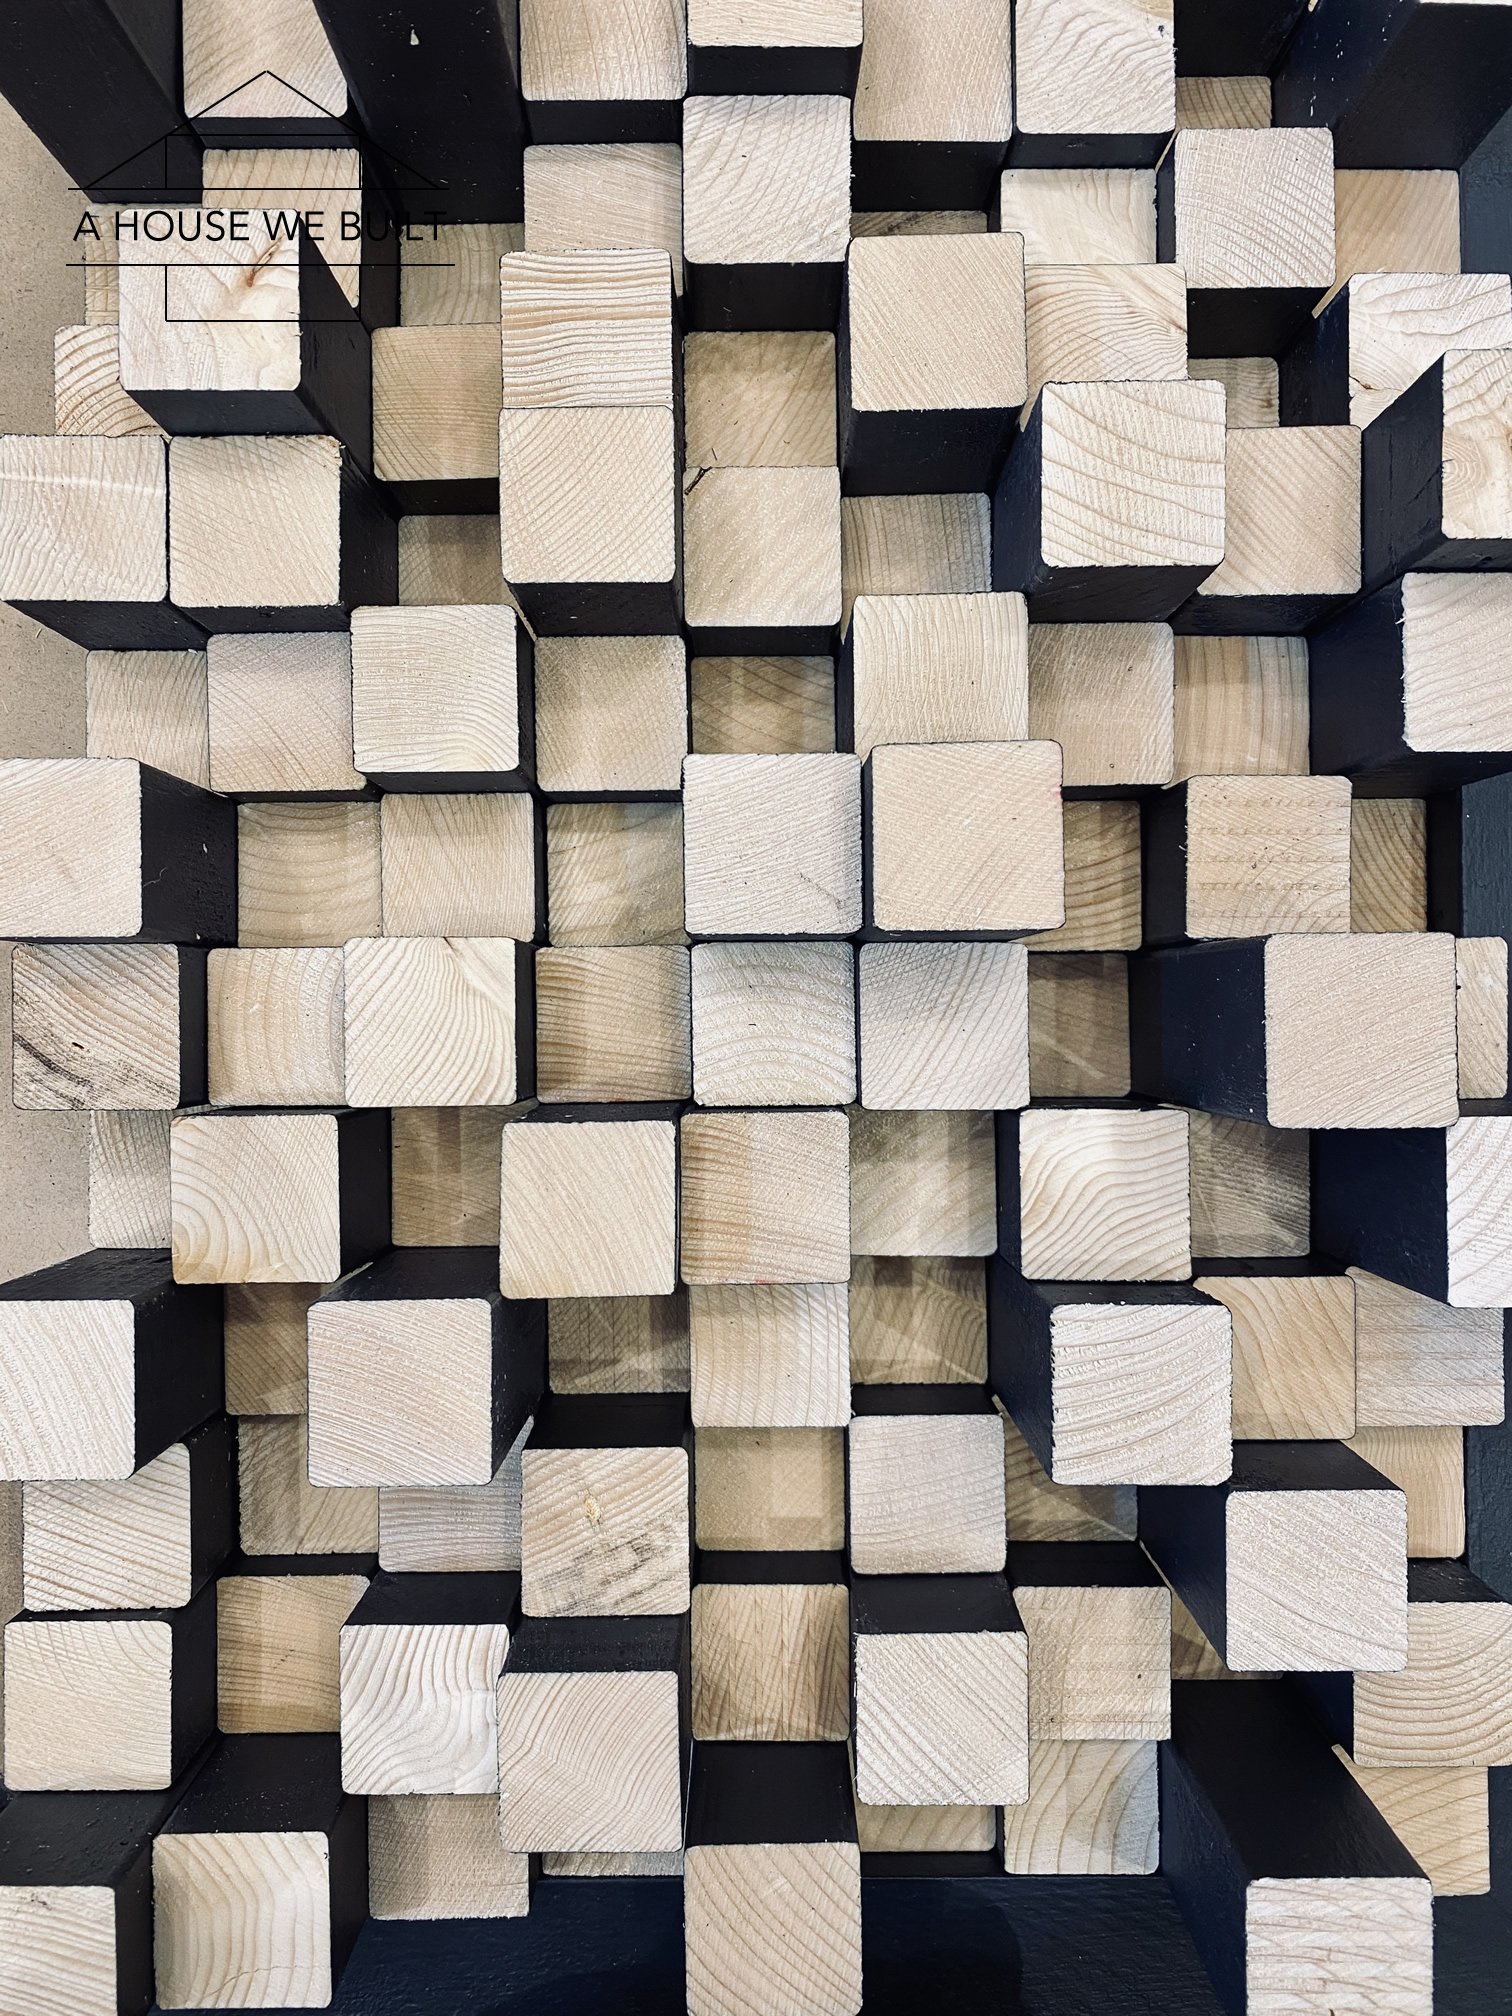
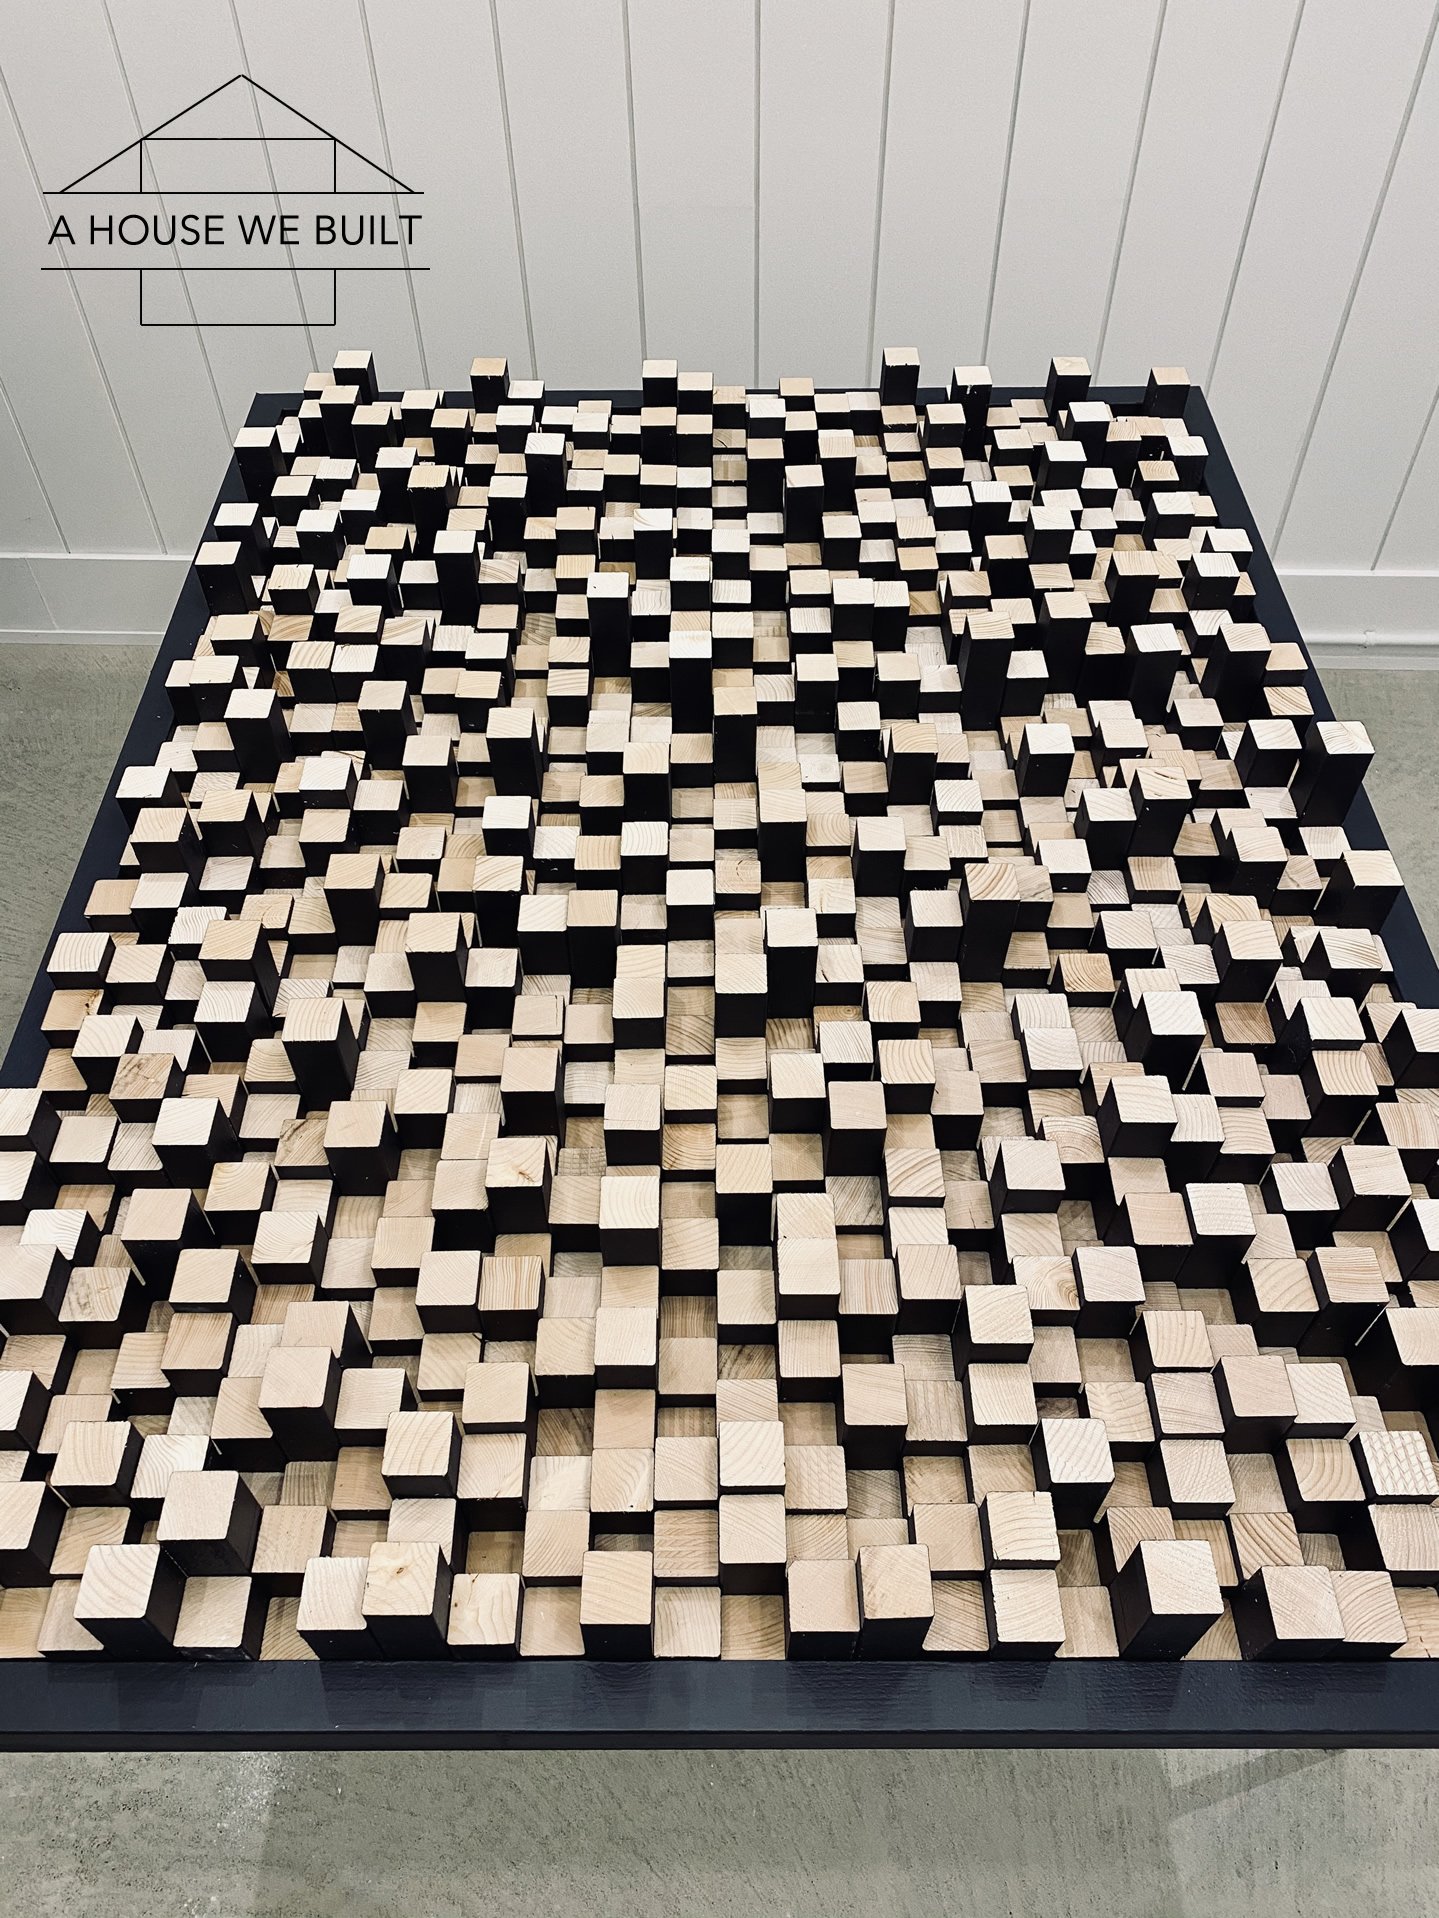
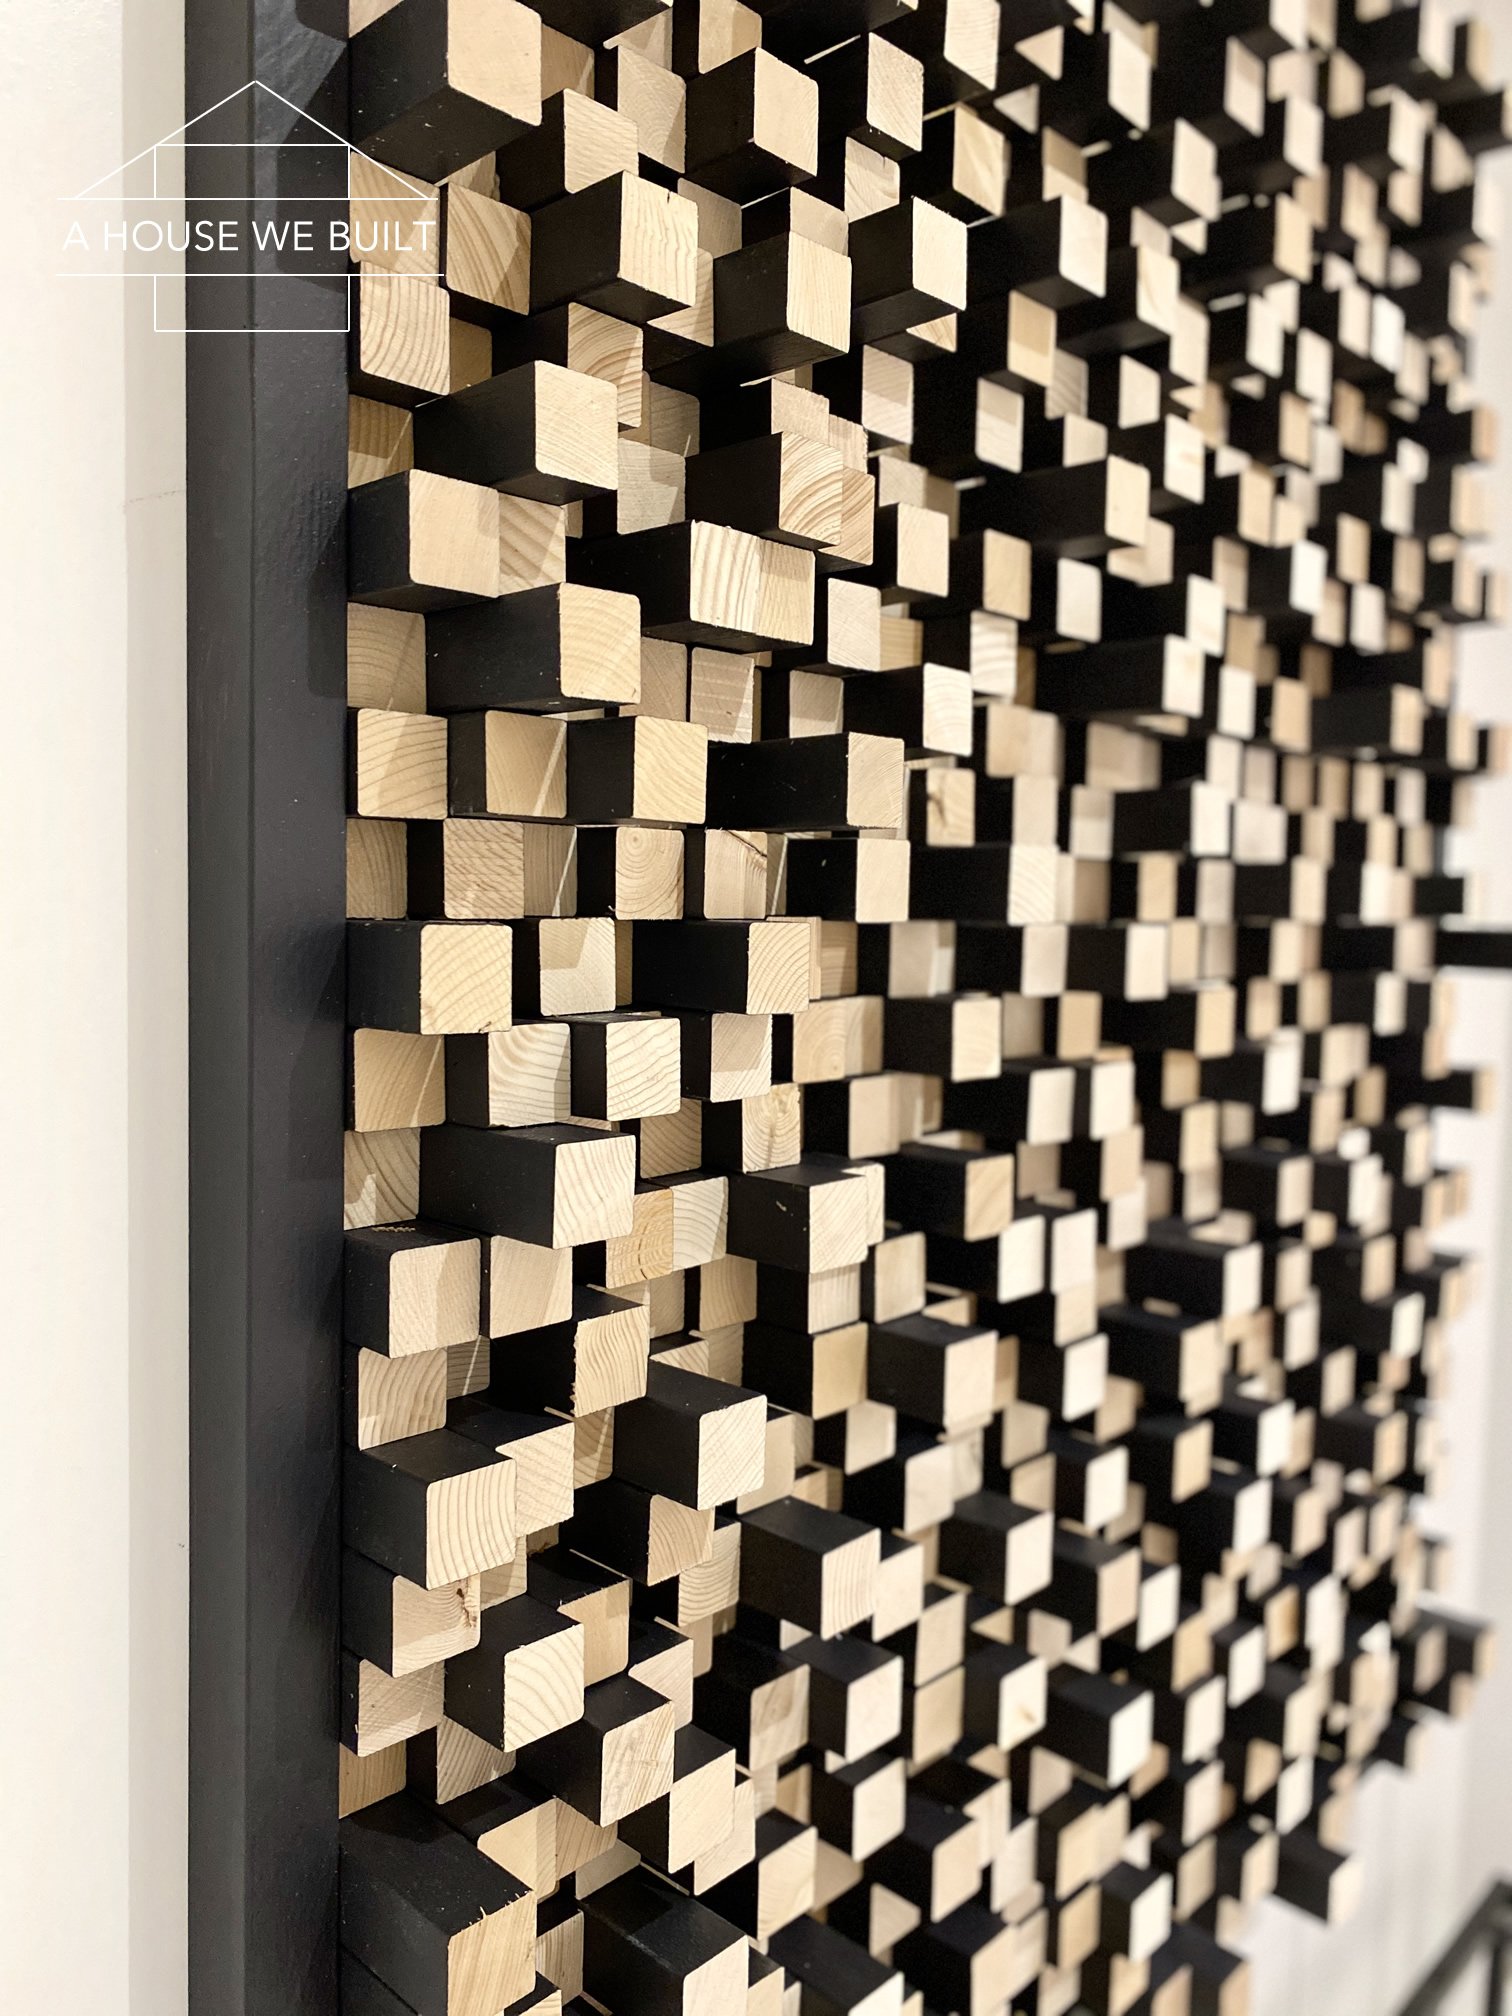
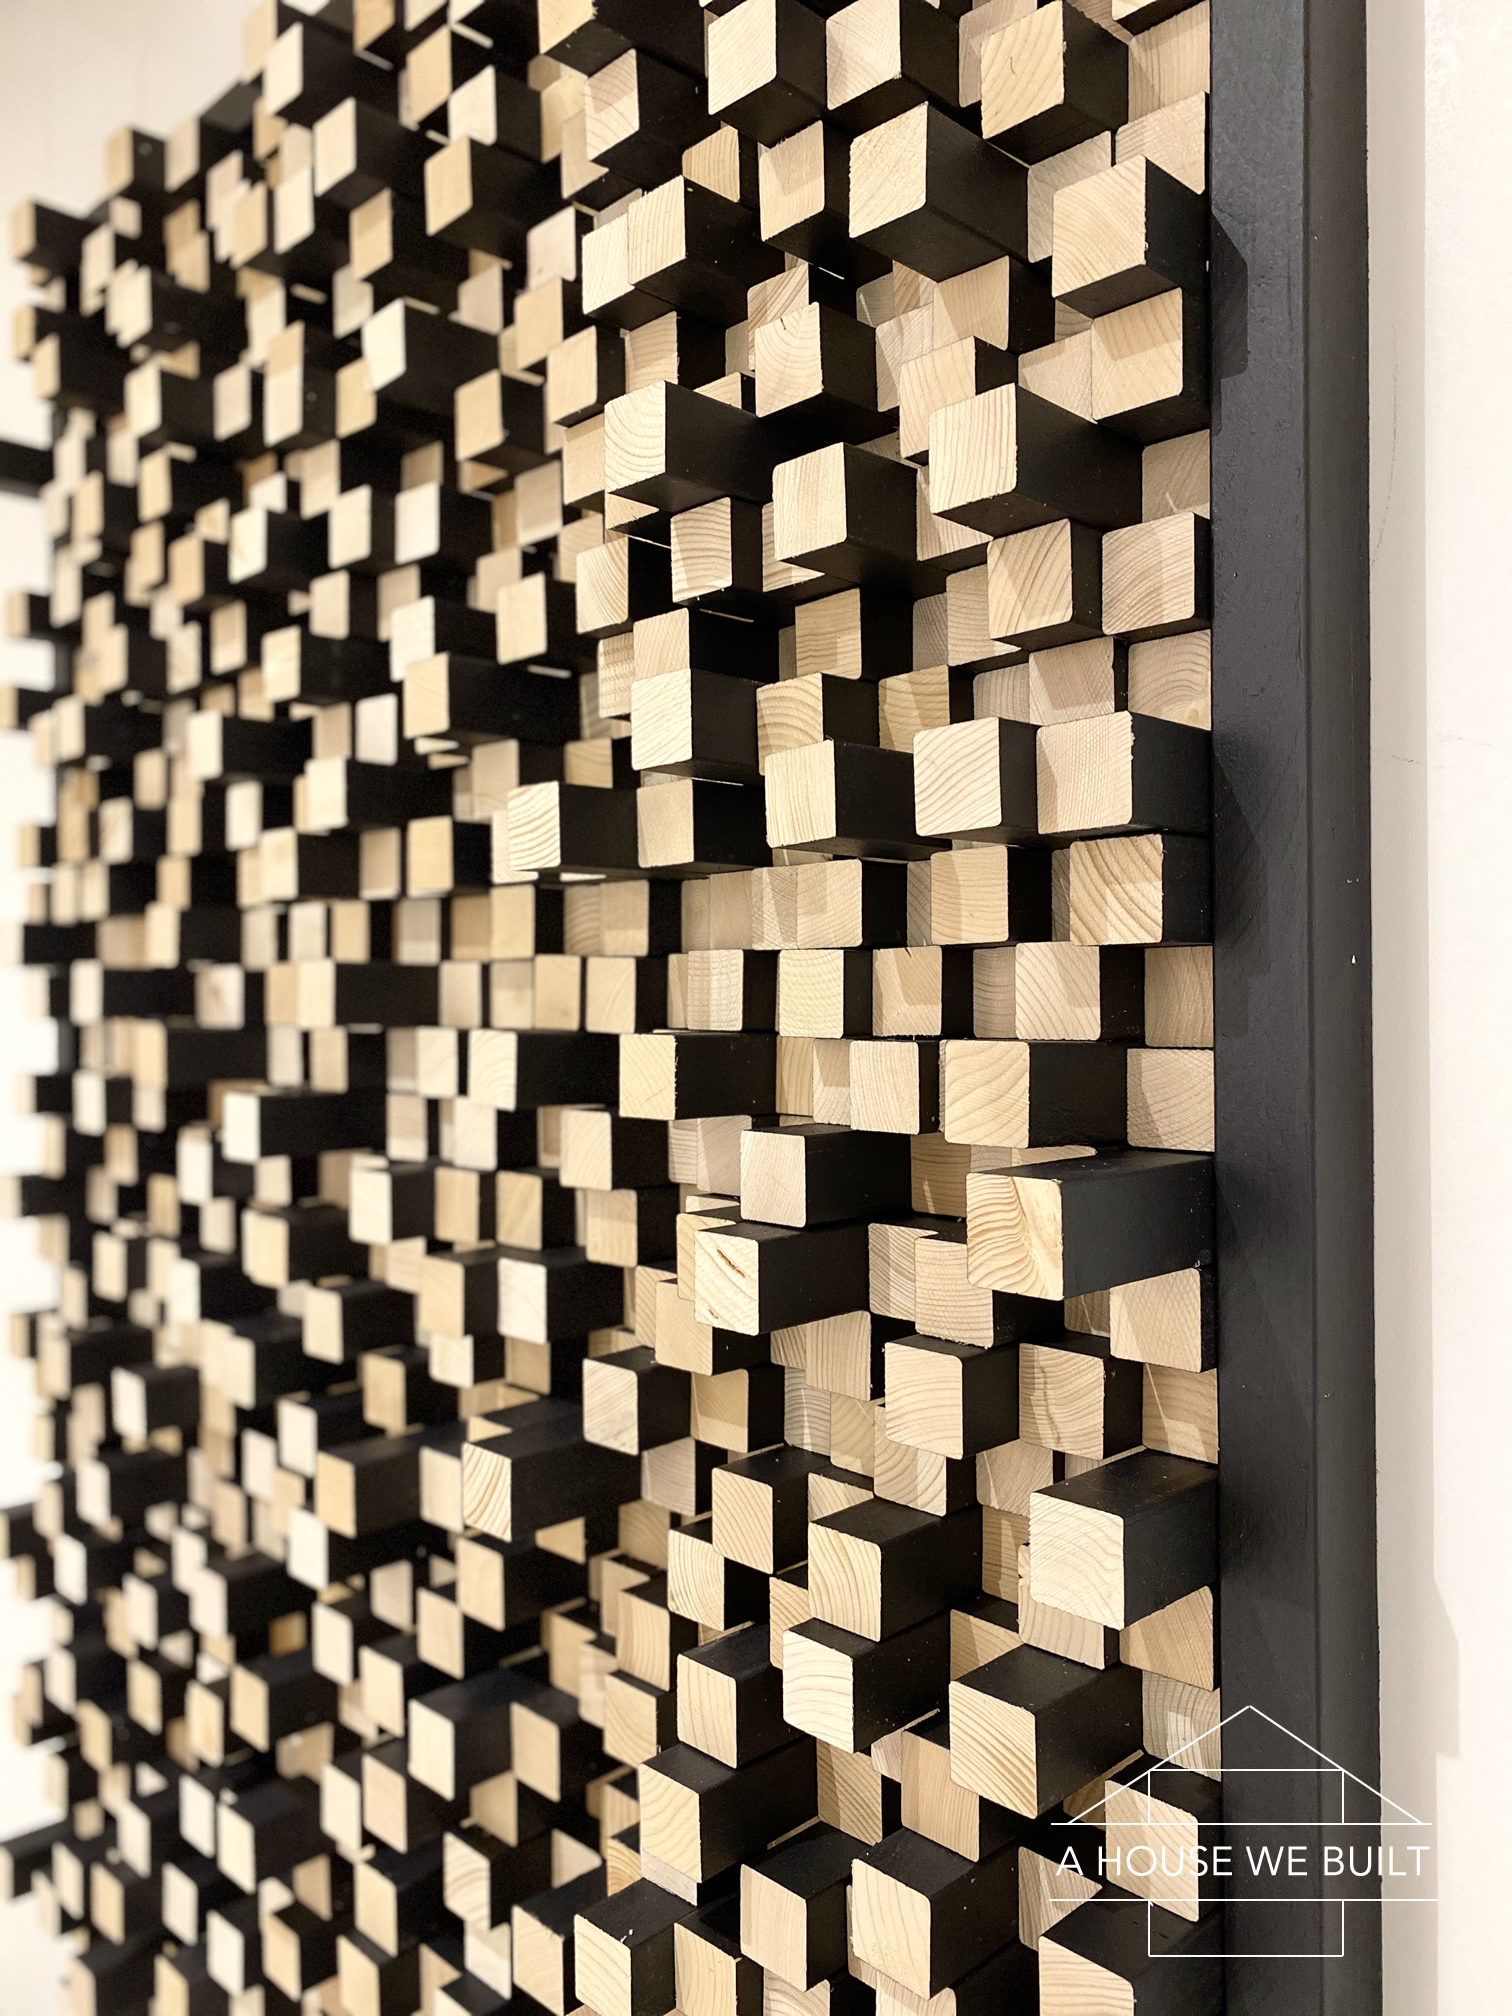
We used 945 individual blocks of wood in this art piece!
So it’s 27 blocks wide x 35 blocks high.
MATERIALS LIST:
- 24 x 2″x2″x8′ lumber: Home Depot (for the blocks & frame)
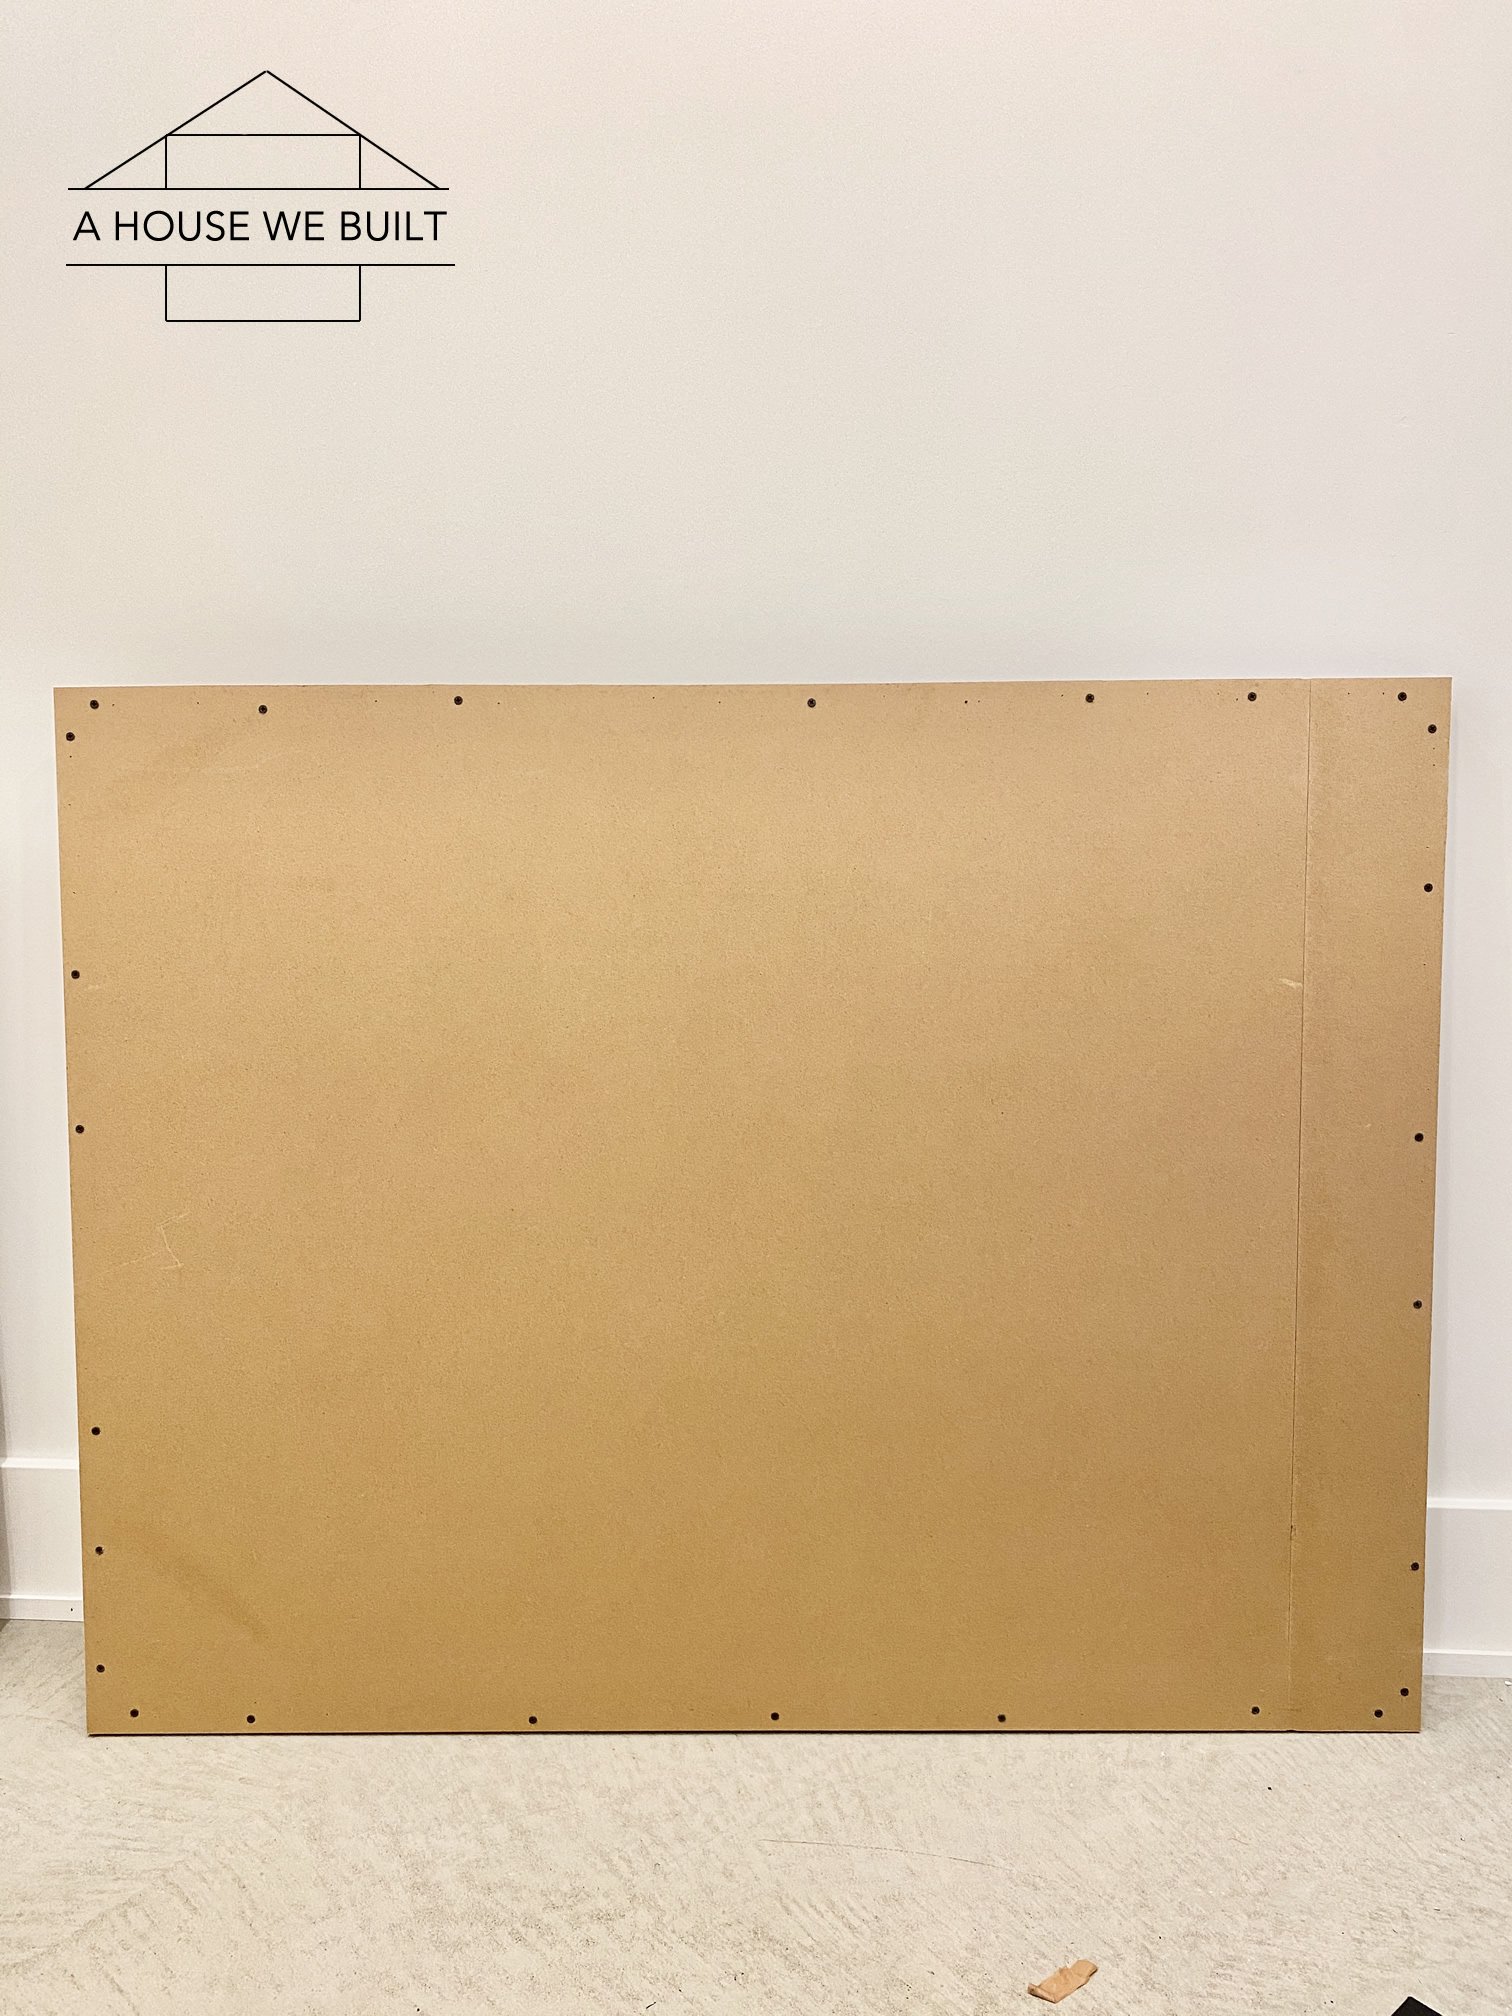
- 1/4″ MDF or plywood or hardboard panel: Home Depot | Home Depot (for the backing)
- 4 x 2″ wood screws (for the frame)
- 16 x 1″ wood screws (for the frame)
- 4 x 3″ wood screws (to attach art to studs)
- Wood filler: Home Depot | Amazon
- Sandpaper: Home Depot | Amazon
- Construction adhesive: Home Depot
- Paint or stain of your choice (I used BM Black Panther in Matte because I needed a black color and I happened to have this left over from when we made our Sofa Pit in our Theater Room)
TOOLS LIST:
- Miter saw: Home Depot | Amazon
- Drill: Home Depot | Amazon
- Putty knife: Home Depot | Amazon
- Clamps: Home Depot
INSTRUCTIONS:
Note: these instructions are specifically for the exact wood art I made so if you want to do a different style (maybe stain instead of paint, or use different size lumber etc) then you’ll have to adapt the instructions.
PHASE ONE: PREPARING THE LUMBER
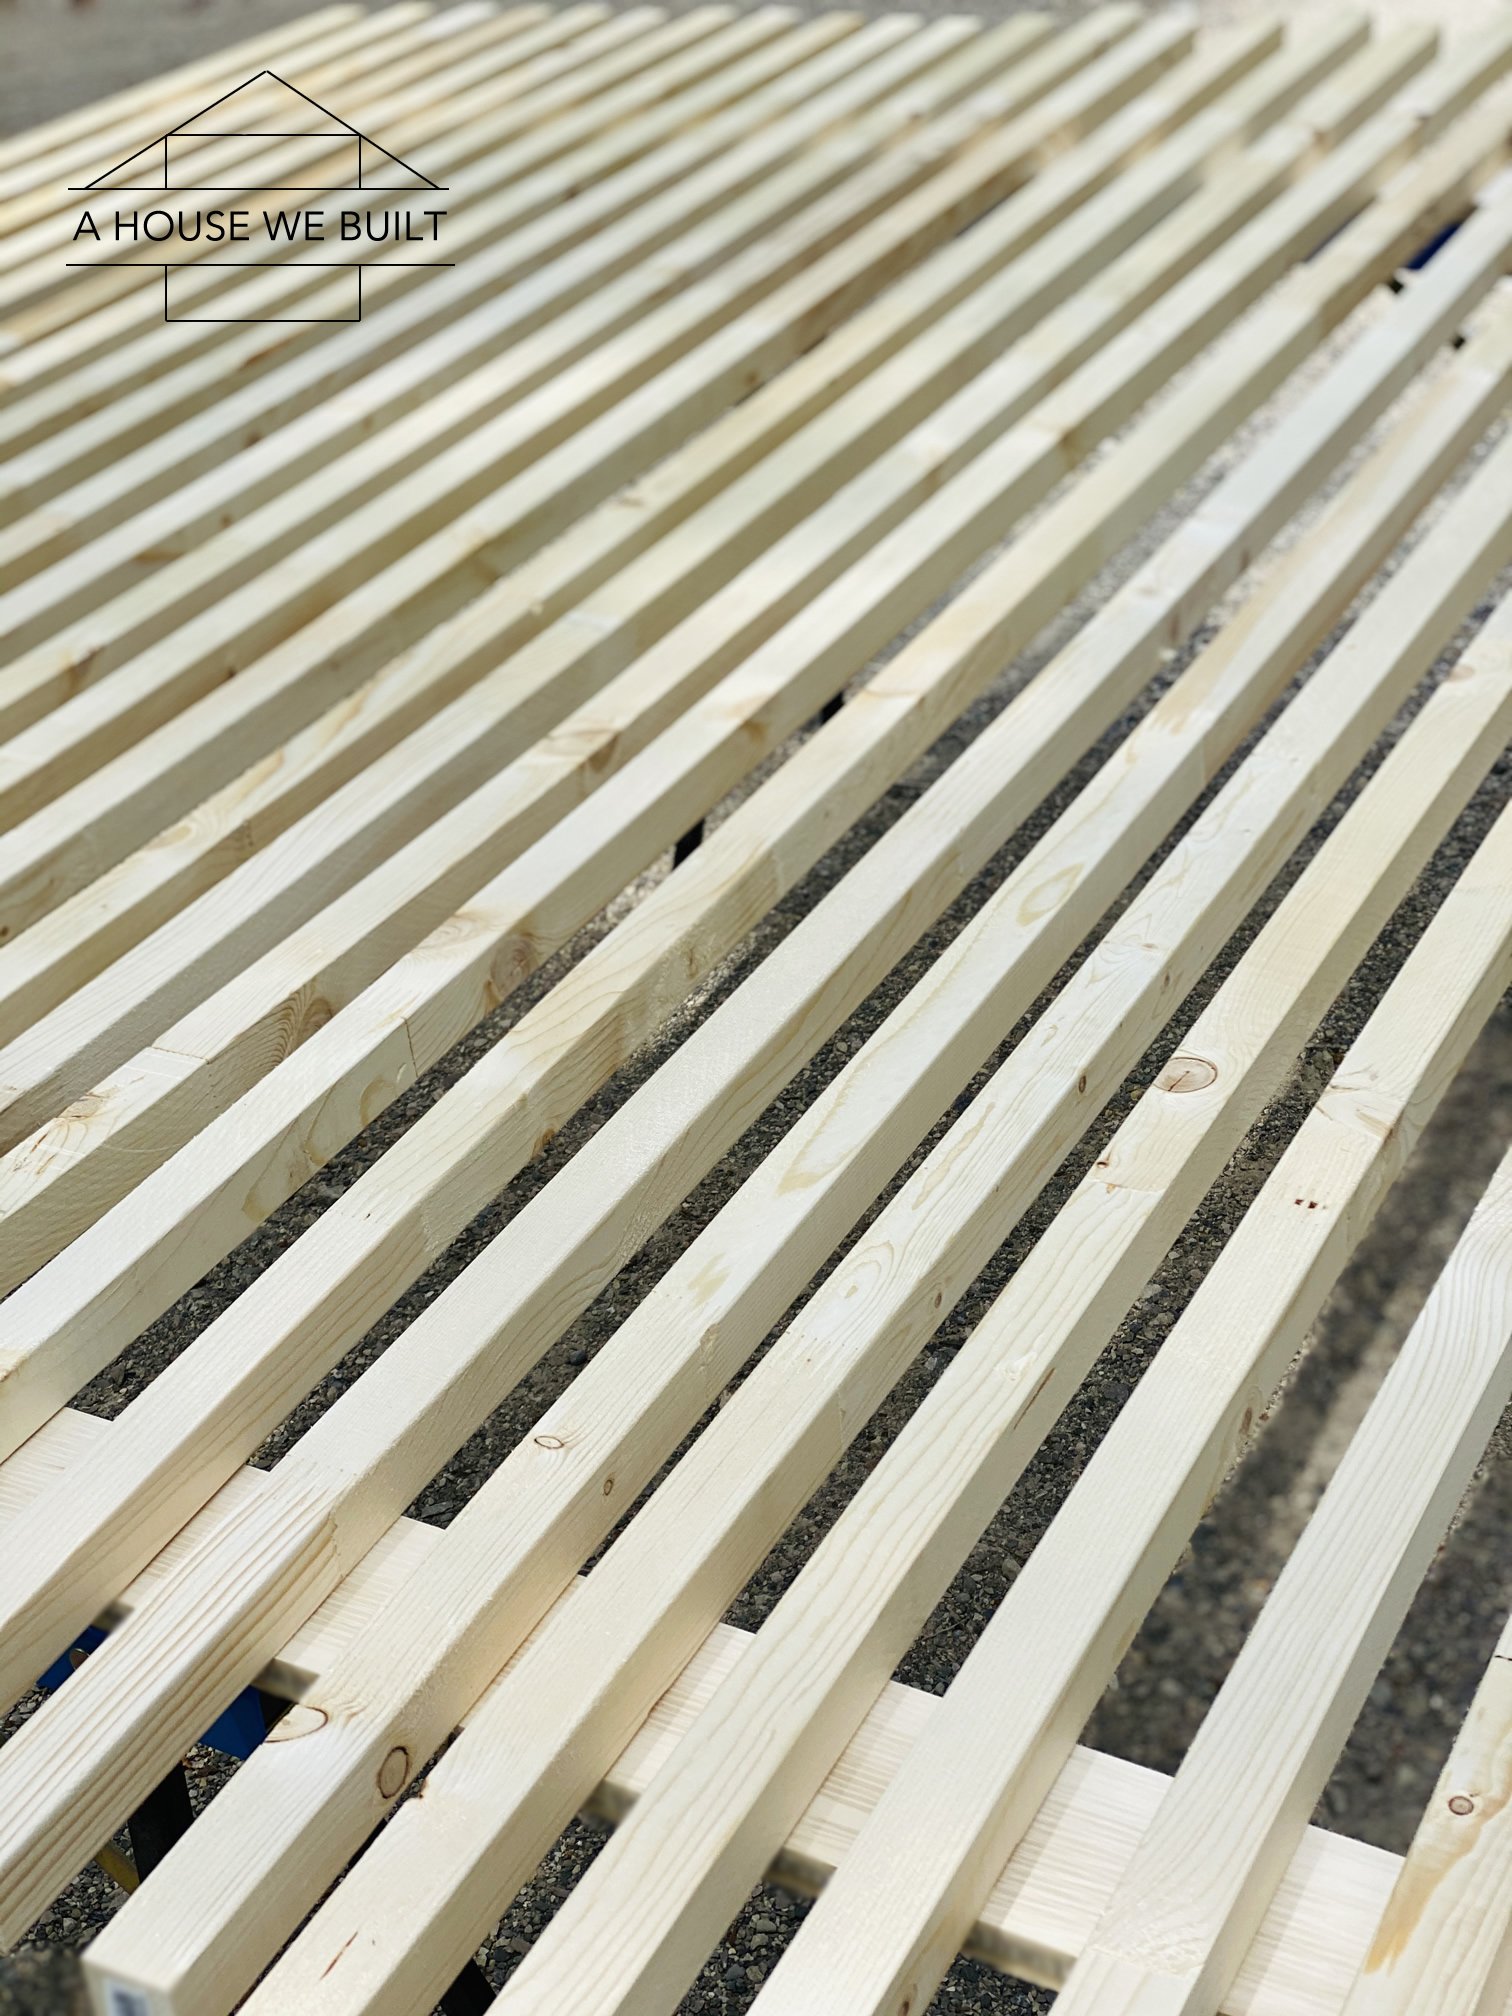
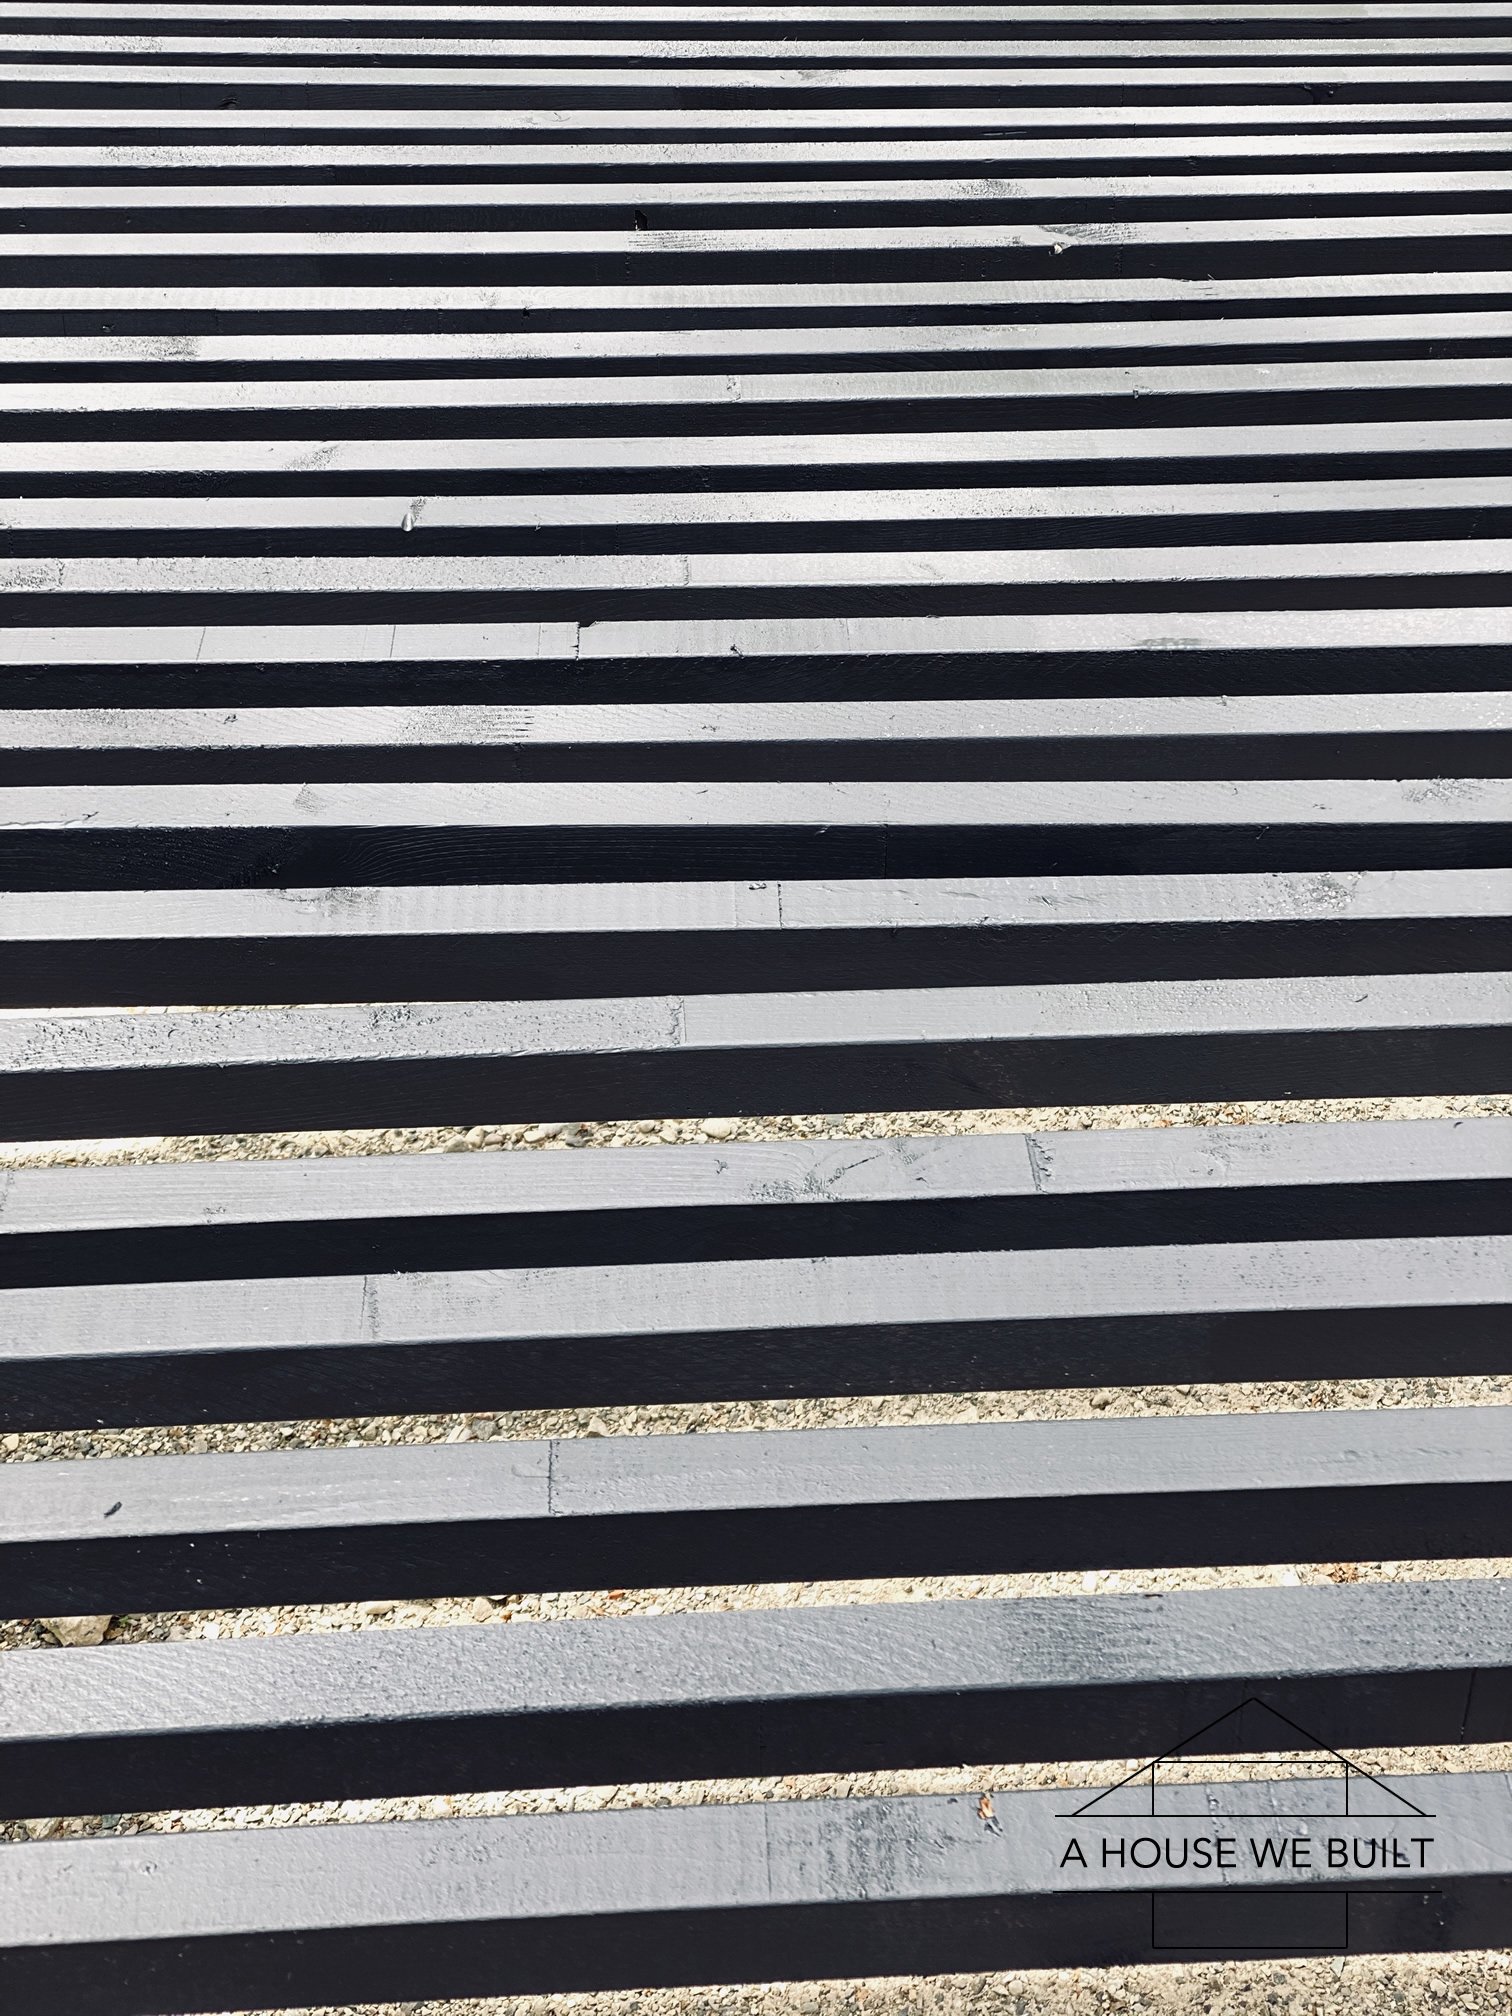
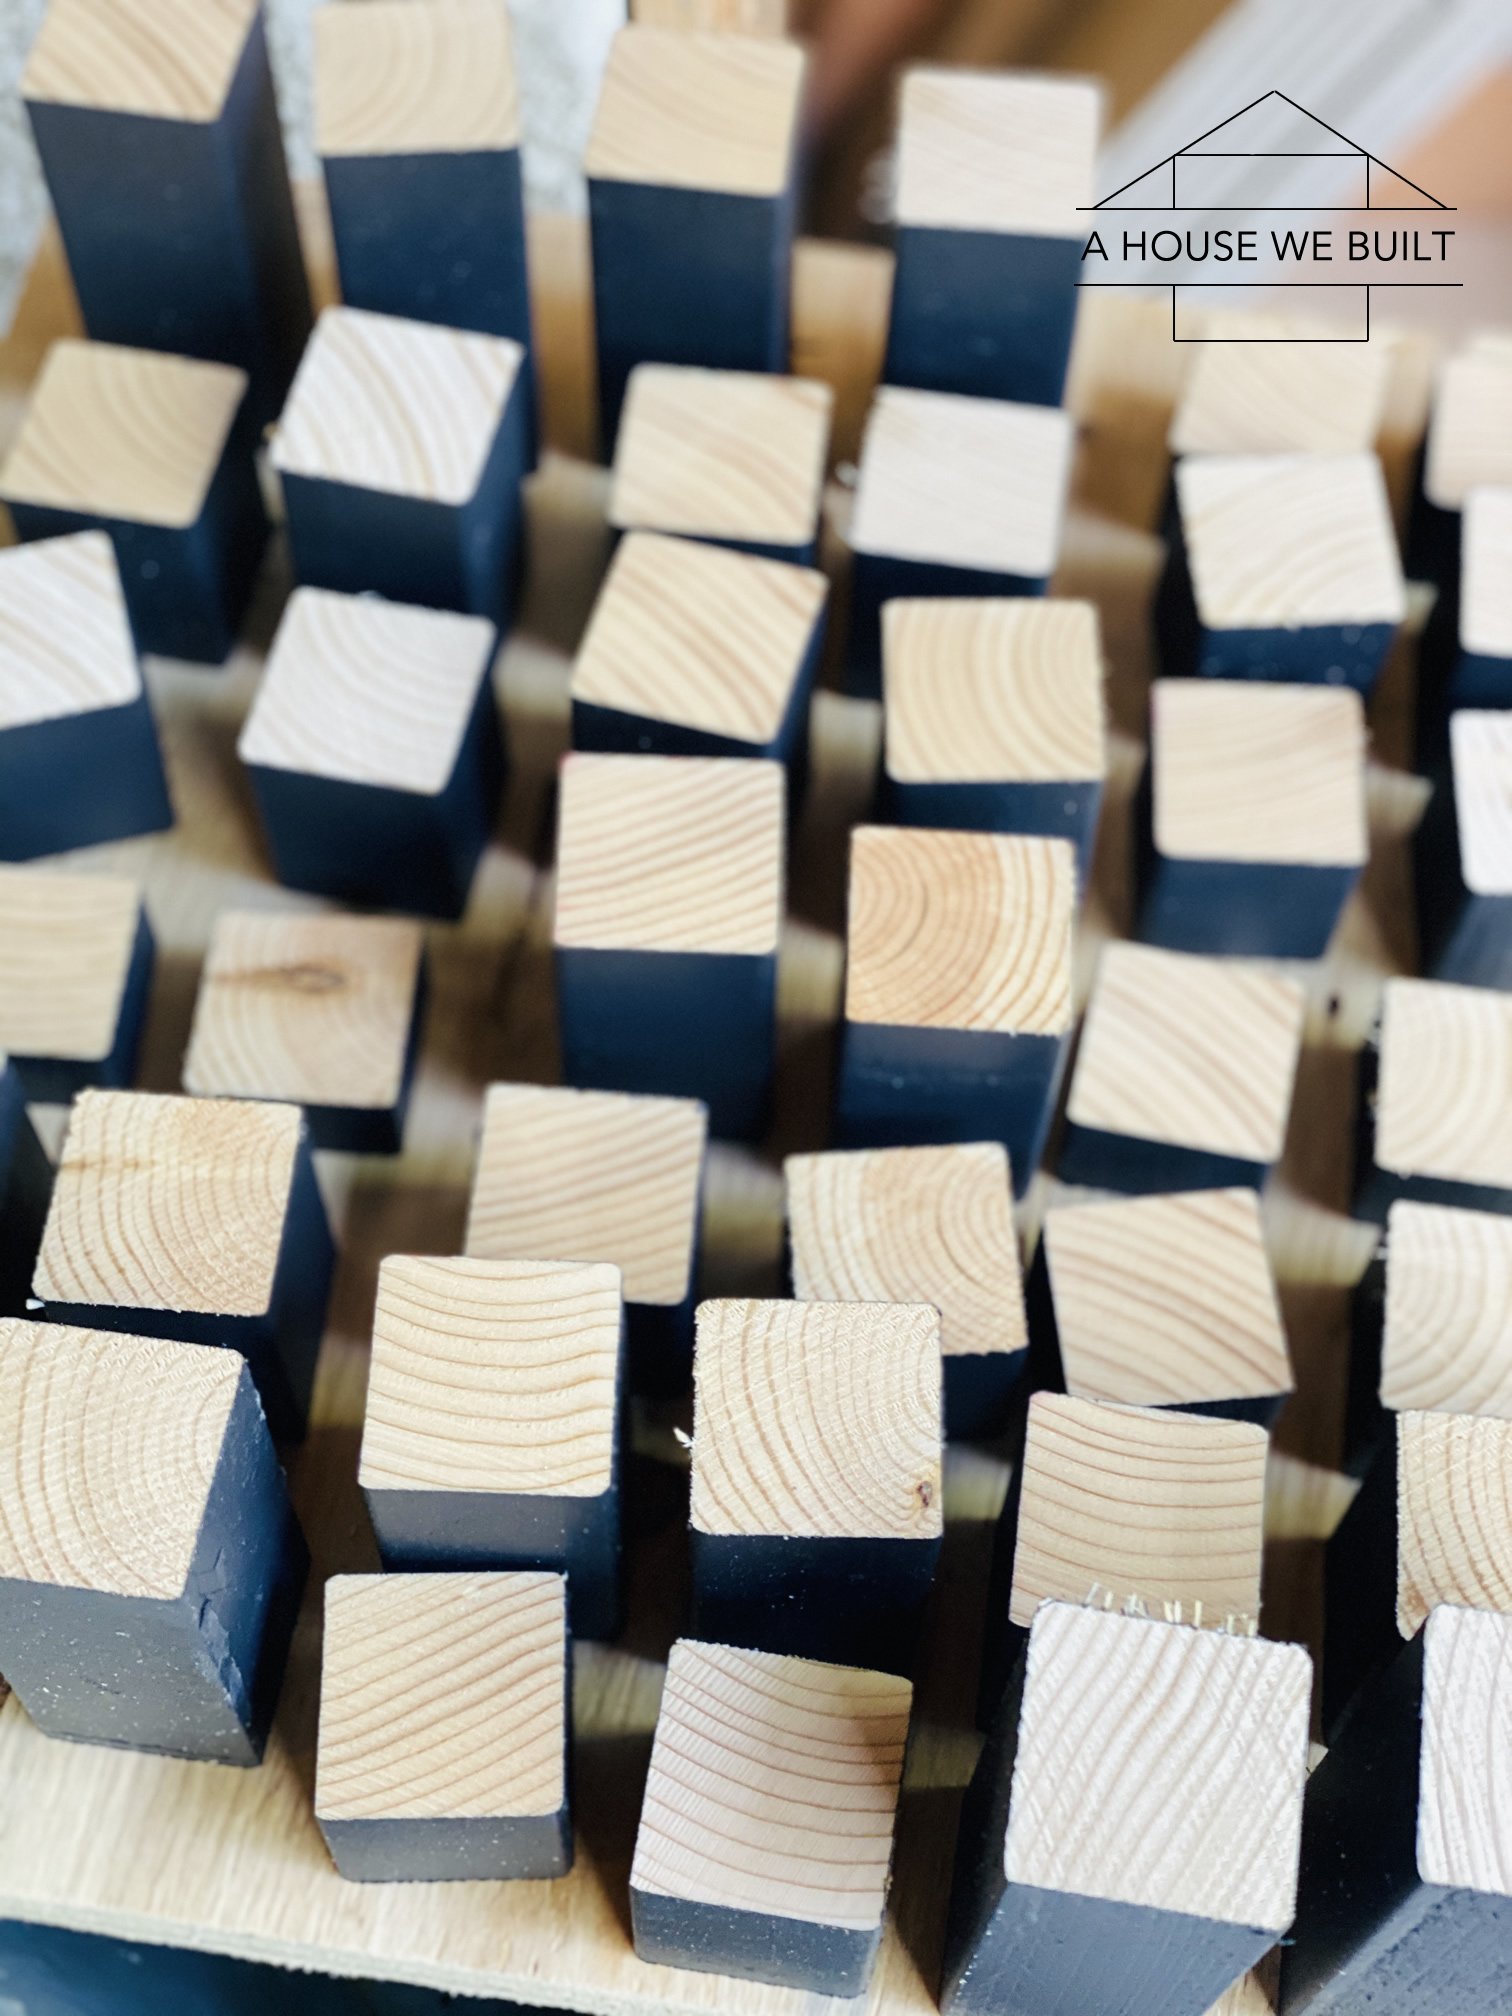
- Pre-paint & sand all your 2x2s. We laid them outside and rollered each side. Once dry, lightly sand all the rough sections, then paint a second coat. Once dry, they’re ready to be used.
- Reserve the 3 nicest full-length 2x2s for your frame, and also reserve 2-3 other 2x2s to cut later.
- Carefully cut the remainder of your 2x2s into blocks of varying lengths on a miter saw. We cut pieces at random. It may help to cut a whole 8′ piece into 1″ blocks, the next one into 1 1/2″, then 2, 2 1/2, 3, 3 1/2, 4 4 1/2, 5. Once you get the hang of it, you can cut your pieces at random but make sure you have an even distribution of lengths. The smallest piece I cut was 1/2″ long, the biggest piece was 5″ long, and all the rest were varying lengths in between. The smaller the piece, the more dangerous the cut. (The reason I said to reserve a couple 2x2s in the previous step is that as you build your art piece, you may find that you need more blocks of a specific size and having these extra pieces allows you to create exactly the sizes you need once you need them.)
PHASE TWO: PREPARING THE FRAME
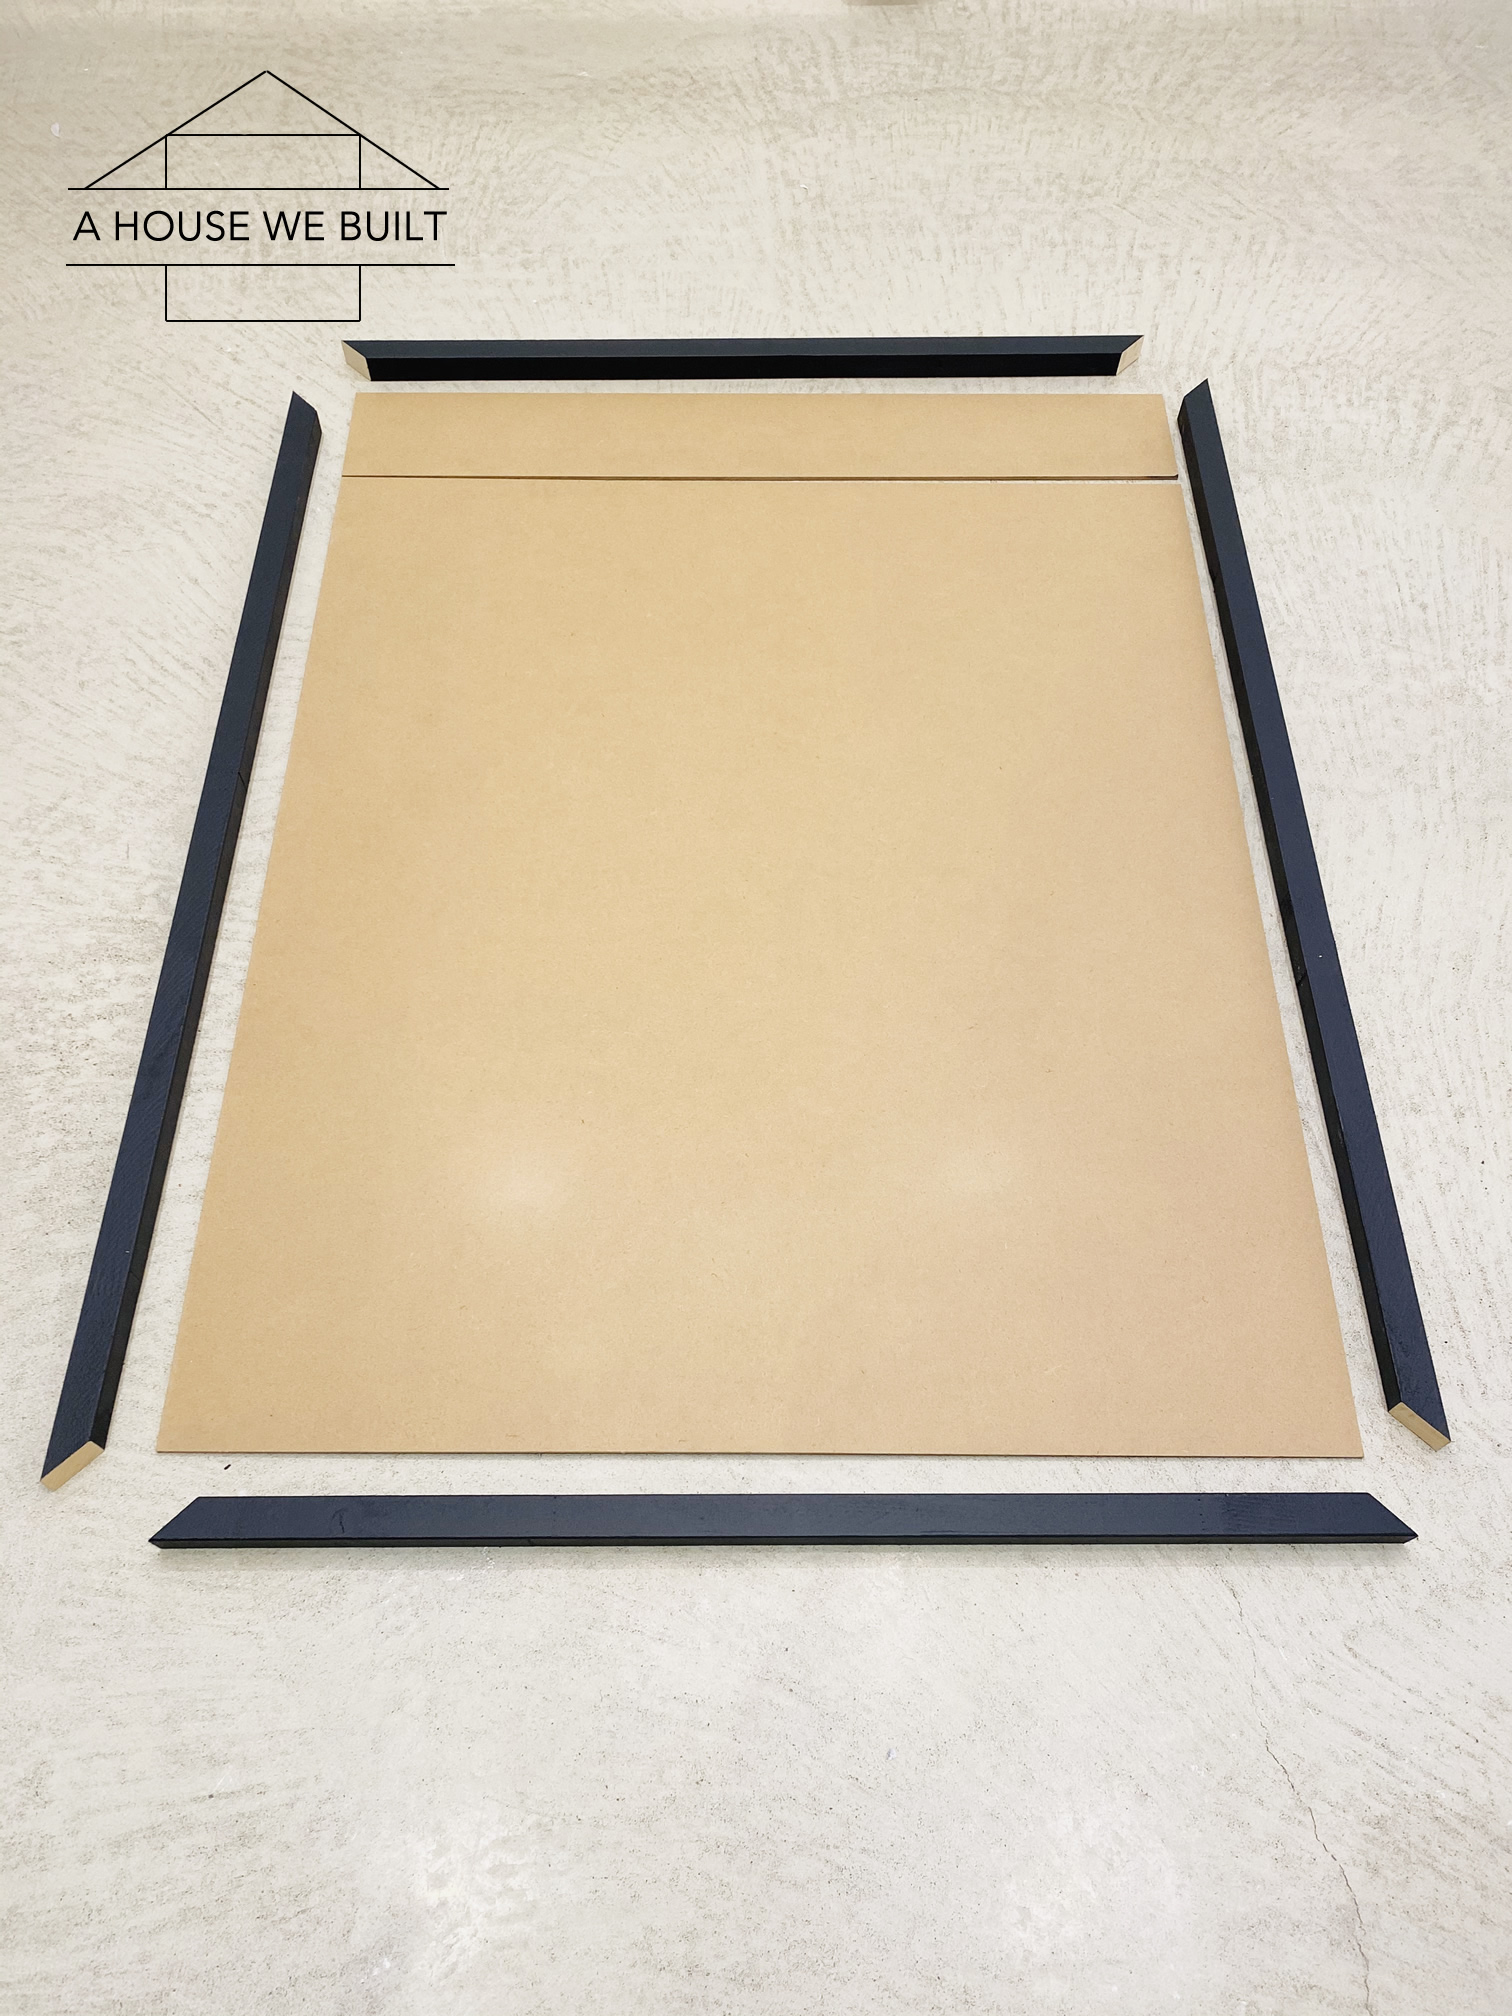
- To determine the size of your frame and backer board, first determine the approximate size you want your art piece to be. Mine was approximately 42″ x 52″, then to determine the exact specific size of your backer & frame, place a single row blocks along the length and width of your backer until you’re as close as possible to the size of art piece you want, then place full length 2x2s around the edges. Measure from the outside of the top frame to the outside of the bottom frame for the final length, and measure from the outside of the left frame to the outside of the right frame for the final width. *** Note: You must have the perfect amount of space for a row of blocks along the length and width of your art piece. They should be snug enough that you can’t wiggle the pieces, but loose enough that you can remove and re-insert a block (with a tiny bit of effort).
- Cut your 1/4″ backer panel to whatever size perfectly fits under your blocks and frame pieces. We had some 1/4″ MDF that was leftover from another project which we used. It ended up being 2 pieces but that’s no problem since the frame pieces will hold it all together. I just don’t suggest using anything thicker than 1/4″ for the backer as it will just get heavy and 1/8″ is too wobbly.
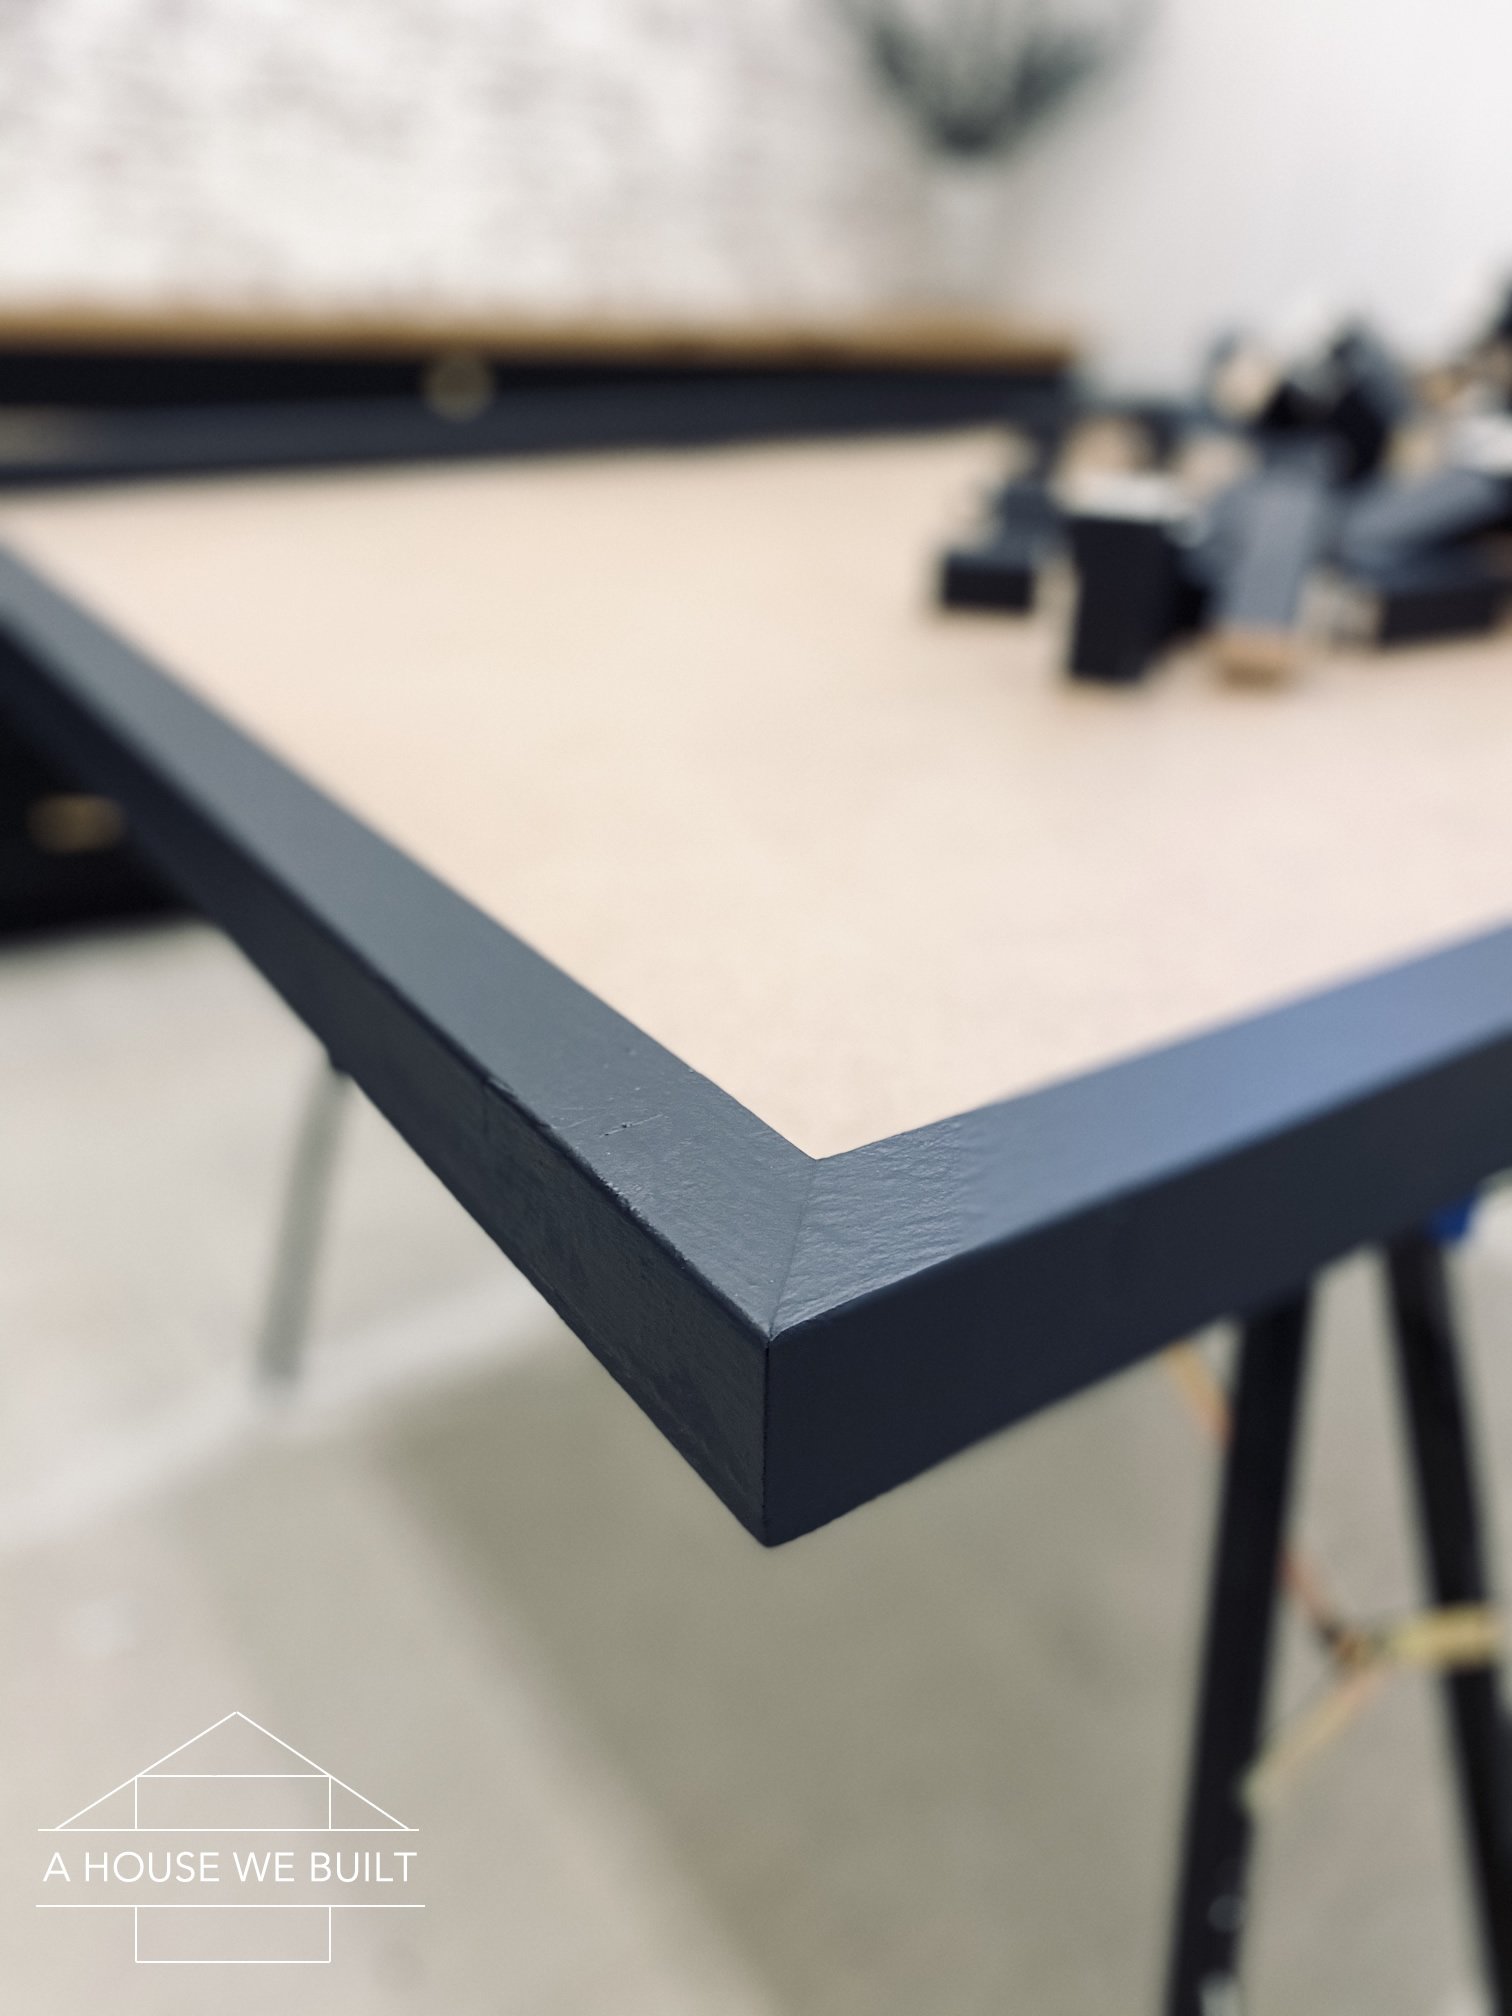
- Cut your frame pieces to size. You’ll need 4 pieces, each one as long as the outer edges of your backer board. Then cut the corners back 45 degrees to create mitered corners.
- Dry-fit your frame over your backer board again now that they’re all cut to size and place a row of blocks along the long and short inside sides to be 100% sure that your frame is the perfect fit.
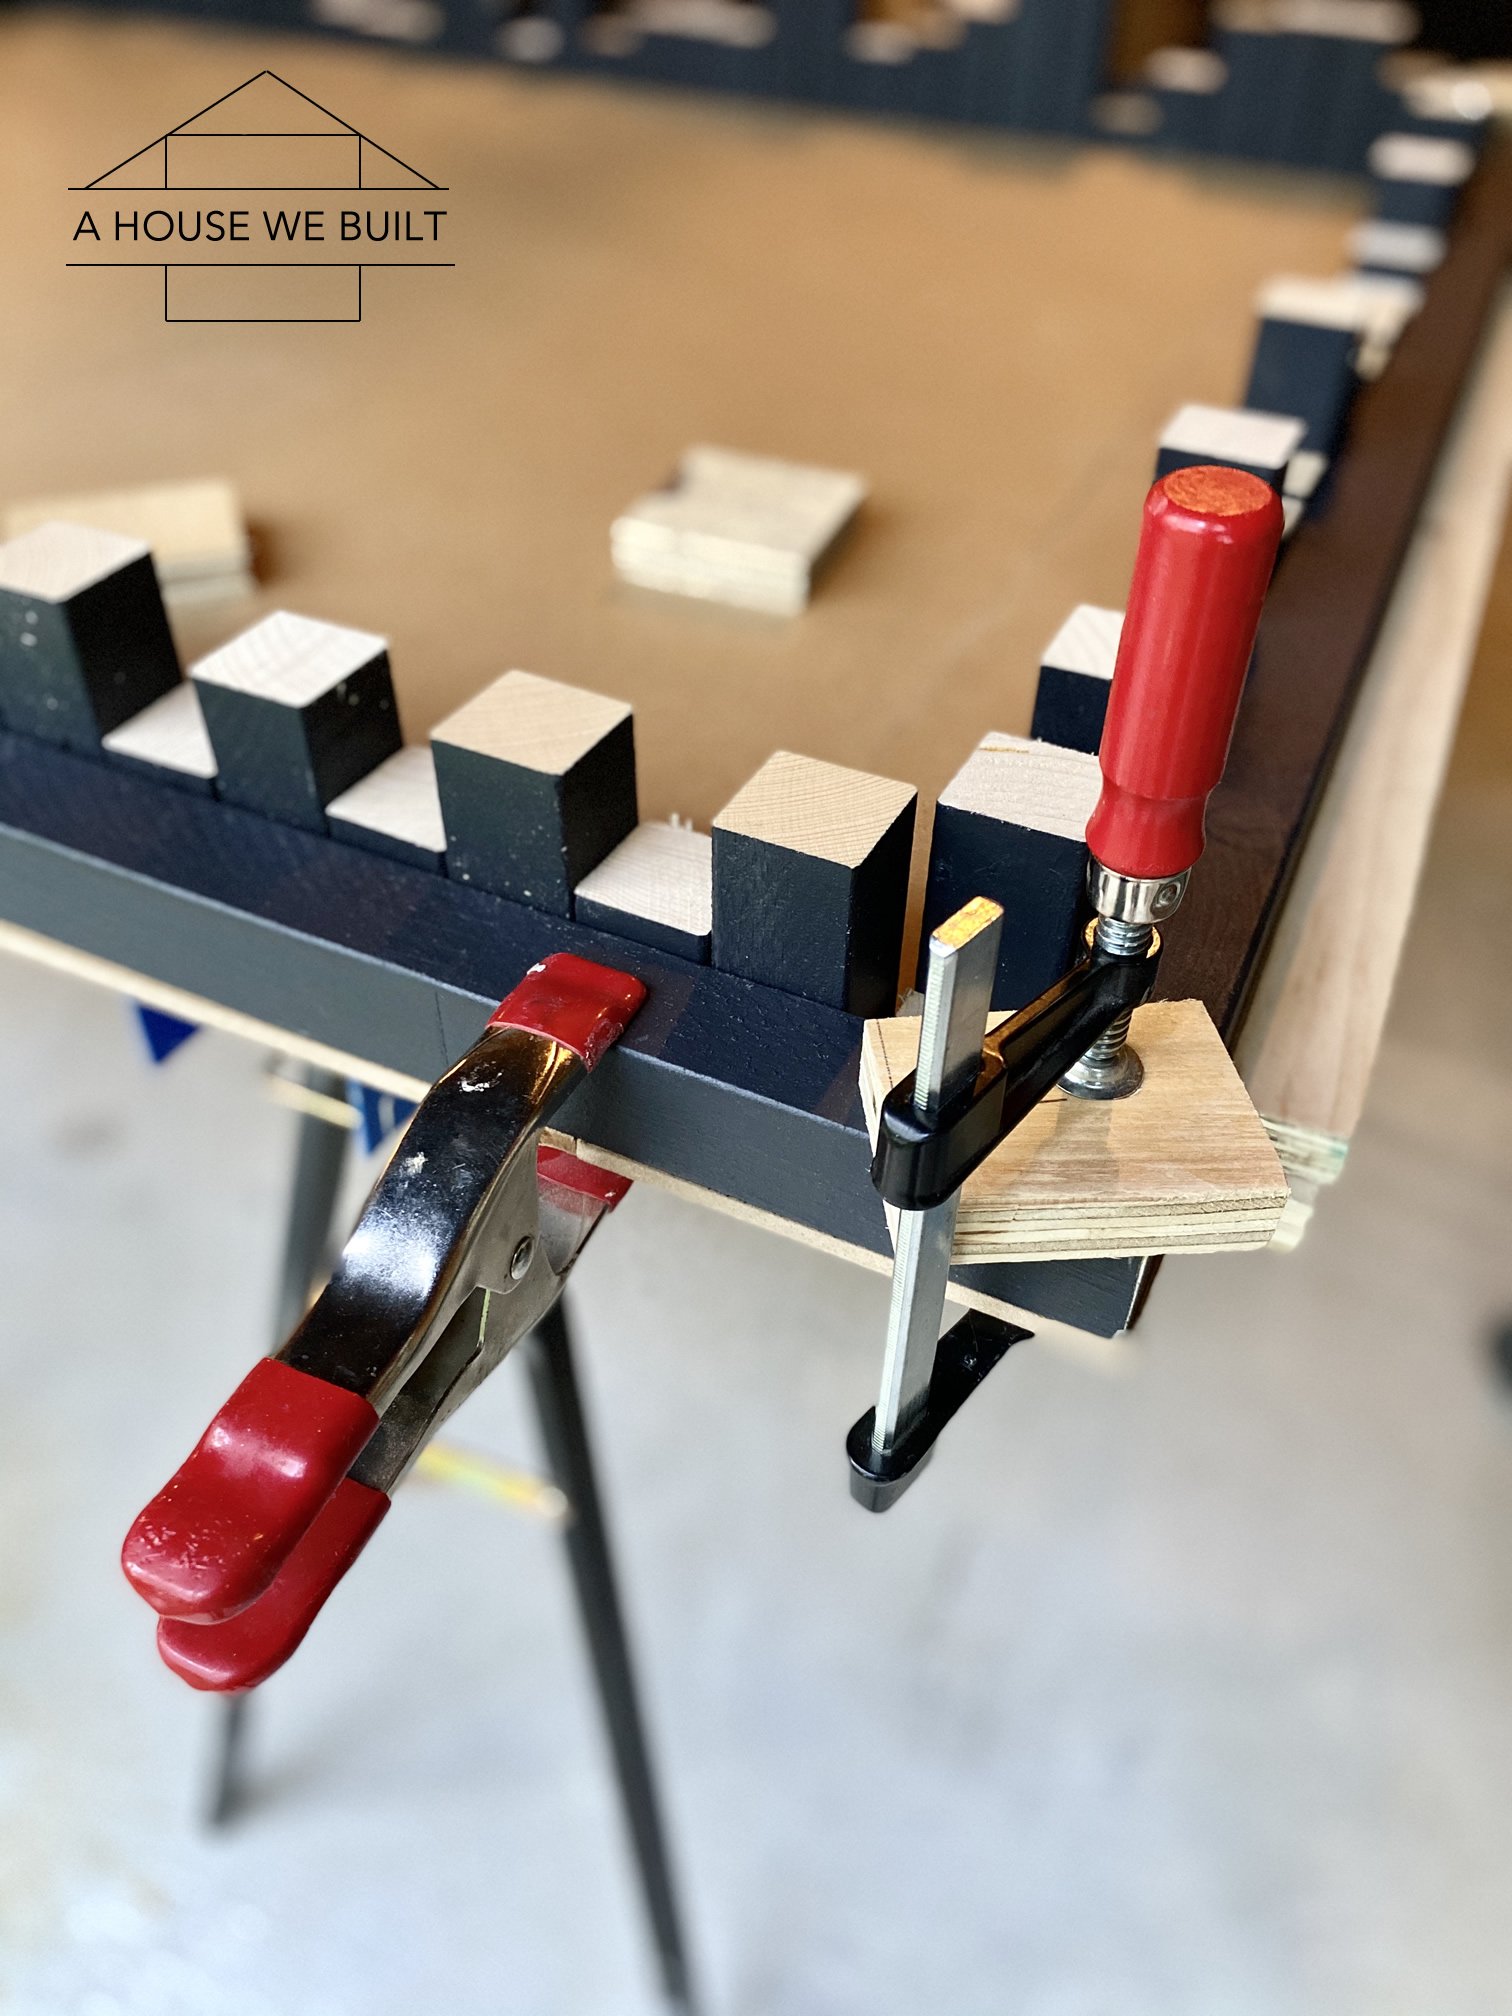
- Glue your frame pieces and clamp them onto your backer board making sure they align perfectly both with the edges of the board, and are a perfect fit for the blocks temporarily aligned inside.
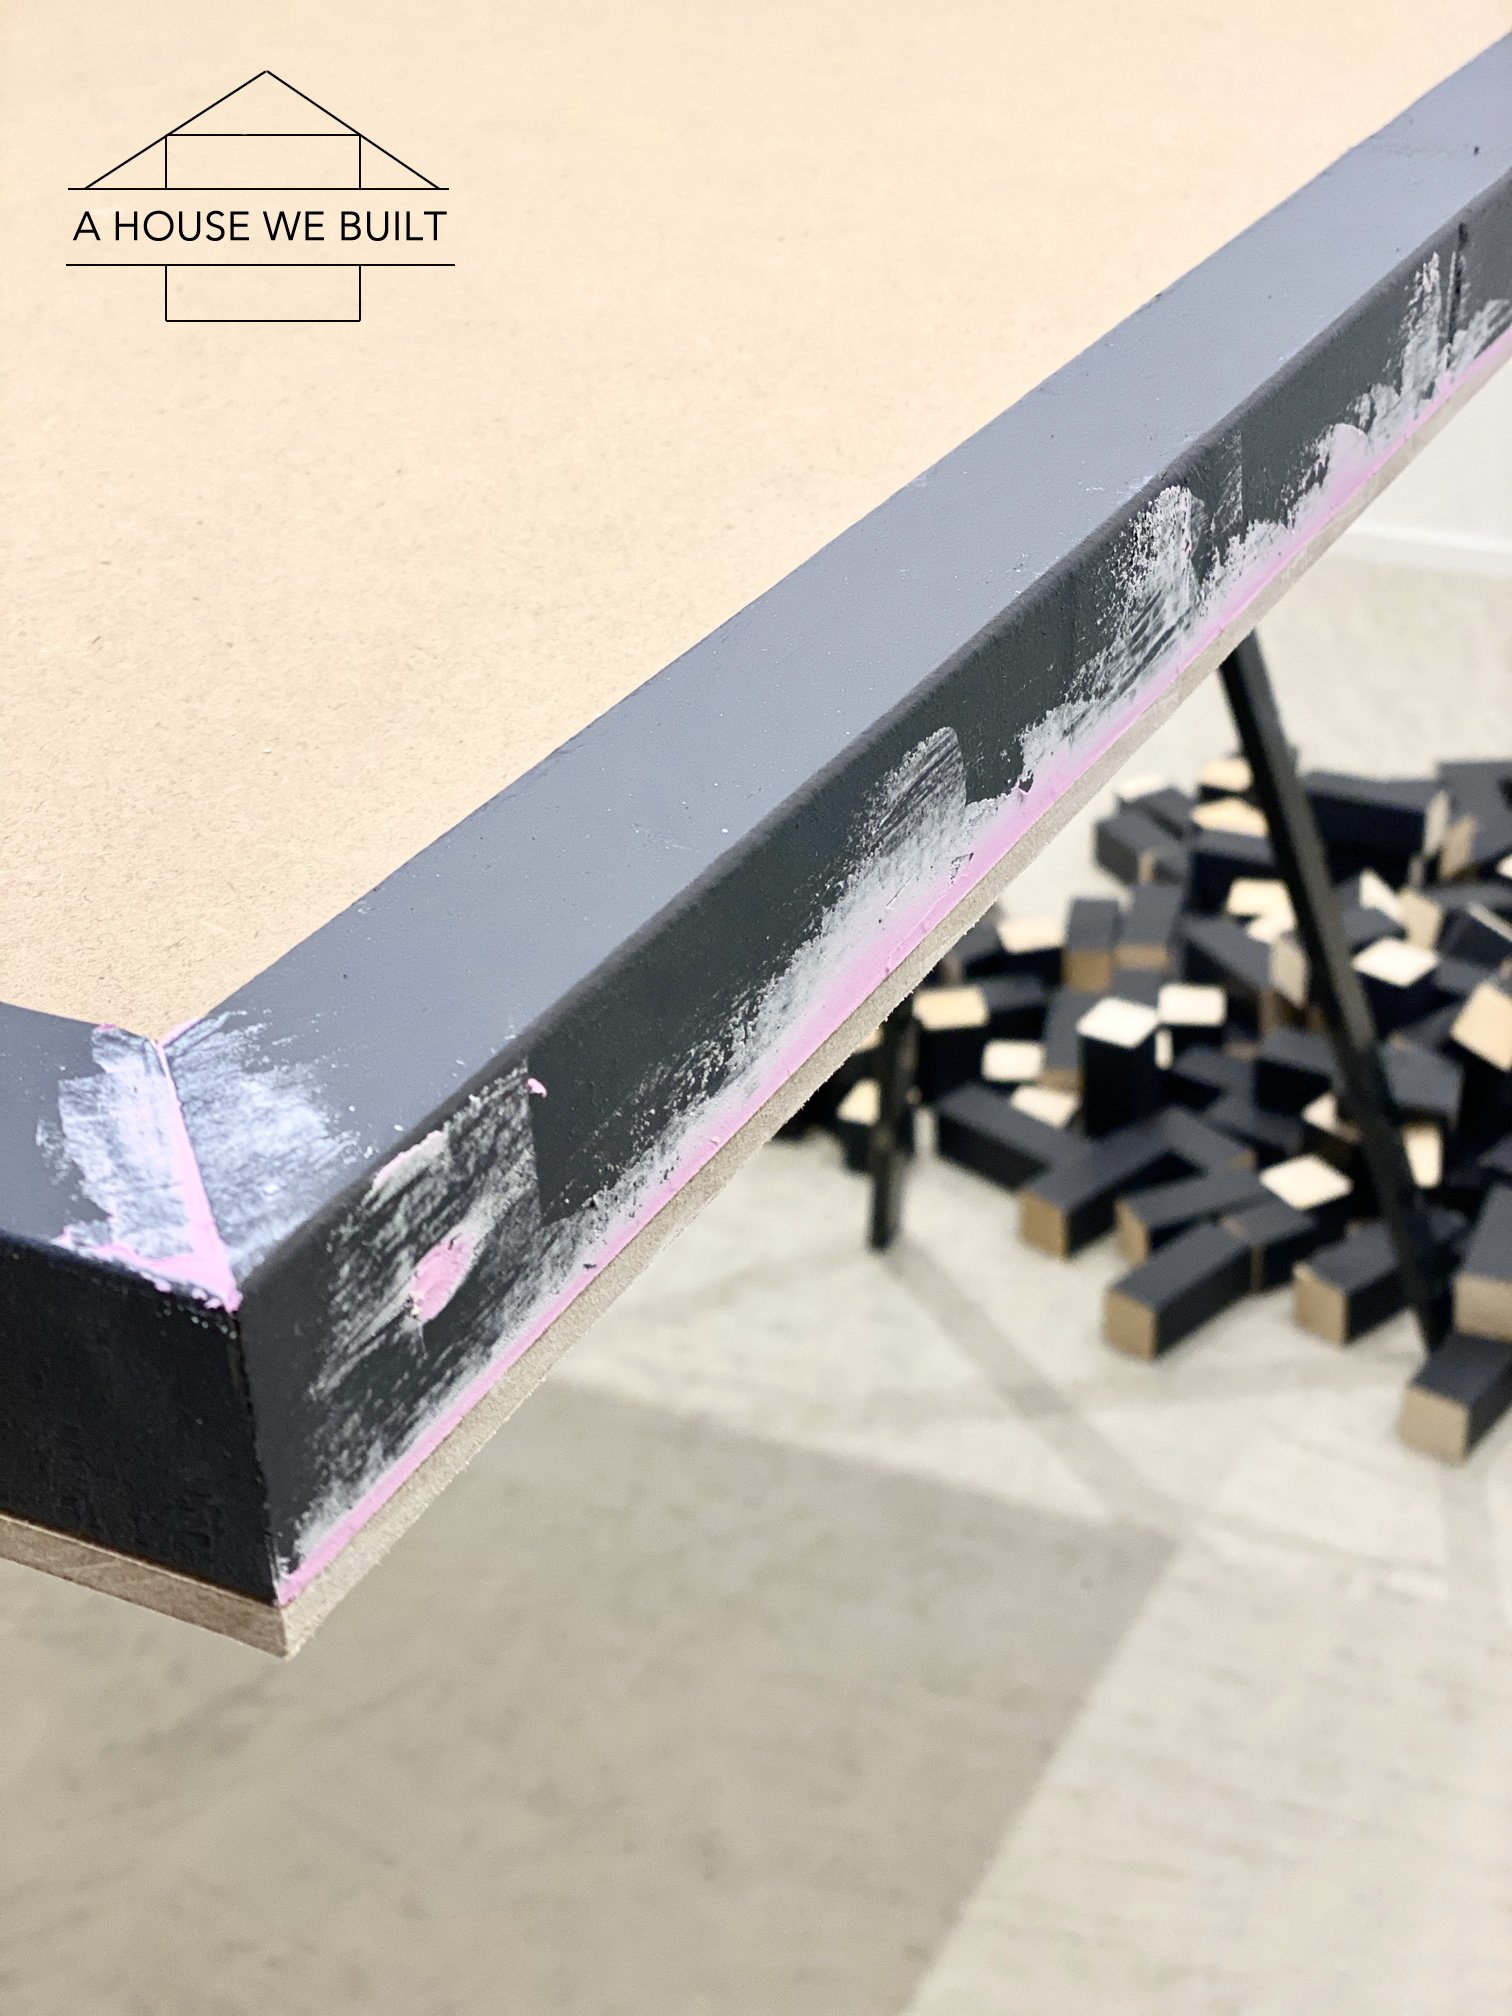
- Secure the frame pieces to the backer board using the 1″ wood screws screws from the underside of the board so that they don’t show.
- Use wood filler to hide the seam between the 2×2 frame pieces and the MDF backer board. Once that dries, sand it down, and repaint one last finish coat of paint over the frame.
- Allow to dry completely before continuing (construction adhesive usually needs 24 hours).
PHASE THREE: CREATING THE BLOCK ART
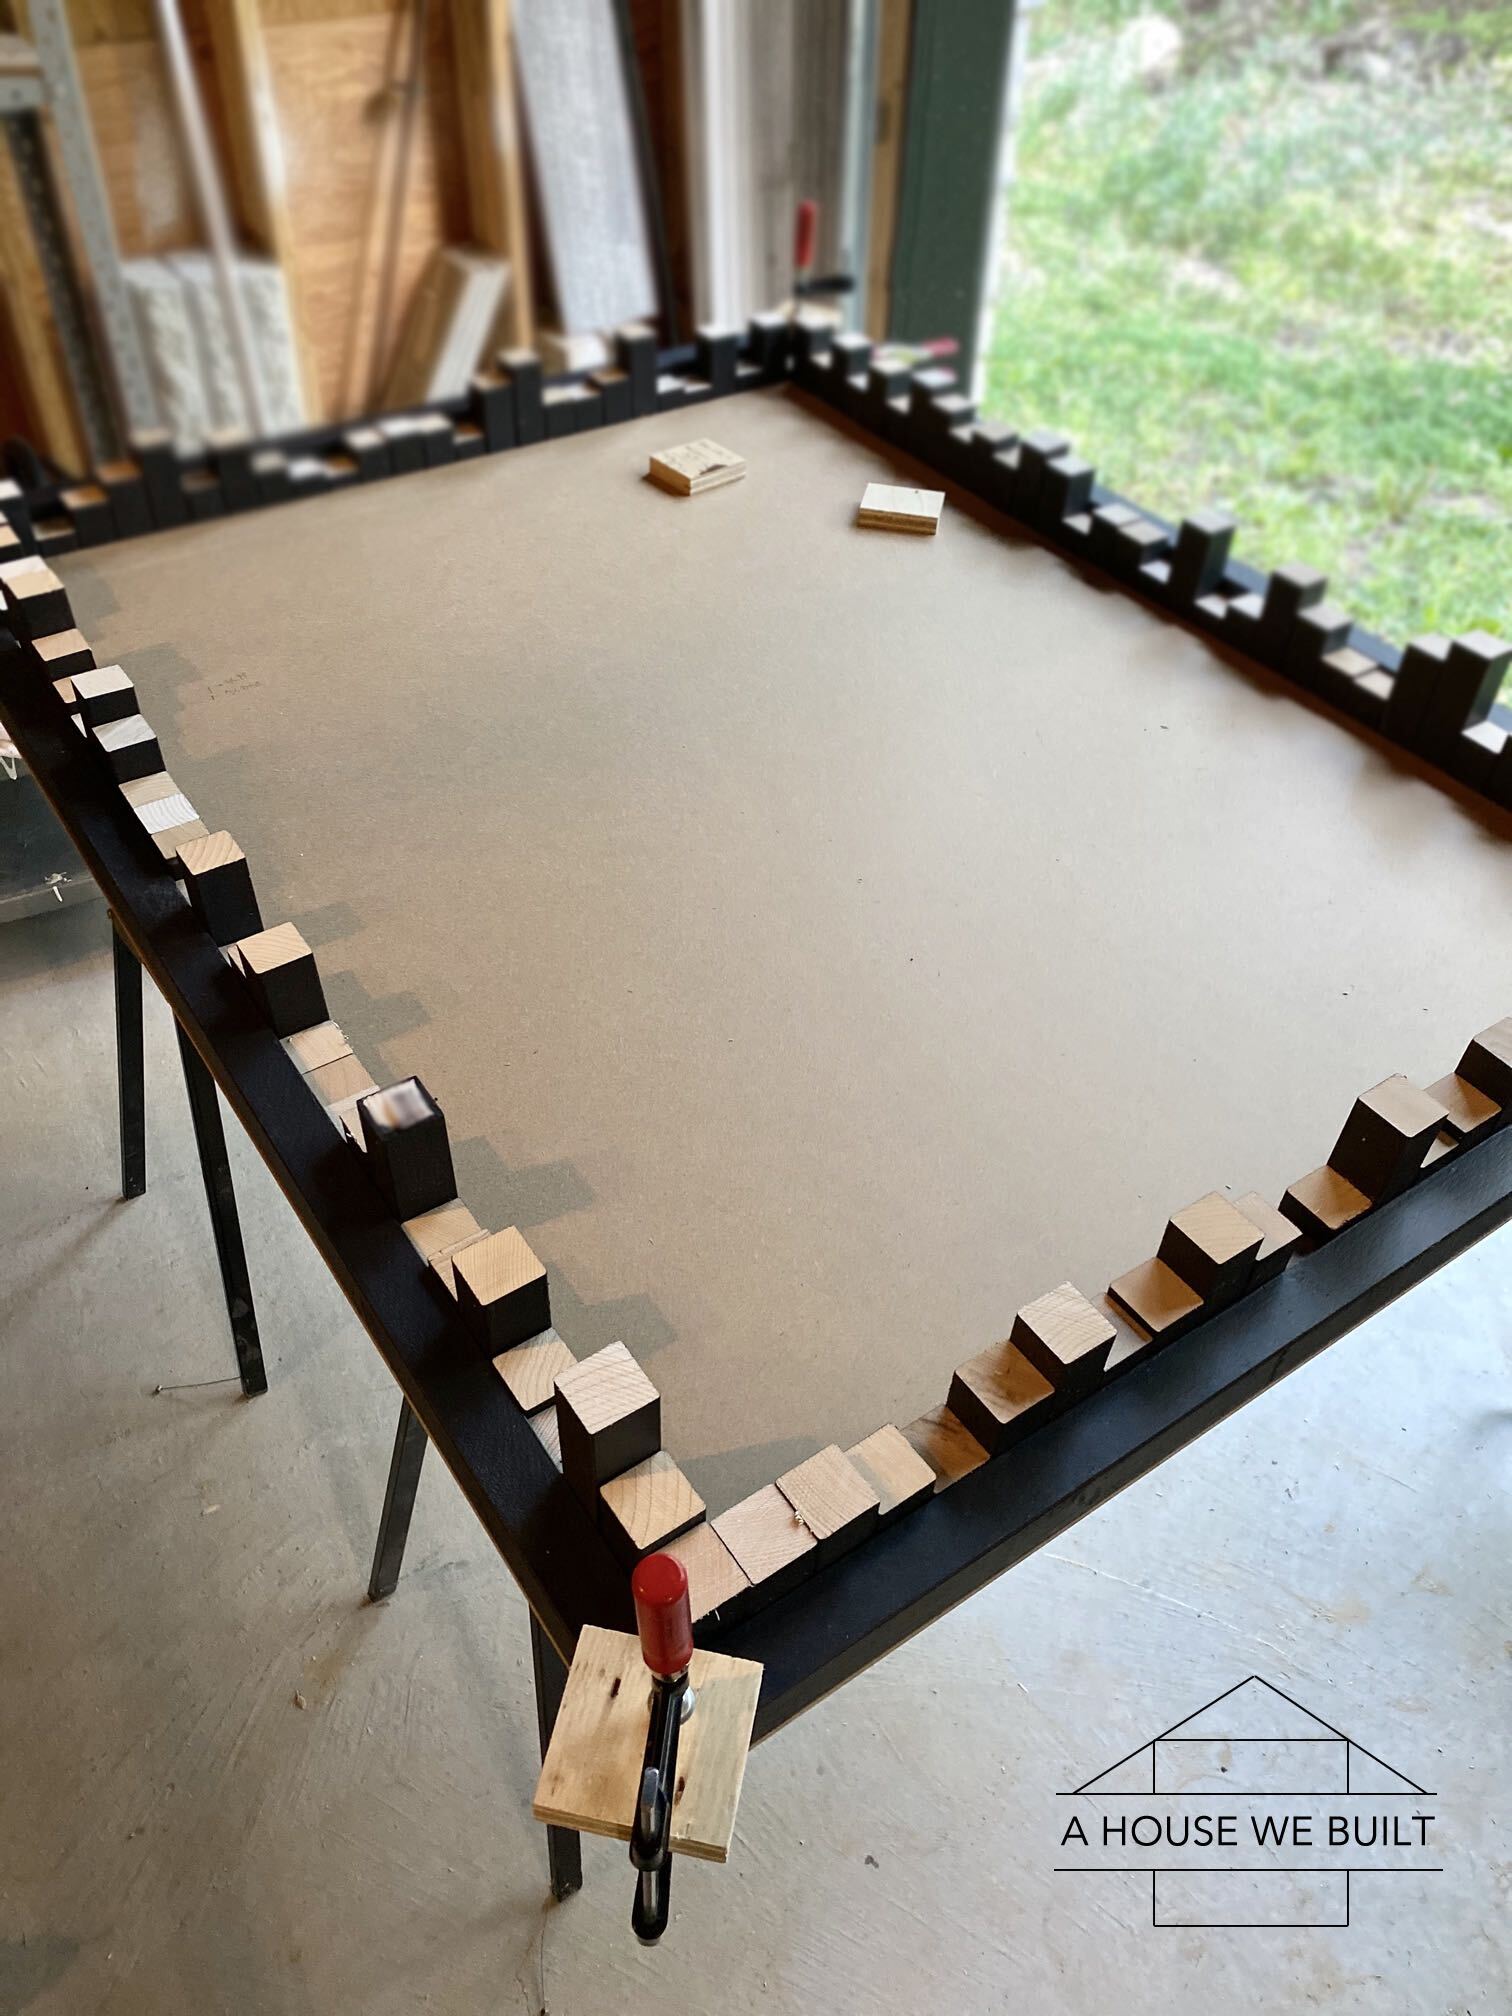
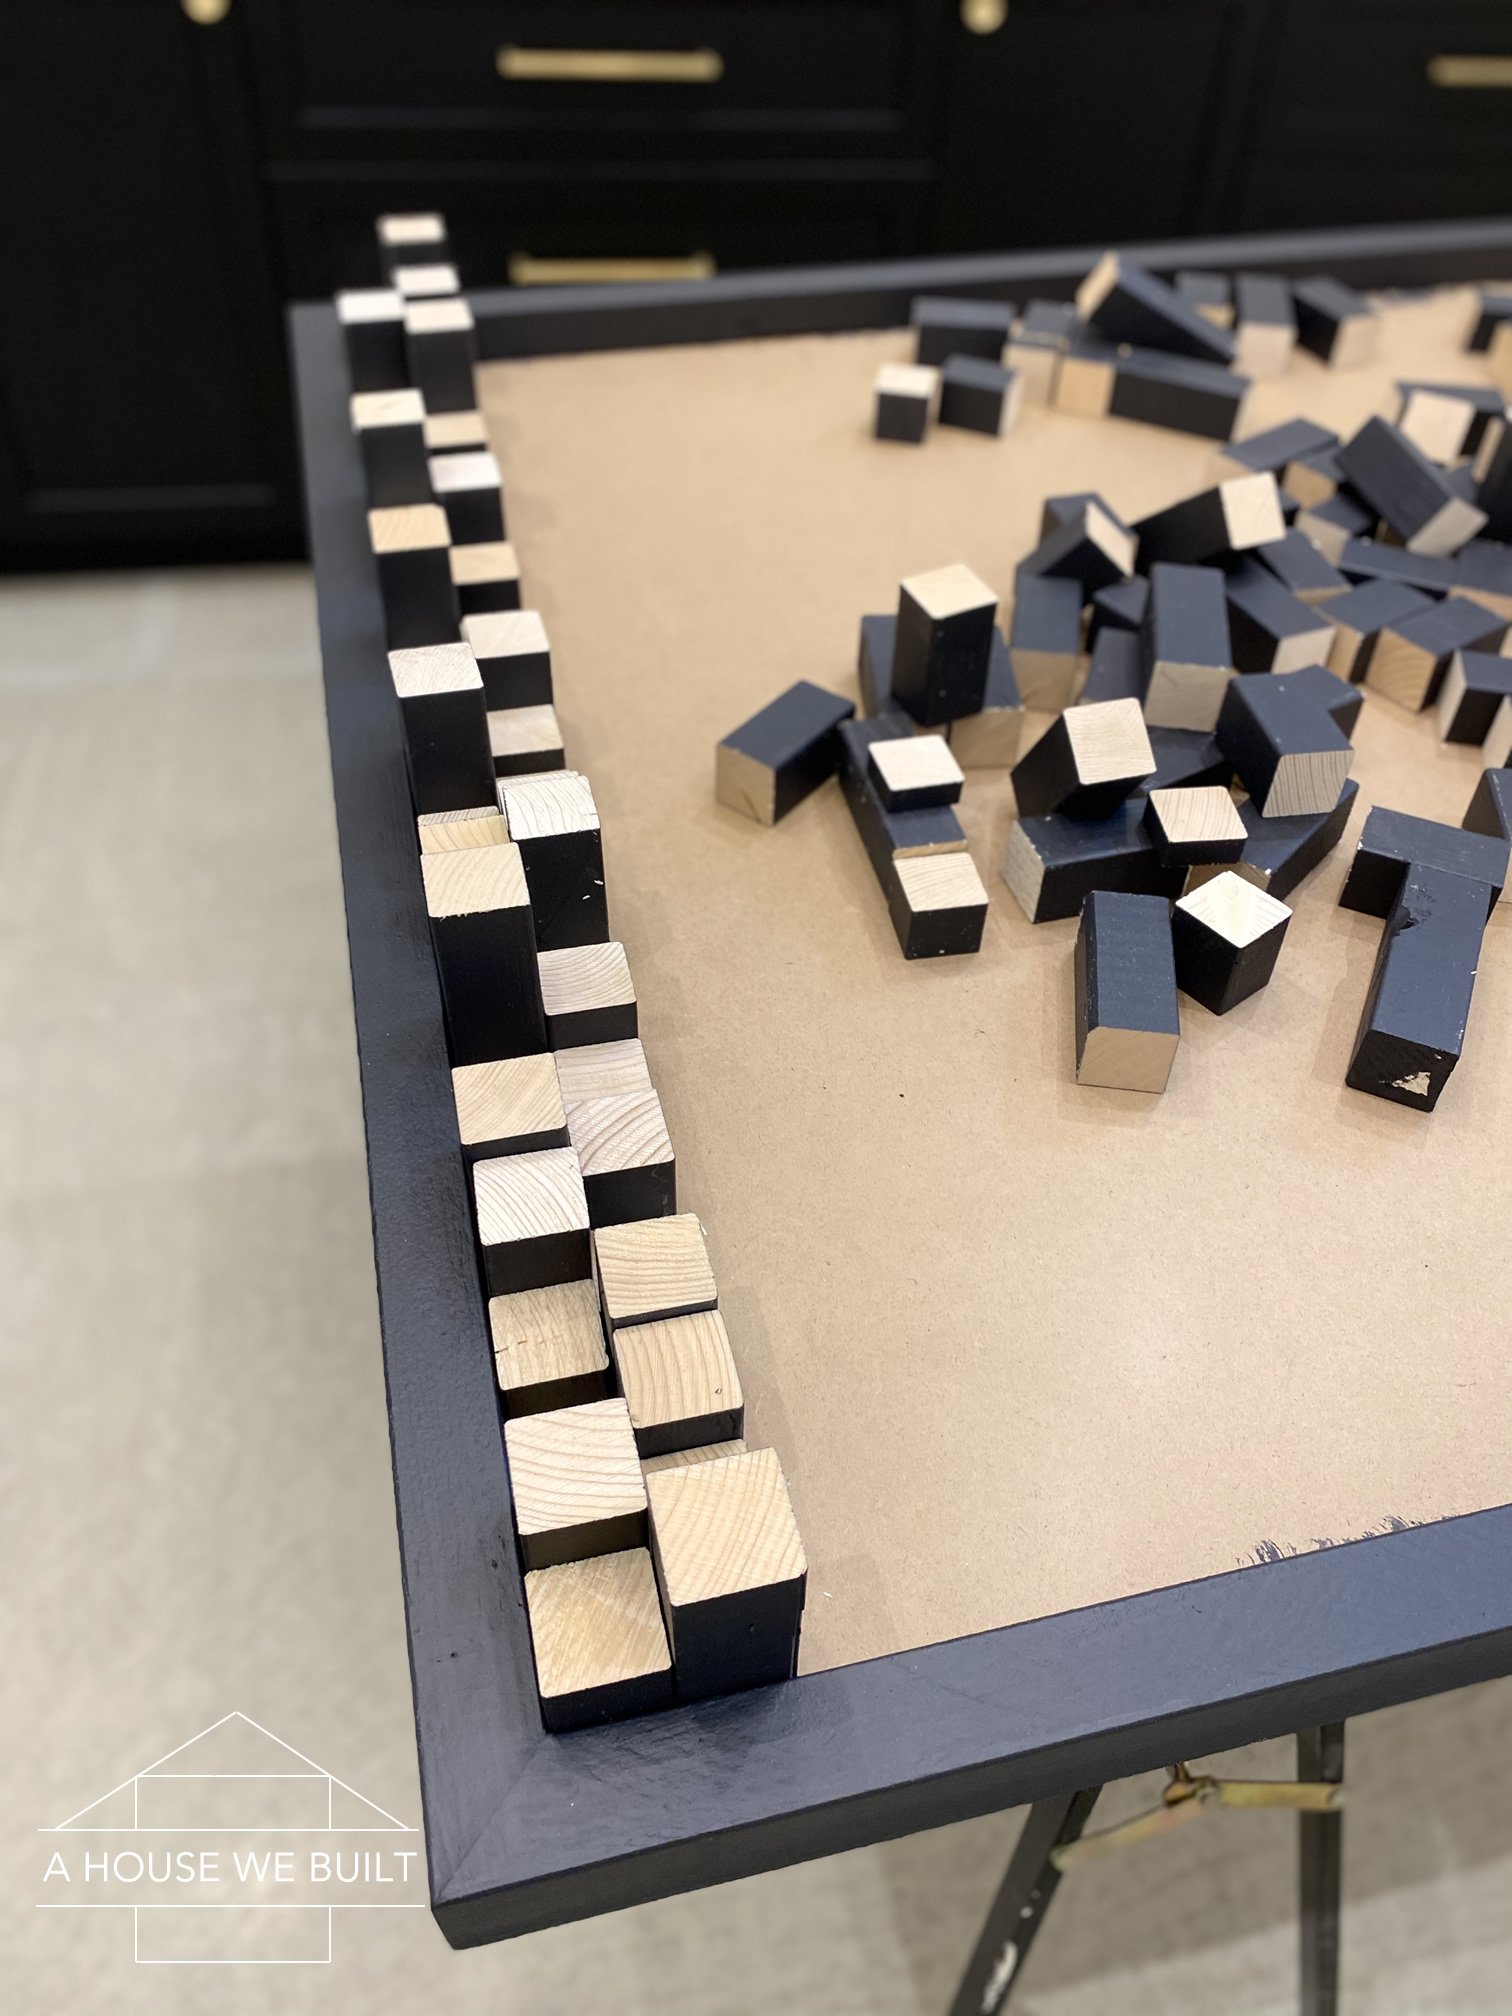
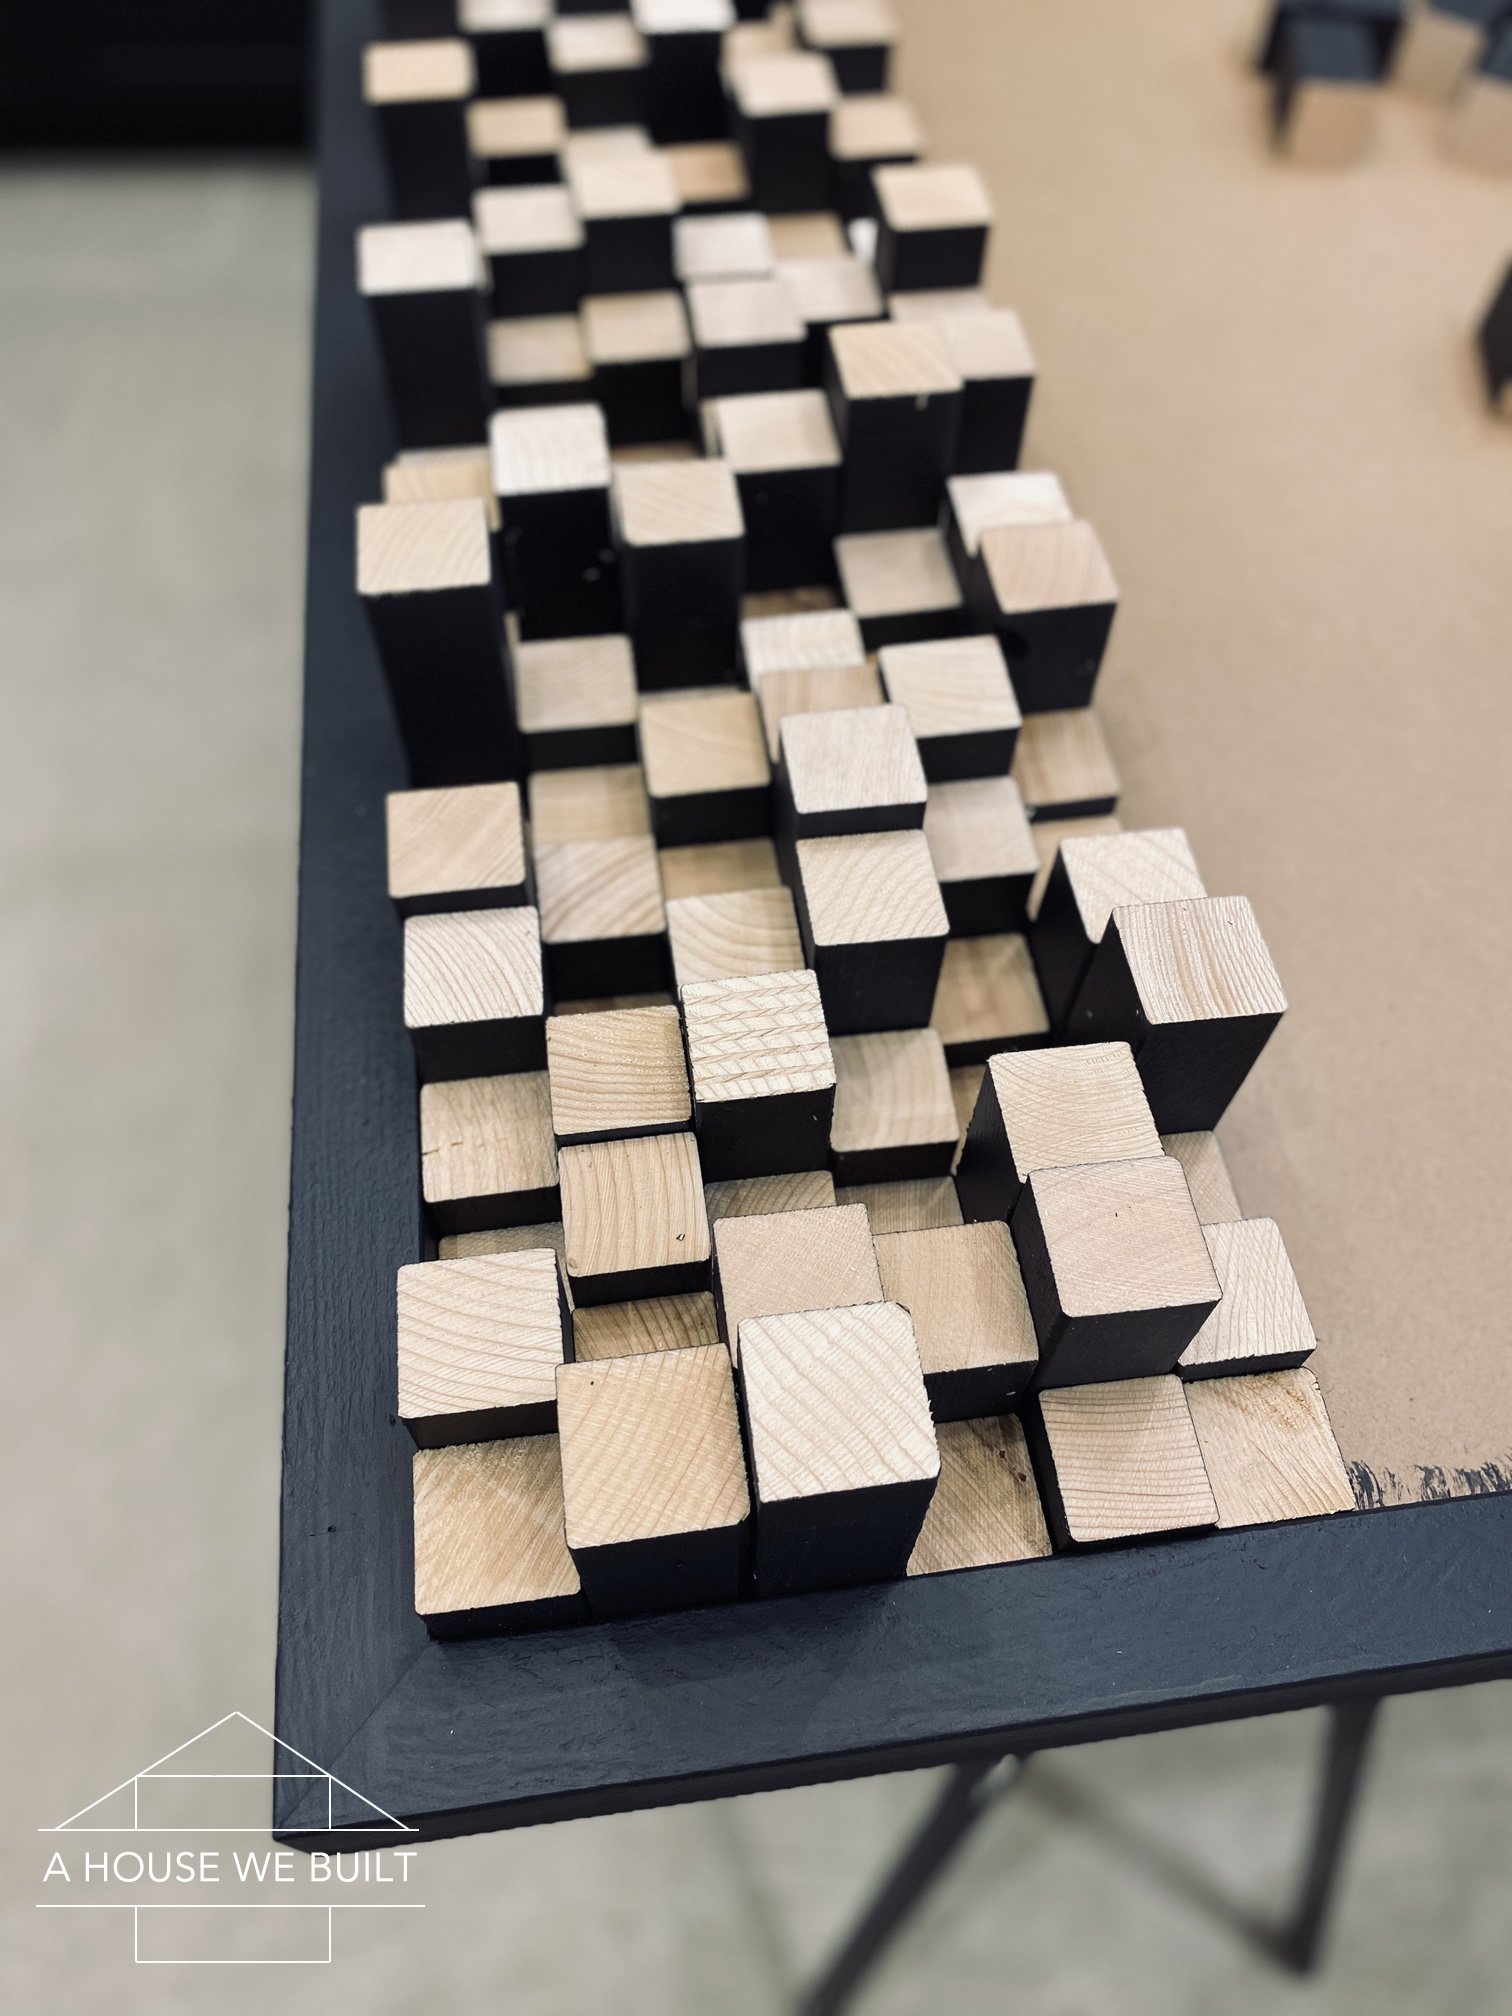
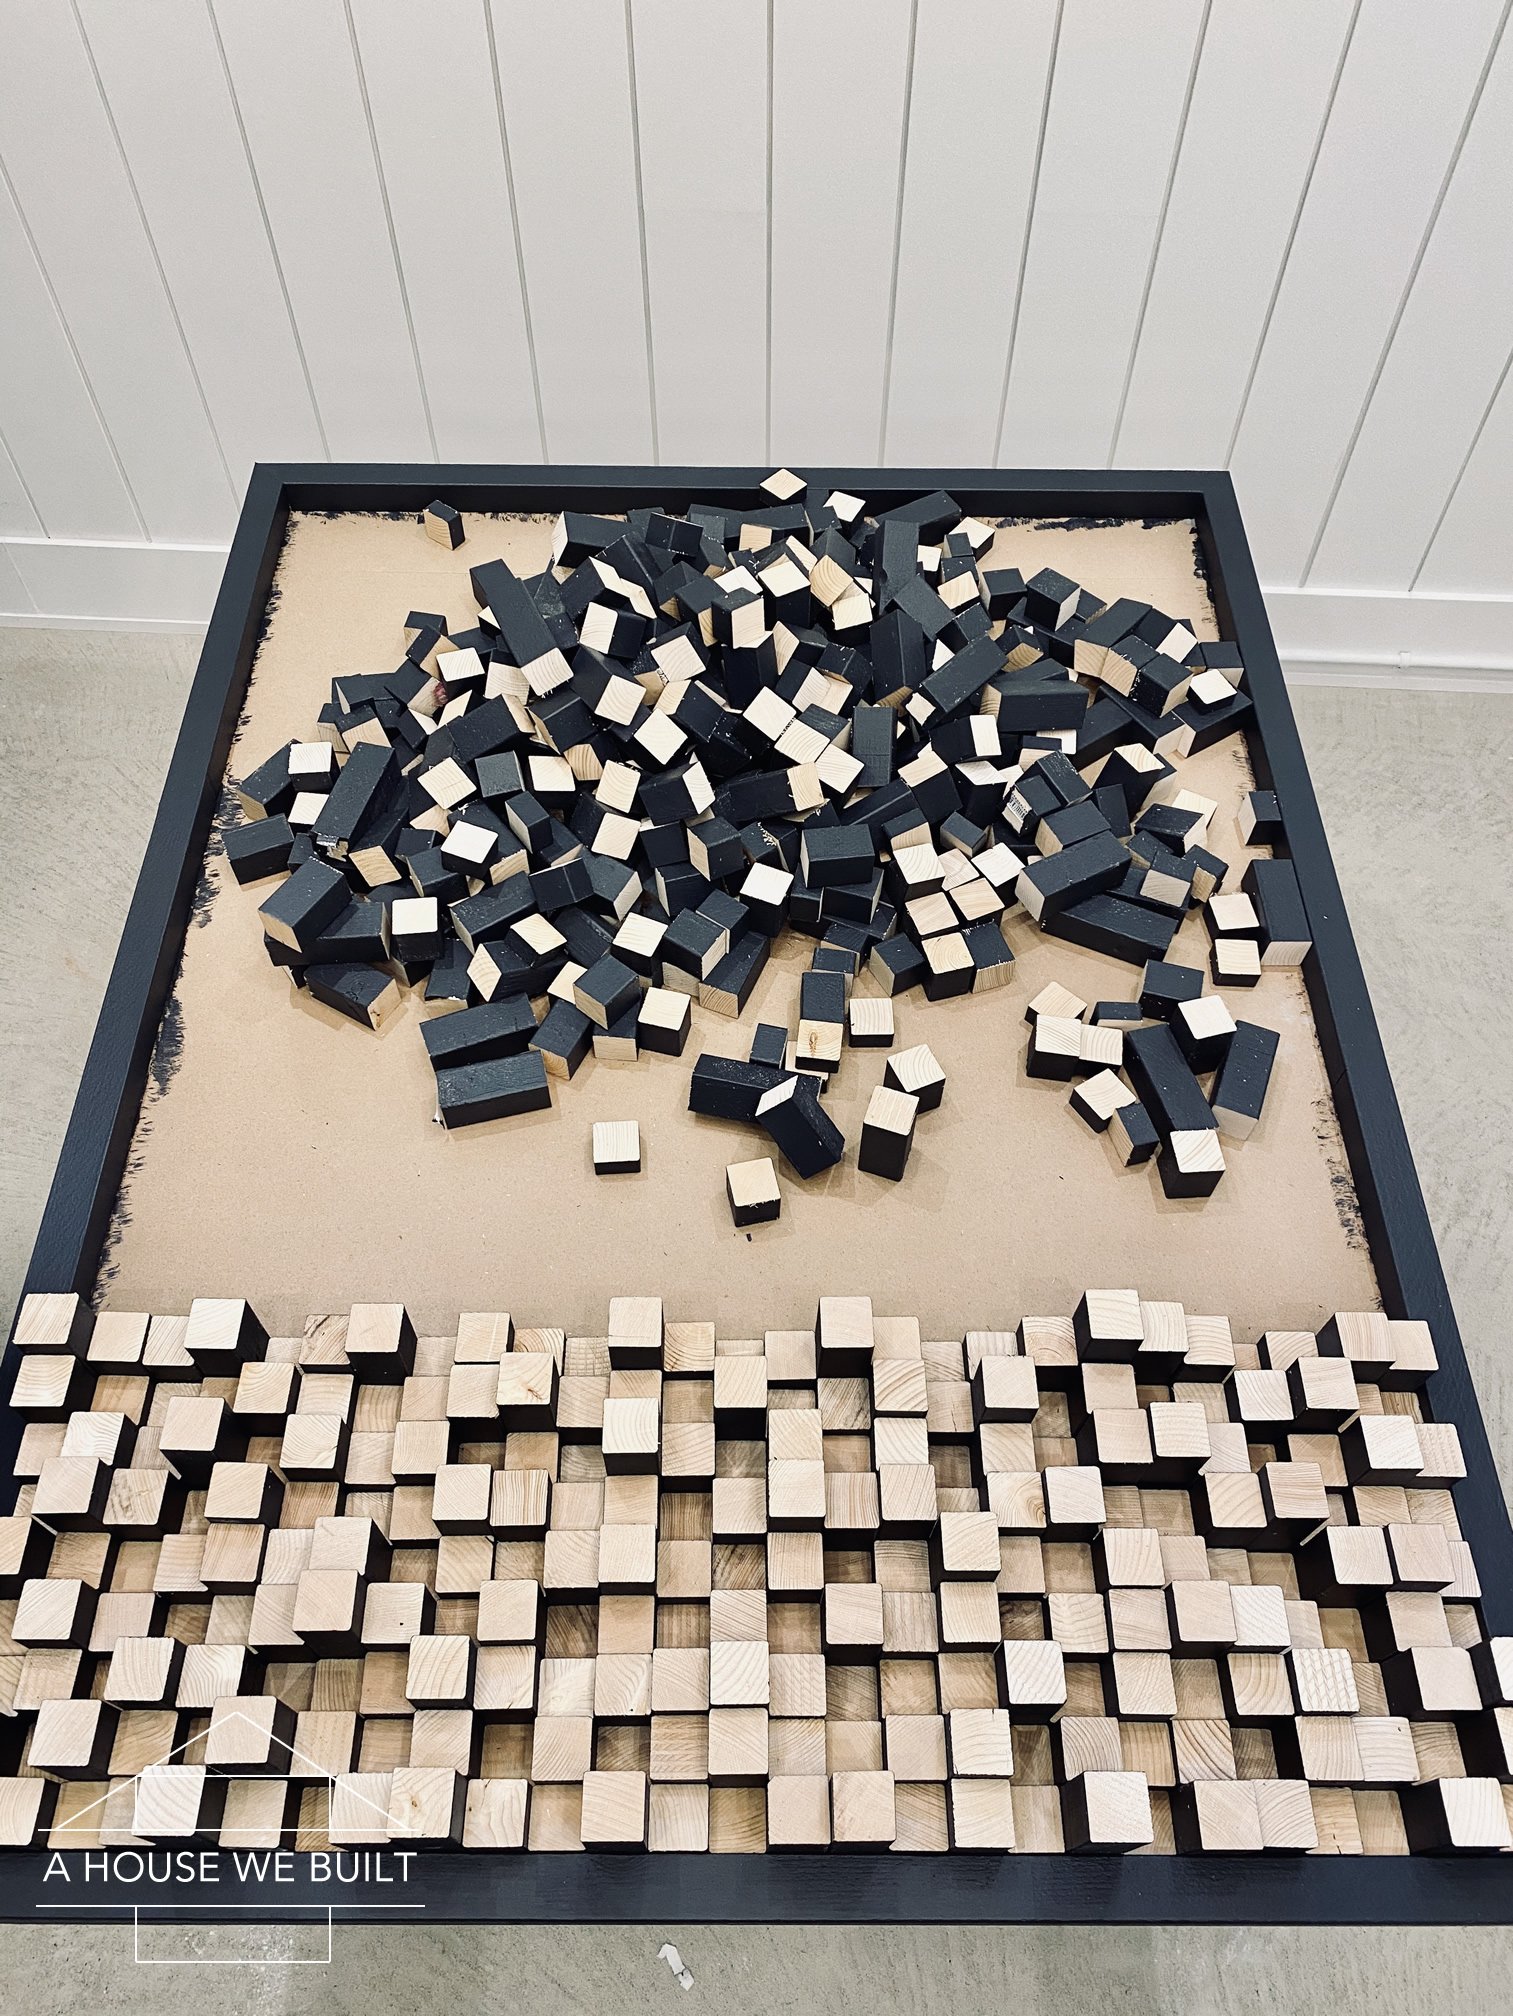
- Once your frame is fully dry, create the block art by placing blocks of varying lengths along one of the sides. There are no rules to art but the way I did it was that I created a random non-repeating pattern where each piece was a different size than the pieces all around it. I recommend doing the first few rows “dry” (without glue) just to get used to the process.
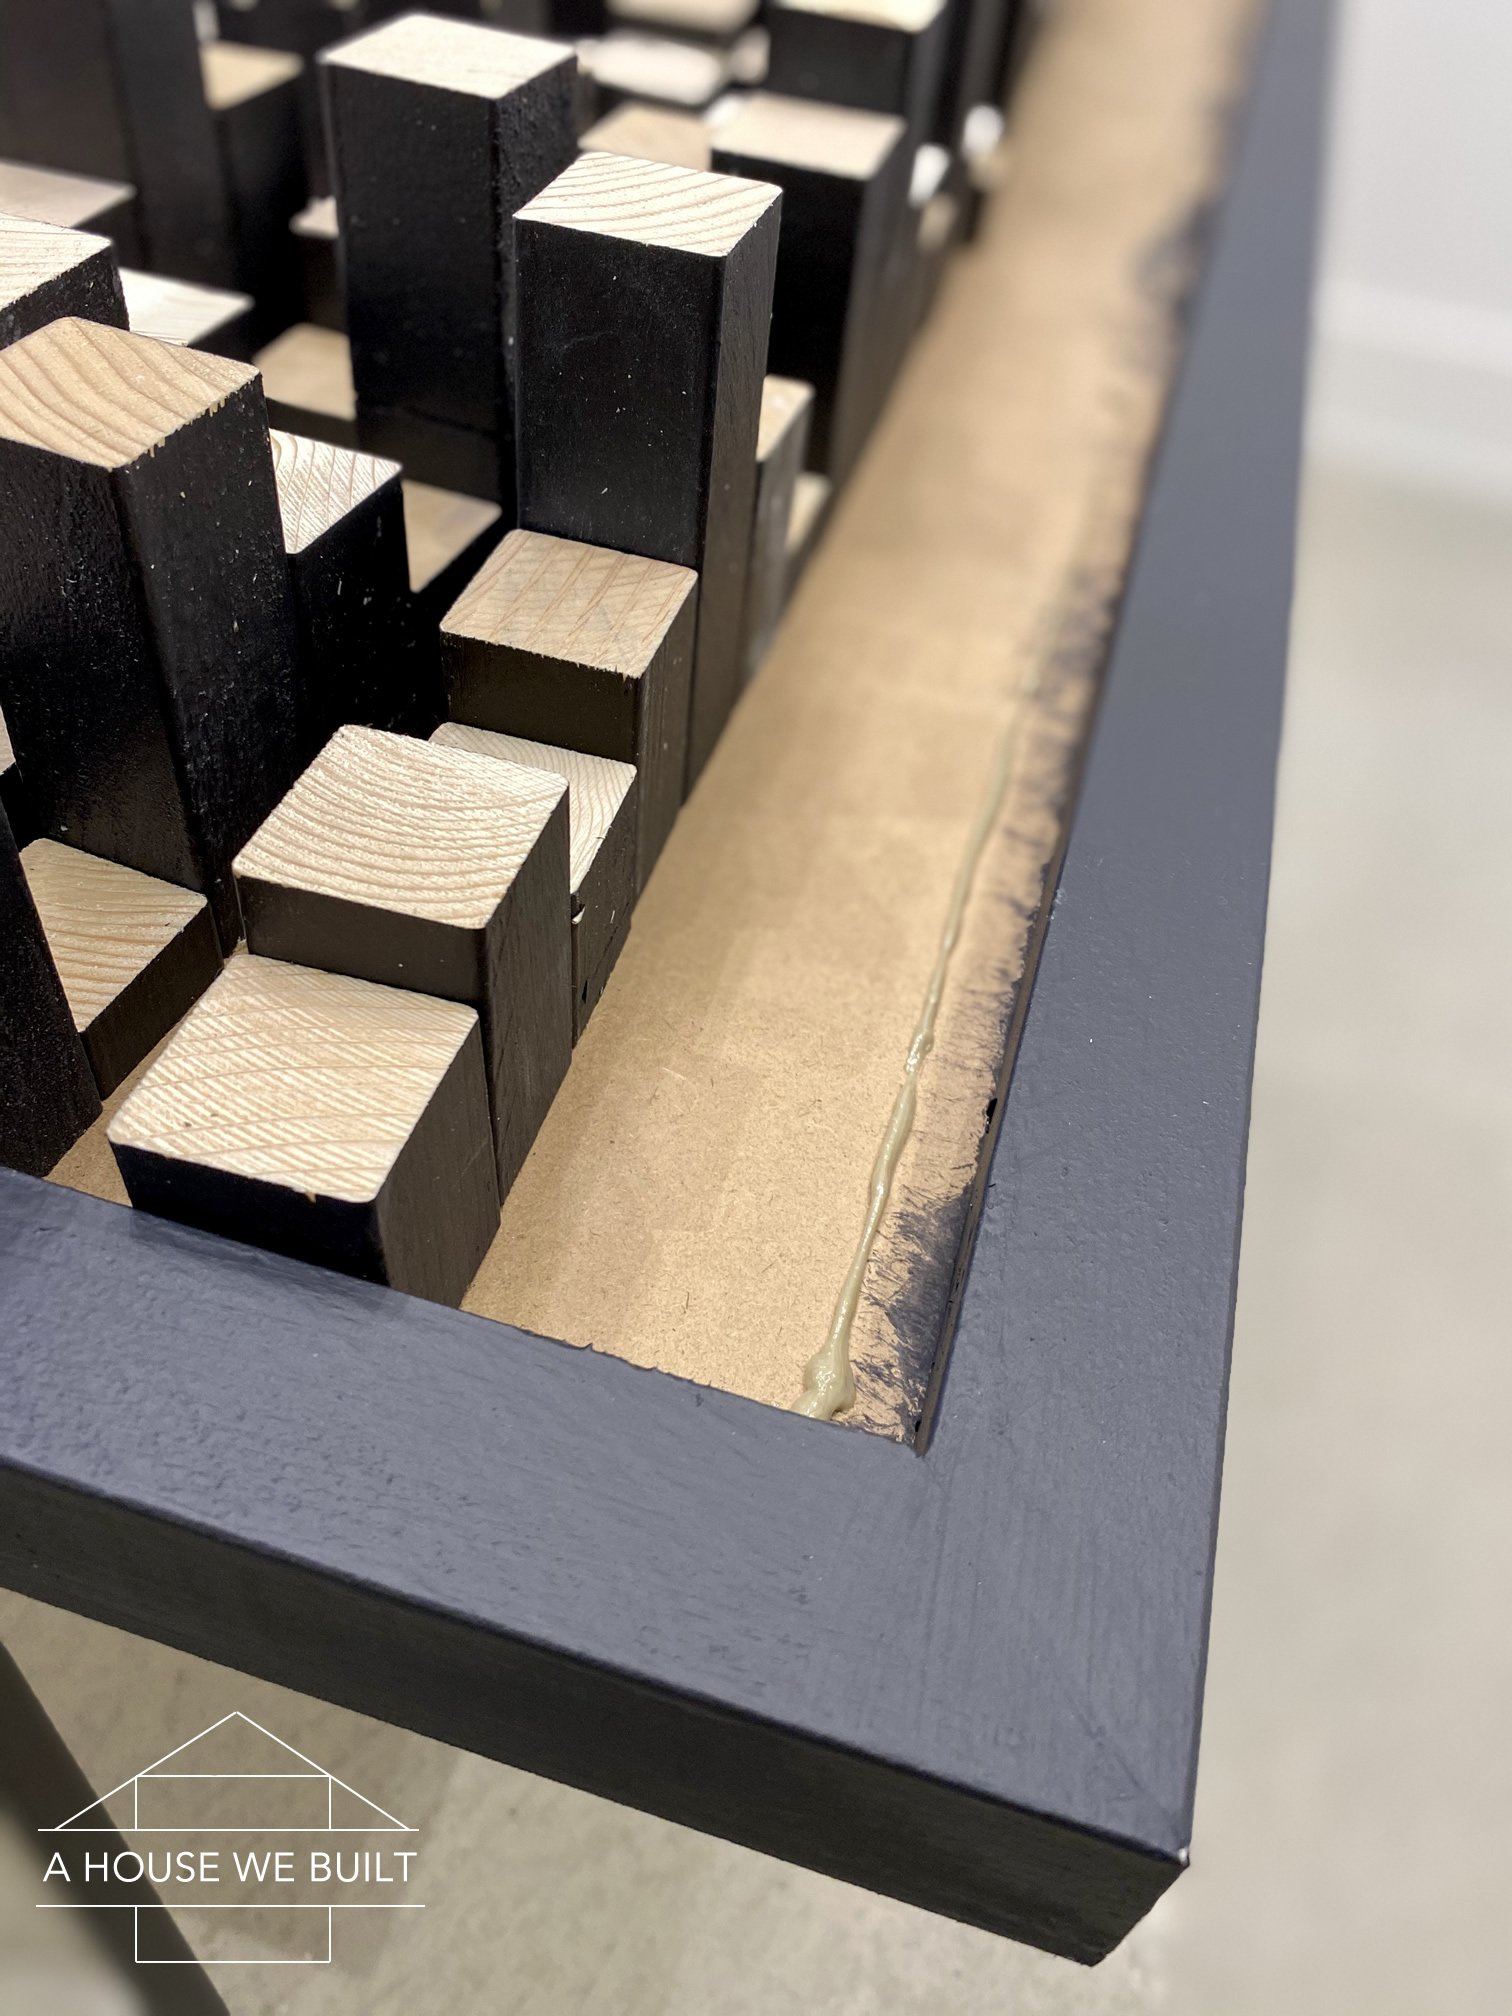
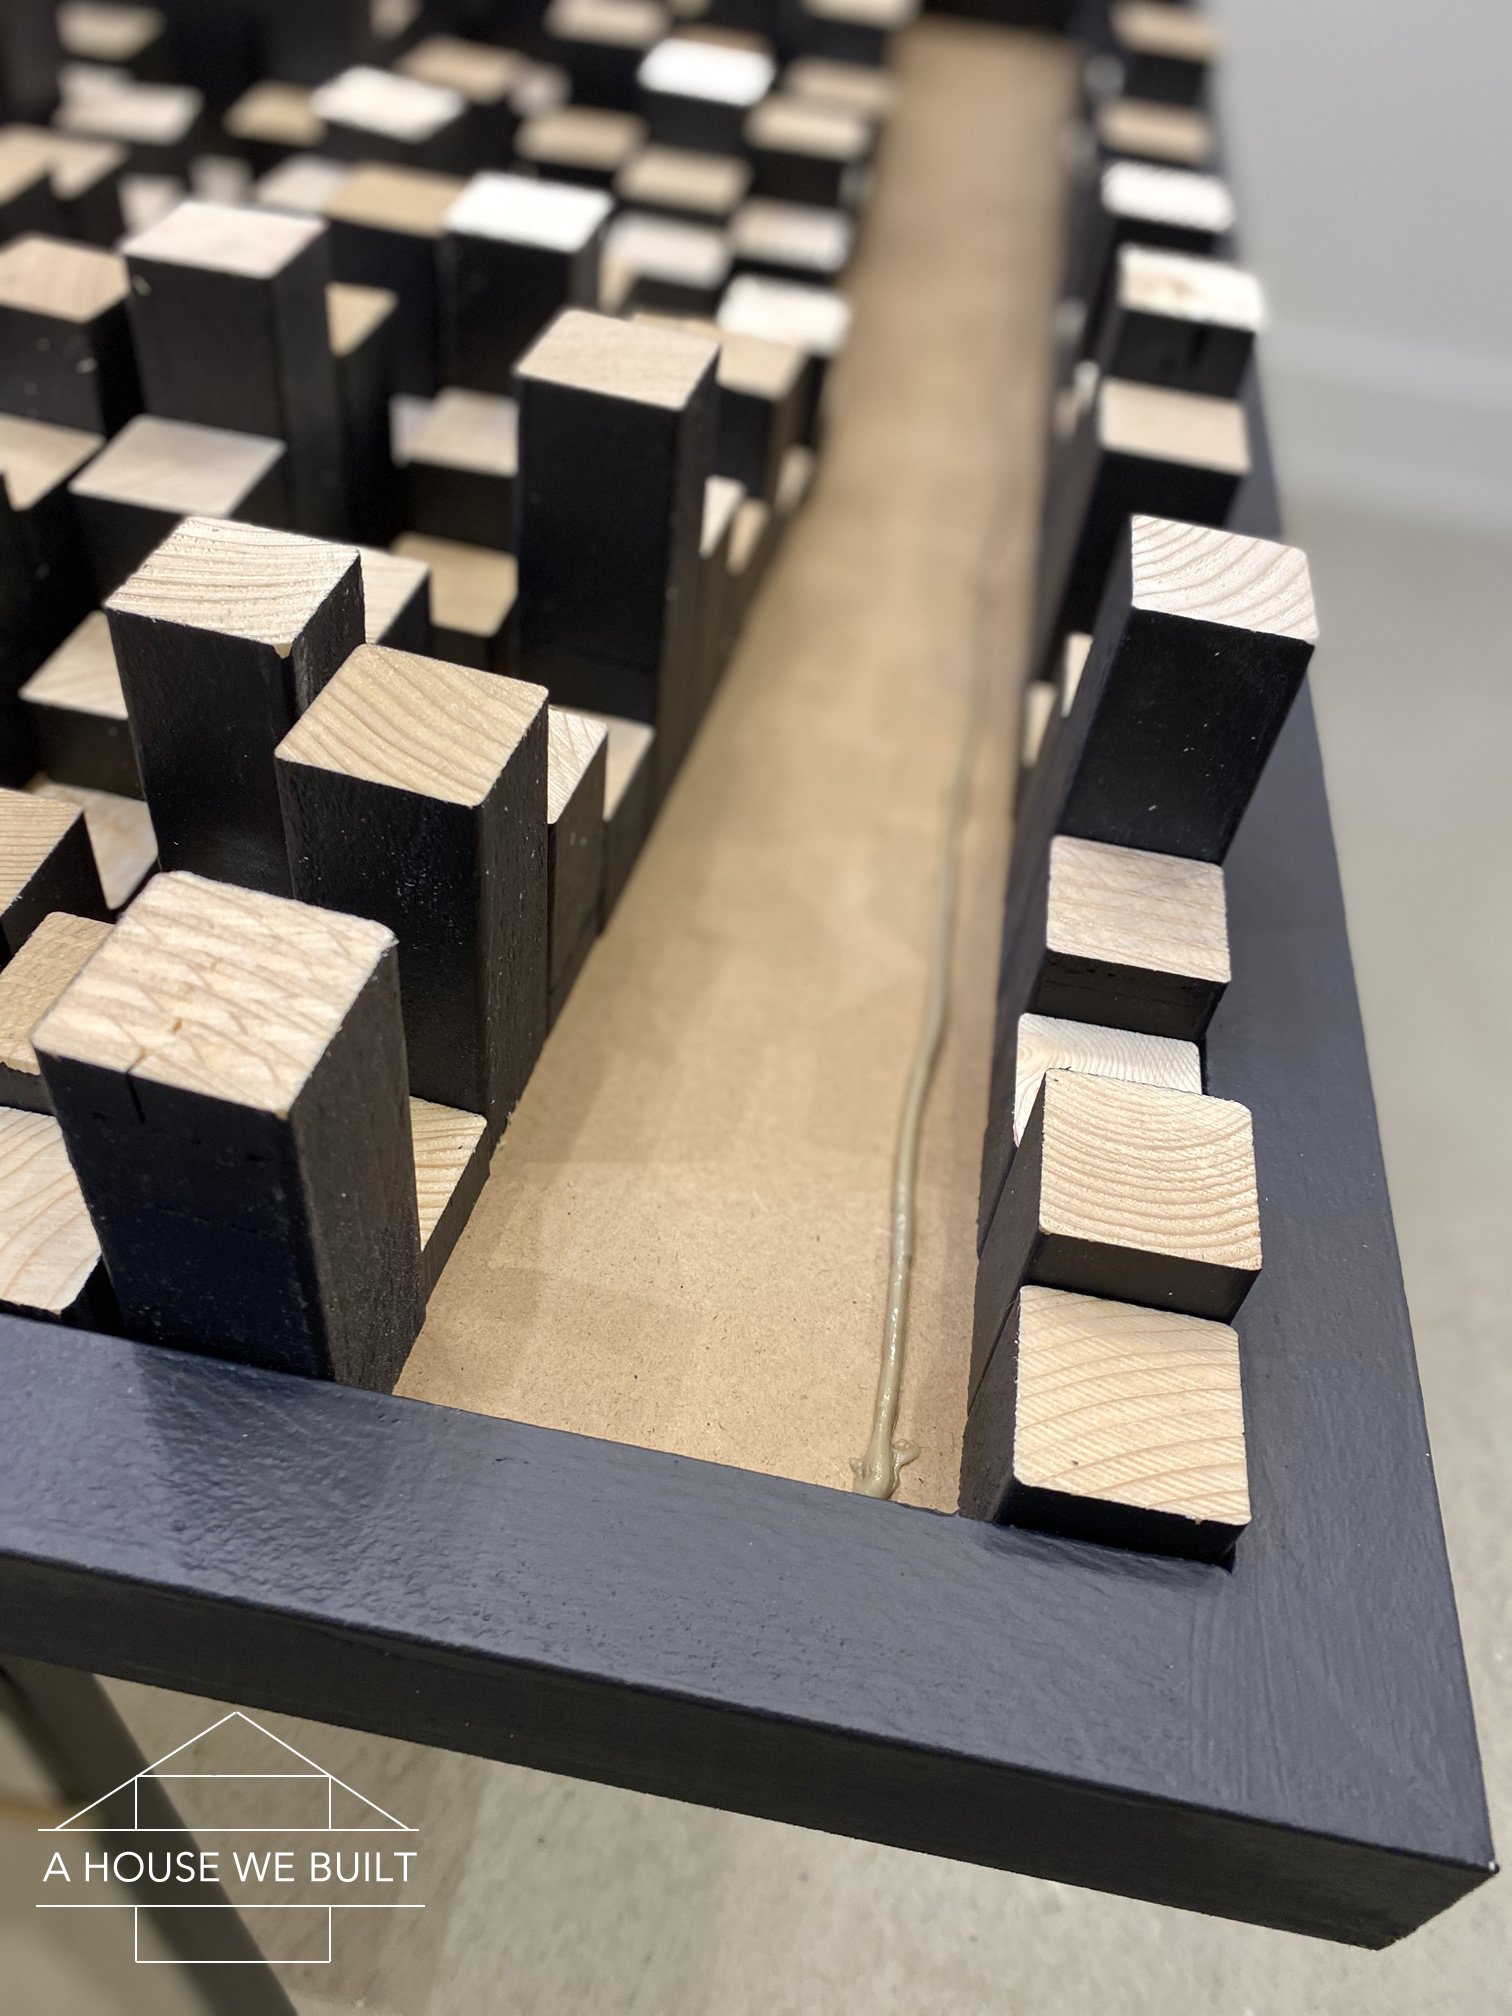
- Once you’ve gotten the hang of it, shift your pieces upward and begin to glue them into place. I just did one line of glue and pushed the blocks down into it. Keep building your way across the frame. I recommend doing one line at a time so that you can be sure all the blocks are perfectly aligned.
PHASE FOUR: COMPLETING & HANGING THE ART PIECE
Note: depending on how you decide to hang your art piece, the rest of the instructions may or may not apply to you. This art piece is very heavy and we chose to screw it directly into the studs on our wall (so we’re probably never going to take it down). If you have an alternate way of hanging it, then just build your blocks all the way to the top of the frame, allow the glue to fully cure, and hang it however you choose. But if you want to hang it the same way we did, then continue to follow the rest of these instructions.
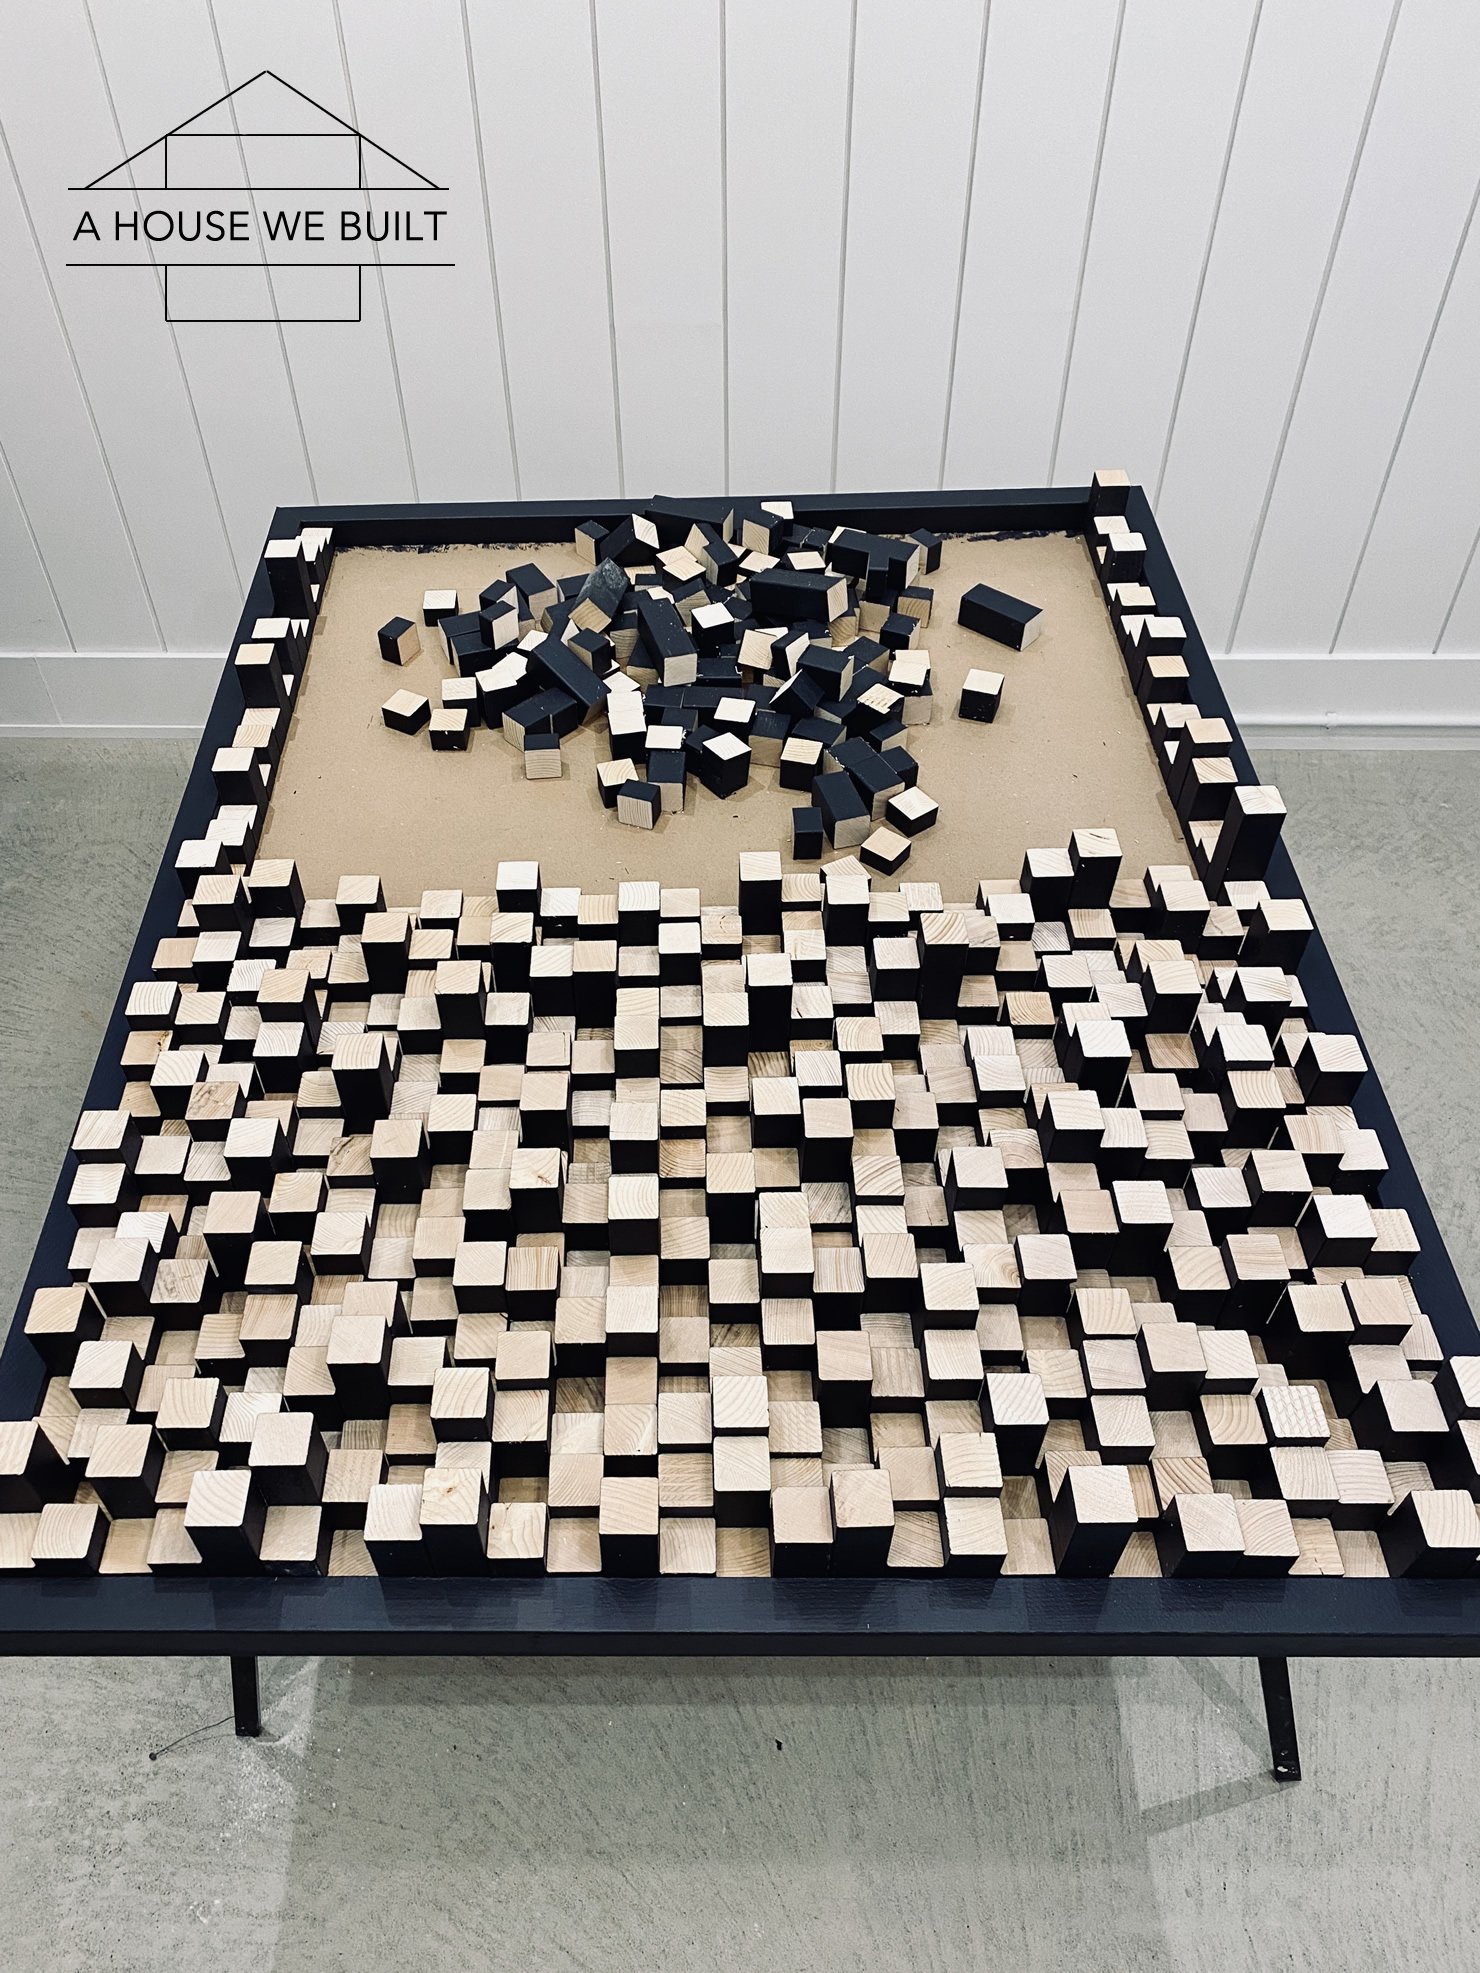
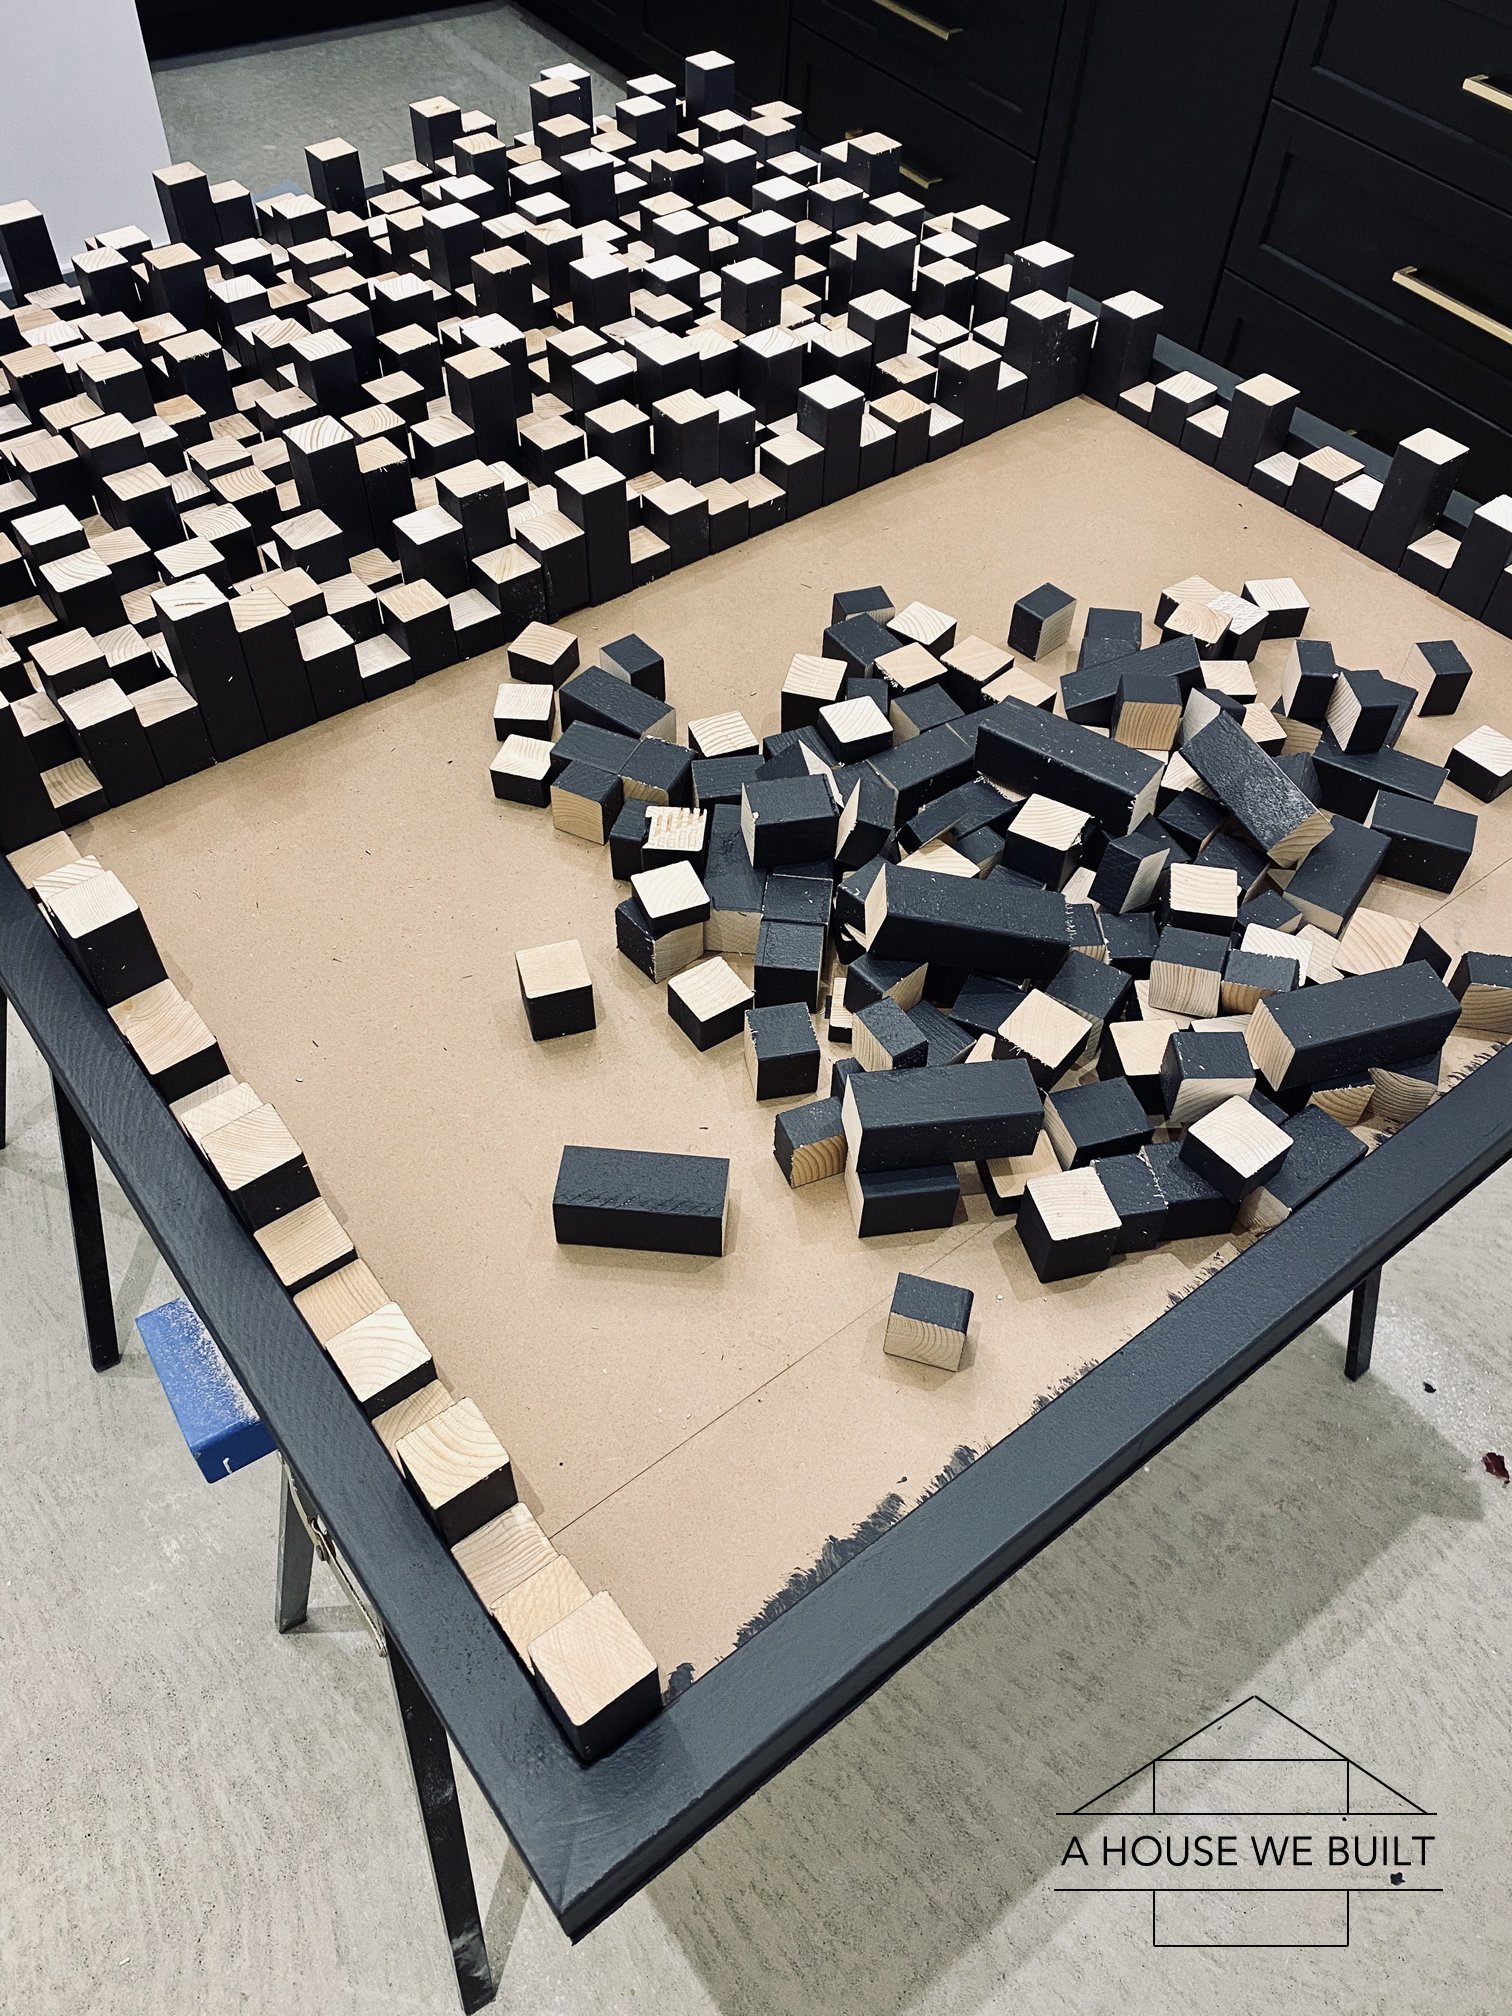
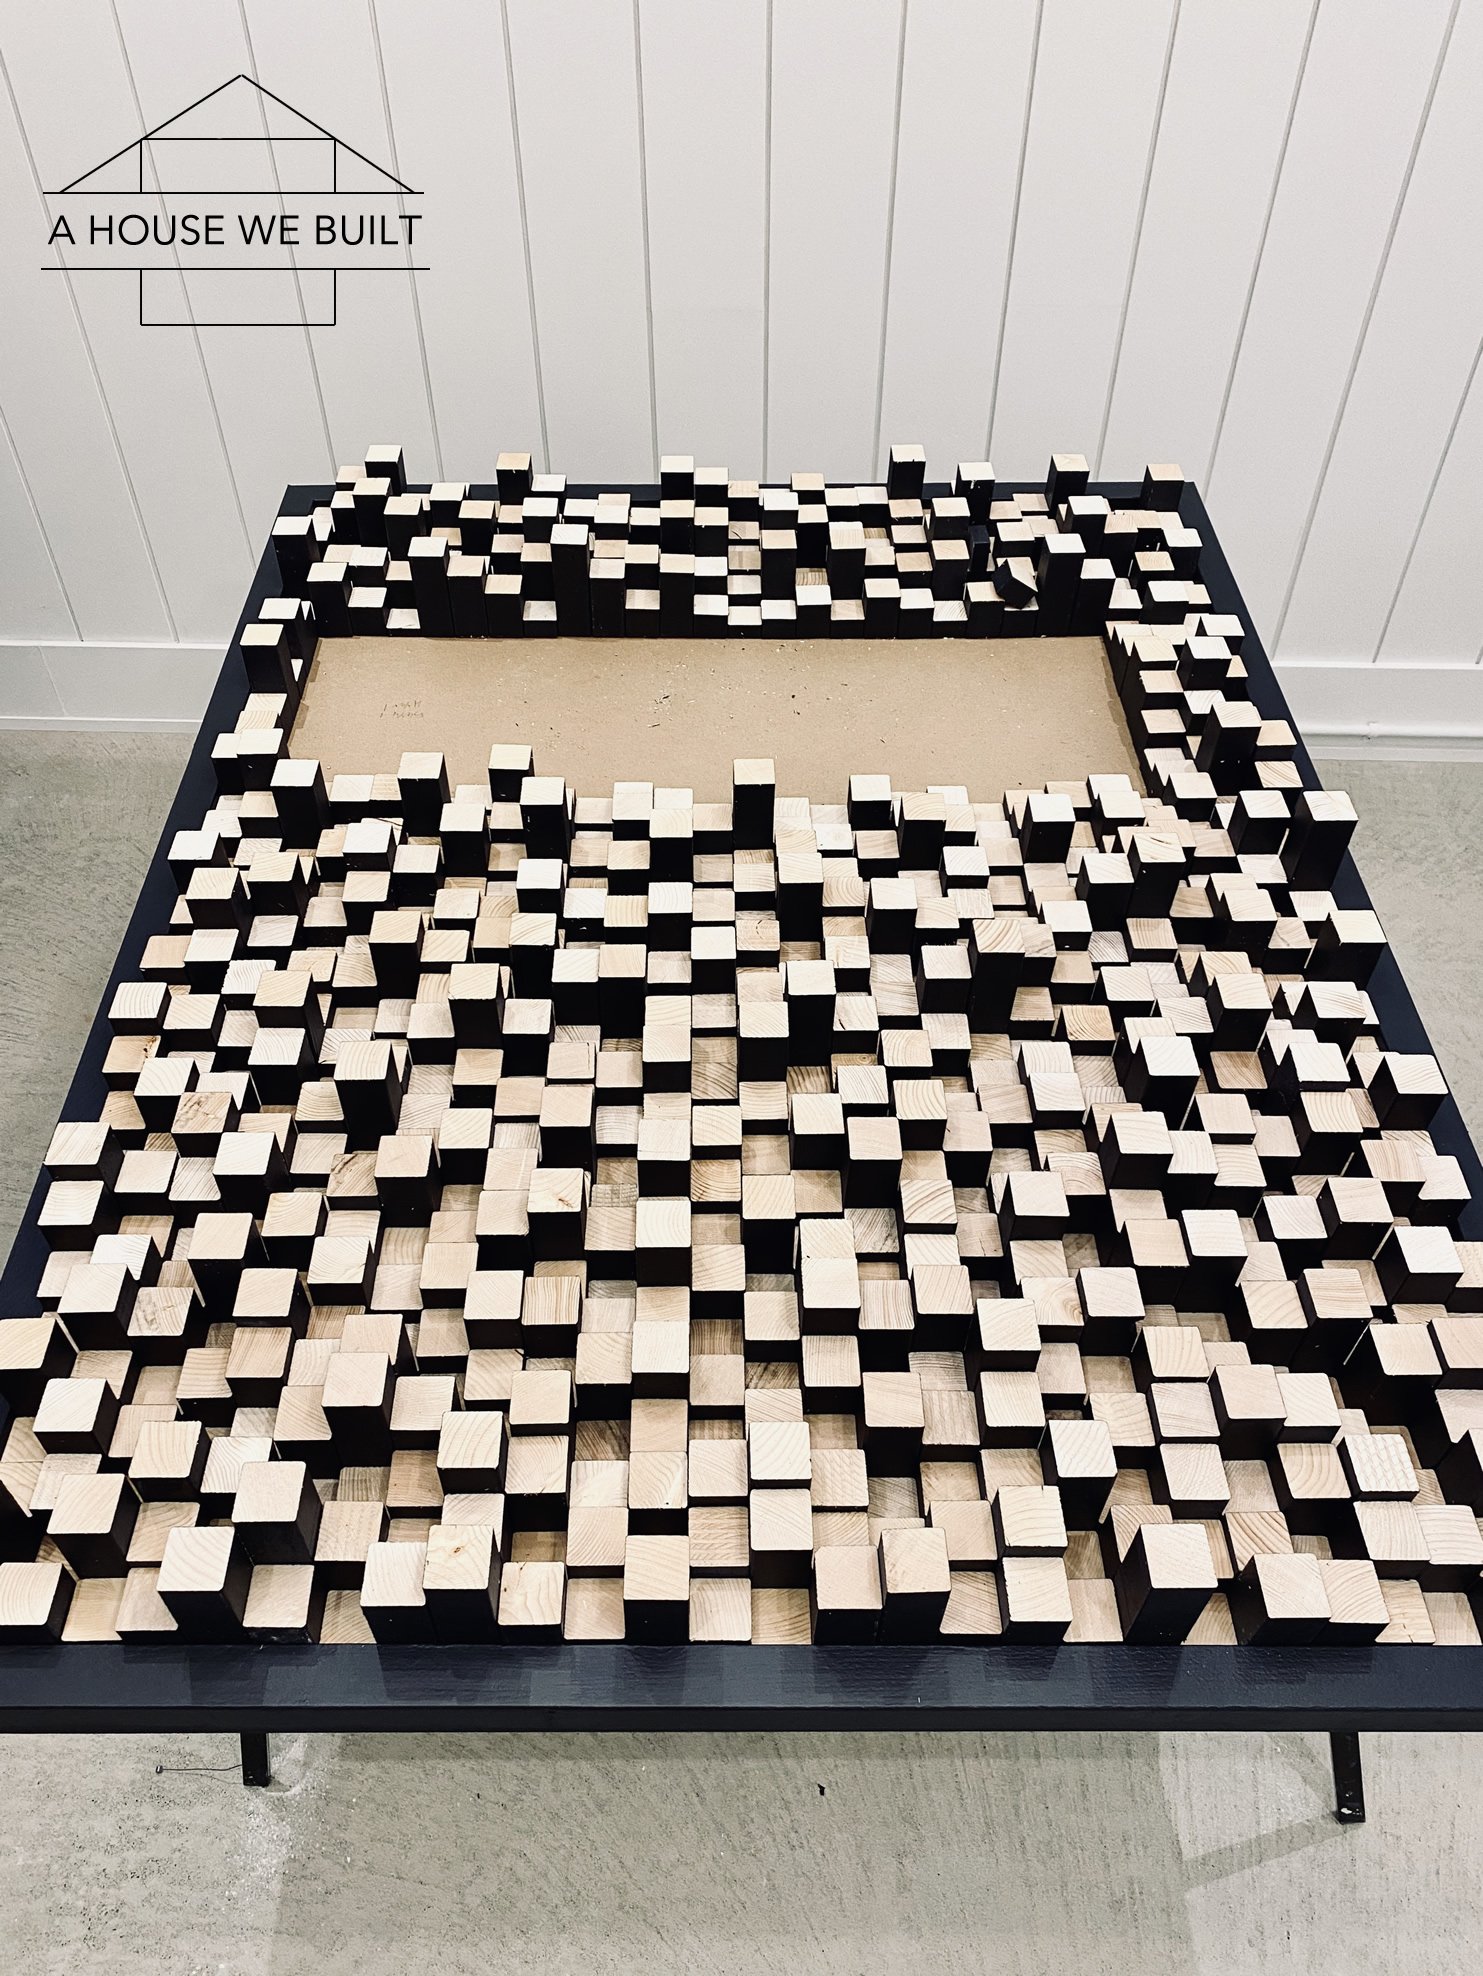
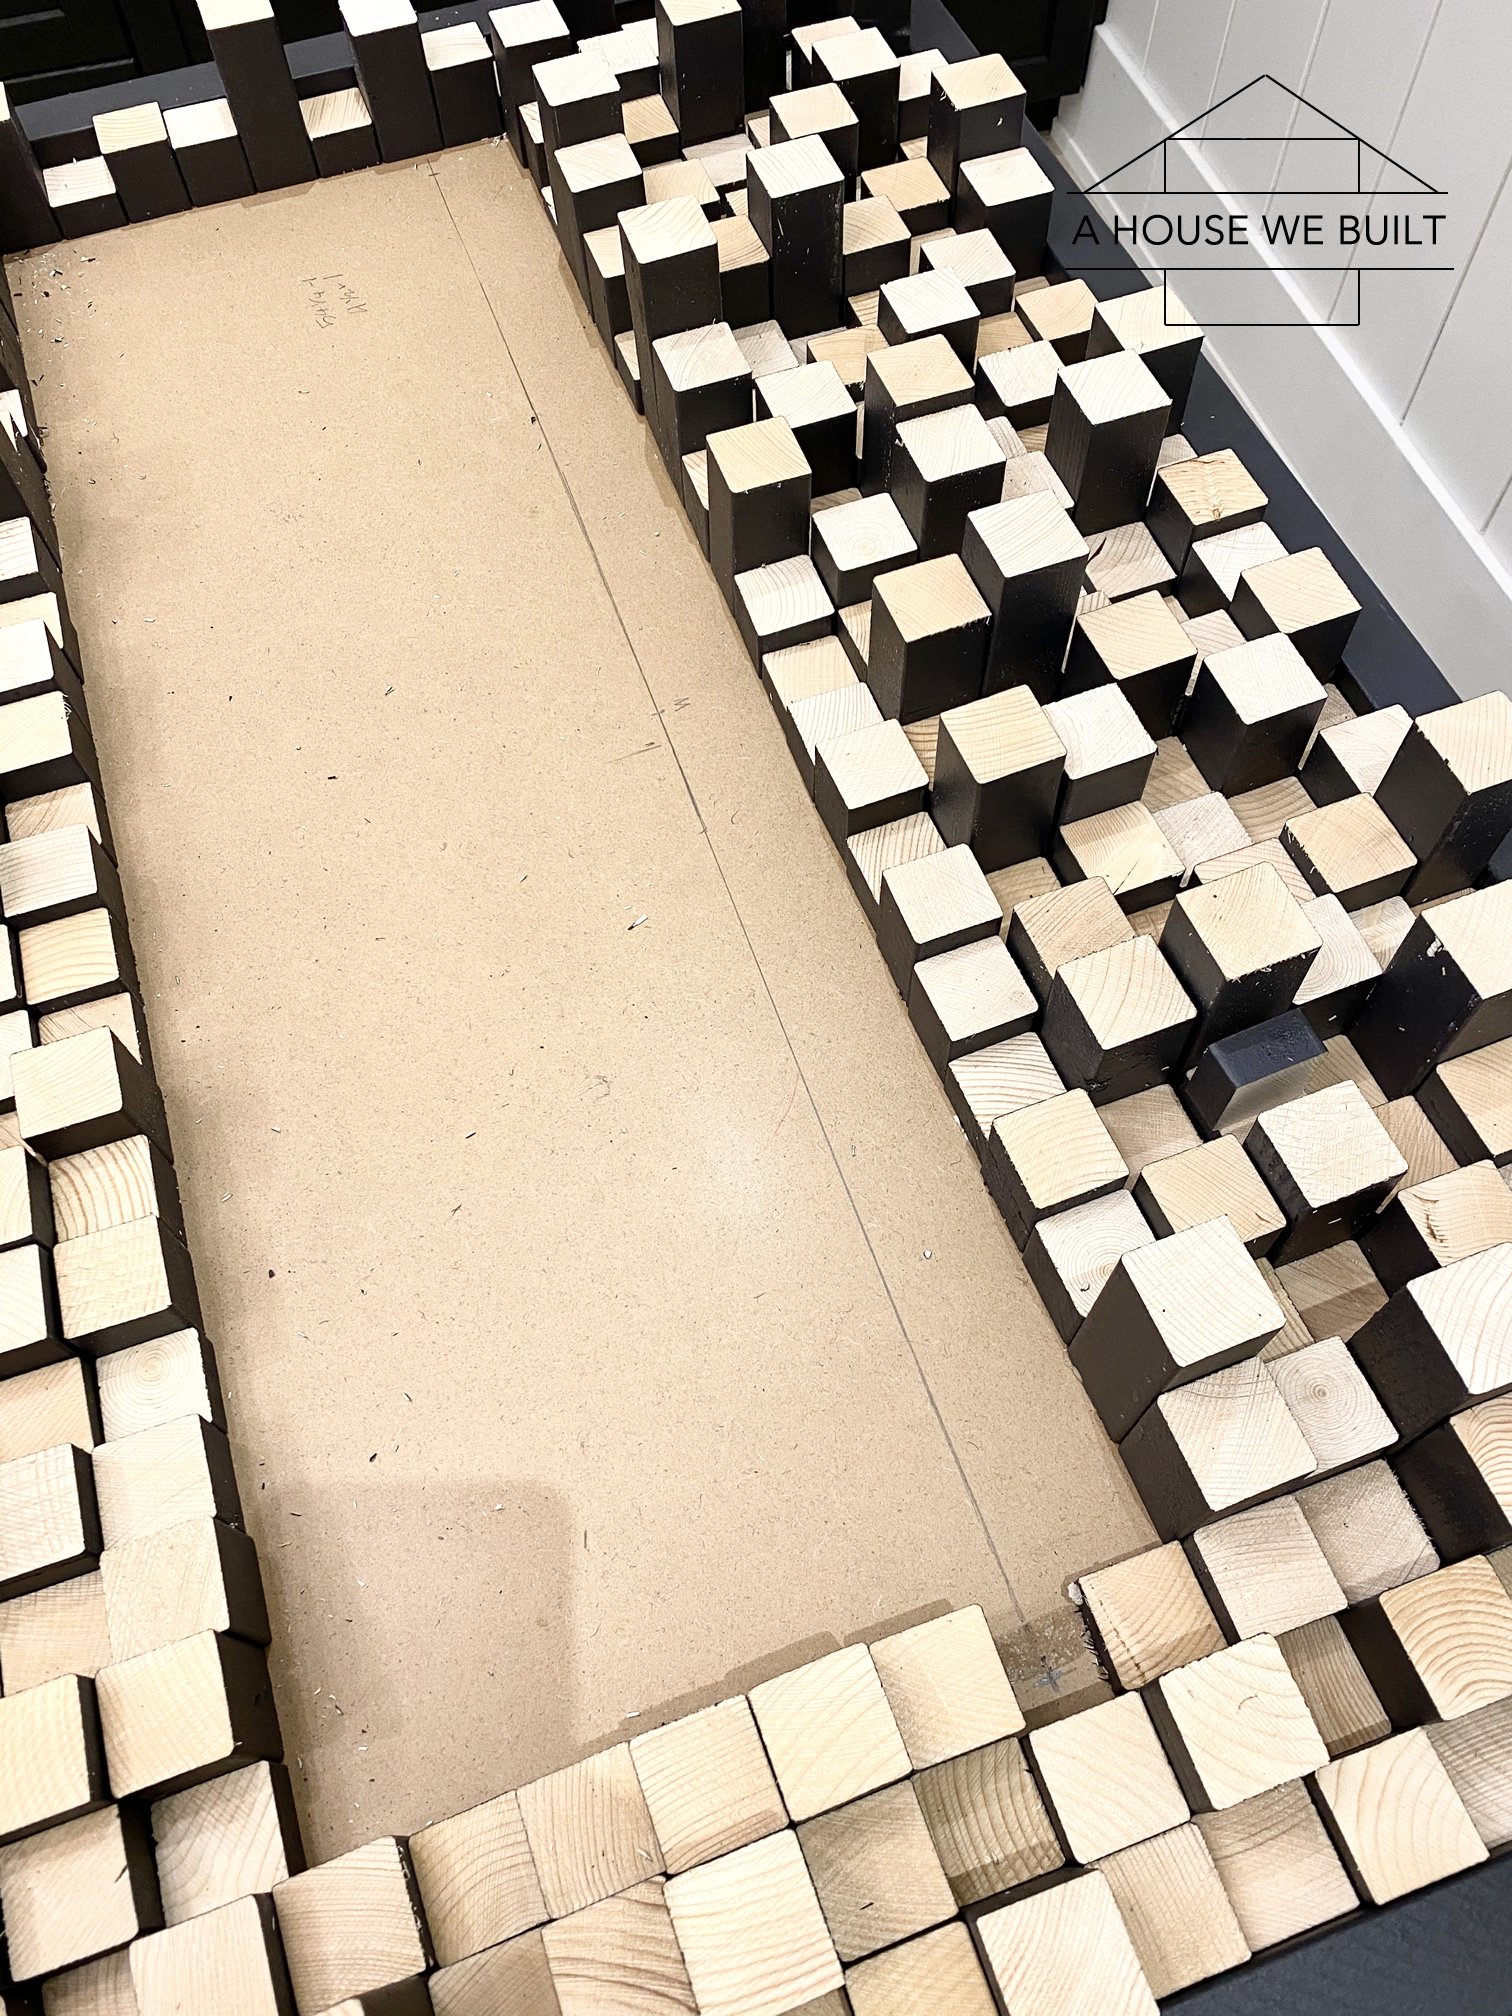
- Build the block art about 3/4 of the way up the frame, then stop. Fill in 1-2 rows up to the top on the far left and right sides, then do a couple rows down from the top. This will create an open space in the middle without blocks that you can use to secure the art piece to the wall from behind the blocks where it can’t be seen.
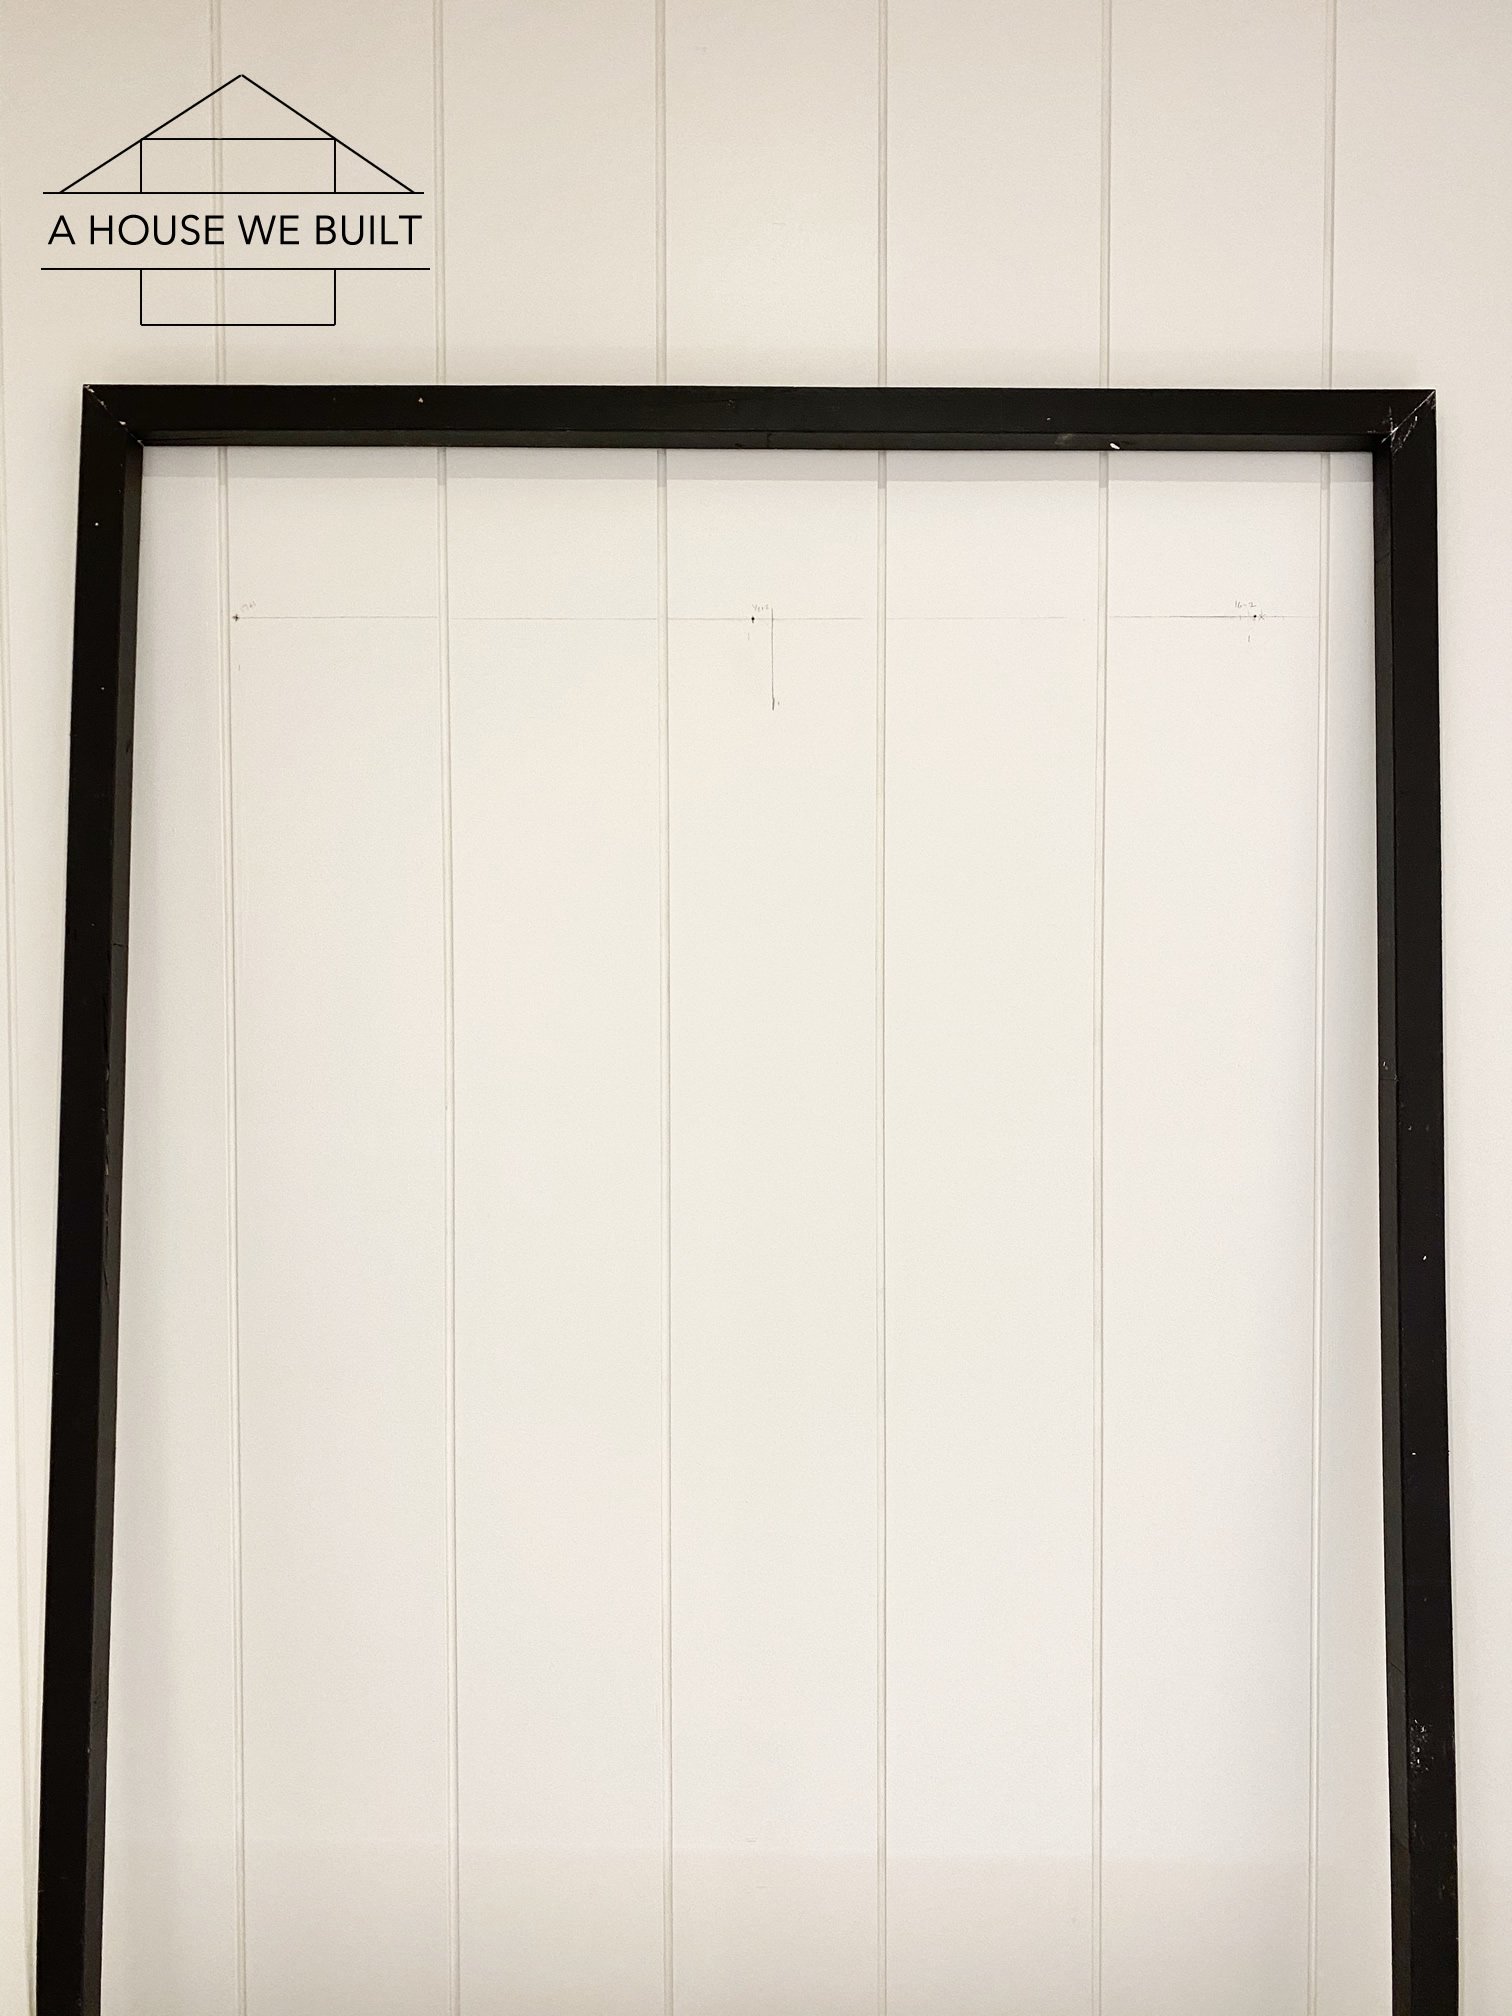
- I then created a “template frame” of the same size as my art piece using extra 2x2s because that helped me determine exactly where on the wall I wanted to hang it. Then we located the studs, calculated where they’d fall on the art frame, and pre-drilled holes for the screws. We were able to get 3 screws directly into studs behind the blocks. Then we filled in the rest of the blocks around the screw holes leaving only the last few pieces off.
- Then, before the glue had a chance to cure (giving us more flexibility in case we needed to make adjustments), we hoisted the art piece into place, screwed it into the studs, and filled in the last remaining blocks.
- We also added one more screw at the bottom middle right through the frame into the stud just for good measure (seriously, this piece is hefty!!). We counter sunk the screw into the frame just a little so I wood-fillered and painted over it to hide the hole.
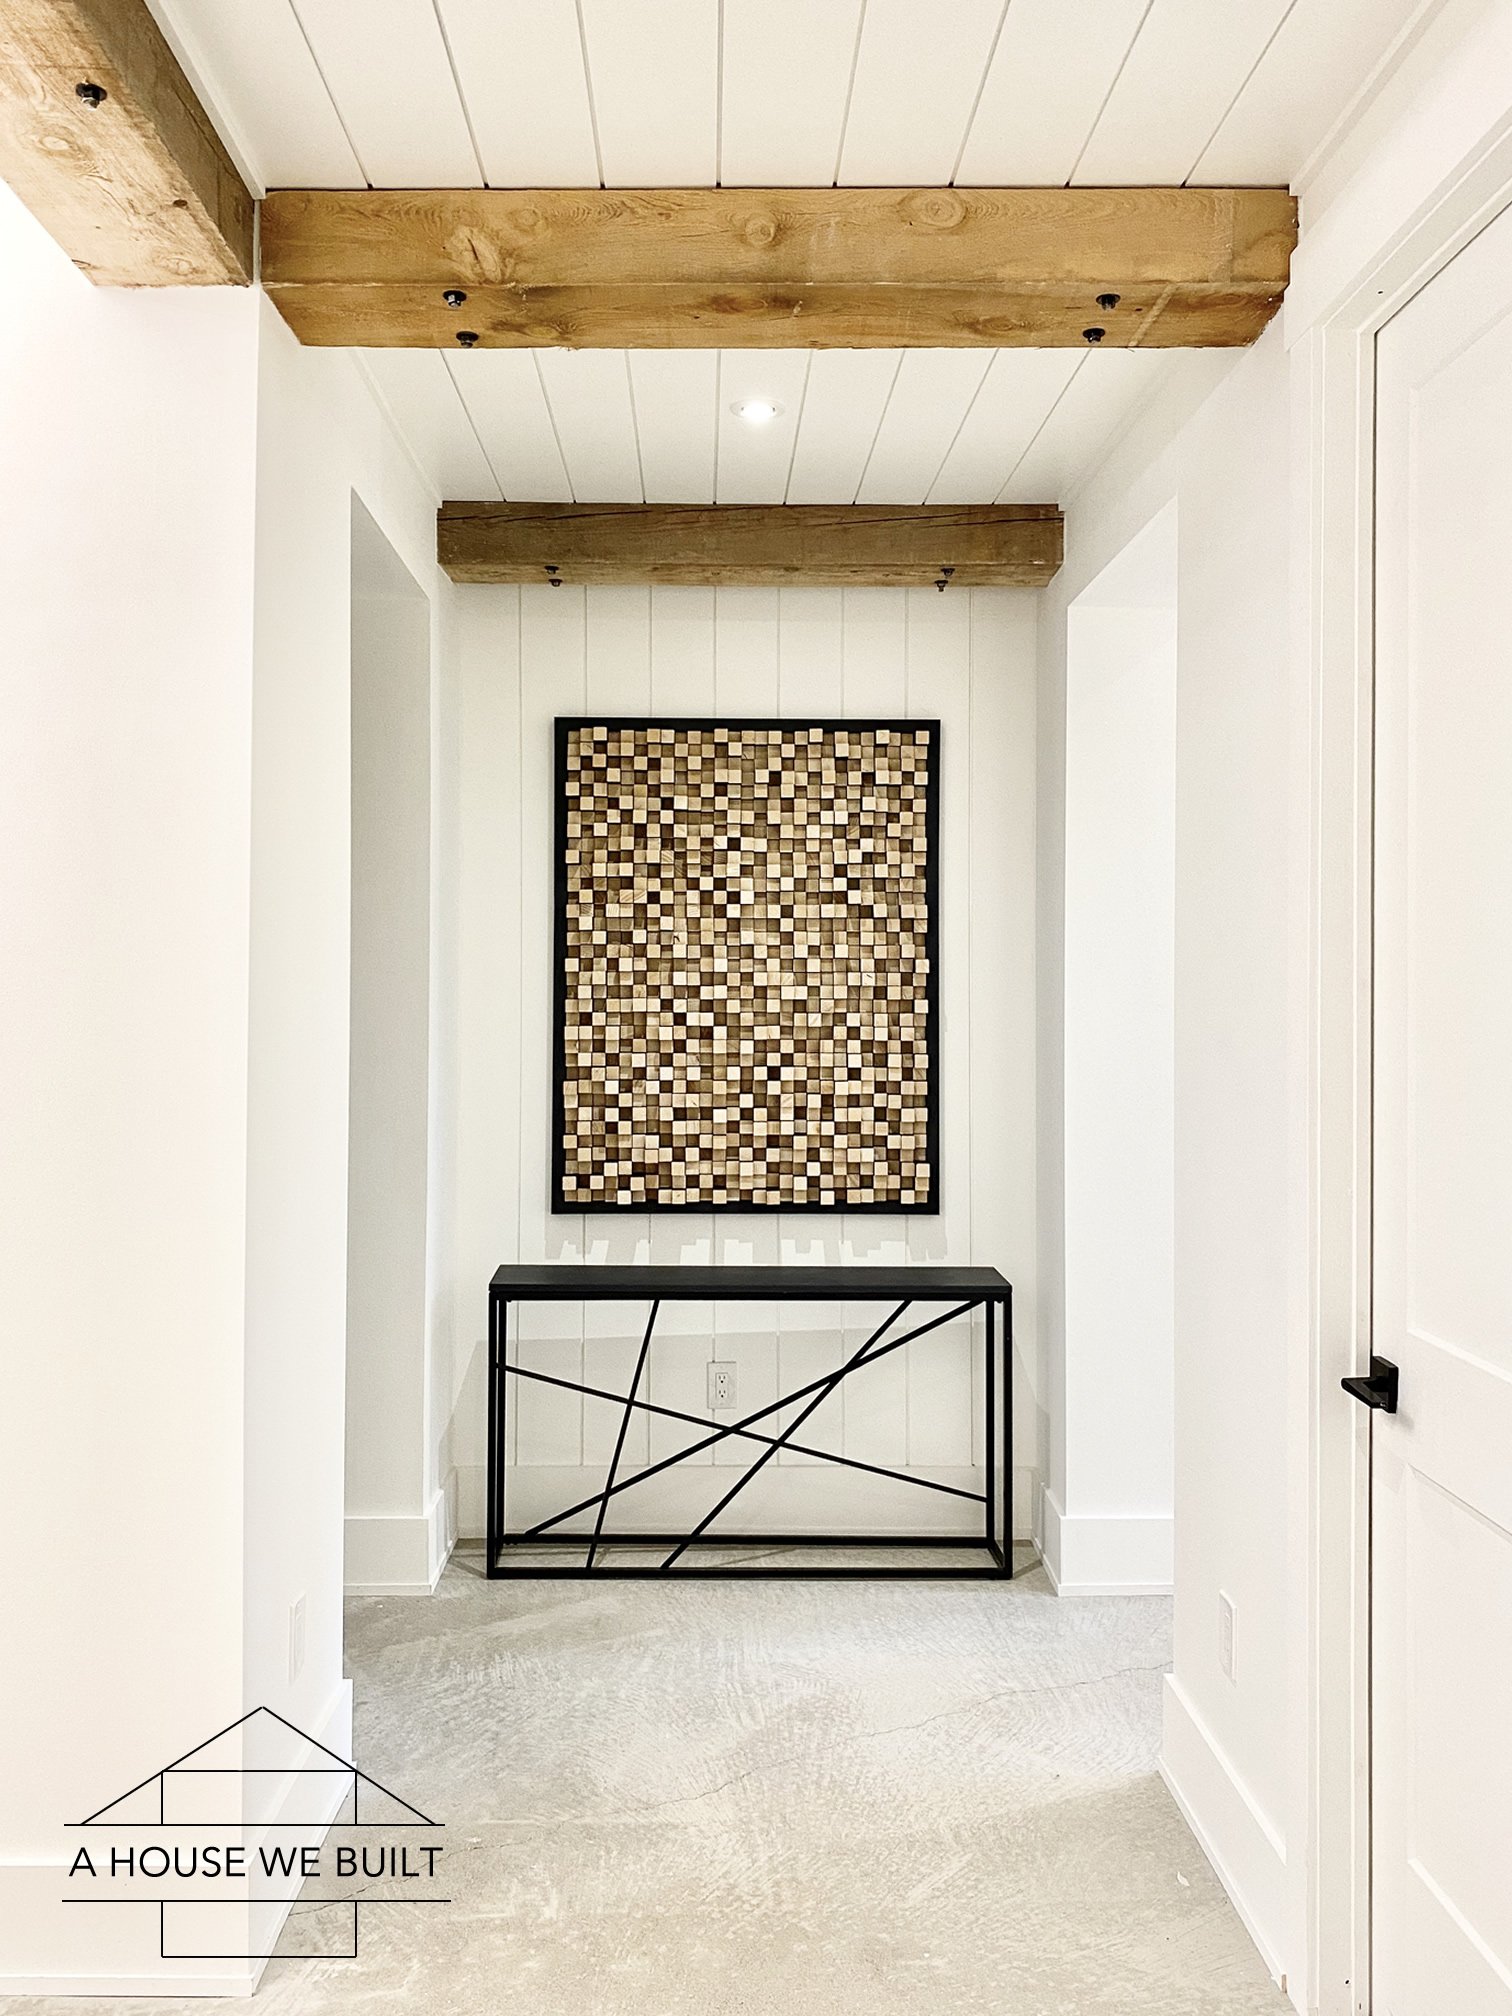
And that’s it!!!!!!!!!
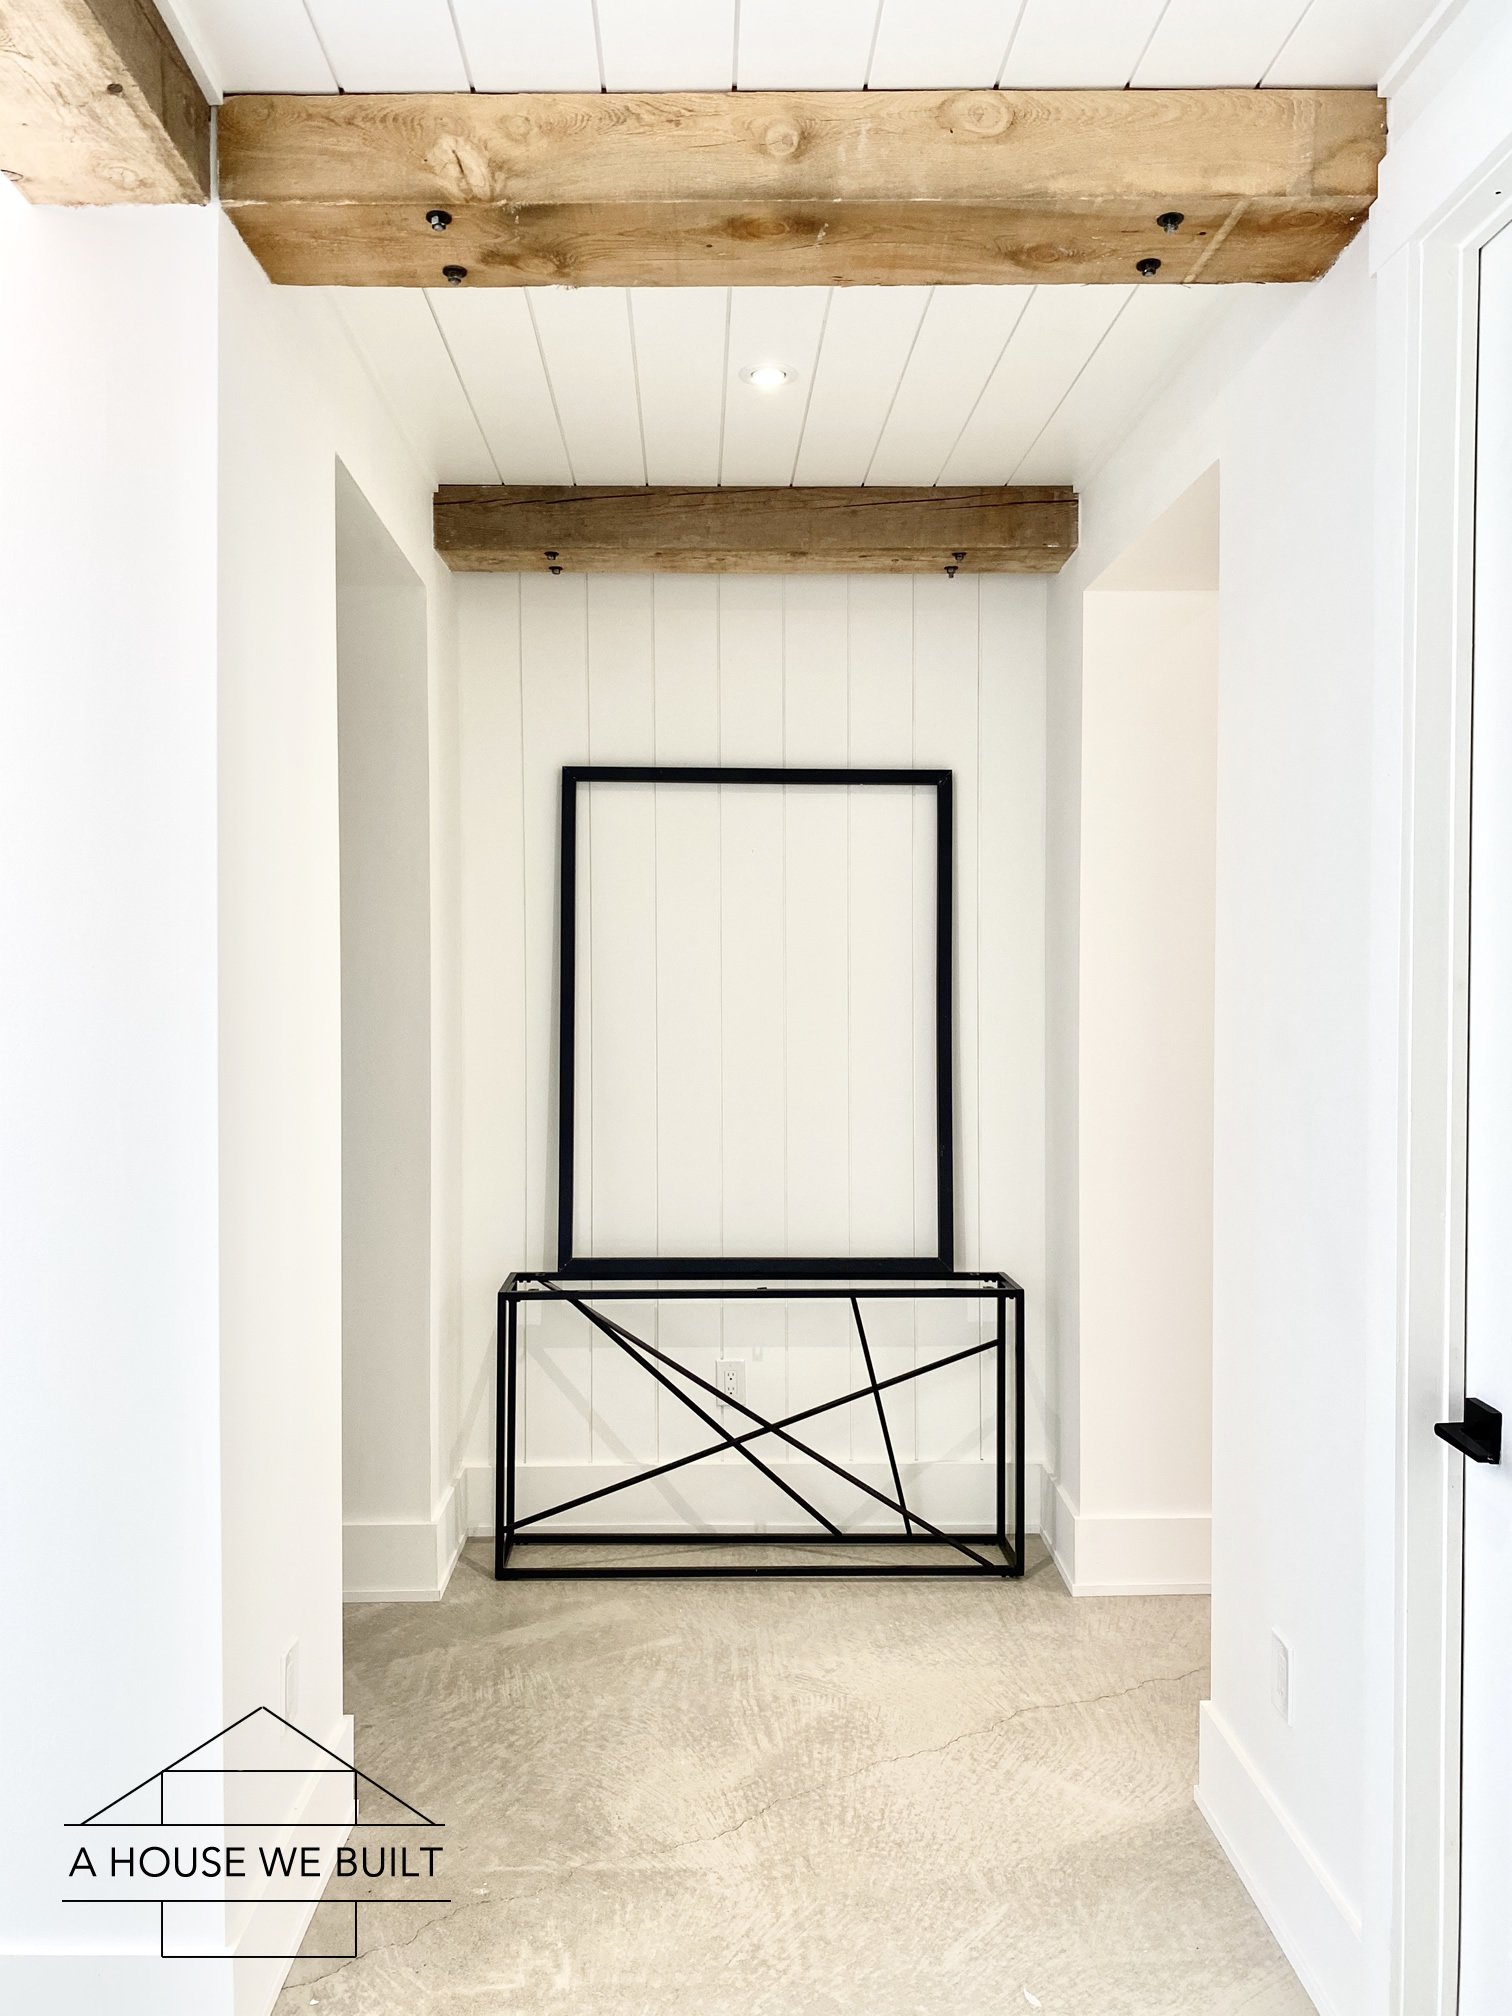
Btw, that amazing metal console table can be found at: Walmart | Wayfair | Overstock | Target | Home Depot with a matte black base like I have, or there’s a gunmetal gray version at: Home Depot. It’s the same table everywhere – lots of places just happen to have it. I also painted the top of mine black 😉
I’m so in love with this art piece! It totally completes our hallway and just feels so “us”! I love the mix of natural wood tones & black against our white shiplap. We’ve used this color scheme again and again in many different ways and it was so much fun to find another way to incorporate it into our home!
If you’re thinking this sounds like way too much work, I encourage you to check out some of the amazing art pieces of this style on Etsy (each one goes to a different piece so you can see lots of different versions): Etsy | Etsy | Etsy | Etsy | Etsy | Etsy | Etsy | Etsy | Etsy | Etsy | Etsy | Etsy.

For more of our tutorials, click here.
For more sources from our basement, click here.
To follow our daily progress on Instagram, click here.

Jasmine says
Thanks for sharing! I was which product(s) did you use to paint the console table top black?
admin says
It’s the same black paint I mentioned in the tutorial for the frame & blocks. Basically just regular wall paint. I thought I’d have to “prep” the material for the paint (like maybe sand it down or something first) but it just took the paint really well so I just did 2 coats with a brush and that was it 🙂
Nicole says
This is really cool! How heavy was the finished product?
admin says
I don’t know exactly, but veryyyy heavy. Actually a good way to get an idea is that it was as heavy as the sum of the raw materials I listed in the post O_O lol!
Olivia Baker says
This is brilliant. Am going to do my best and give it a shot myself. Really appreciate the instructions 🙂
admin says
You’re welcome! It’s a really fun project 😀
Cheryl says
This is fantastic! How long do you think it took you to make this?
admin says
Thanks! It could comfortably be done in 2 half-days (day 1: blocks/frame, day 2: assembly) 🙂
Kayla says
How much did the grand total cost in materials? My husband and I fell in love with something very similar at home goods last weekend but it was $500
admin says
The cost of the project would be the sum of the cost of the materials you use so depending on how much of them you do/don’t have on hand your cost will vary. For me it was ~ $100.
johnnybrock says
How effective is it in the diffusion of sound? I’ve heard that in a 3D concept such as this one, the placement of the blocks and their sizes are determined by strict algorithms and mathematical formulas. You went random, thus sparking my interest in how it went.
pls advise.
BTW, beautiful piece, it turned out really nice. I especially like how you went with the black on the frame and only the sides of the blocks. That makes it stand out but not too much, giving it that modern noveau look. Well done.
admin says
Thank you. We built ours for artistic purposes – as you noted, our block positioning is completely random and it’s not displayed in the part of our home that we were researching sound diffusers for – so we’ve never tested it practically as a sound diffuser. Logically, it should be able to work as one but I haven’t done any research into the formulas for block placement.
Steven Landau says
Thank You so very much for sharing this tutorial. I am most definitely going to give it a try with some variants in the design such as cutting some of the blocks faces at various angles. I really appreciate the details you put in this article. Thank You so much!
admin says
Very welcome! Good luck with your art piece.
Adrienne says
What type of glue do you recommend? I’m starting my project soon. Can you build the piece and then spray paint to get ombré effect?
admin says
The adhesive is mentioned in my post. And you can do it however you like – if you’re painting all sides of the wood then you could paint it afterwards.