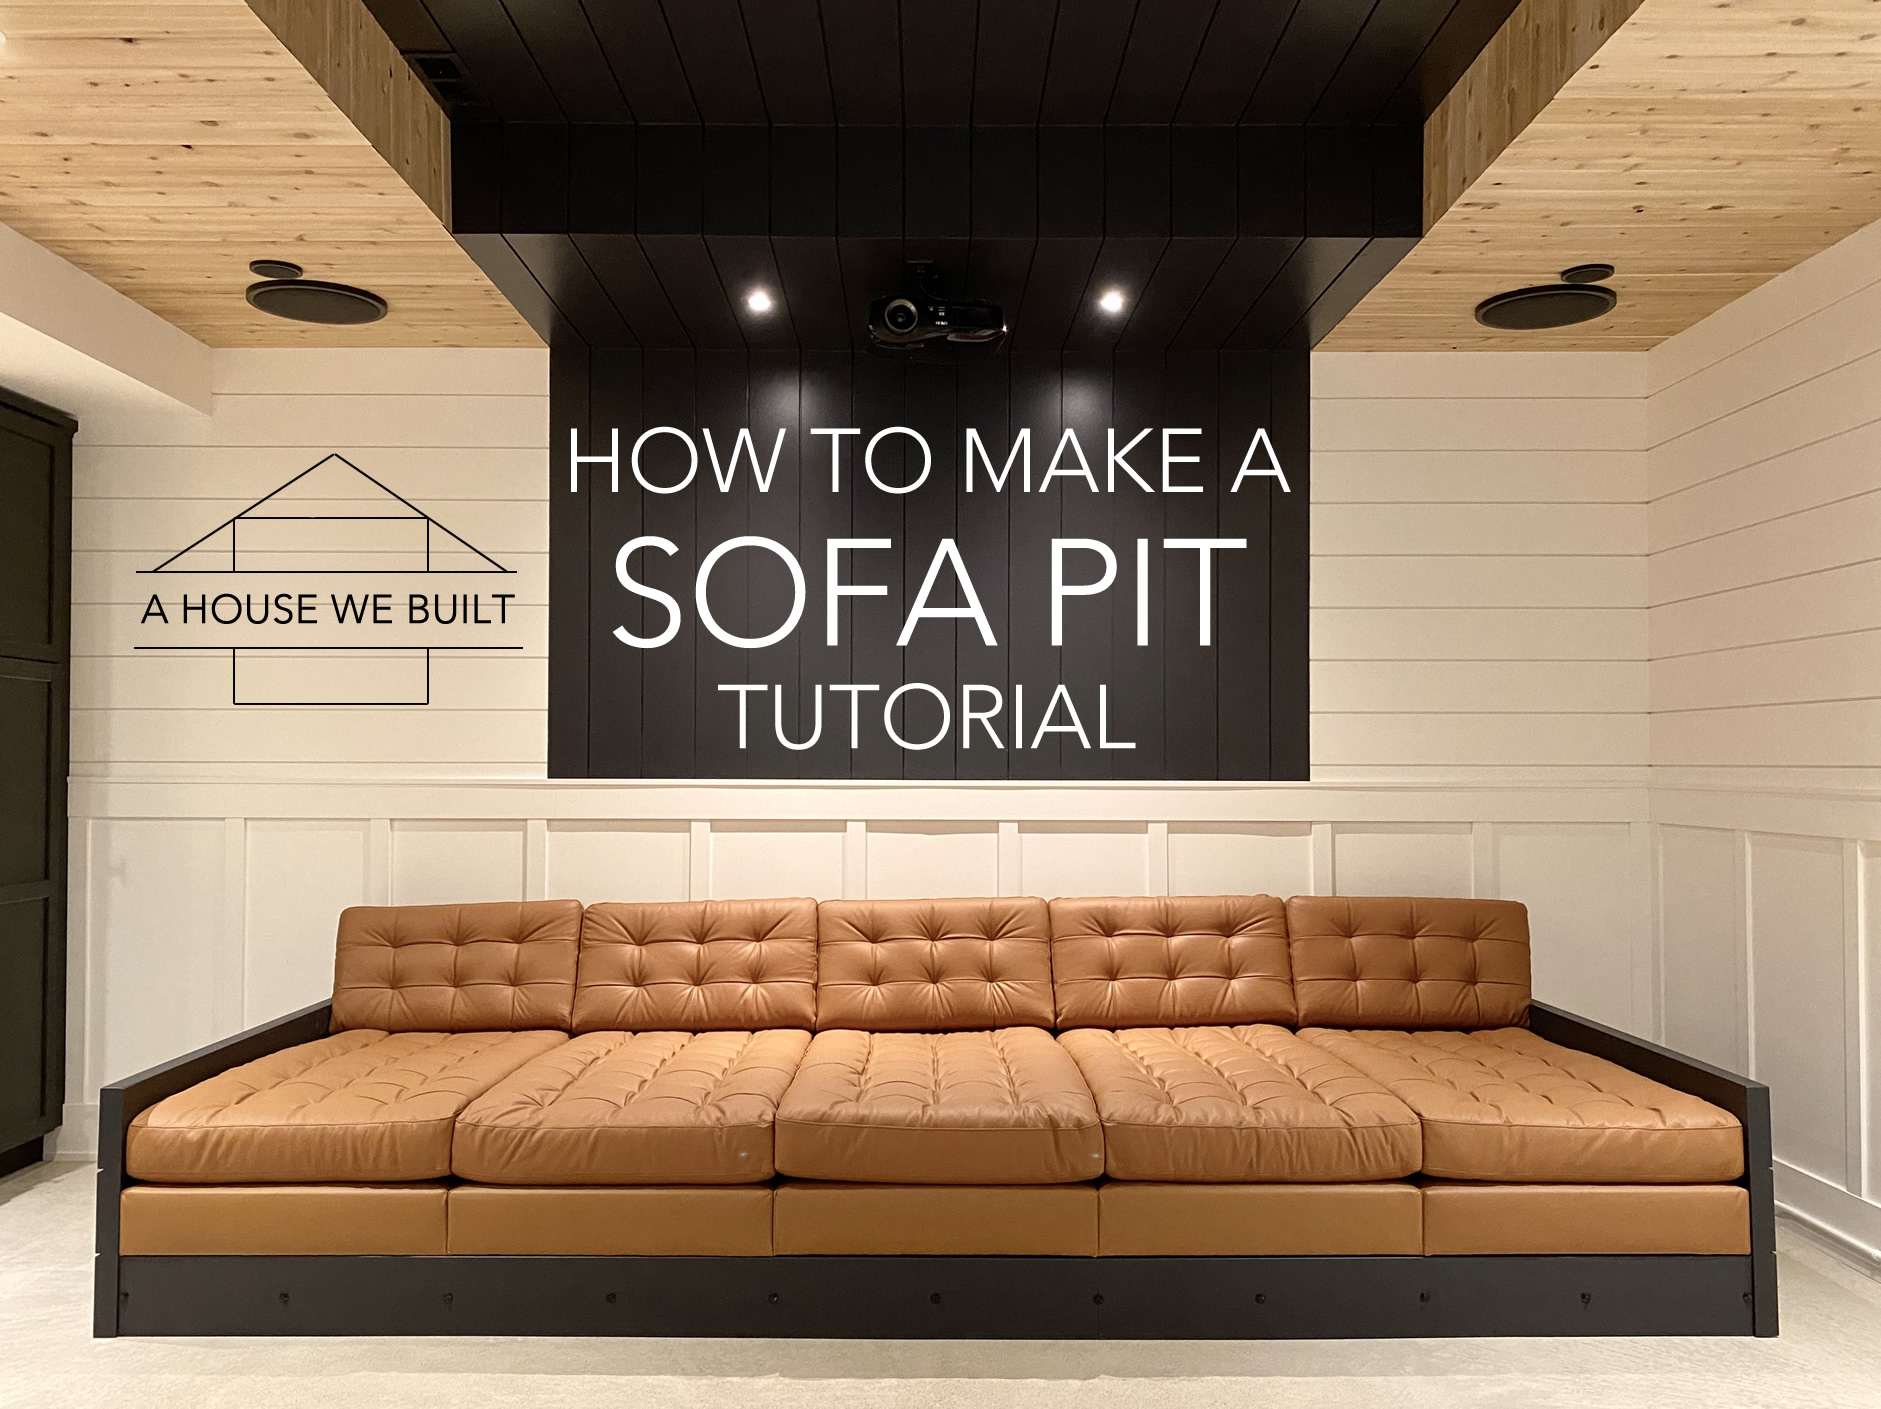
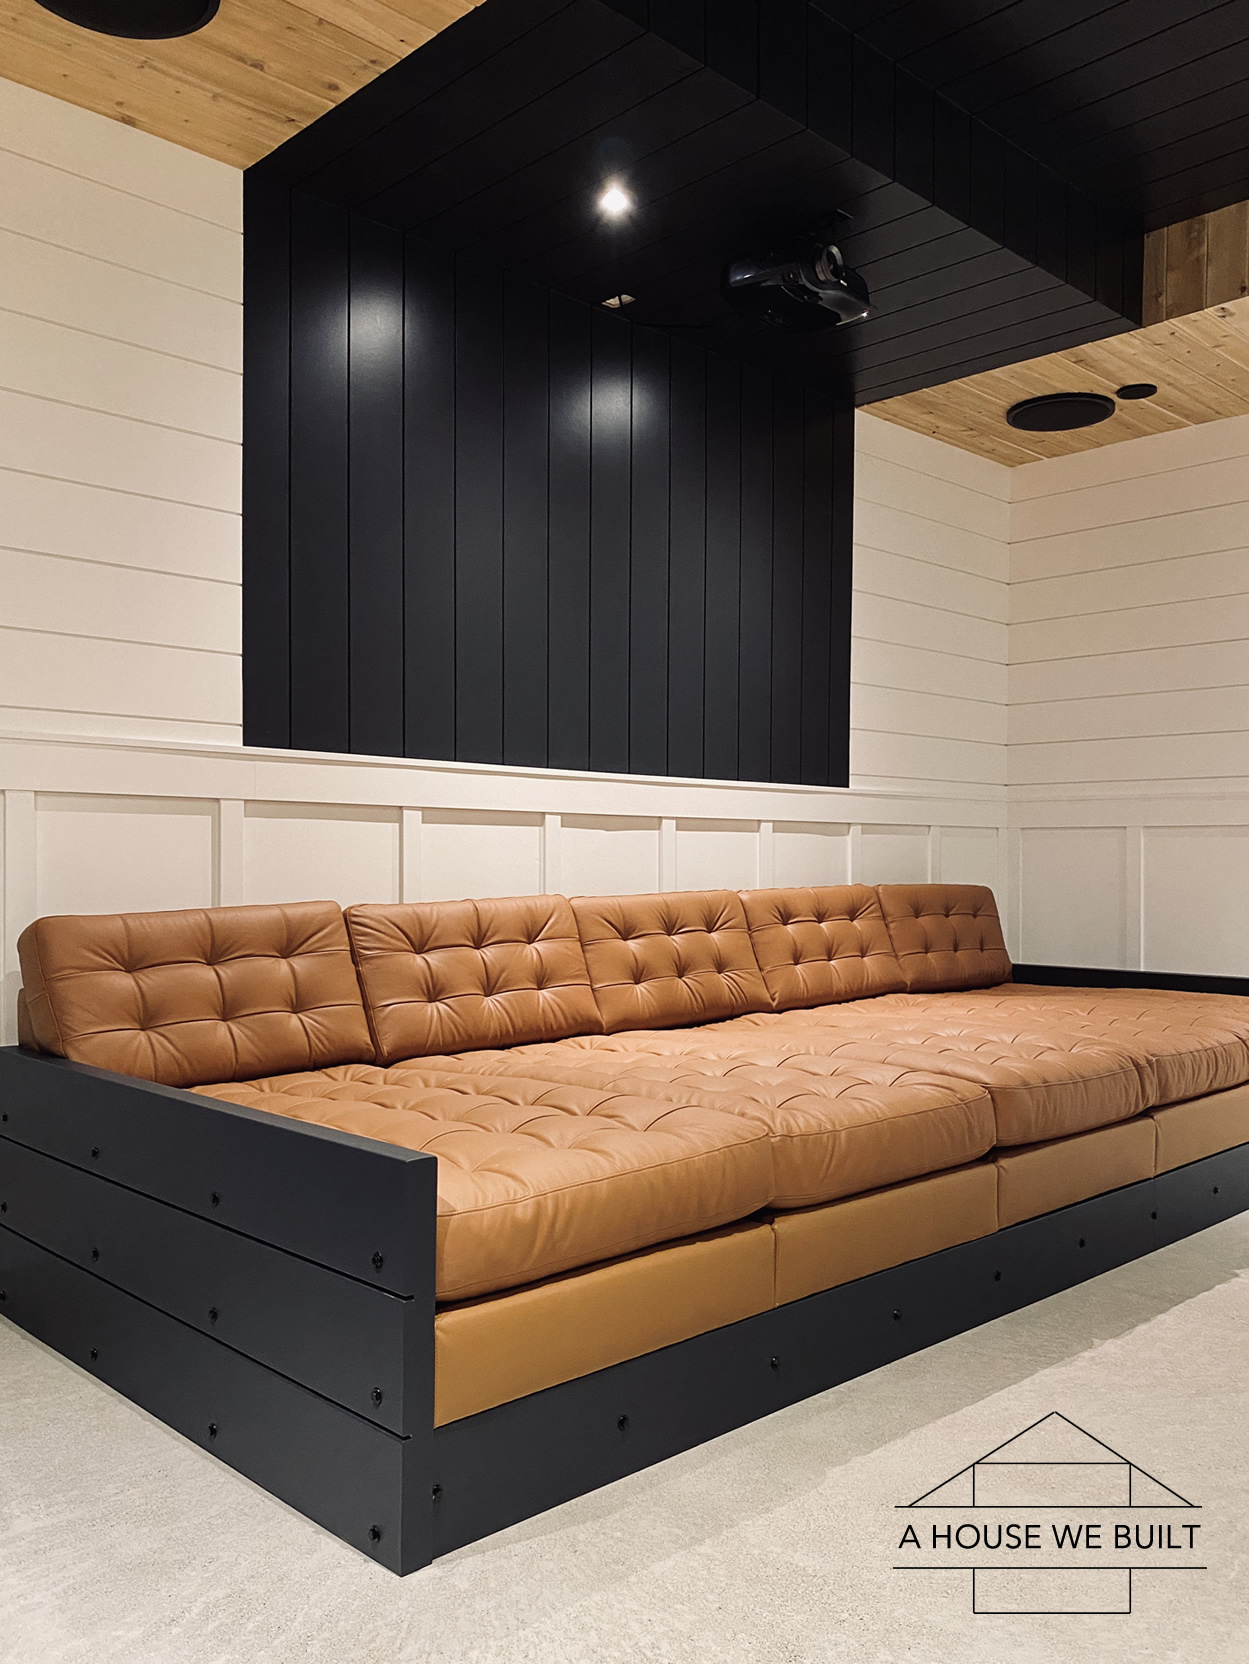
We made a sofa pit for our basement theater room!! It turned out awesome so I’m going to share how we made it here. The story behind this sofa pit is that we love being able to put our feet up and snuggle down while watching movies and this meant that a regular depth sofa for our theater room was out of the question. We need an ultra-deep sofa. I googled endlessly trying to find an affordable sofa matching all our criteria with zero luck. So we were left with two options: we could either get a custom sofa made (insanely pricey at the size we wanted) or we needed to think outside the box… So we got creative and created what we consider the ultimate DIY sofa pit using Ikea chaise units and our own sofa pit frame that we designed and built! This sofa pit is HUGE! It’s around 12.5 ft by 5 ft which is 62+ square feet of sofa!!! This tutorial shares our entire process and instructions for how we made this sofa pit come together.
I’ll start at the beginning. This was our criteria for the sofa we wanted:
- It had to be long enough (around 150-160″ in length) based on our Home Theater Room size.
- It had to be deep enough that you could have your feet completely up on the sofa for maximum loungy comfort while movie watching. So, deeper than even the deepest “deep” sofa seats.
- It had to be leather because we can’t have fabric couches in our house since hubby is allergic to our (5) rescue cats. There’s more information on that in our How to Cope with Cat Allergies post.
Next, I’ll share my sofa research findings below so you can see the various options I found. While none of these were exactly right for us, these were the options that I liked (each link goes to a different sofa):
- L-shaped sofas: West Elm | West Elm | West Elm | West Elm | Pottery Barn Overstock | CB2 | CB2 | McGee & Co | McGee & Co | Rejuvenation | Lulu & Georgia | Lulu & Georgia (great sofa styles but not long enough for us and their non-chaise seats were not deep enough to put your feet up)
- U-shaped sofas: Serena & Lily | Overstock | Overstock | West Elm | West Elm | West Elm | Pottery Barn | Pottery Barn | Pottery Barn | Pottery Barn | Pottery Barn | Rejuvenation | Rejuvenation | Lulu & Georgia | World Market (again, generally really cool options that looked great except that the middle seats of those sofas were not deep enough to put your feet up and that was important to us)
- Individual chaise lounge: Crate & Barrel | Side version: Crate & Barrel (we needed armless)
- Double chase lounge: Overstock (too small but I generally liked this direction)
- Armless chaise: Overstock | Walmart (looked comfy but too pricey to get 5 units)
While these were great options, none of them were fully what we were looking for… So if we wanted to meet our criteria, we needed to create the sofa we were imagining. Our solution started here:
In my research, I learned that Ikea sold the chaise units of their Landskrona sectionals individually (as add-ons) which was awesome because they were the right style, the right material, the right color, and the right depth. So my idea was that I would attach several of these individual chaise units side-by-side to literally create the sofa configuration I’d been searching for! Note: the Landskrona line is being re-released under the new name Morabo so depending on where you are so may see one or the other available on the Ikea site. The styles are identical and all dimensions that matter for this sofa pit (length & width) are the same between the new and old versions so it doesn’t matter which line you use. More details below.
But there were three problems with using these units:
- Problem 1: These units were never intended to be attached together in the quantity I needed to create a sofa of the right length. I believe no more than 2 units are supposed to be joined together. So if you attach 3+ of these units together, the seat cushions overflow significantly from the base.
- Problem 2: Since they’re sold as add-ons units to the bigger sectionals and not intended to be used alone or as end-pieces, they didn’t come with armrests and had “unfinished” sides.
- Problem 3: Once you attach multiple of these chaise units together, the legs look very messy and cluttered (again because that’s not how these units are intended to be assembled or used).
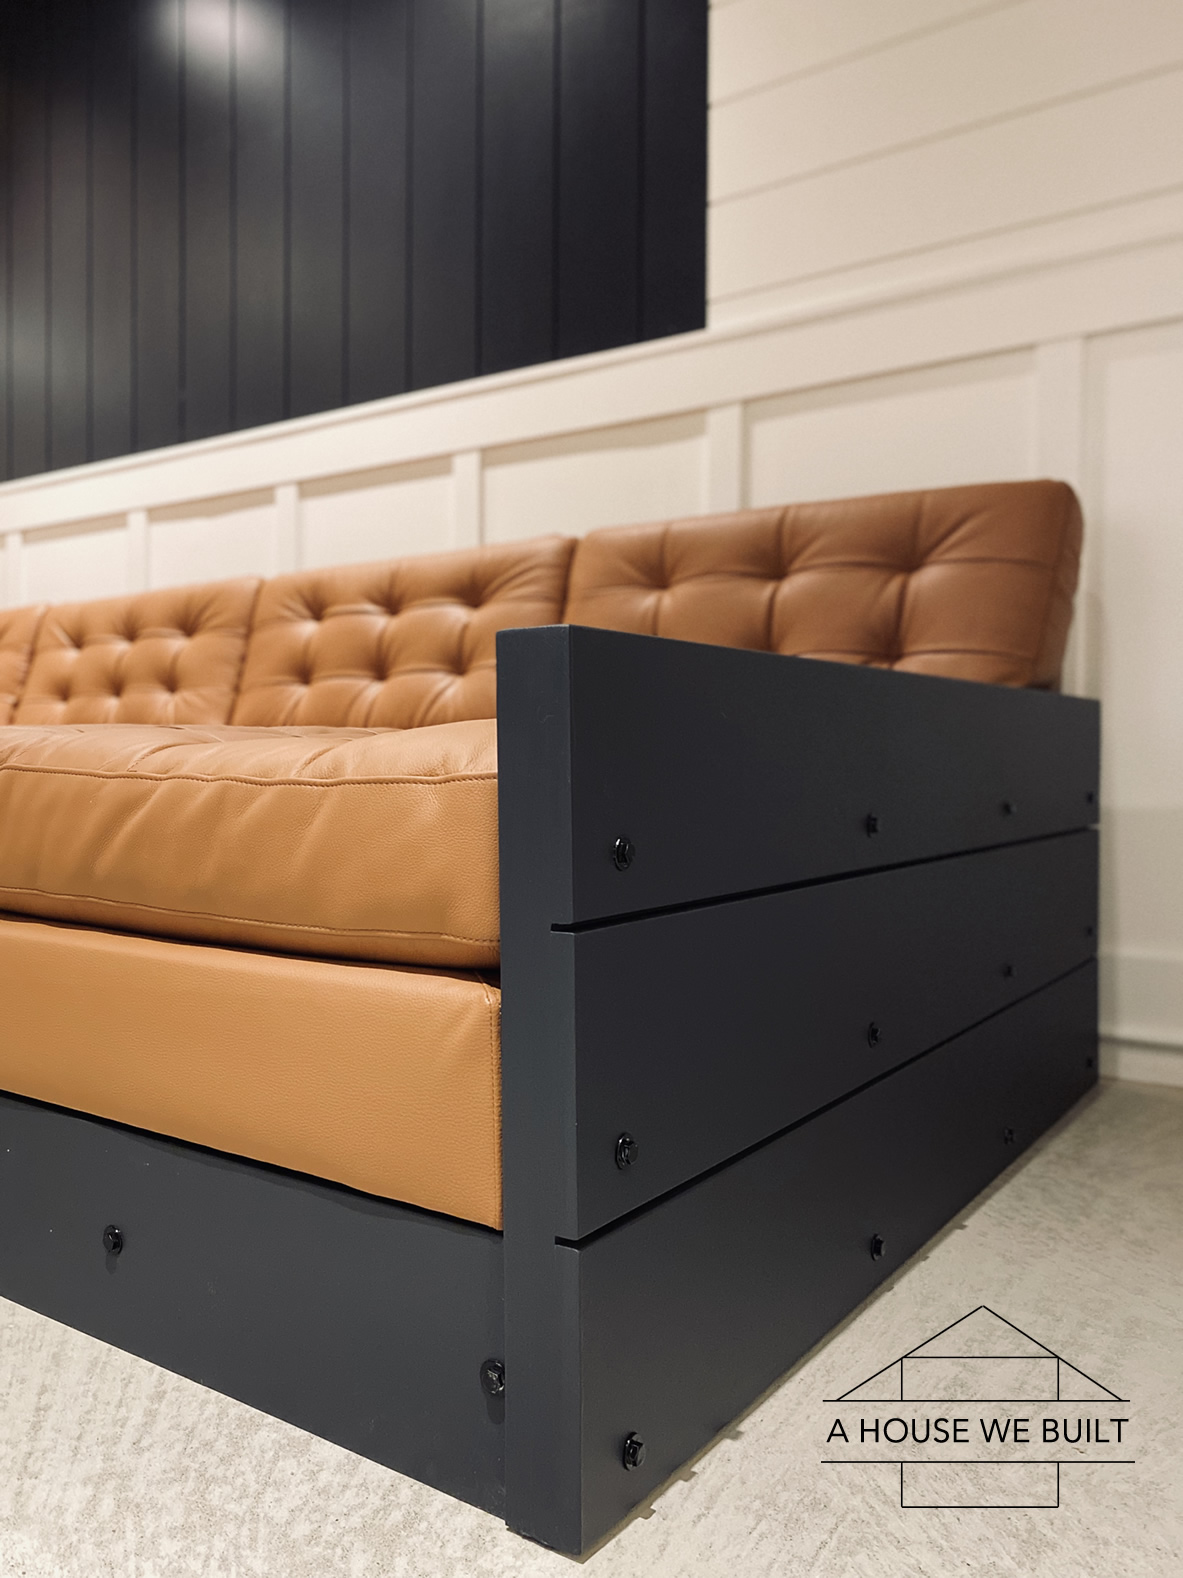
Our solution was to design and build a sofa frame around these chaise units that would both create a platform underneath the sofa (eliminating the need for the legs), and give us armrests. This not only gave this sofa pit a cohesive look, but the armrests essentially acted as two mini walls bolted on either end of the sofa that forced the cushions to squish together which completely solved the overflow issue. Like so:
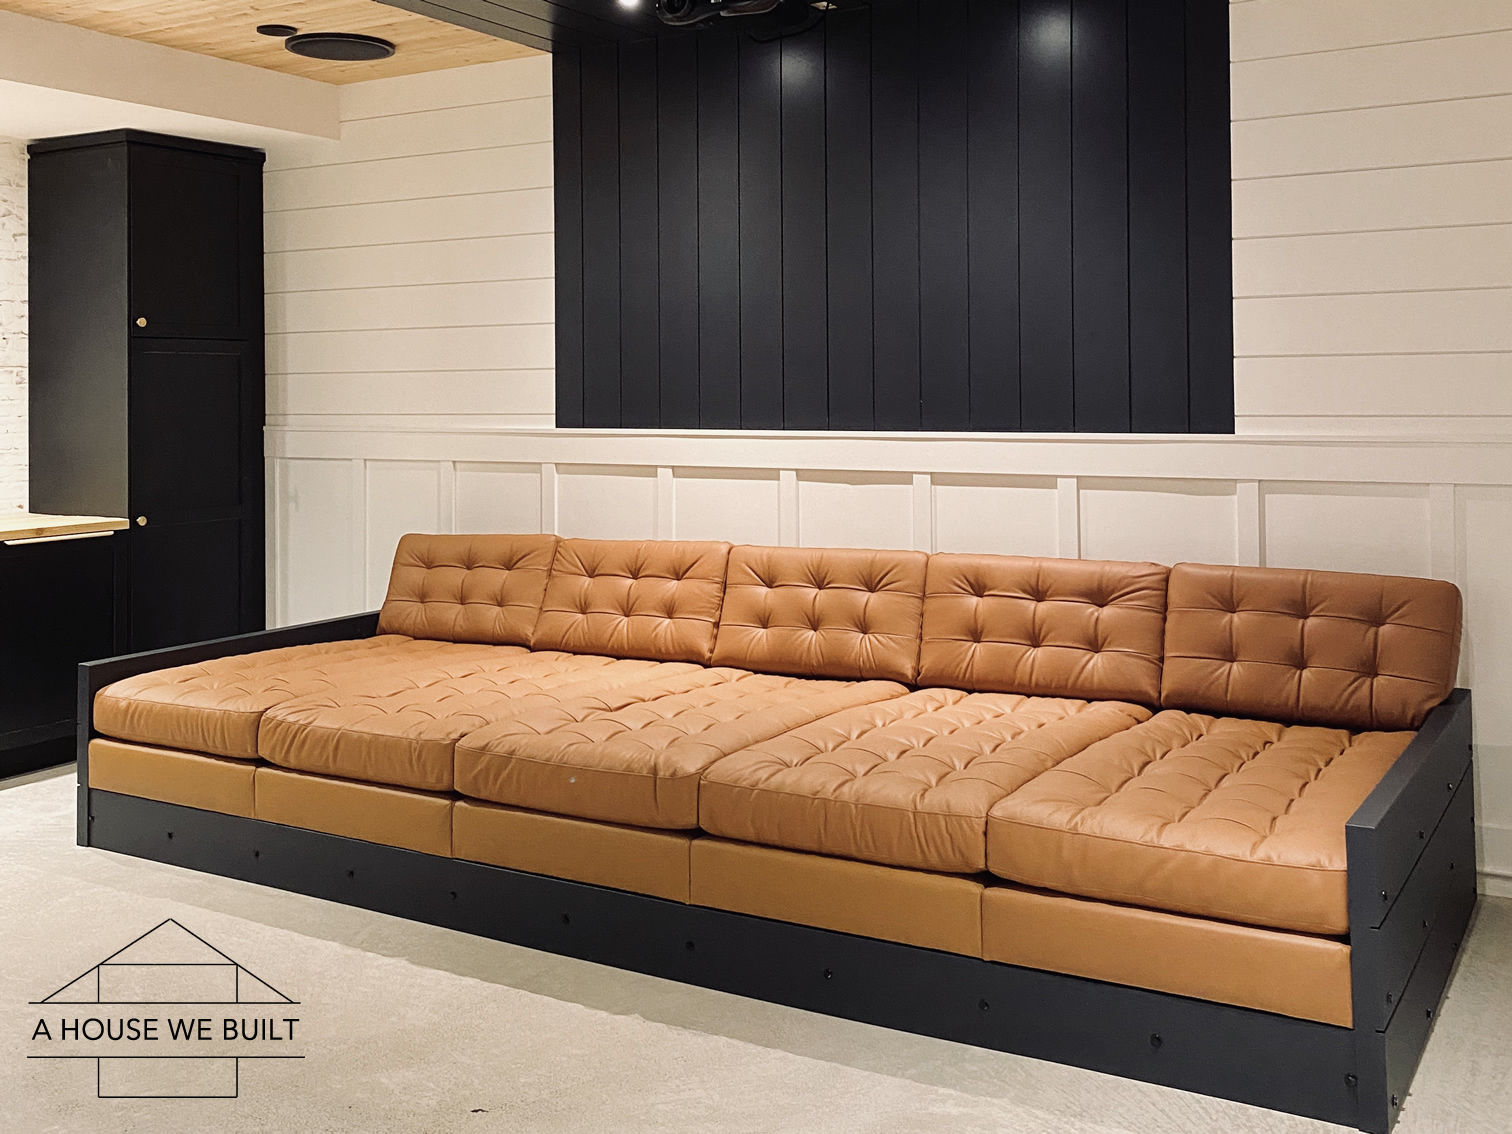
All our problems were solved with this solution and our sofa pit idea was born! Getting creative gave us a sofa of the size, shape, configuration, color, material, and look we wanted! So now, we had to build it.
DESIGNING THE SOFA PIT PLATFORM & ARMRESTS:
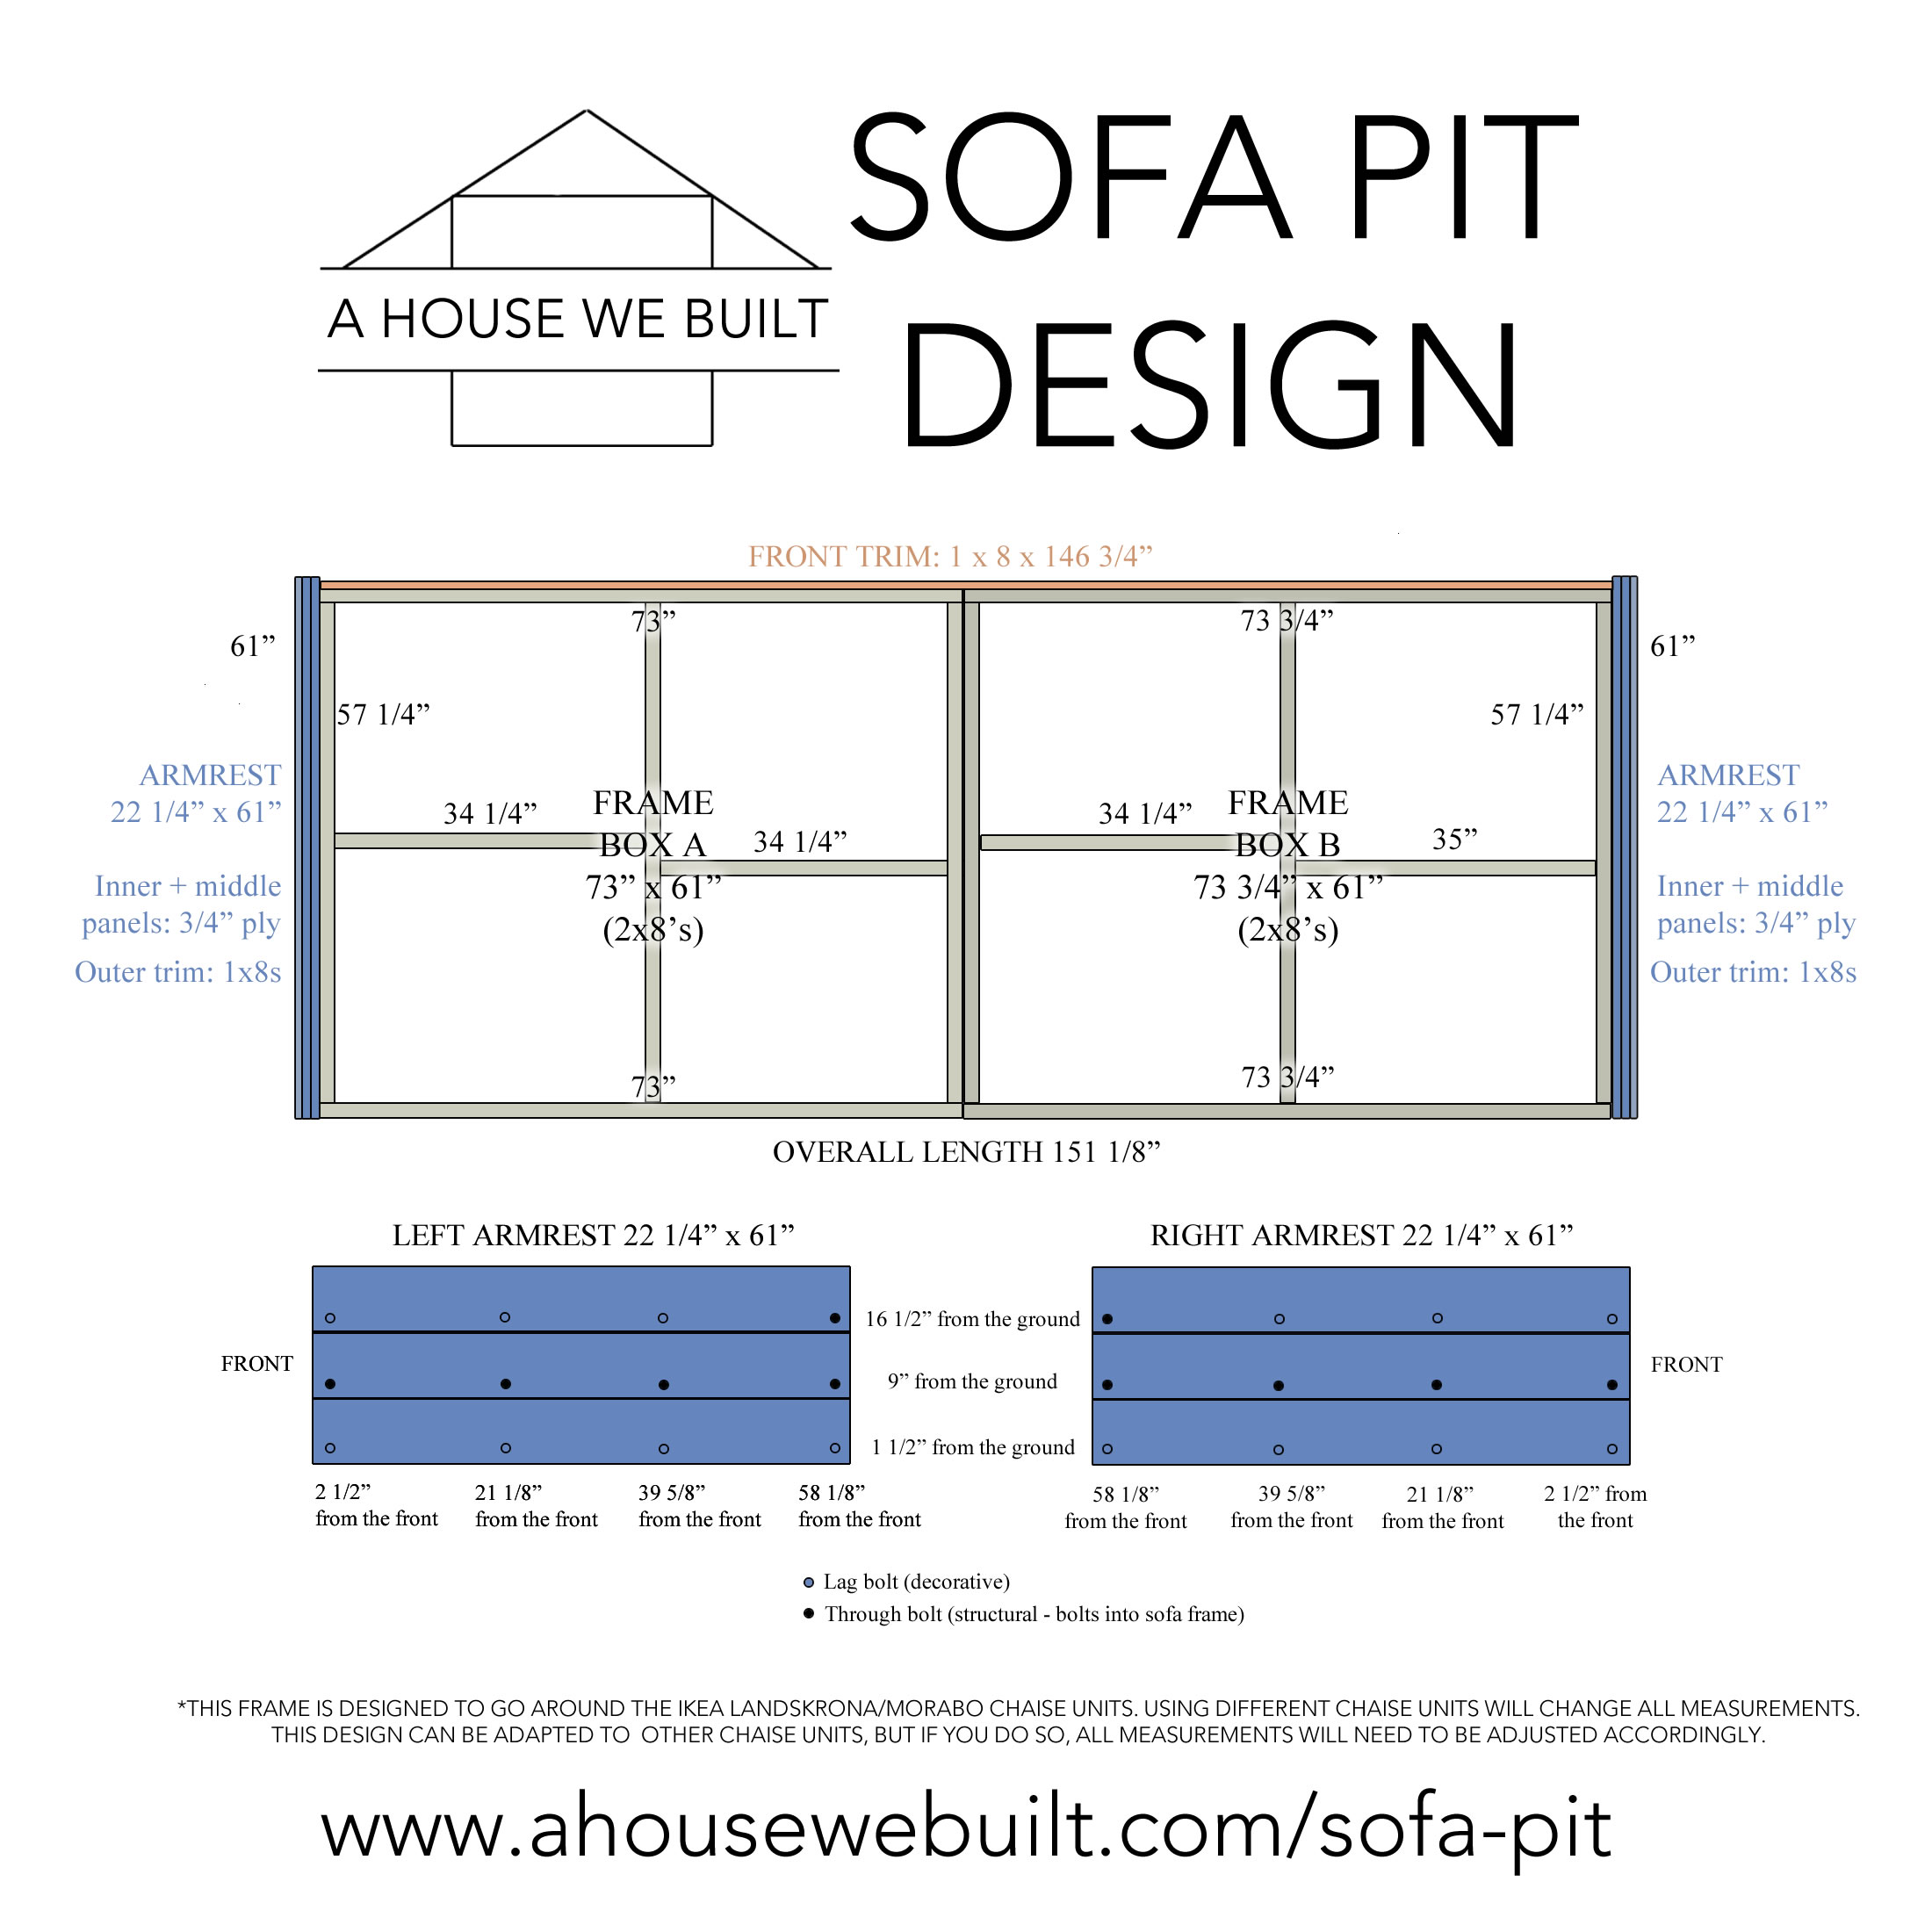
Our general sofa pit design consists of a frame underneath, two armrests on either side, and some trim in front. I’ll first share our plans (with all measurements) below, then go on to the materials lists and actual building instructions. Please note that this sofa pit is designed to go around the specific Ikea chaise units we used (listed below under the materials list section) so if you decide to use different chaise units, then you will naturally need to adjust all the measurements accordingly. But our core design is adaptable and can be used around any chaise units as long as you account for the measurement changes.
MATERIALS LIST:
RAW MATERIALS NEEDED:
- 2 x 3/4x4x8 plywood cut to 4 x 22 1/4×61 (for the armrests)
- 8 x 1x8x8 mdf (6 for the armrest trim, 2 for front trim)
- 7 x 2x8x10 lumber (for the frame)
OTHER MATERIALS NEEDED:
- Wood filler: Home Depot | Amazon
- Sandpaper: Home Depot | Amazon
- Construction adhesive: Home Depot
- 10-20 x small L-brackets: Home Depot
- 40-50 x 1″ wood screws for the L-brackets
- 30 x 3″ wood screws for the under-frame
- 10 x 1/2″x3″ hex through bolts (I don’t remember exactly what size we used but I think 3″ is fine.)
- 10 x 1/2″ nuts for the hex bolts
- 25 x 1/2″x1″ hex head lag bolts (These are decorative on the armrests and functional on the front trim. You need 7 for each armrest + 11 for the front trim.)
- 65 x washers that fit the bolts (but I recommend buying a box – it’s good to have extra)
- Matte top coat: Amazon
- Matte black metal paint: Home Depot
- Paint: We did BM Black Panther in Matte finish
- Chaise units: You’ll need 5 of either the Ikea “Landskrona” or “Morabo” chaise units for this sofa pit. It doesn’t matter which line you use since they look identical (see here) and all the dimensions that matter for this sofa pit design (length & width) are the same in both lines. The Morabo is just the slightly newer version of the Landskrona and has legs that are ~1 inch taller, but we’re not using the legs at all so that doesn’t matter and you can use whichever line is in stock. — As mentioned, you can also make this sofa pit using different chaise units but of course you’ll have to adjust the measurements accordingly. For example, Ikea also has another chaise unit in the “Soderhamn” line that is nice and much less expensive (but it didn’t come in leather so we couldn’t use it ourselves).
TOOLS NEEDED:
- Miter saw: Home Depot | Amazon
- Drill: Home Depot | Amazon
- Socket wrench: Home Depot
- Putty knife: Home Depot | Amazon
- Measuring tape: Home Depot | Amazon
- Table saw: Home Depot | Amazon (this is a nice to have, but not need to have. We used to for one cut that I was being a little picky about but if you don’t have one you could make the cut with either a jig saw or circular saw or even just not do this one cut at all. I’ll explain more in the instructions.)
SOFA PIT BUILDING INSTRUCTIONS:
**NOTE 1: I strongly recommend building this sofa pit in place as close to where you intend it to finally place it because it in INSANELY HEAVY once it is fully assembled. Not to mention that the whole thing is one solid unit (~ 12.5′ x 5′ x 2.5′) so it’s just not going to fit through most doors or be very movable.
**NOTE 2: Bolt all your individual chaise units together before building the frame. We stapled landscape fabric to the underside of ours prior to finalizing our sofa pit frame design. In hindsight, it was not a good idea as we has to cut into it to access the armrest bolts so I don’t recommend doing the fabric.
**NOTE 3: All measurements and cut lengths are for our exact sofa pit configuration. If you use different materials or substitute/change any parts, you will have to modify the measurements accordingly.
PART 1 | BUILDING THE ARMRESTS:
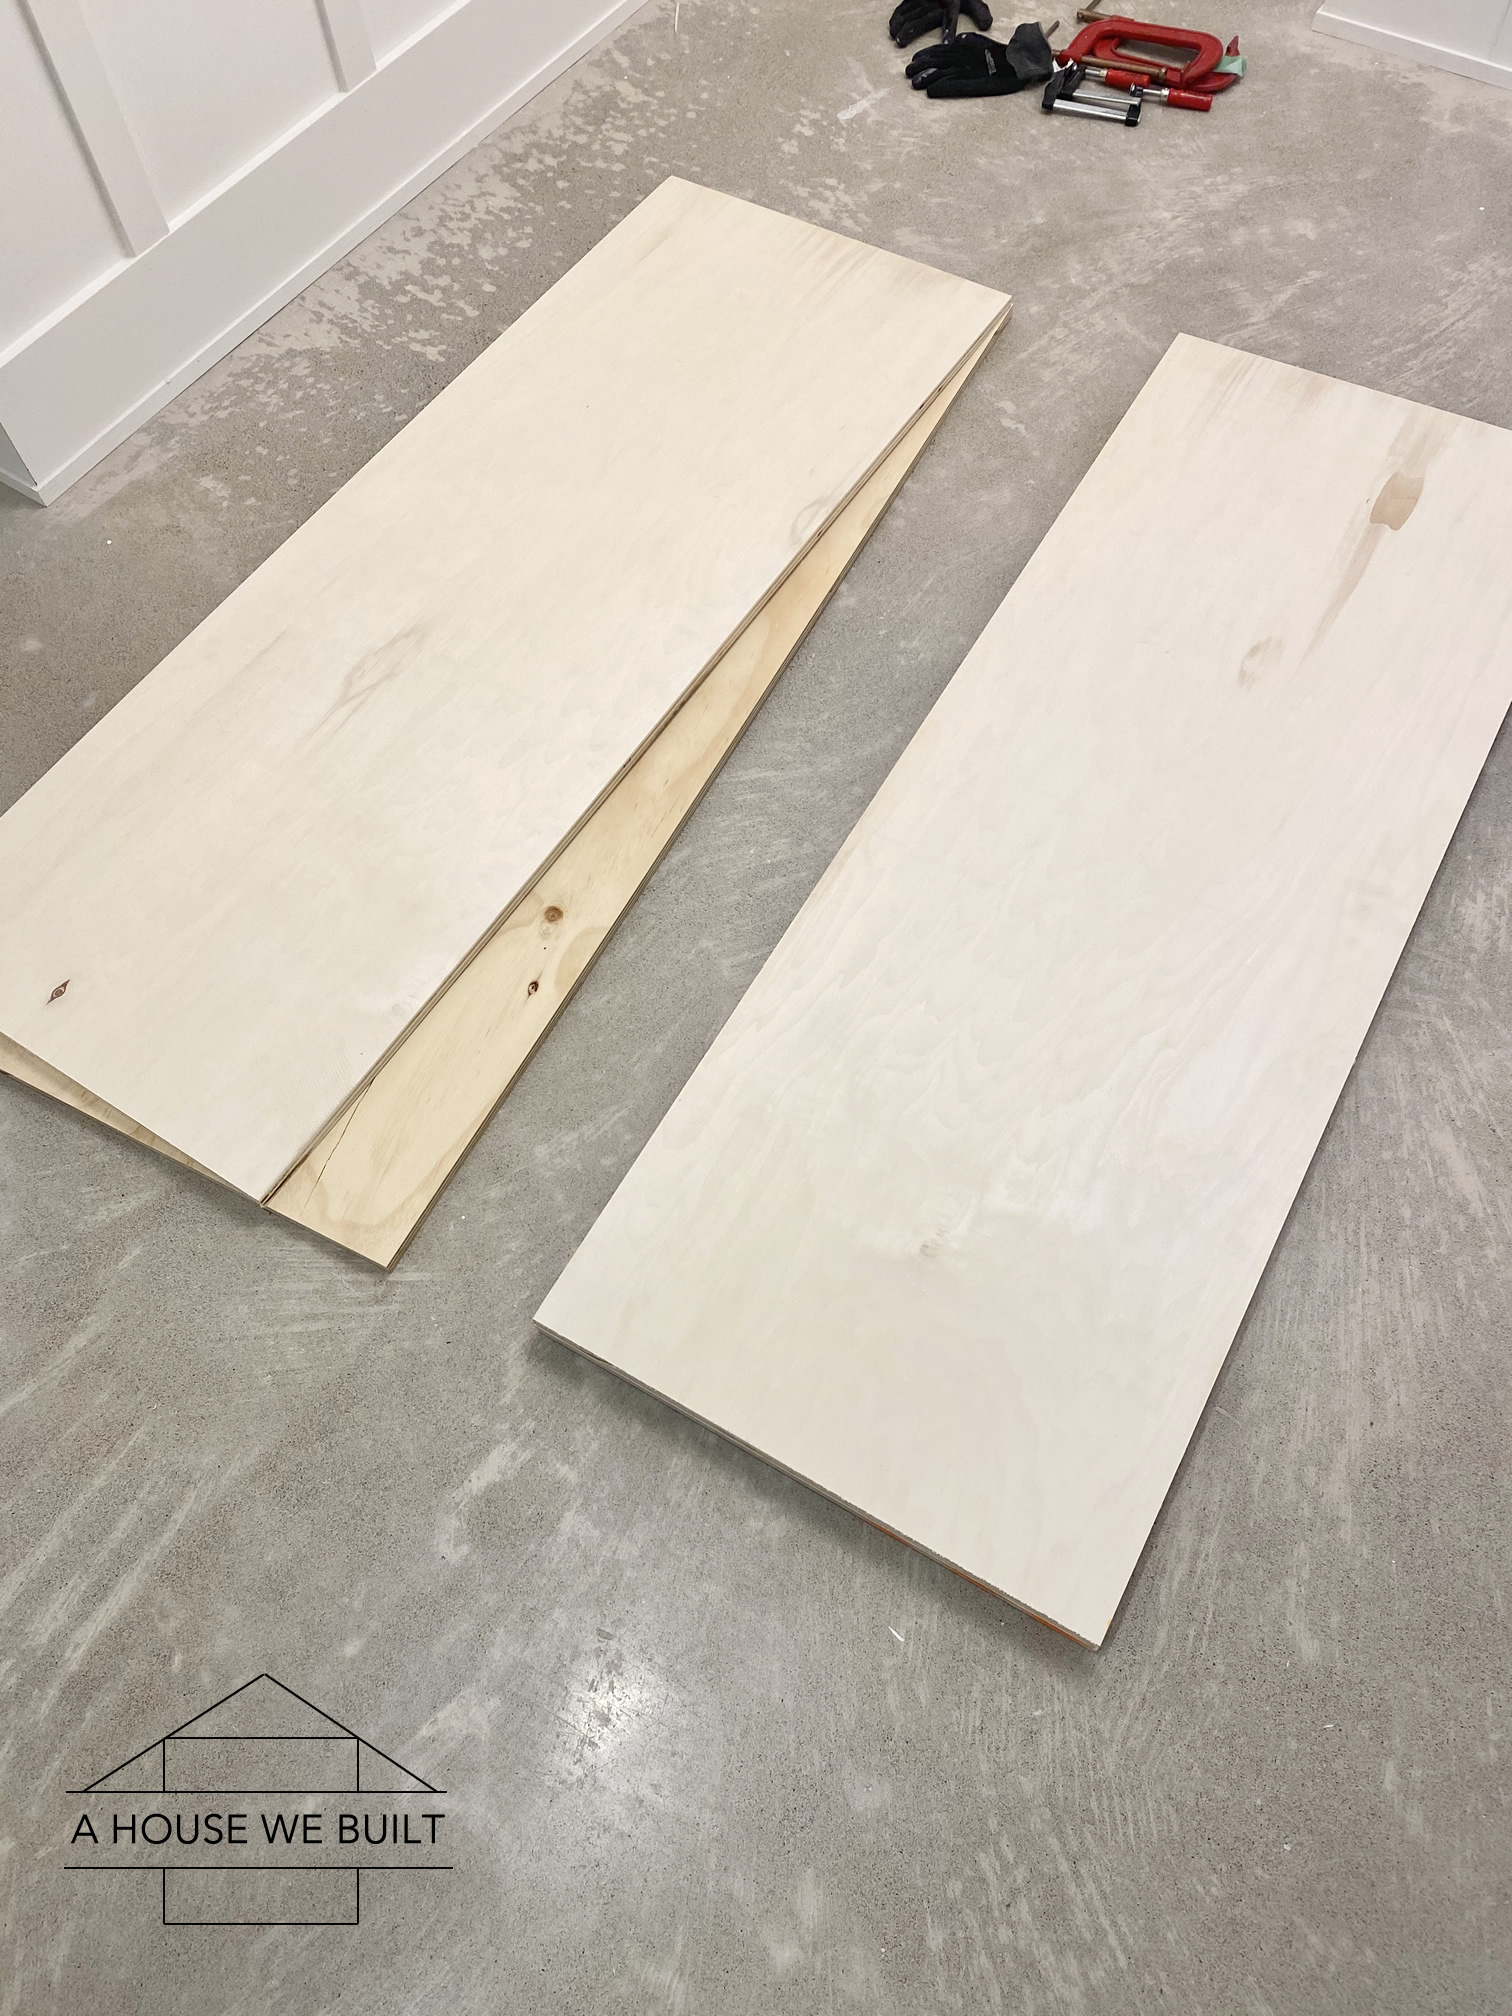
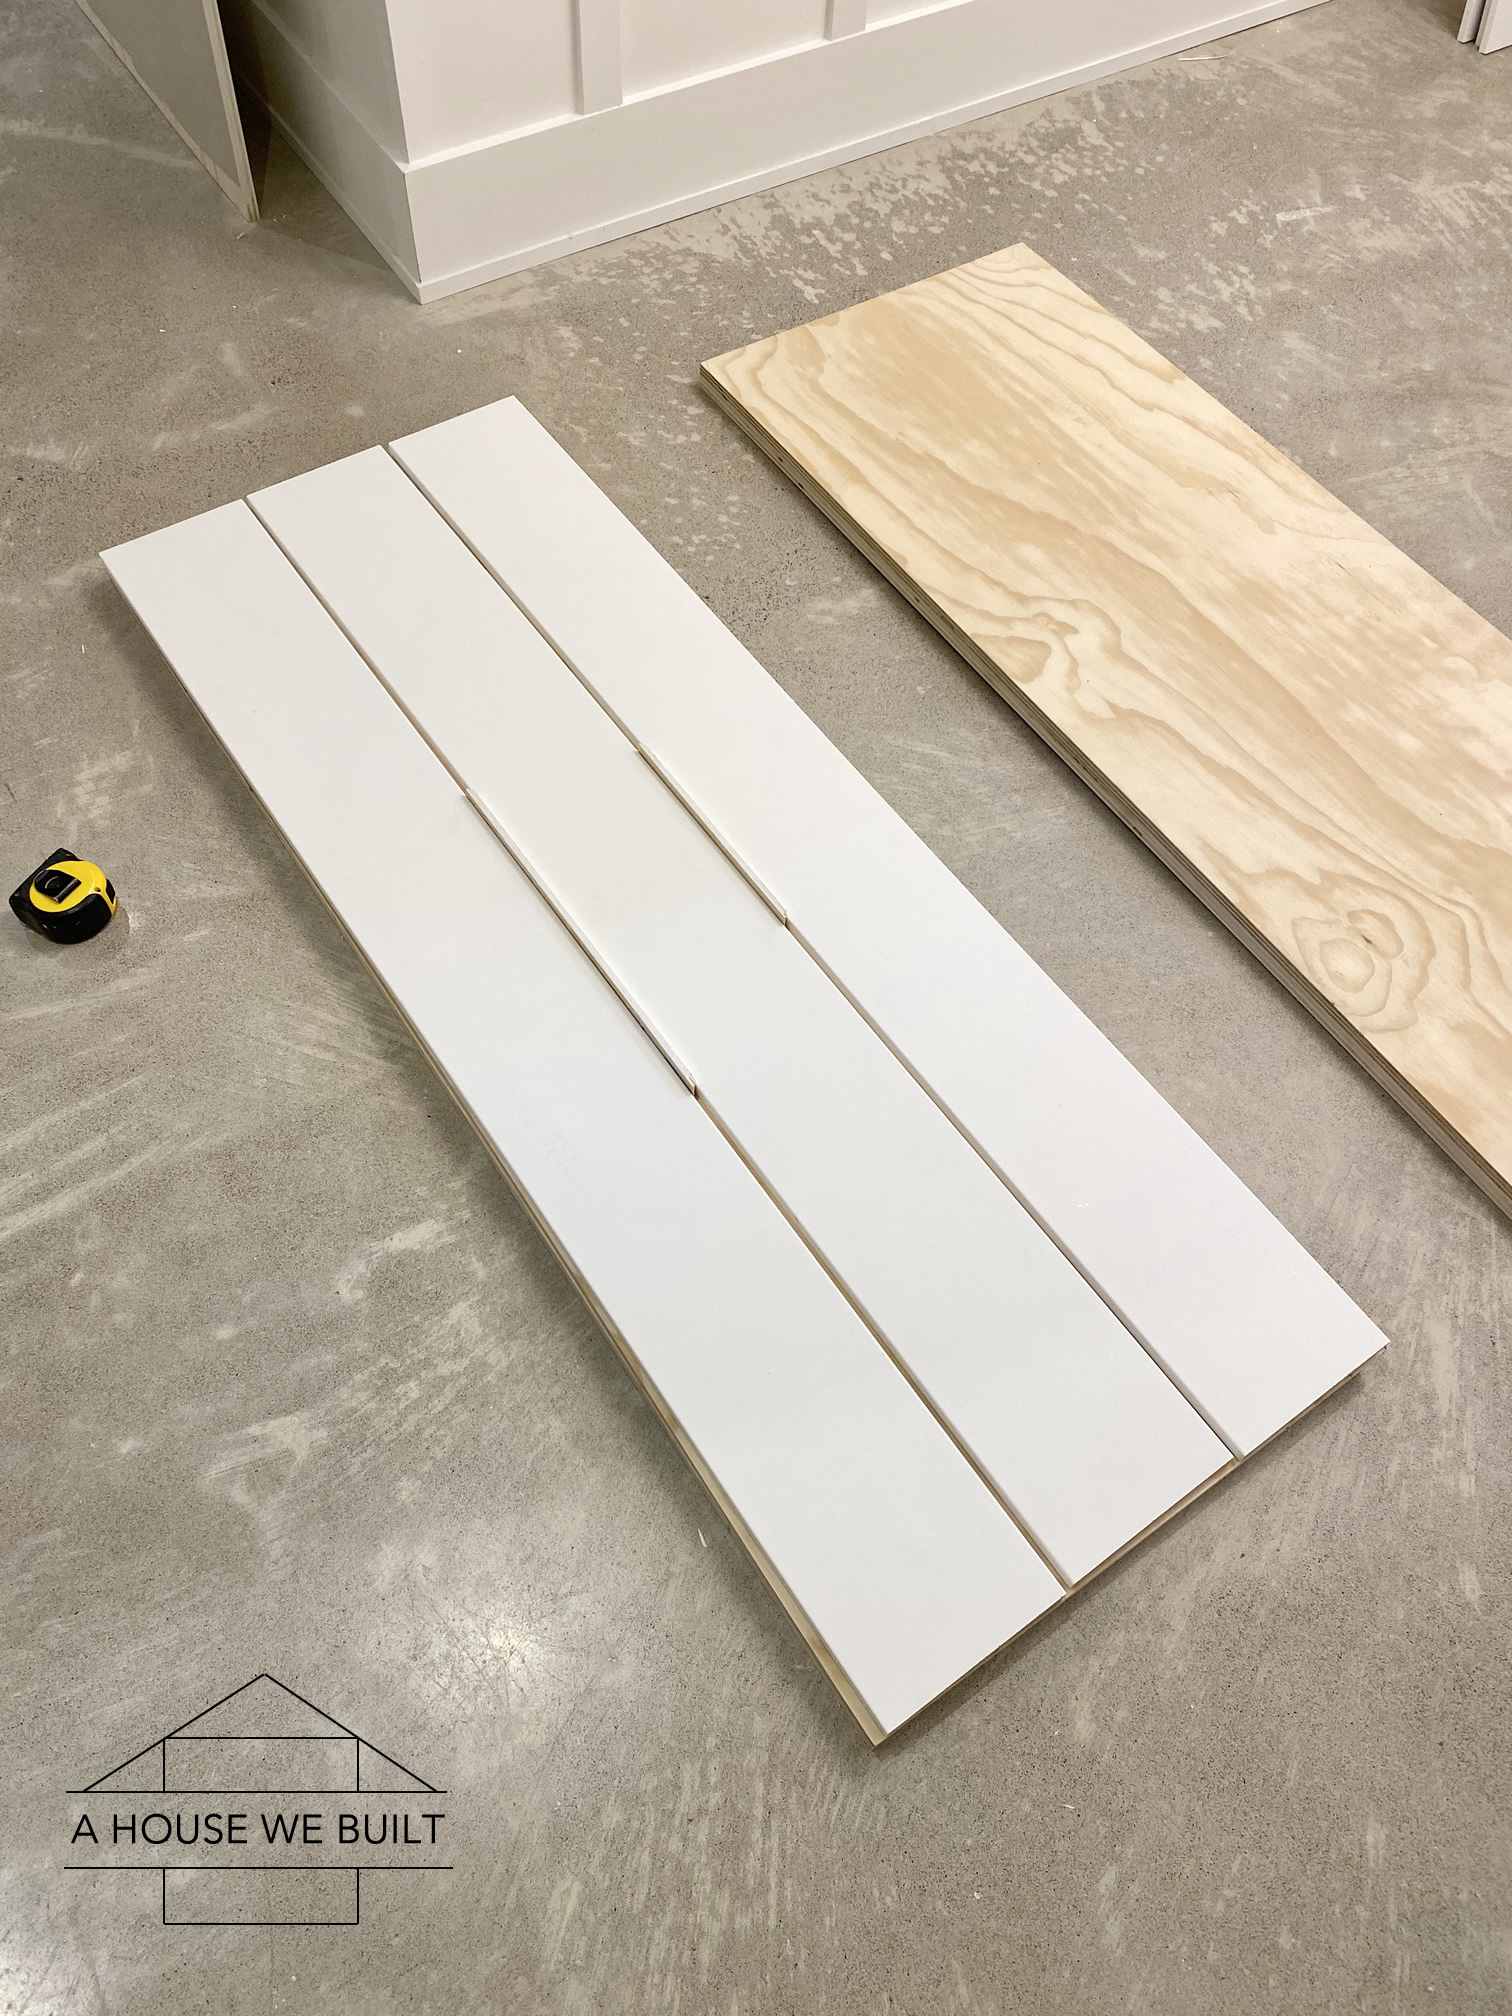
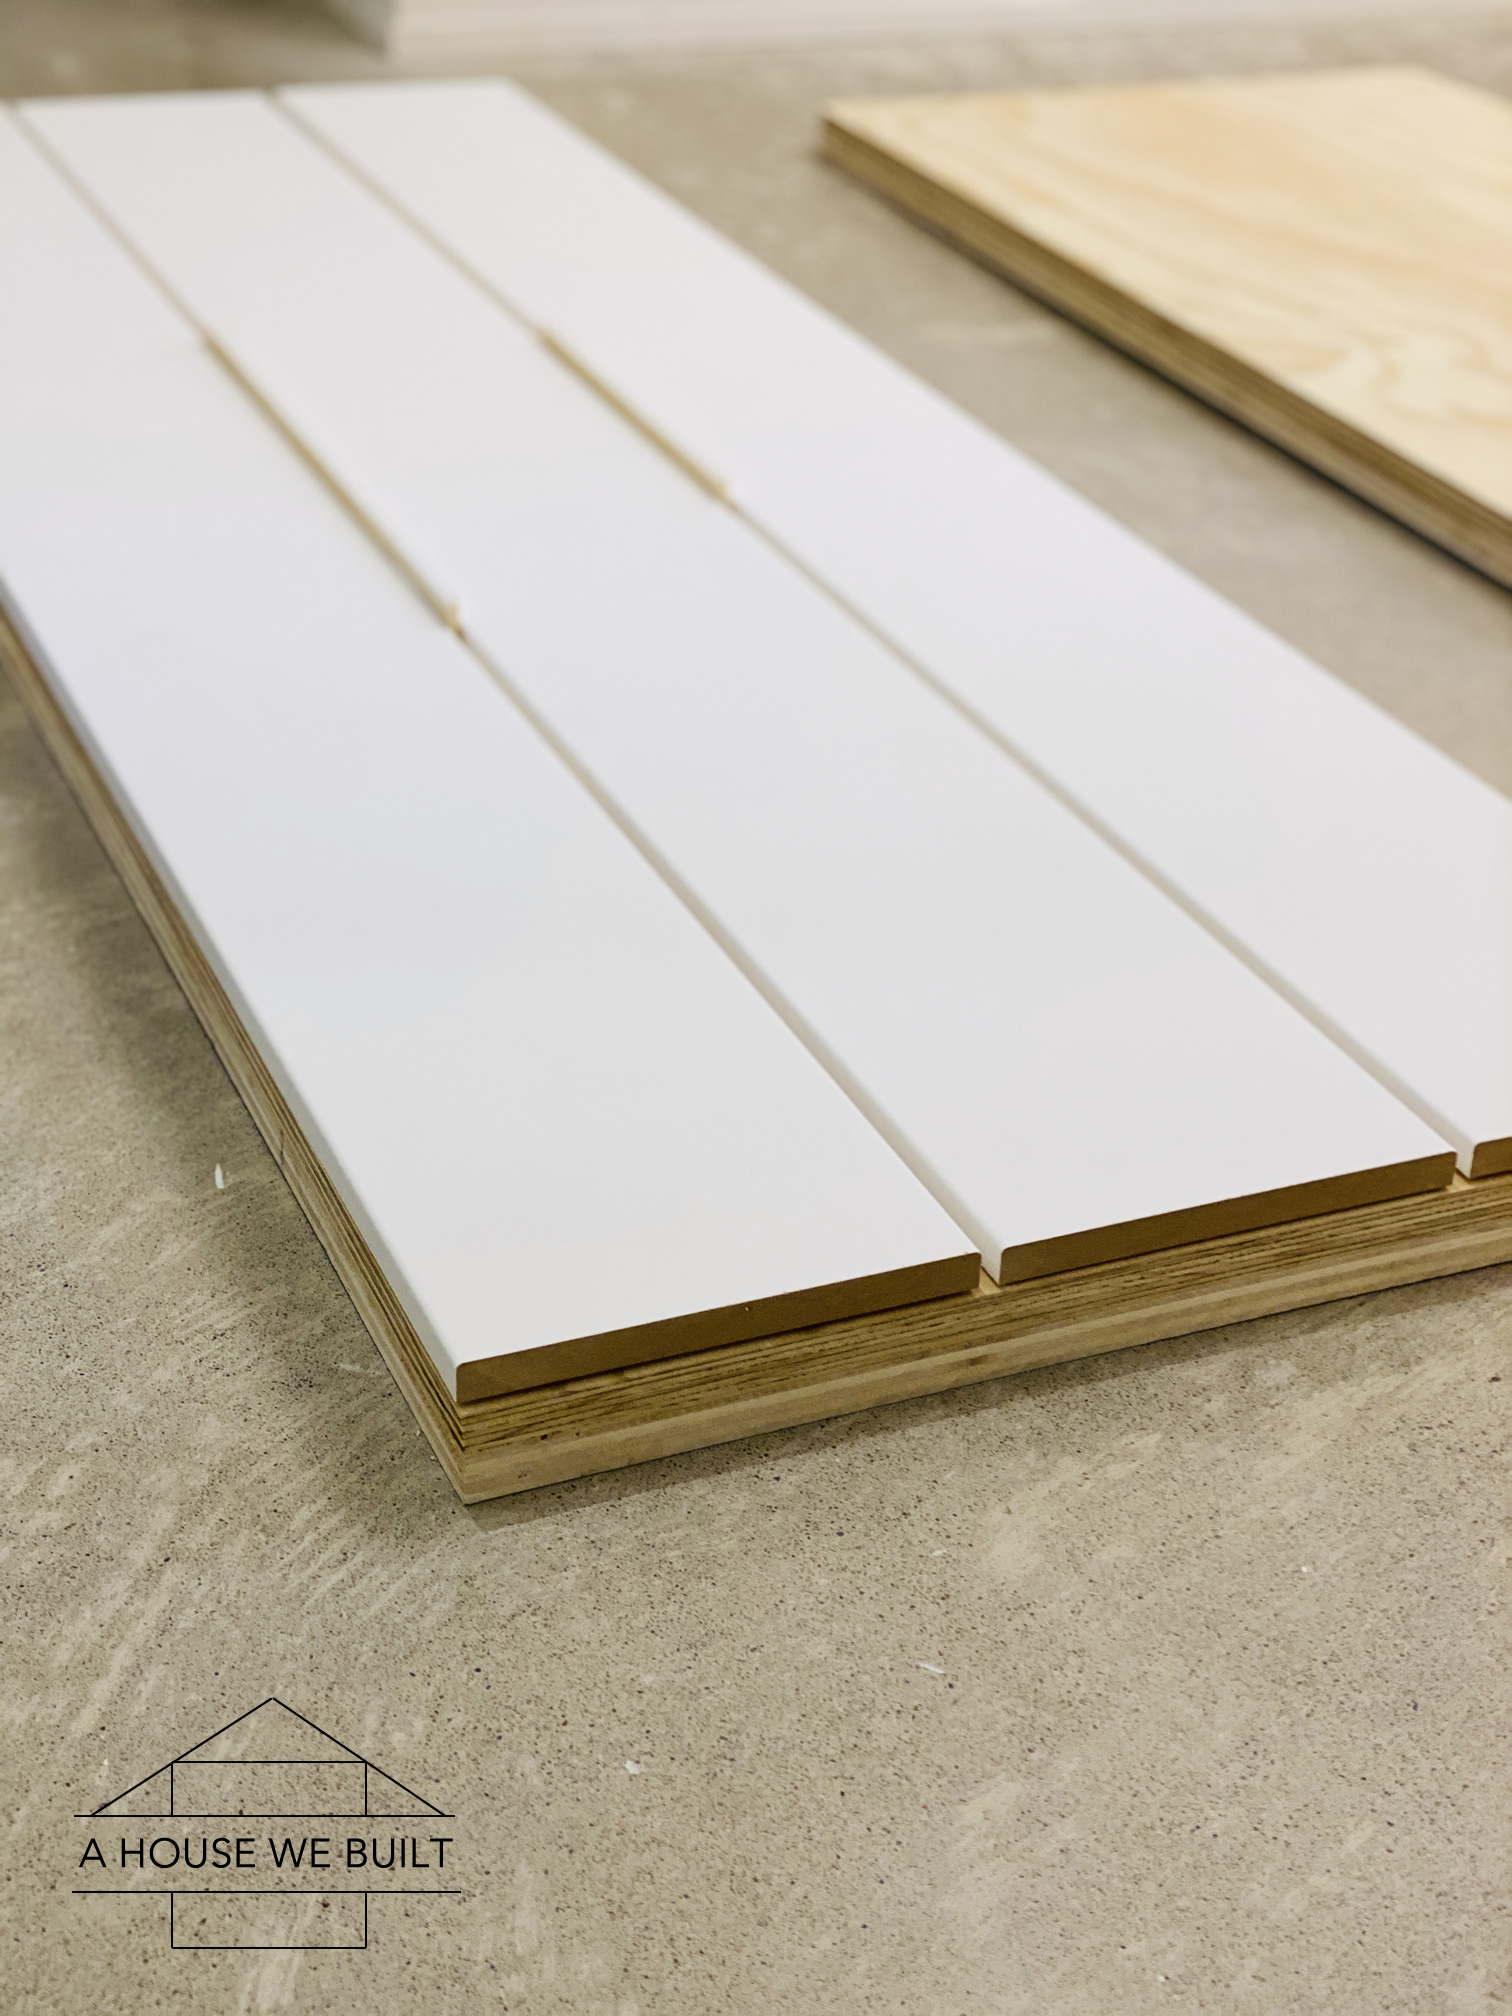
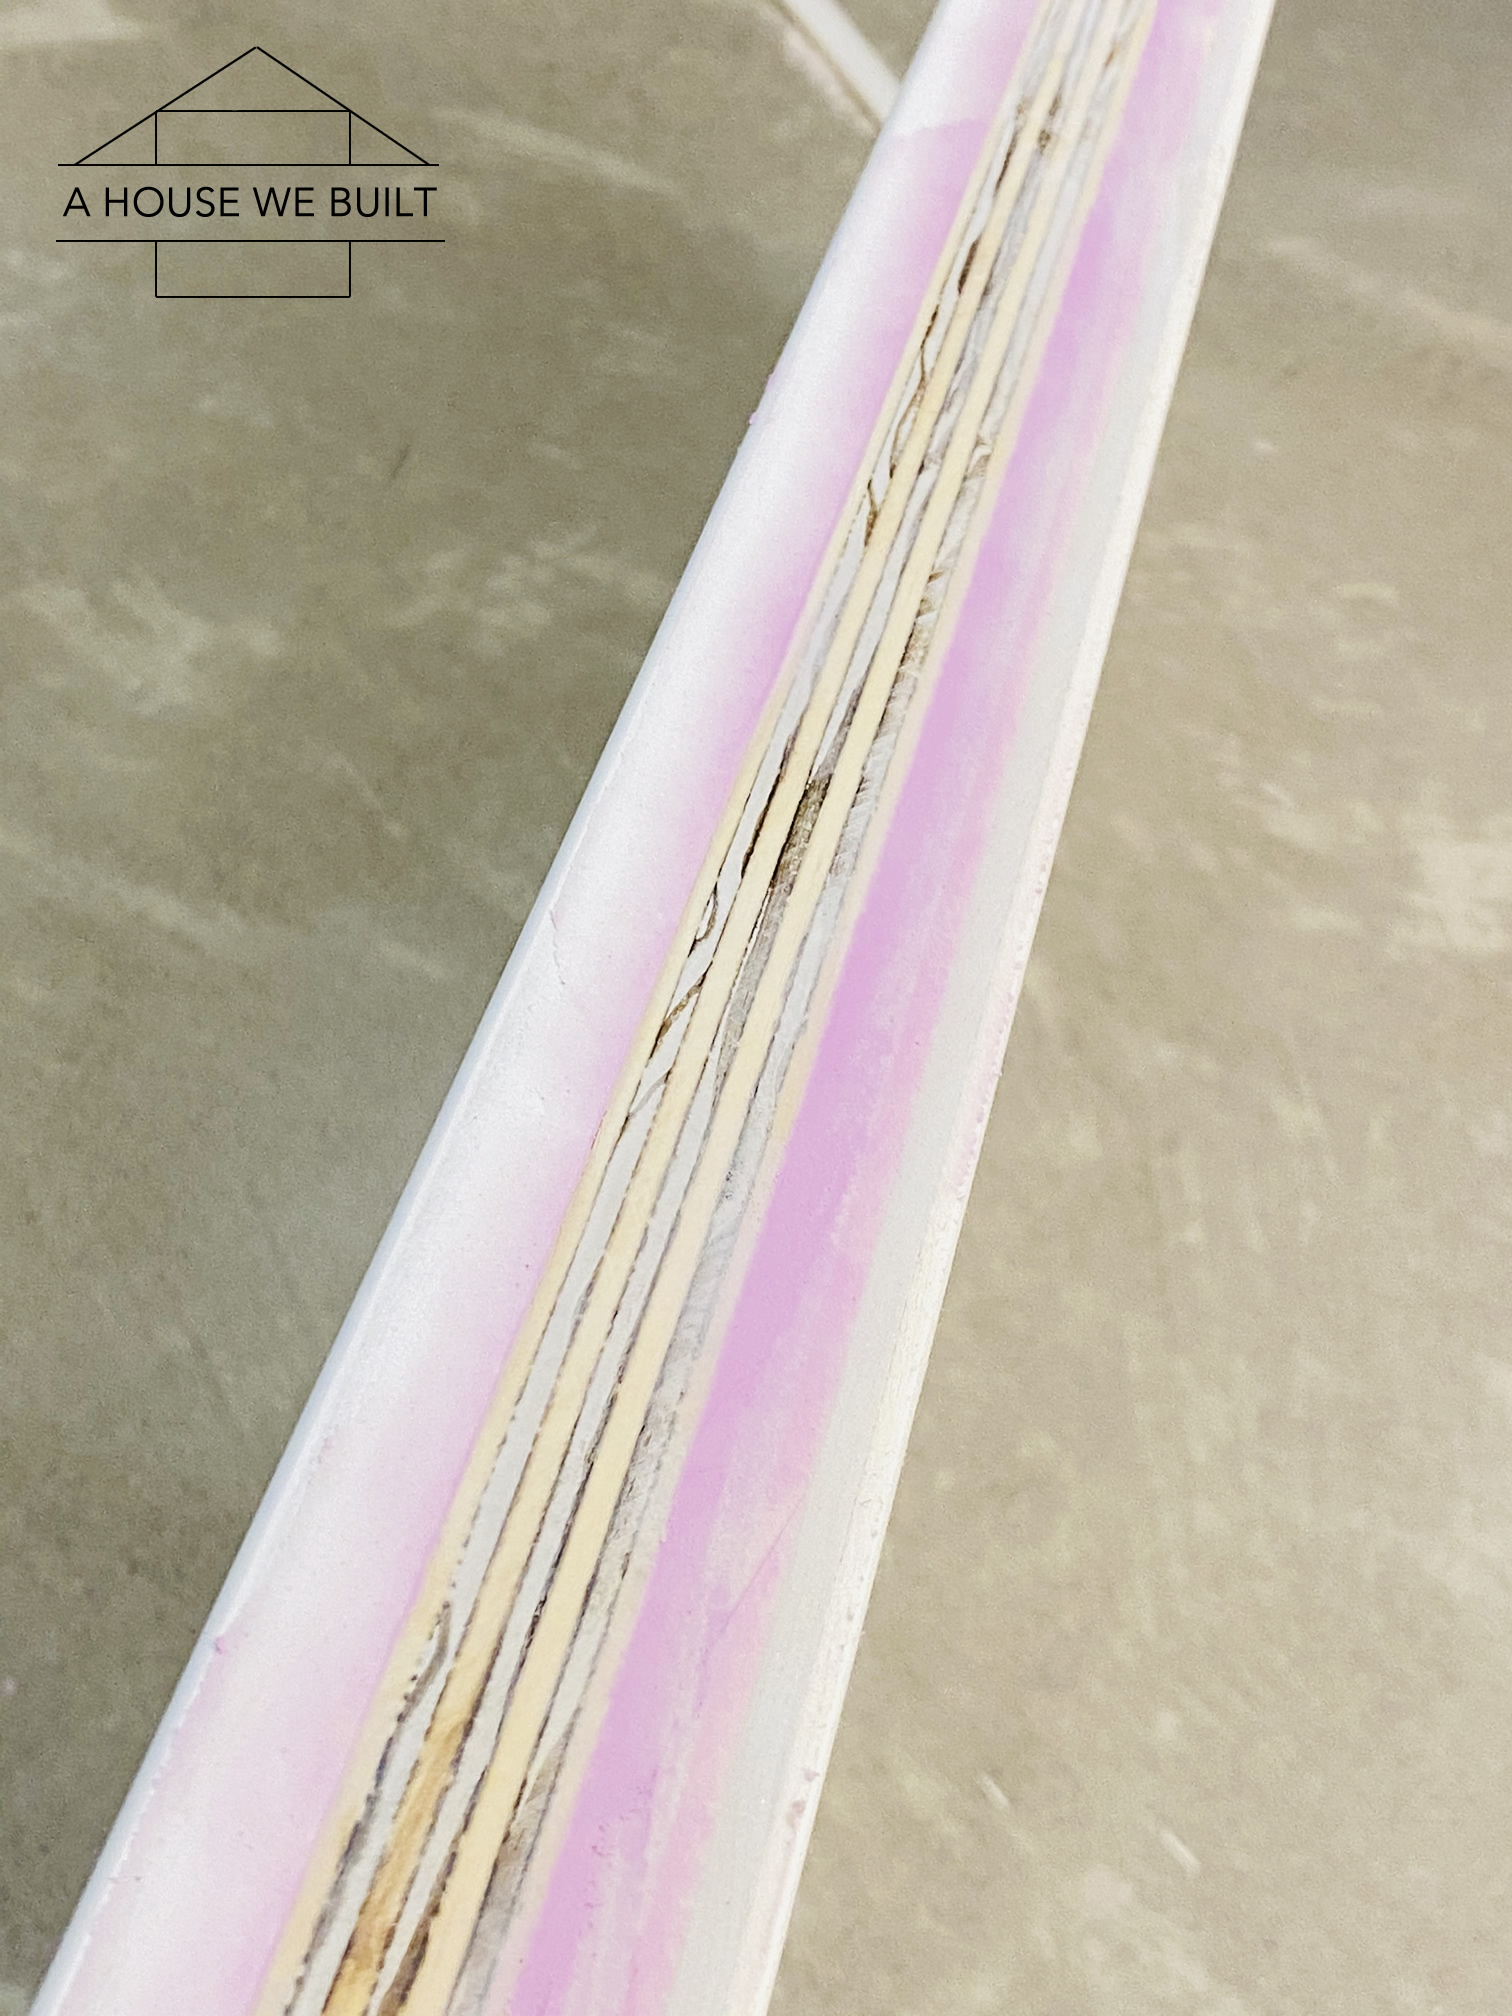
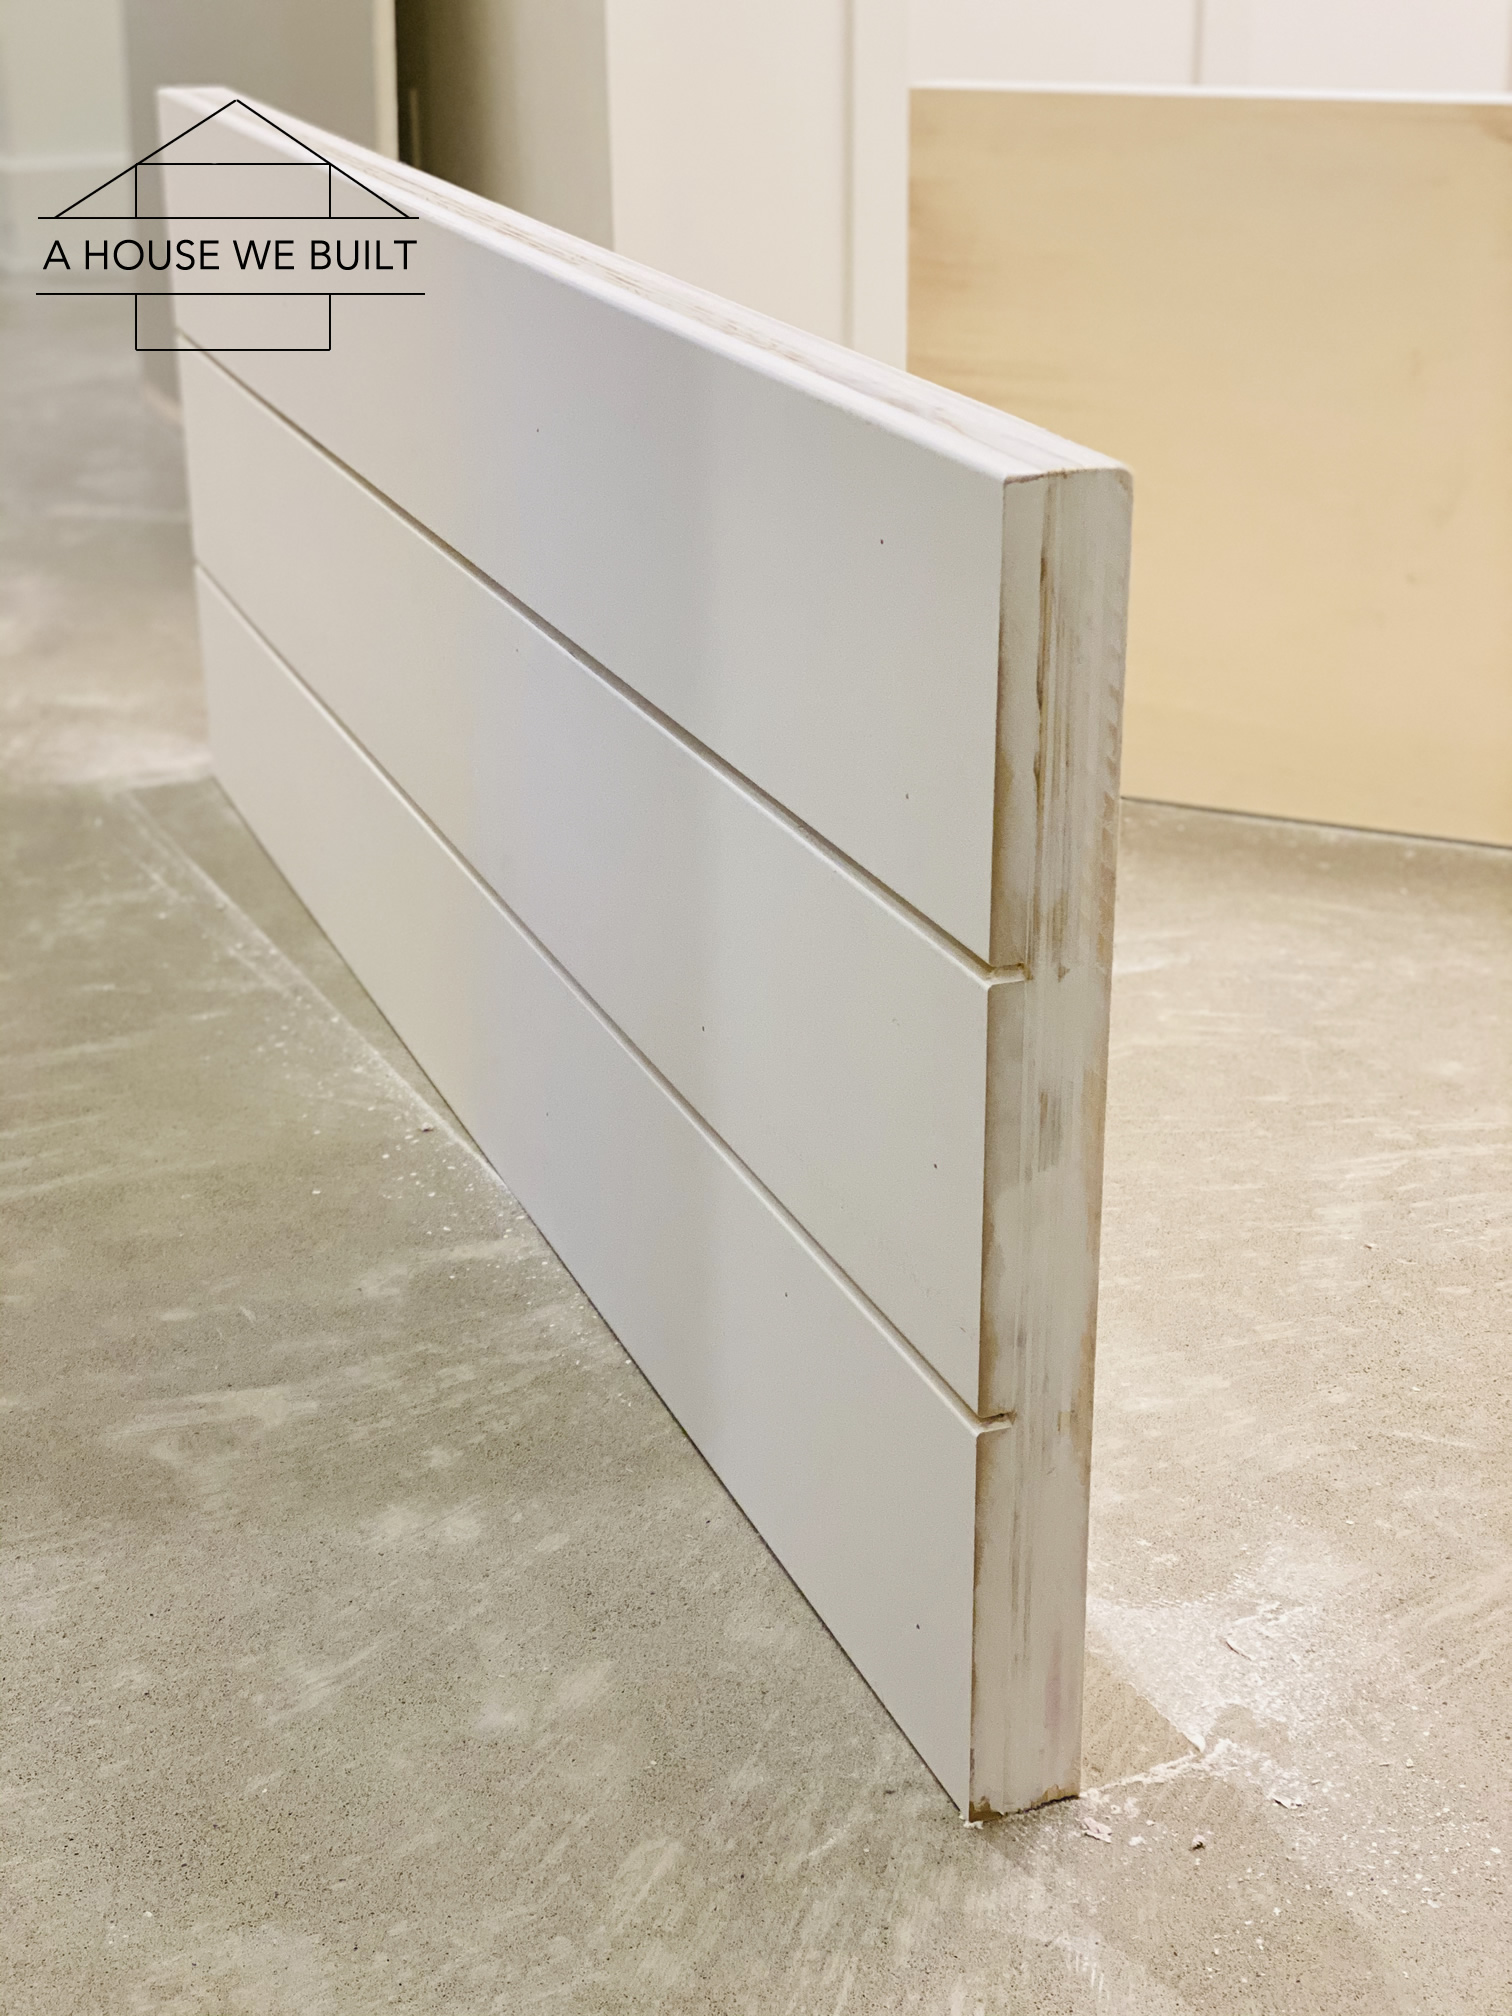
First, build 2 armrests for either end of the sofa pit. Each armrest consists of 3 layers: Two identical inner and middle layers of 3/4″ plywood for strength and one outer layer of decorative trim to make it pretty.
- Cut the 3/4x4x8 plywood to size: 4 pieces, each one 22 1/4″ x 61″.
- Cut the 1x8x8 trim to size: 6 pieces, each one 61″ long.
- Glue and nail 2 x two pieces of plywood together, aligning them perfectly. (Clamps are helpful.)
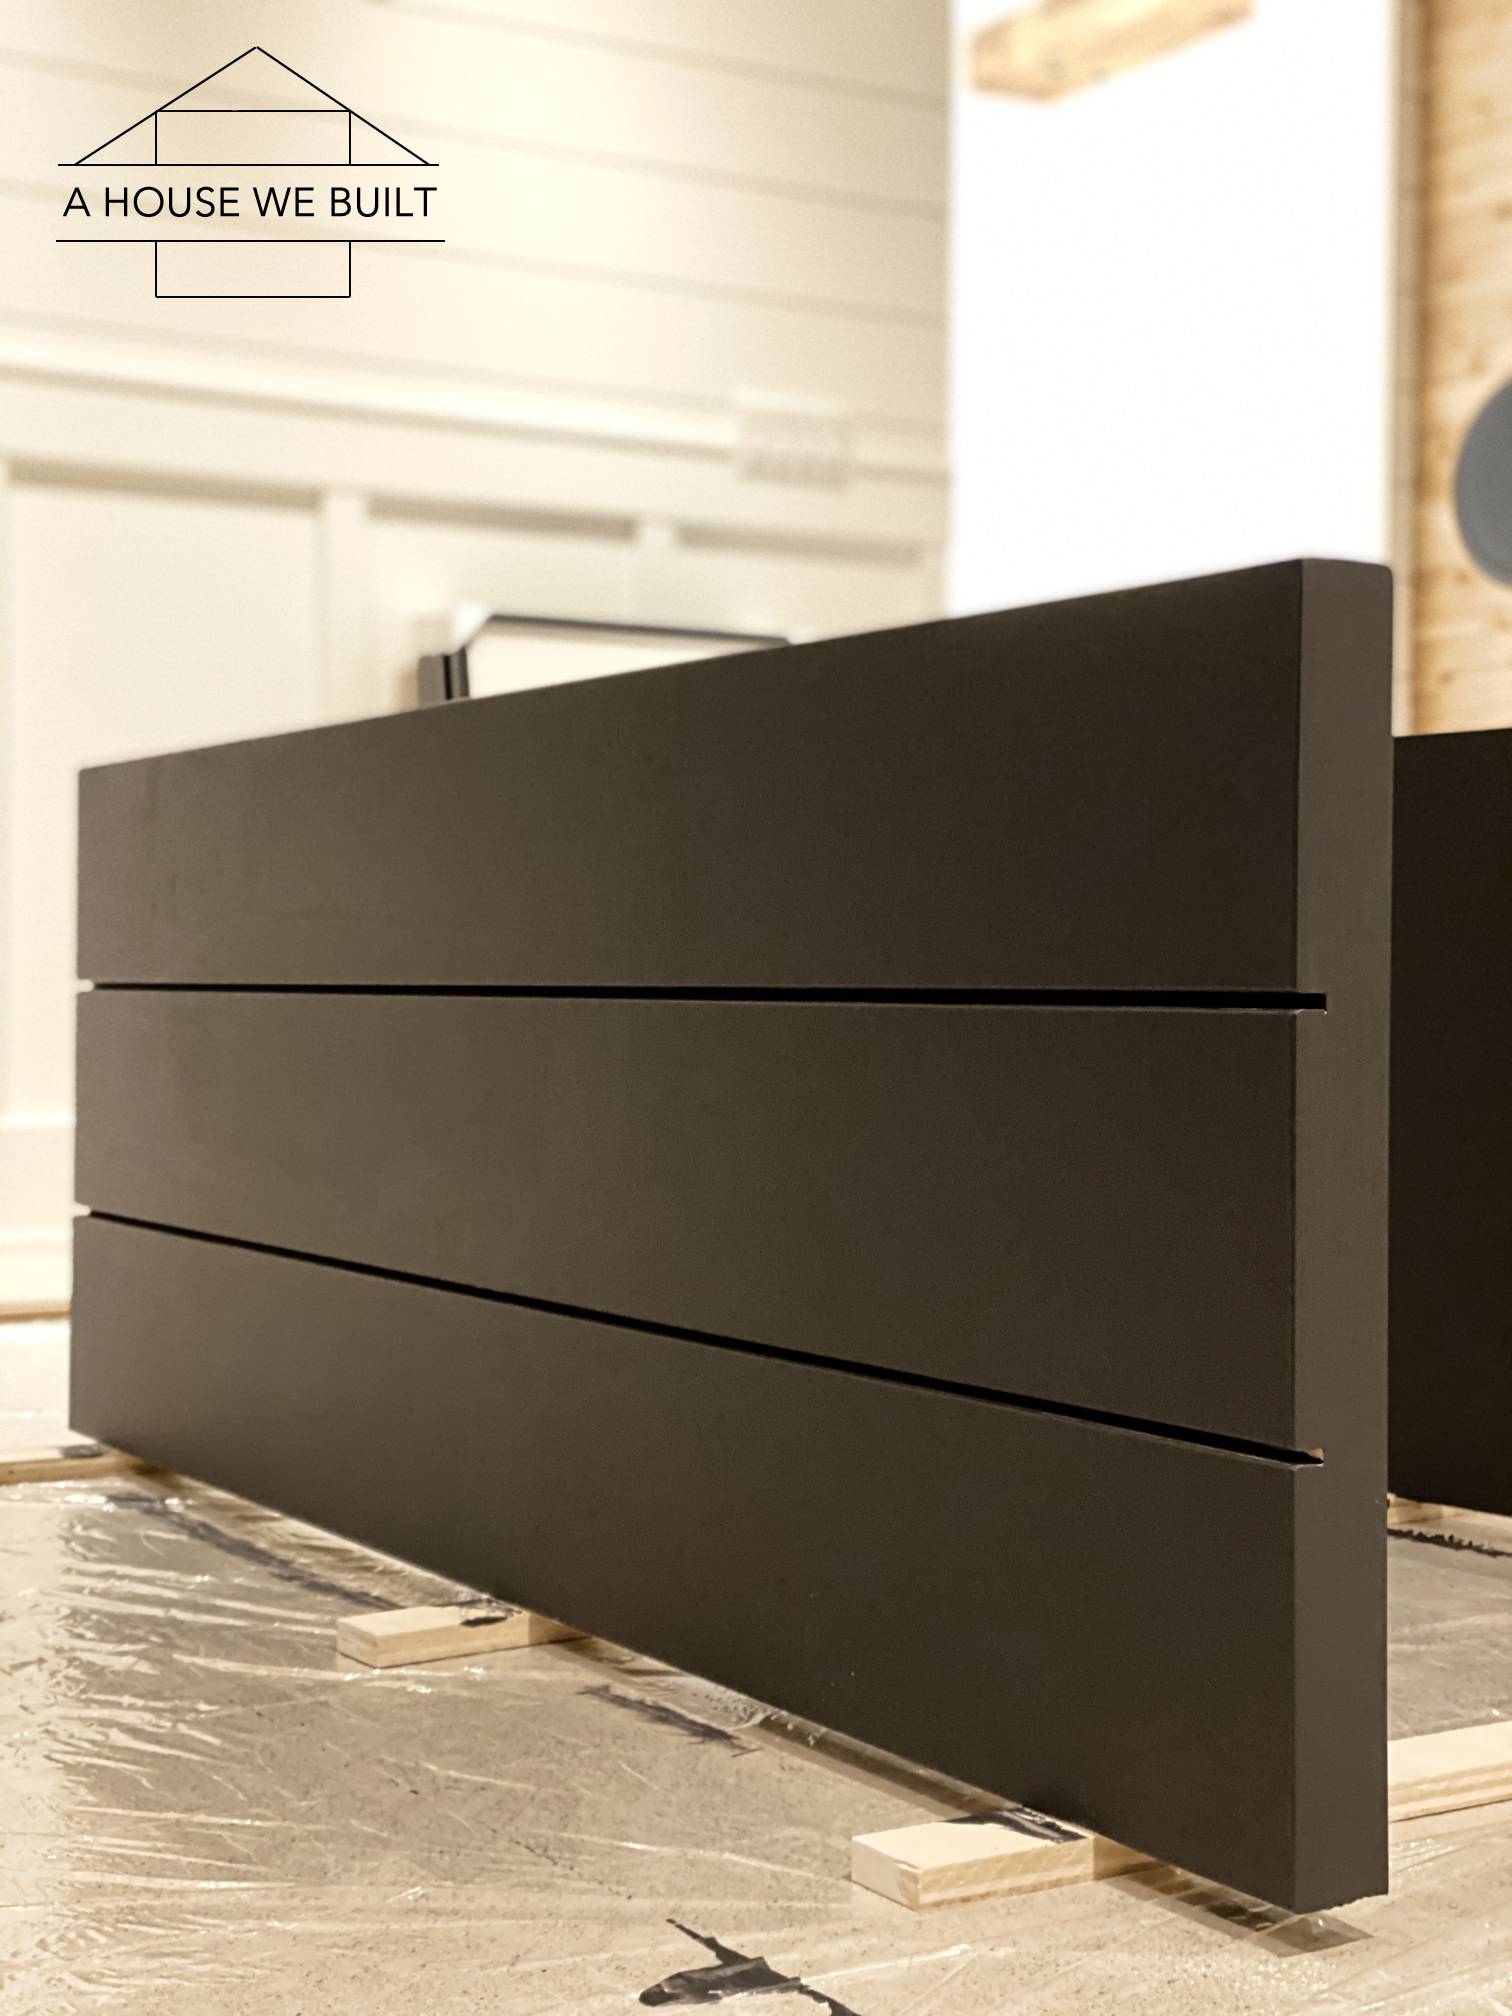
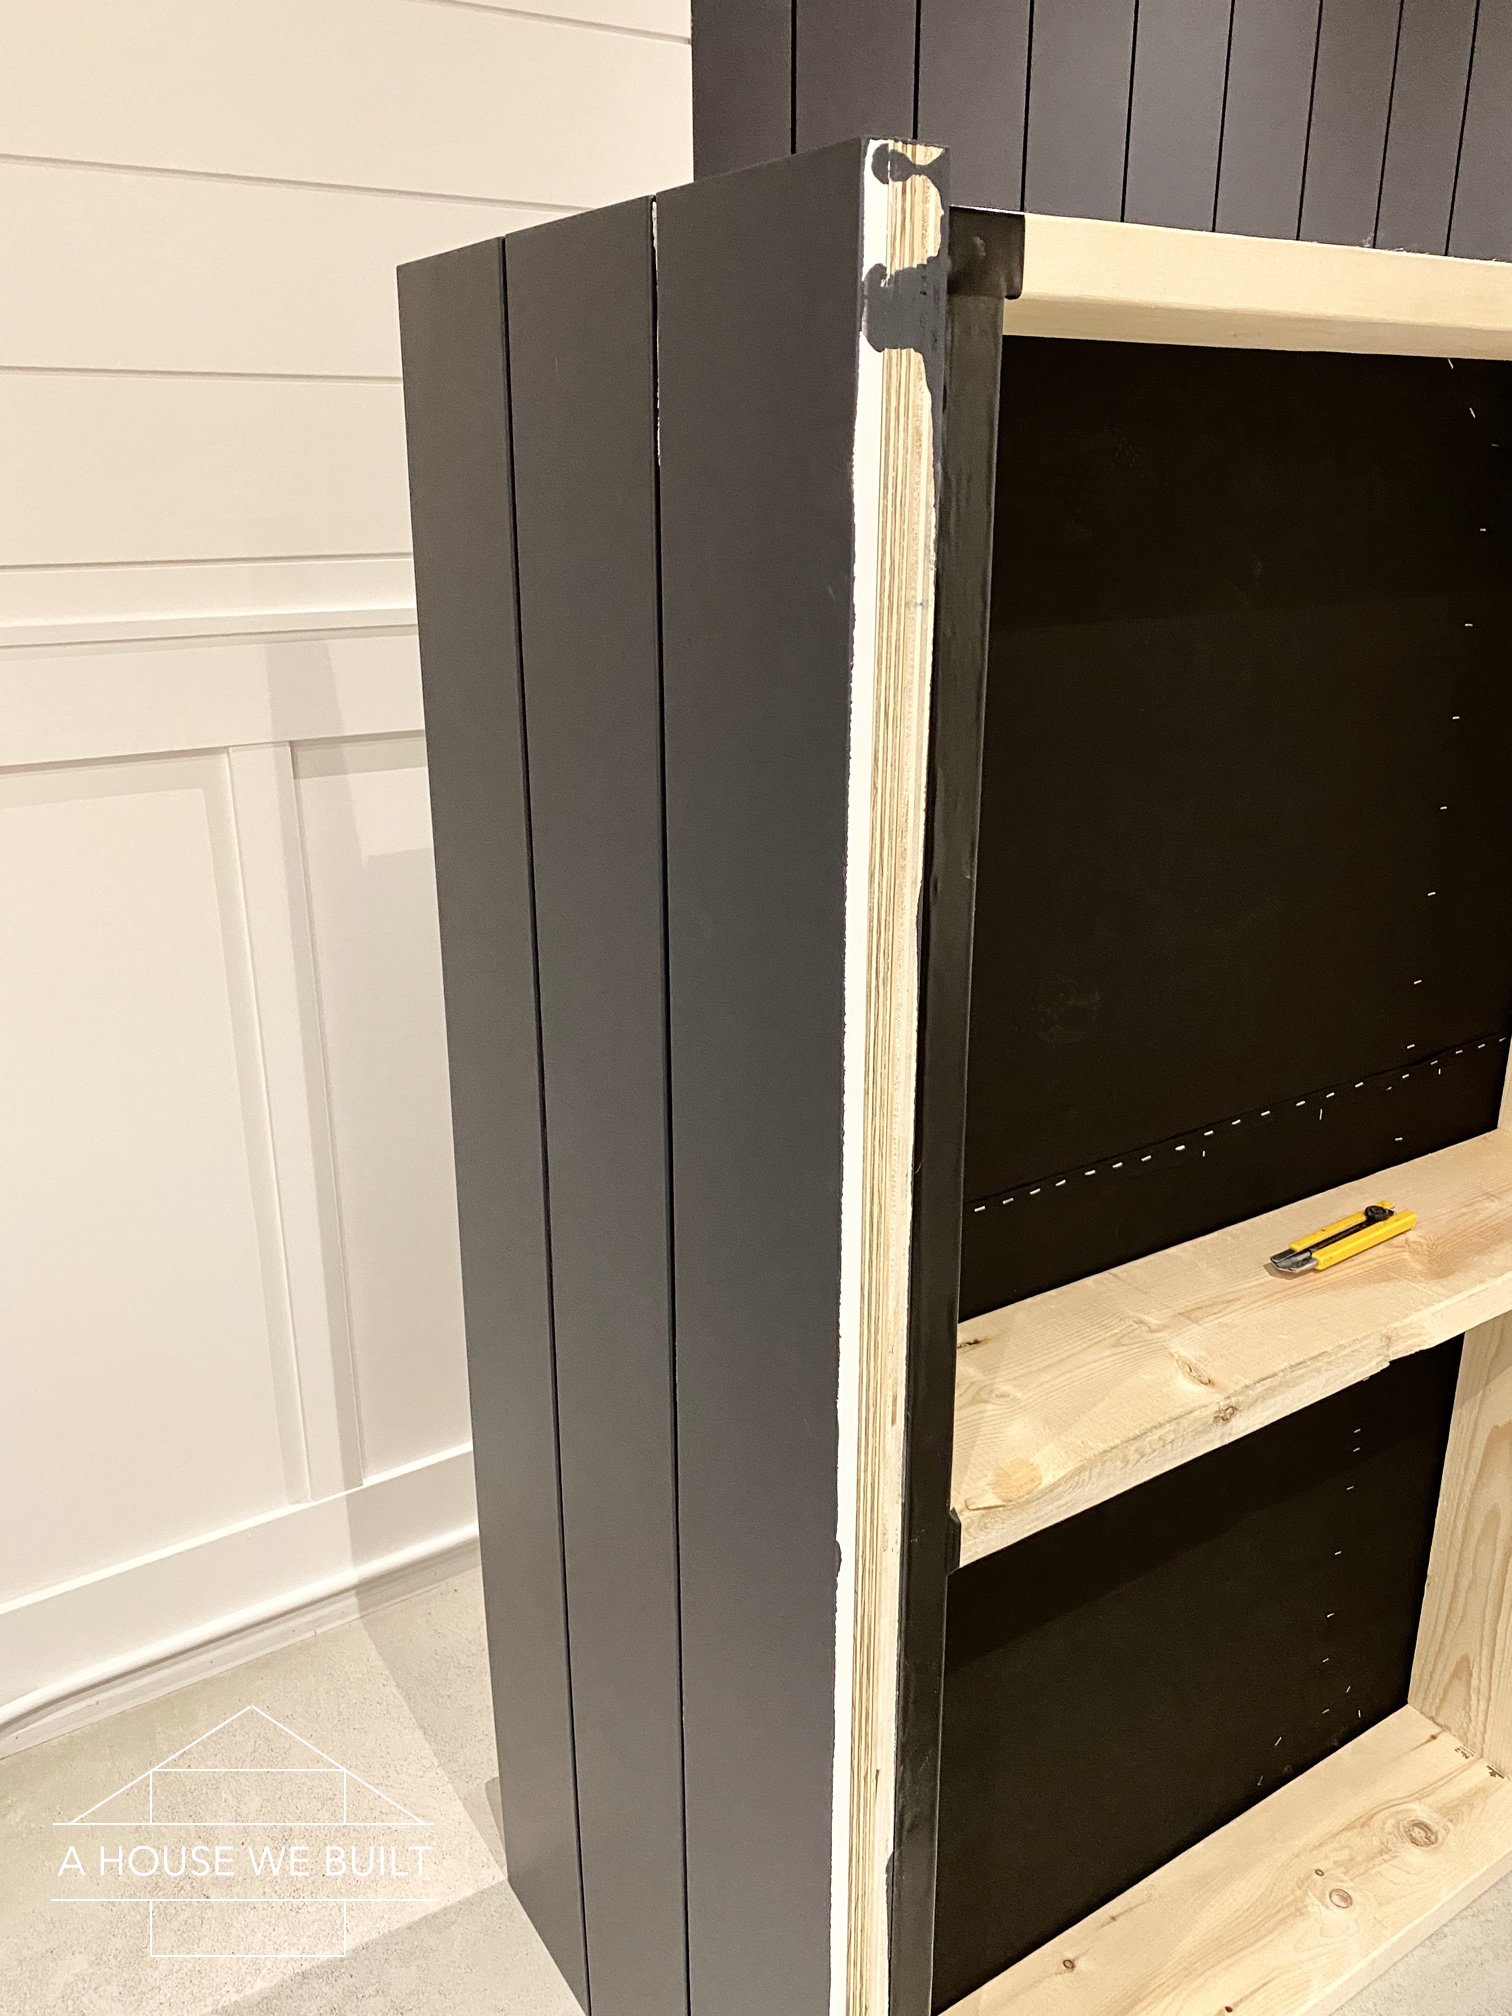
- Glue and nail 3 pieces of trim on each armrest, with about 1/4″ gap between the boards. It’s an almost perfect fit, but not quite. So start with the two top & bottom trim pieces and align them perfectly with the outer plywood edges, then glue & nail those into place. Next align your middle trim piece in the exact middle of your outer two trim pieces, and glue & nail it into place. I eyeballed it but the end result is that the gap should be just a hair under 1/4″ evenly between all trim pieces.
- Sand the outer edges of your armrests (where the two pieces of plywood and trim meet).
- Use wood filler to heavily fill in any uneven spaces. Be generous with the wood filler but do it carefully. I did a layer of wood filler over the entire exterior seams. Also wood filler all nail holes.
- Once dry, sand the wood filler until perfectly smooth.
- Paint the armrests and allow them to dry for at least one full day.
- Top coat your armrests just to seal them once the paint is fully dry.
PART 2 | BUILDING THE SOFA PIT FRAME:
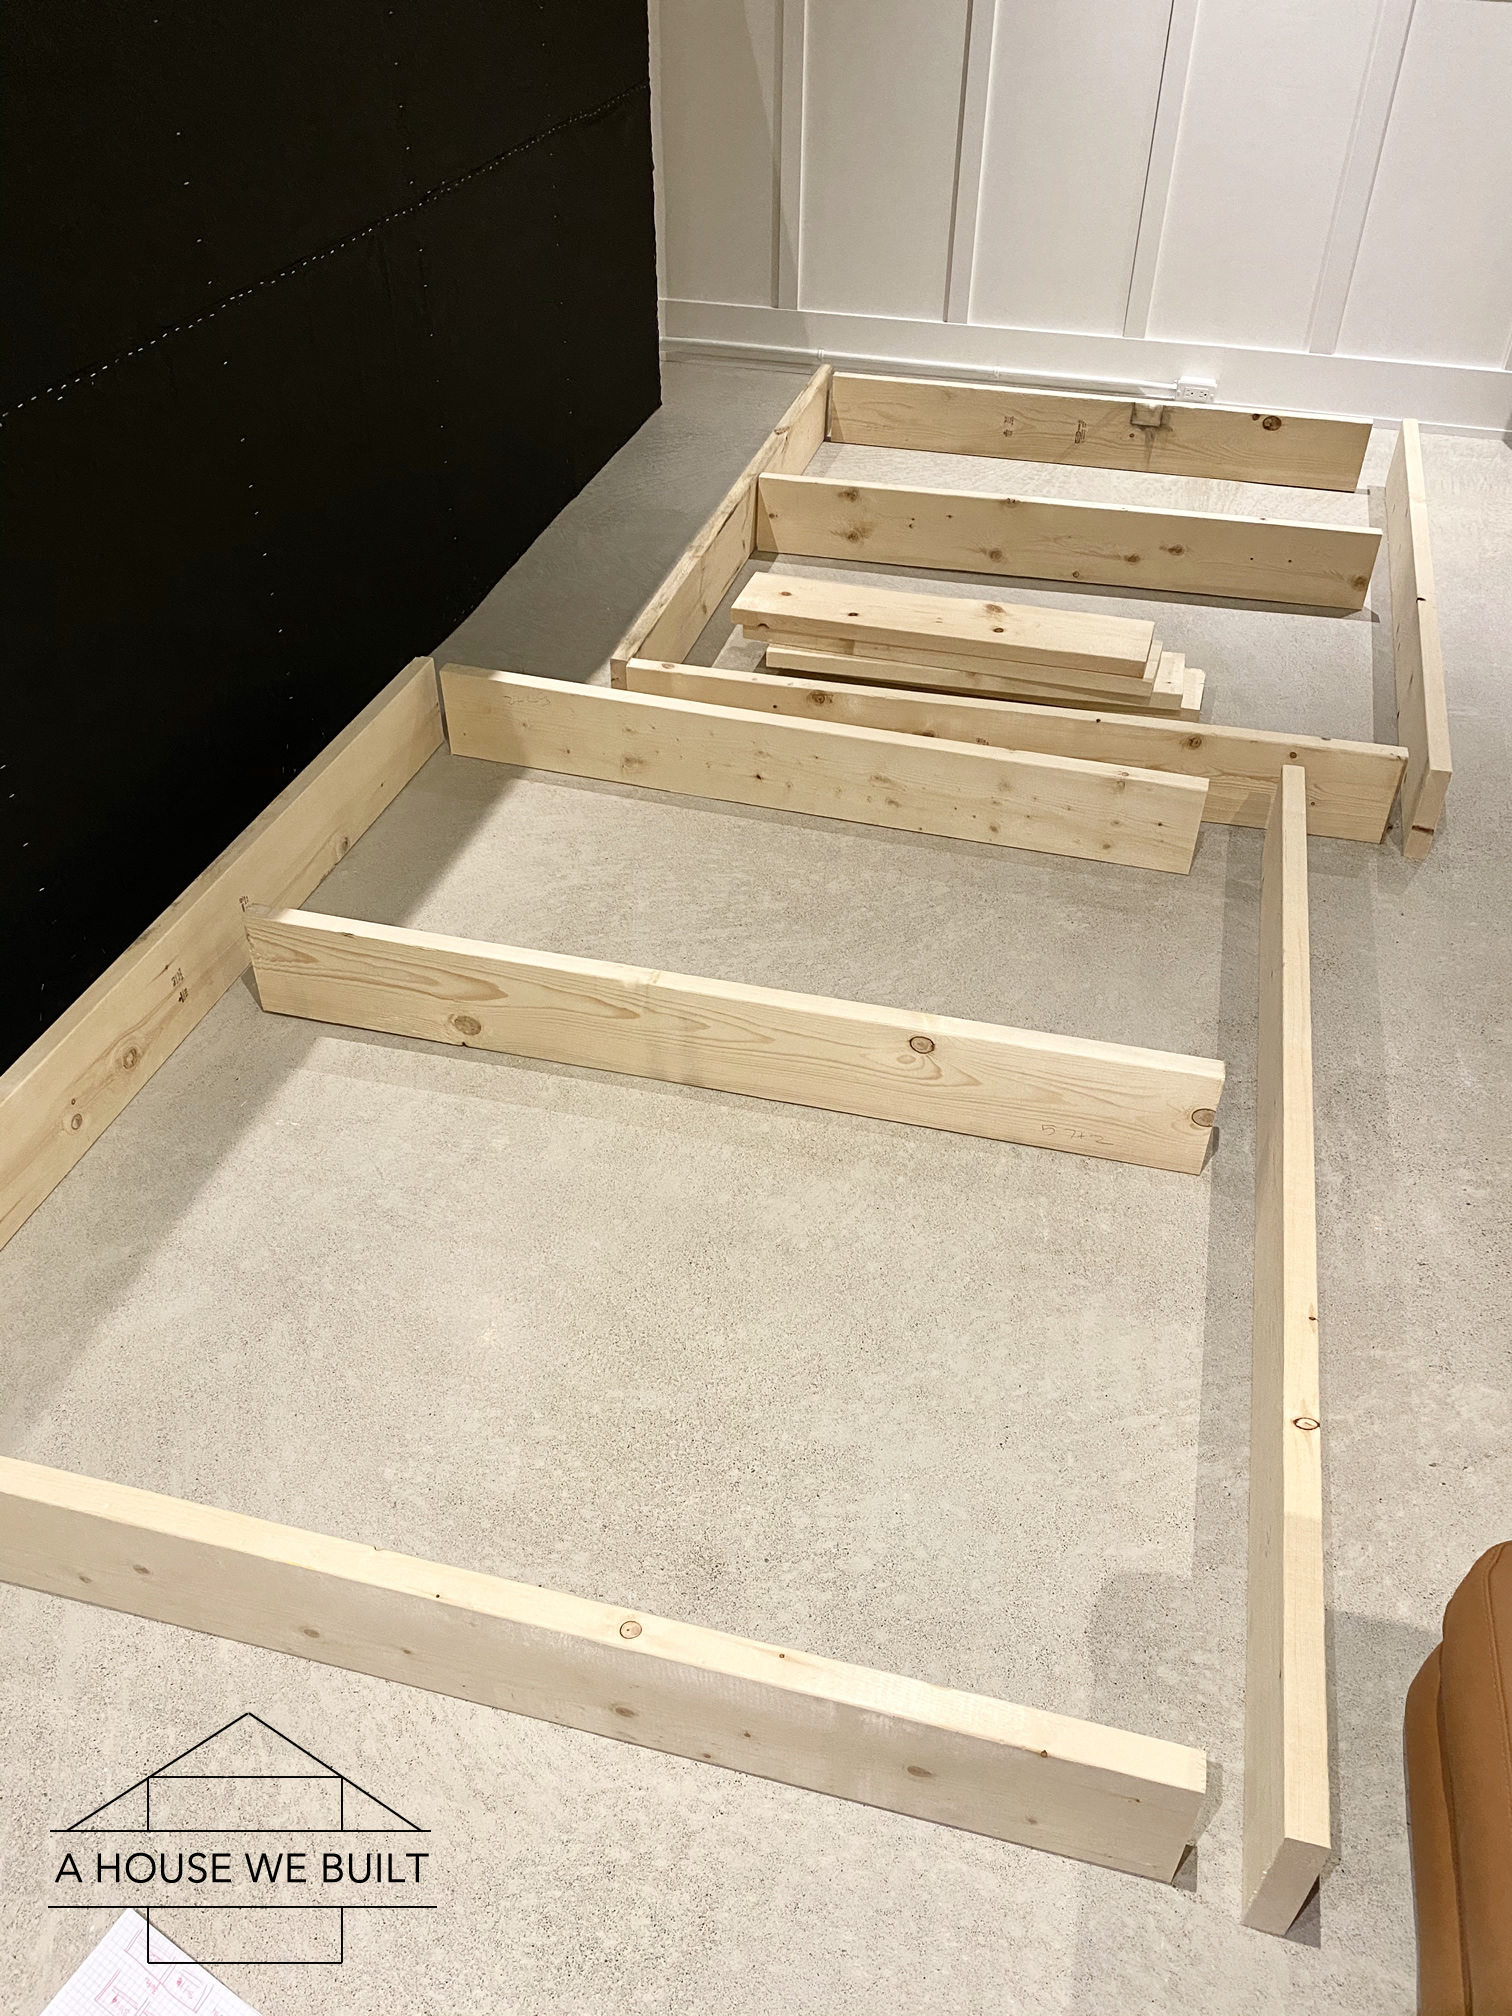
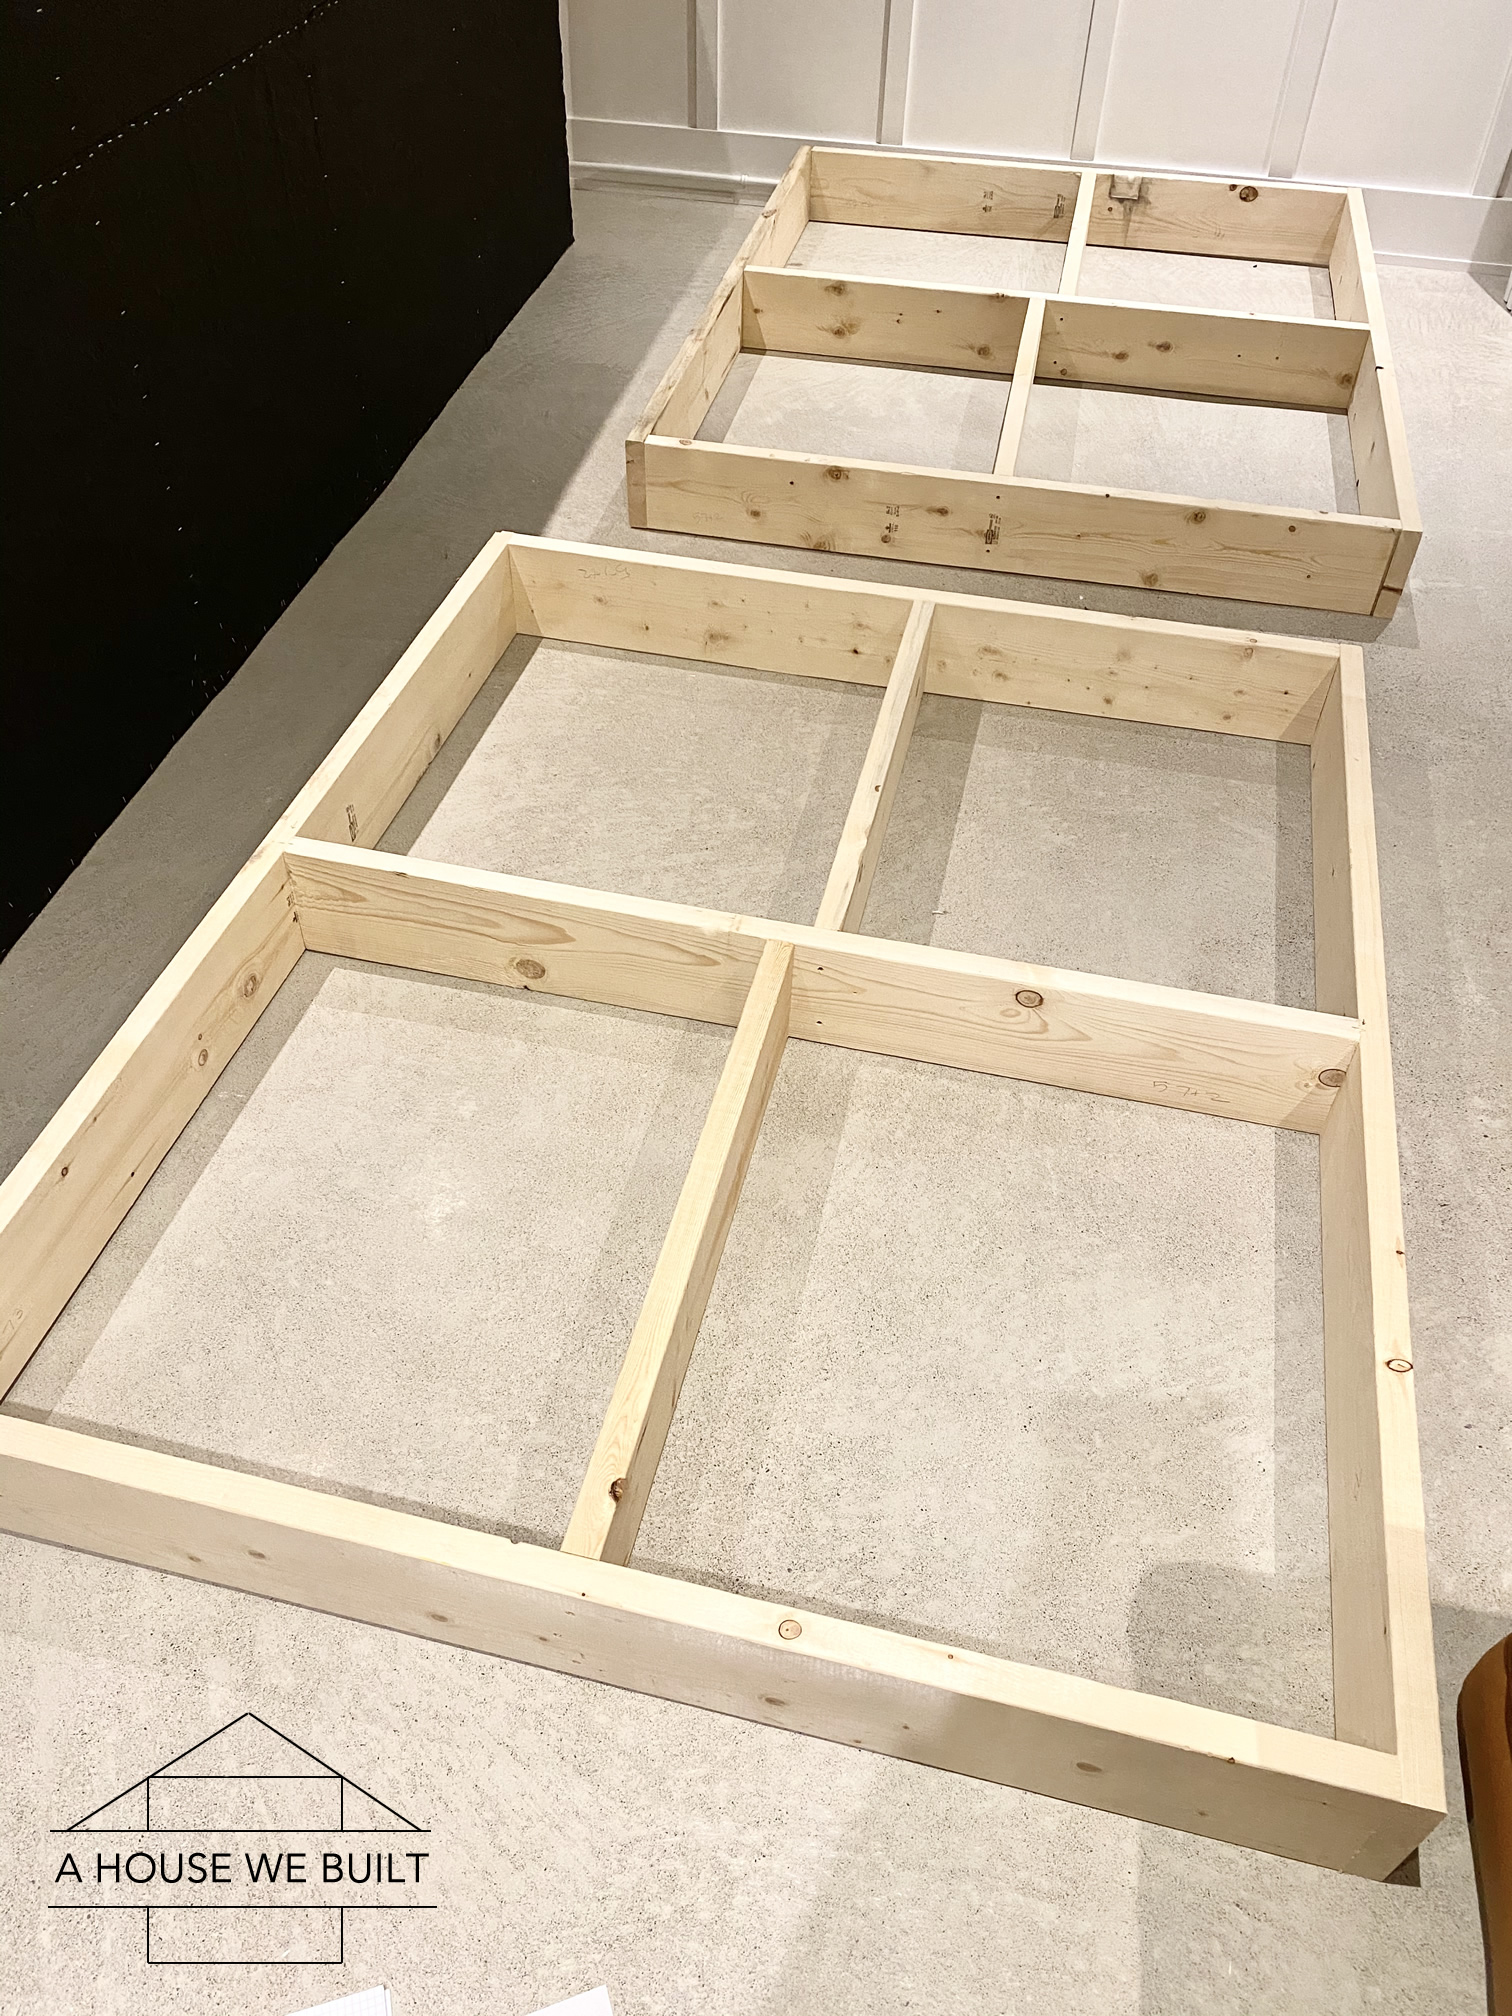
Next, we built the frame that goes under the sofa pit to support it instead of legs. We used 2x8s because that’s how high off the ground we wanted our sofa pit. You could build it higher (with x10s or x12s) or lower (with x4s or x6s) but then you’d need to make your armrests proportionately lower/higher as well). This under-frame is just like framing a wall: it has a header, footer, supports, and blocking.
- Cut all the 2x8s to length as per this list:
– 2 pieces 73″ long (Box A header + footer)
– 2 pieces 73 3/4″ long (Box B header + footer)
– 6 pieces 57 1/4″ long (Support pieces – one on either end of the 2 boxes + 1 in the middle)
– 3 pieces 34 1/2″ long (Blocking – 2 for Box A, 1 for Box B)
– 1 piece at 35″ long (Blocking – second piece for Box B) - Assemble them into 2 boxes as per the diagram below using 3″ wood screws.
- Attach your two boxes together (with screws) to make one large rectangular frame box.
PART 3 | ASSEMBLING THE SOFA PIT:
Now that you have all the individual parts of your sofa pit frame made, it’s time to bring them all together.
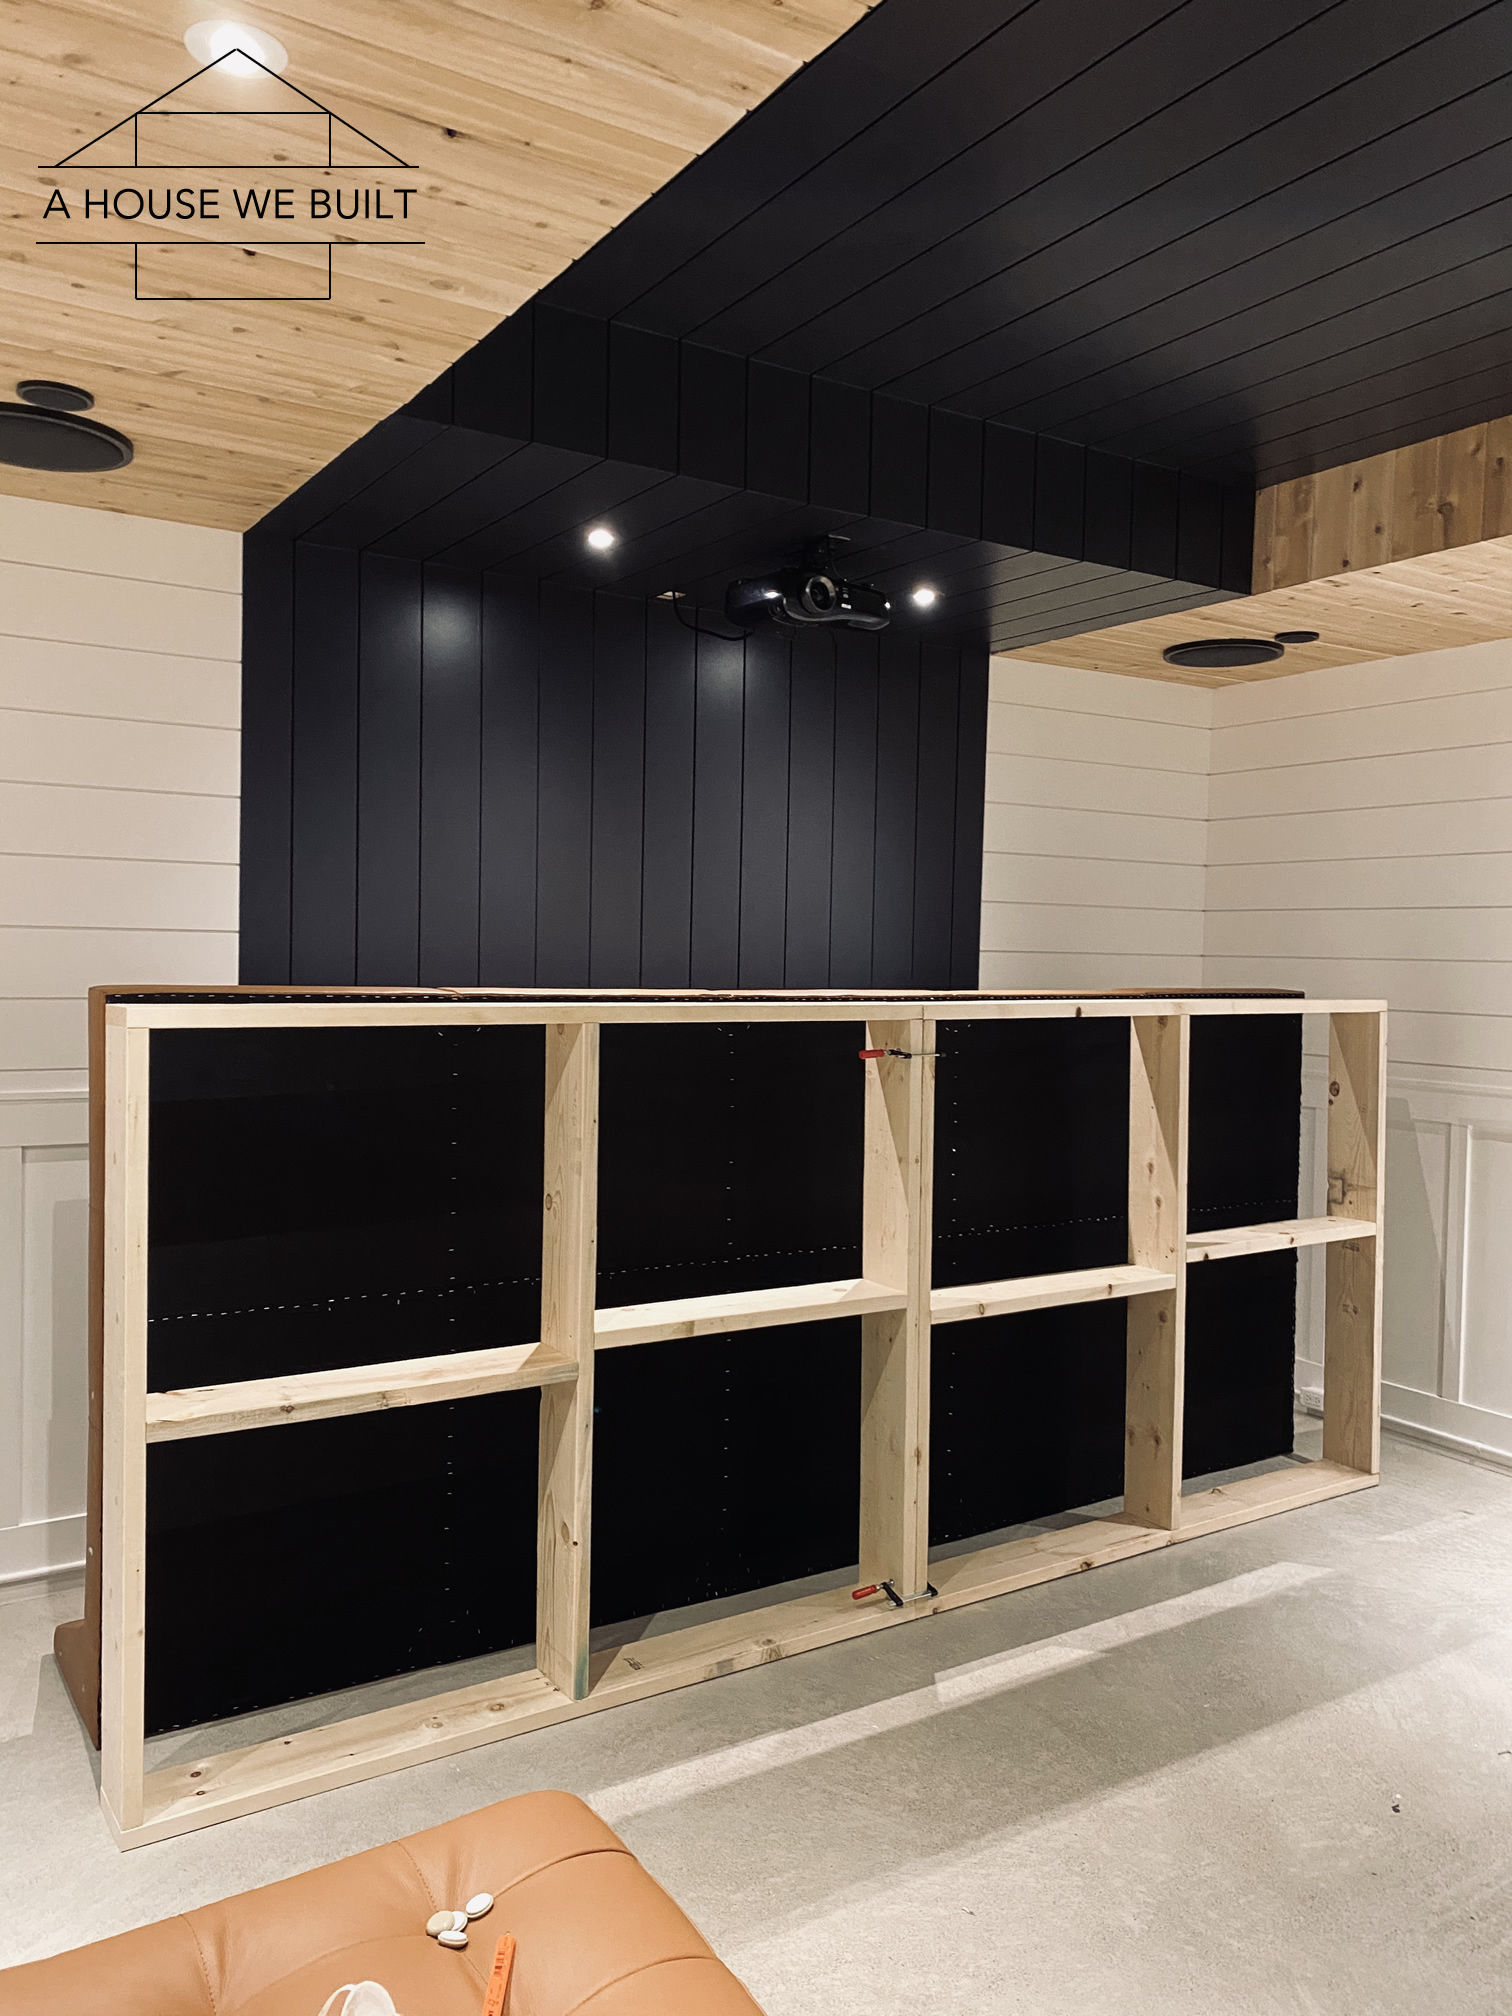
- Tilt your sofa units up on their back (they should already all be bolted together) so that the underside is vertical and accessible. Place them as close to their final destination as possible because once this whole thing is assembled it’s VERY, very, very, very hard to move.
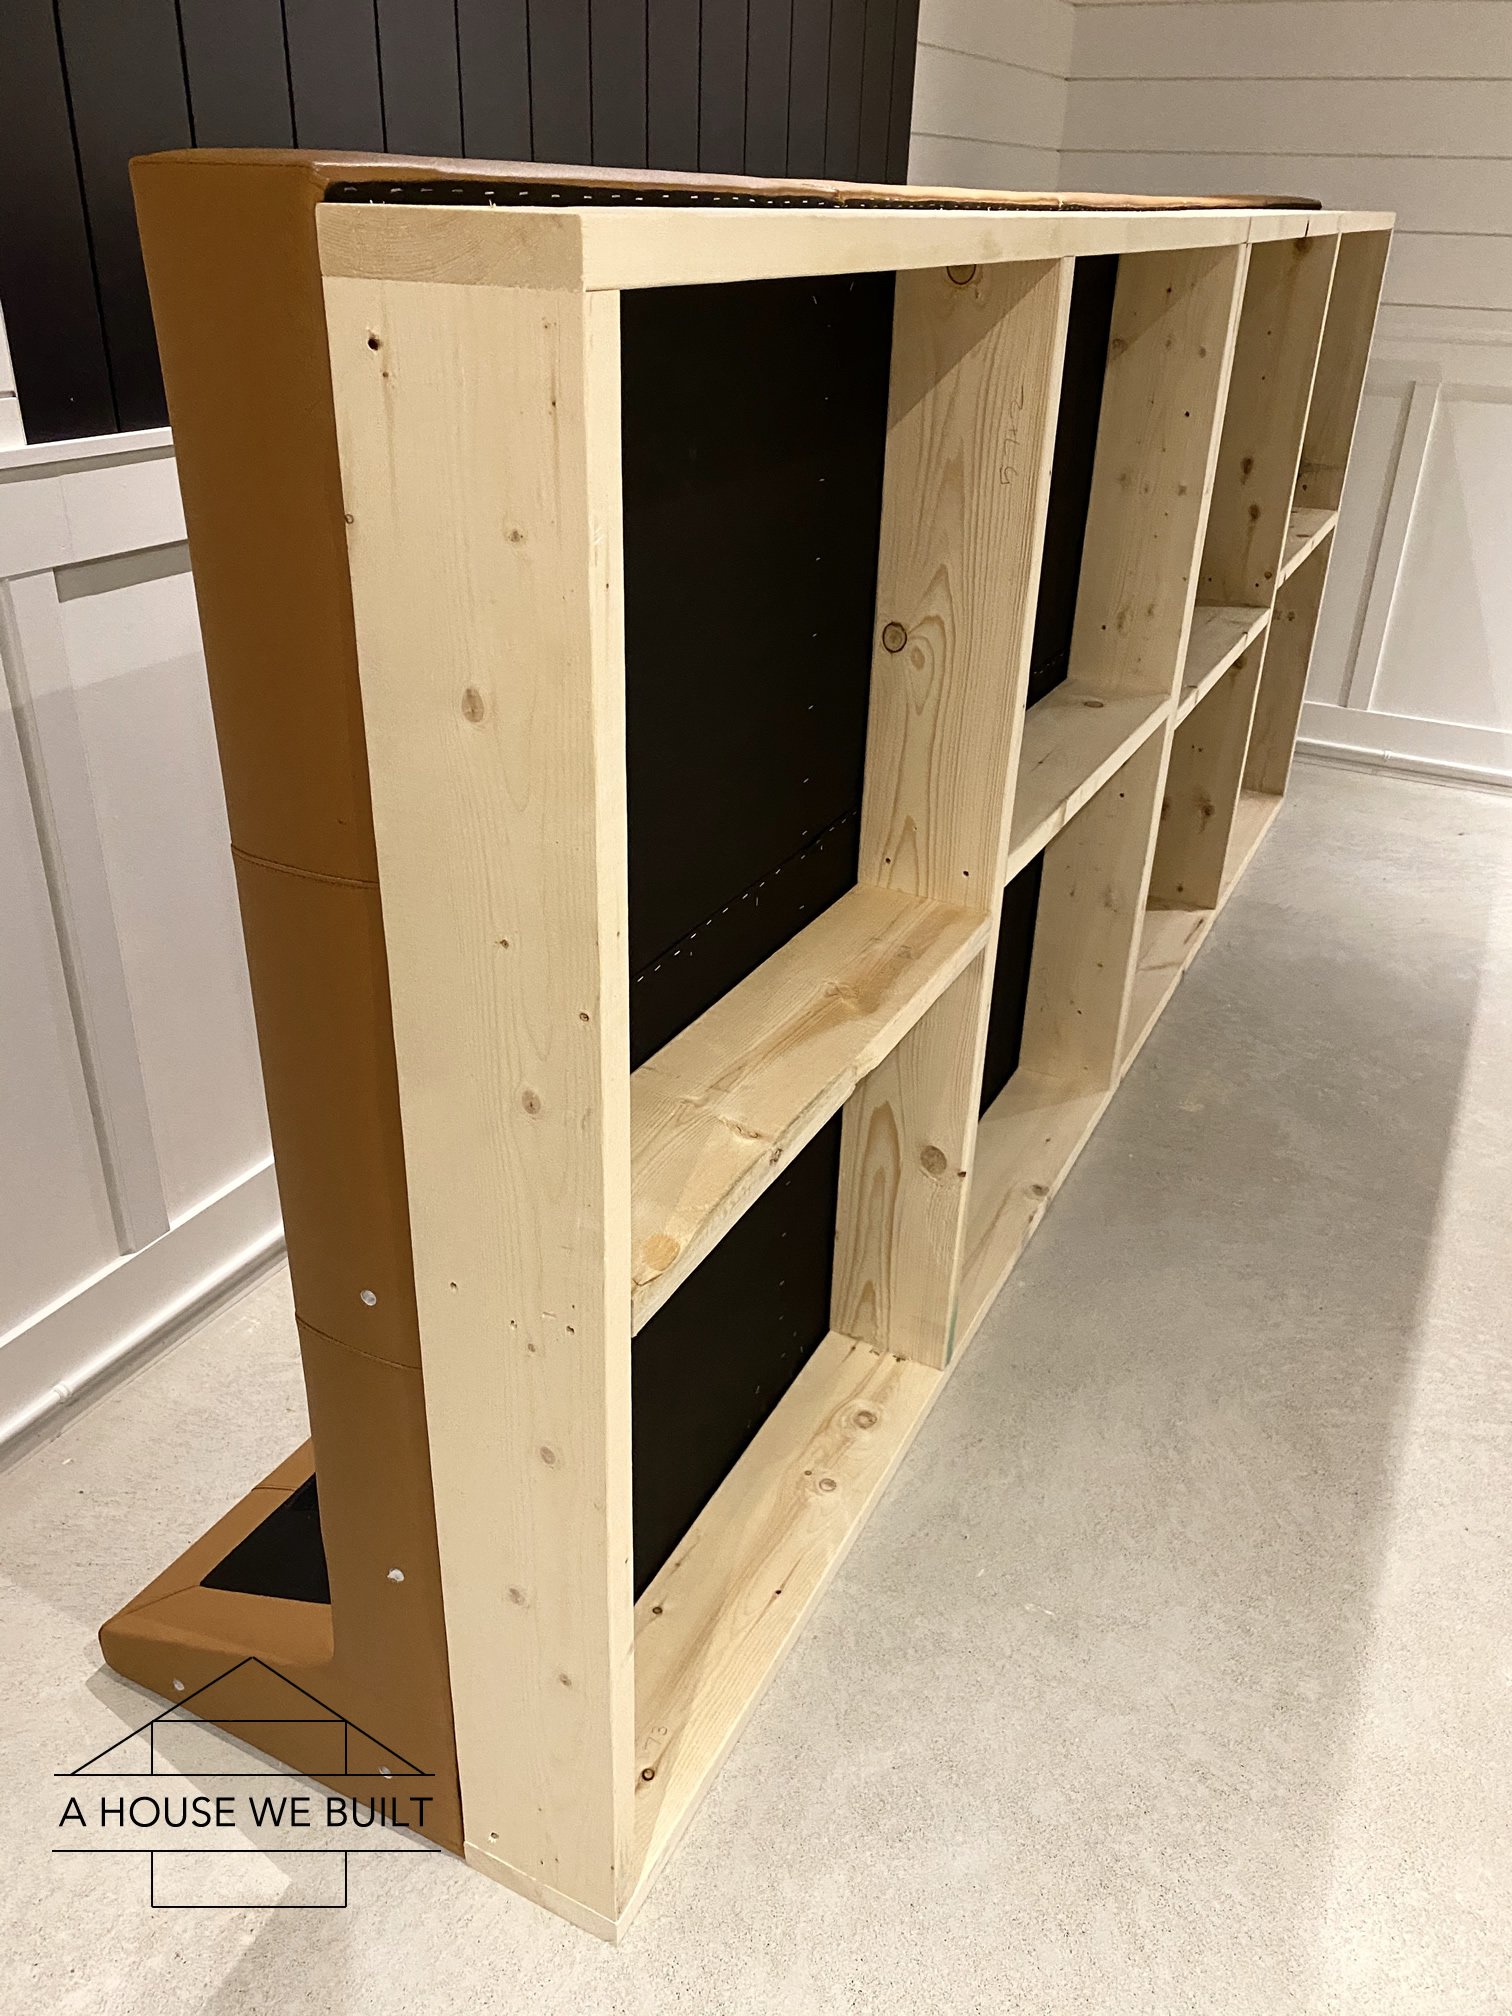
- Align the frame boxes with the underside + back of the sofa and attach it to the bottom of the sofa frame with using small L-brackets. The frame will be a little shorter than the sofa so you’ll notice a gap at the front. This is intentional to allow for trim to be attached to the front at the end to make it pretty. So frame should align perfectly with the back and two sides of the underside of the sofa, but end just under an inch short of the front. Note: There are these little triangular wood pads under the sofa units where the legs are intended to be attached to that you can use to anchor the frame.
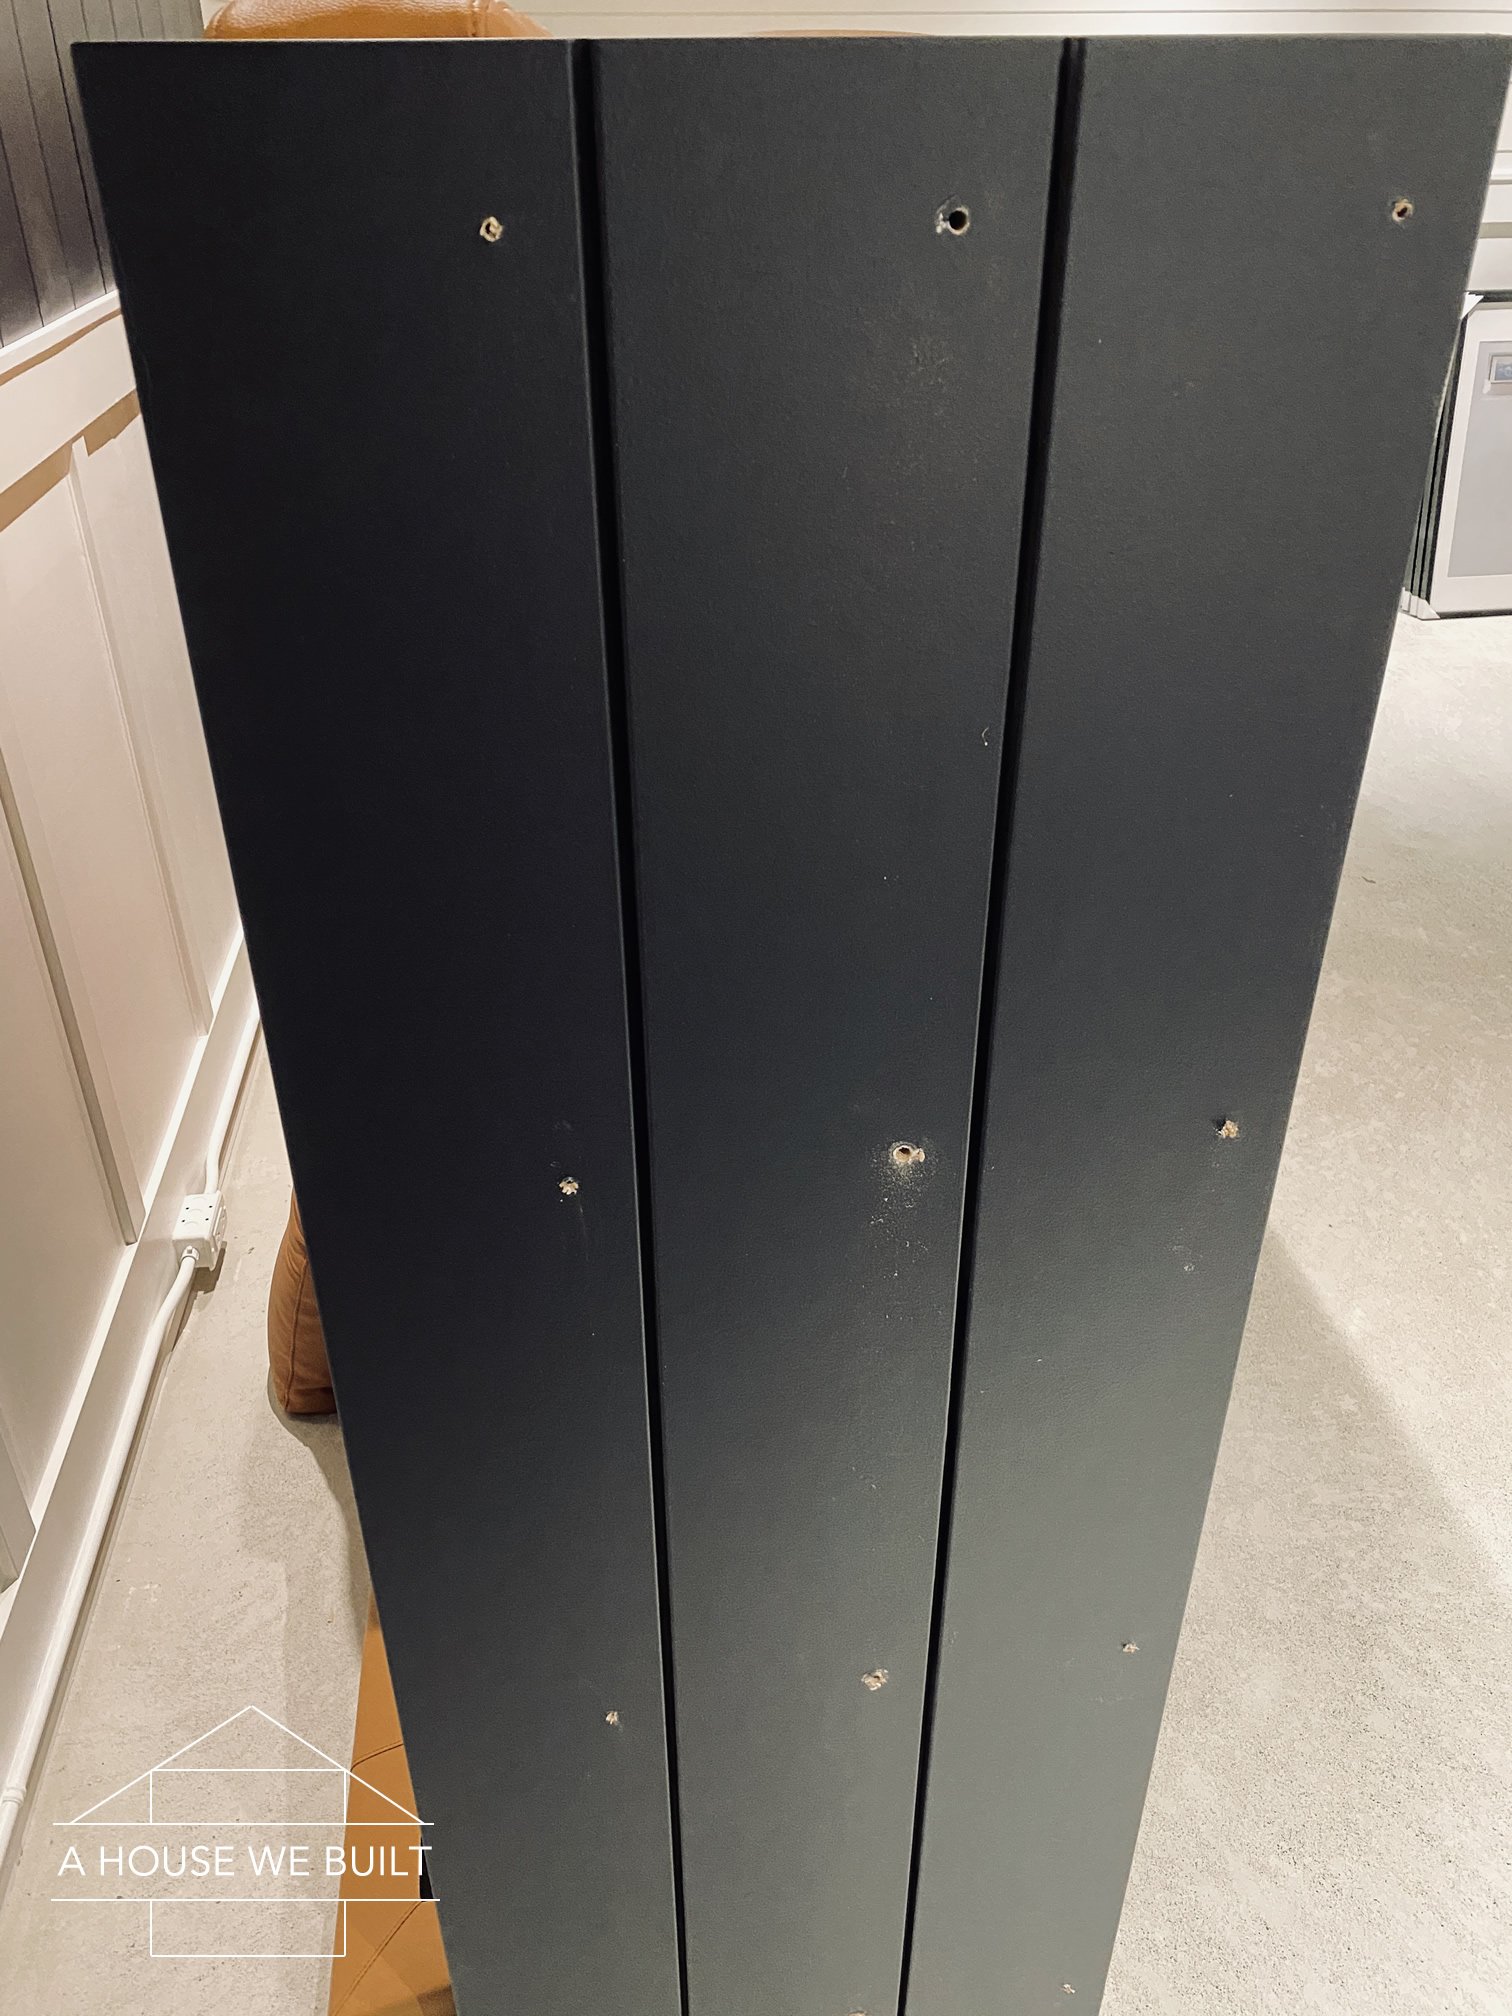
- Pre-drill the 12 pilot holes for your bolts in each armrest no more than 1″ deep as per the measurements shown on my diagram. Remember: once the armrests are attached, only 5 bolts on each armrest will go all the way through and bolt directly into the sofa frame, the rest are decorative.
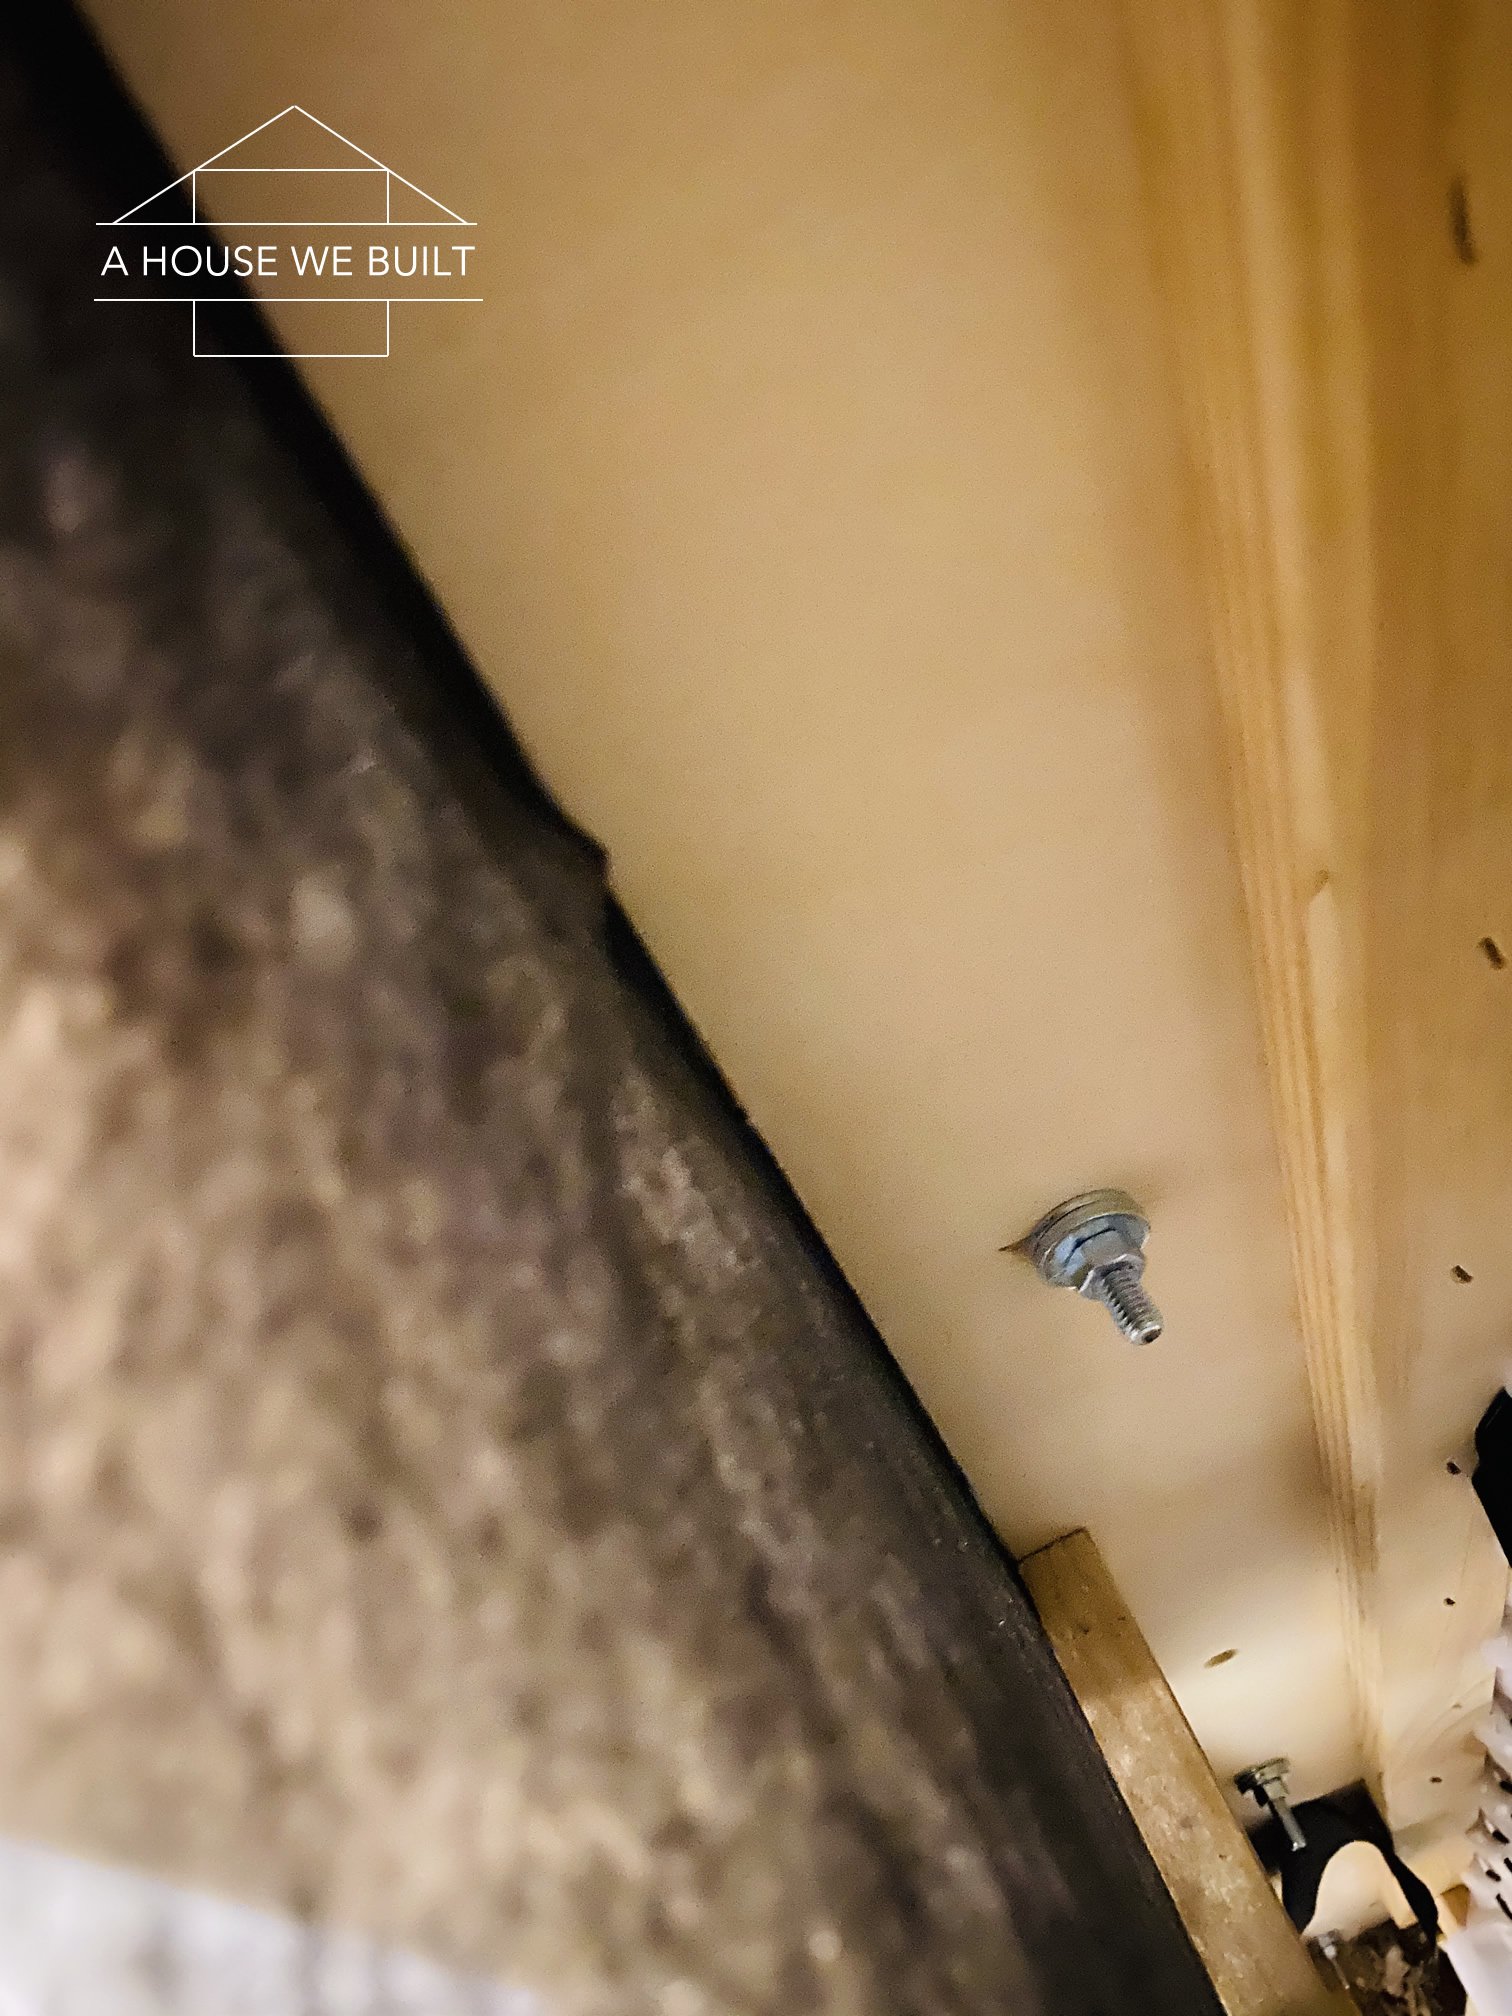
- One at at a time, place your armrests in place at the side of the sofa, align them perfectly with the bottom of the sofa frame. Then re-pre-drill the 5 holes for the “through bolts” that will attach the armrest to the sofa (4 along the middle trim piece, and 1 in the back of the top piece) using a fresh 6″ drill bit – this time drilling right through the sofa frame. It’s very important that this drill bit be sharp because it needs to go through leather and stuffing and it’ll rip/snag them if it’s dull.
- Attach the armrests to the frame with washers & bolts. All bolts (decorative or structural) need a washer on the outside, and the through bolts get a nut/washer combo on the inside.
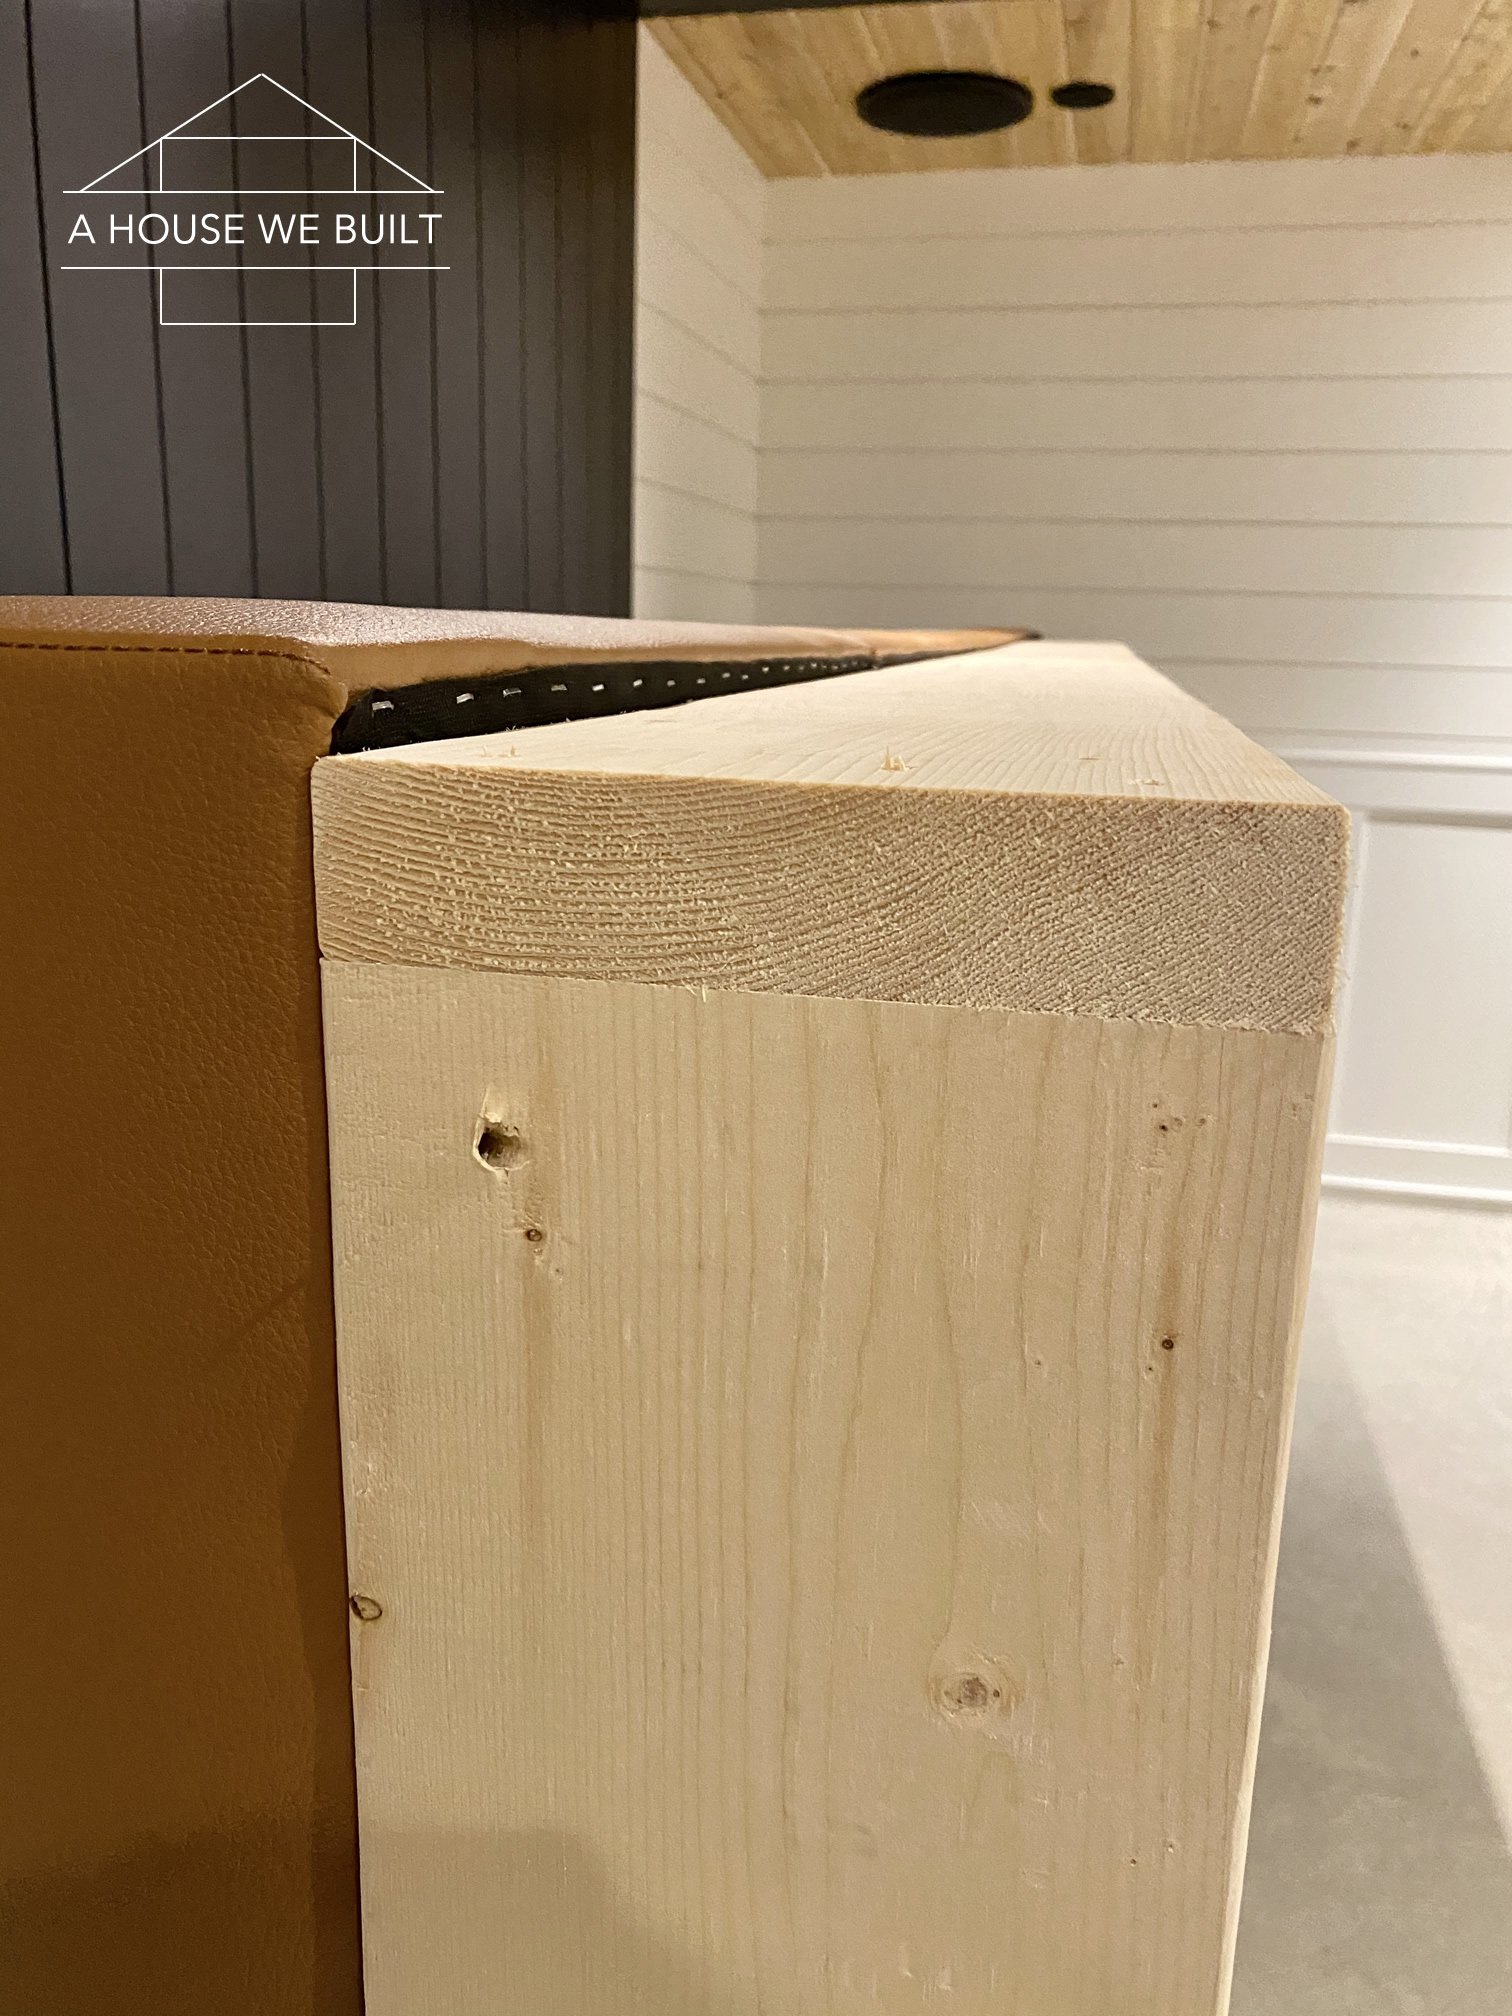
- Cut 1×8 trim down to size to fit along the front of the sofa in that 1/2″ gap and pre-paint them. (Note: we ended up table sawing 1/8″ off the bottom of this trim piece to give it a better fit. We shouldn’t have had to since the 1×8 trim is the same size as the 2×8 frame it covers, but in some spots the leather was a little bunched and pushing the 1×8 down (without affecting the 2×8) so taking 1/8″ off the bottom just gave it a better fit. If your leather isn’t bunched this might not be an issue for you, and you don’t have a table saw you can use a circular saw or jig saw instead.)
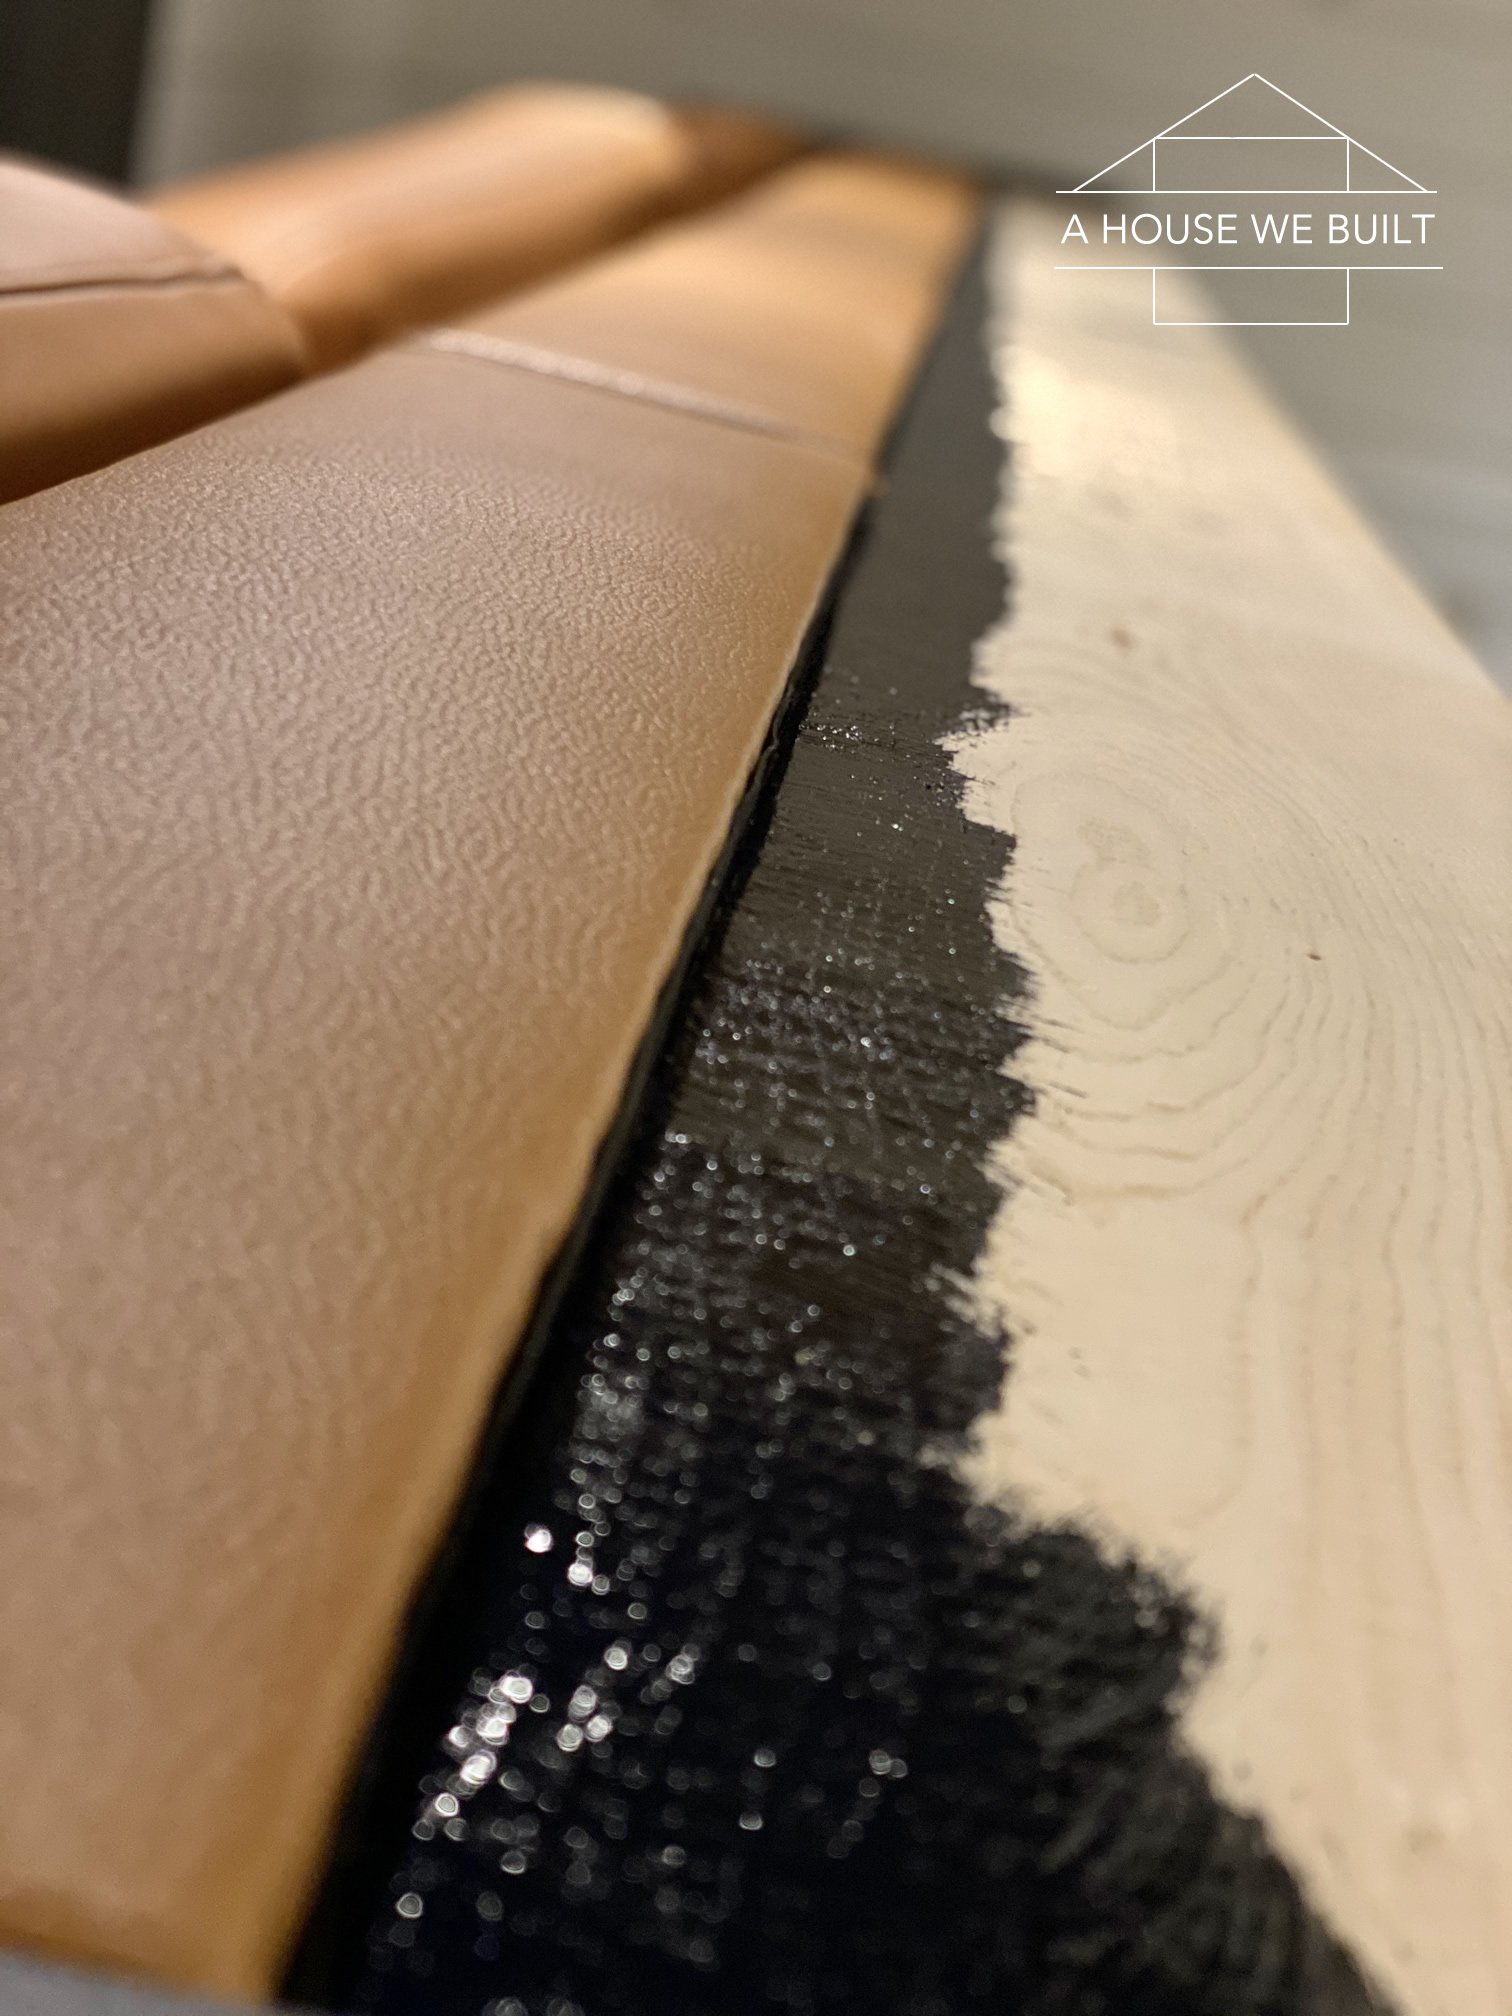
- Carefully paint the top of the 2×8 that’s at the front of the sofa the same color as you plan to make your sofa frame (this is just to make it look seamless once the trim is attached).
- Now that your sofa pit frame is attached to the chaise units and the armrests are attached, flip the sofa down and place it in the final spot where it’s going to rest. We used foam pieces under the sofa to help it slide across the floor. Now that it’s been assembled, the sofa unit is massive and insanely heavy so it NOT EASY to move, which is why I recommended building it in place.
- Fit the seat cushions into place. This is harder than it seems so I have a tip to make it easier. Earlier I mentioned the problem with these seat cushions is that they’re each a couple inches bigger than their frames meaning that the overall cushion length is greater than the overall sofa width. This means the cushions will have to squish down quite a bit to fit into the sofa pit frame we just built – but they will fit as long as you do the following: First, you have to tape off the velcro lines before placing the cushions down so that the cushions do not immediately attach to the sofa base. This allows you to push and pull and squish them into place until they all fit. It takes a bit of effort and wiggling, but it does work! Once you’re happy with the seat cushion configuration, carefully reach under and remove the tape and push the cushions down so that the velcro latches on.
- Using the same “tape & squish” method, fit the back cushions into place.
- Attach the 1x1x8 trim to the front of the sofa with lag bolts. I did 11 bolts spaced out across the middle but that’s largely decorative because I wanted an industrial look but you could just as easily attach this trim with glue & nails. I also painted my bolts black but that’s just a personal choice.
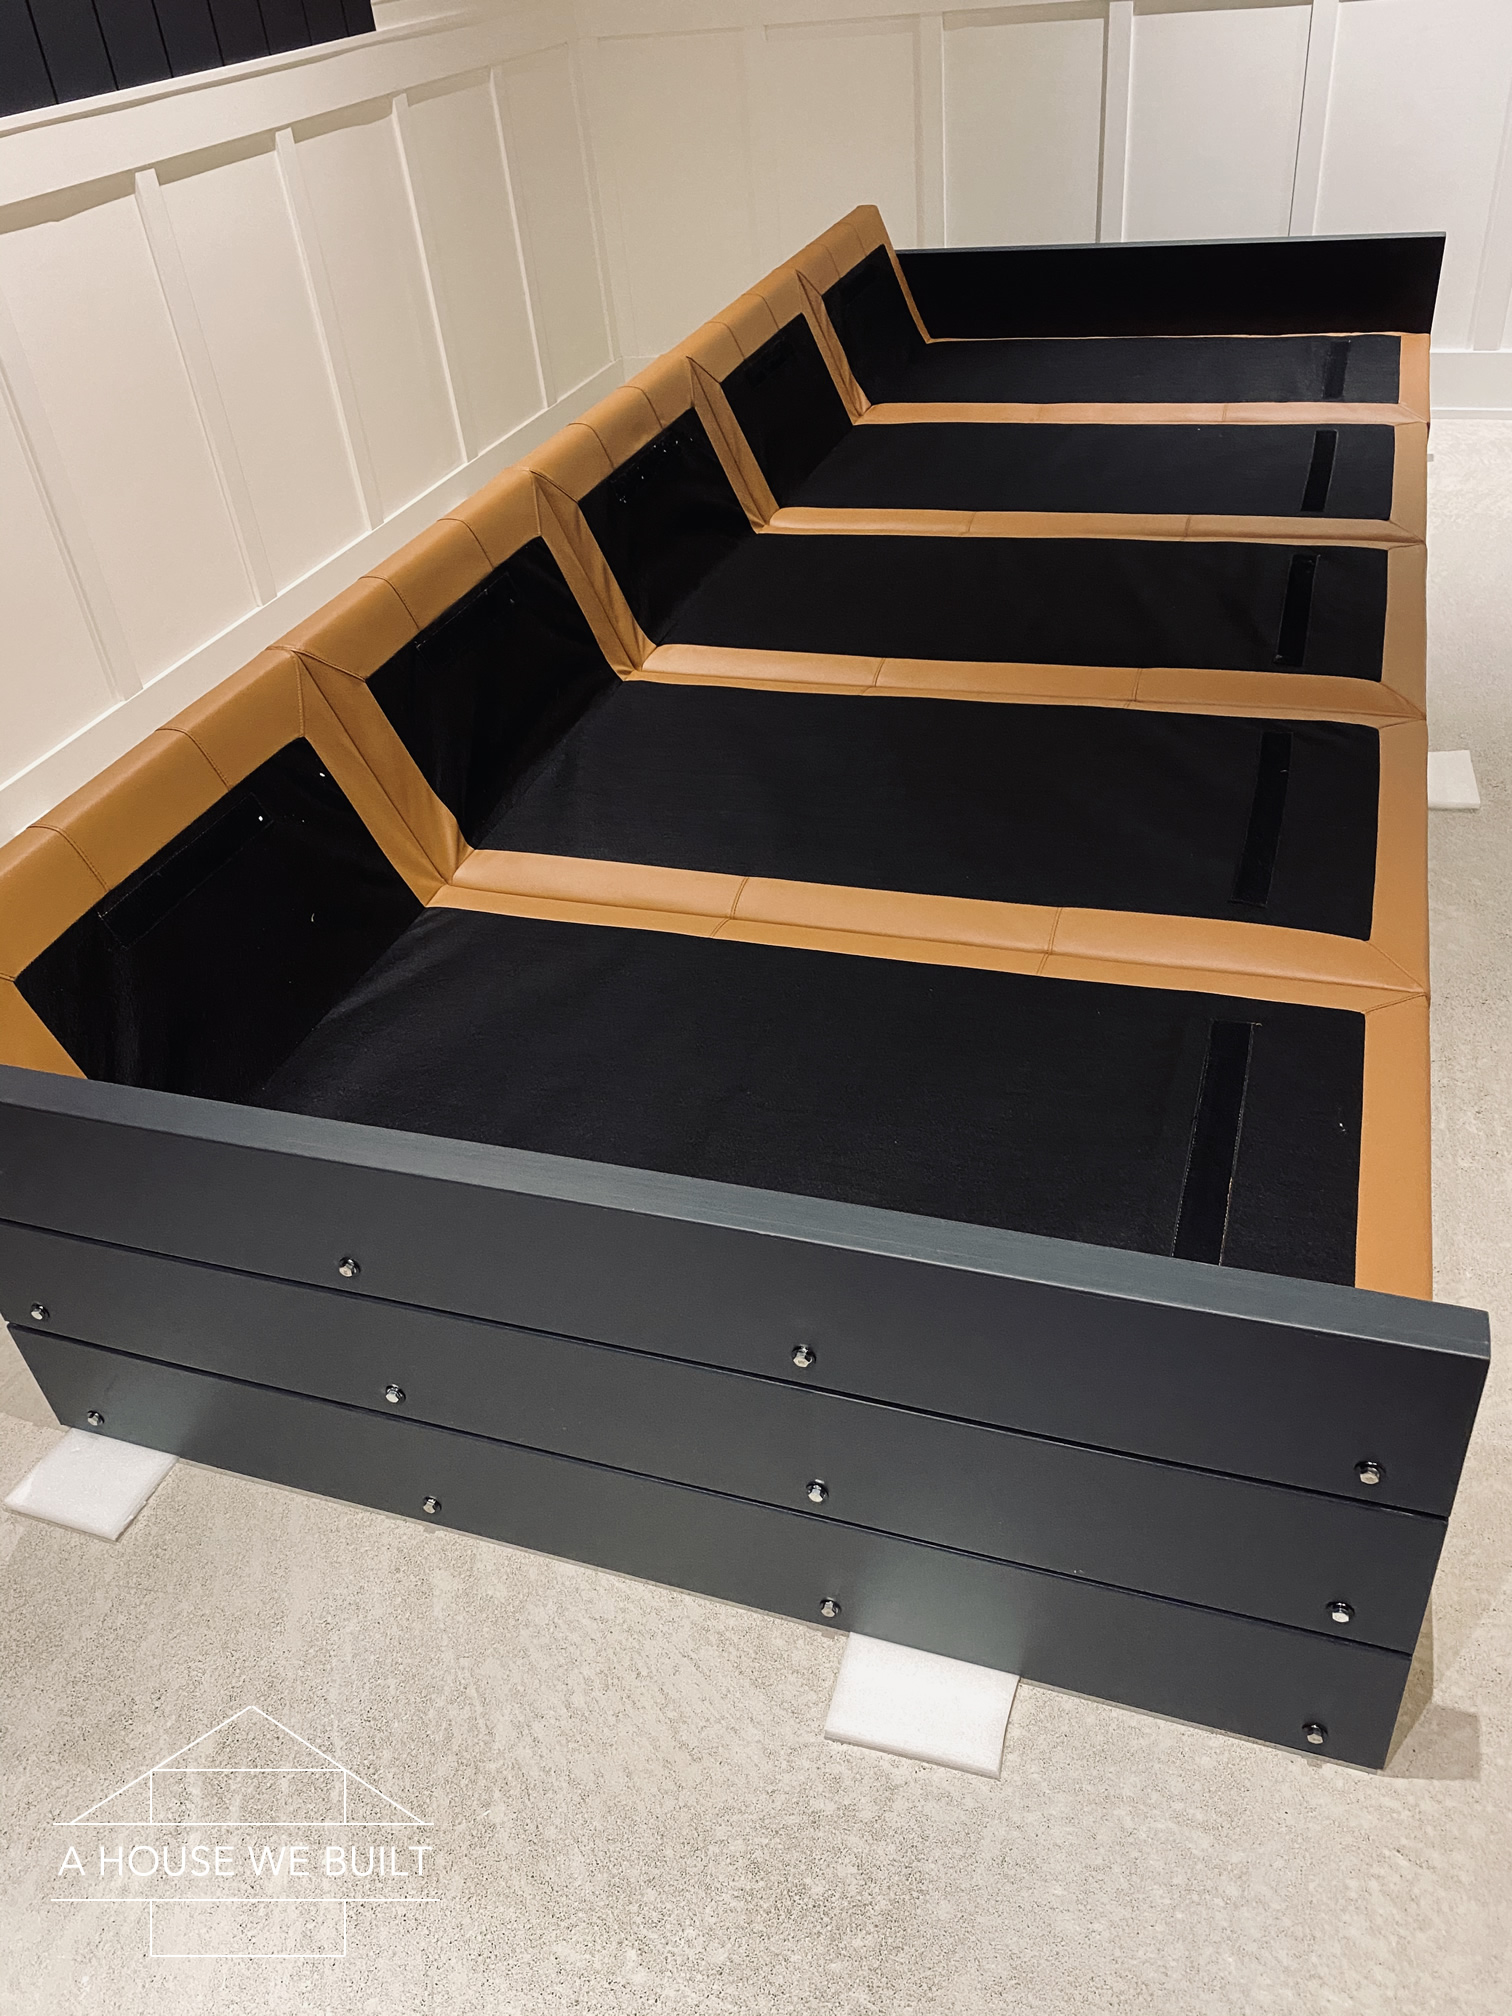
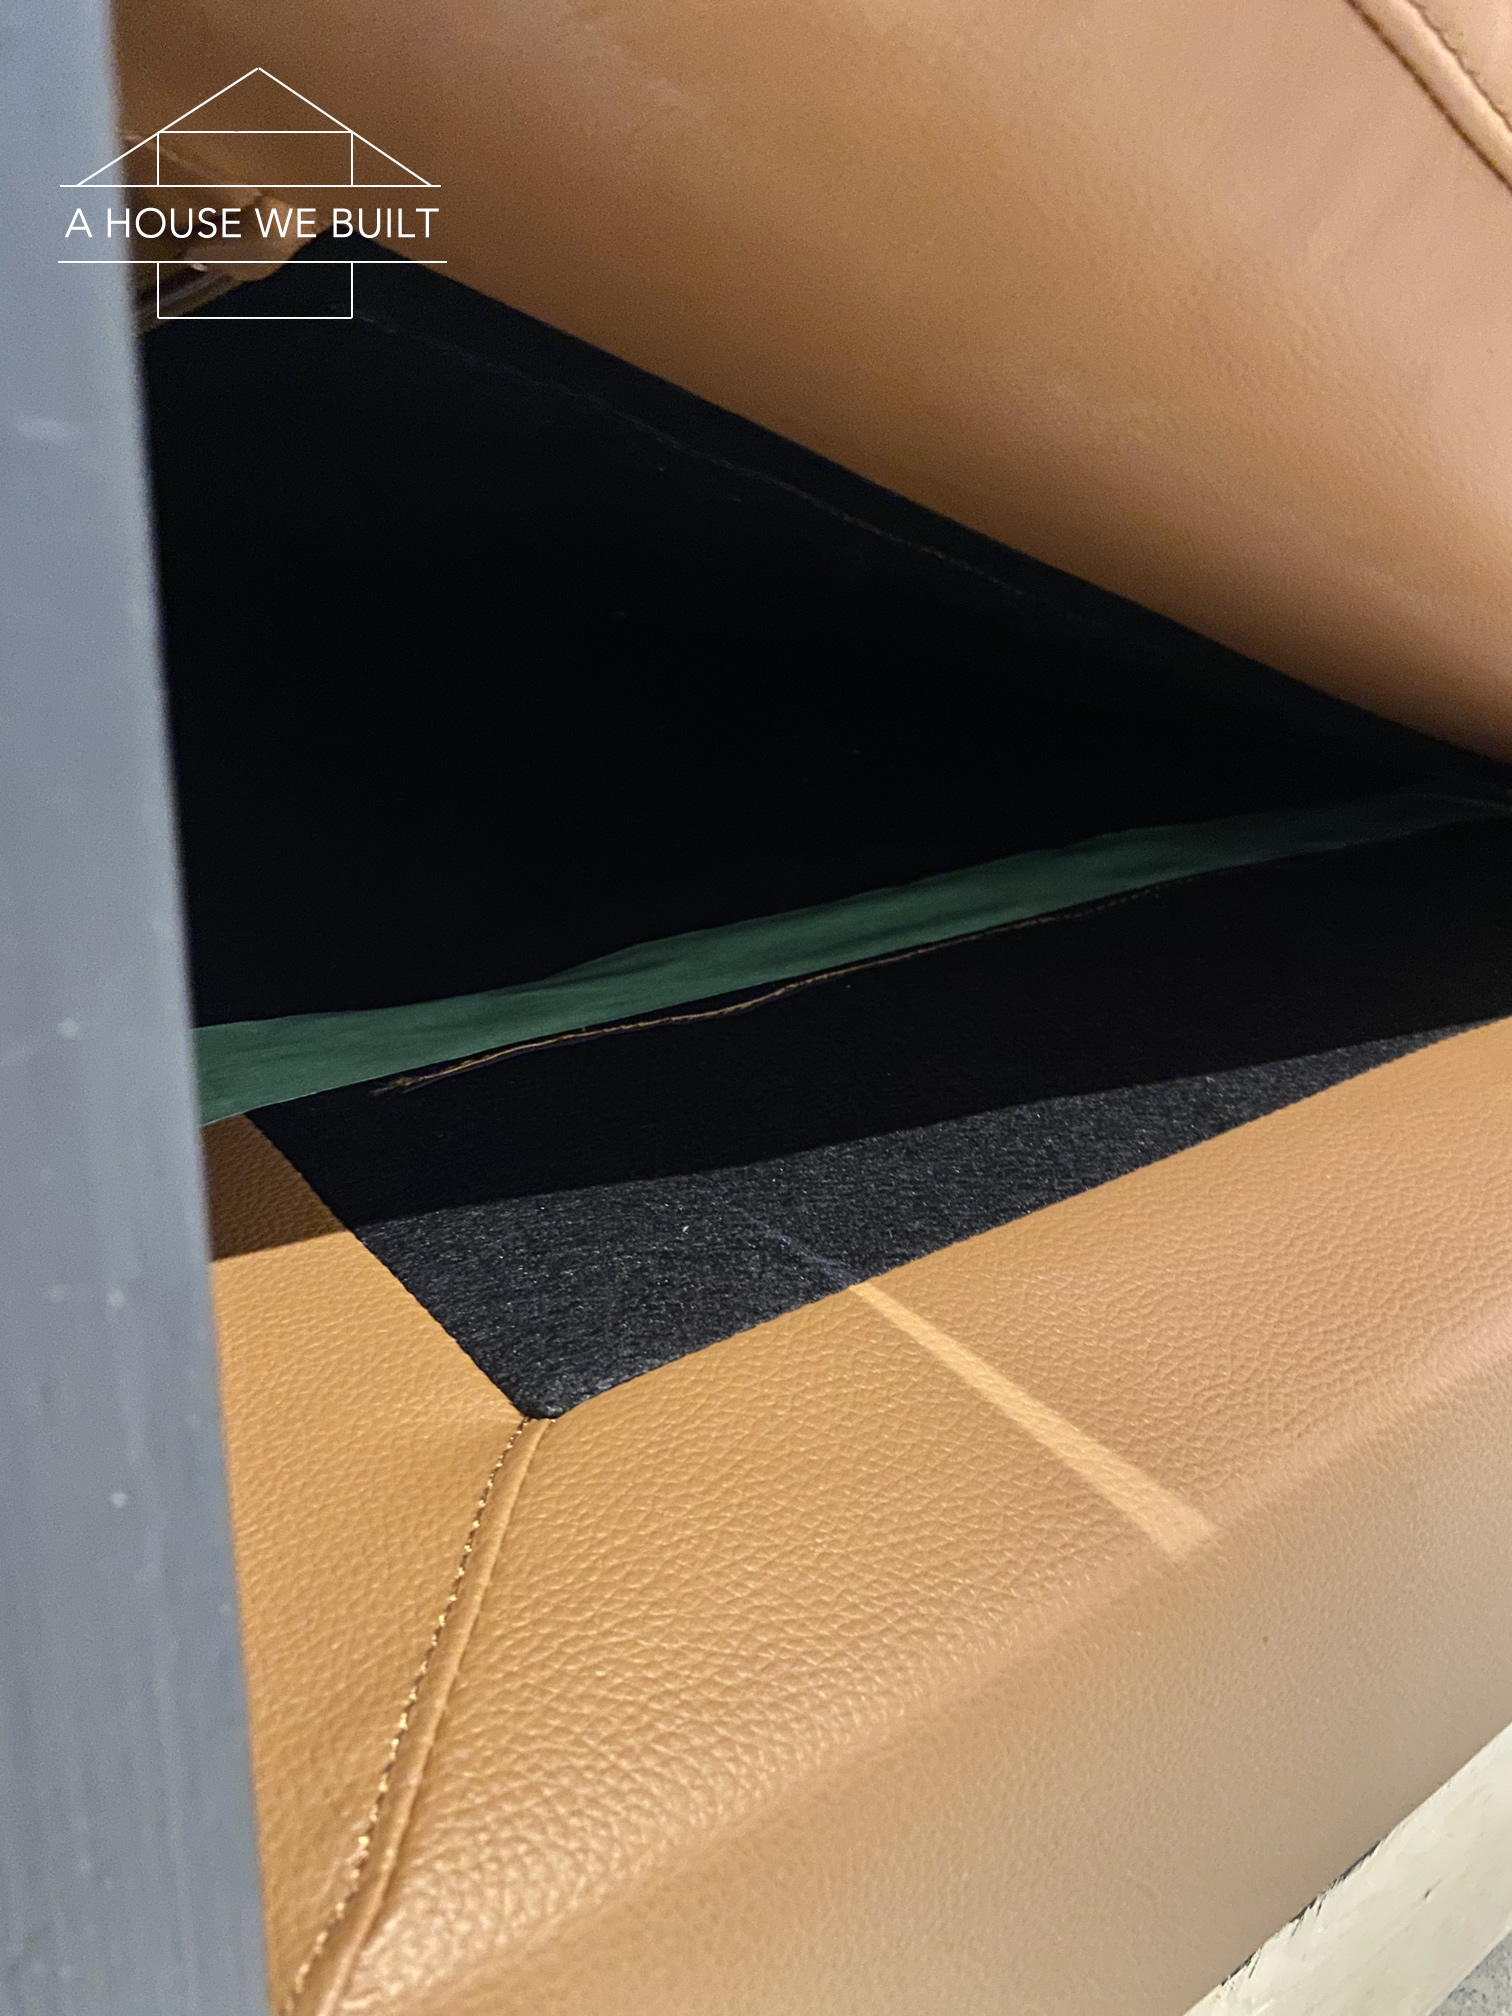
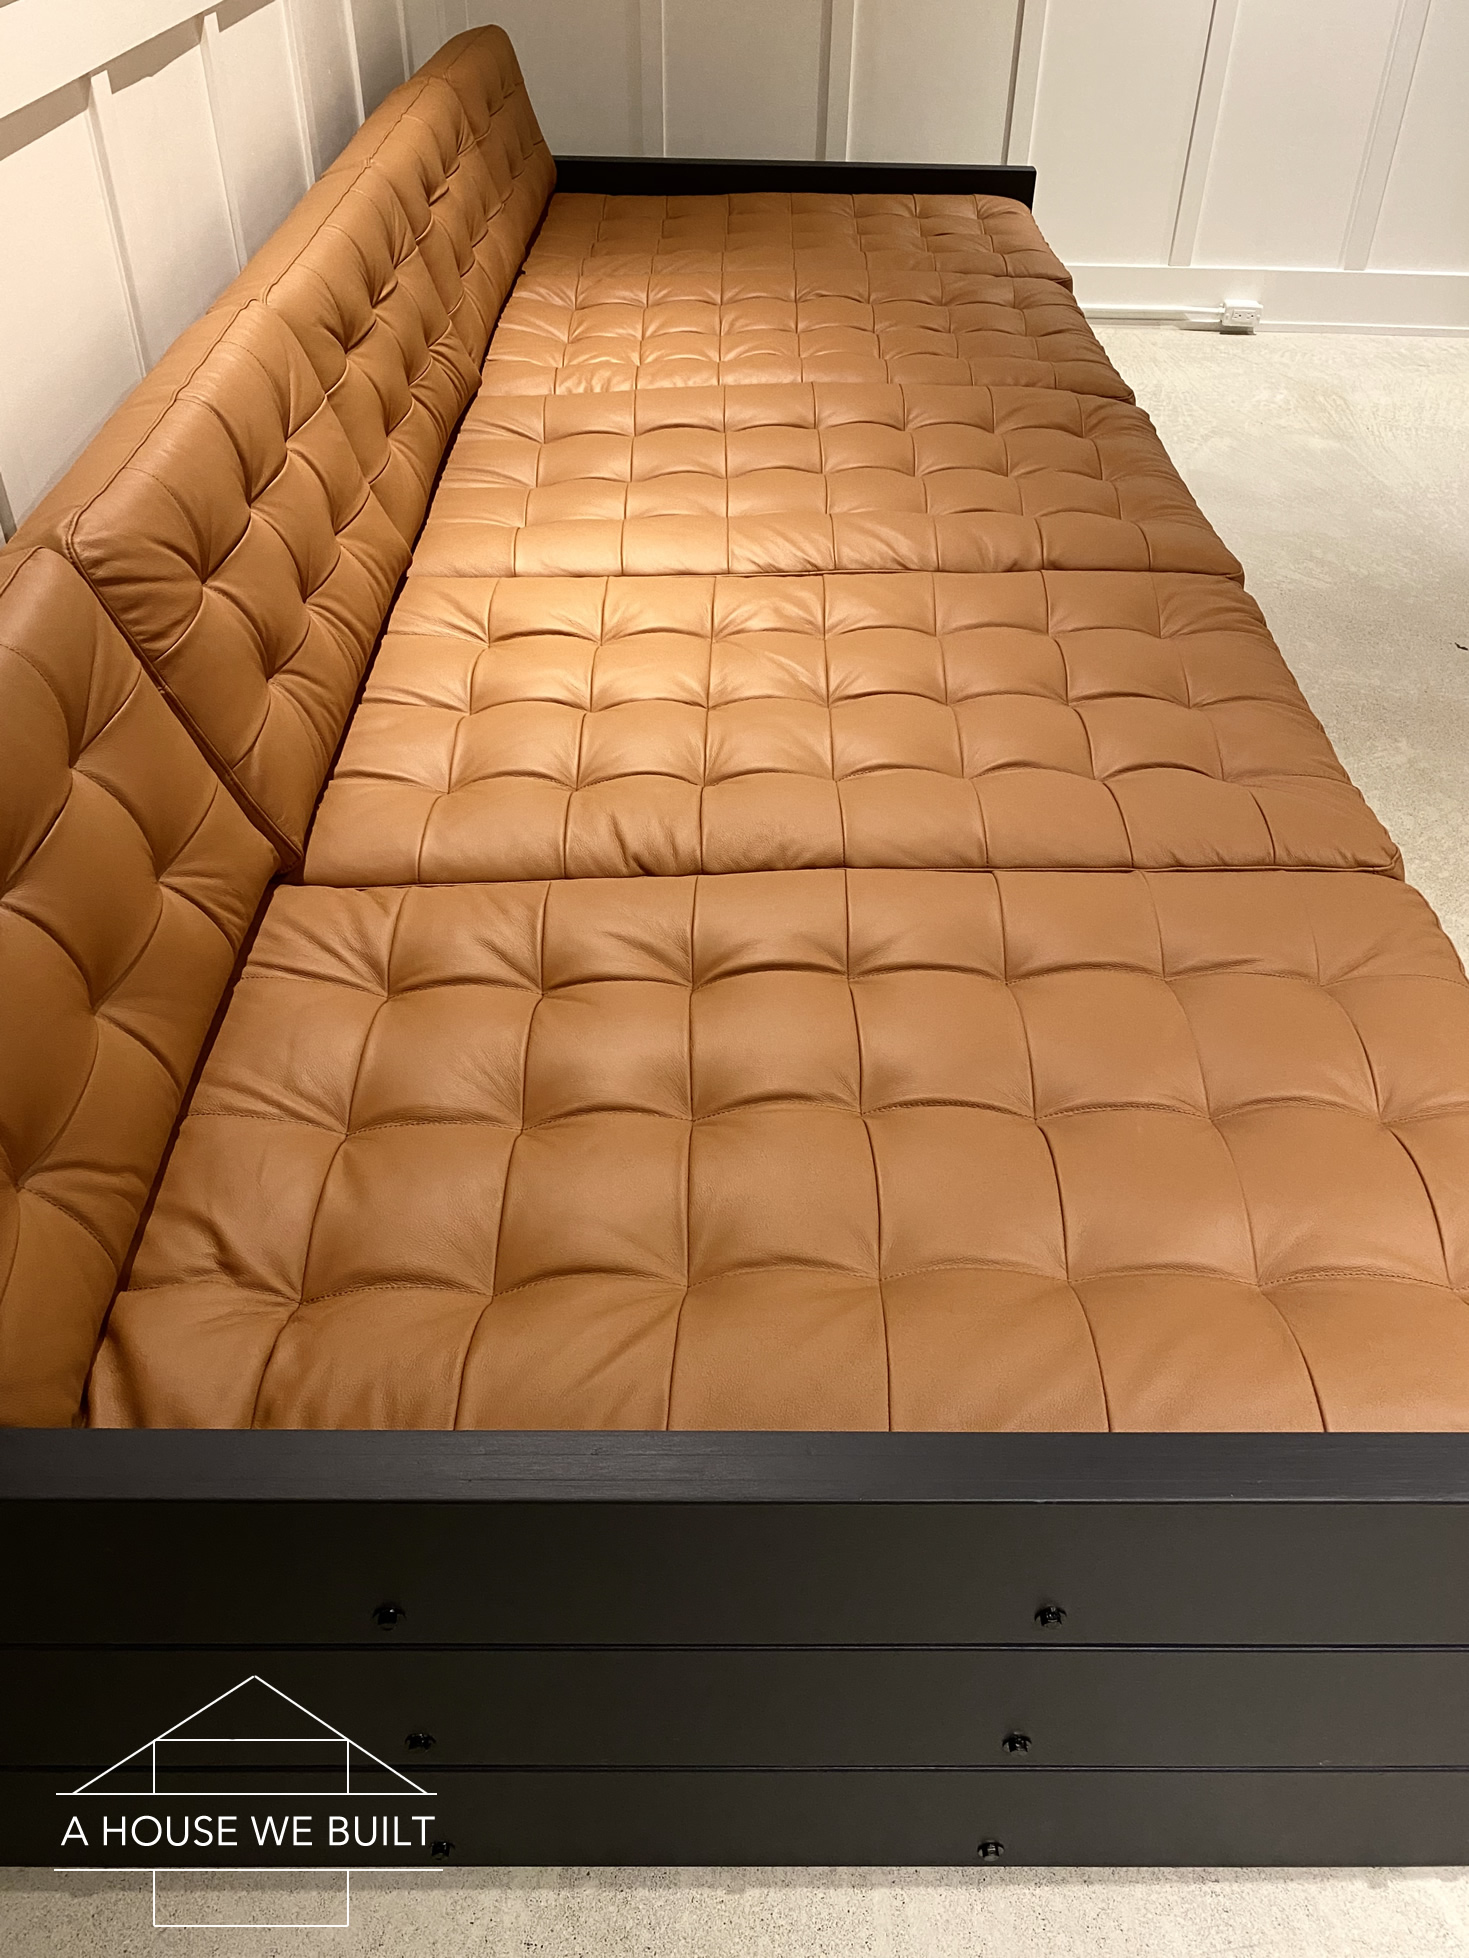
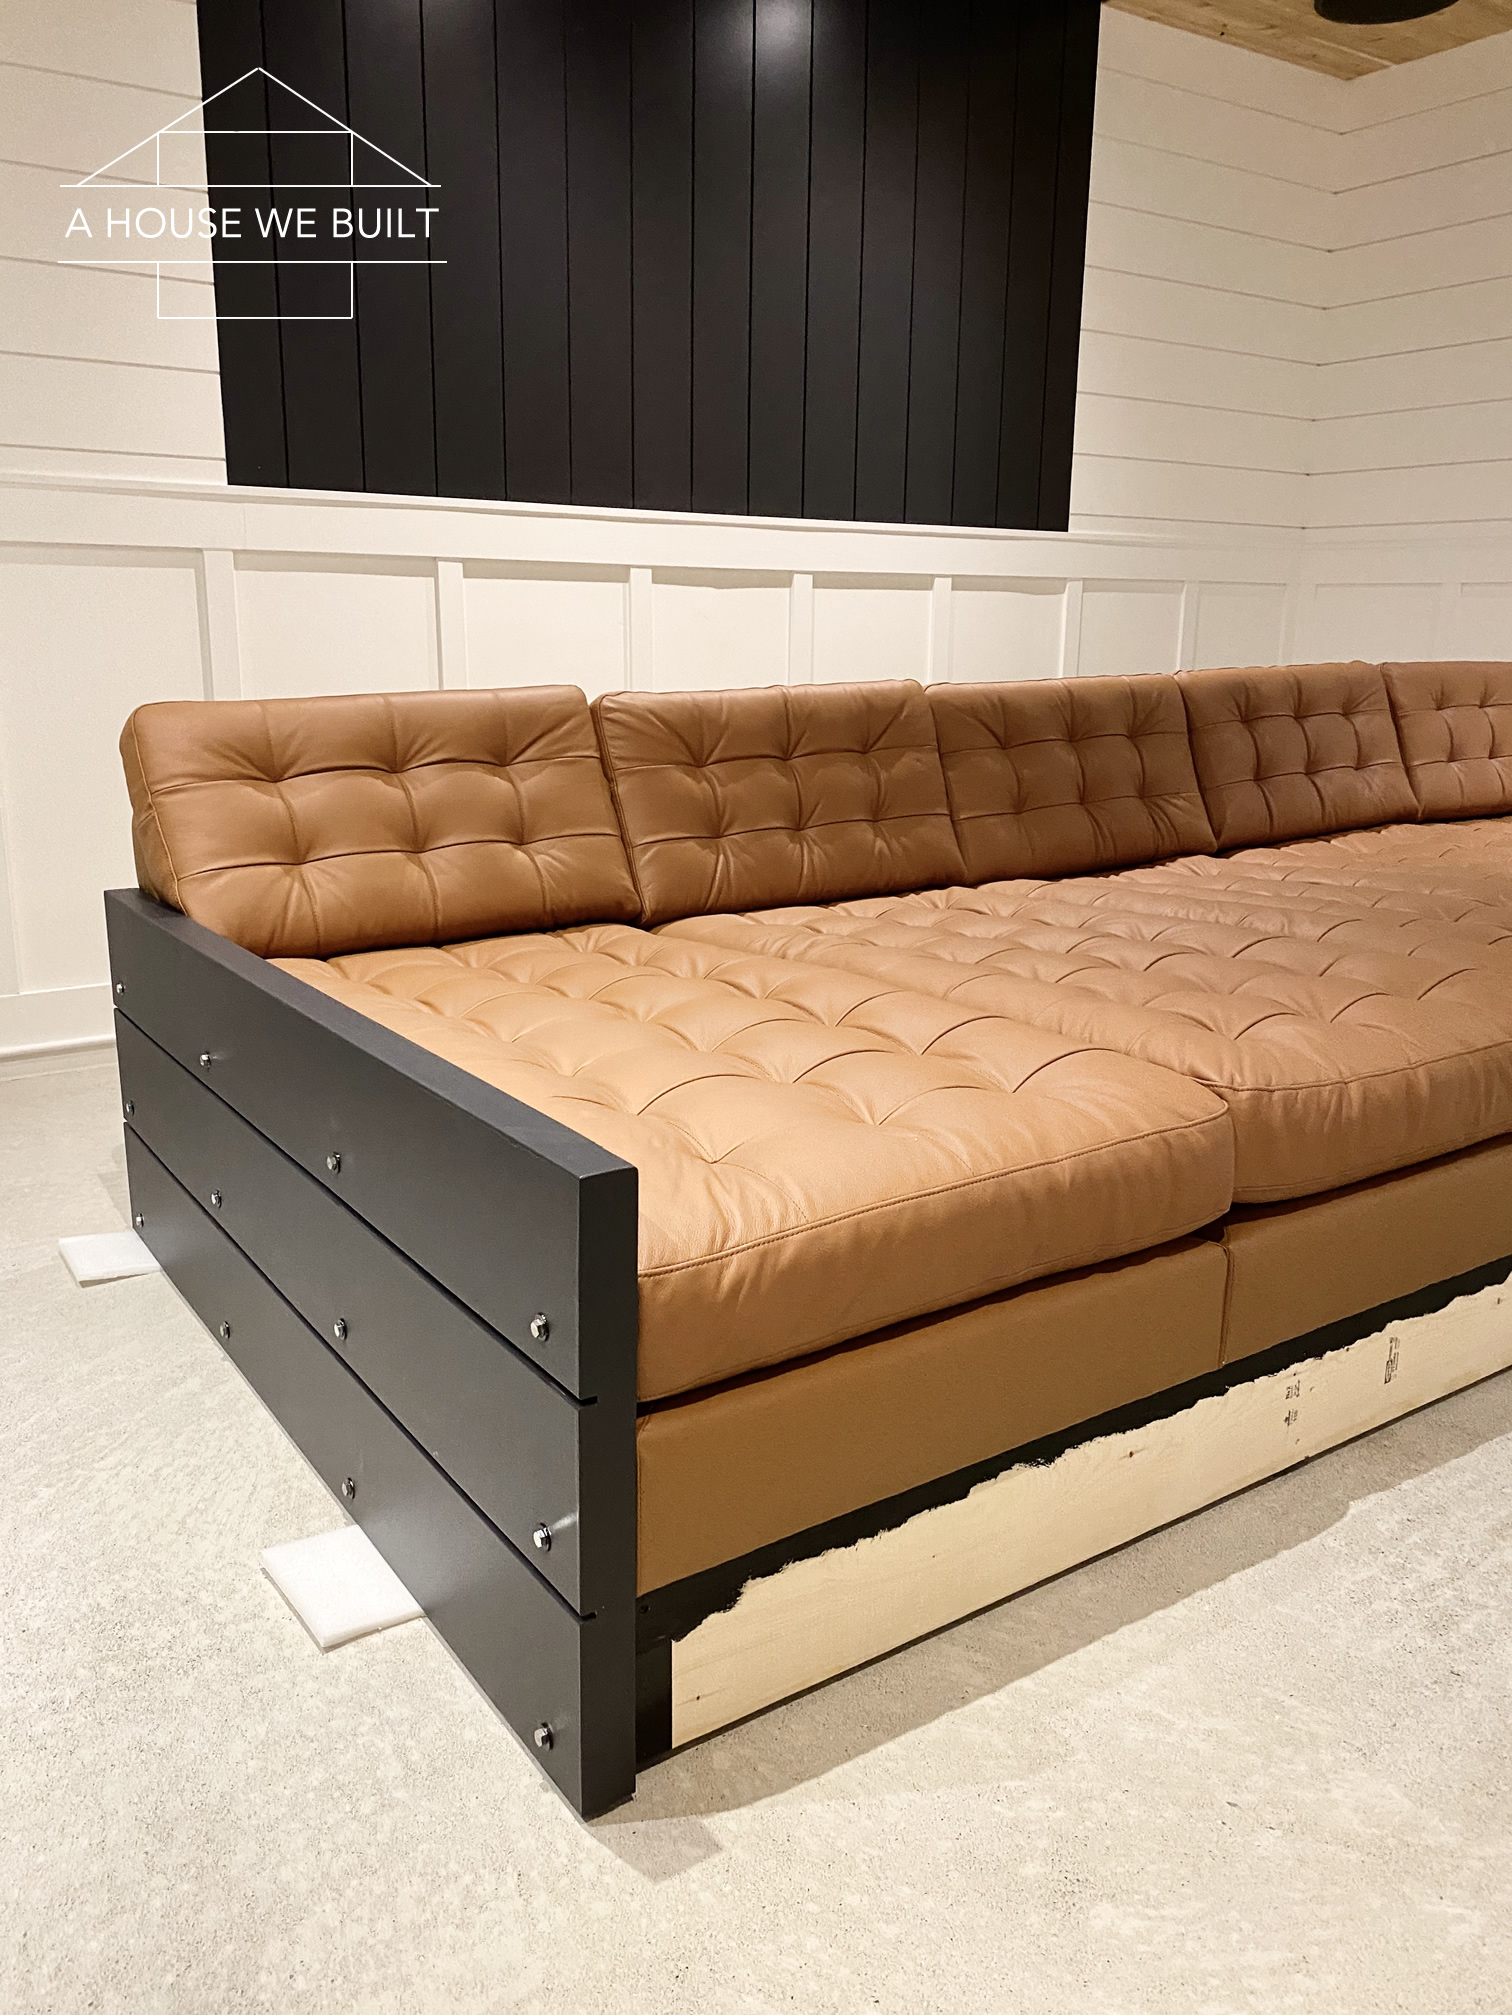
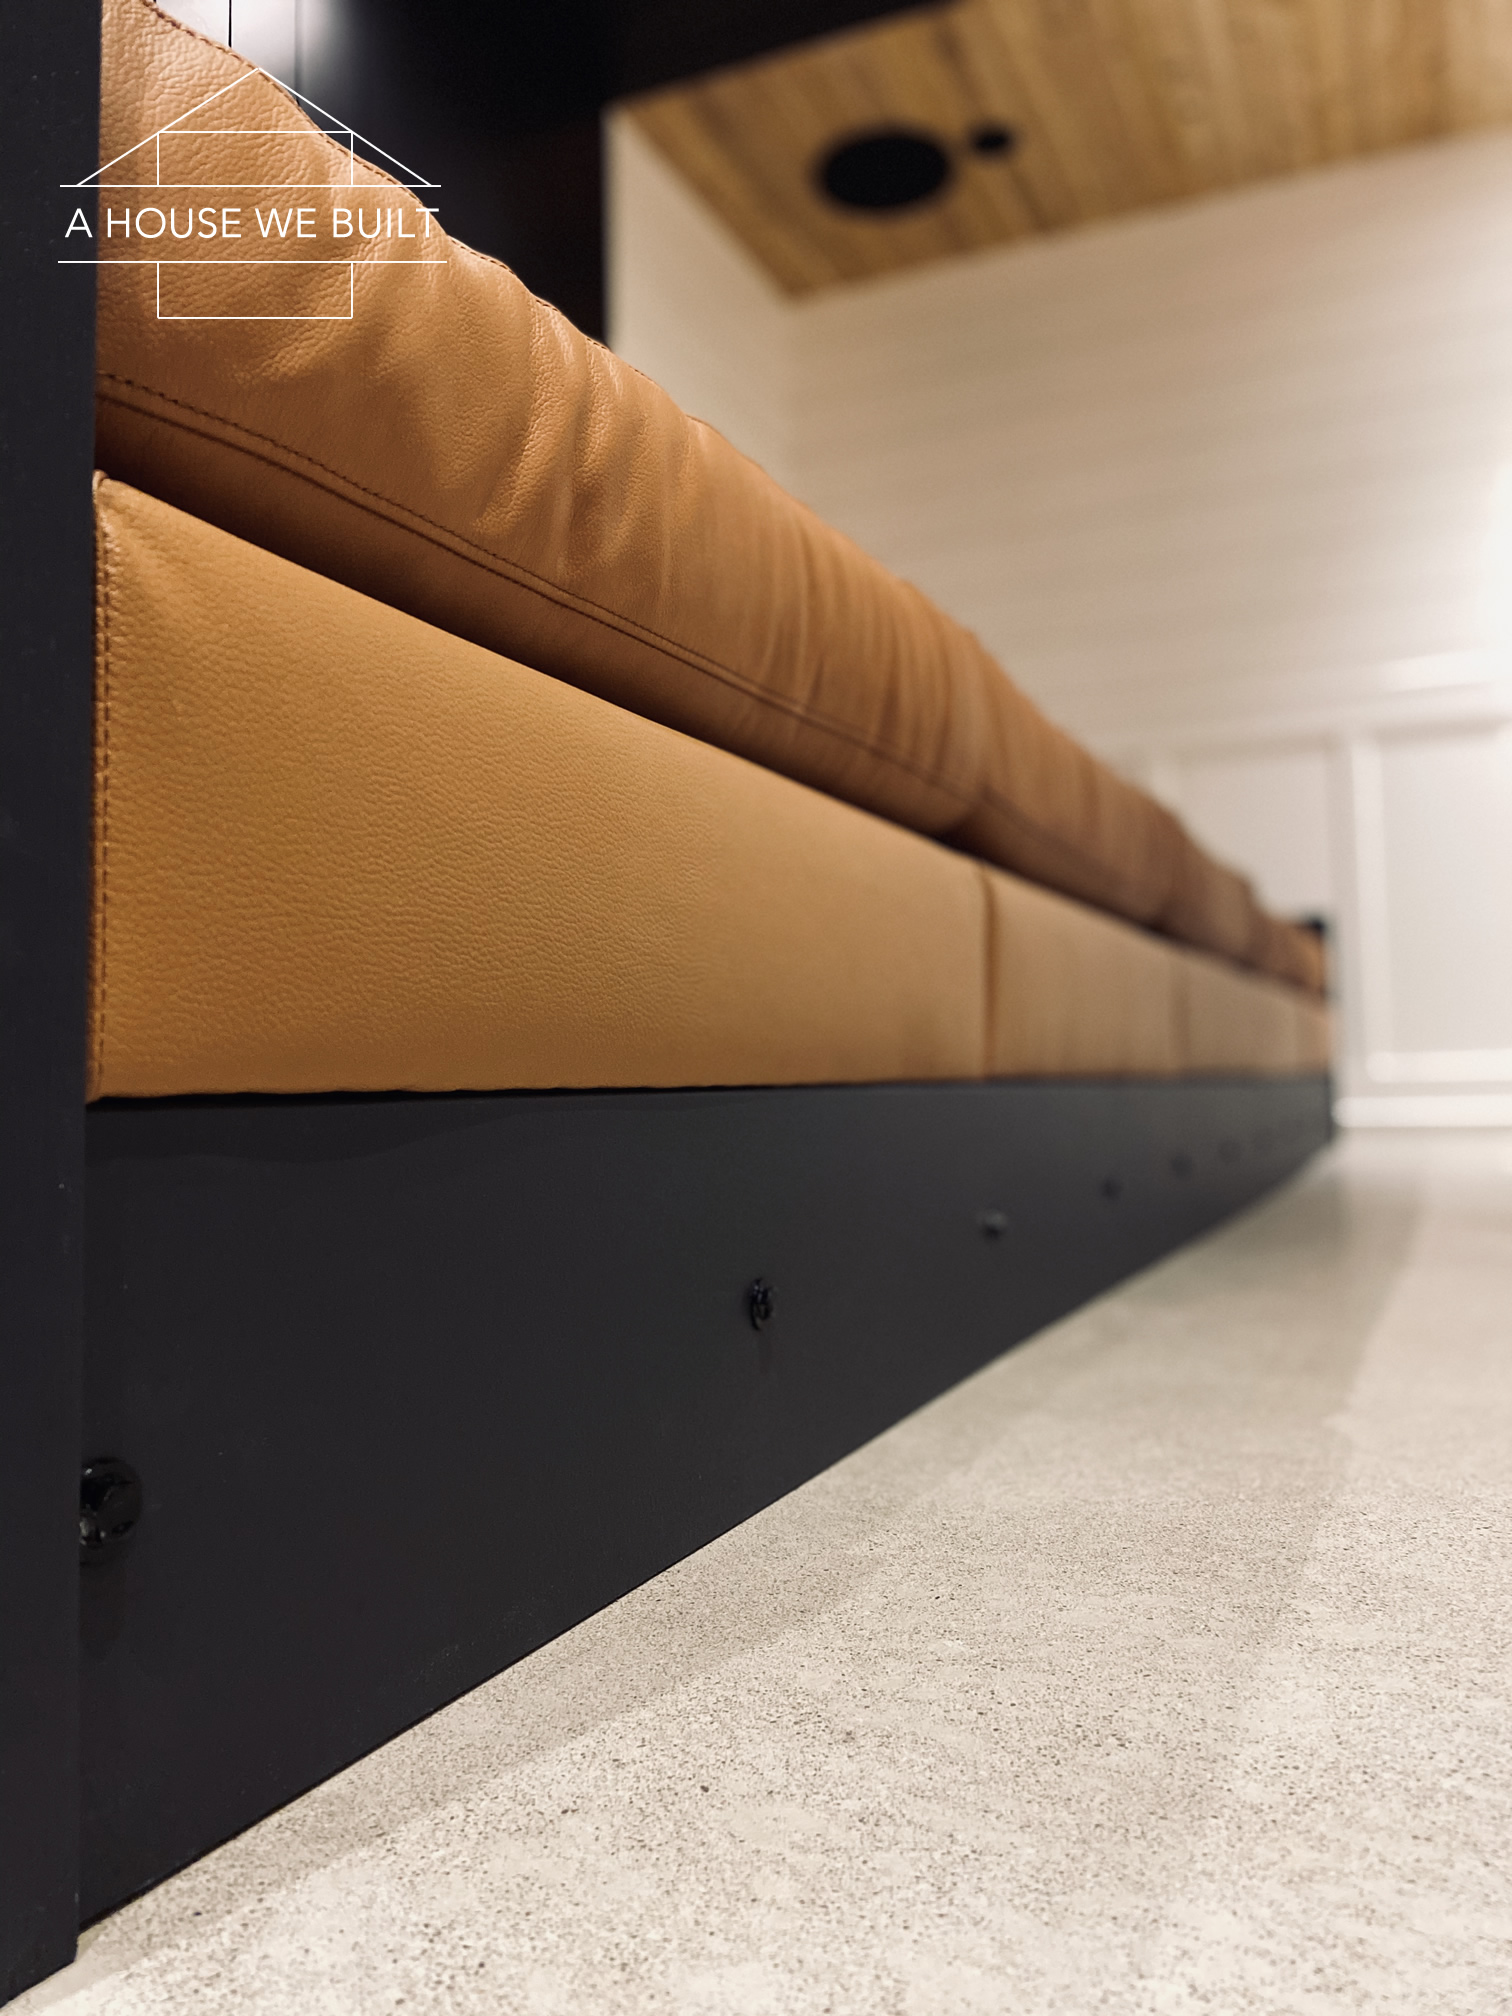
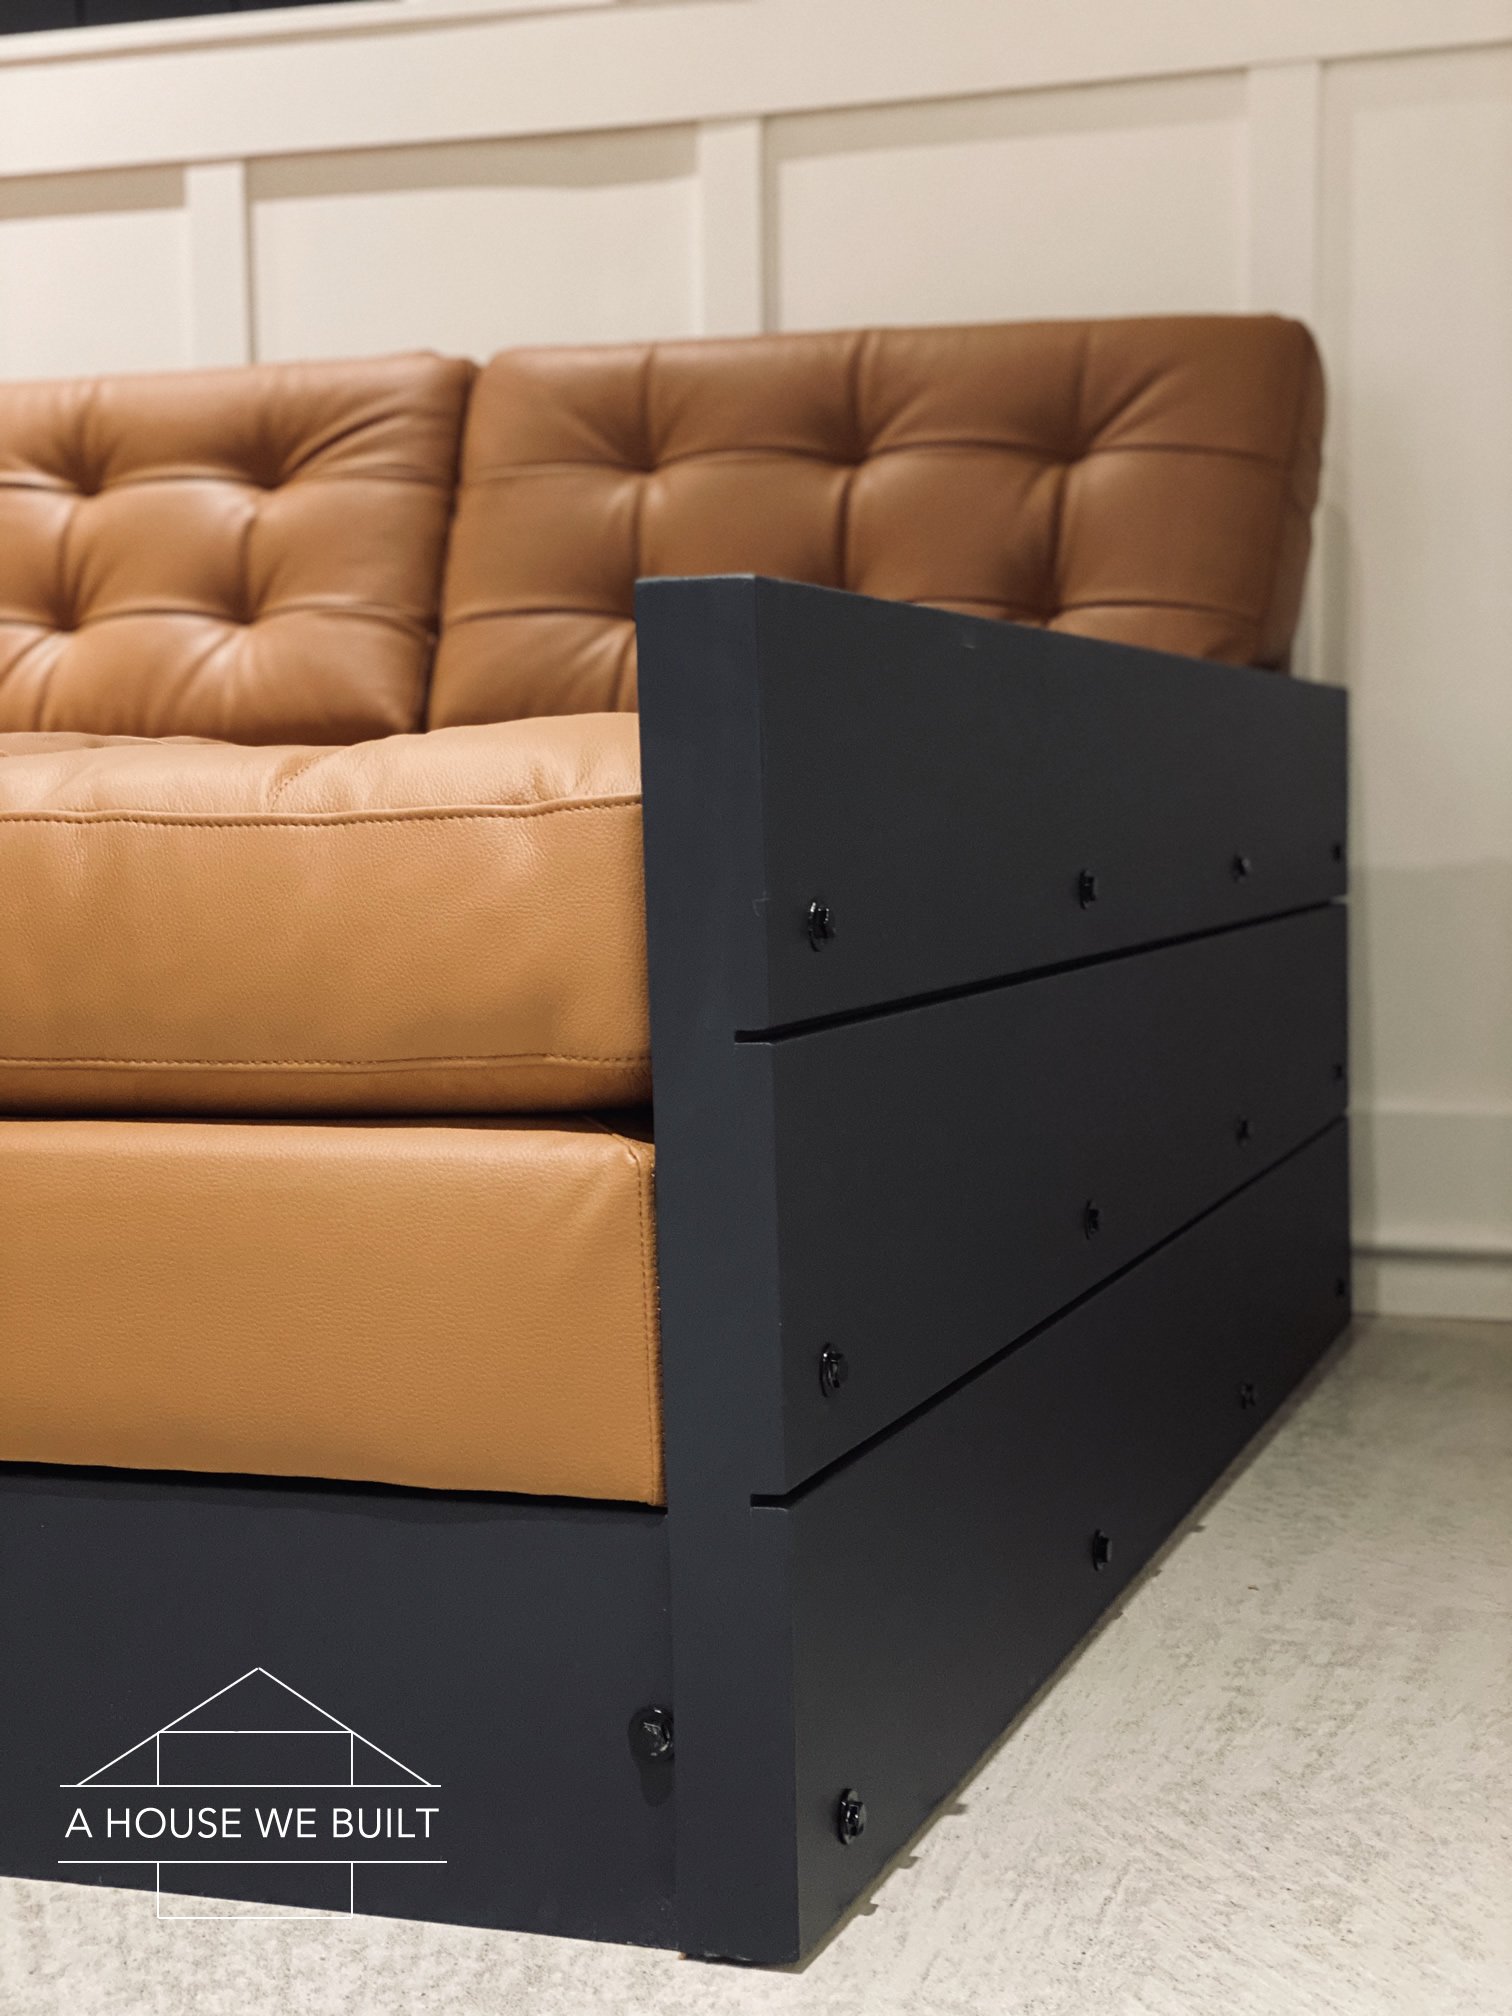

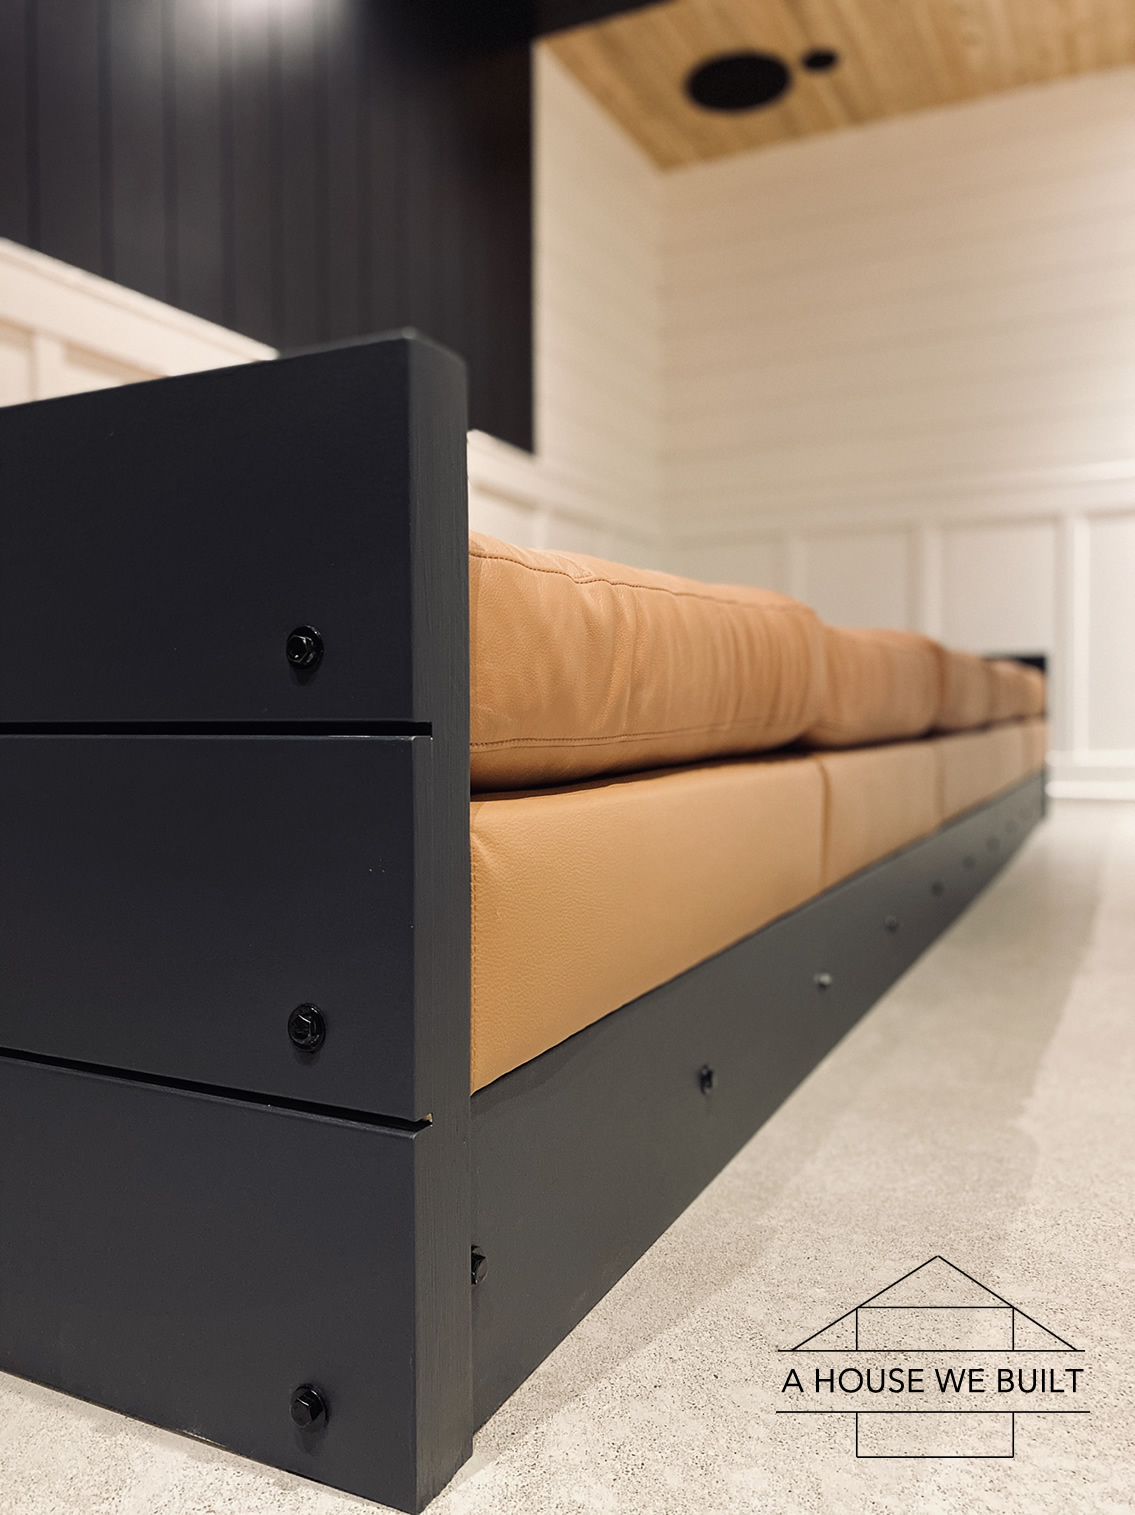
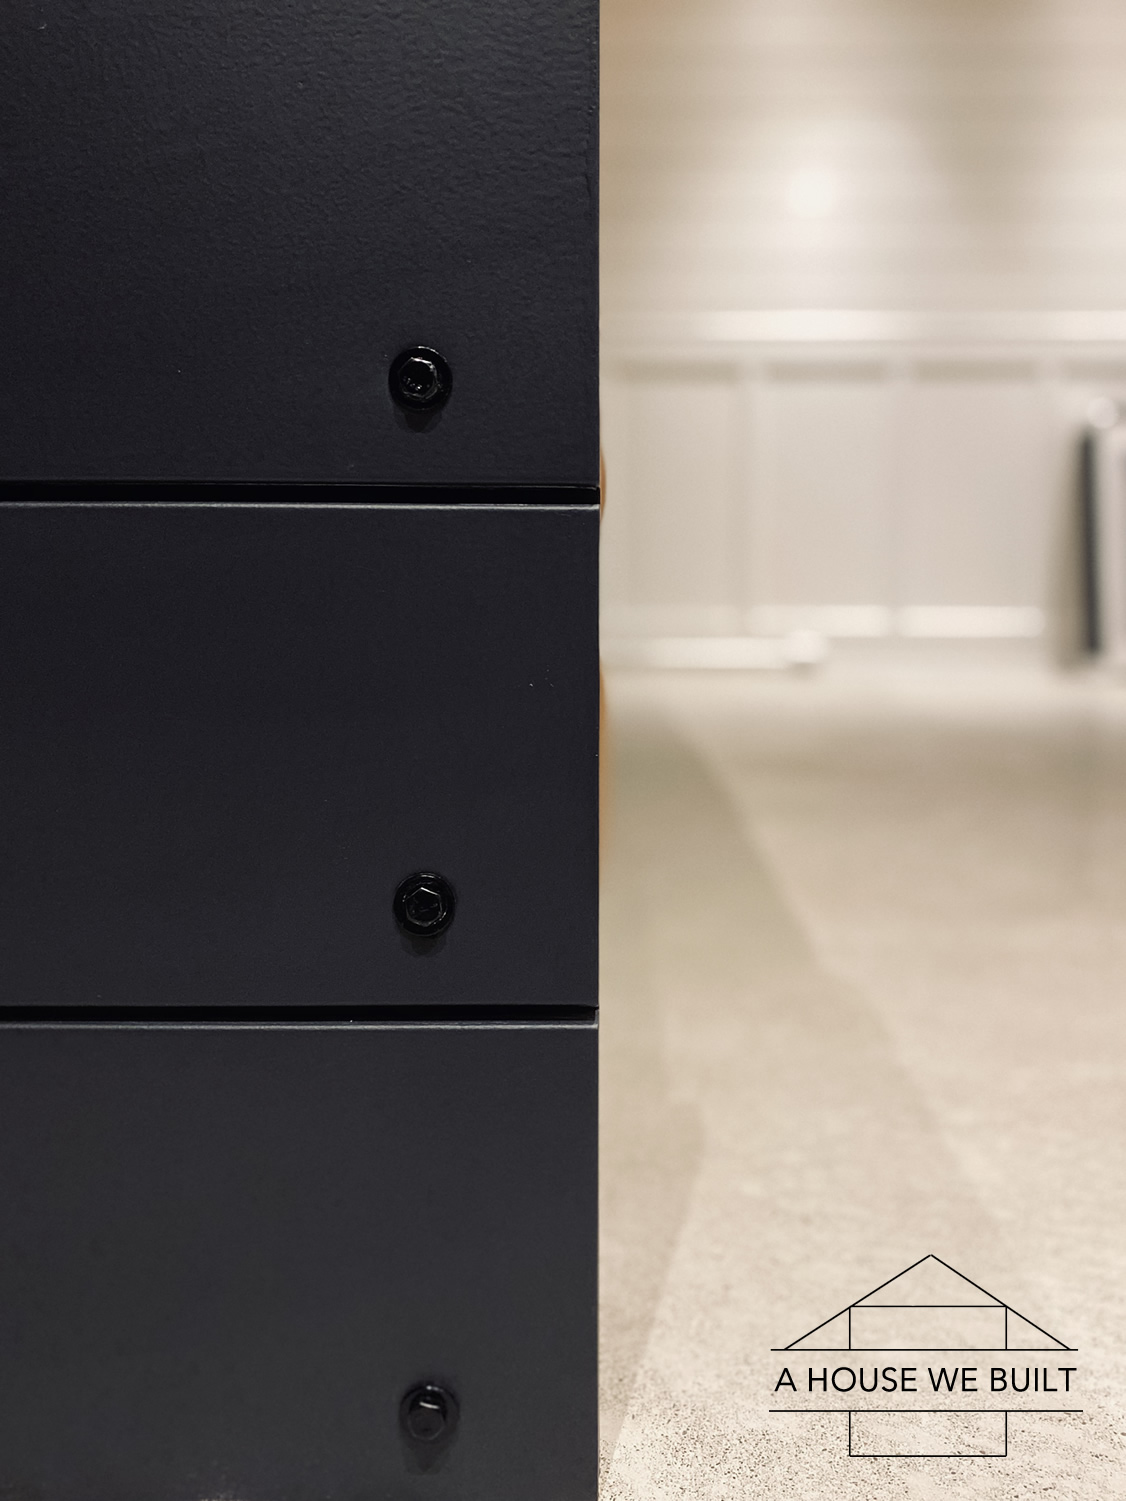
That’s it!!!
We successfully created the sofa pit of our dreams with some creativity and now we have a unique, comfortable, custom designed spot to snuggle down and watch movies where everyone gets the “comfy” spot! And the best part is that compared to literally any other remotely similar sofa of this general size, this was a seriously cost effective solution. Next up, I’ll be on the hunt for ALL the throw pillows!
These are some of the throw pillows I’m considering for our sofa (haven’t decided yet though) and I’ll keep adding more links in here. Each link goes to a different pillow I love the style of:
- Patterned square pillows: West Elm | West Elm | West Elm | West Elm | West Elm | West Elm | CB2 | CB2 | CB2 | CB2 | CB2 | CB2 | CB2 | CB2 | CB2 | Amazon | Pottery Barn | McGee & Co | McGee & Co | McGee & Co | Lulu & Georgia
- Solid square pillows (including textured single color pillows): West Elm | West Elm | West Elm | West Elm | West Elm | West Elm | Pottery Barn | CB2 | CB2 | CB2 | CB2 | CB2 | McGee & Co | Lulu & Georgia | Lulu & Georgia | Lulu & Georgia
- Solid lumbar pillows: CB2 | Pottery Barn | McGee & Co | Lulu & Georgia
- Patterned lumbar pillows: CB2 | CB2 | West Elm | West Elm | West Elm | Amazon | Pottery Barn | McGee & Co | Lulu & Georgia | Lulu & Georgia | Lulu & Georgia | Lulu & Georgia | One Kings Lane | One Kings Lane | One Kings Lane
- Round pillows: West Elm | Pottery Barn
- Pillow sets: West Elm | Amazon | Amazon | Amazon | Amazon | Amazon
Be sure to follow us on Instagram @ahousewebuilt to follow our progress as we continue to finish both this home theater room and do more building projects around the rest of our home!
For more sources from our Theater Room, click here.
For more sources from our Basement, click here.
For our tutorial on how to install shiplap, click here.
For more of our DIY tutorials, click here.
To explore the other rooms in our house, click here.
Johanna says
Hello where did you find the matching fabric for the pit before adding the cushions?
admin says
Sorry, I’m not sure I understand your question? The only fabric I mentioned in the post is landscape fabric.
Dara says
Hi please share your sound system used for the theatre and did you do the wiring?
admin says
Yes, we did our own wiring. It’s a 5.1 system – we intentionally left the center speaker out though it is wired for it, and the sub is concealed in cabinetry. We kinda made our own tower speakers – we bought drivers and built our own boxes so that we could build them into our room design.
Jennifer Sanders says
Hi there- Do you know of a good alternative for the Landskrona if they dont’ have the golden brown color?
admin says
Hi – I think all colors can look good, it just depends on how they’re styled 🙂