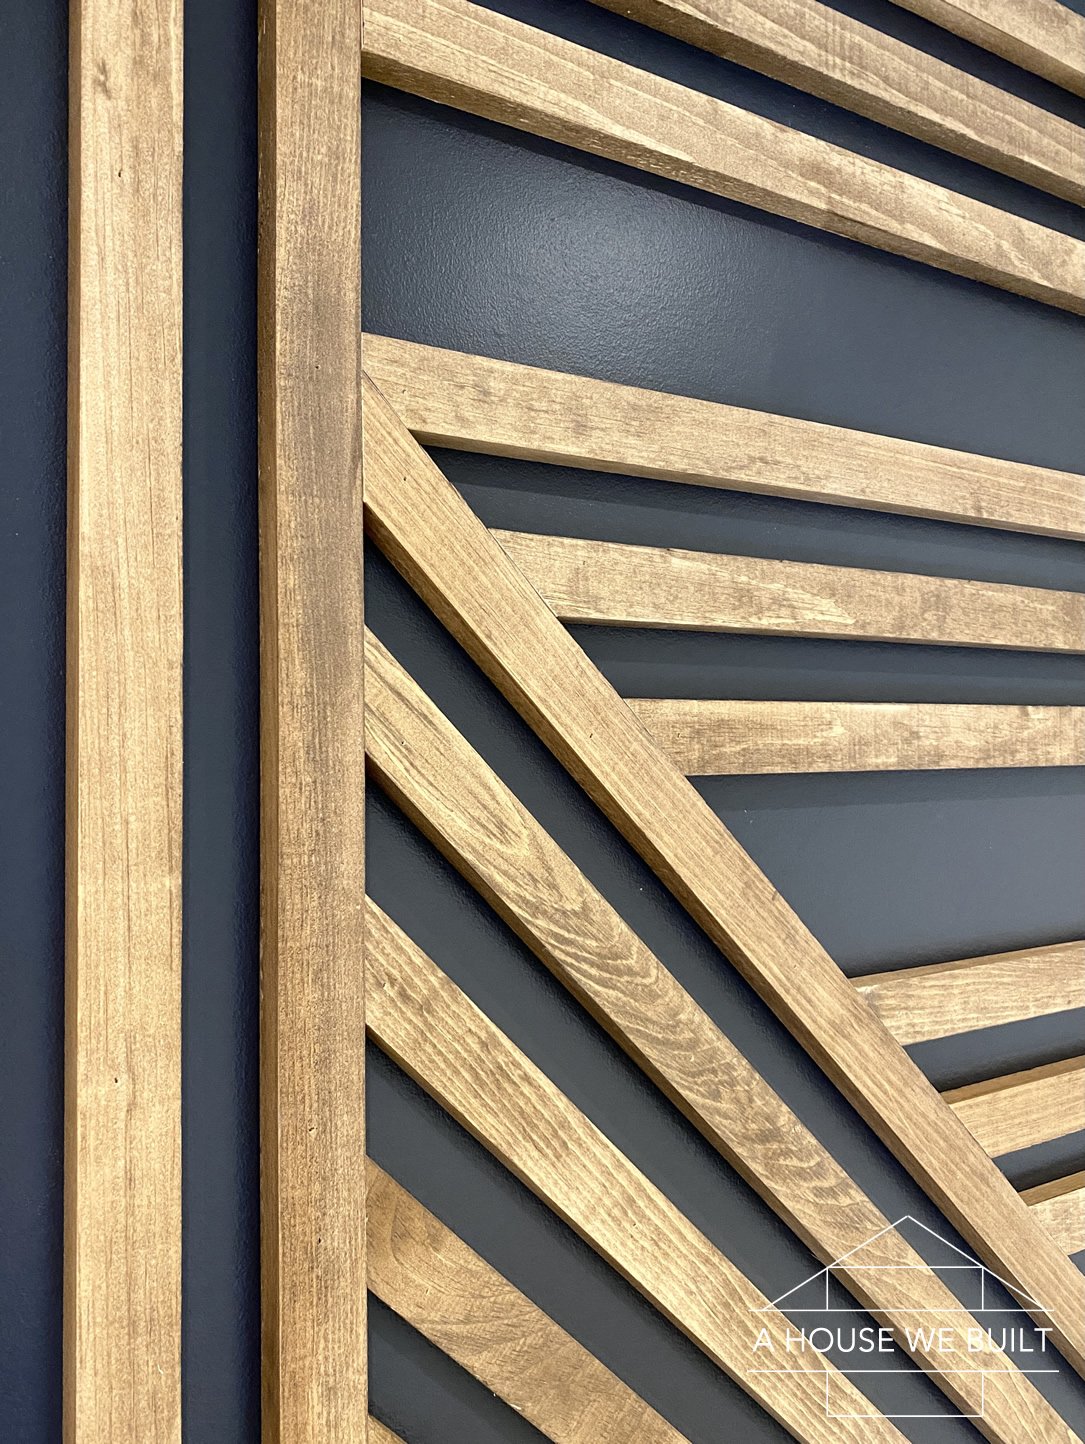
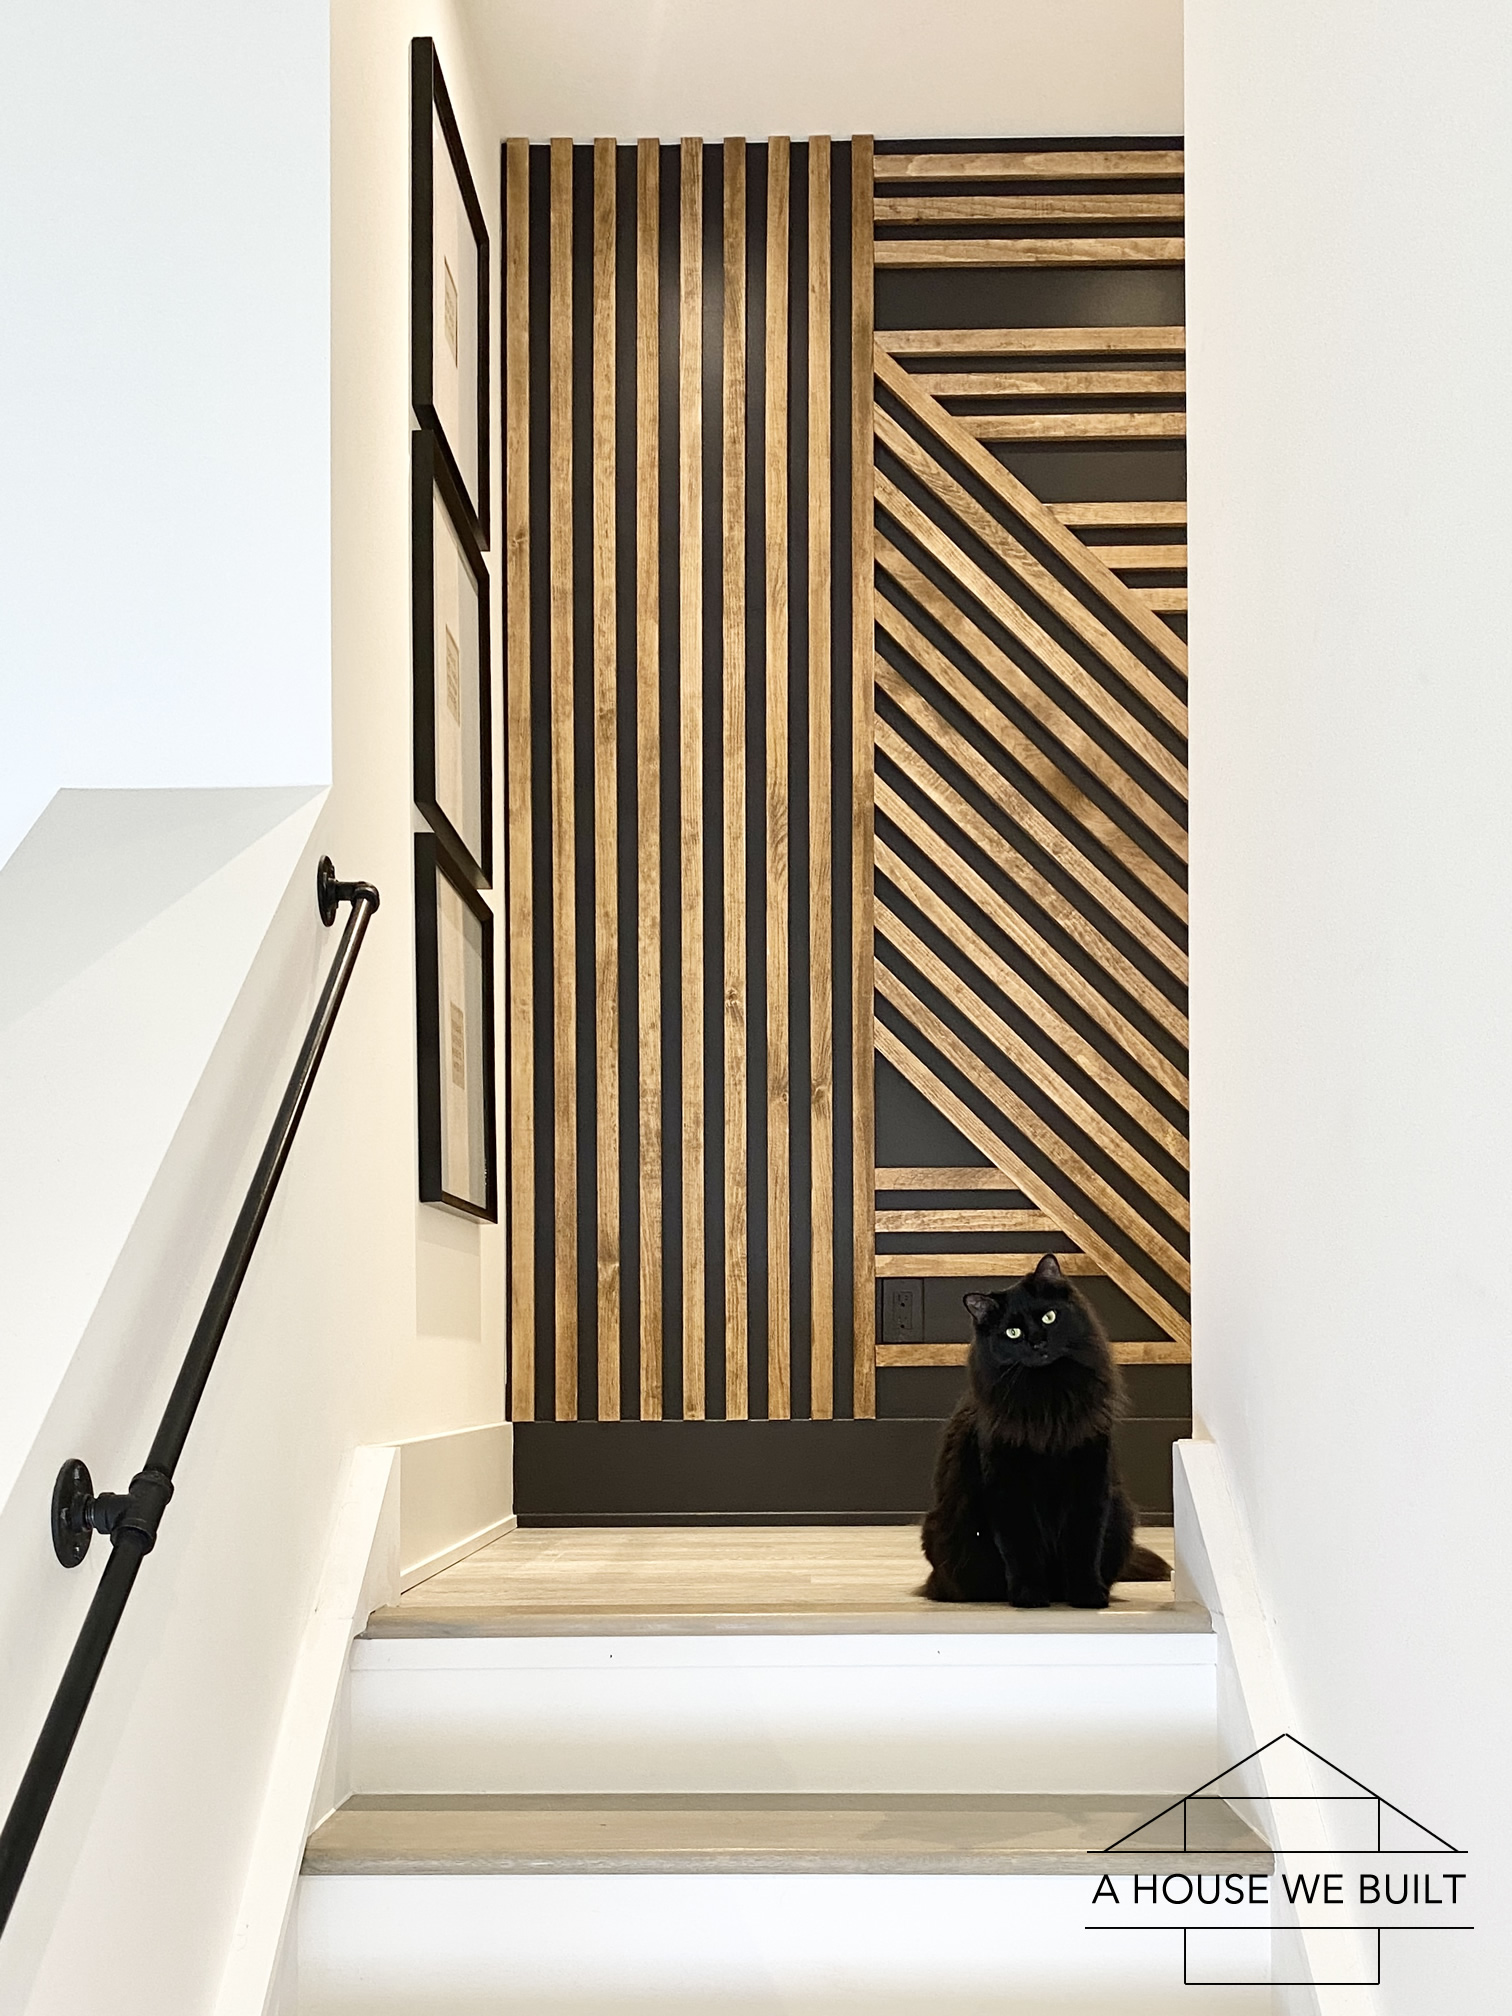
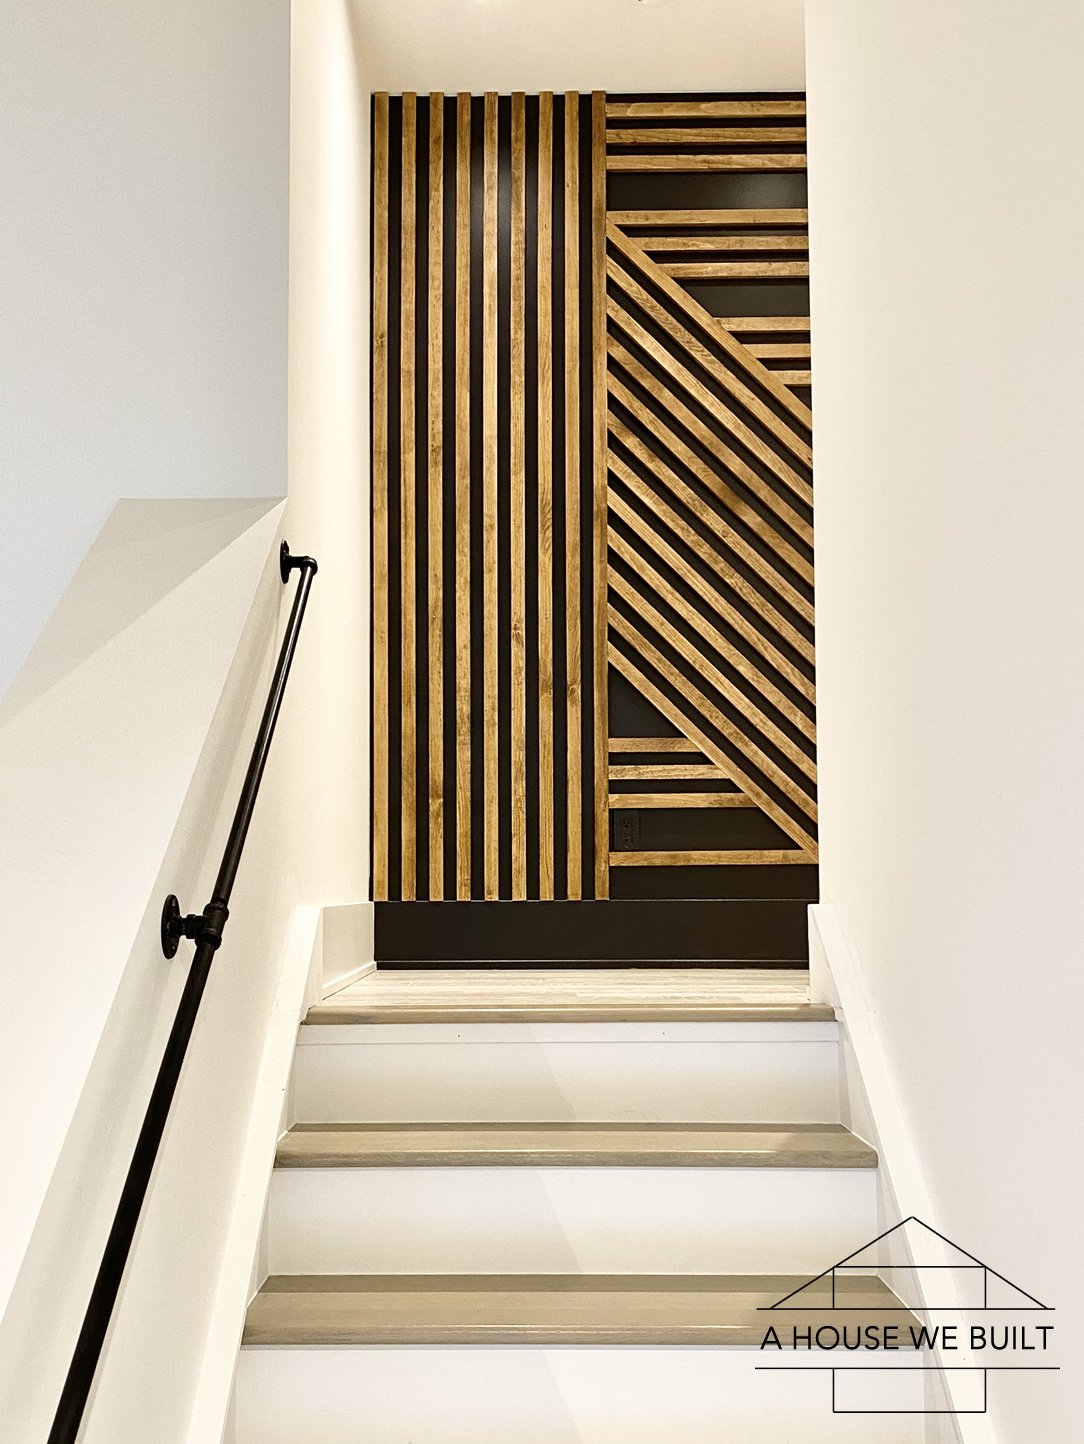
We created this bold slat accent wall at the top of our stairs and I’m going to share how we made it here! I’ve loved this wood-and-black slat wall look for a long time and was eager to find a spot in our home to do it. I love to go bold in small nooks because I feel like they’re the perfect place for a fun accent!
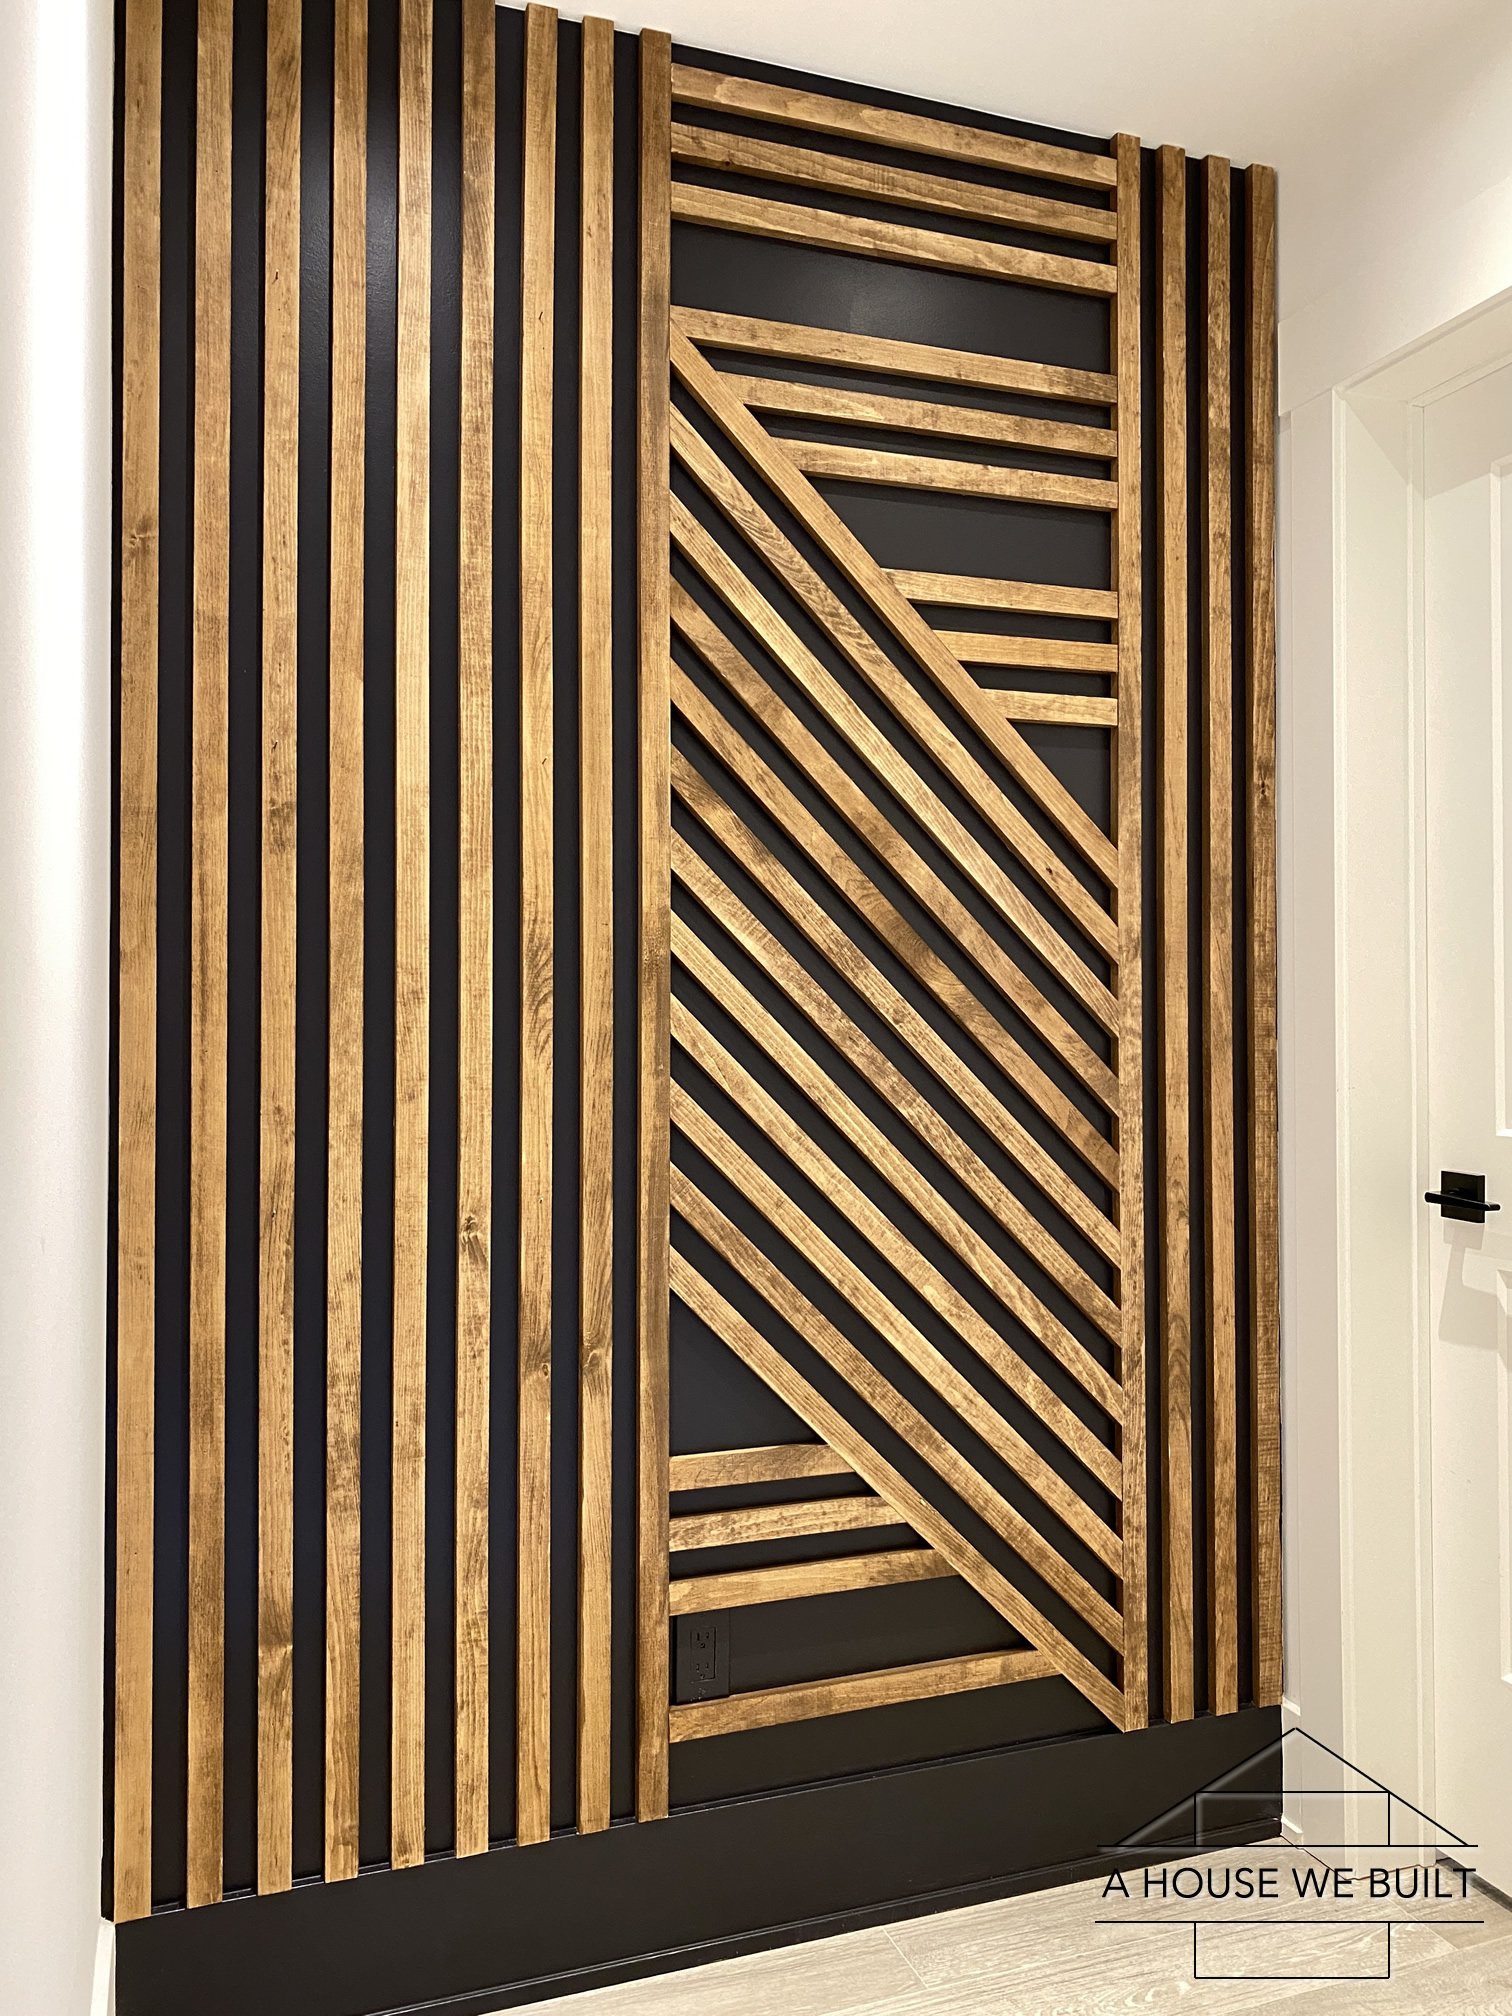
The general concept of this paneling style is created by painting a wall black and attaching boards to the wall with even spacing. However, you can get really creative with it so there are many possible variations. For my wall, I did a mixture of vertical, horizontal, and diagonal narrow boards and I mostly spaced them evenly apart, except for a few spots where I left one board out to create a separation pattern.
MATERIALS NEEDED:
- 1x2x8 boards: Home Depot (Note 1: you can create a slat wall with any size boards you prefer and you can even vary the sizing as you go, but I chose to use only 1x2s. Note 2: I suggest getting a good grade of lumber for this project because you really need the planks to be straight and not warped to achieve even spacing between them. Note 3: my wall design required 21 1x2x8s. Note 4: be sure you check your boards for straightness before using them, they cannot be warped.)
- Paneling adhesive: Home Depot | Amazon (and adhesive gun)
- Painter’s tape: Home Depot | Amazon (if you’re using 1x2s like I did, then I suggest getting ~1.5″ painter’s tape as it is close to the size of the 1x2s and you can use it for templating)
- Black paint: I used BM Black Panther (matte), but you can use any background color you like
- Stain: I used Special Walnut (Home Depot), but you can use any color you like
TOOLS NEEDED:
- Nailer: Home Depot | Amazon (I used 1″ nails (3/4″ into the wood + 1/4″ into drywall). With a slat wall, there’s no way to get all your slats over studs and I made sure my nails were short enough not to puncture straight through the drywall so that they wouldn’t hit any wires or plumbing)
- Miter saw: Home Depot | Amazon
- Measuring tape: Home Depot | Amazon
- Carpenter’s square: Home Depot | Amazon
- Level: Home Depot | Amazon
INSTRUCTIONS:
- Design your wall. There are no rules to this step, just create whatever you love. You can do all vertical, all horizontal, all angled, or a mix of all 3 as I did.
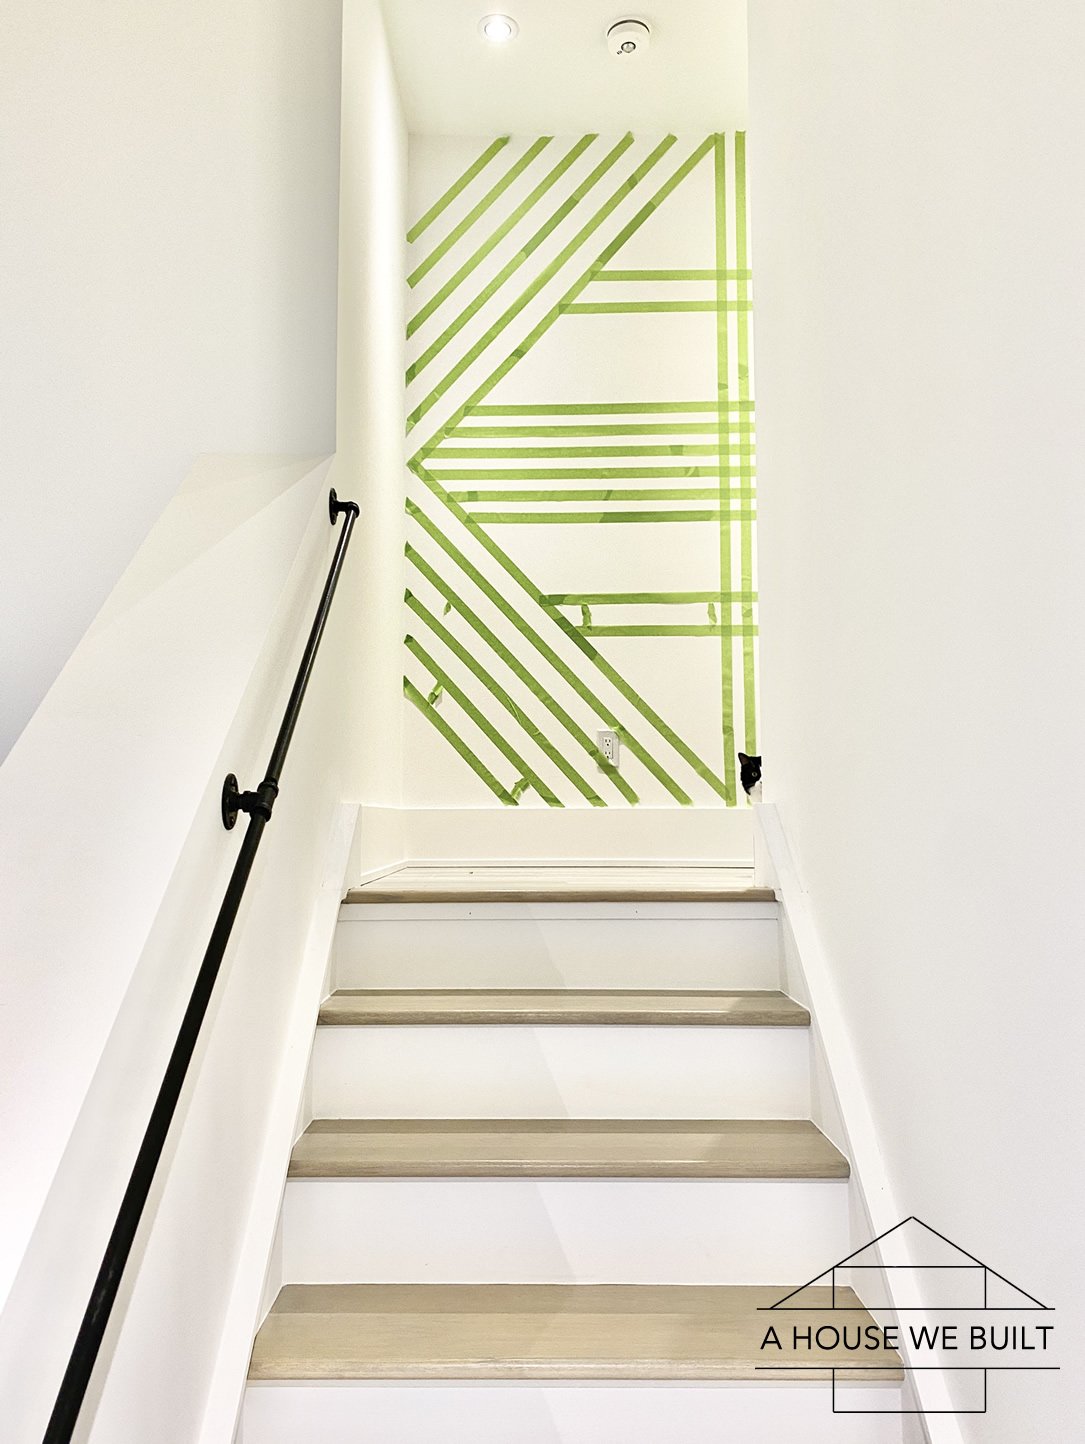
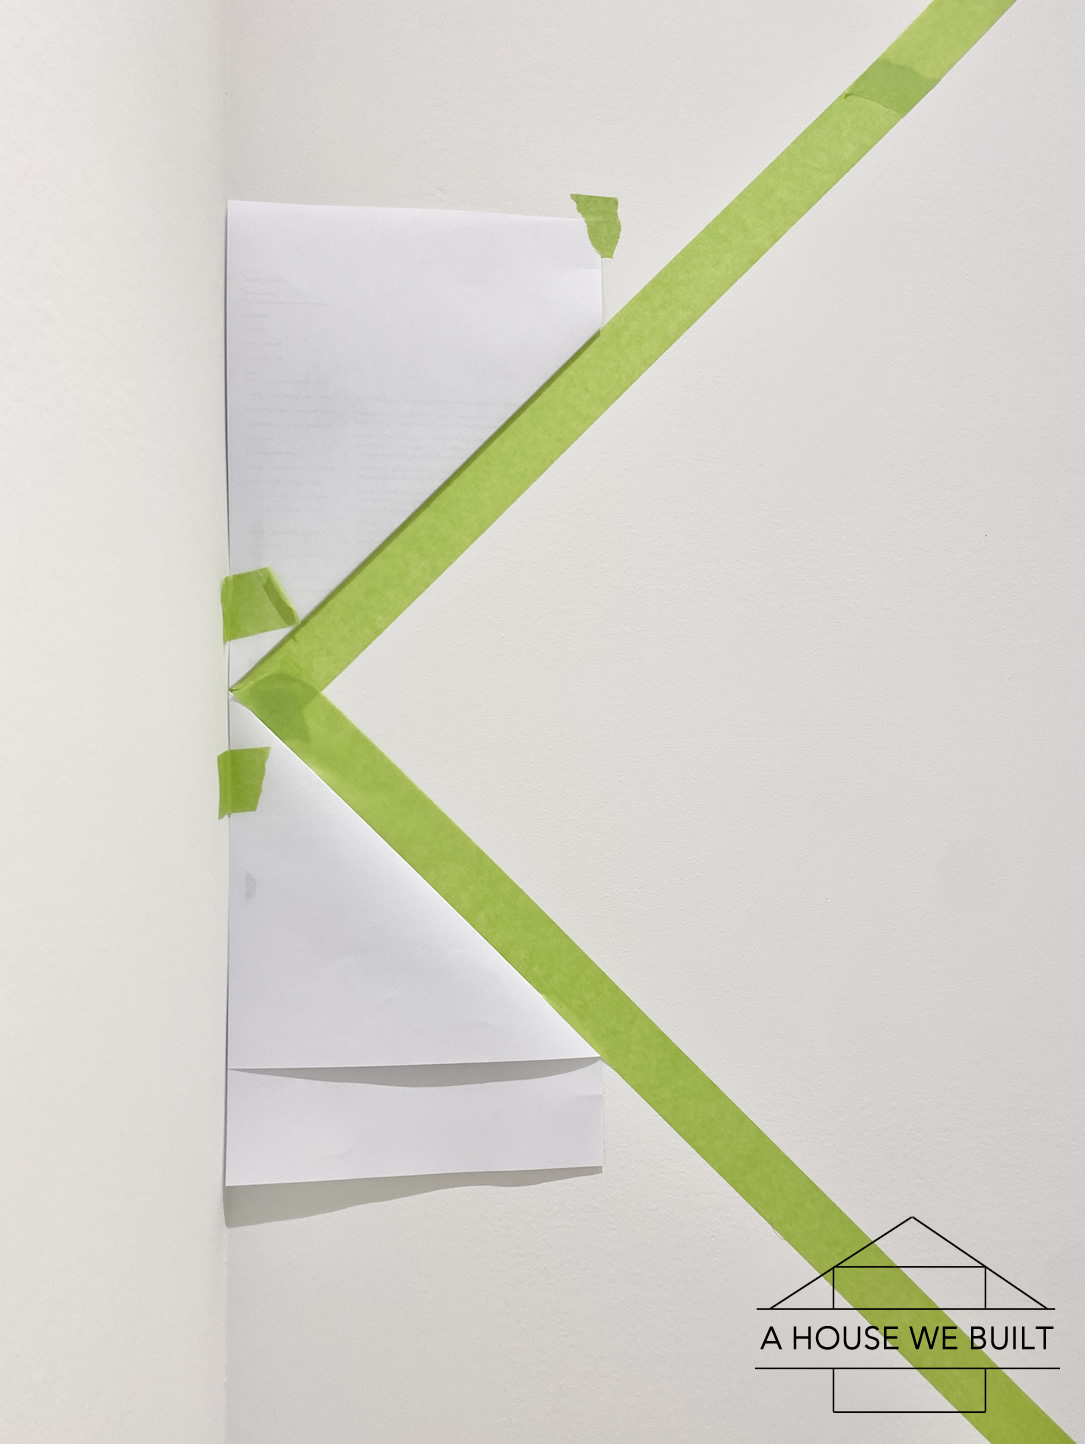
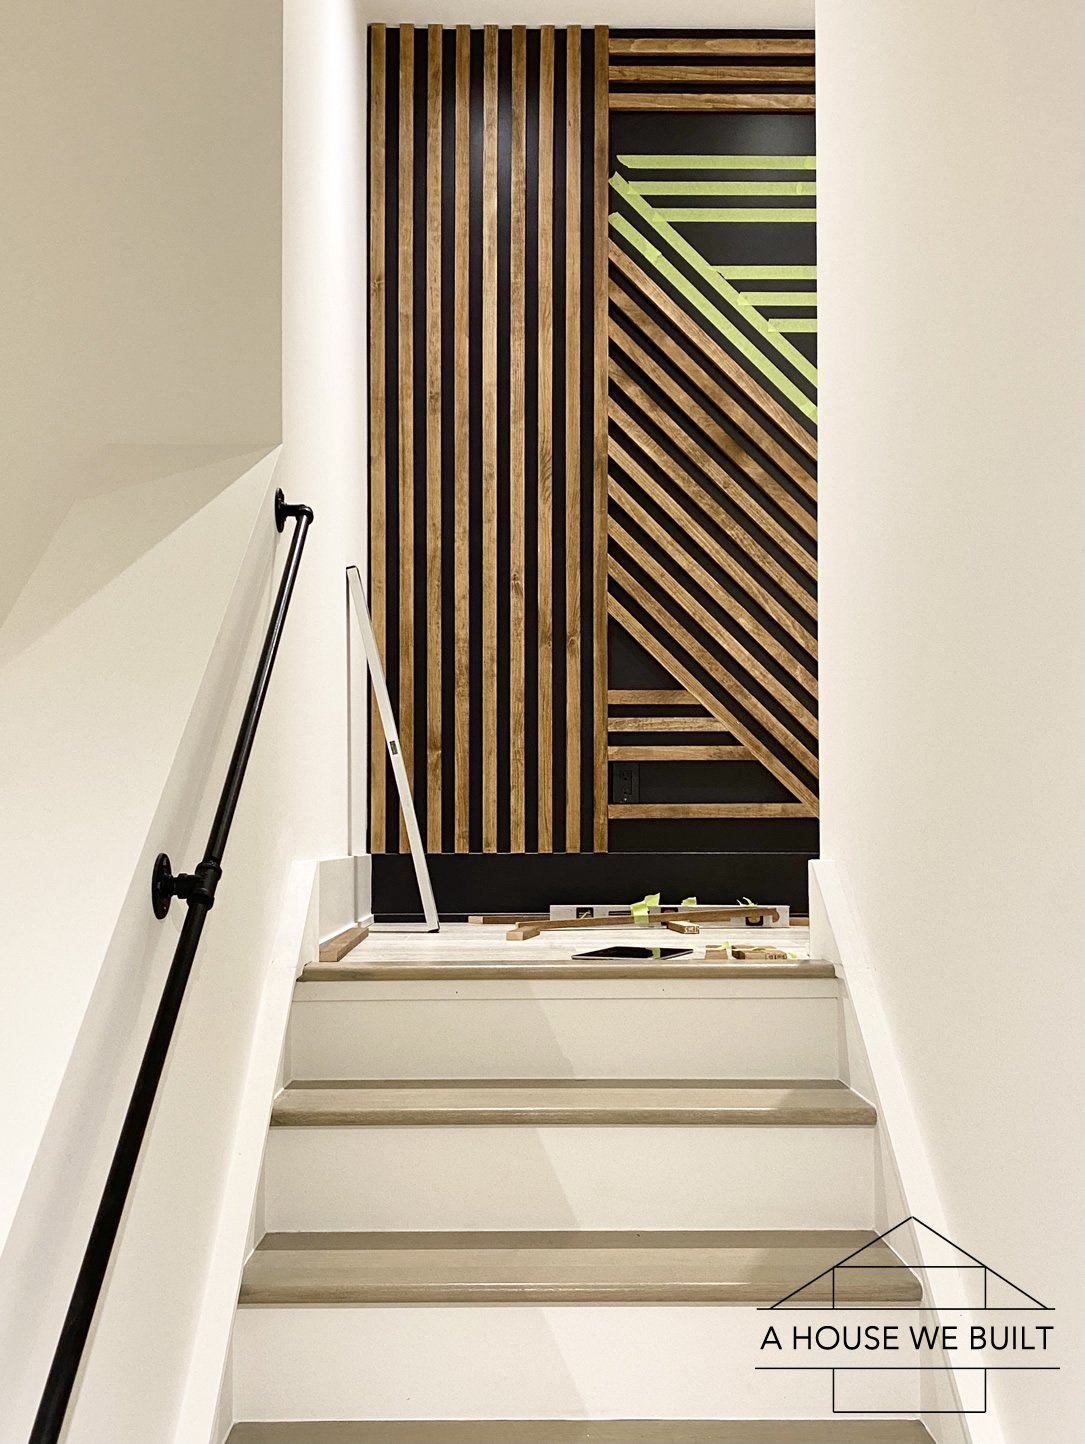
- This is an optional step, but since I was doing a small wall, I found it helpful to template out my wall with painter’s tape just so I could see my design from different angles and make adjustments easily. Tip: All my angles were 45° so a way to ensure that your tape follows the correct angle is to simply fold a piece of paper and use that as a guide. Templating is very helpful because as you can tell from the end result of my wall. My final design changed quite a lot from my original templated idea.
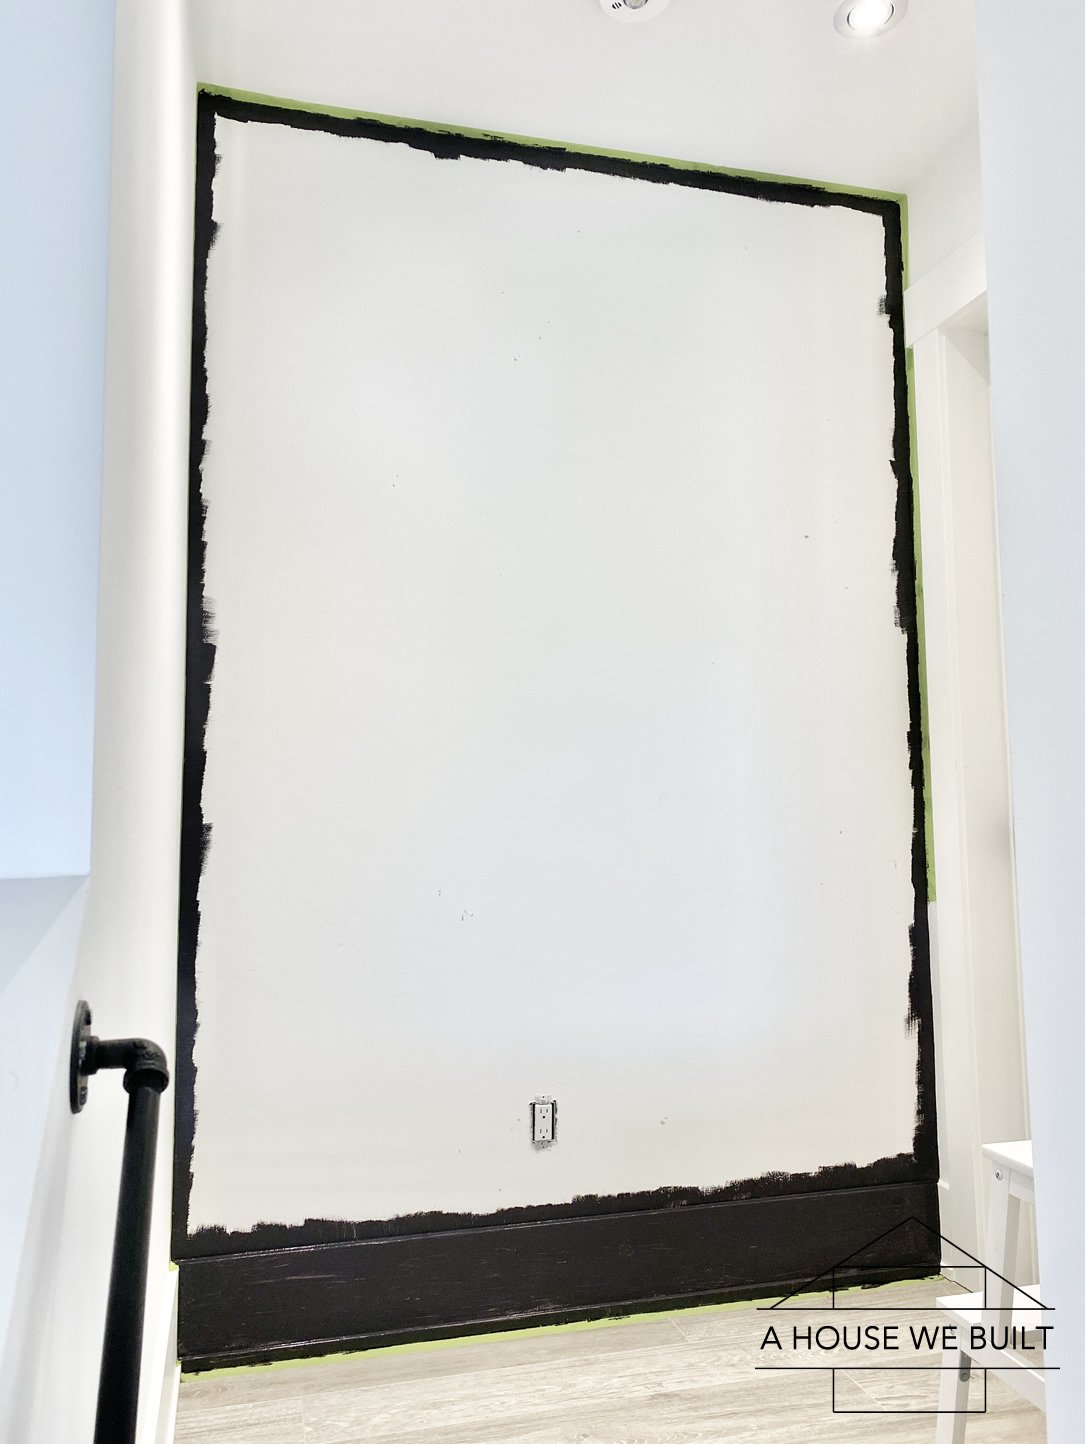
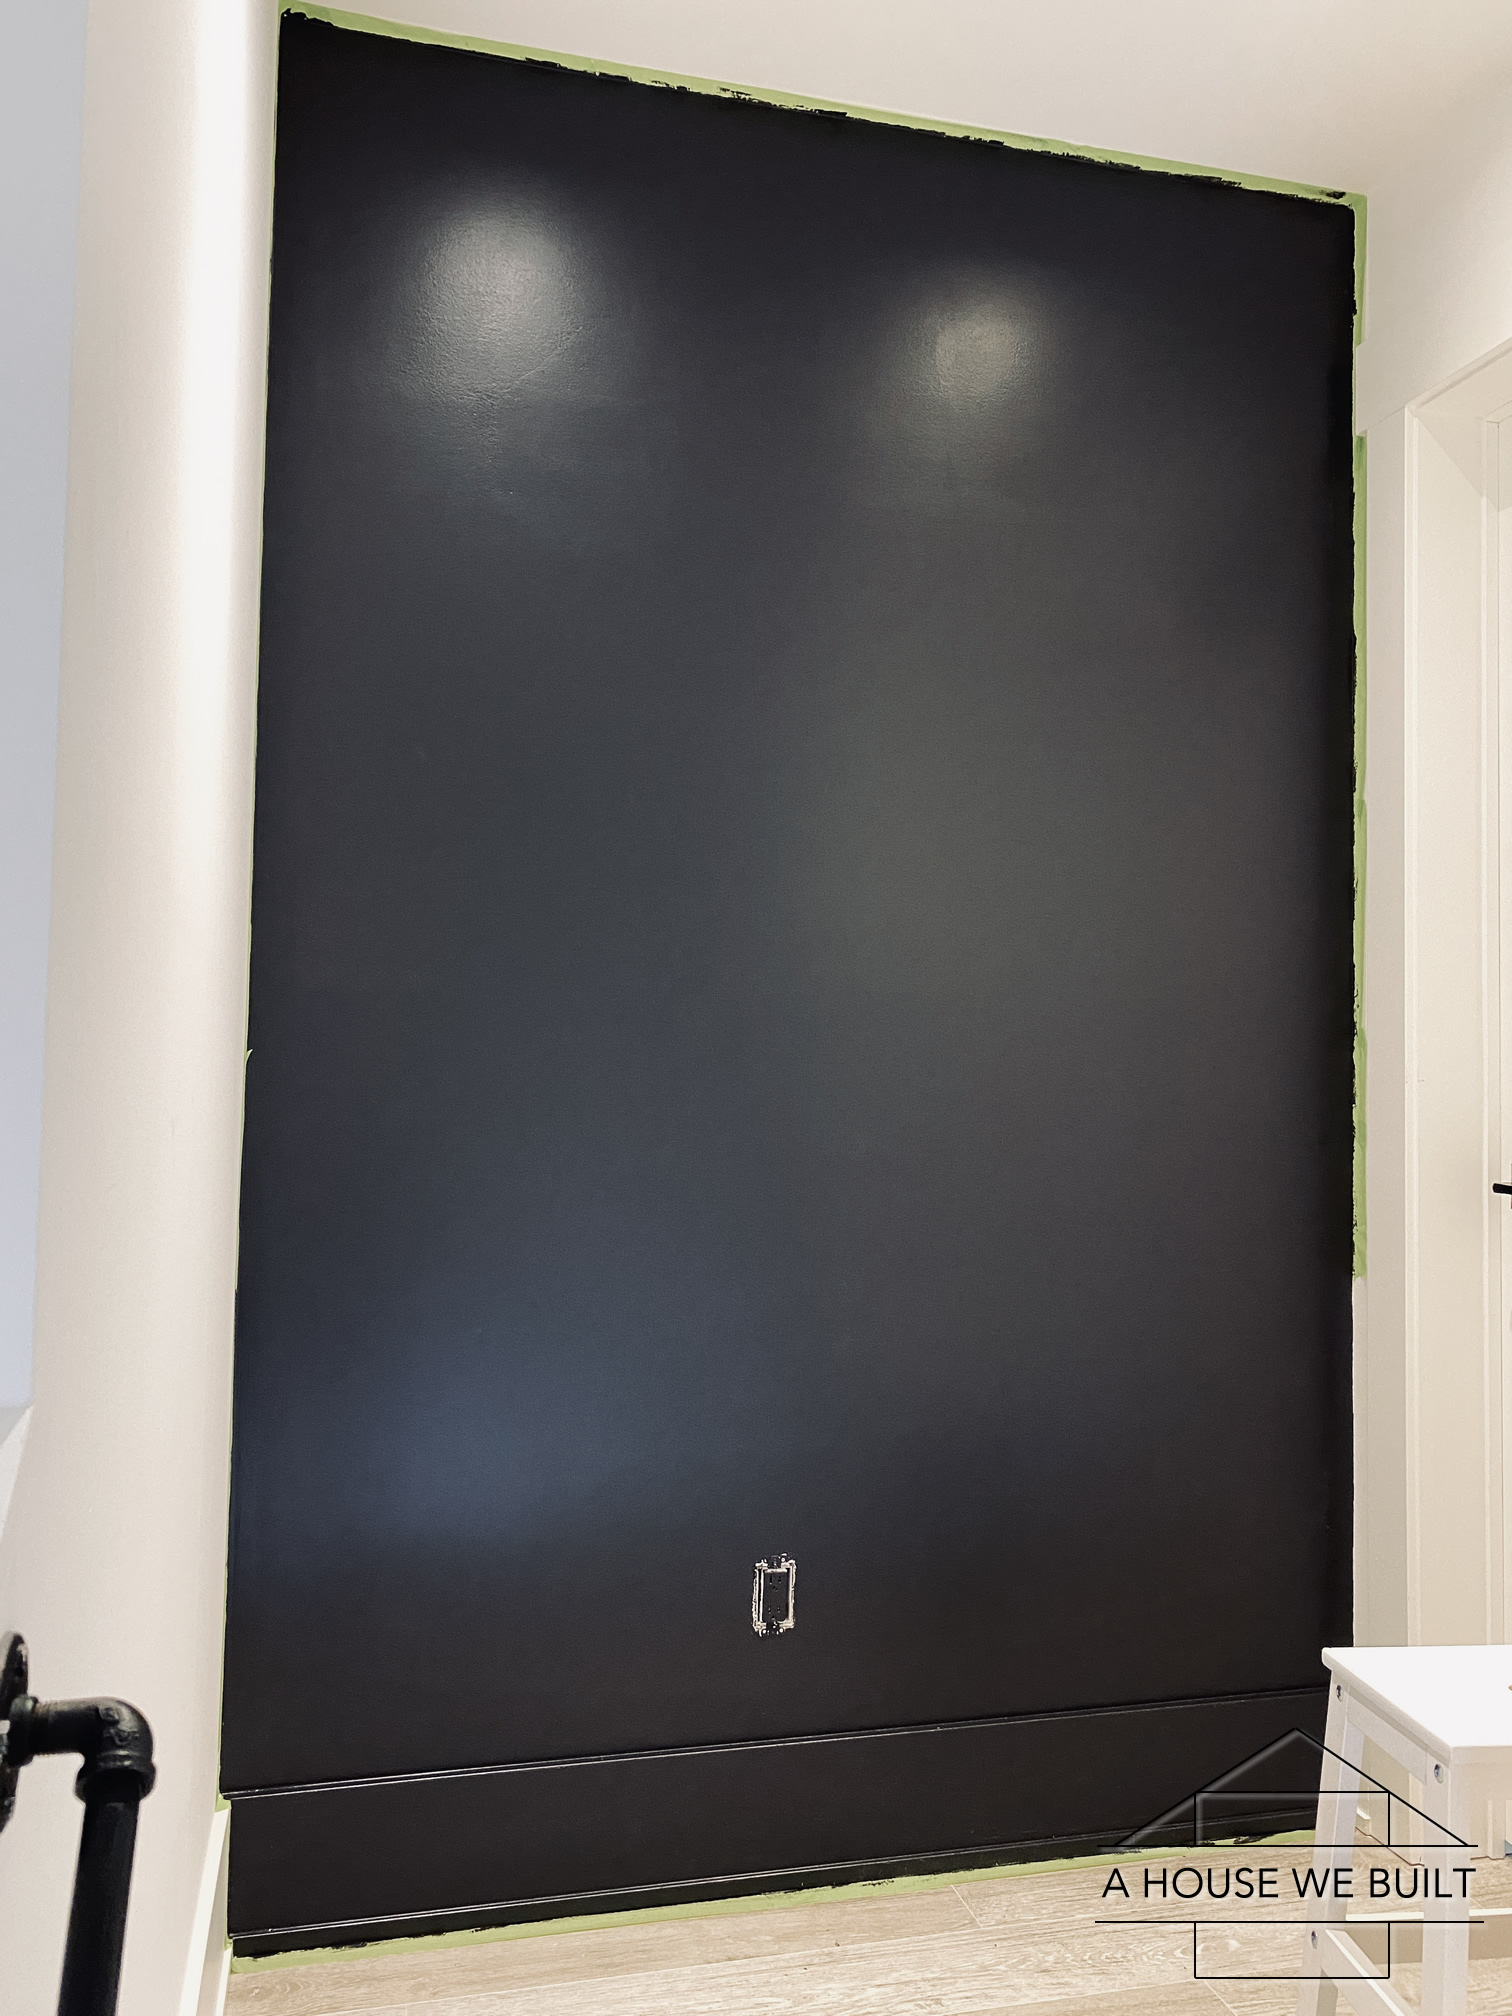
- Paint your wall black (or whatever background color you choose).
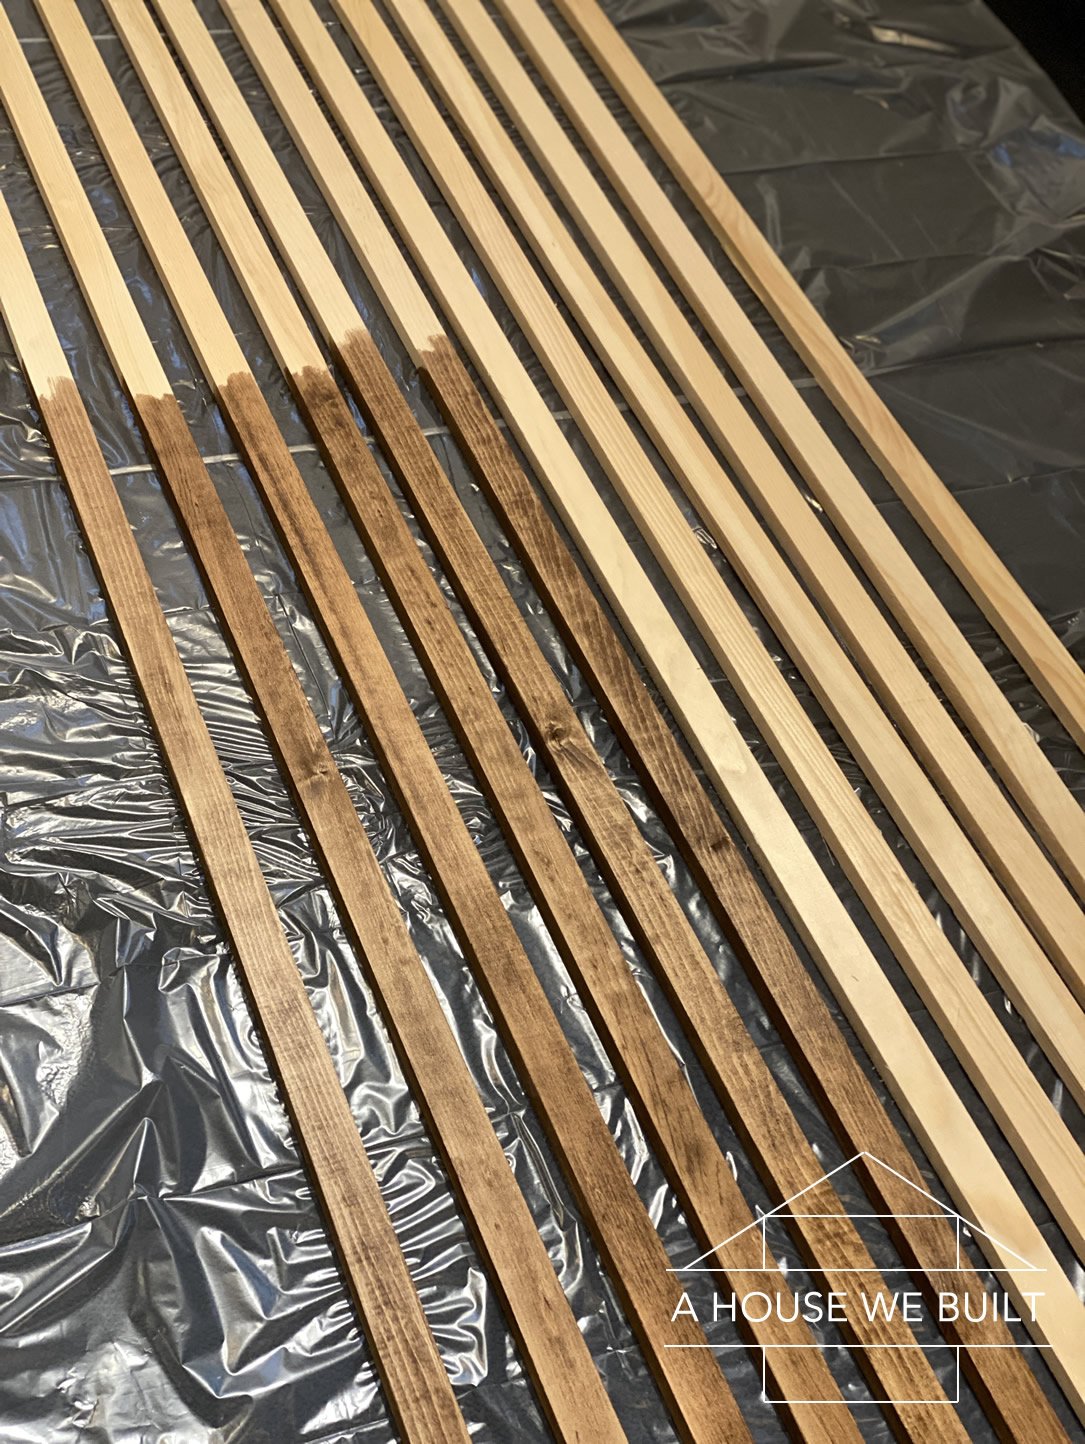
- Stain your 1x2s and allow them to dry overnight. I always apply stain with a rag: bunch the rag up to create a firm bundle-o-rag, dip it in the stain, rub over the board until evenly coated. I use just enough stain to create color, but I do not do the whole “wipe-on-wipe-off” thing. I also did not end up sealing my stained boards but you can if you want. It just didn’t feel necessary to me here.
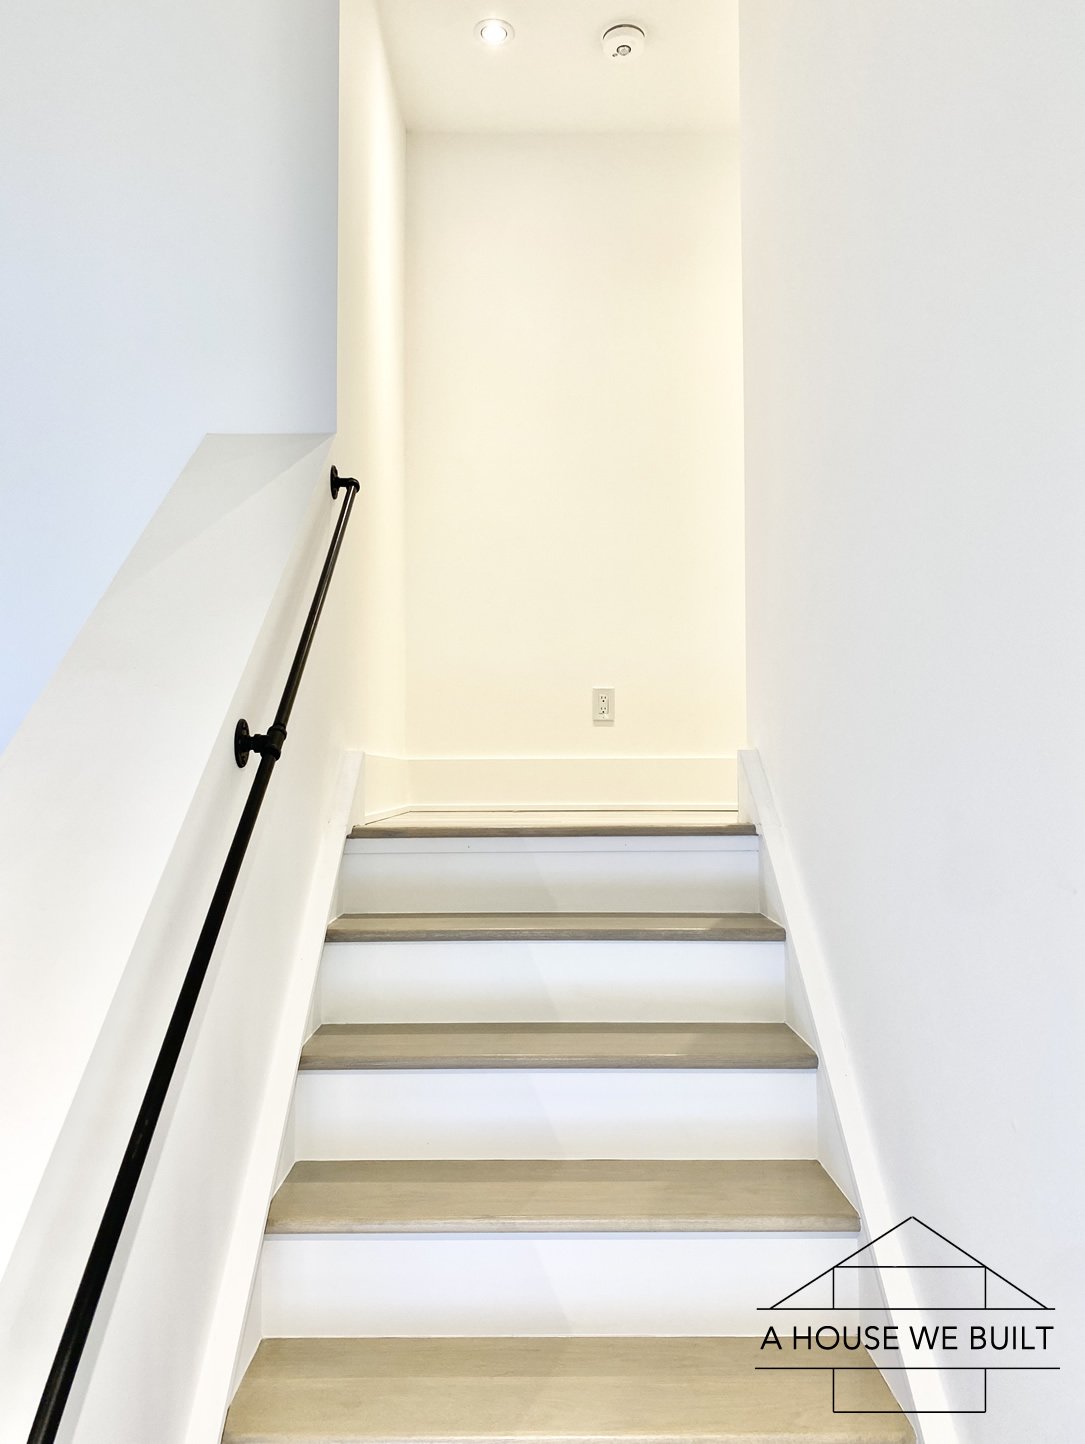
- Cut your 1x2s to size and attach them to your wall using a combination of paneling adhesive and nails. I recommend cutting as you go instead of cutting all the boards up front to ensure the most accurate measurements. Use small cut-offs of 1x2s as spacers between the 1x2s you’re attaching to the wall to create a consistently even spacing between boards. I attached my 1×2 flat to the wall and used another flat 1×2 between them. So my spacing went: 1×2, 1.5″ gap, 1×2, 1.5″ gap, etc. I recommend starting with verticals or whatever your primary main board style is. (Note: there is an outlet in the lower part of my wall so I designed my paneling around the outlet so that no board crossed the outlet, then painted the outlet black to make it disappear.) Finally, always remember to constantly use your level as you build your wall to make sure that your boards are always straight! The pictures I’ve shared below chronologically show my progress and process creating the wall.
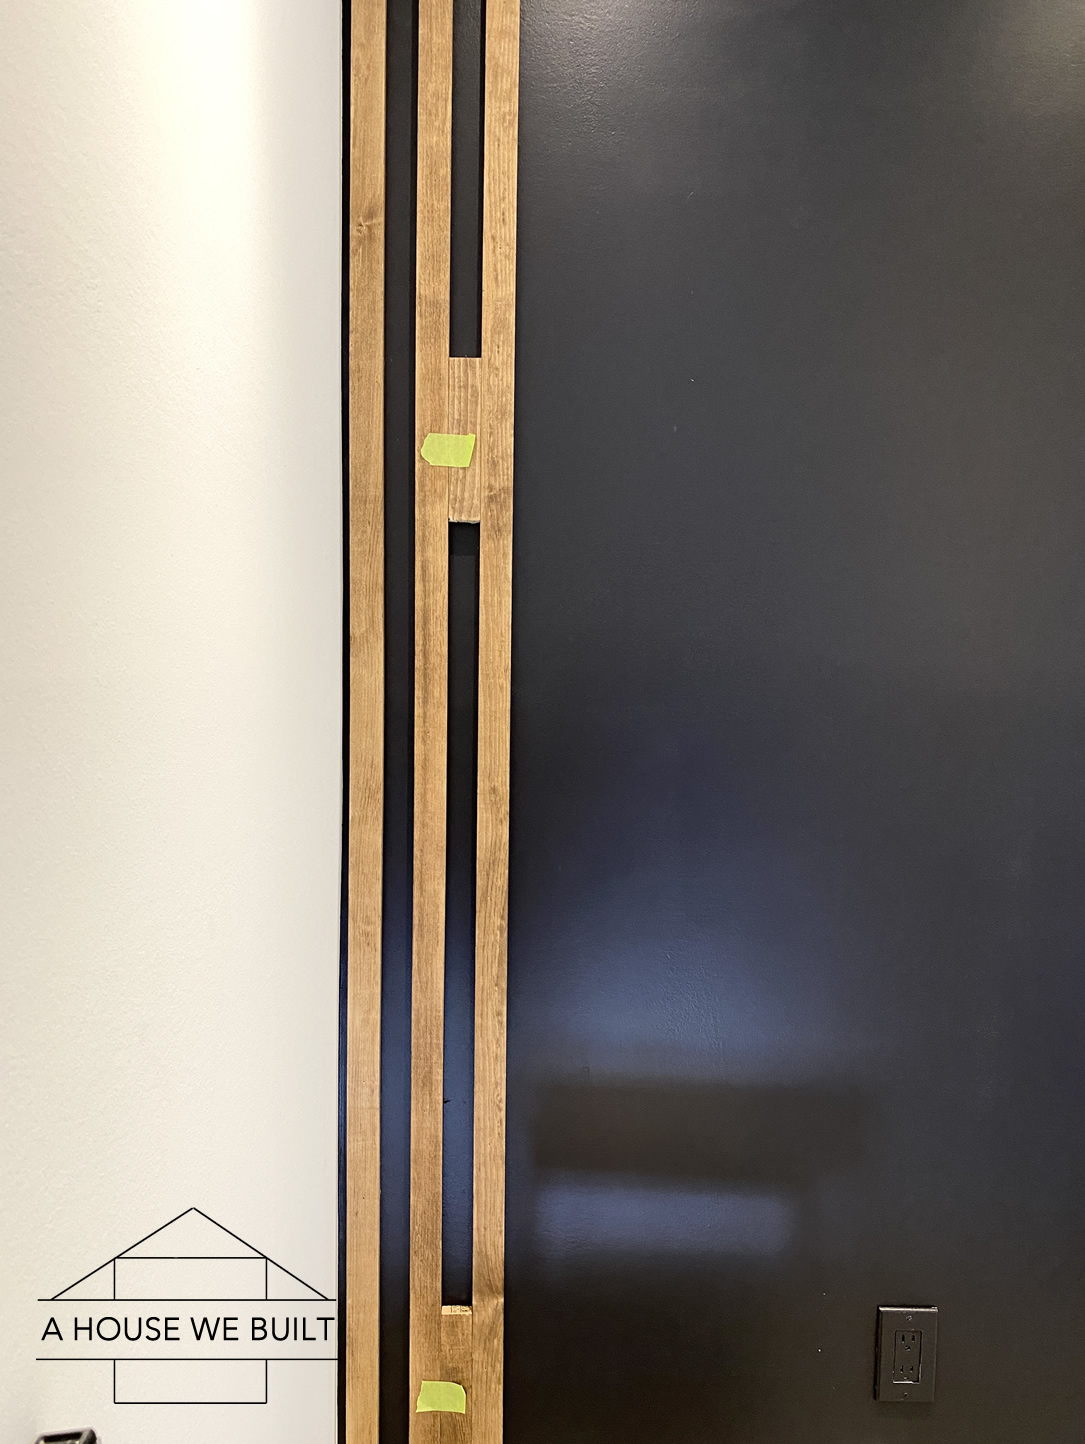
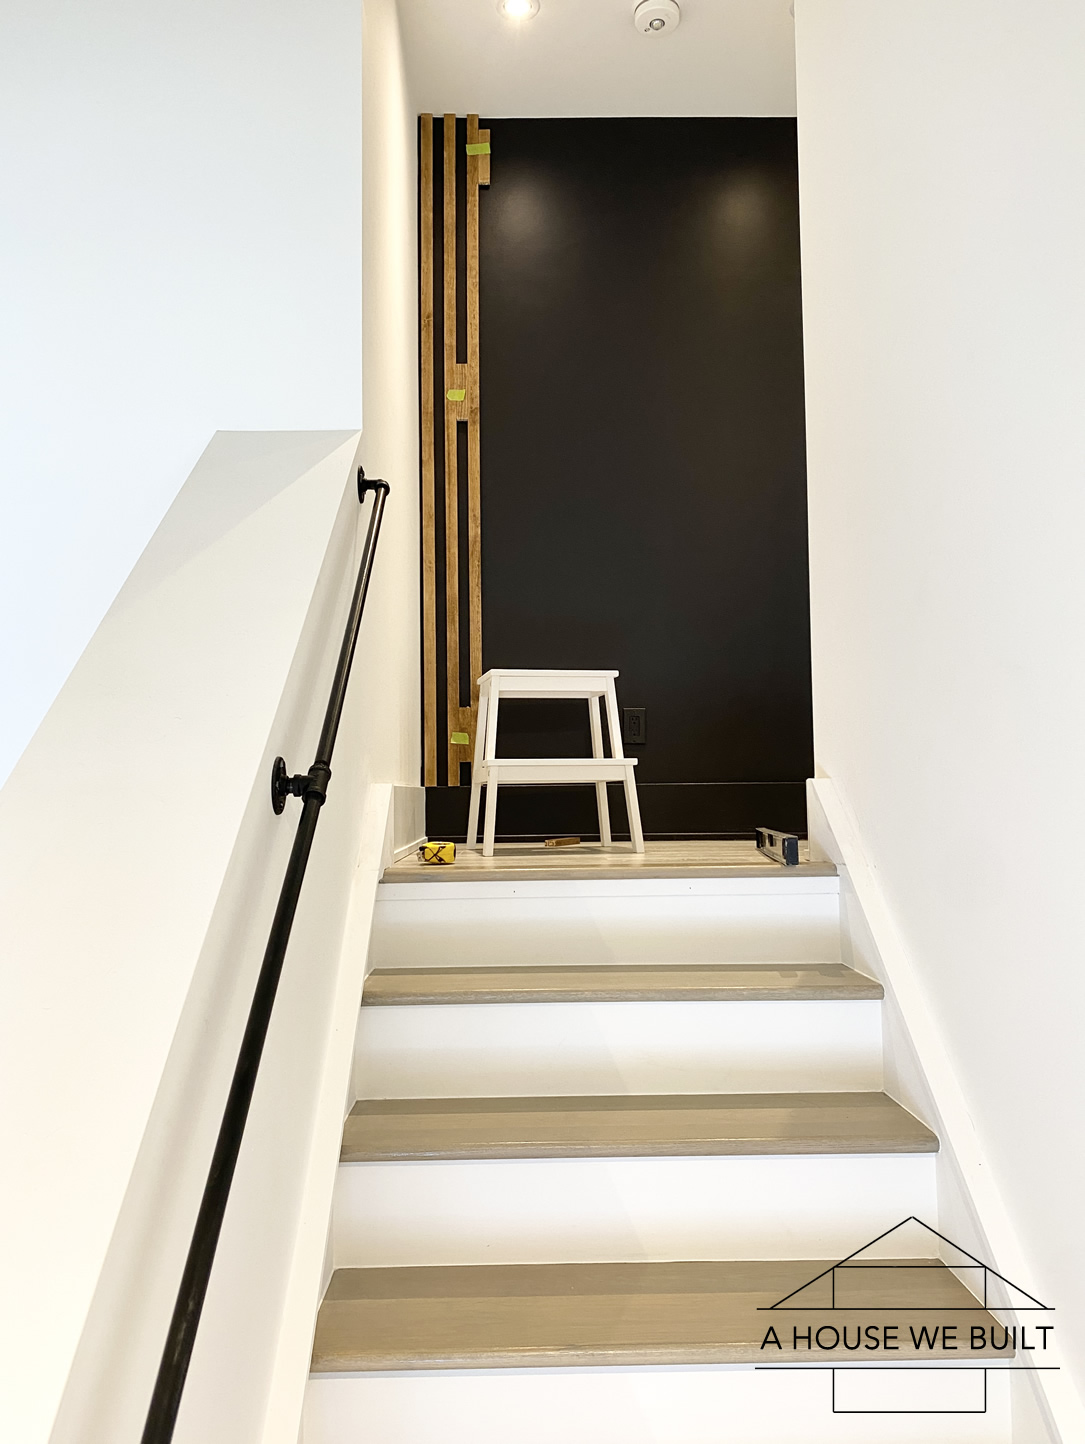
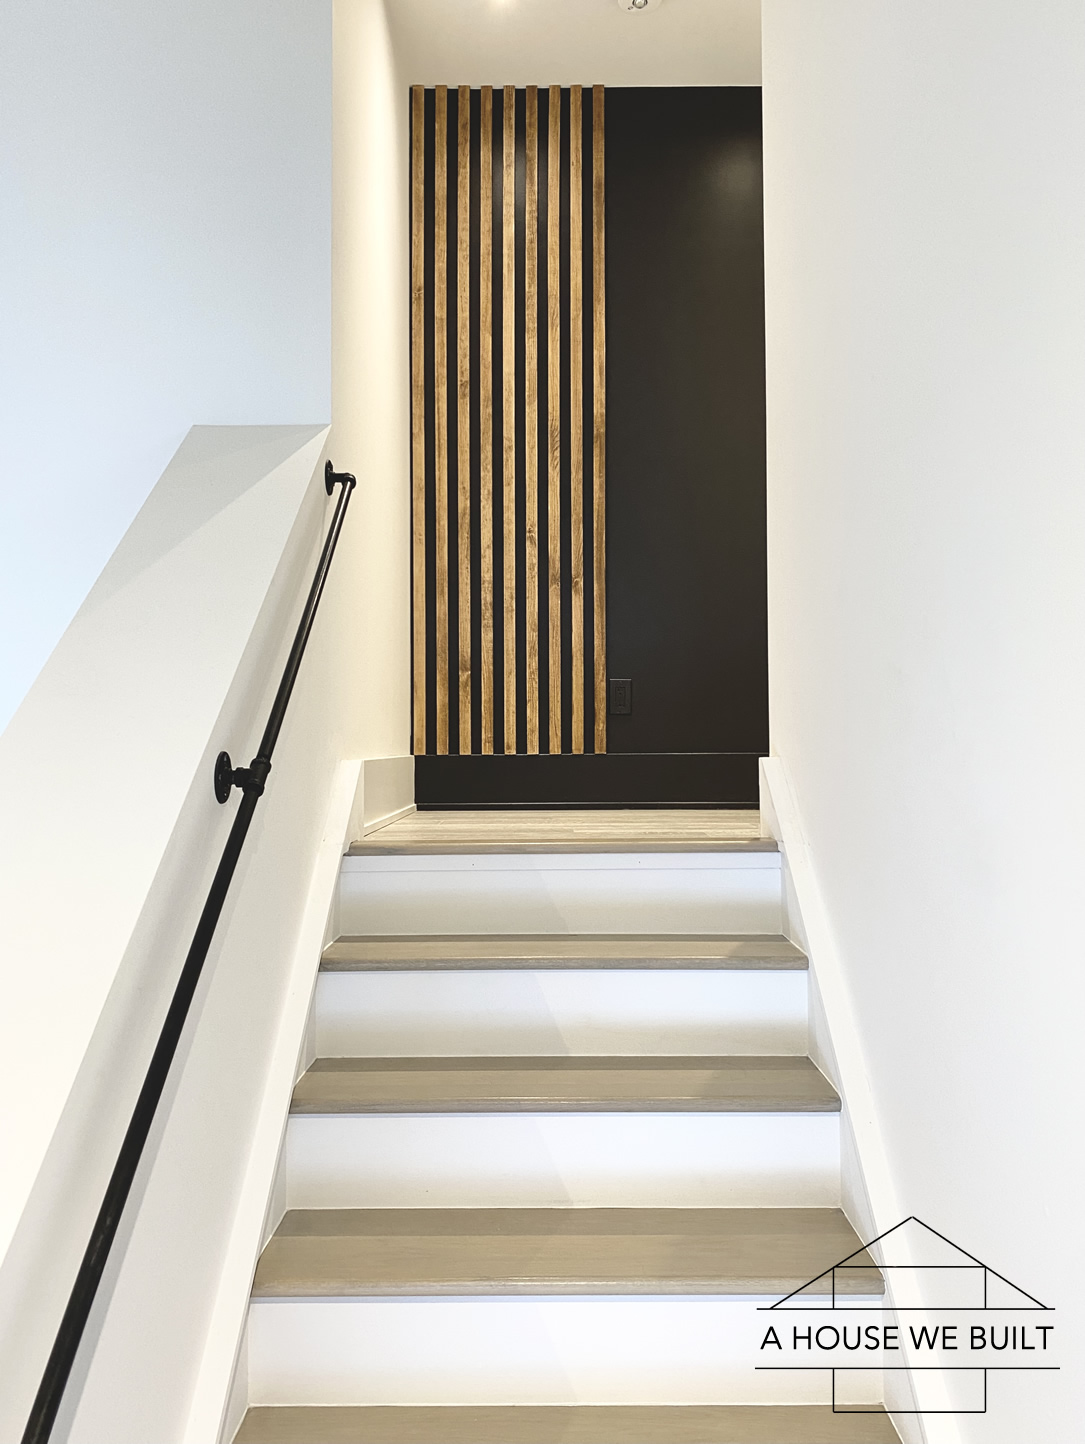
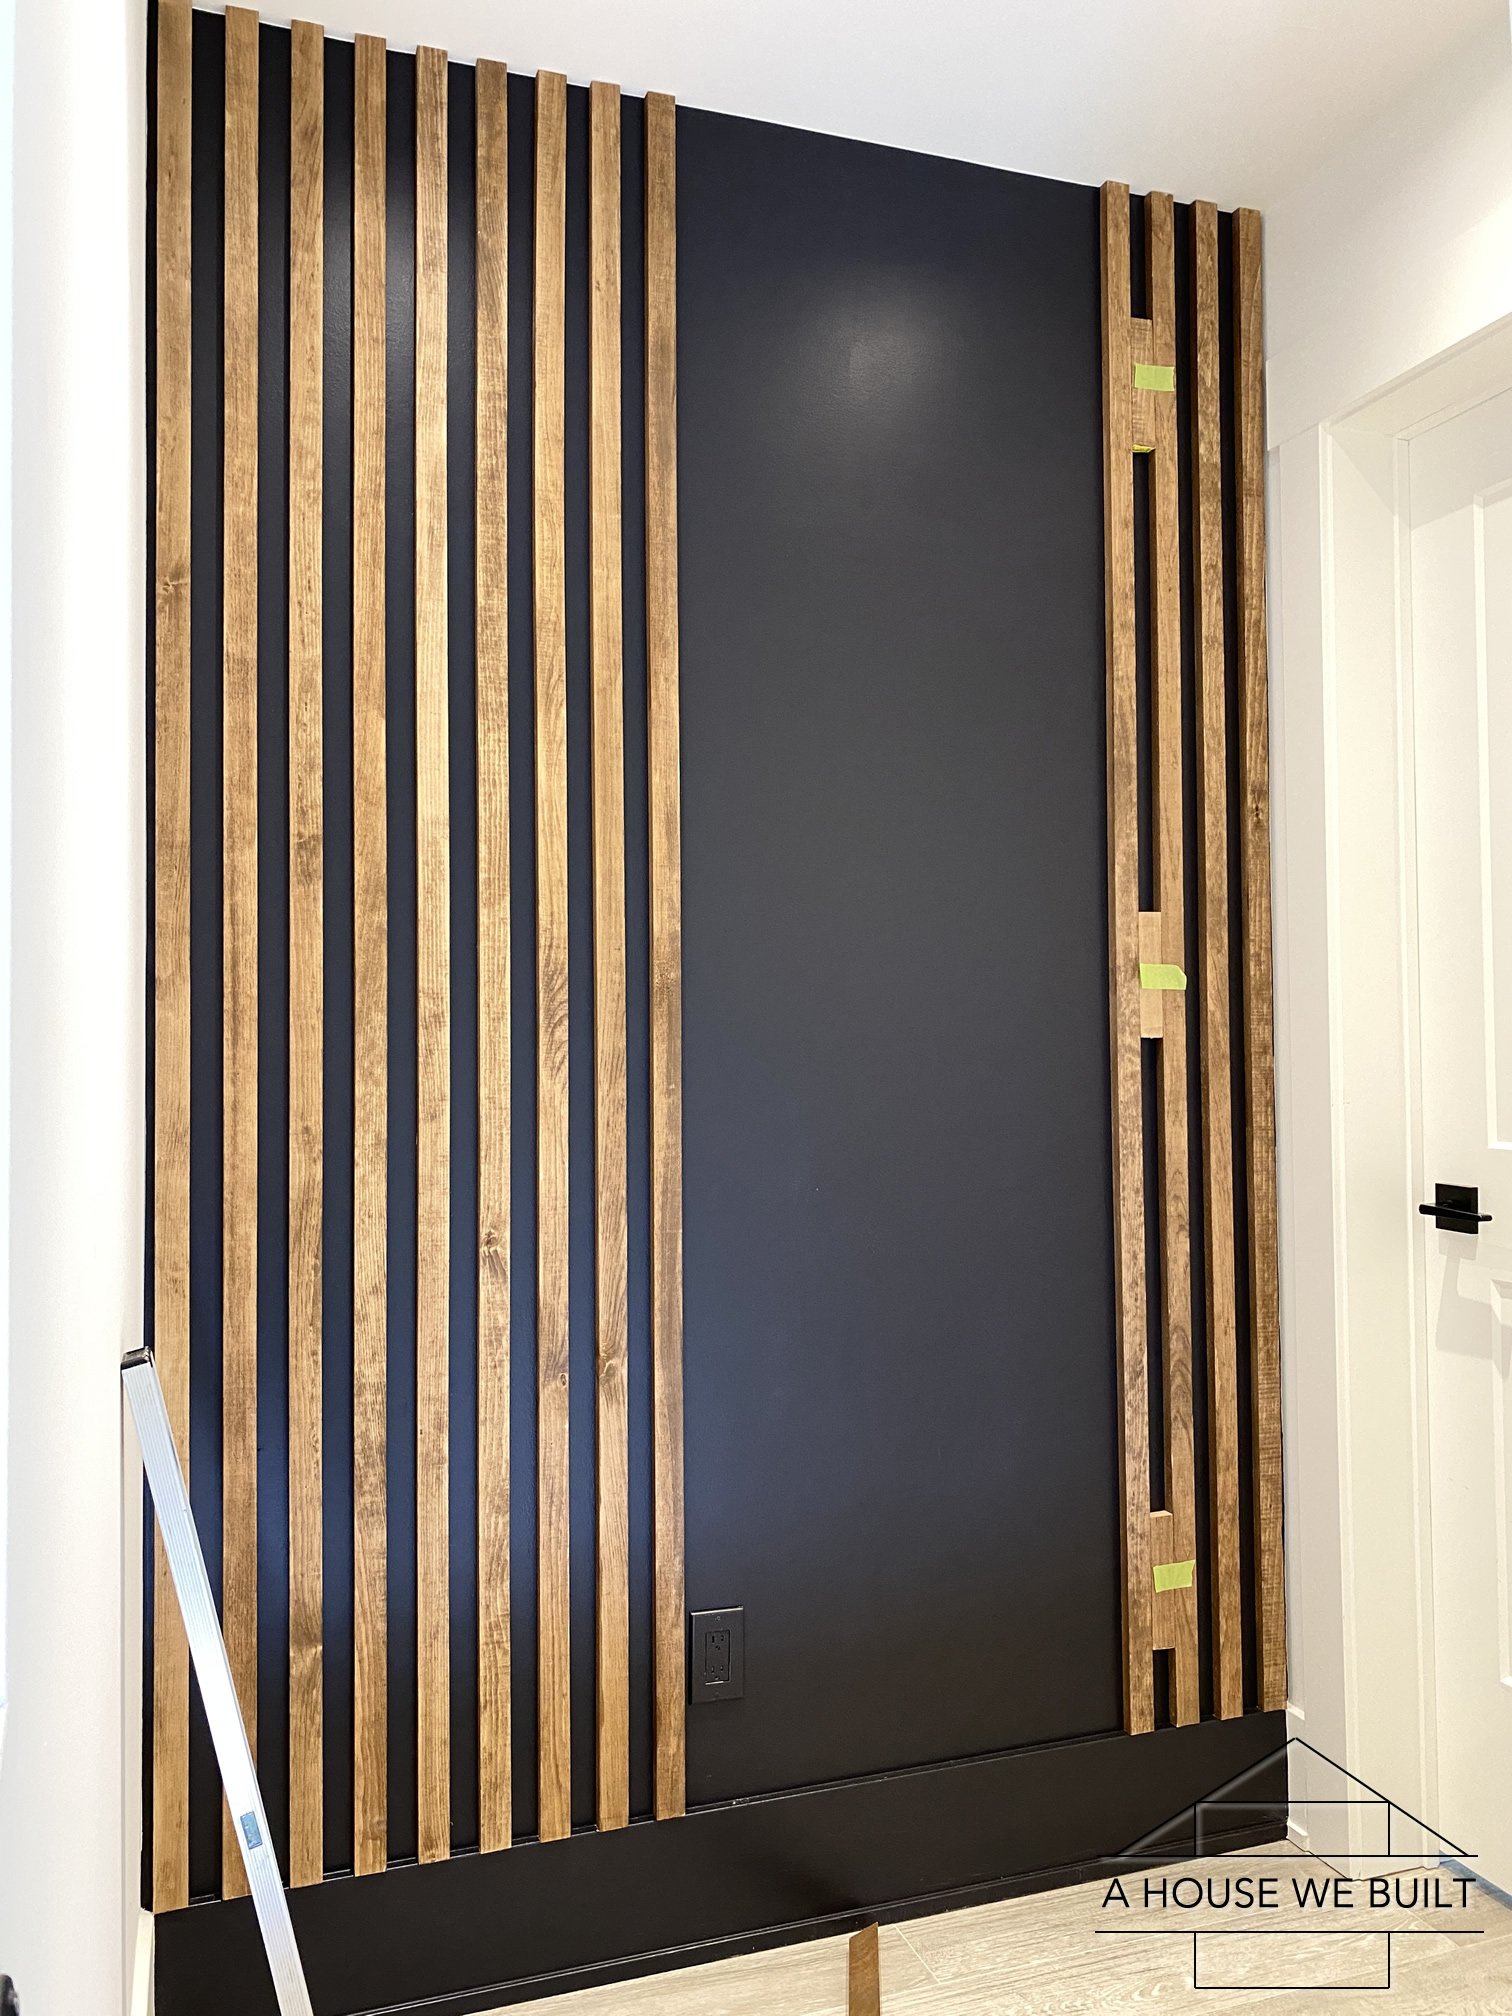
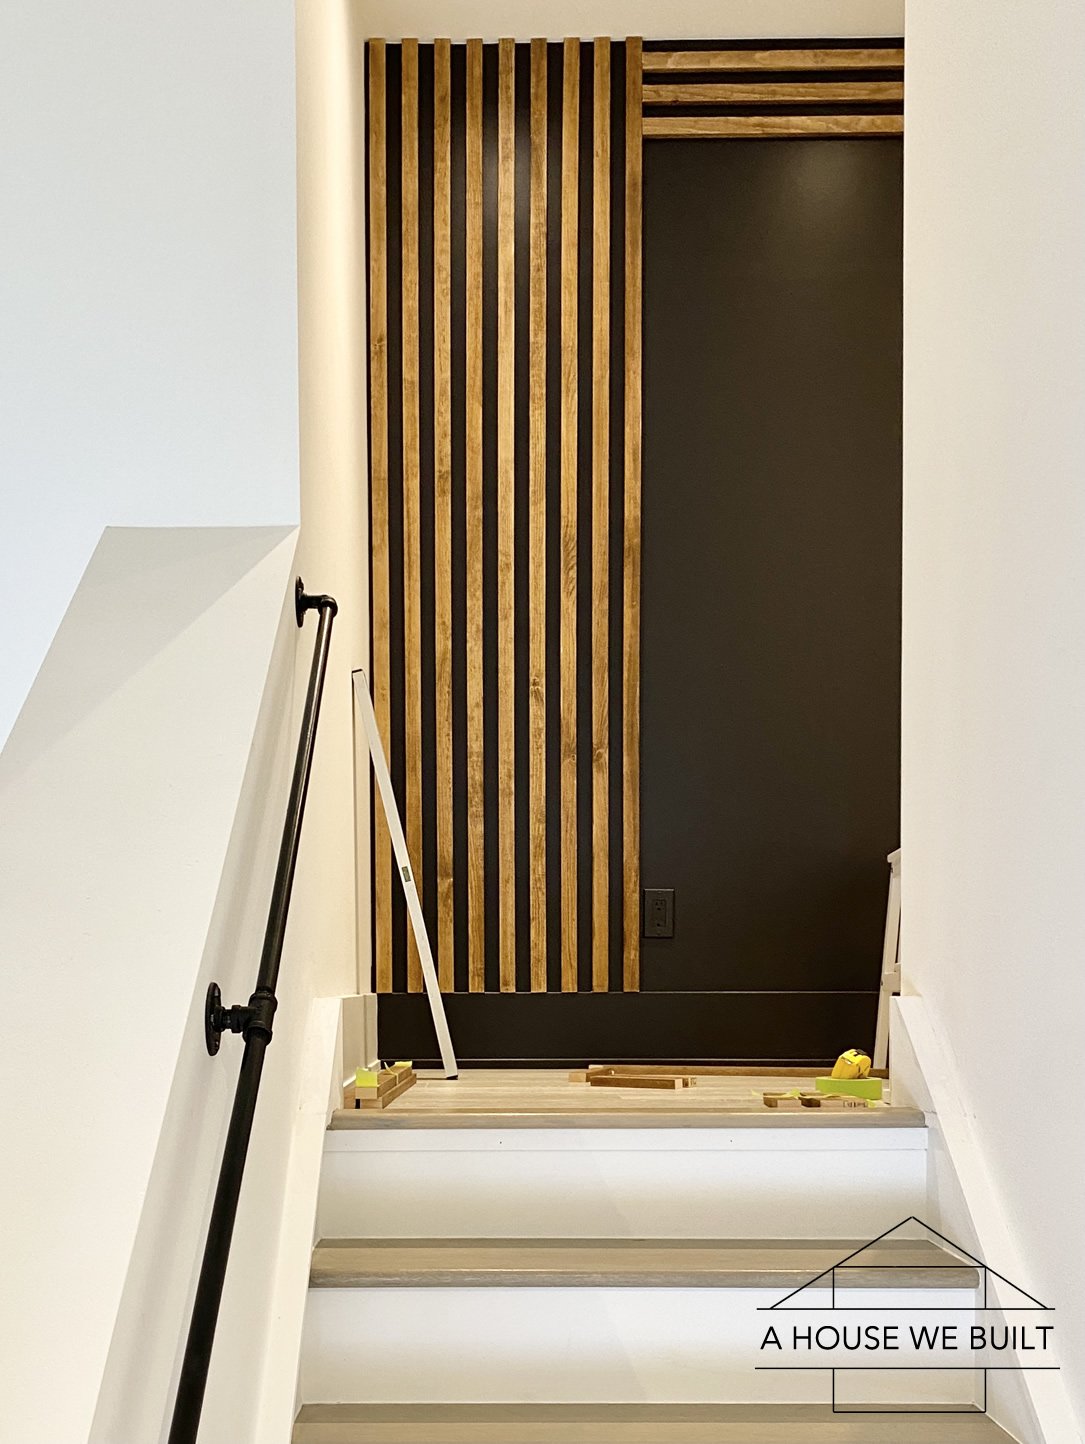
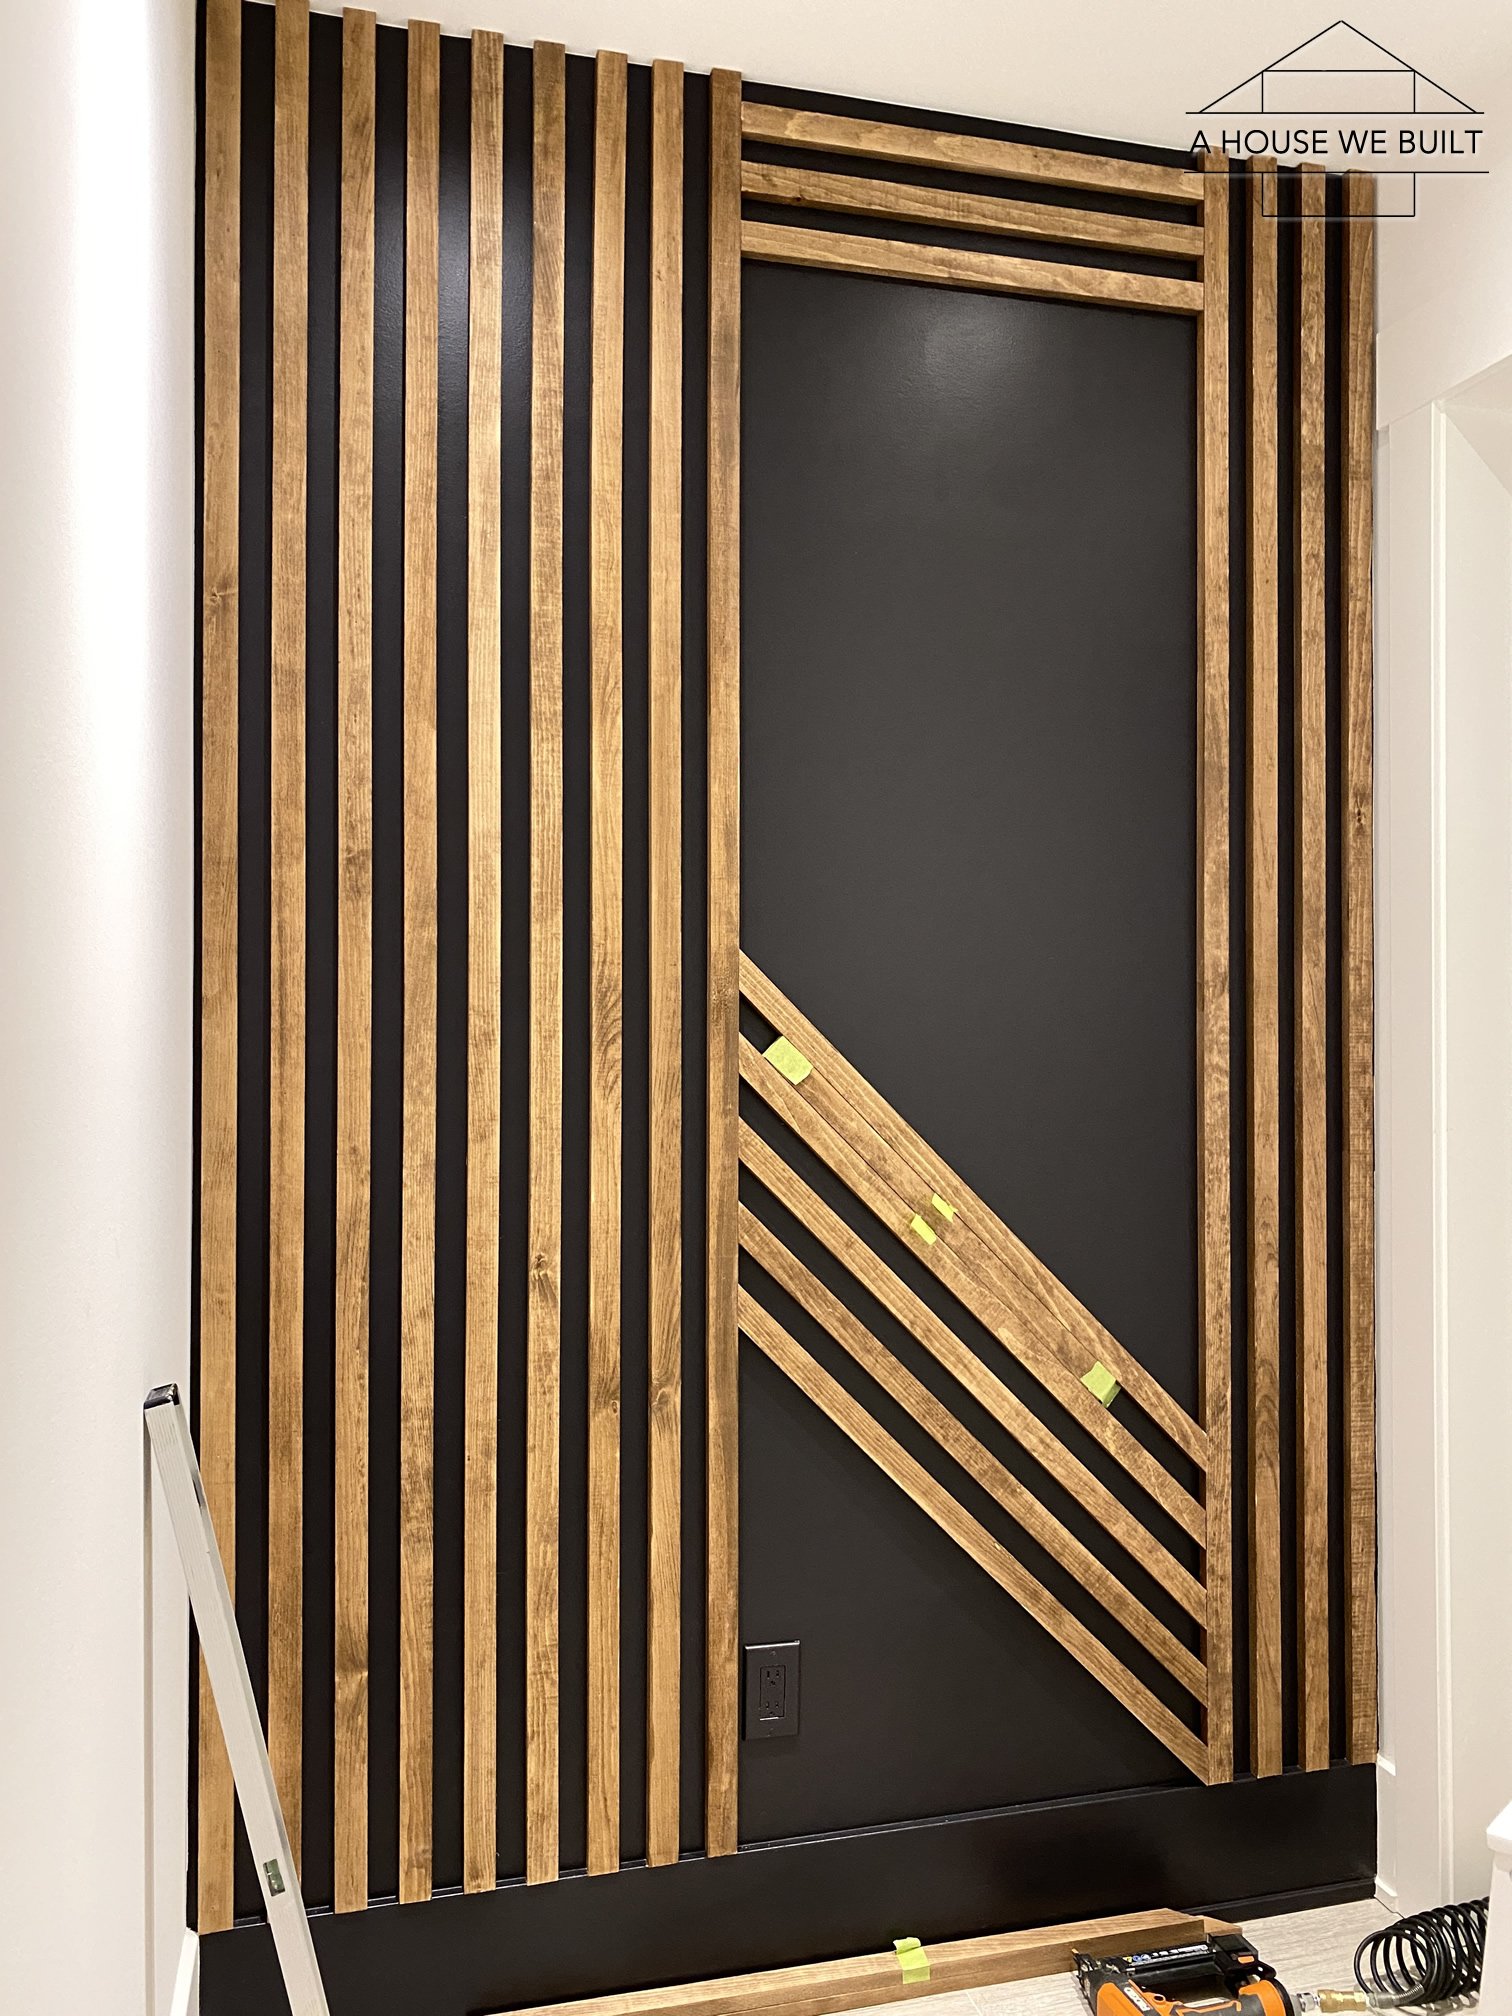
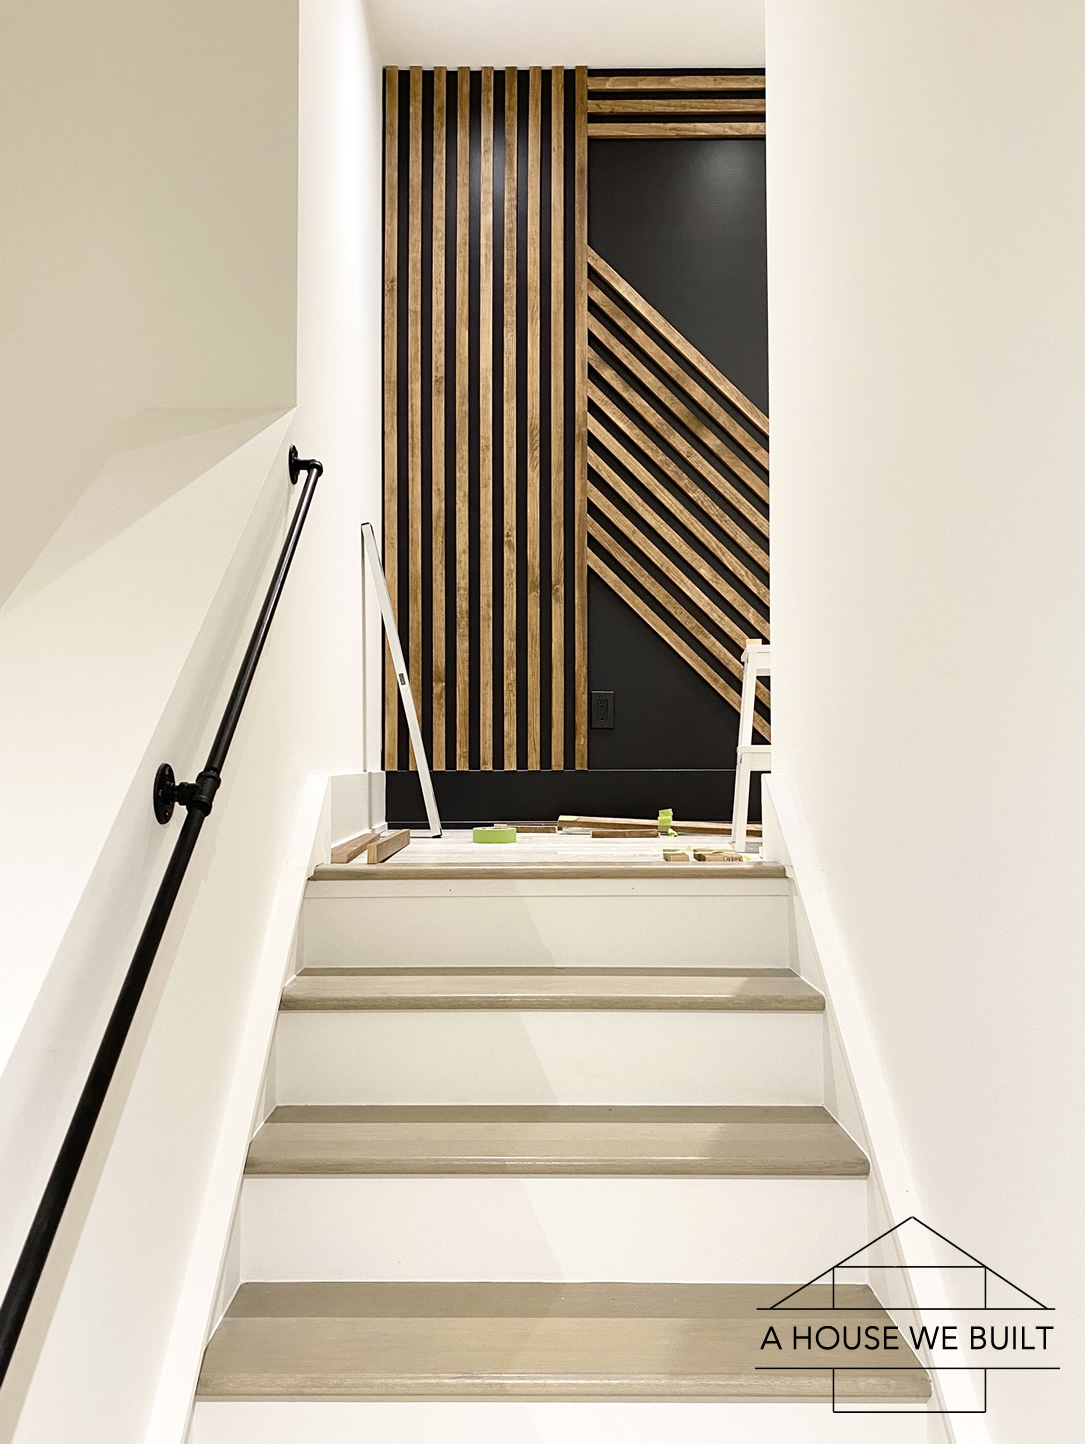
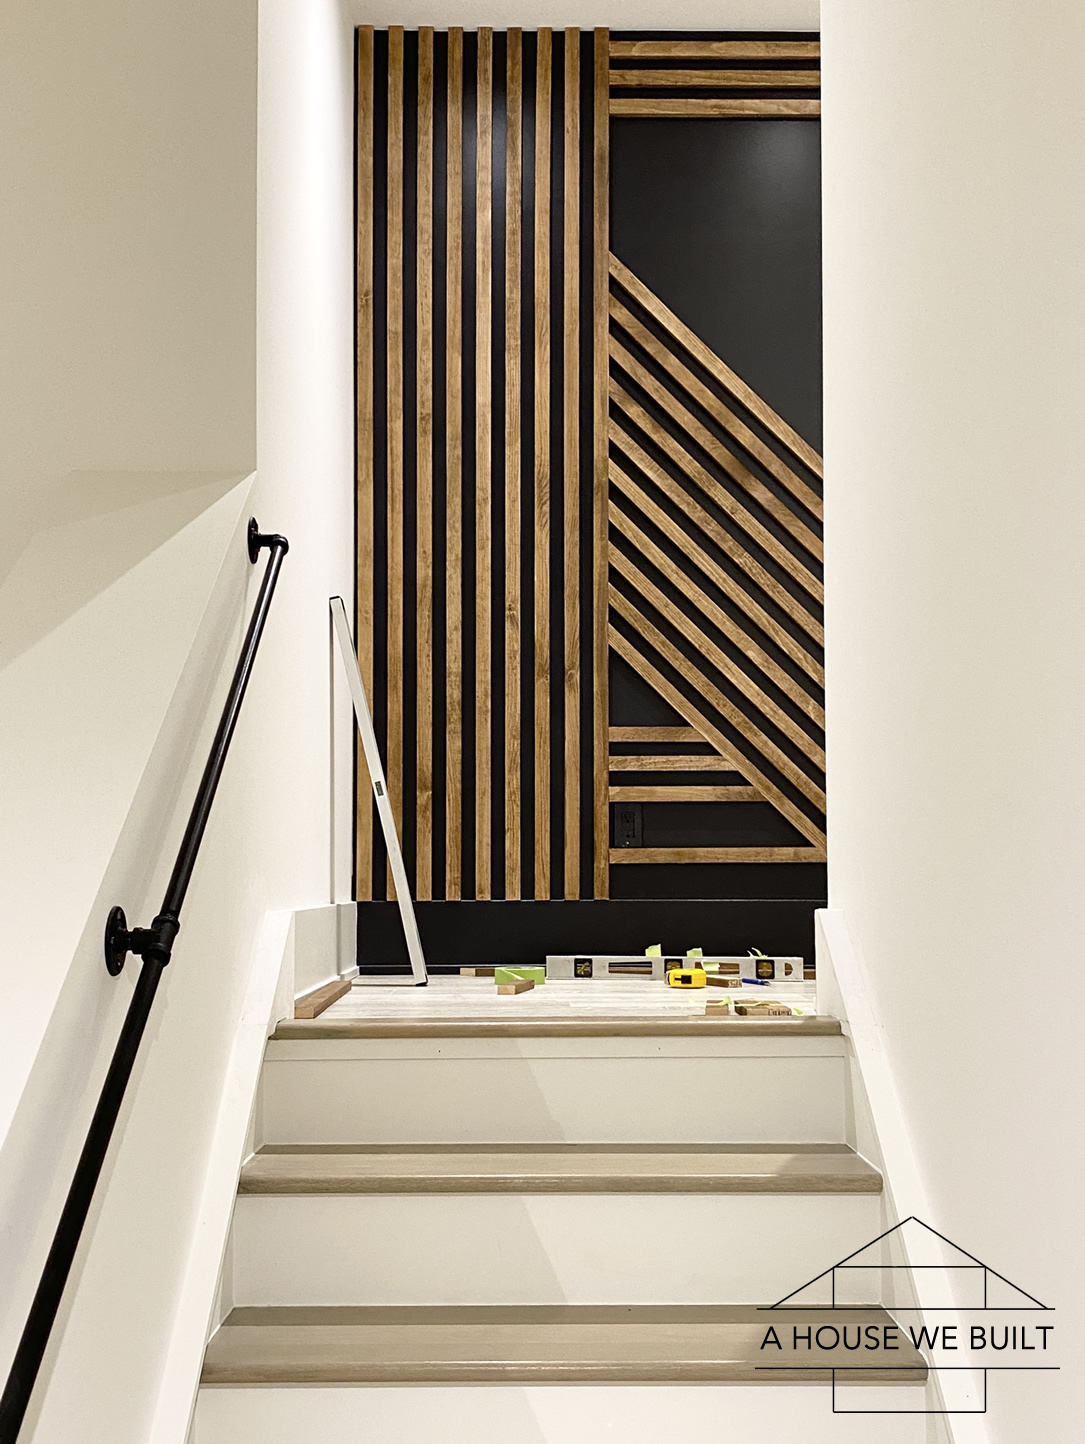
FINISHING TOUCHES:
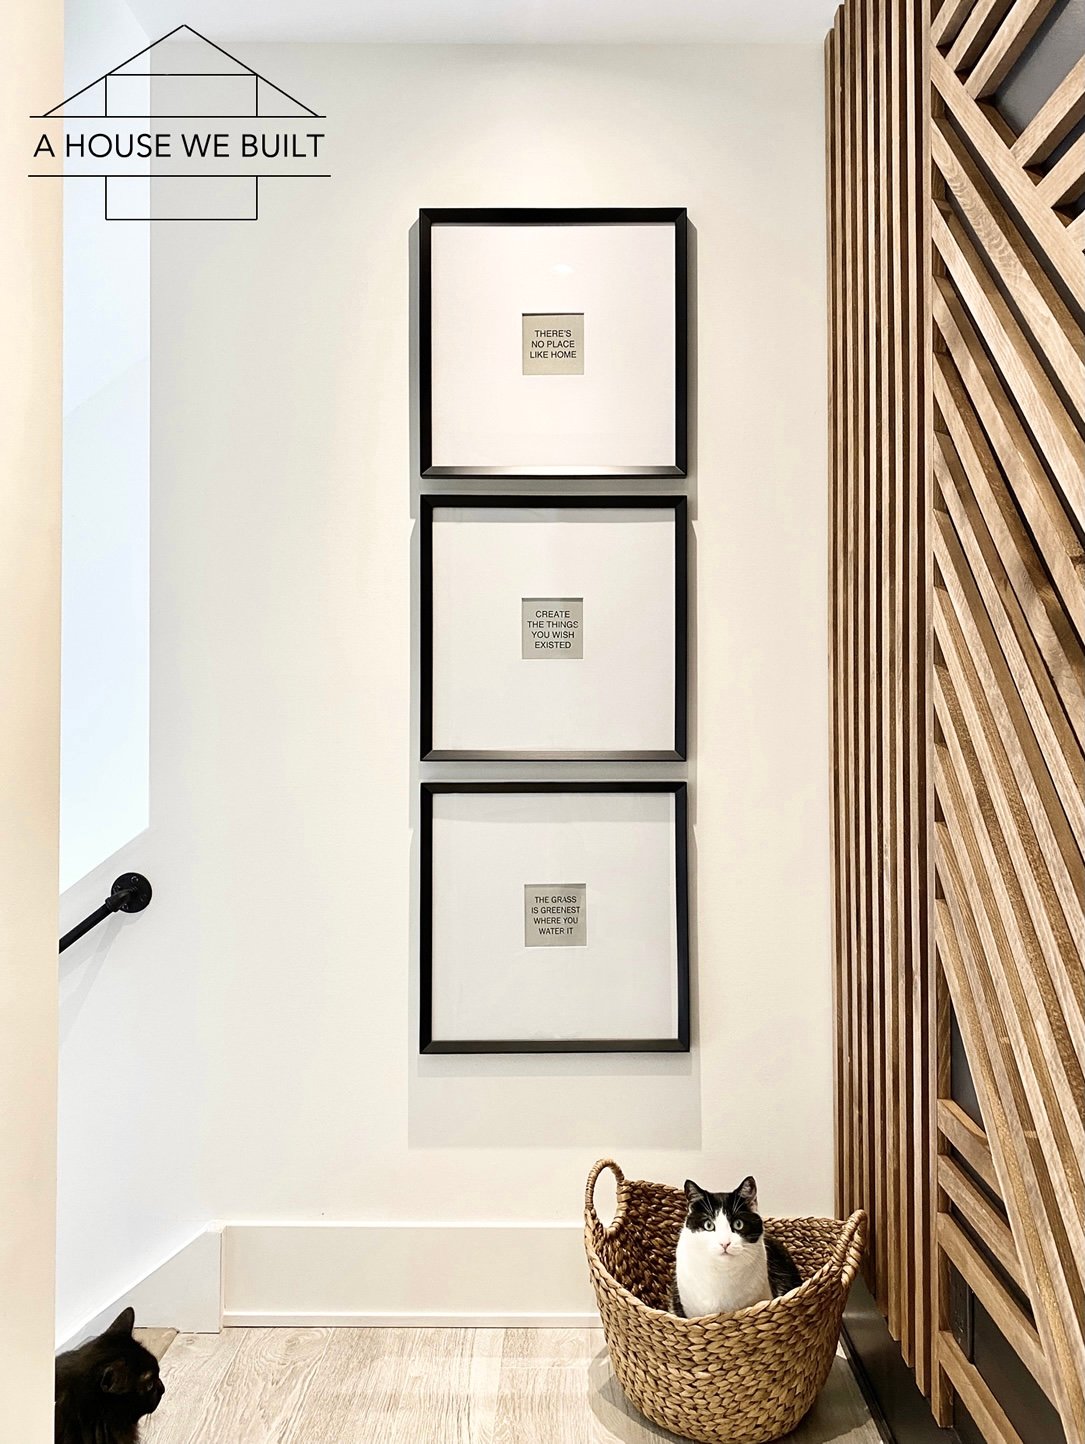
- Square frames: Crate & Barrel | Similar: Pottery Barn | West Elm | Michaels | Amazon
- Basket (similar): West Elm | West Elm
I also like the idea of maybe doing a potted (faux) tree in a basket for the corner:
- Olive tree: Wayfair | Target
- Basket: McGee & Co | Crate & Barrel | West Elm
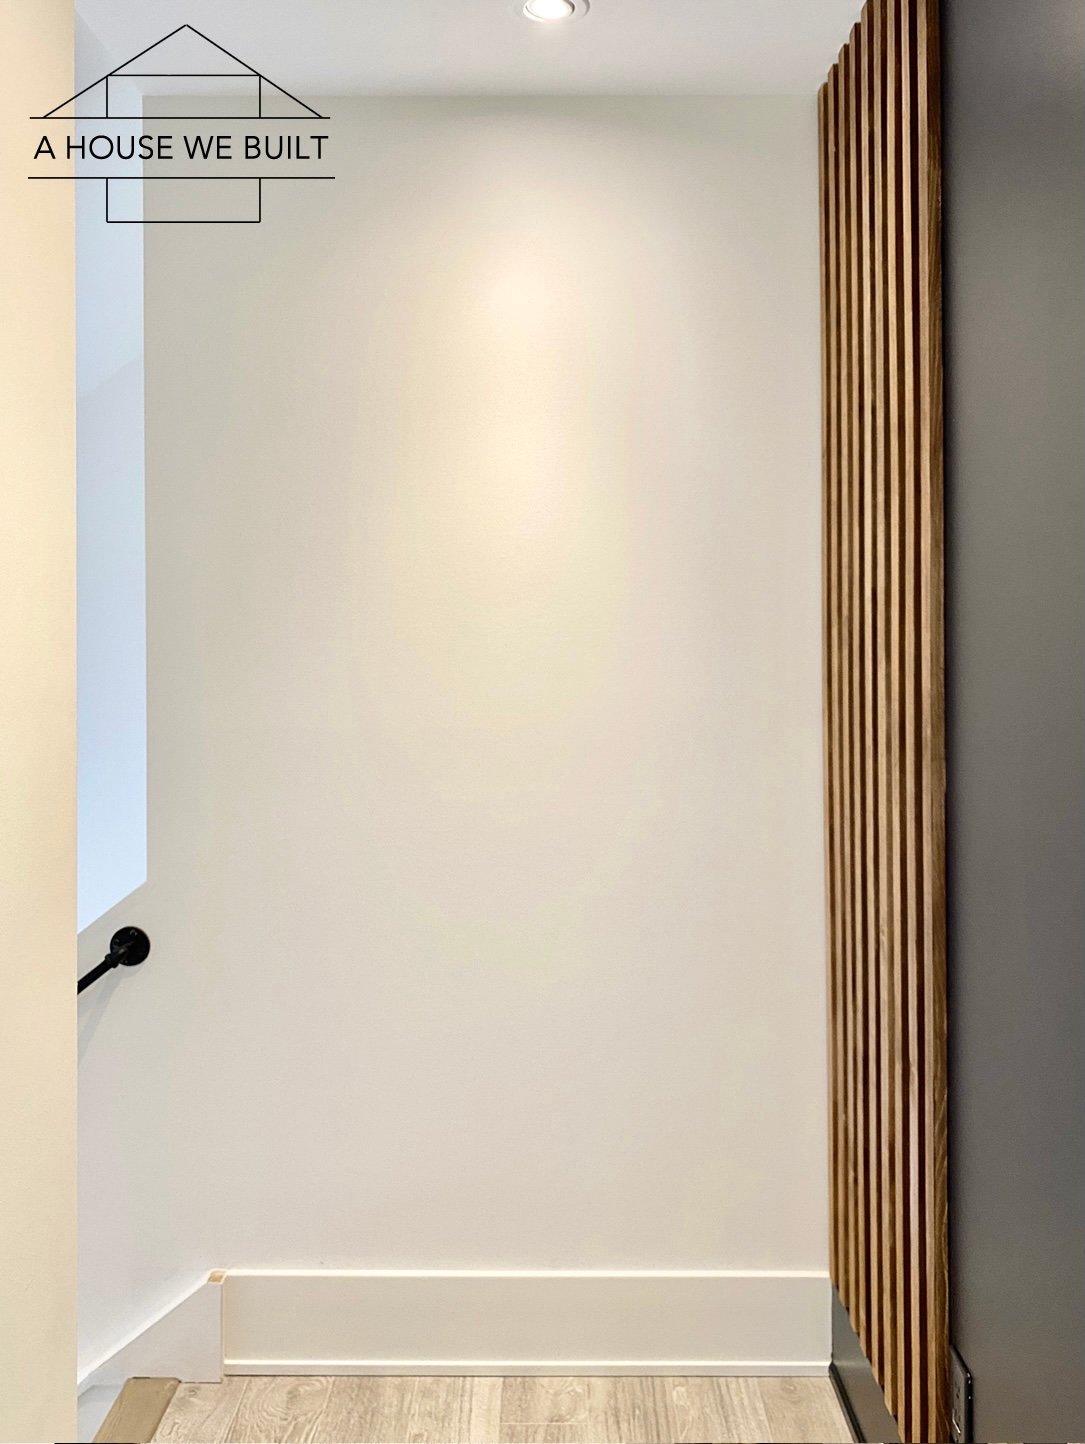
BEFORE & AFTER:



If you liked this tutorial, you may enjoy some of our other similar tutorials:
- How to Build a Slat Sideboard
- How to Install Shiplap
- How to Create a Faux Brick Wall
- How to Build a Paneled Accent Wall
- How to Build Industrial Stair Railings
- List of all our tutorials
For our daily progress, follow us on Instagram @ahousewebuilt.
To explore the other rooms in our house, click here.
Jo says
Love your Instagram and REALLY love that you provide sooo much fantastic info on your website about products, vendors or “similar” items to what you have both built. Thank You!!!
admin says
Thank you so much! I’m glad our website is helpful 😀
Shiloe says
Beautiful wall! What do you use to fill your nail holes?
admin says
I didn’t. They’re so small that they don’t show up – even if you actually look close. They just look like part of the wood 🙂
John says
It is really awesome.
Do we need to sand before we stain?
admin says
That kinda depends on the wood you use. Mine was pretty smooth to begin with so I didn’t. It doesn’t particularly matter though unless you care to take the extra step.
Kelsy says
Is this easy to remove? Looking to do this as a renter
admin says
If you just use nails (no glue) then you’d just have to fill in the nail holes and repaint. I’d consider that relatively easy to fix.