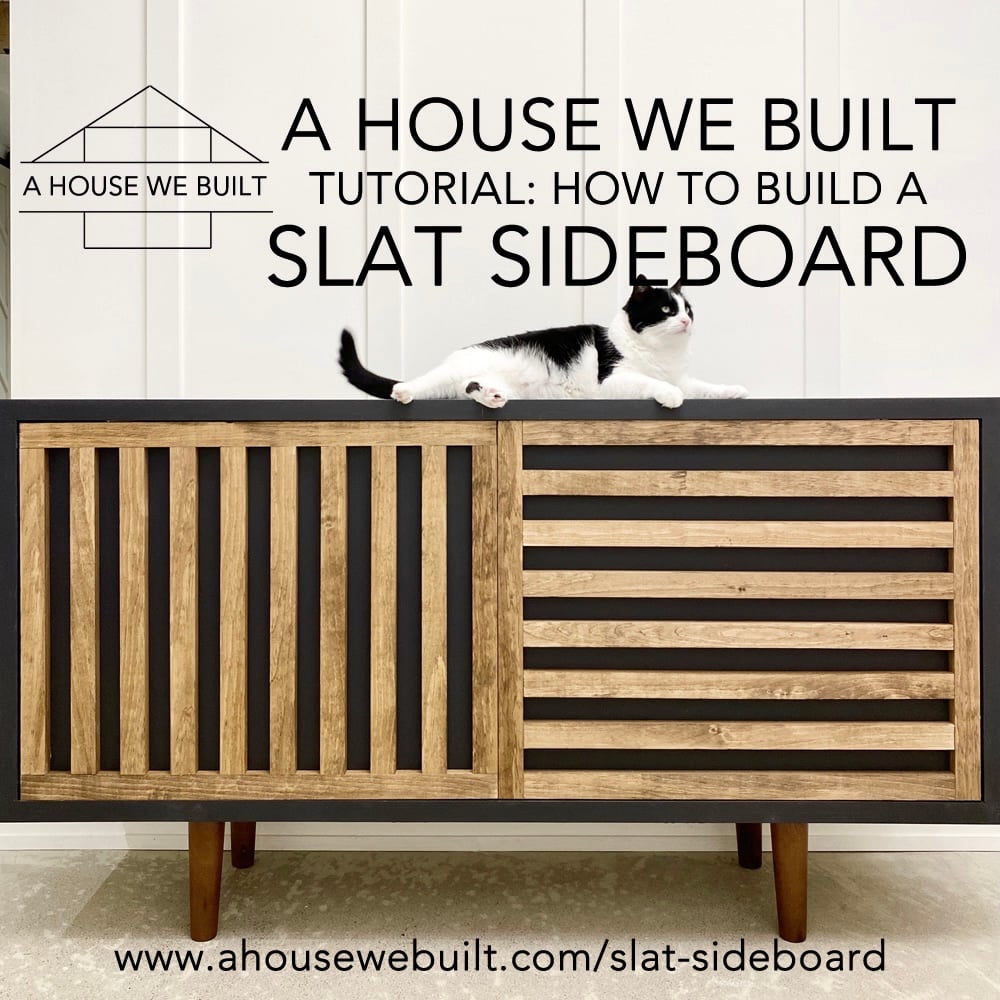
We built this slat sideboard for our basement foyer and I’m going to share how we made it in this tutorial! The doors of our sideboard were inspired by this Crate & Barrel sideboard and this Overstock console. However, they were the wrong size for our space (one was too big, the other was too small) and both weren’t quite the style we wanted, so we decided to build one that was the right size/style for our home.
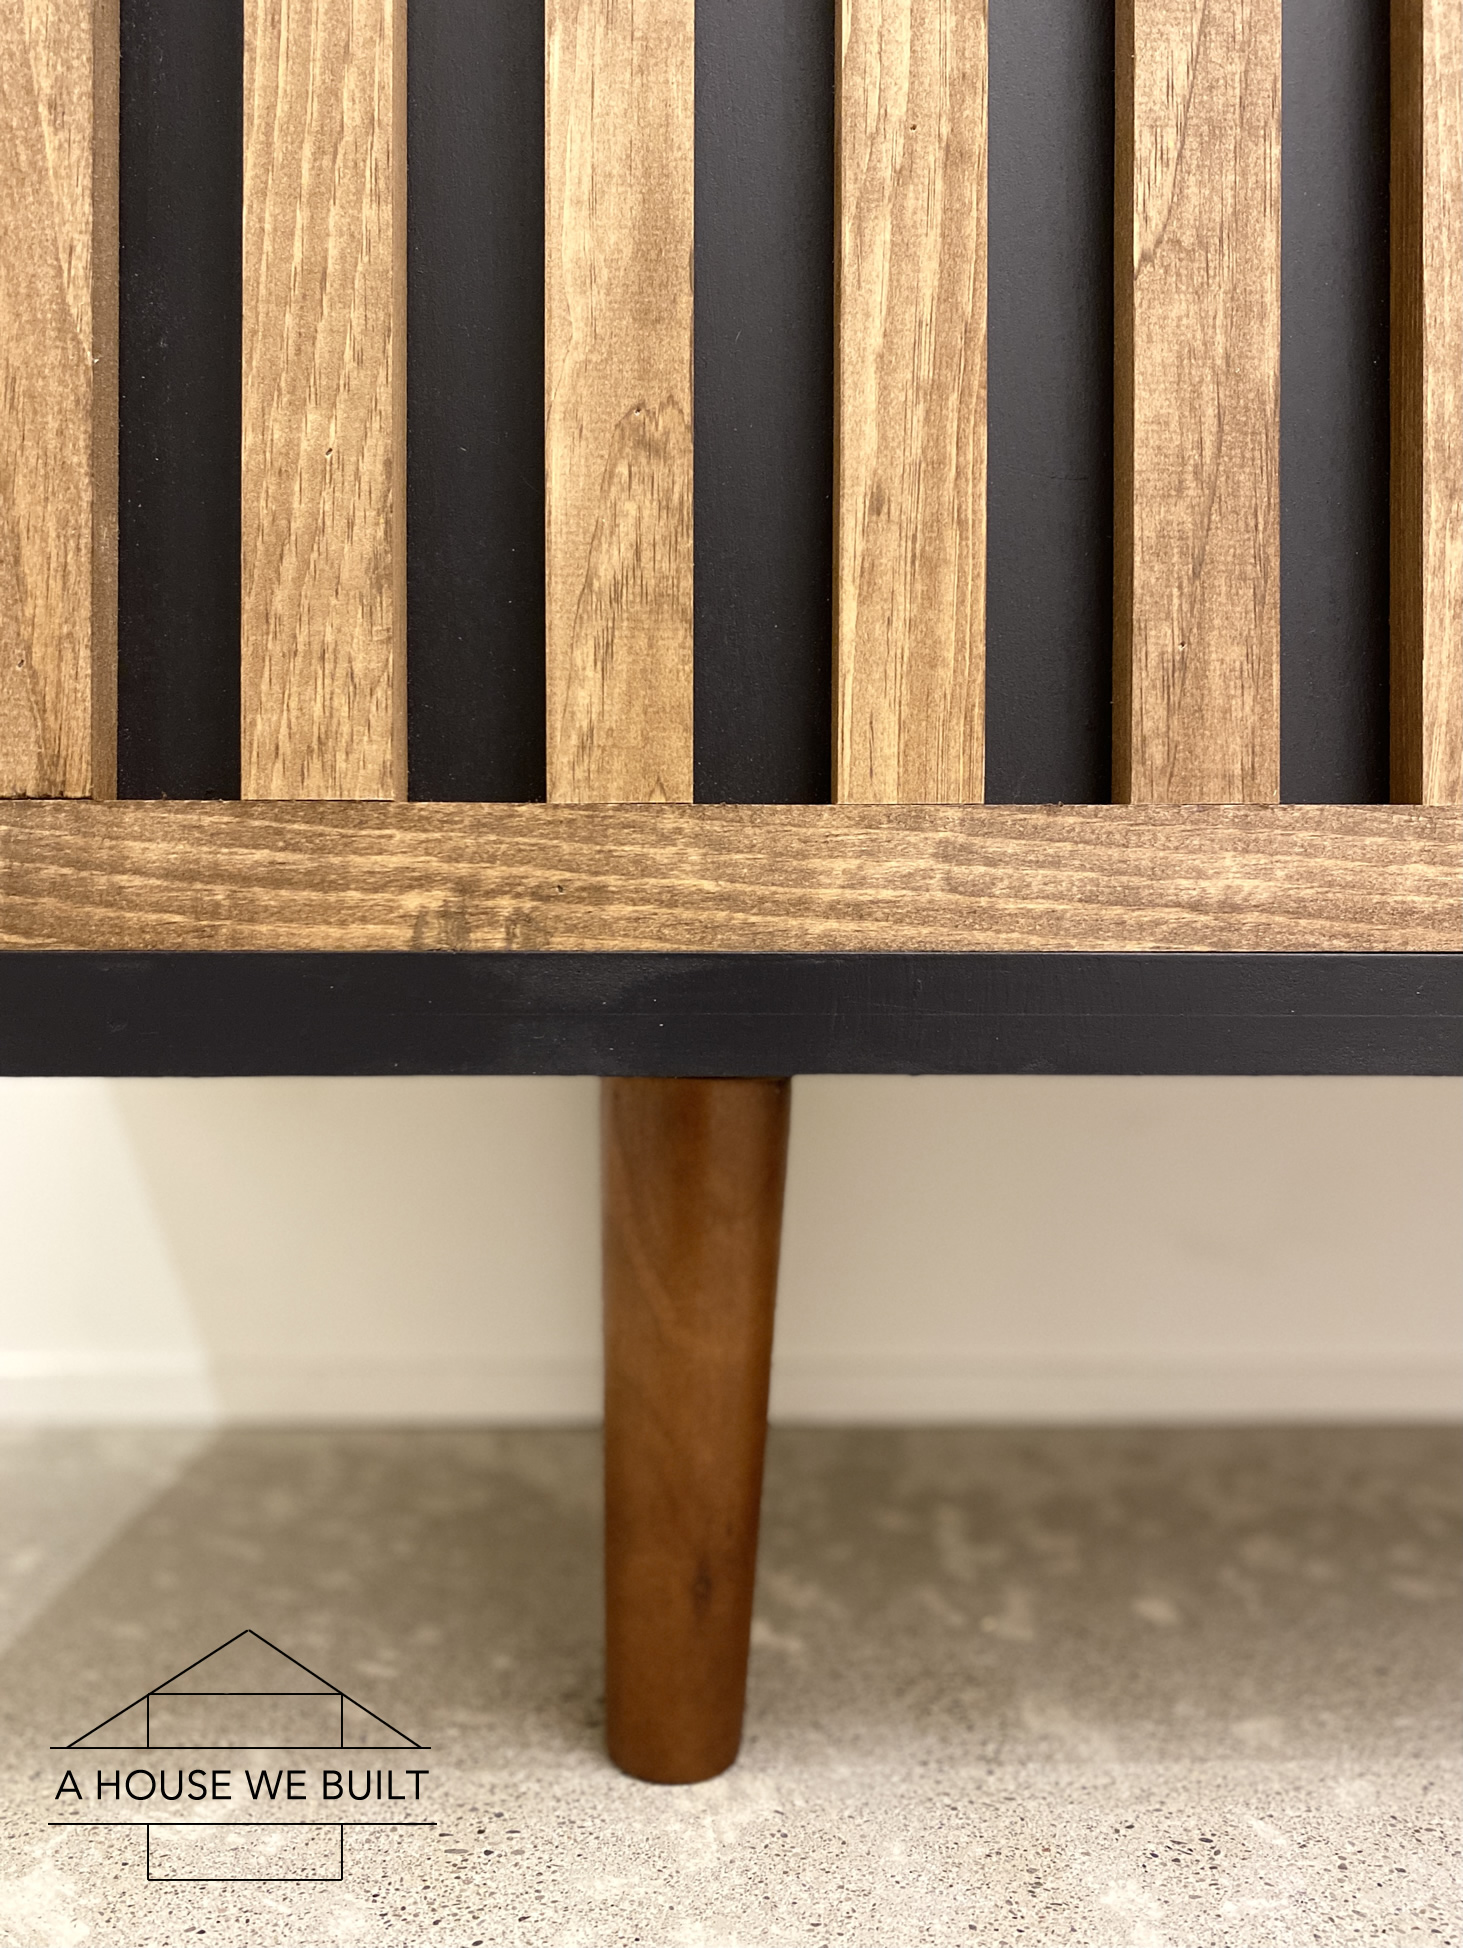
Our sideboard is 60″ long x 15 3/4″ wide x 33 1/4″ tall with 8″ mid-century modern legs. The body is made from painted MDF and our slat cabinet doors are made from stained wood over MDF panels.
RAW MATERIALS NEEDED:
- 4 x 8″ cabinet legs: Amazon
- 2 x 5/8″x4’x8′ MDF: Home Depot (for the cabinet body – note that you can alternatively use 3/4″ MDF for this part, but you’ll need to just adjust the measurements accordingly as a result)
- 1 x 1/2″x4’x8′ MDF: Home Depot (for the backer panel and door panels)
- 7 x 1x2x8 boards: Home Depot (what I used for the slats)
- ALTERNATIVE A | 11-12 x 1/4″x2’x4′ boards: Home Depot (flatter slat option)
- ALTERNATIVE B | 11-12 x 1/2″x2’x4′ boards: Home Depot (medium slat option)
- 4 x inset hinges suitable for the thickness of your doors: see note below
VERY IMPORTANT NOTE REGARDING HINGES! Seriously, do not go forward with this project before choosing your door thickness carefully. I ended up having to go to a specialty cabinet supply place to get fancy non-standard hinges for extra thick doors because I didn’t consider this before starting. Oops!
My door panels are 1 1/4″ thick (3/4″ from the 1x2s on 1/2″ MDF). If you’re unable to find the hinges for a 1 1/4″ door or just don’t want to go on a wild hinge chase, I suggest one of these alternatives:
A) use 1/4″x2″ strips (Home Depot) on 1/2″ MDF to create a 3/4″ door with these hinges (Amazon).
B) use 1/2″x2″ strips (Home Depot) on 1/2″ MDF to create a 1″ door with these hinges (Amazon).
CONSTRUCTION MATERIALS NEEDED:
- Wood filler: Home Depot (and putty knife)
- Construction adhesive: Home Depot (and caulk gun)
- Painter’s tape: Home Depot | Amazon
PAINTS/STAINS NEEDED:
- Black paint: I used BM Black Panther (matte)
- Stain: I used Special Walnut (Home Depot)
- Matte top coat: Amazon | Home Depot
TOOLS NEEDED:
- Miter saw: Home Depot | Amazon (to cut the slats)
- Table saw: Home Depot | Amazon (to cut the MDF)
- Nailer: Home Depot | Amazon (and 1″ and 2″ nails)
- Hinge Jig: Home Depot | Amazon (to prep doors to receive hinges)
- Measuring tape: Home Depot | Amazon
- Carpenter’s square: Home Depot | Amazon
- Chip brush: Home Depot (disposable brush for the top coat)
- Microfiber roller: Home Depot (and paint tray)
- Sandpaper: Home Depot
DESIGN:
INSTRUCTIONS:
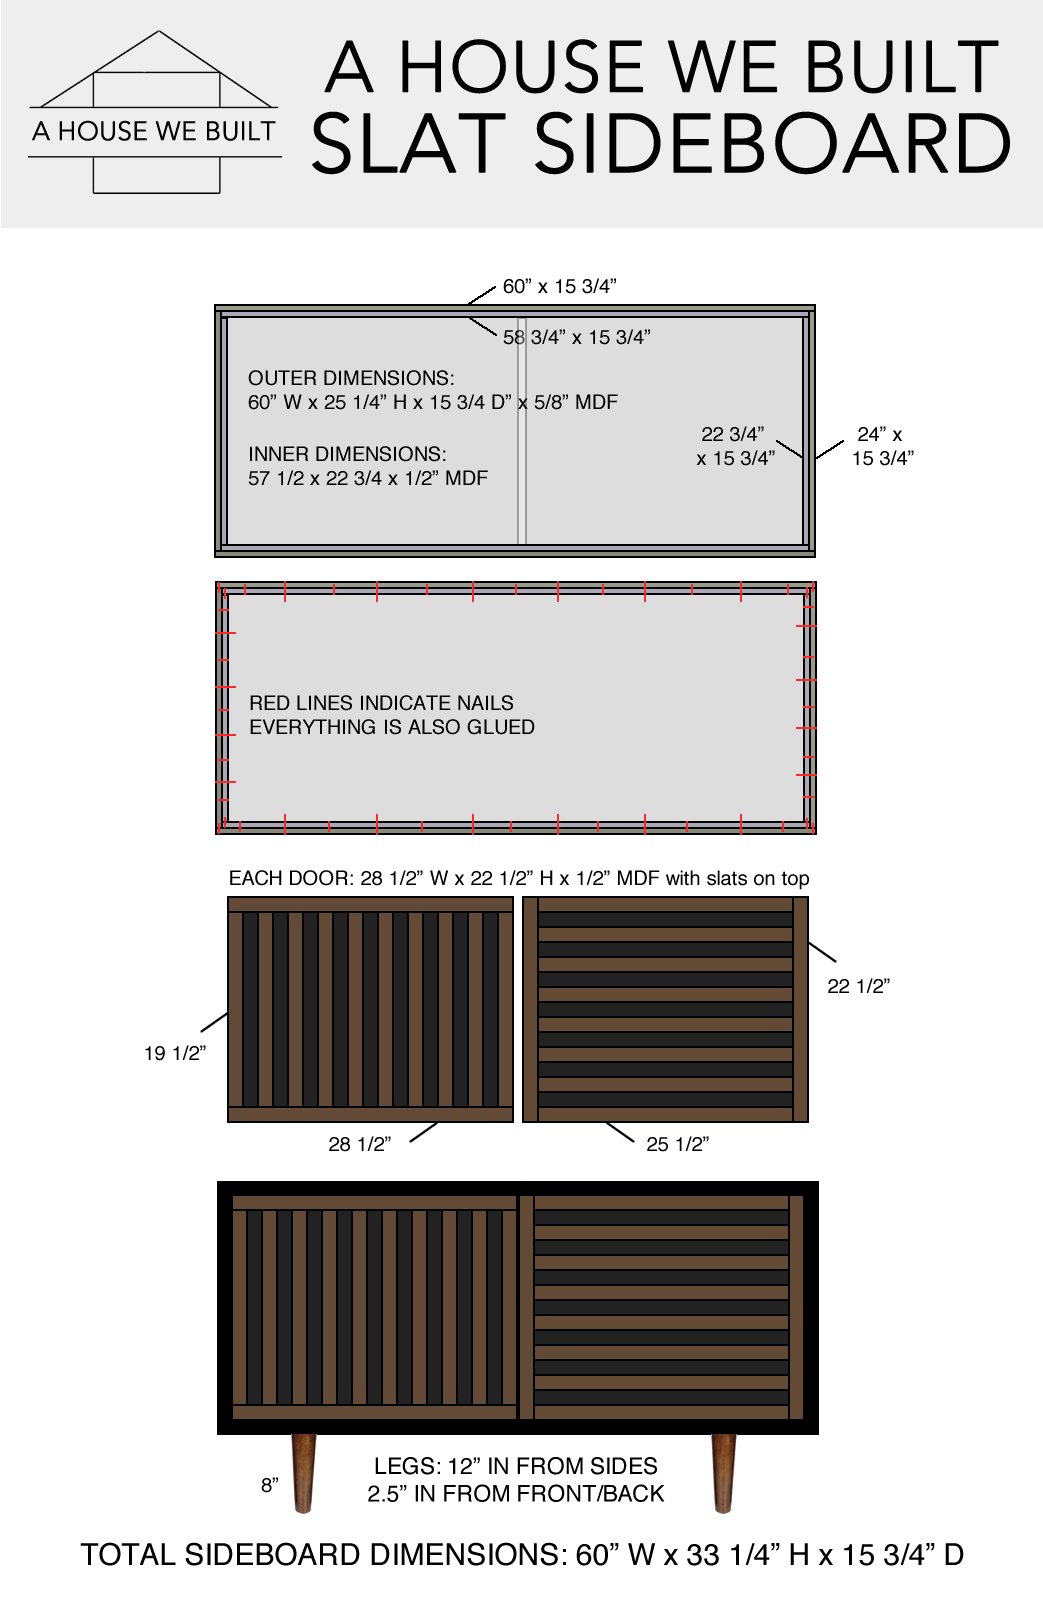
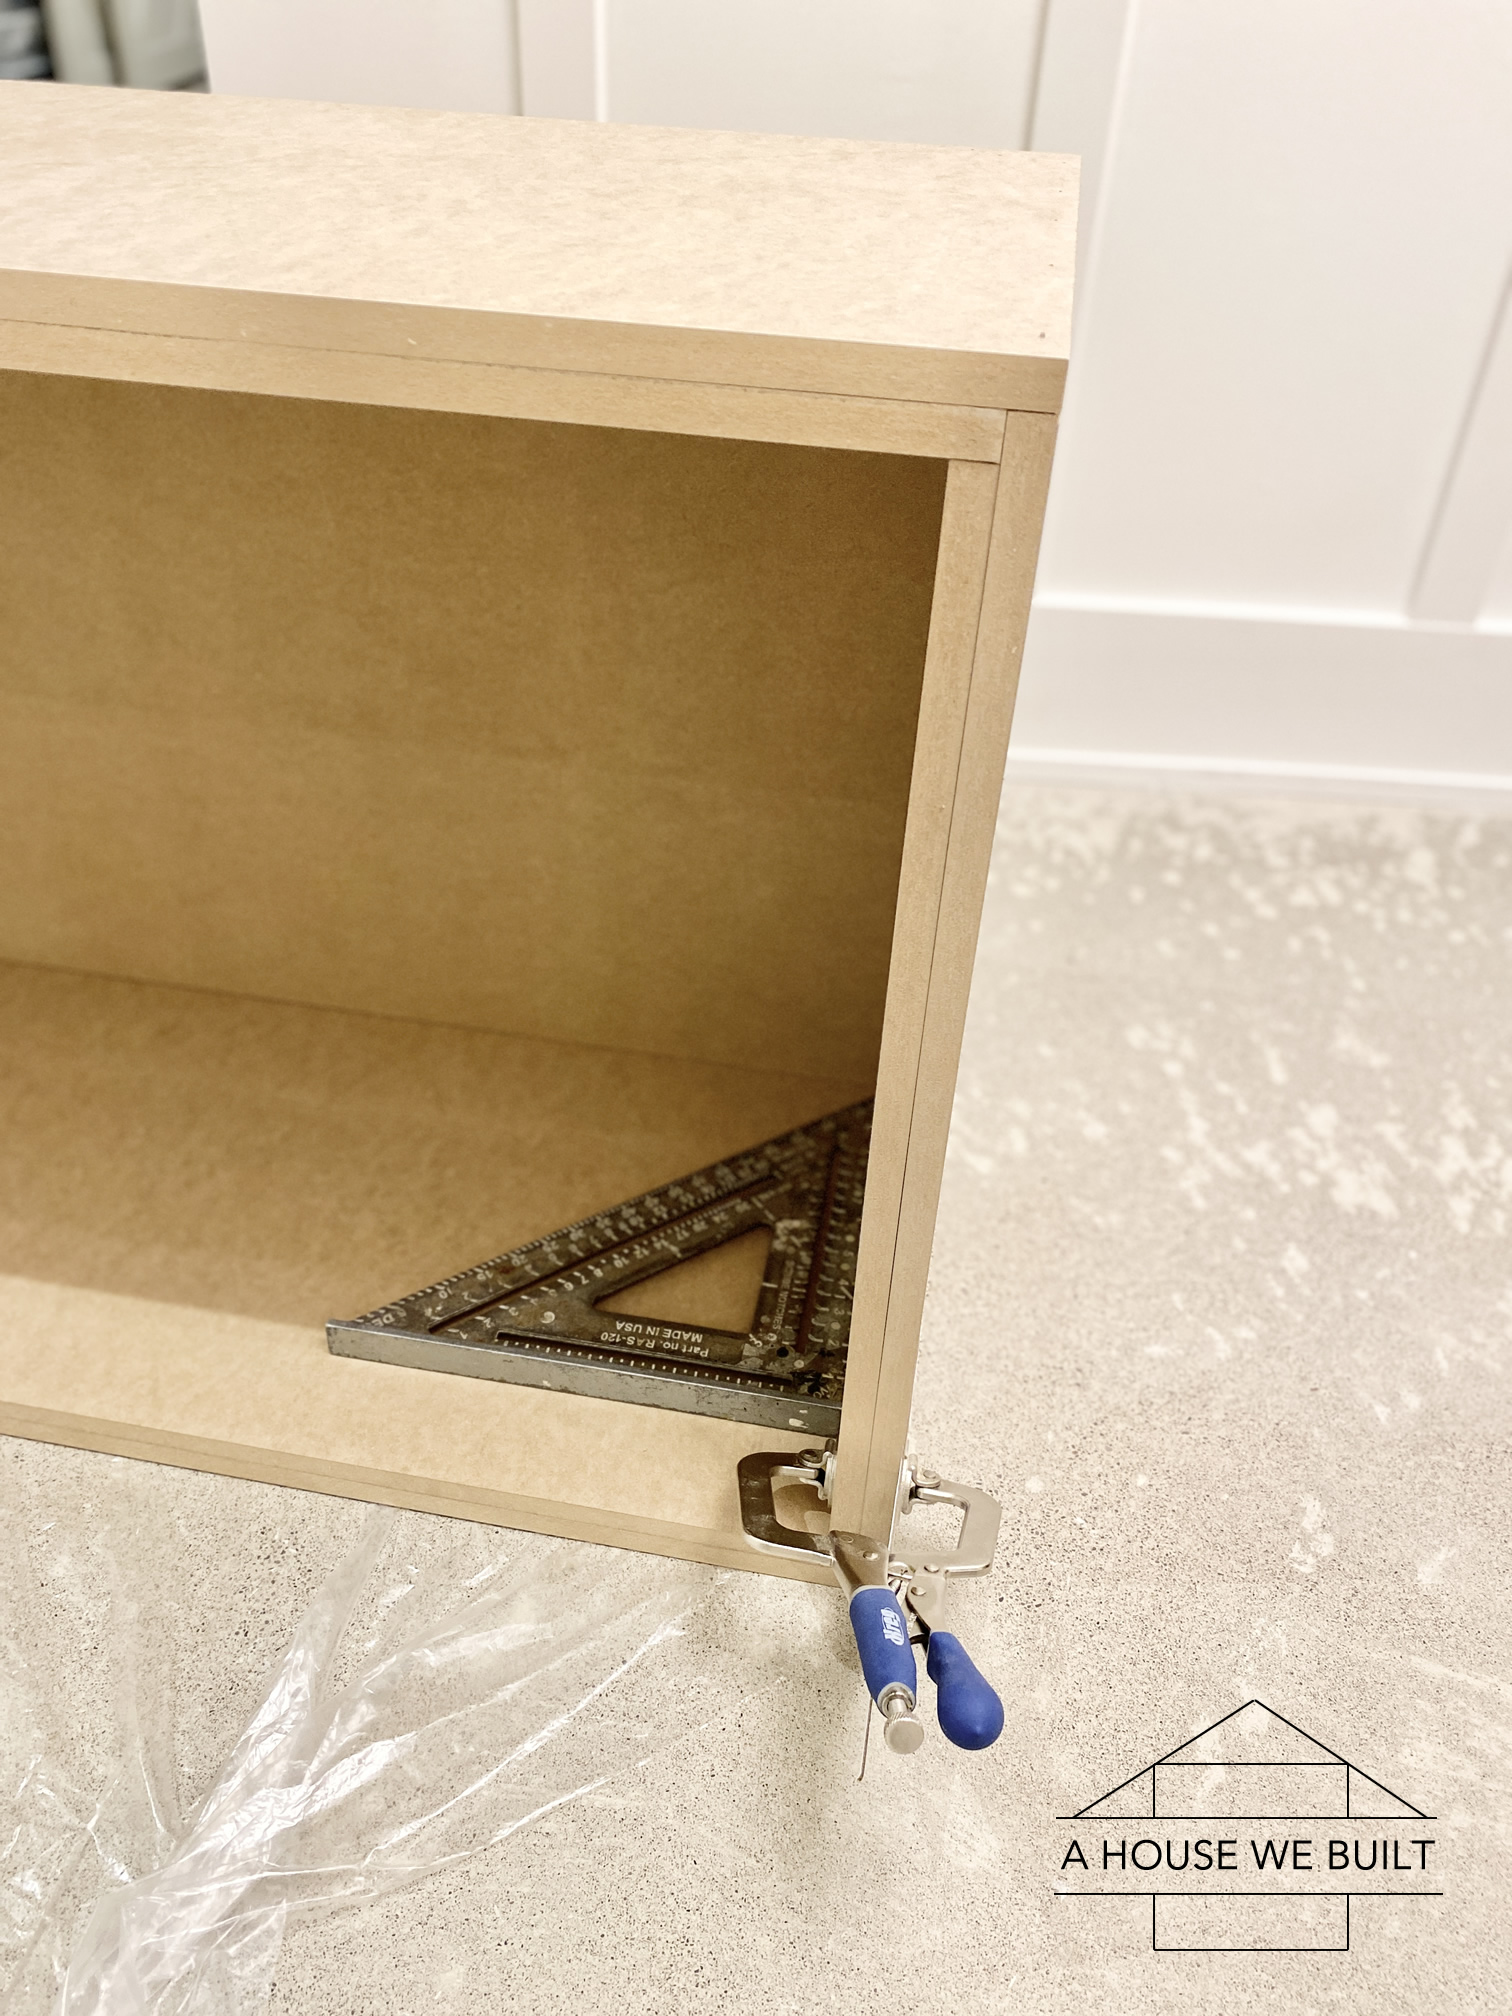
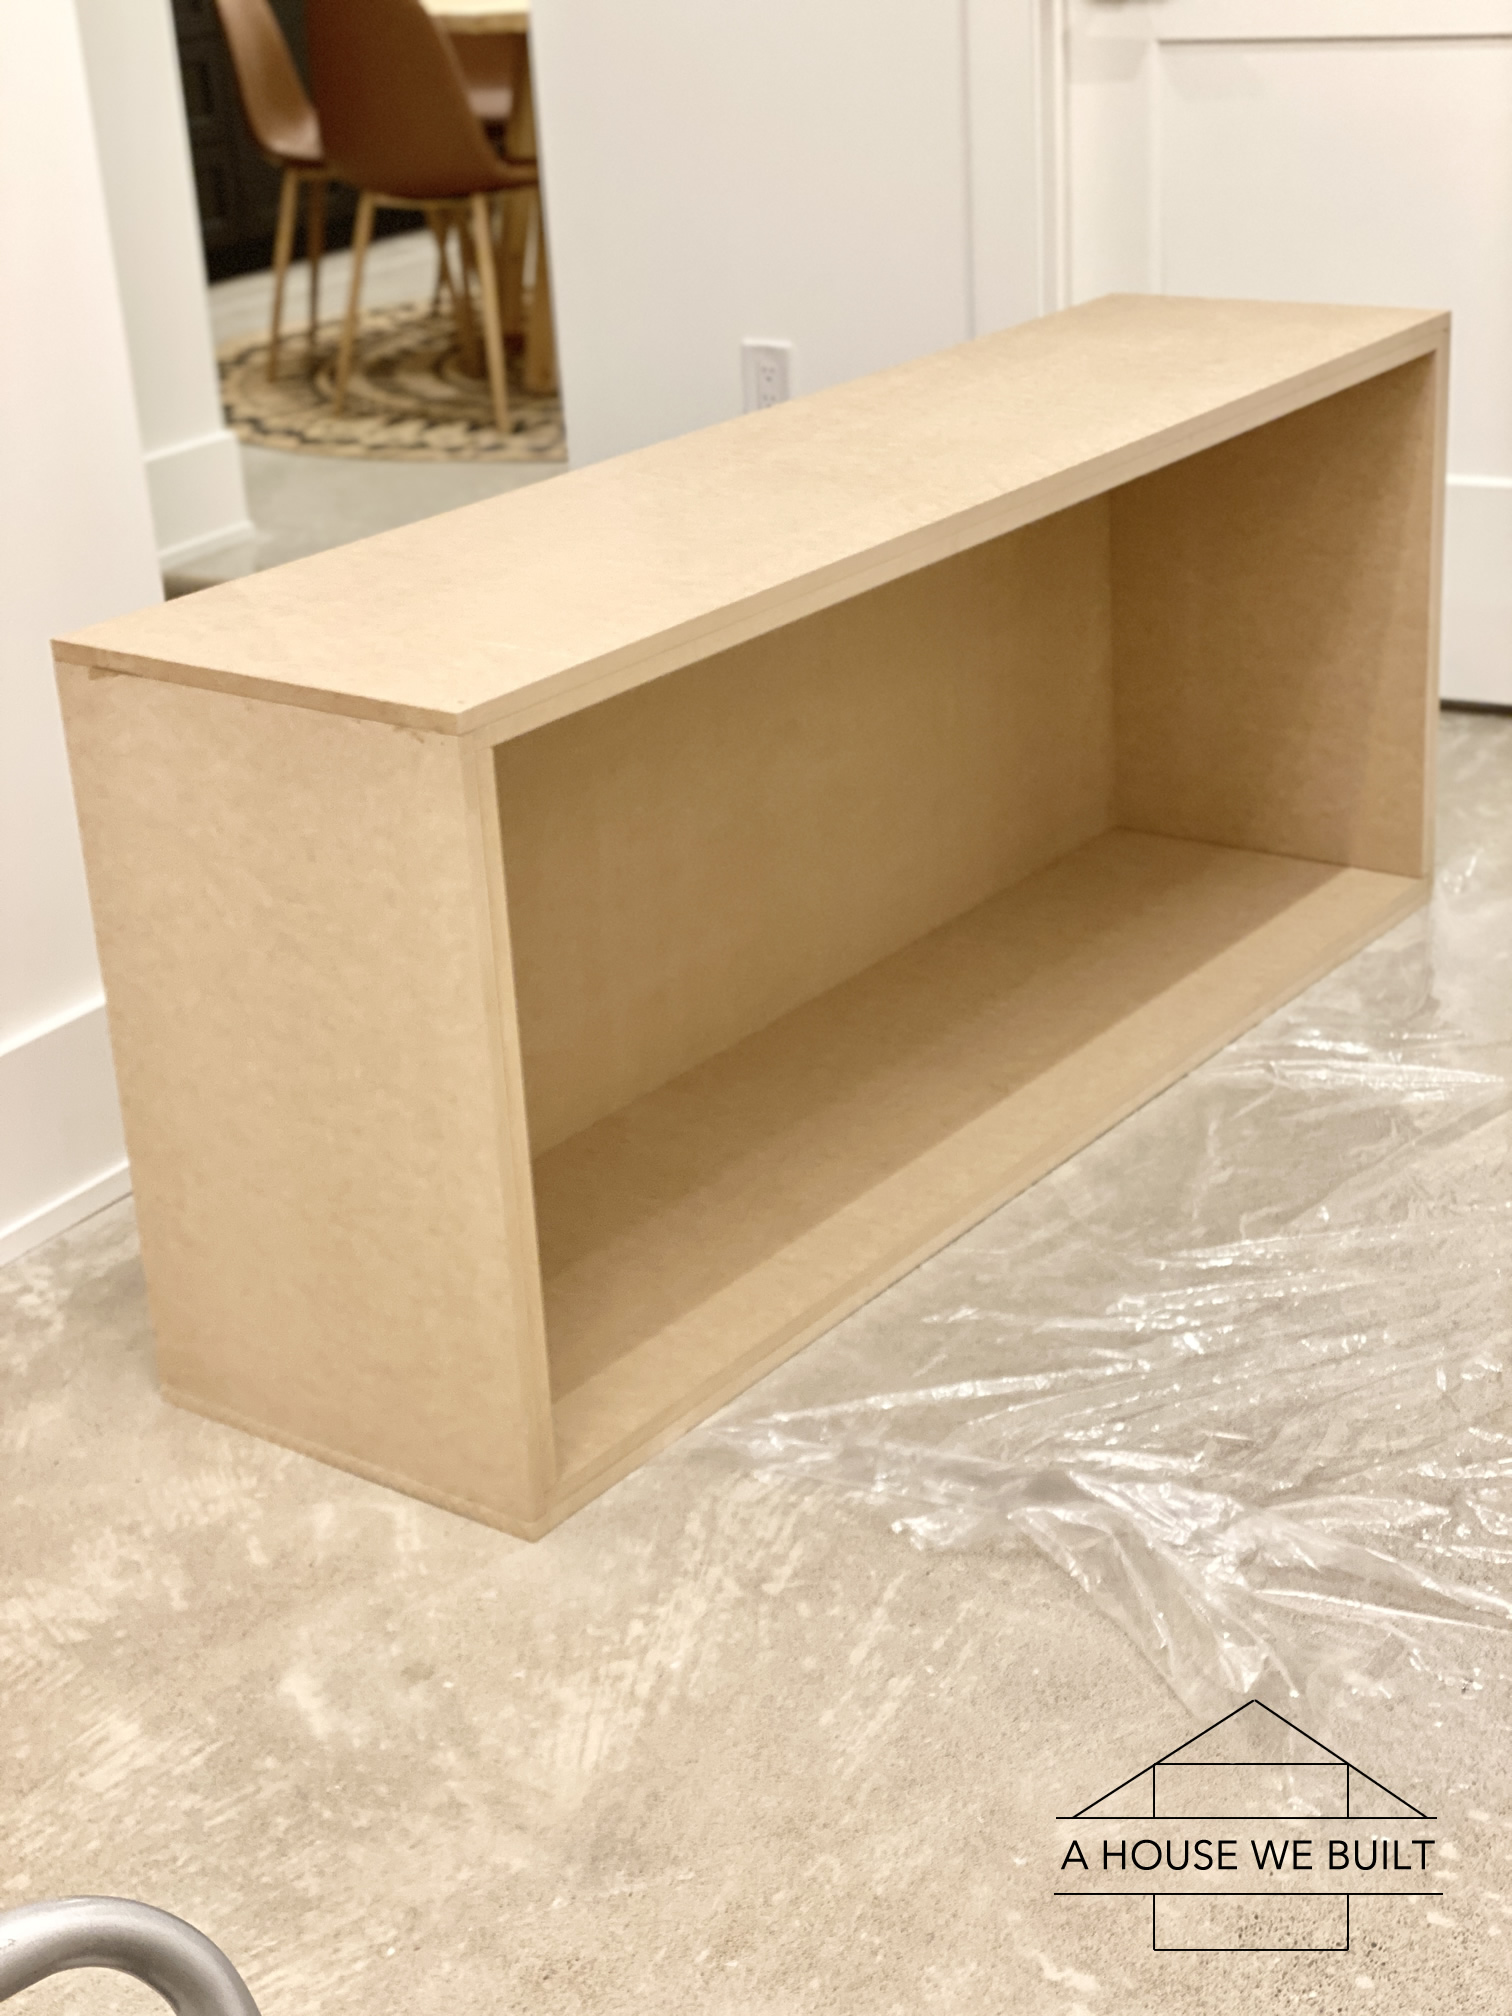
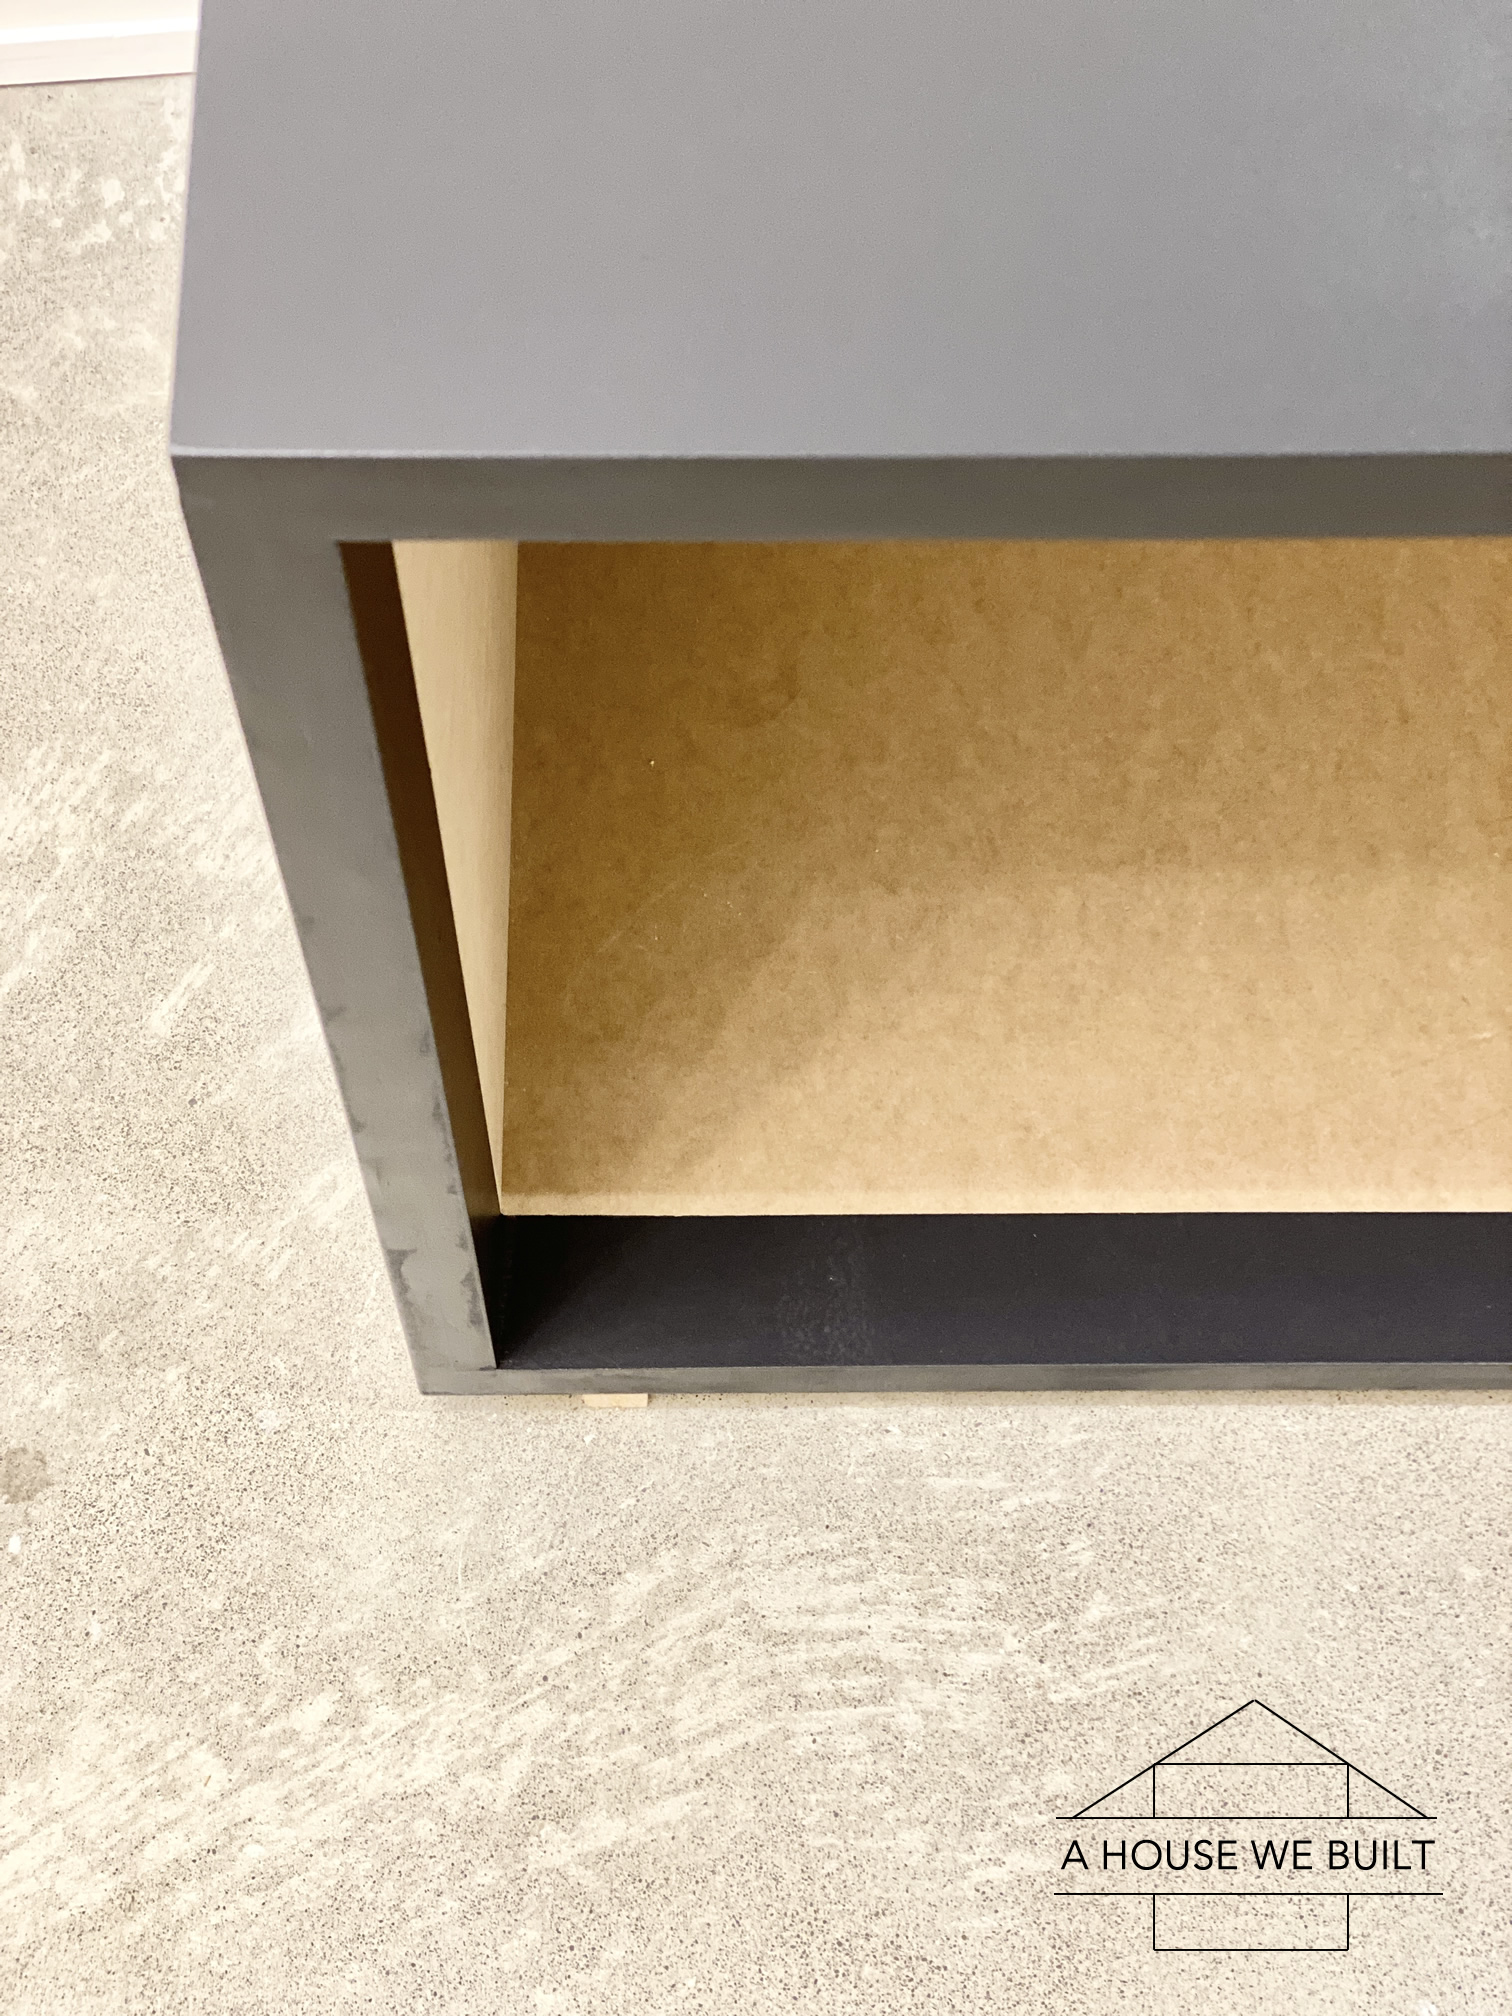
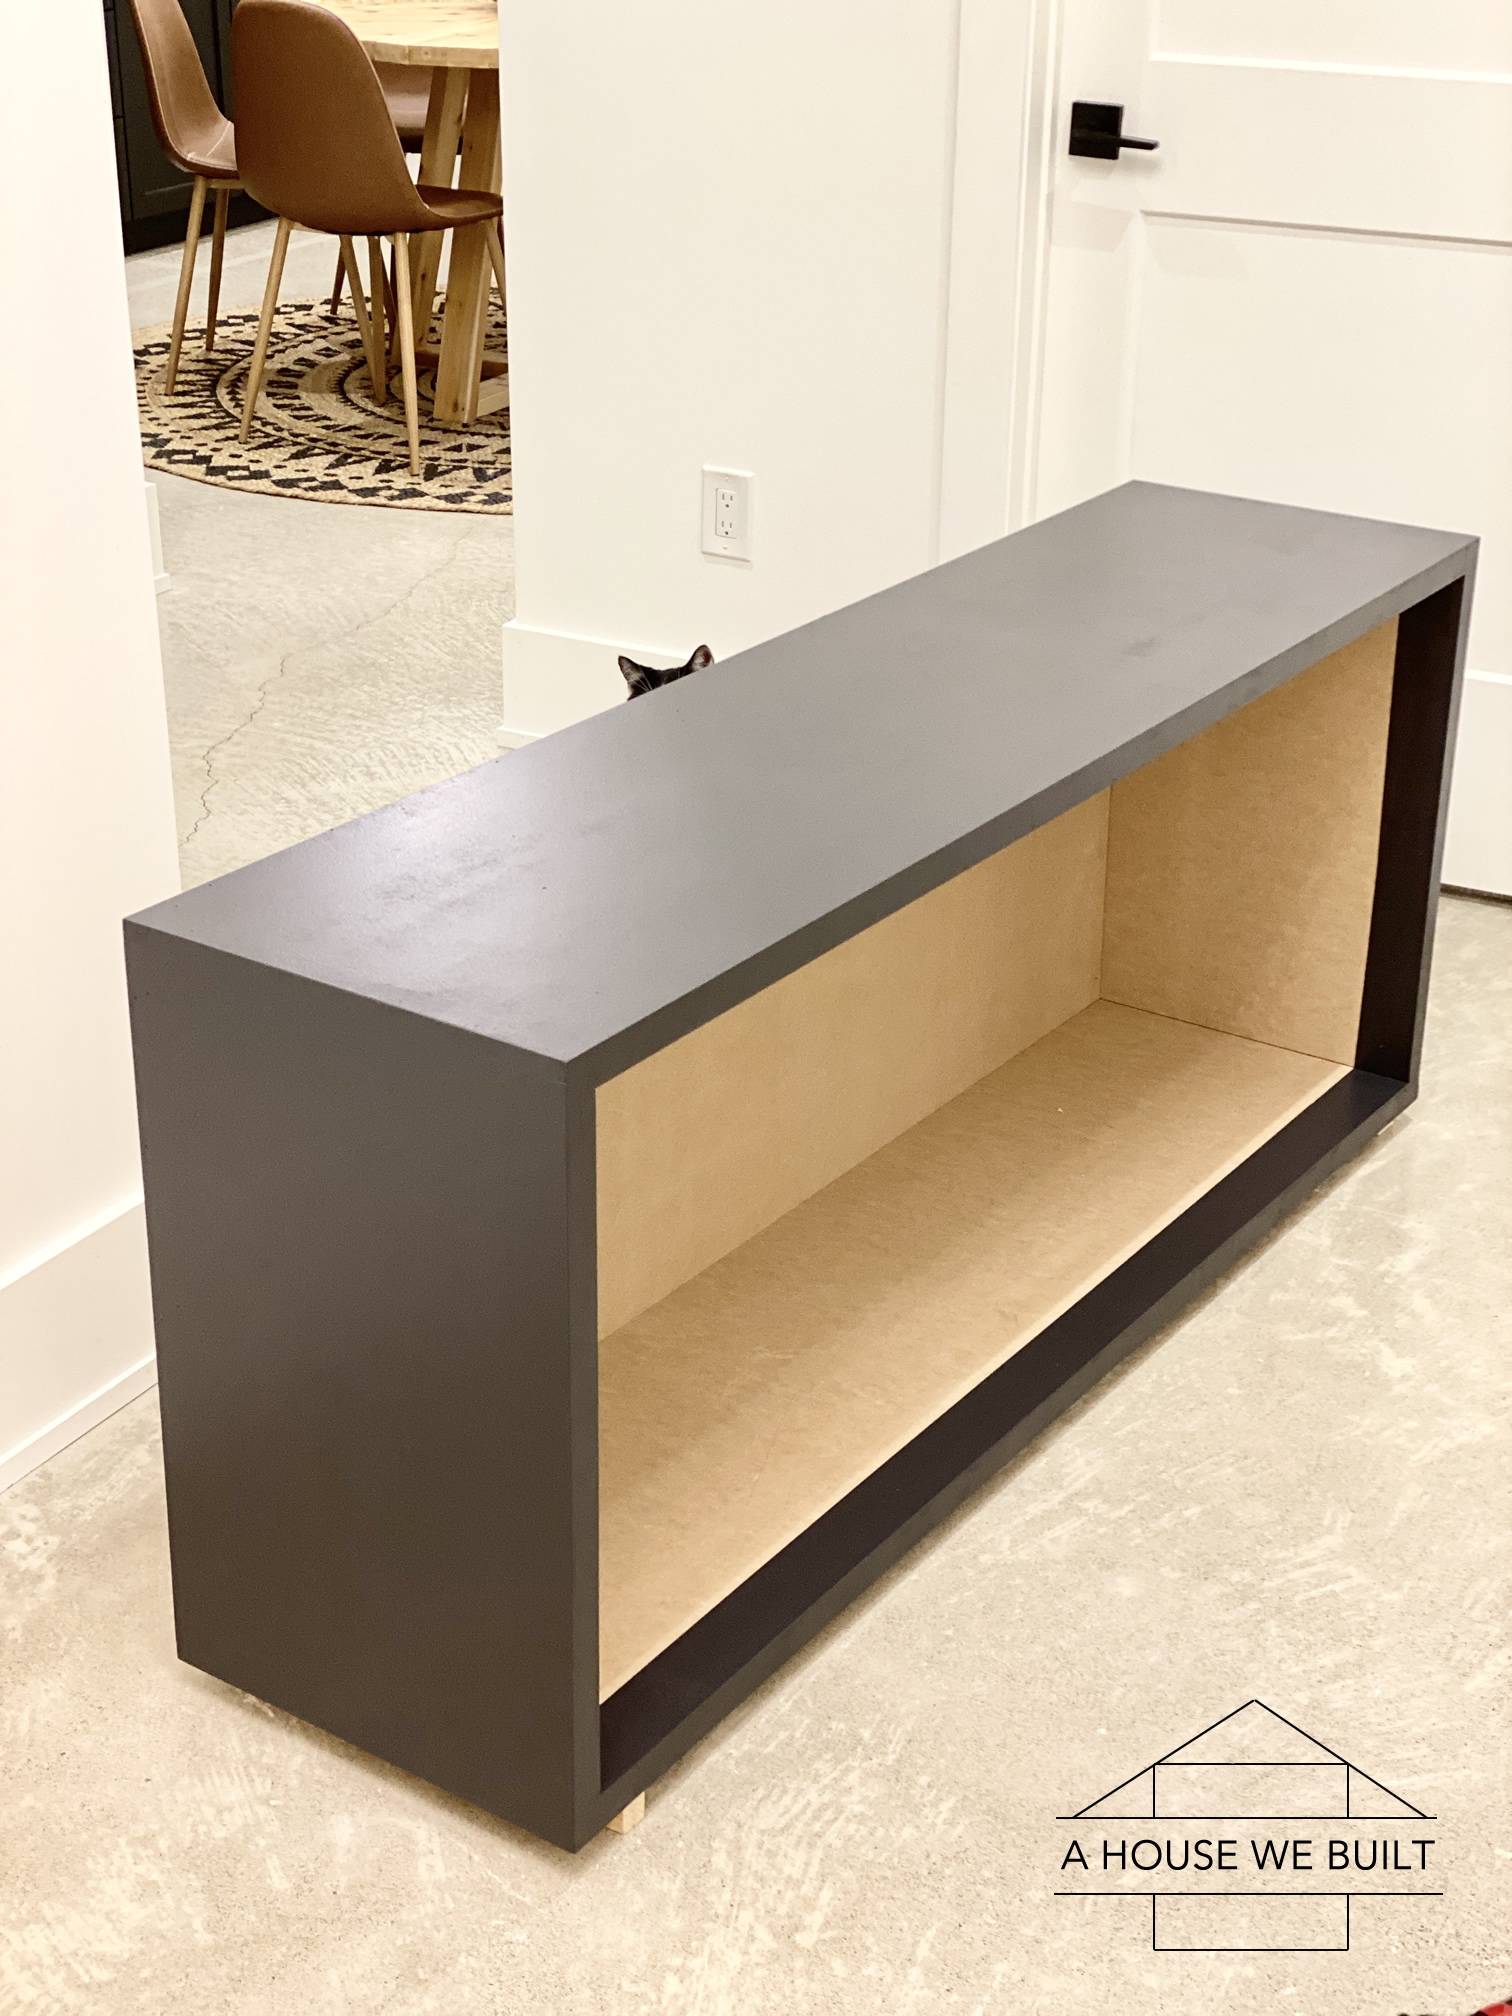
BODY | The body or frame or shell of this sideboard is created from 8 pieces of MDF – essentially 2 rectangles inside each other or doubled up. If you have access to thicker MDF (1″ or 1.5″ thickness) then you could use this instead but I was working with 5/8″ MDF and I wanted a thicker shell than that so I decided to double it up to create a shell that was 1 1/4″ thick (which is 5/8″ x 2). Here’s how to make it:
- Cut your 5/8″ MDF to size for the box. You will need:
– 2 pieces 15 3/4″ x 60″ (outer box, top/bottom)
– 2 pieces 15 3/4″ x 24″ (outer box, left/right sides)
– 2 pieces 15 3/4″ x 58 3/4″ (inner box, top/bottom)
– 2 pieces 15 3/4″ x 22 3/4″ (inner box, left/right sides) - Cut your 1/2″ MDF to size for the backer panel. You will need:
– 1 piece 22 3/4″ x 57 1/2″ - Create the outer box as per my design template. Use constriction adhesive and 1″ brad nails to attach the MDF and make sure your box is square using a carpenter’s square as a guide.
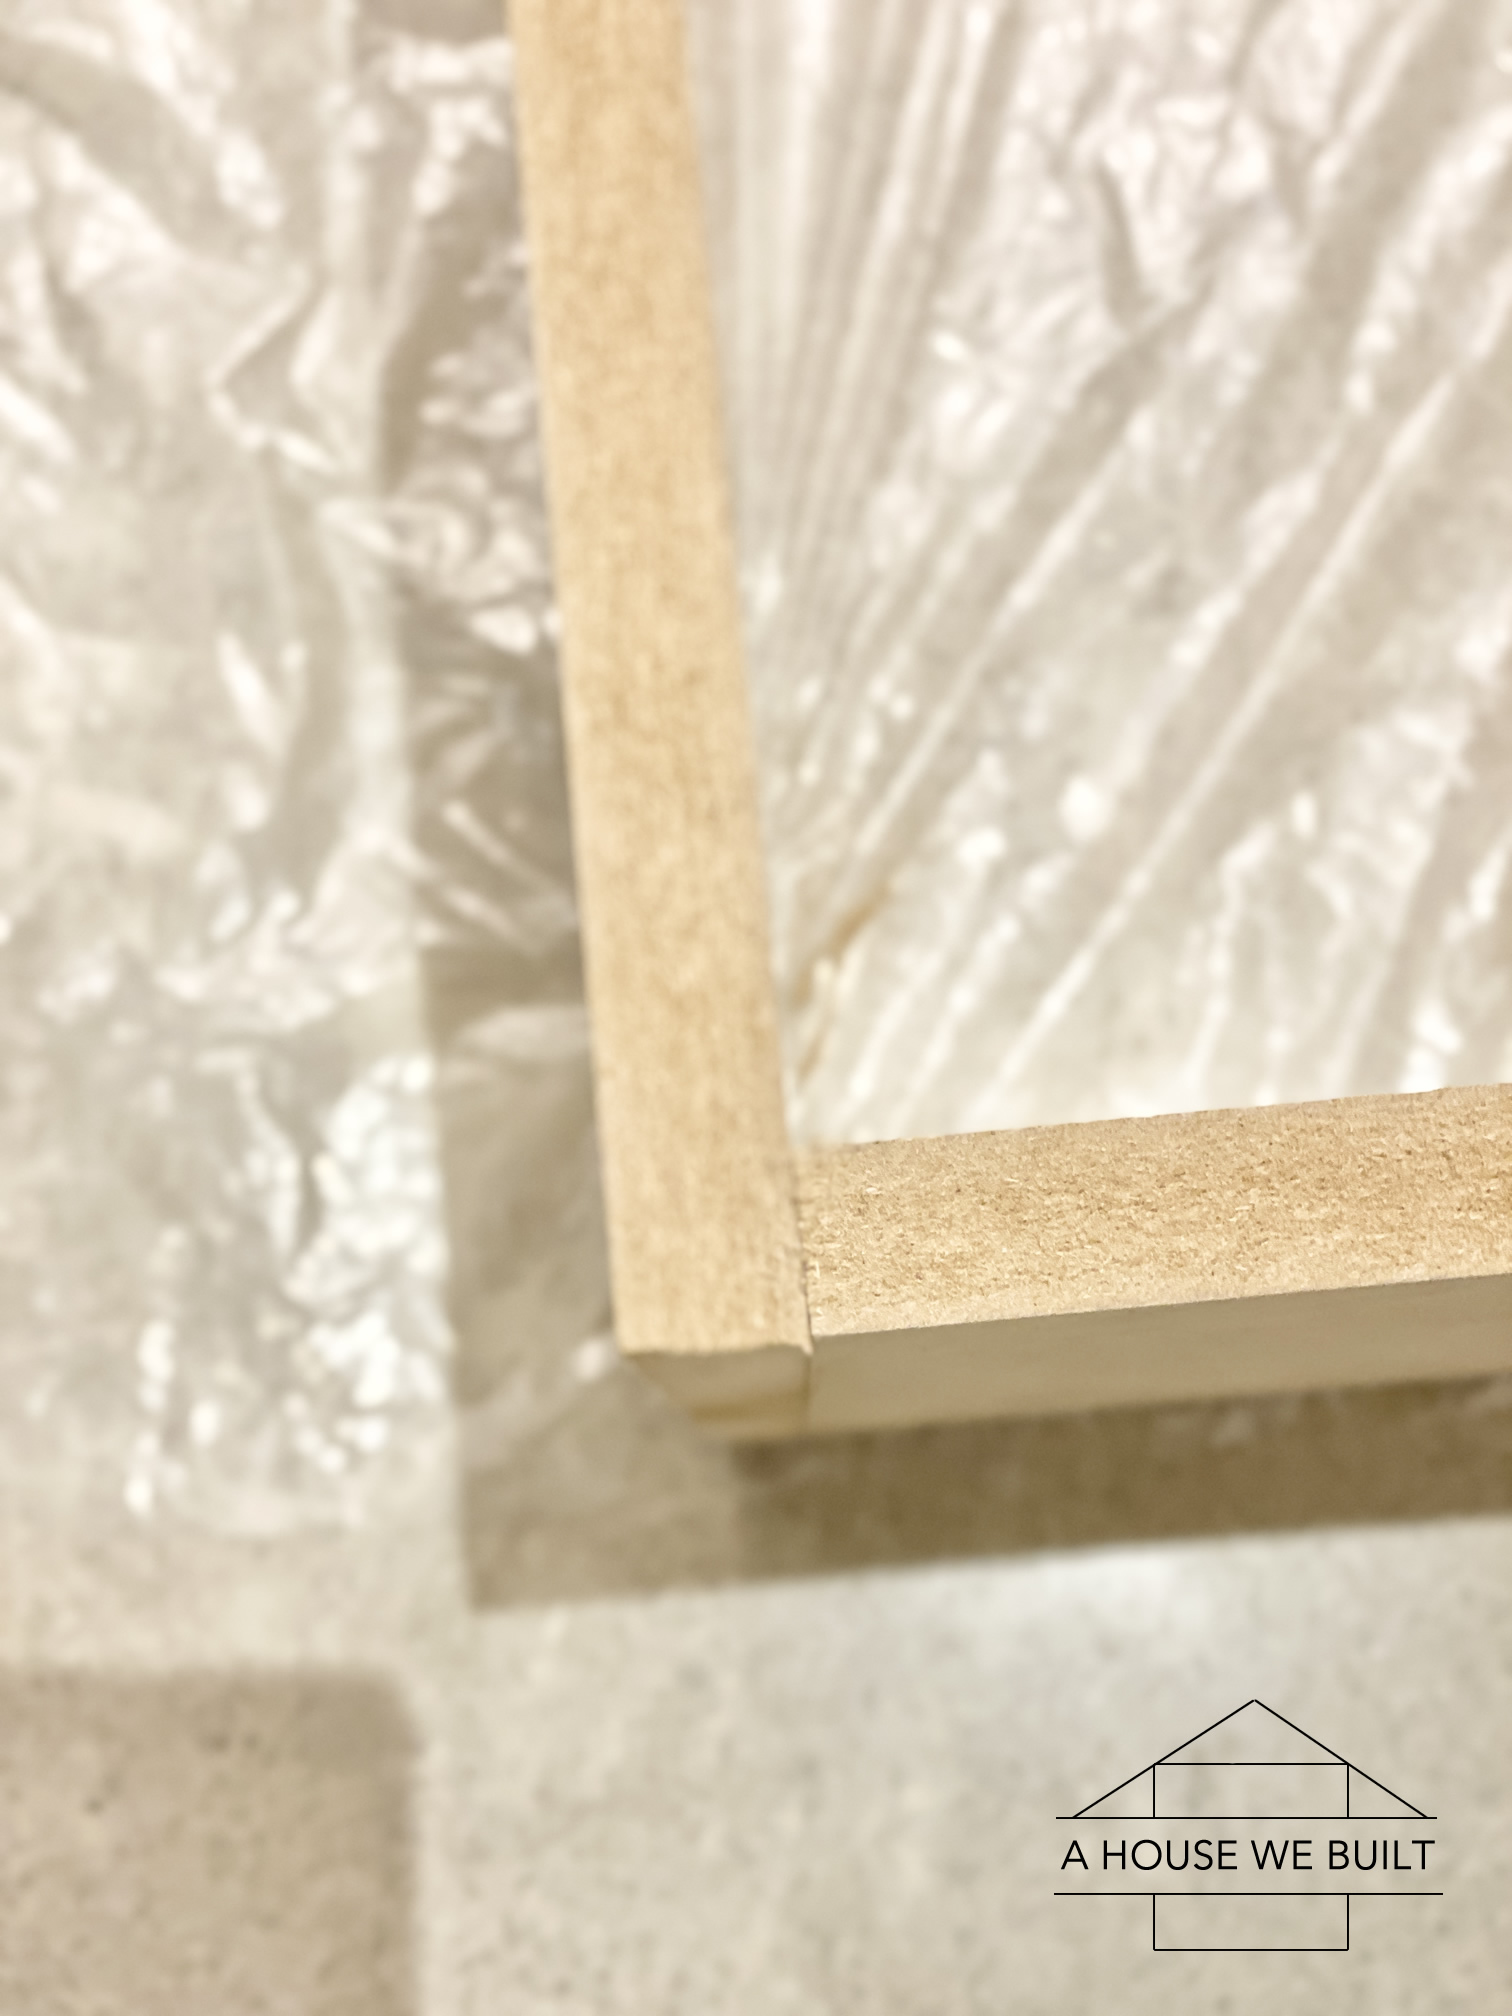
- Create the inner box inside the outer box as per my design template. We started with the long sides, then did the short sides. Use construction adhesive across the whole panel to laminate the inner and outer boxes together and nail it (1″ nails) from the inside so the holes don’t show from the outside. Use clamps if necessary to hold the sides together (we only needed them in one spot).
- Attach the backer panel inside your box with construction adhesive and 2″ nails.
- Allow the box to dry overnight.
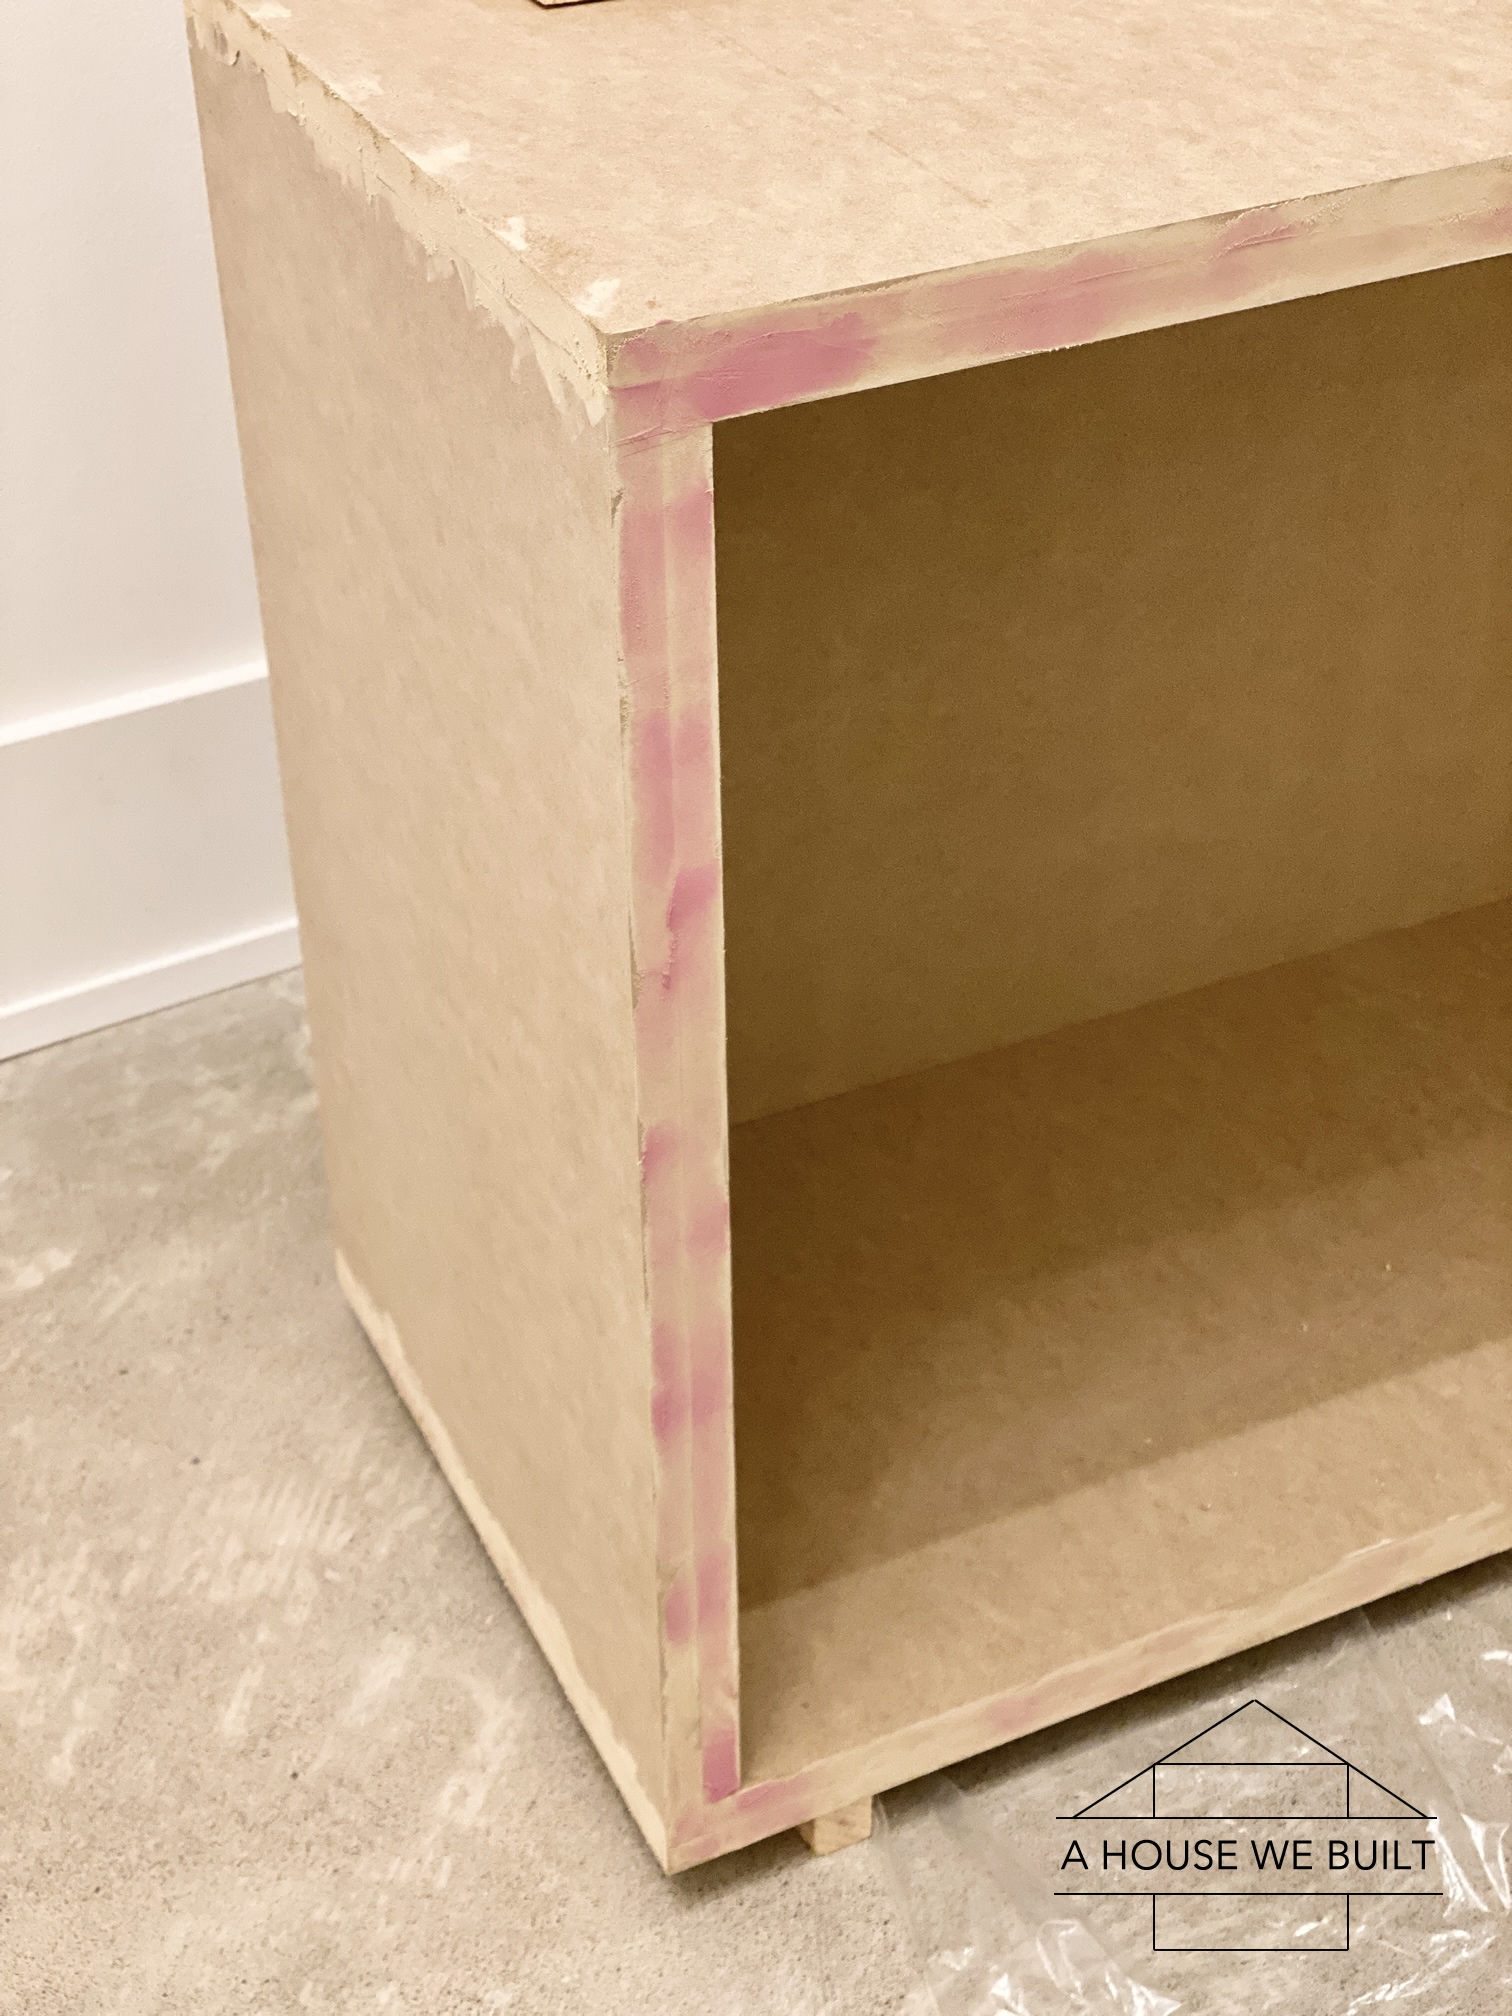
- Wood filler in all the seams between board and nail holes.
- Allow to fully dry, then sand all the wood filler smooth.
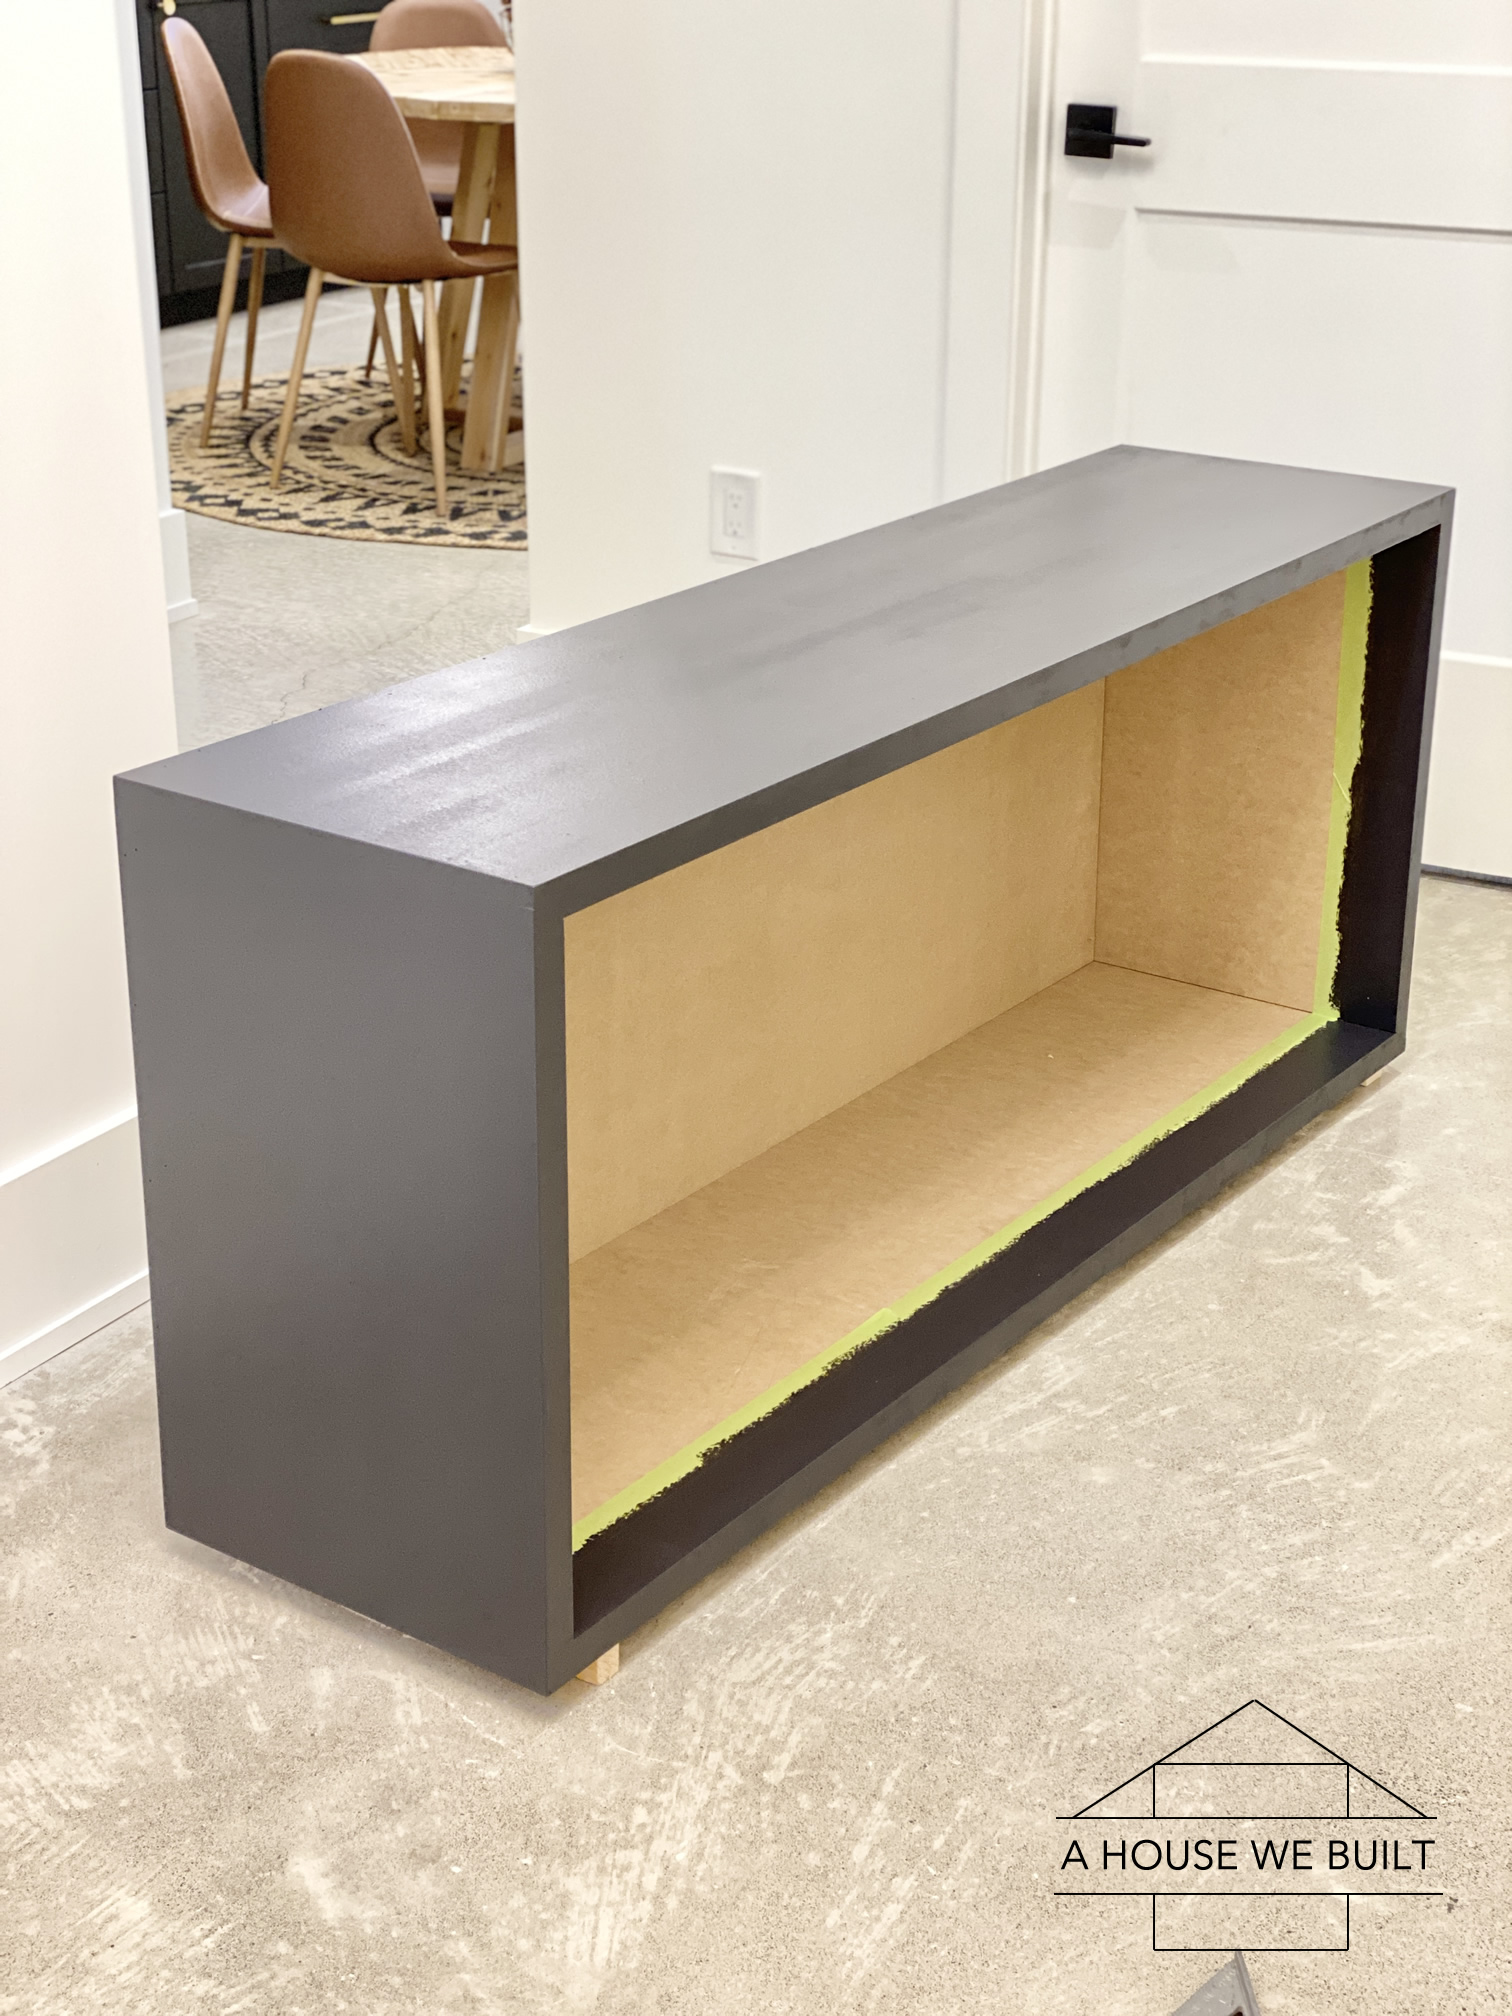
- Paint the box black. I also ran a line of painters tape inside the box 2 1/2″ in from the edge and painted that too because the doors will be inset 1/8″ and they’re quite thick so I wanted to create a nice clean line where the paint ended. You could also paint the entire interior if you choose.
- Allow to fully dry, then as an optional final step, I (matte) top coated the top only since our cats are probably going to jump all over this and that will make the finish more durable.
- Attach the legs to the bottom of the cabinet wherever looks best to you. Mine are placed at 12″ in from the sides and 2 1/2″ in from the front and back.
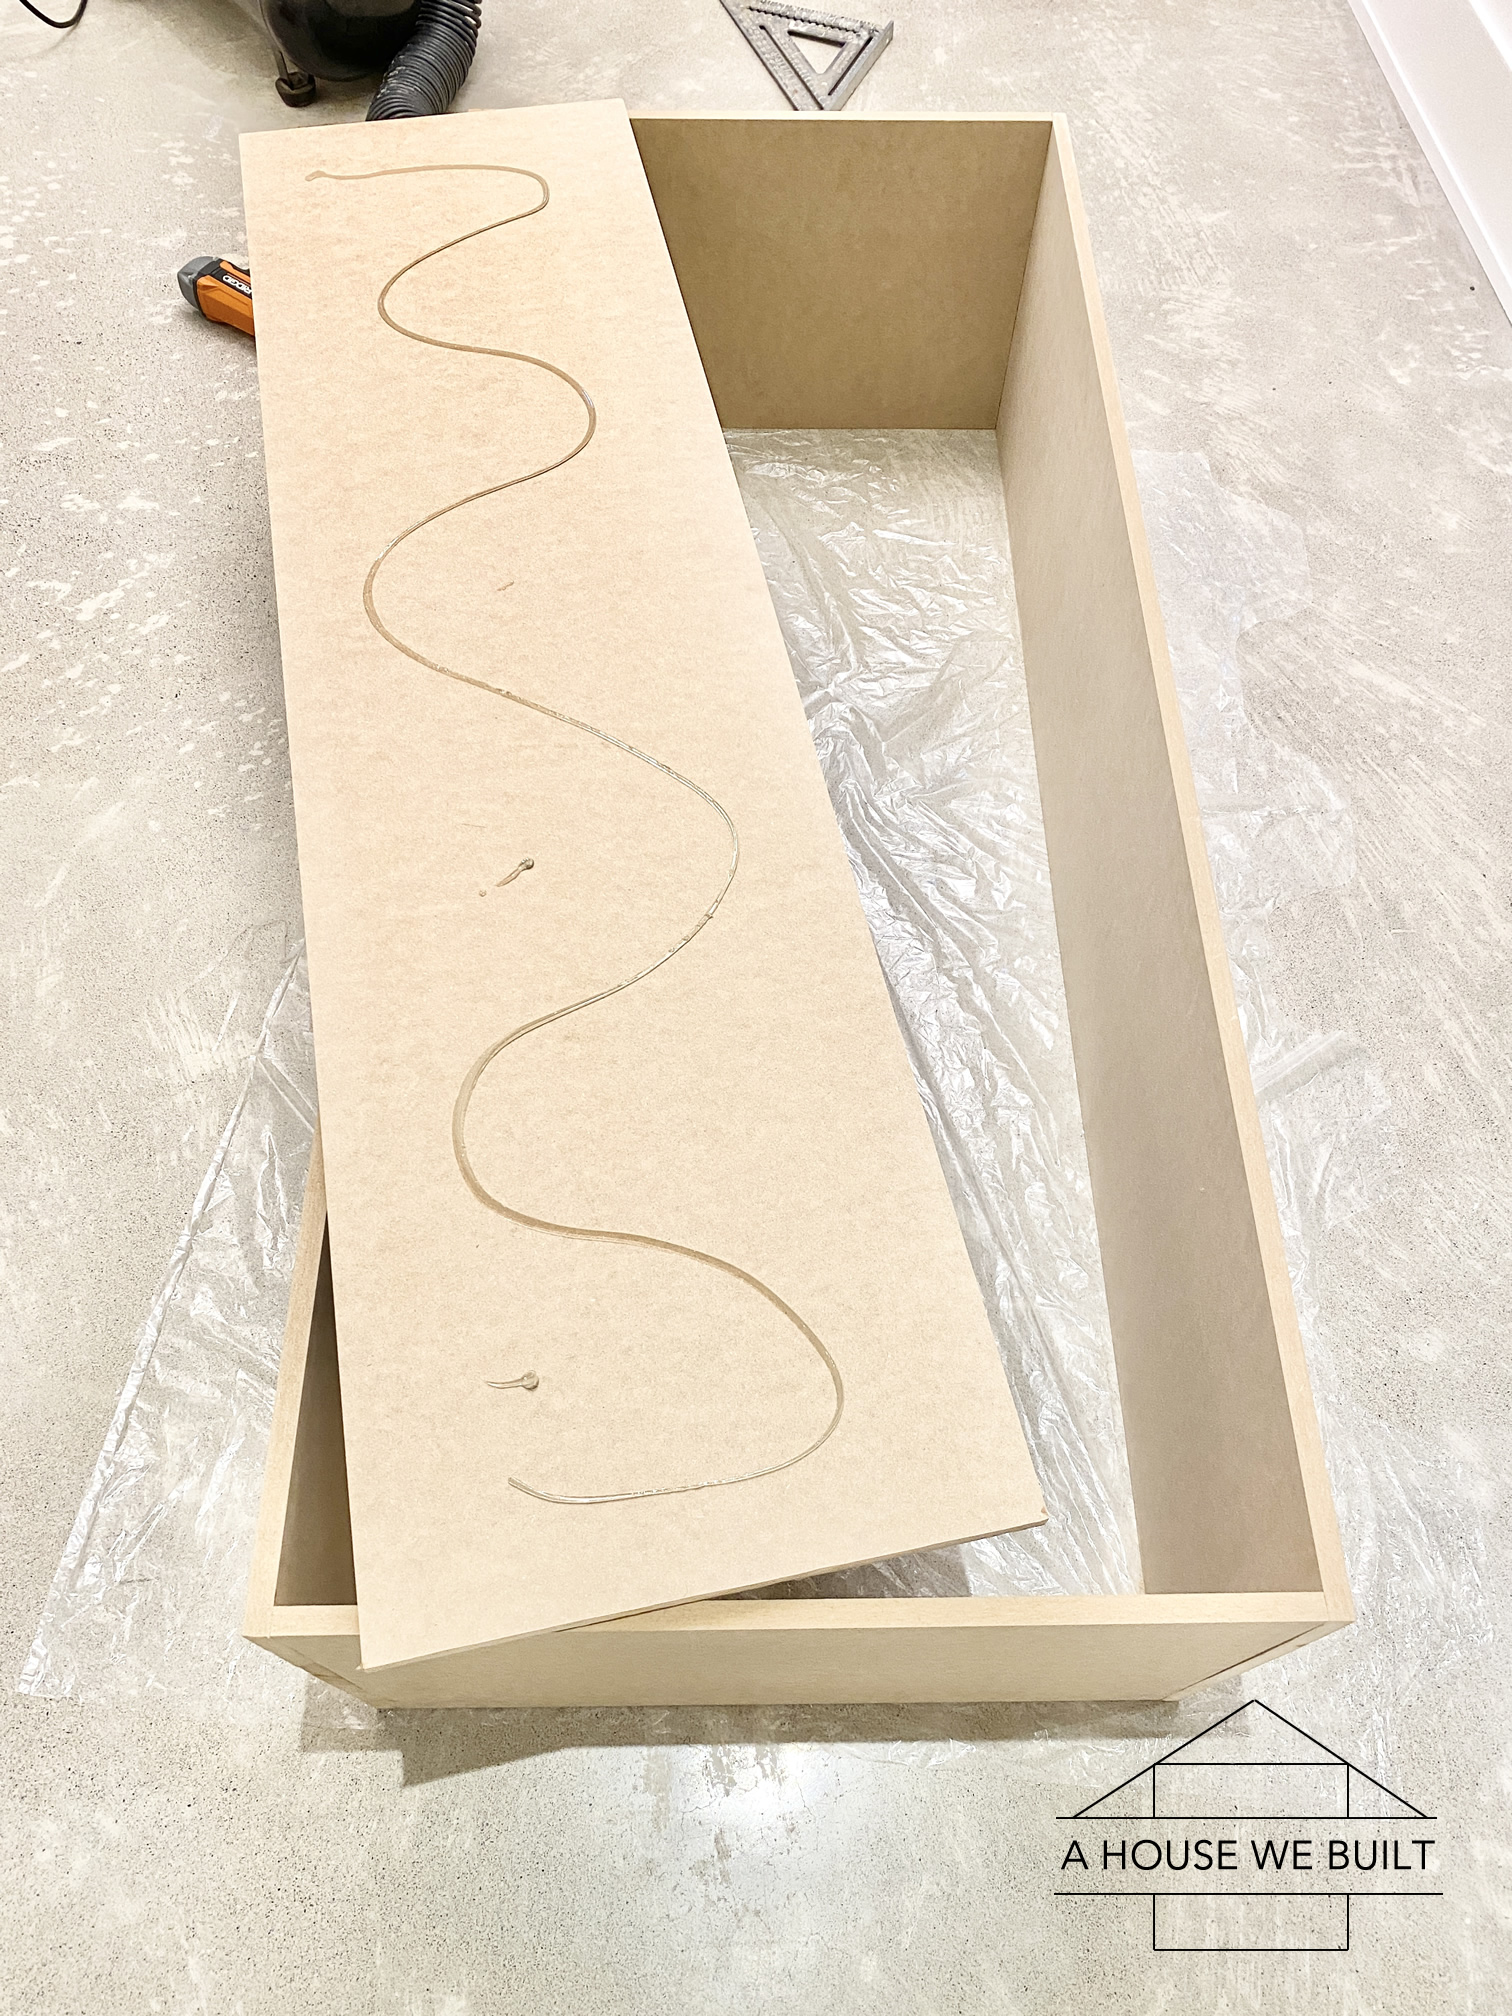
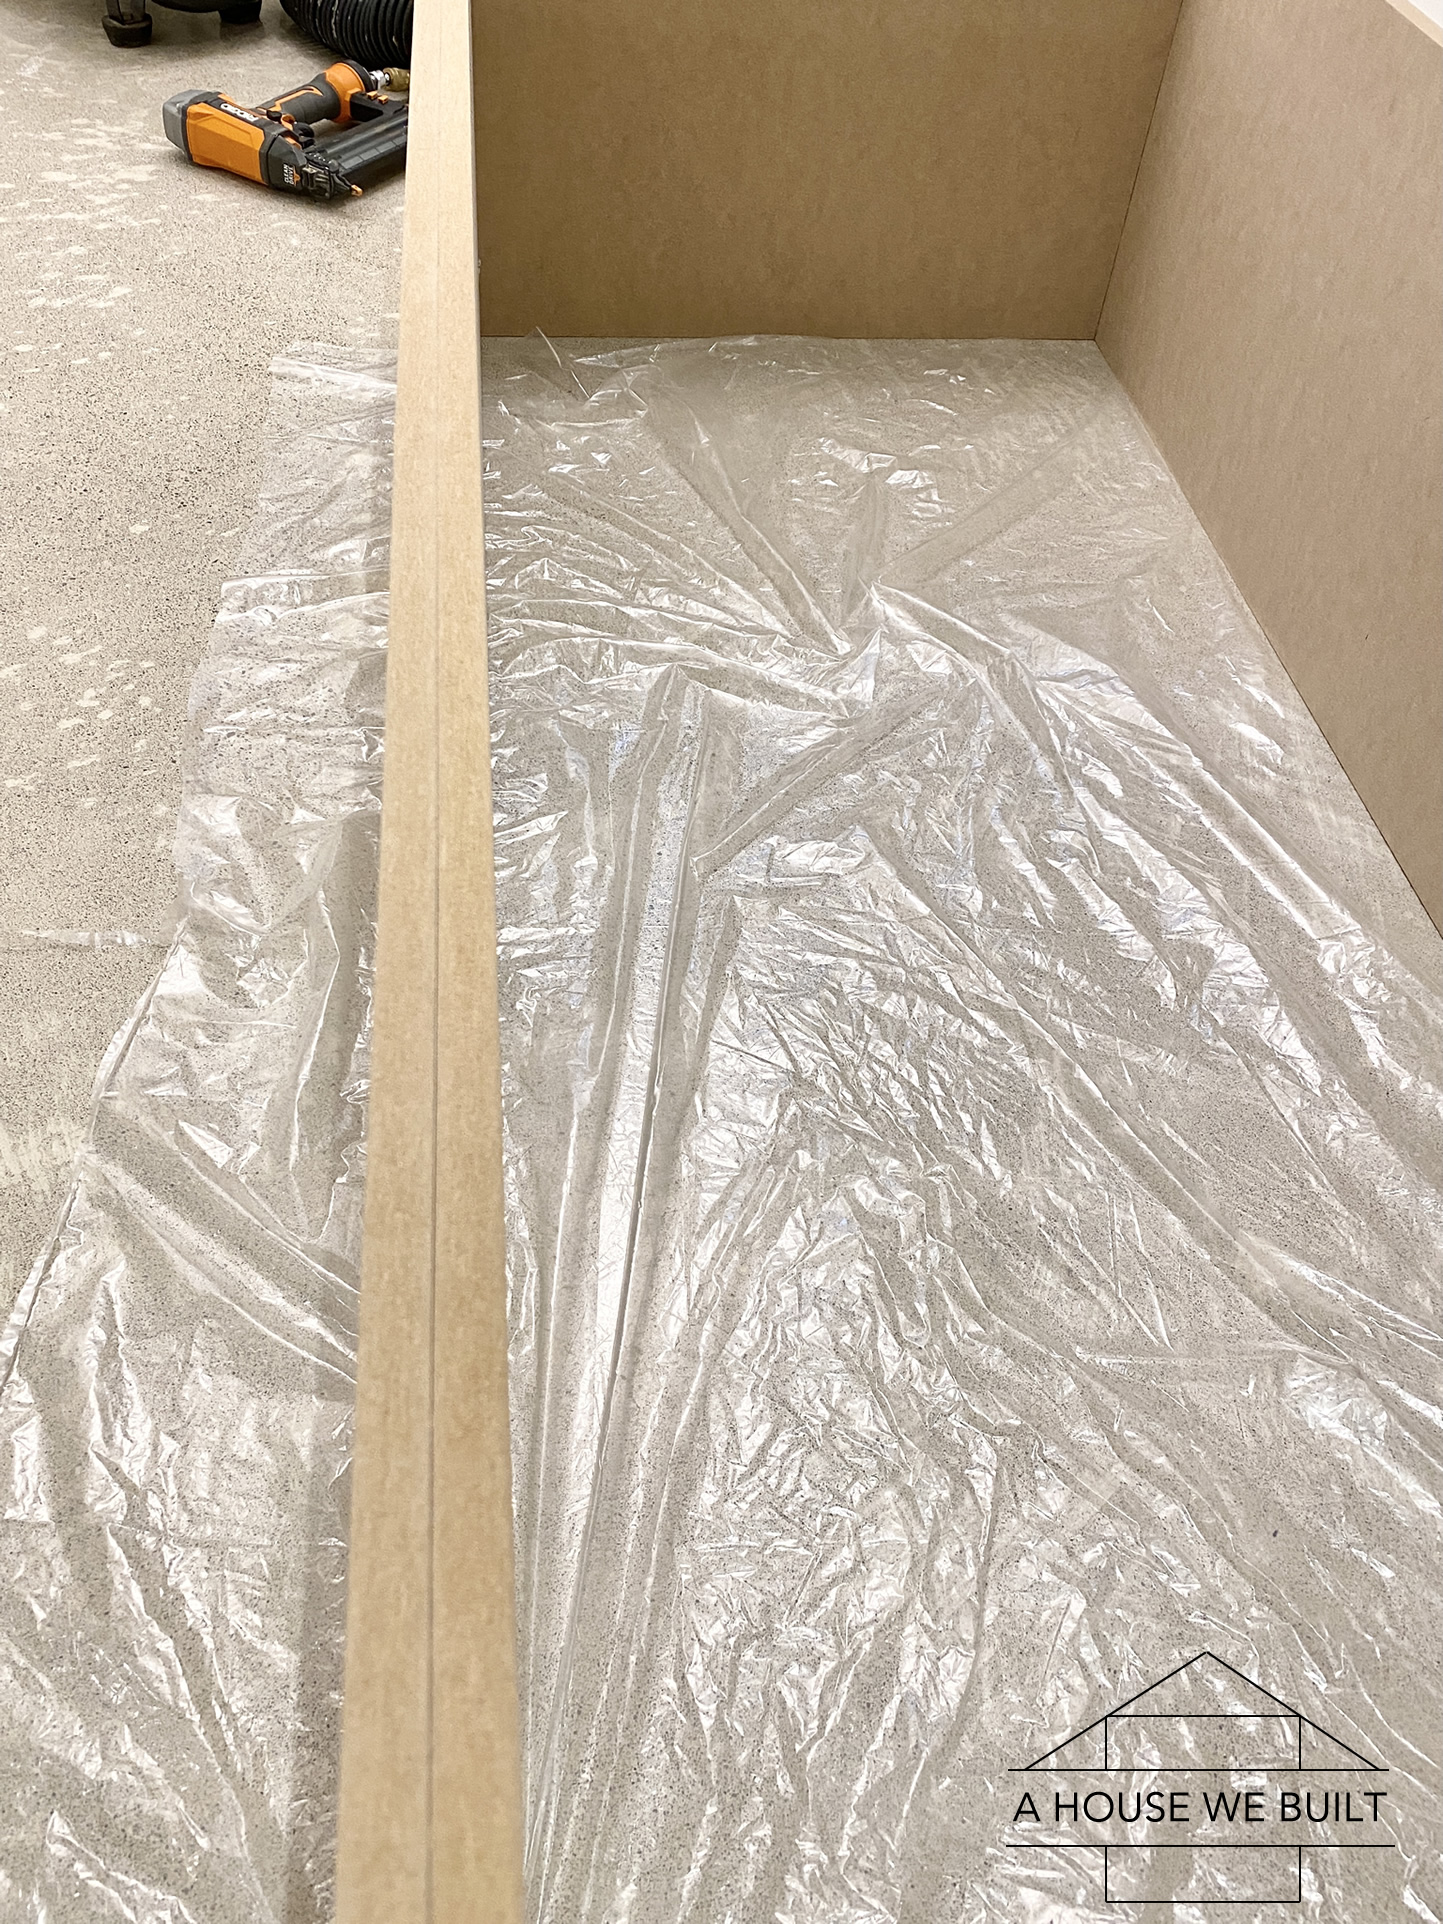
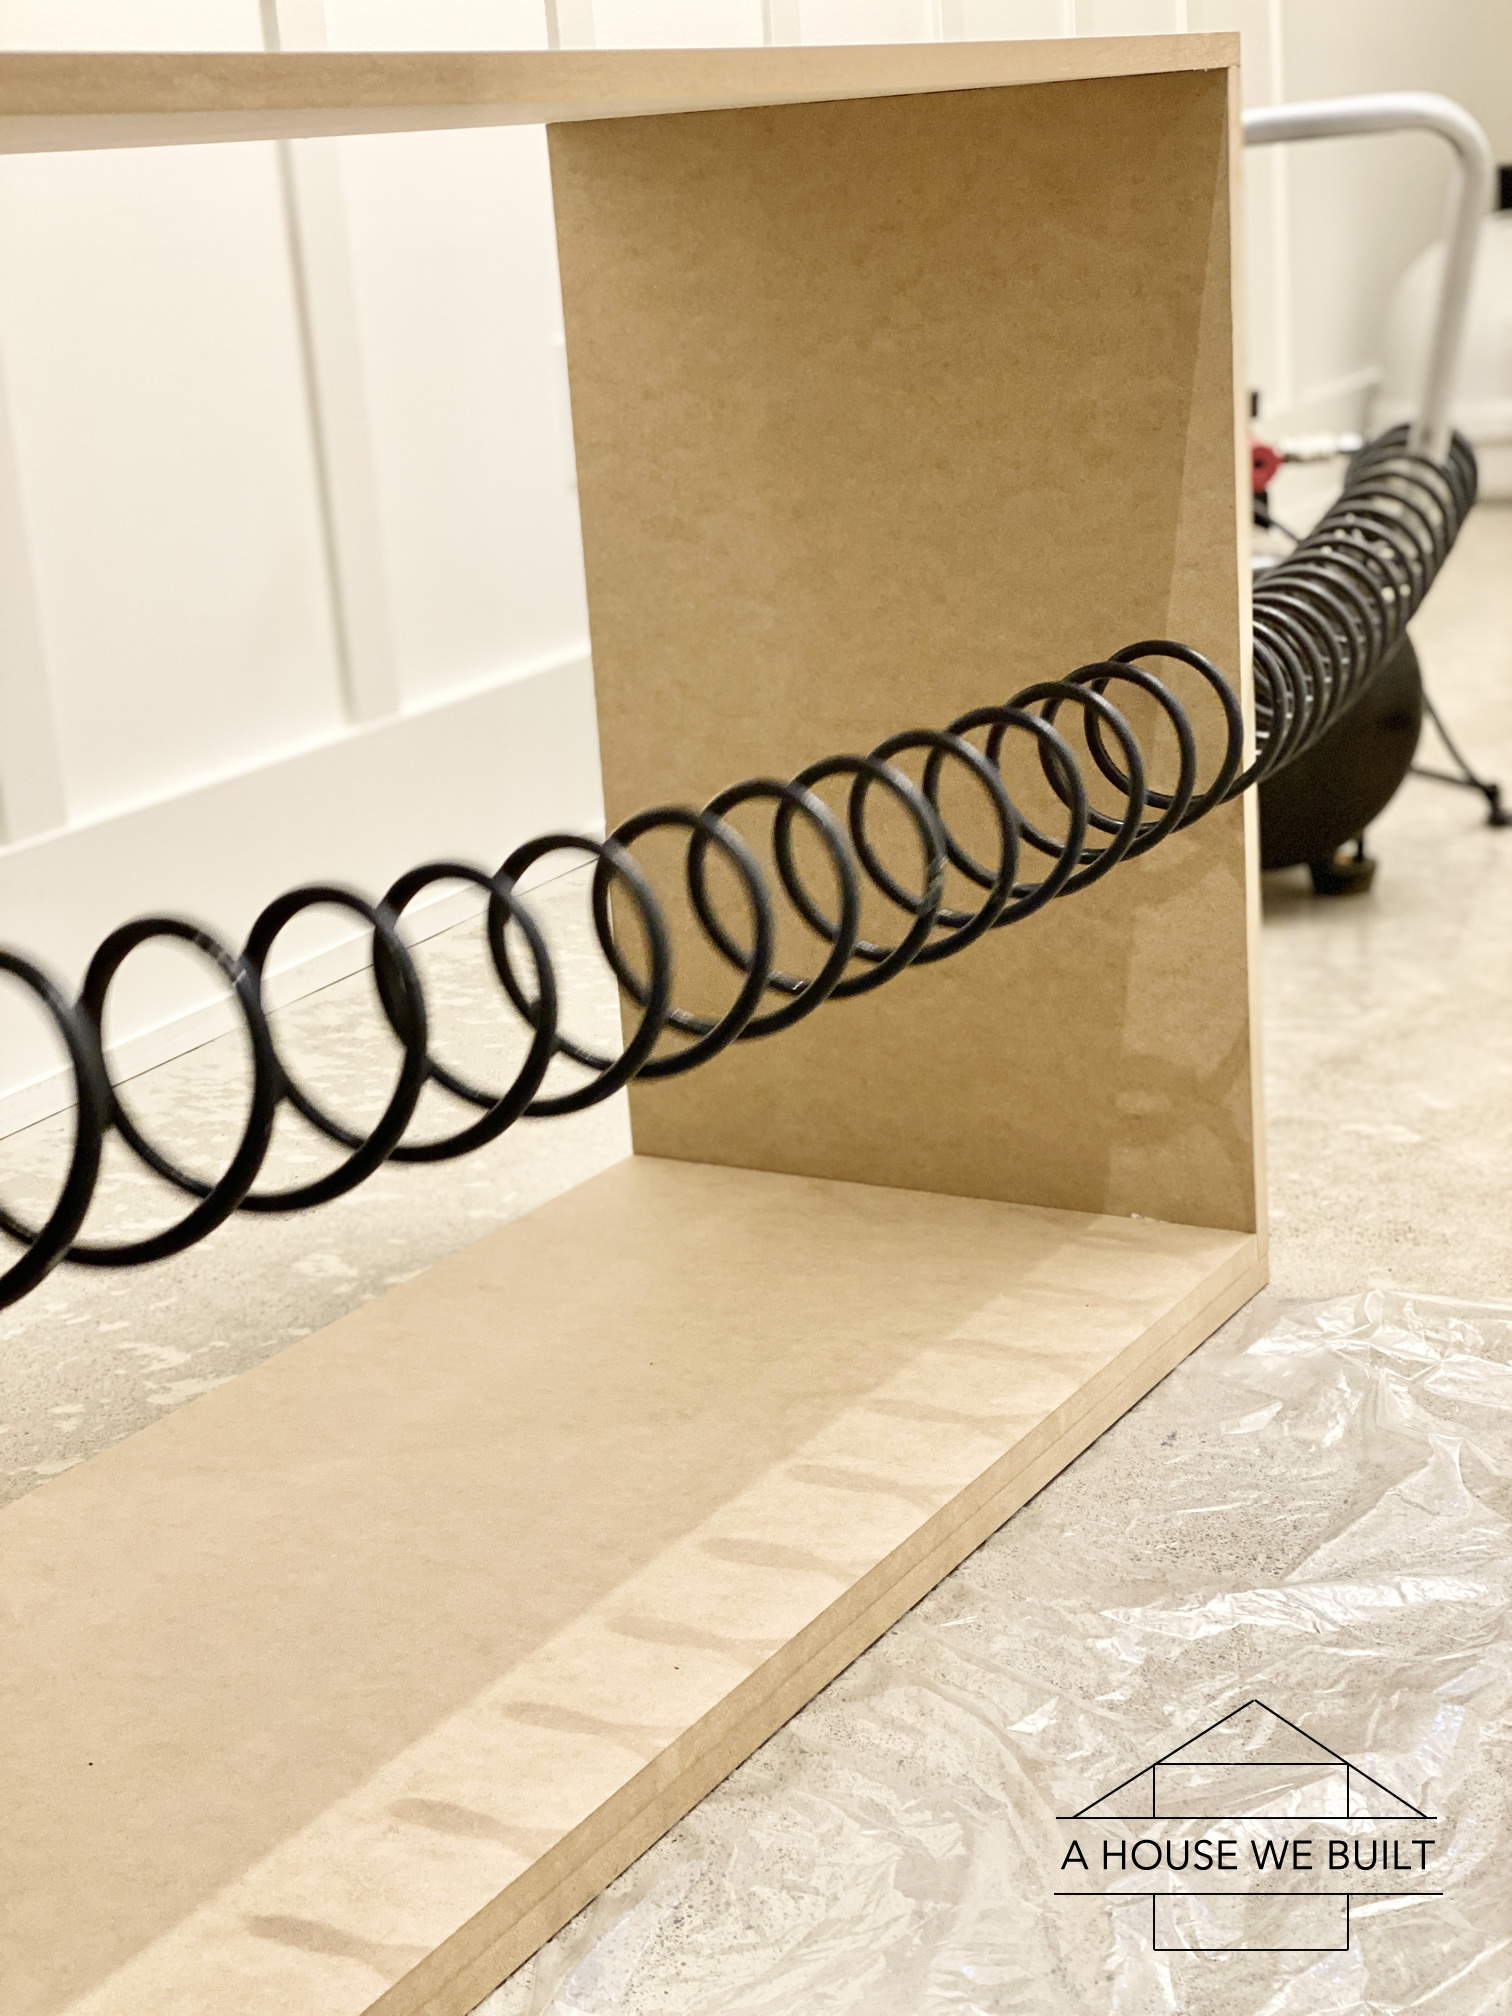
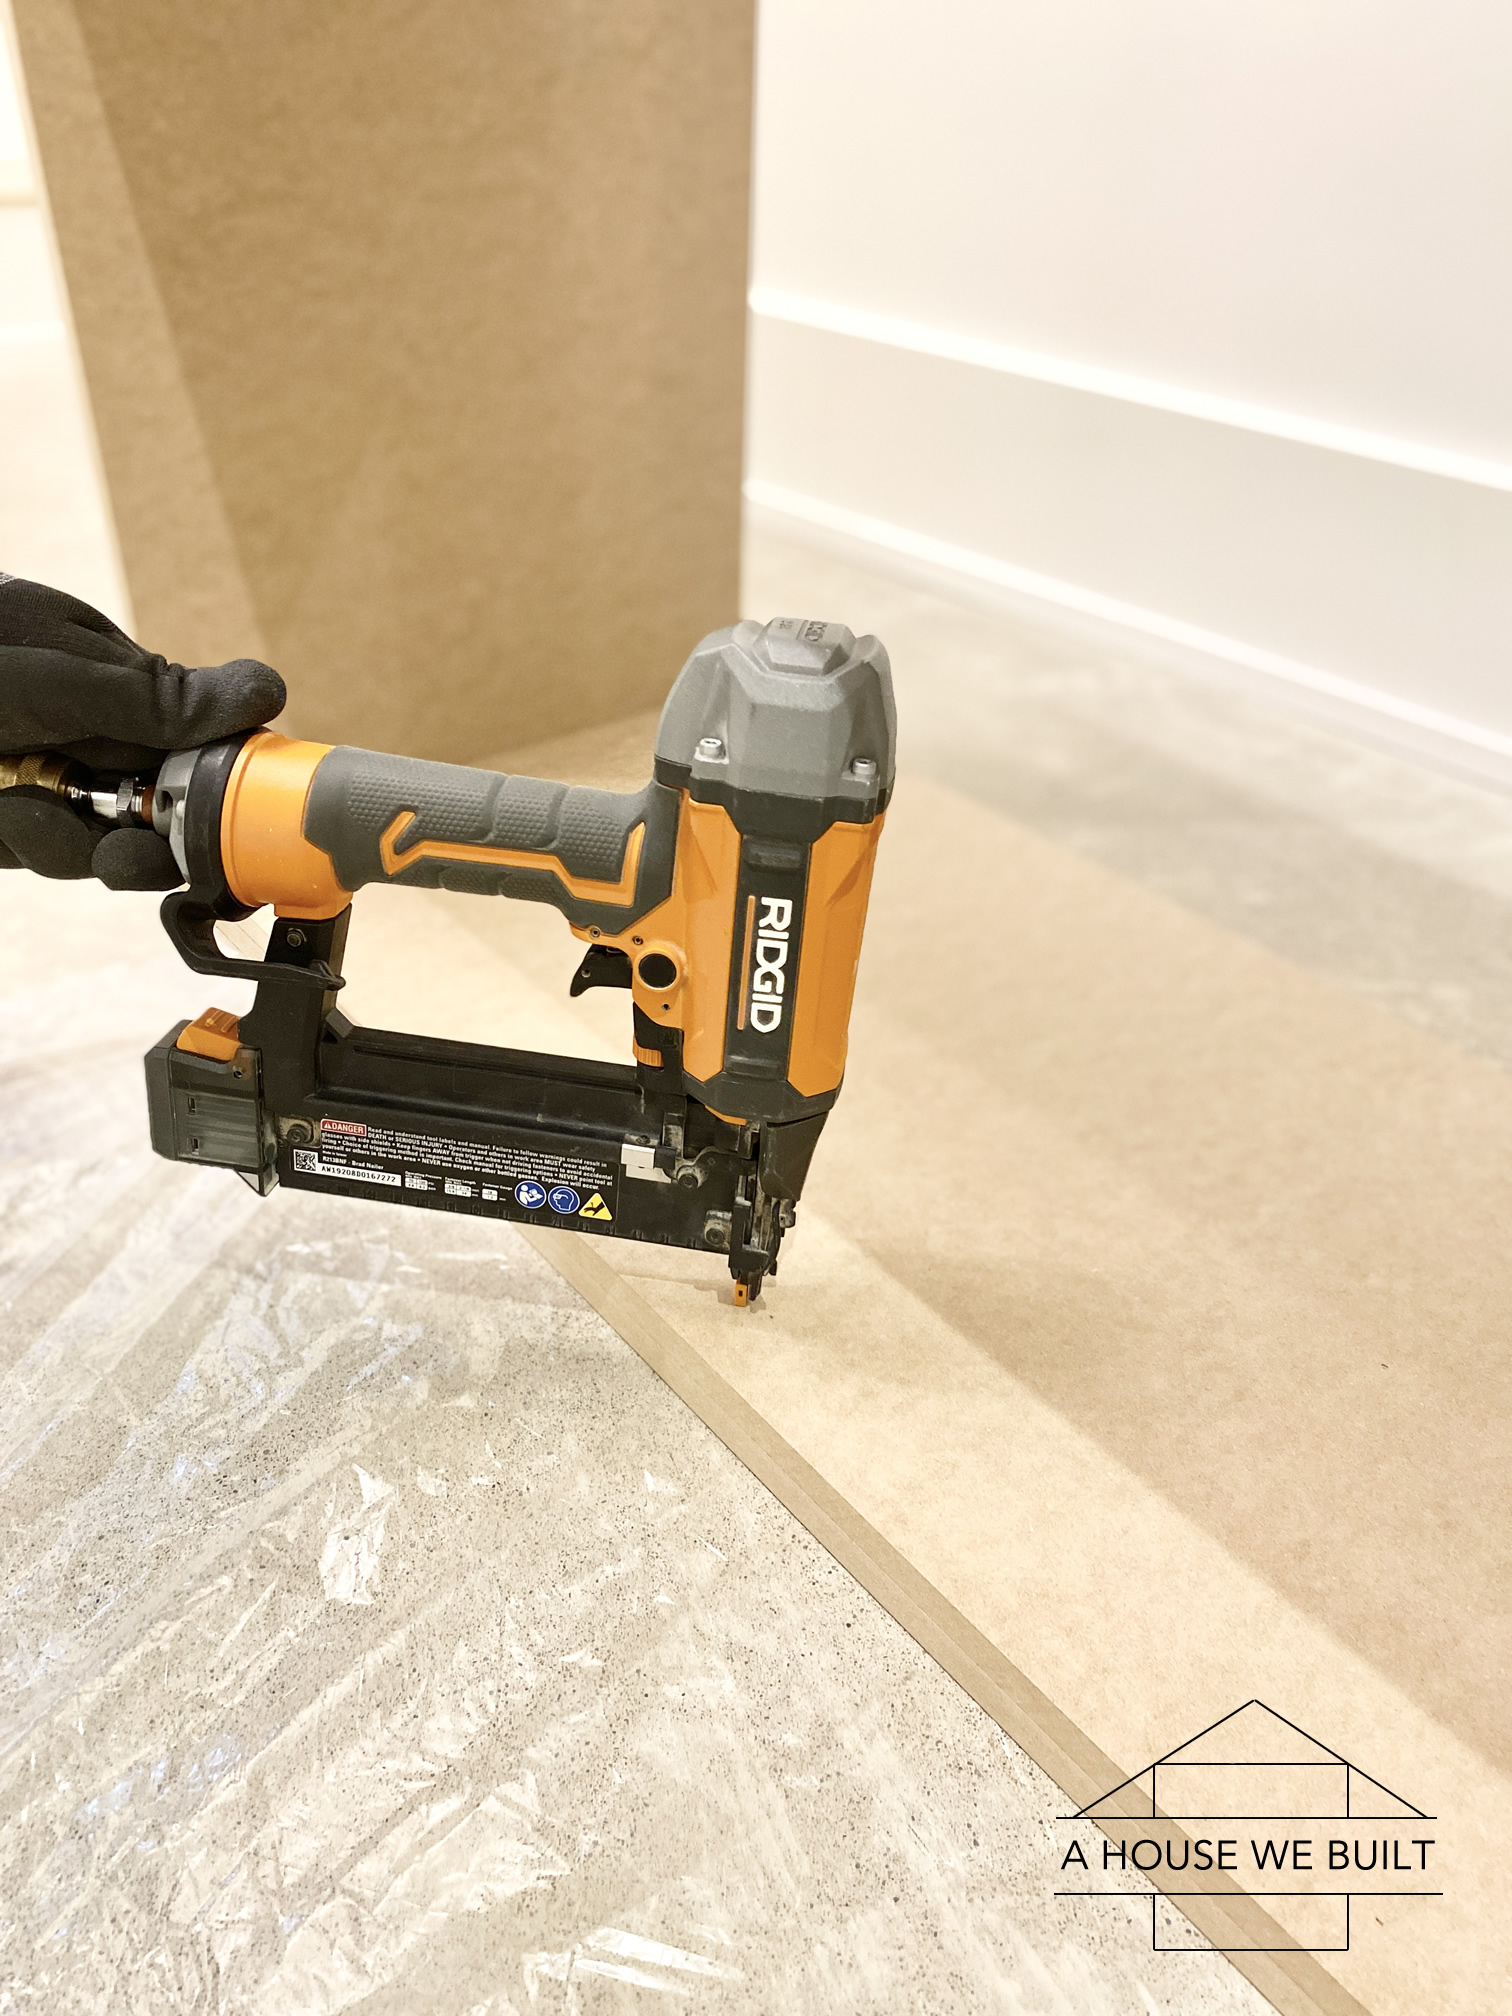
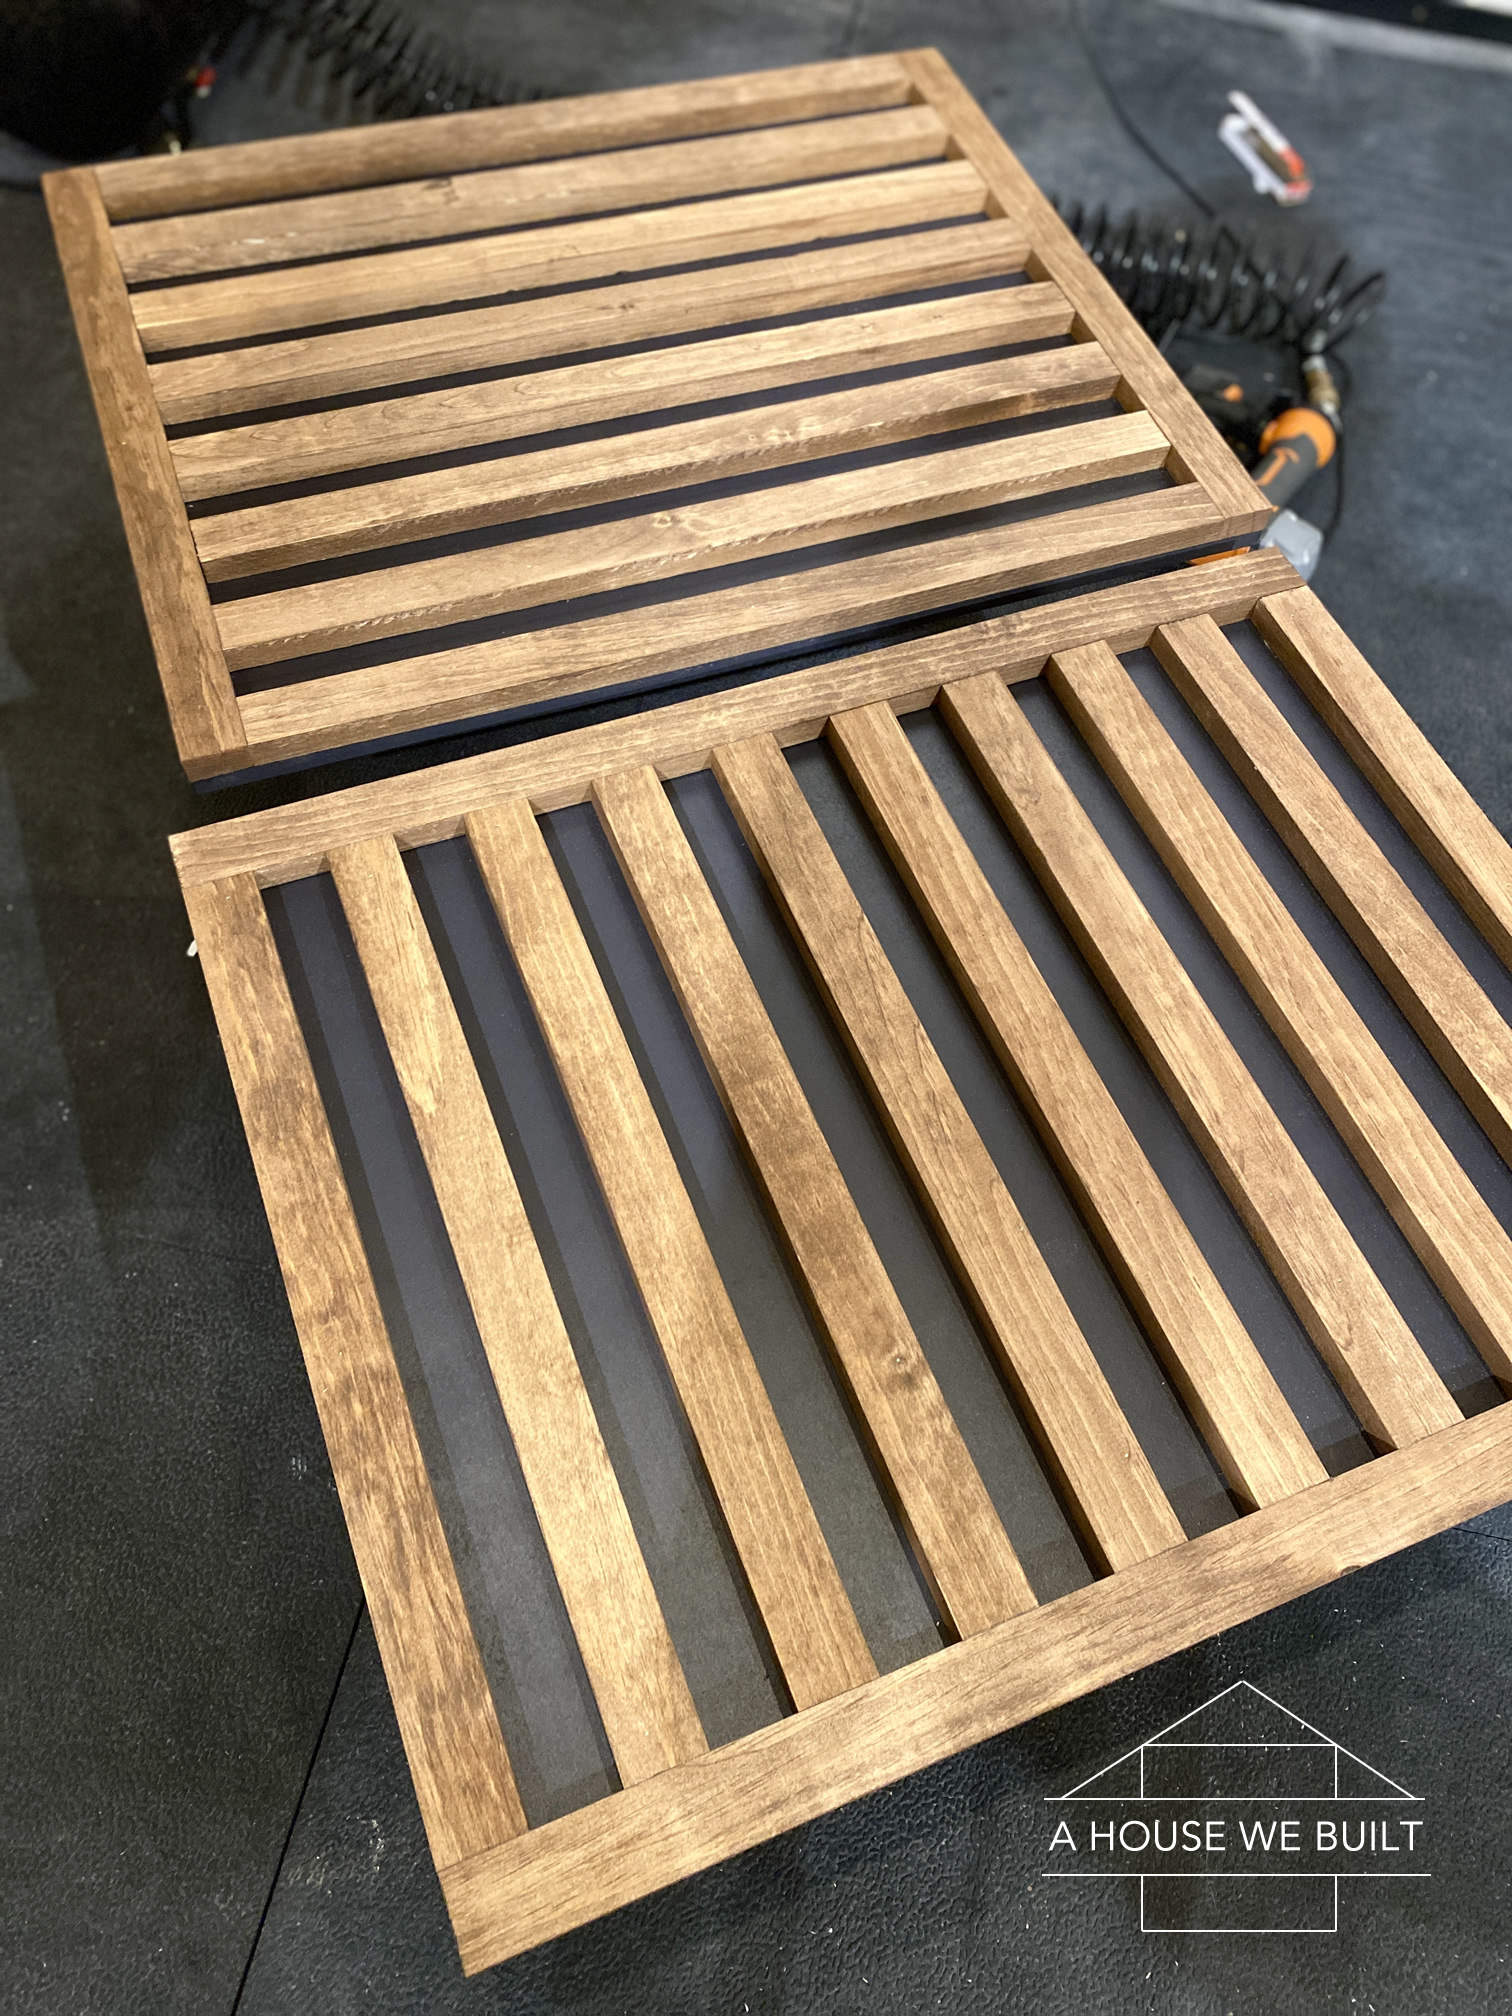
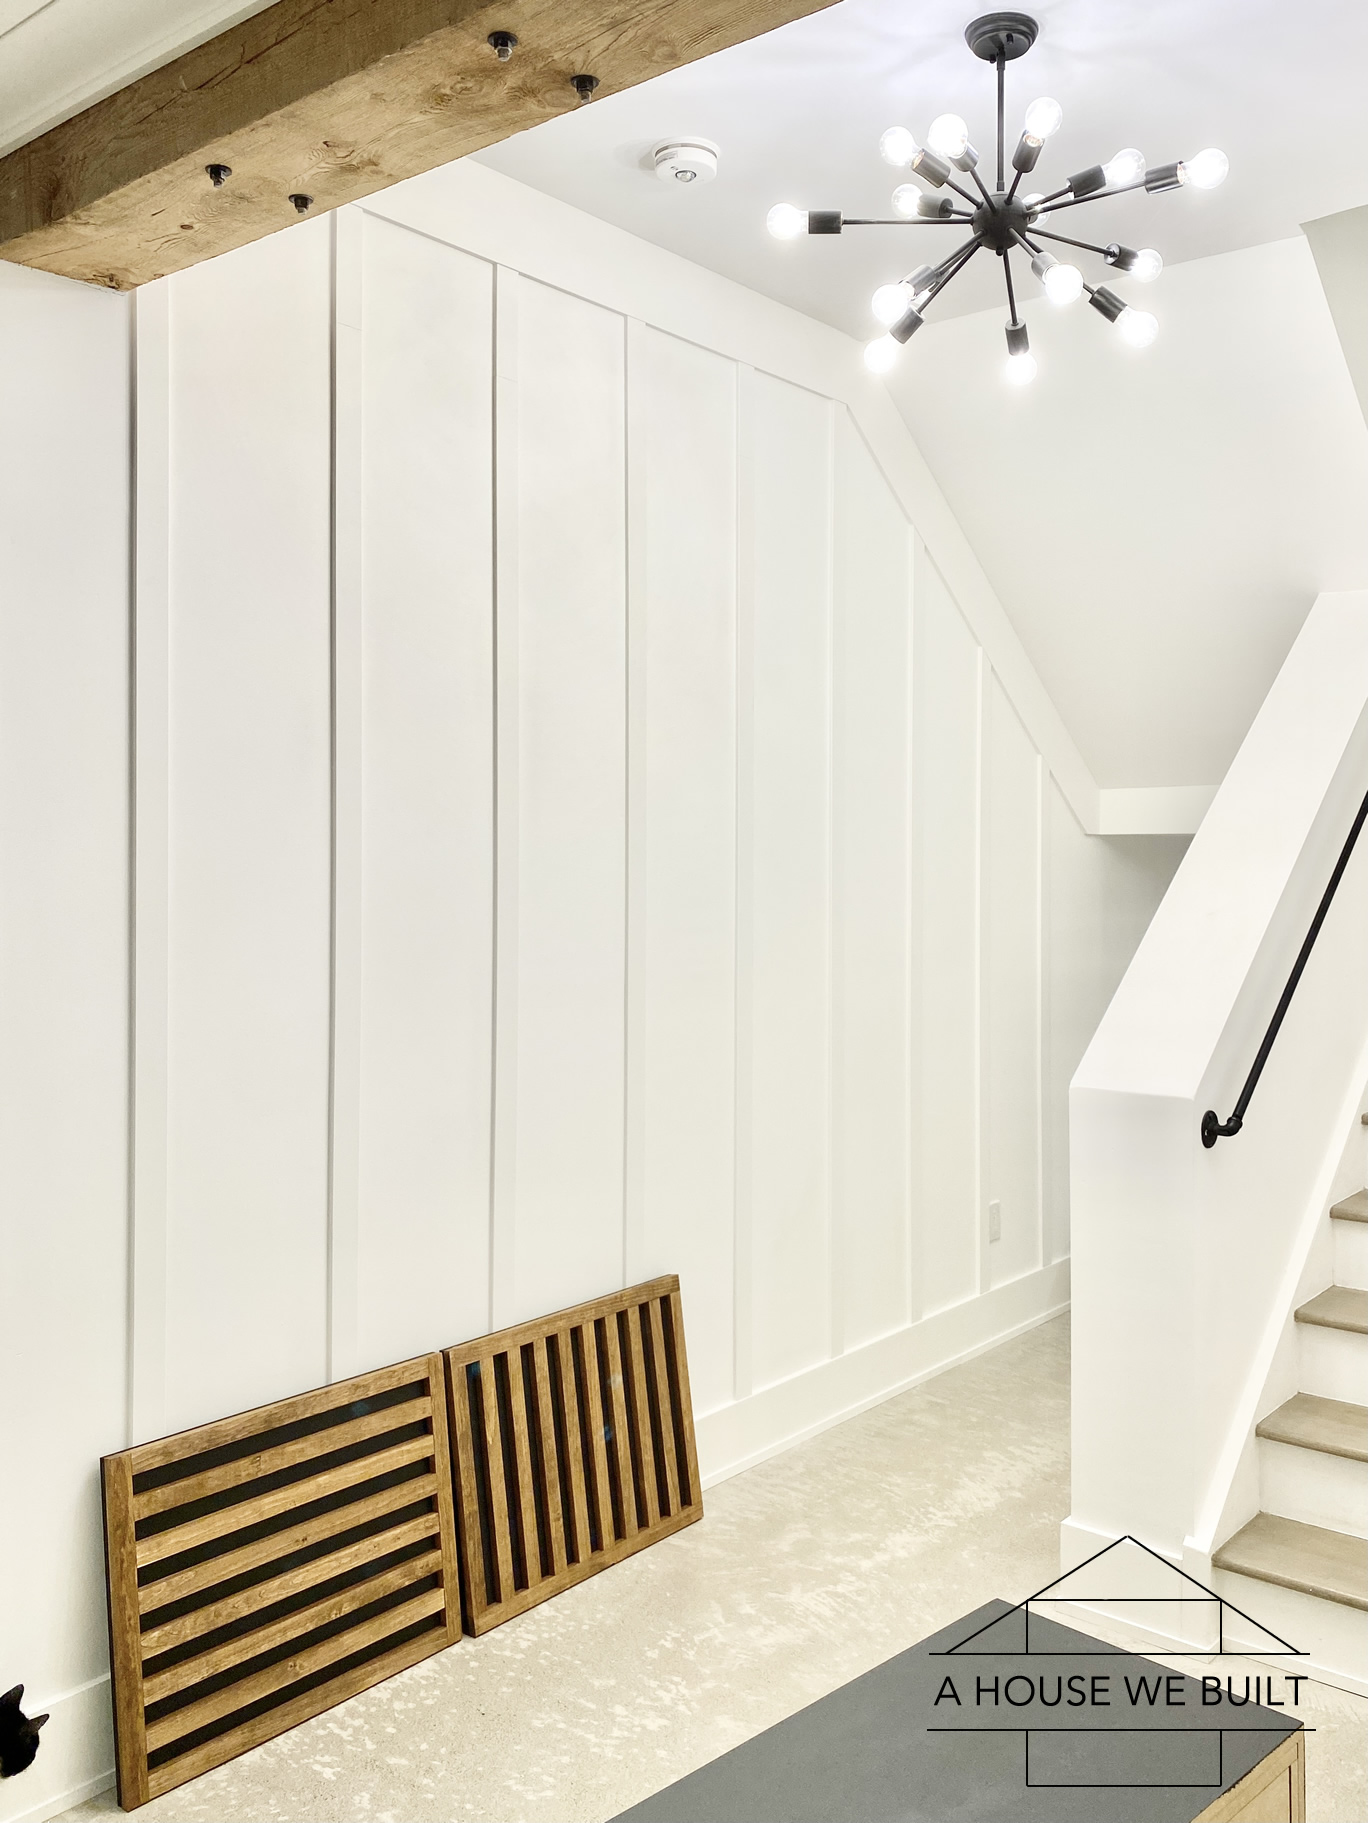
DOORS | The doors are two panels of the same size with reversing horizontal and vertical slats. So they’re kind of opposites of each other in many ways. Here are the instructions to create the doors:
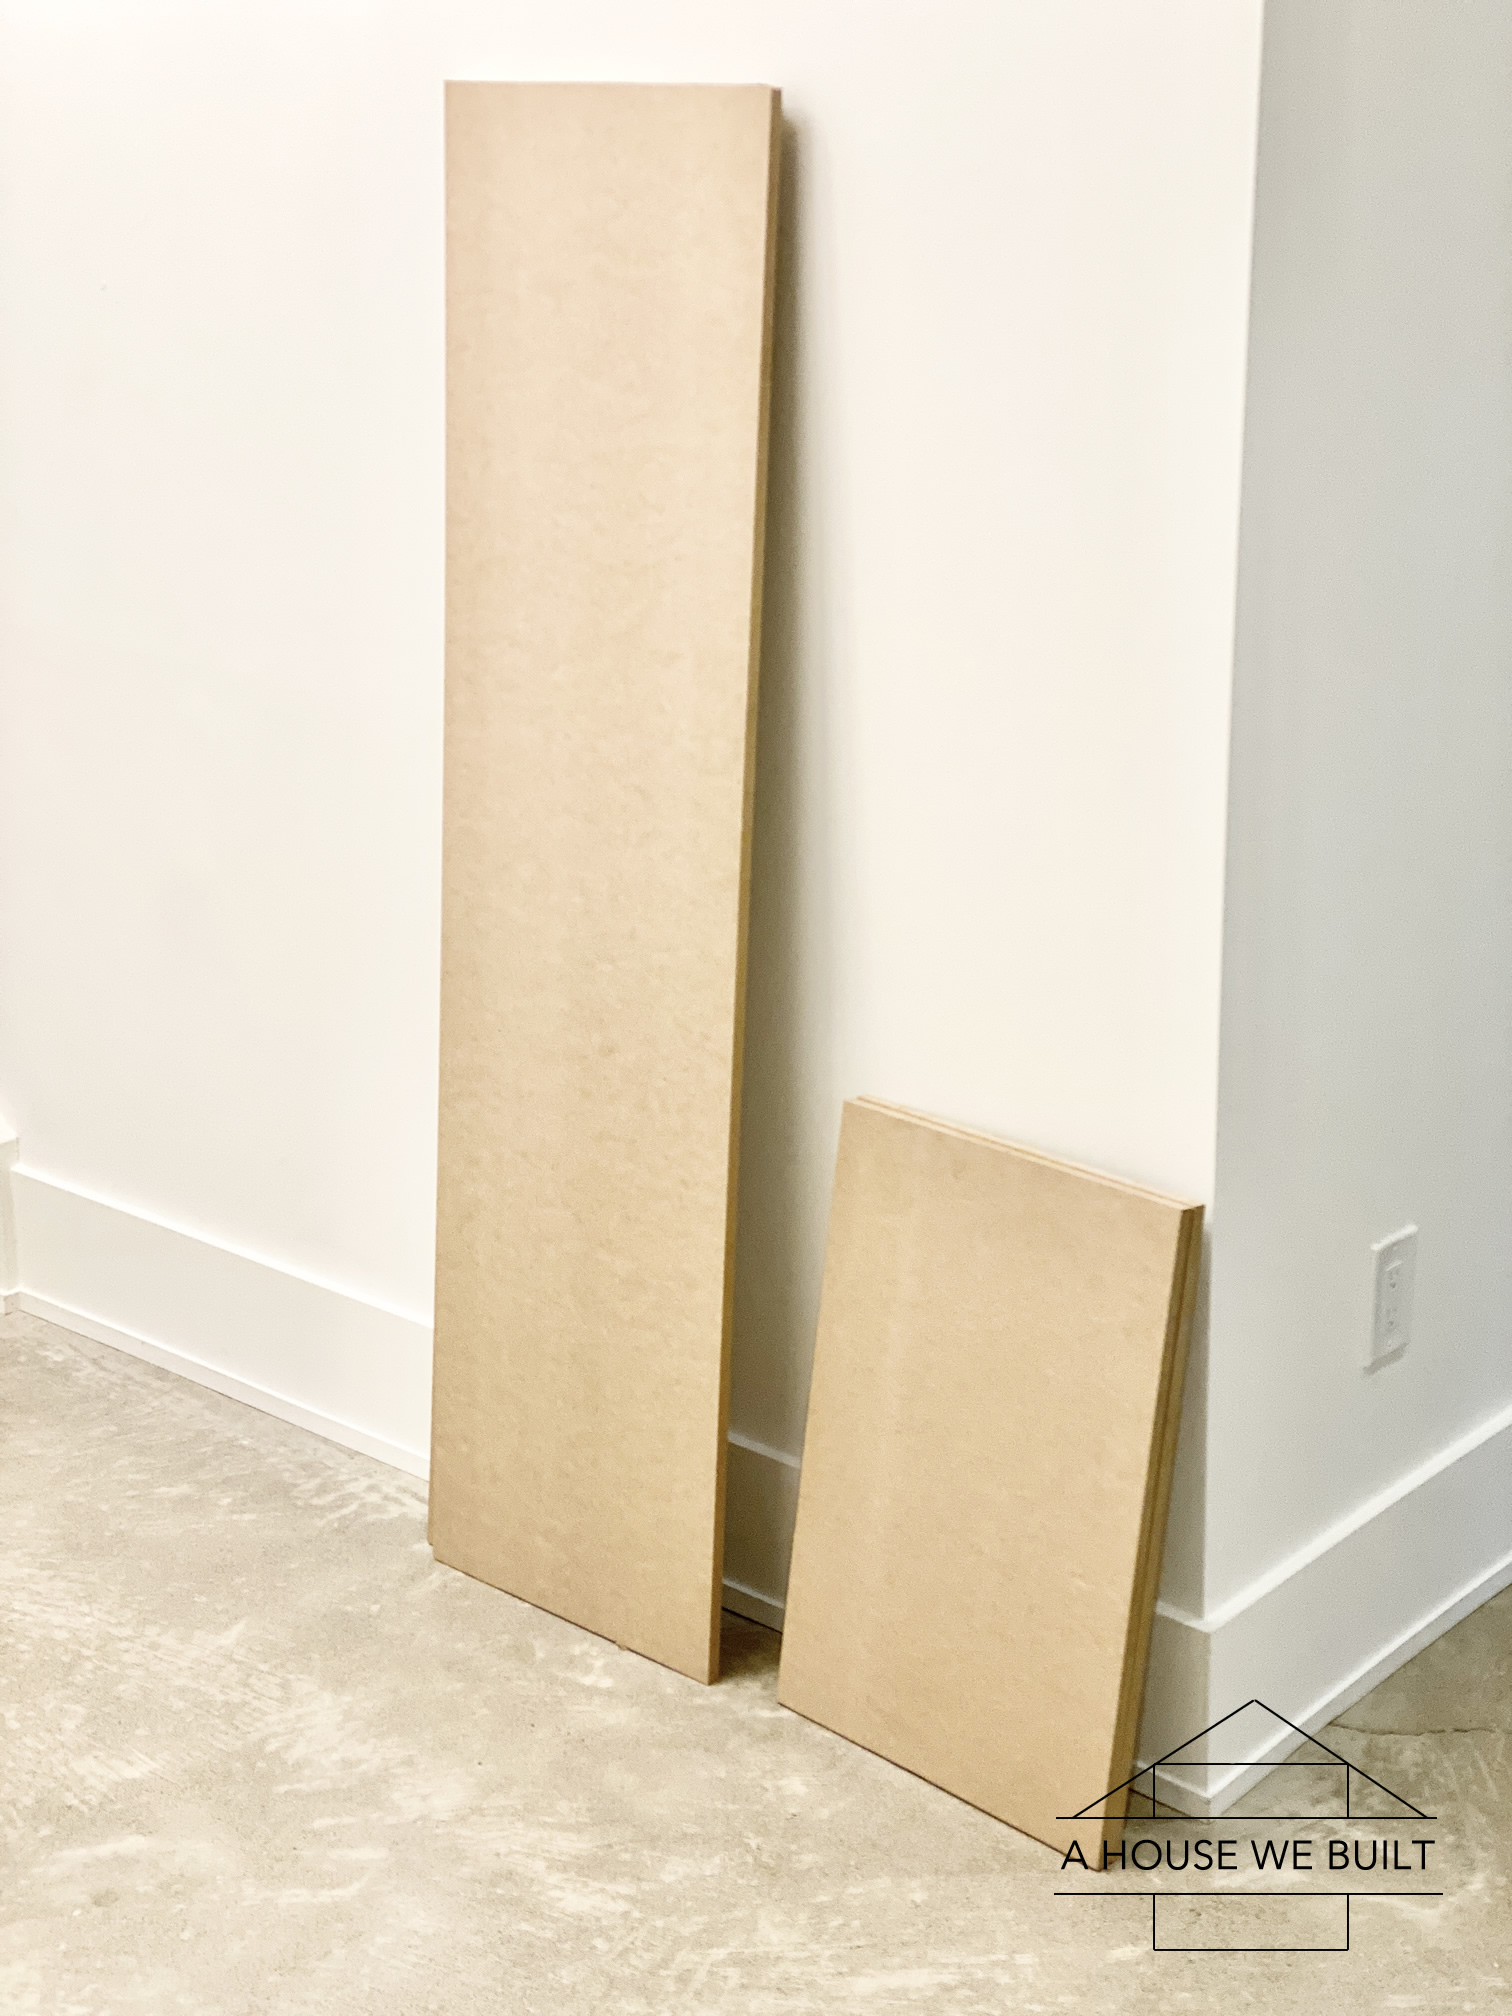
- Cut your 1/2″ MDF panels to size. You will need:
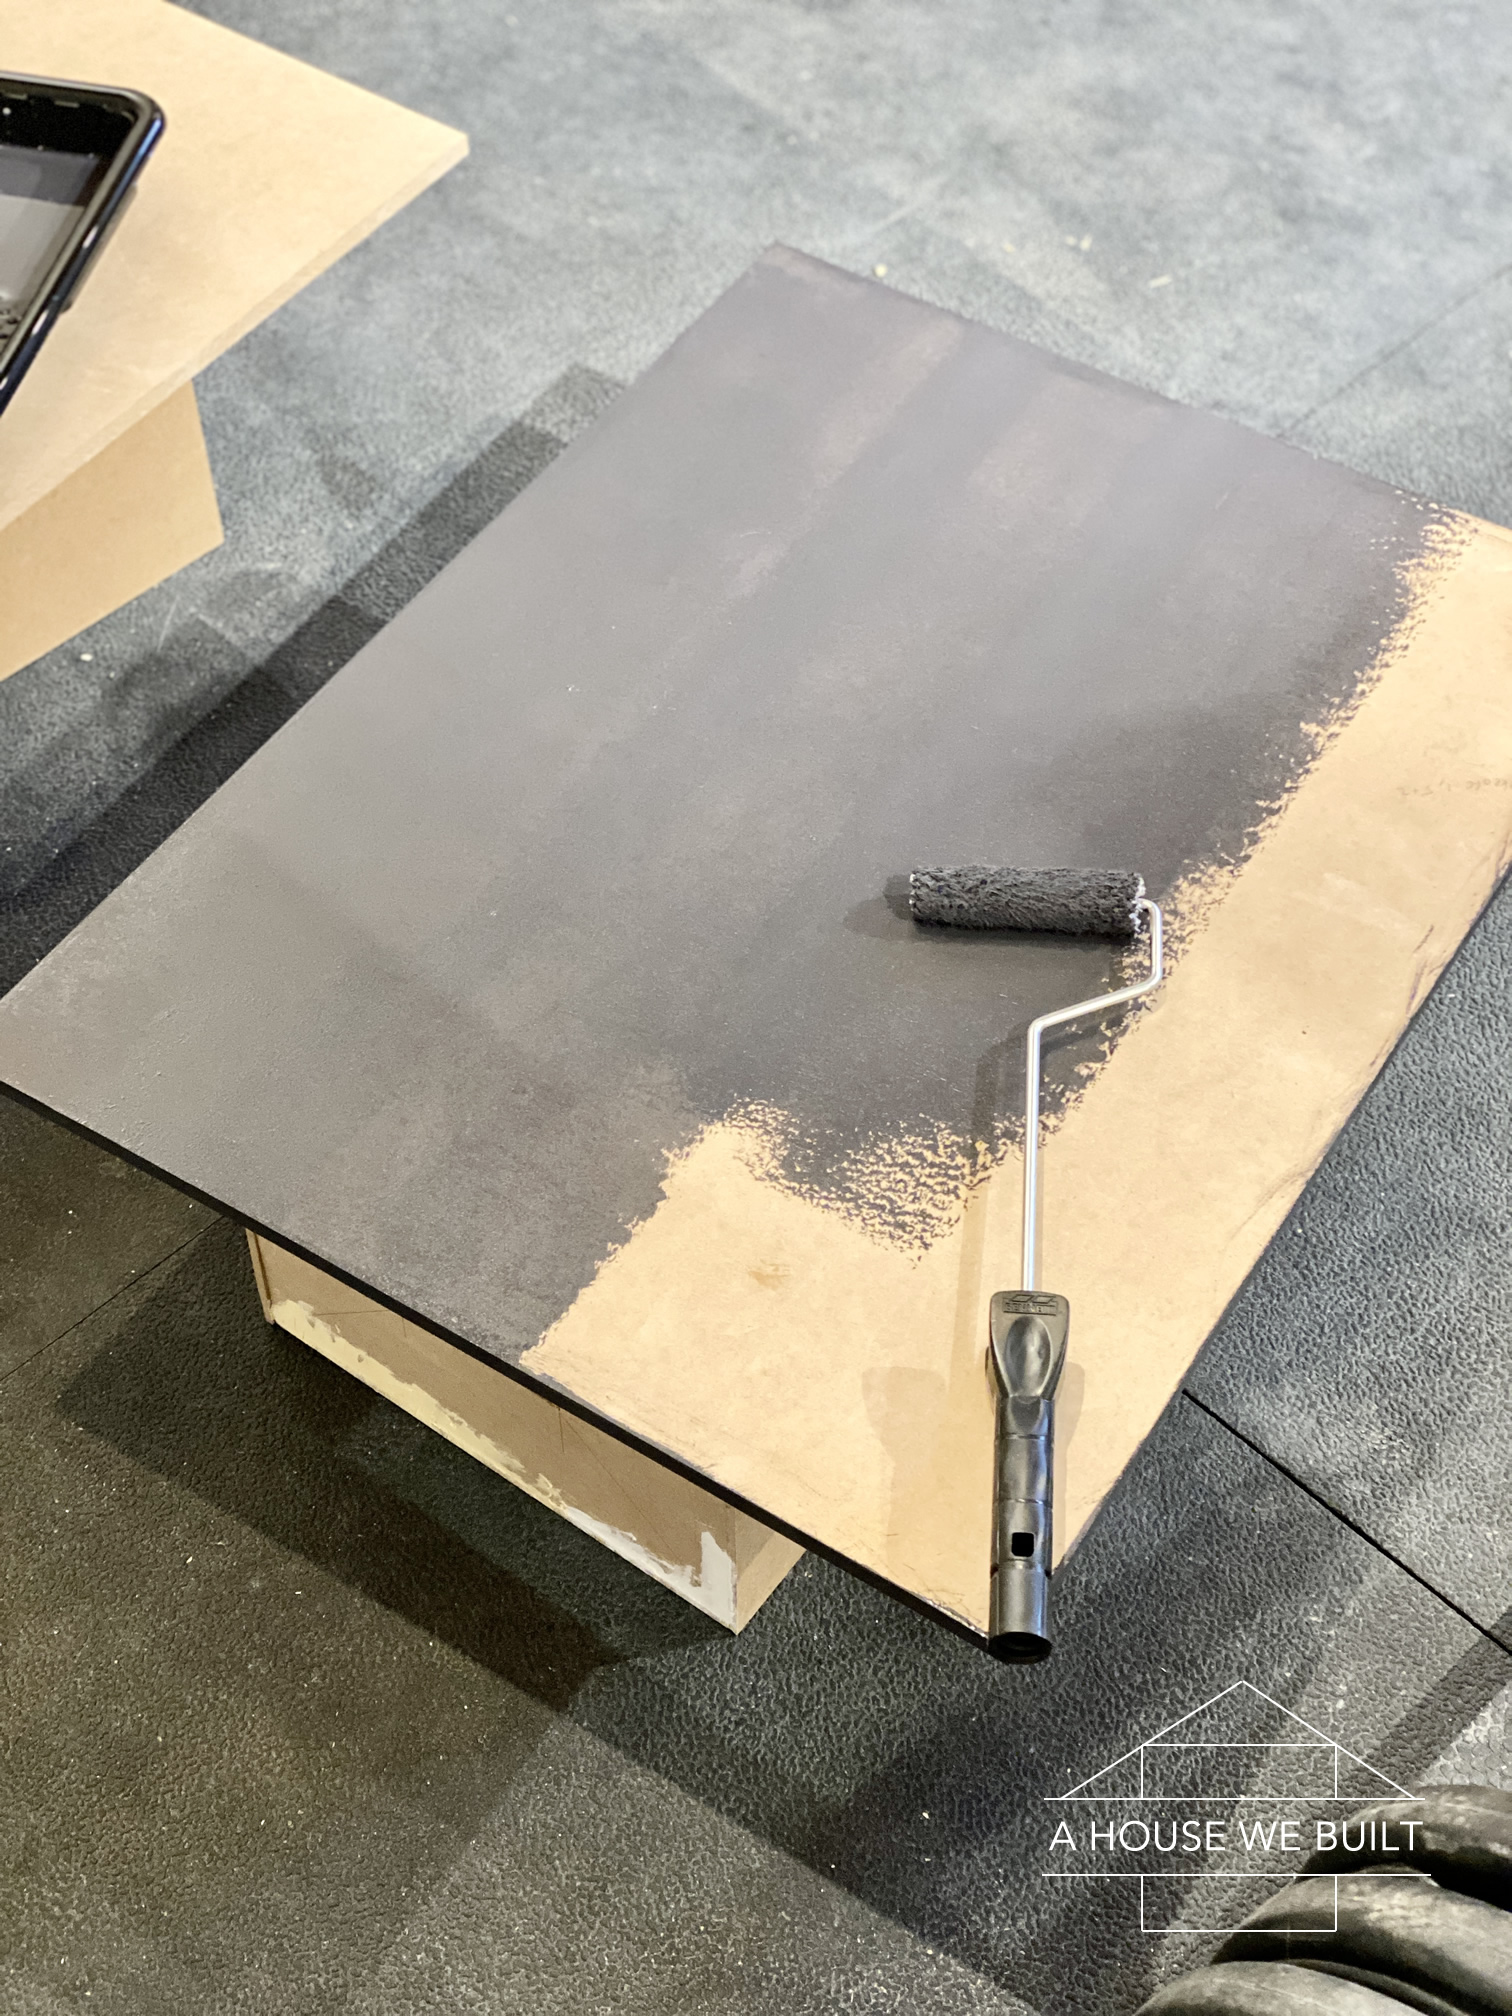
– 2 pieces 28 1/2″ x 22 1/2″ (creating 2 door panels with ~ 1/8″ gap on all sides) - Paint the two door panels black on both sides and all edges.
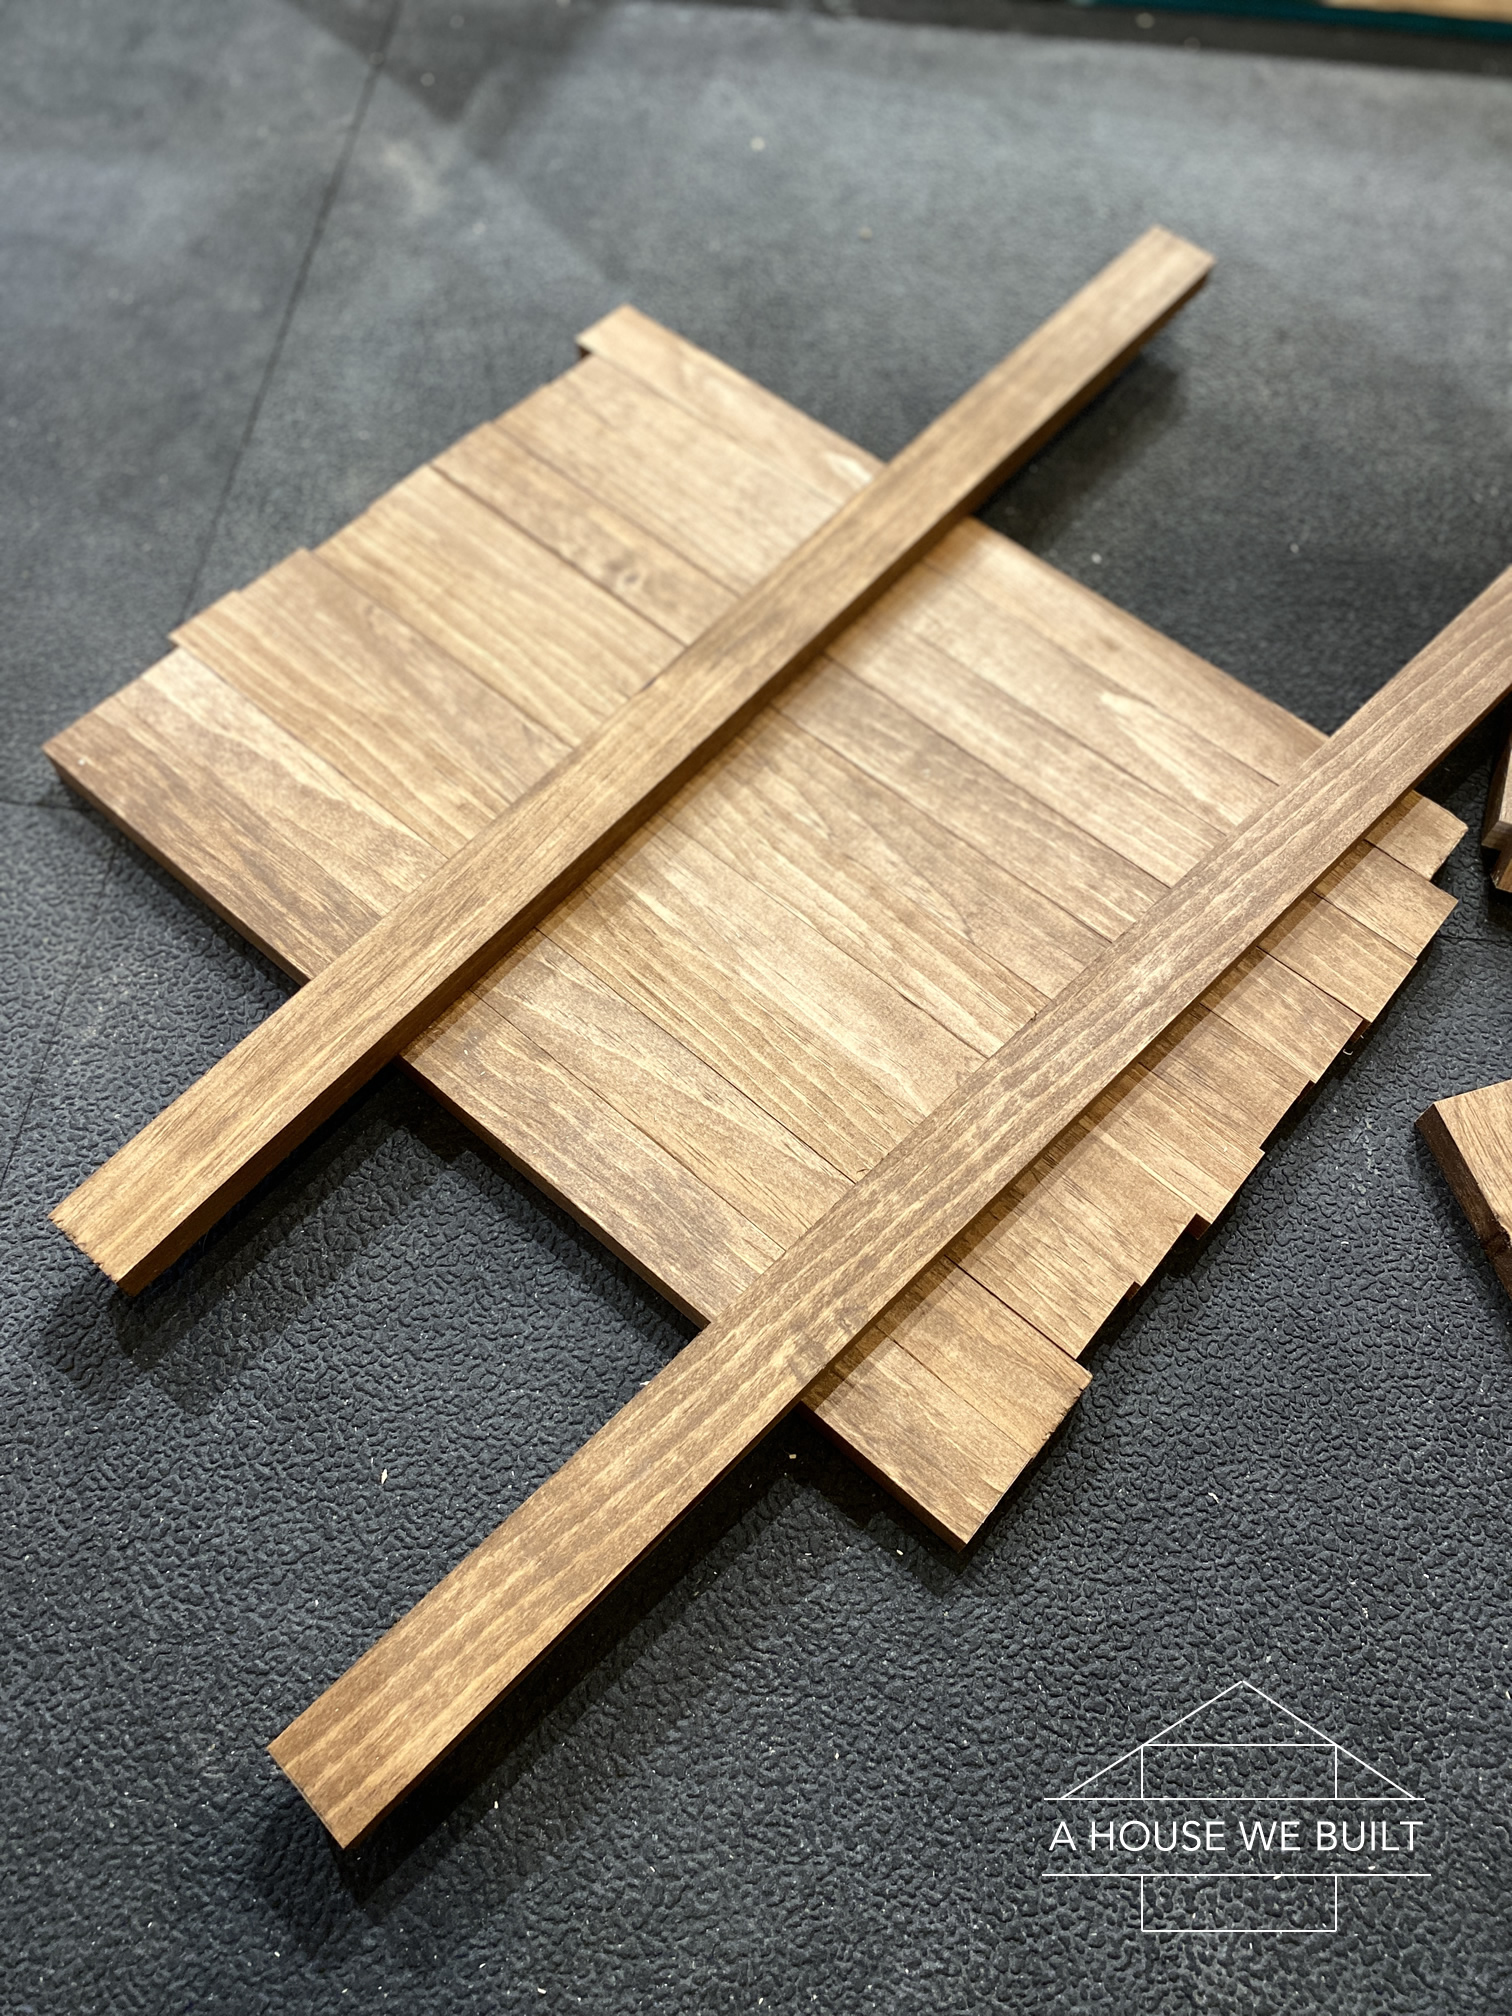
- Stain your 1x2x8s and allow them to dry.
- Cut your 1x2x8s to size. You will need:
– 2 pieces 28 1/2″ (Door A horizontals)
– 10 pieces 19 1/2″ (Door A verticals)
– 2 pieces 22 1/2″ (Door B horizontals)
– 8 pieces 25 1/2″ (Door B verticals)
– use the cutoffs to make 18 small spacer pieces (approx 1-3″ each) - Dry-fit slats over both door panels as per my design template to be sure everything fits.
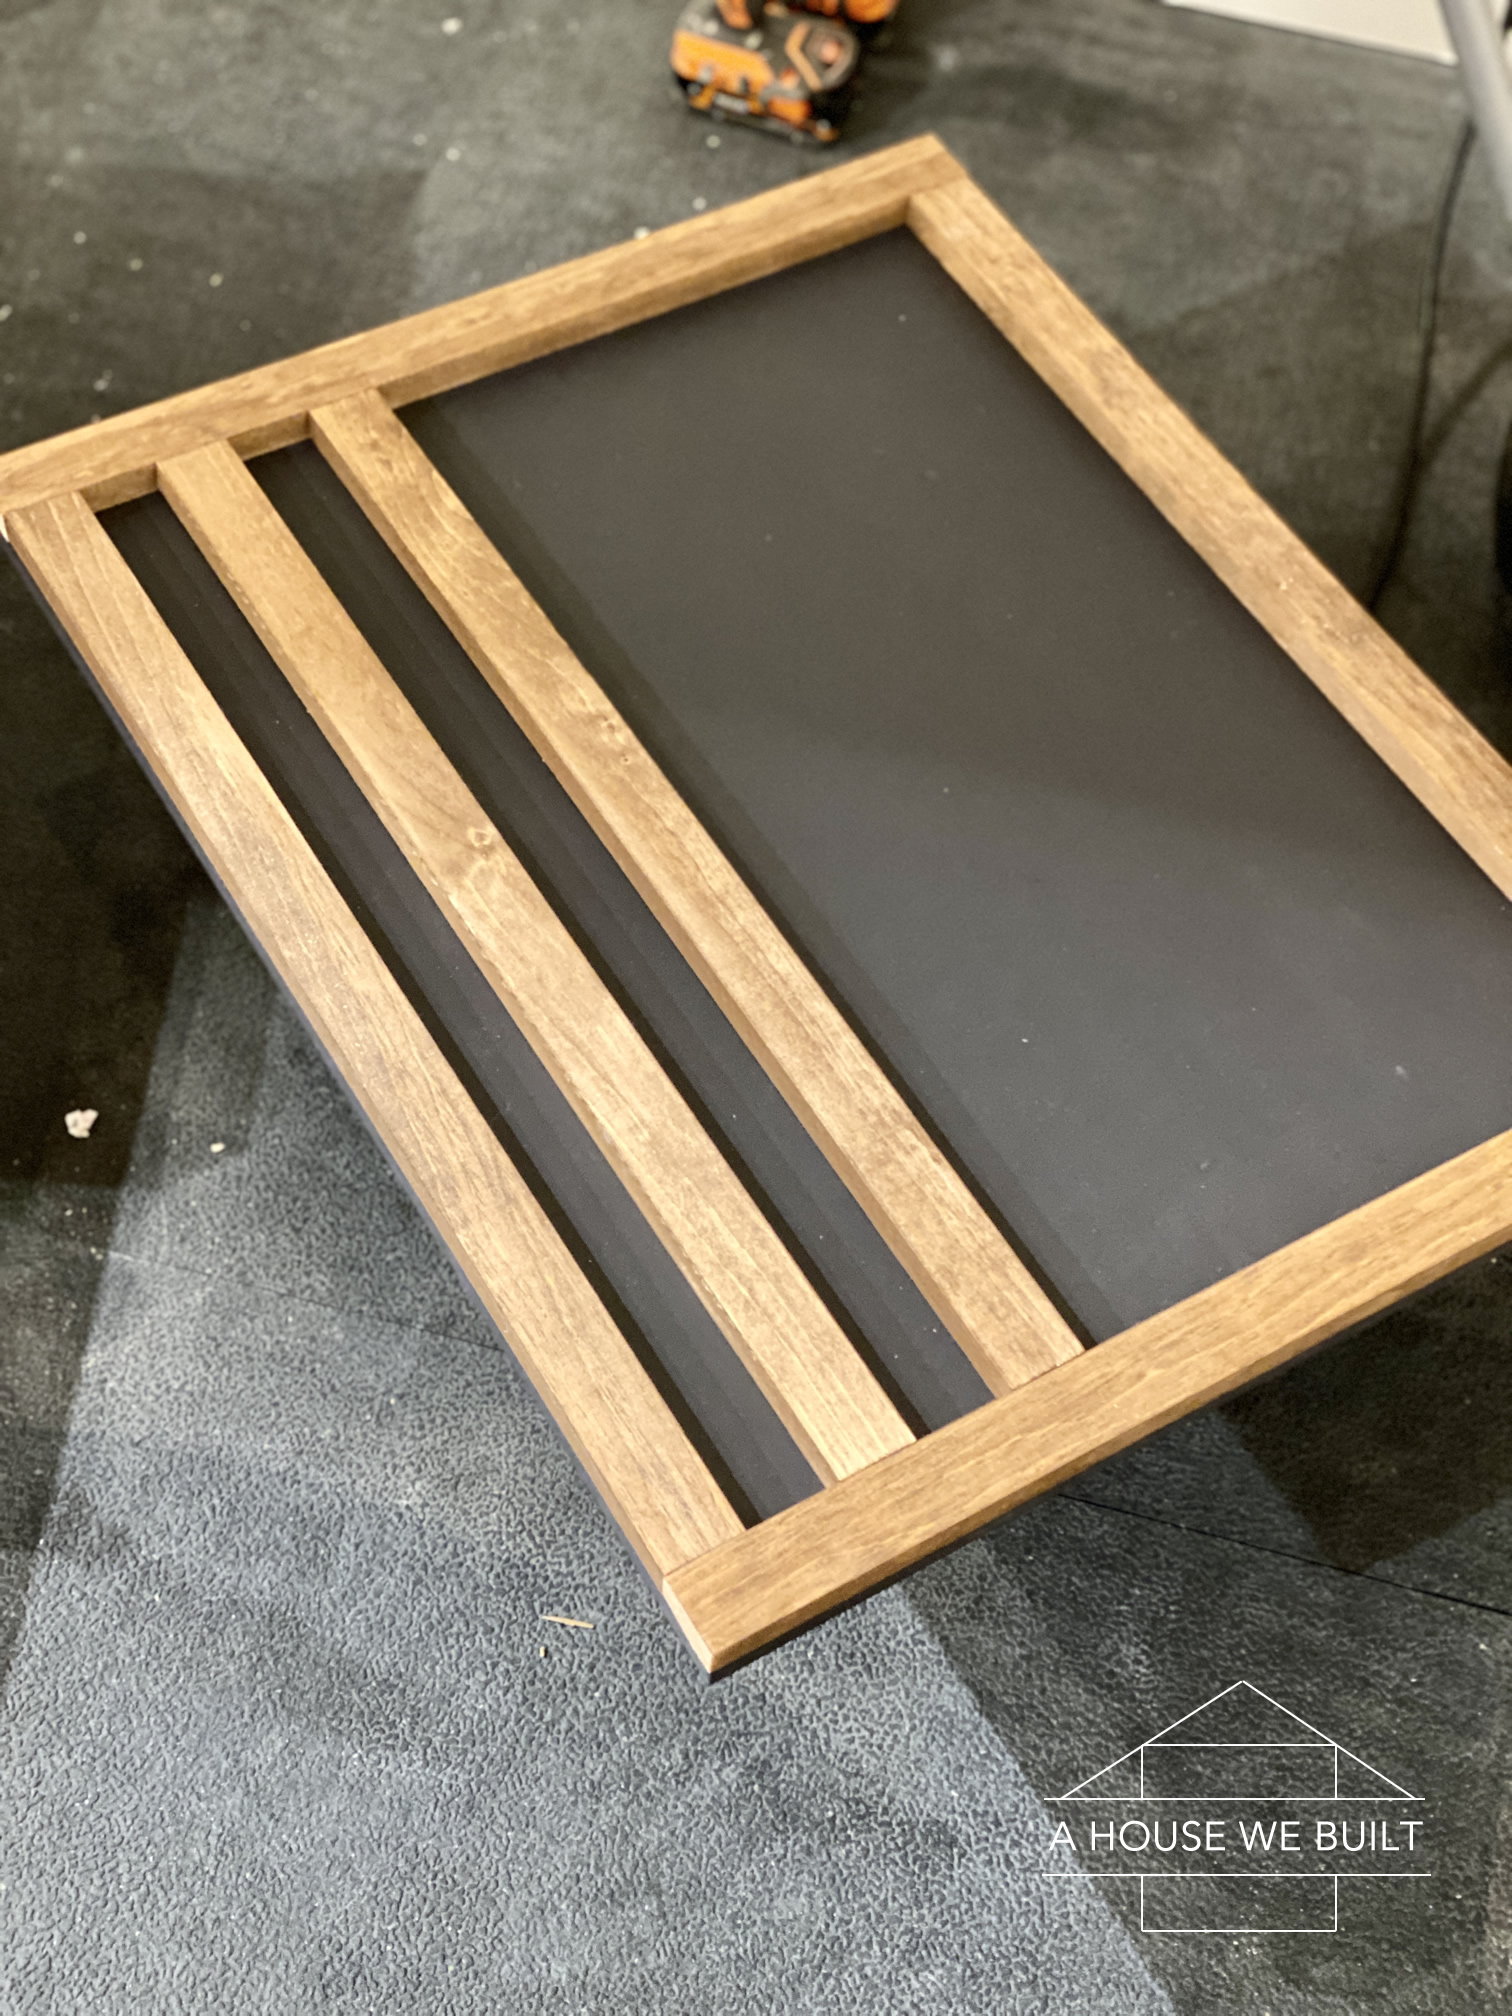
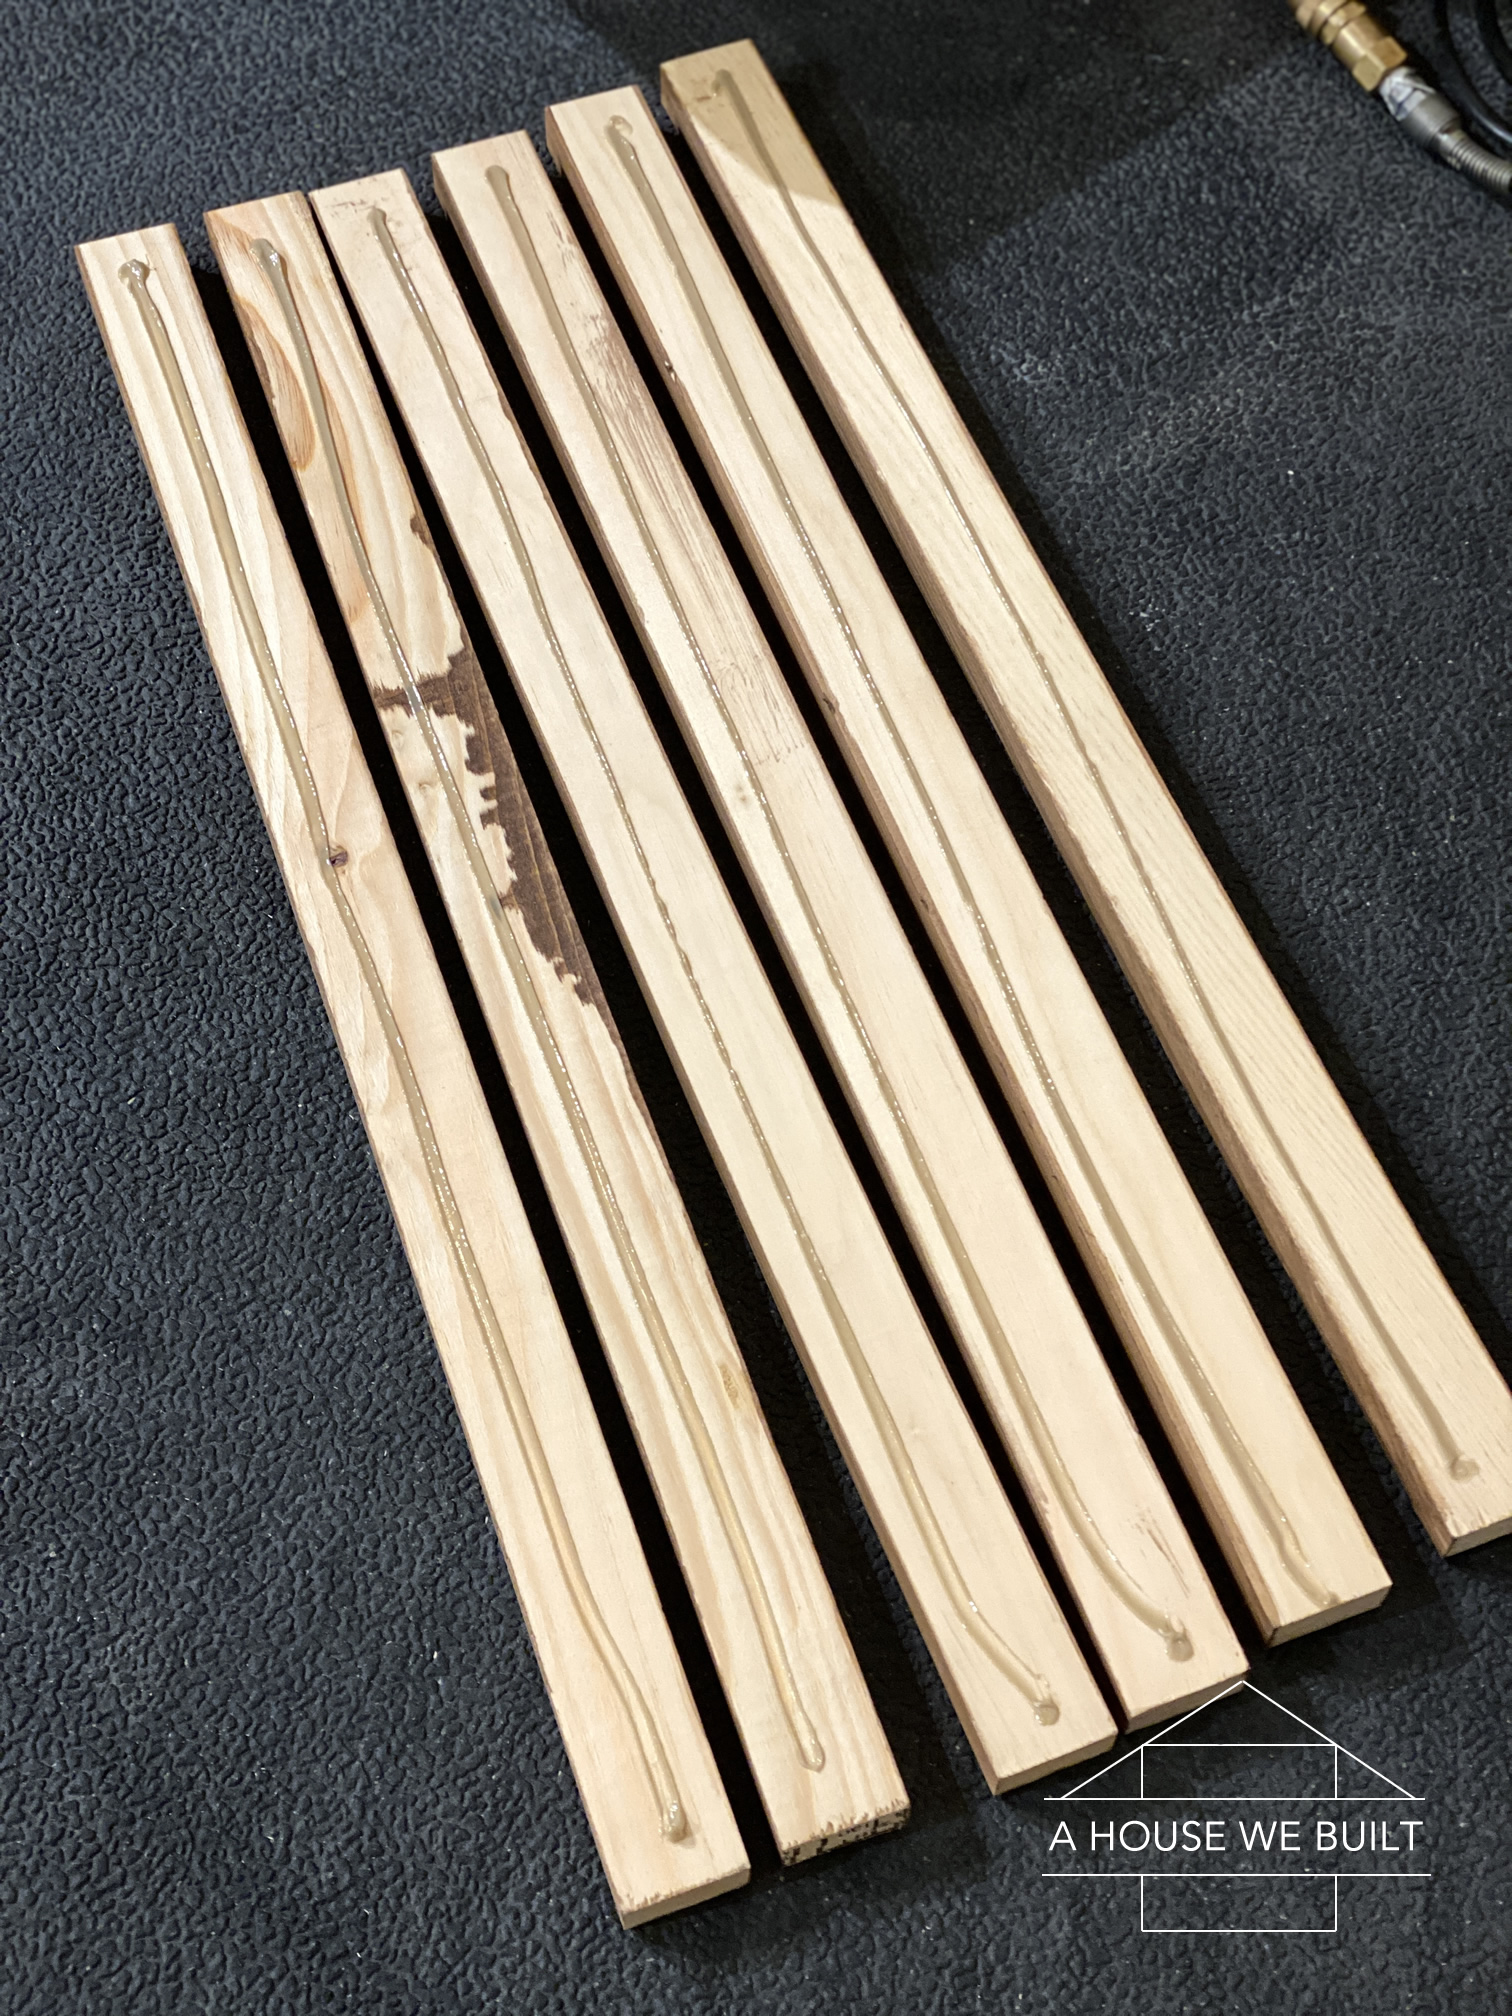
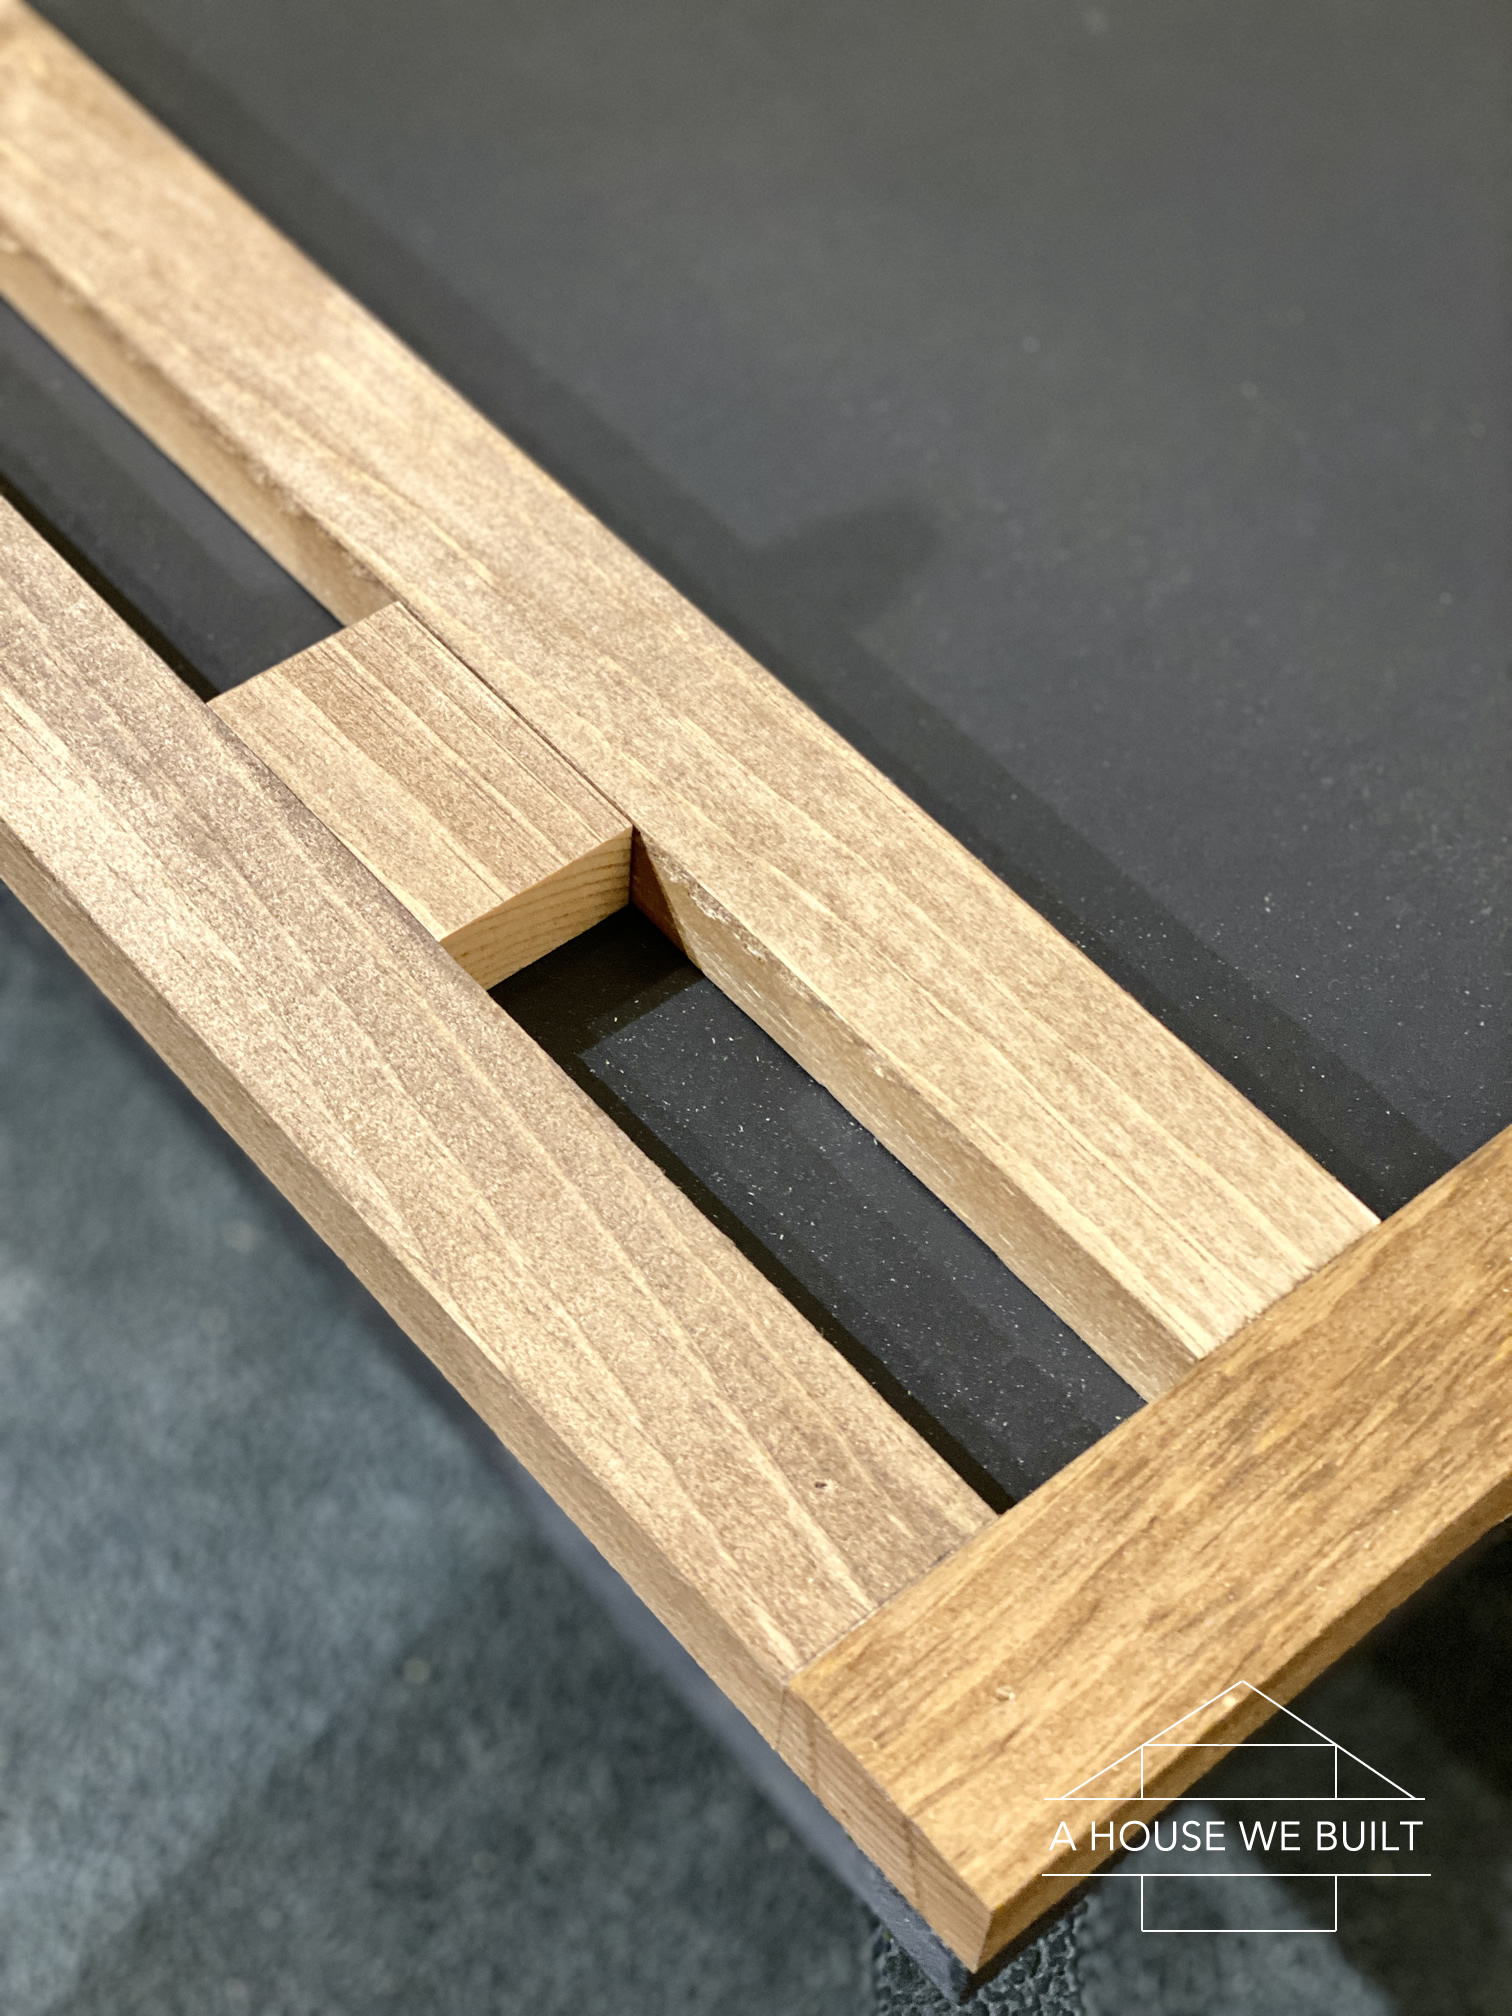
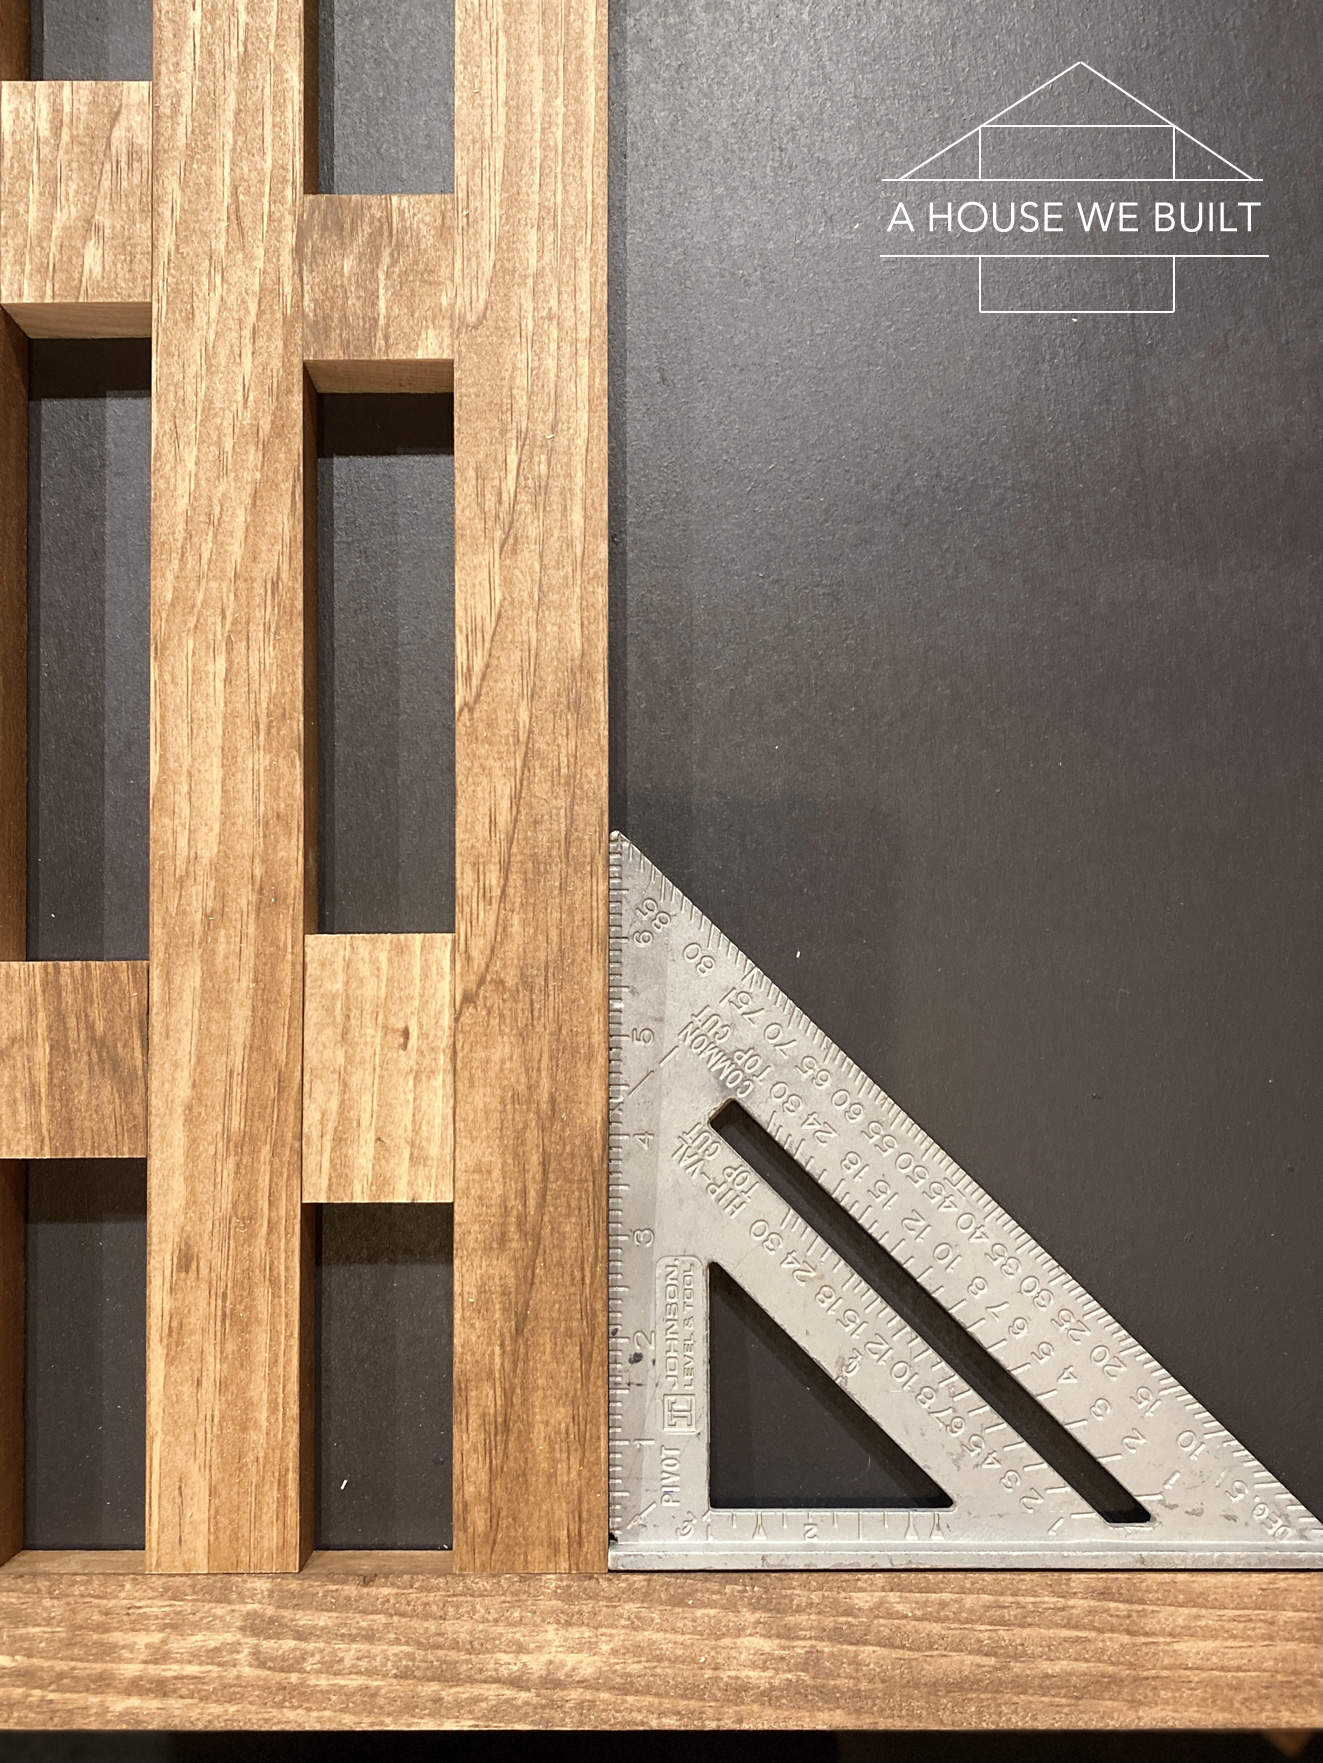
- Glue and nail your slats to the panels. Start with the 4 perimeter pieces, then use the many little cutoff spacer pieces to separate your slats evenly across the whole door panel. Remember, the two doors are opposites of each other so Door A has full-length top/bottom horizontals with verticals in between them, and Door B has full length left/right verticals with horizontals between.
- Top coat the slats at the end to seal the stain. I just did the flat surface on top, no sides.
- Decide which way you want to hang the doors. There are two options:
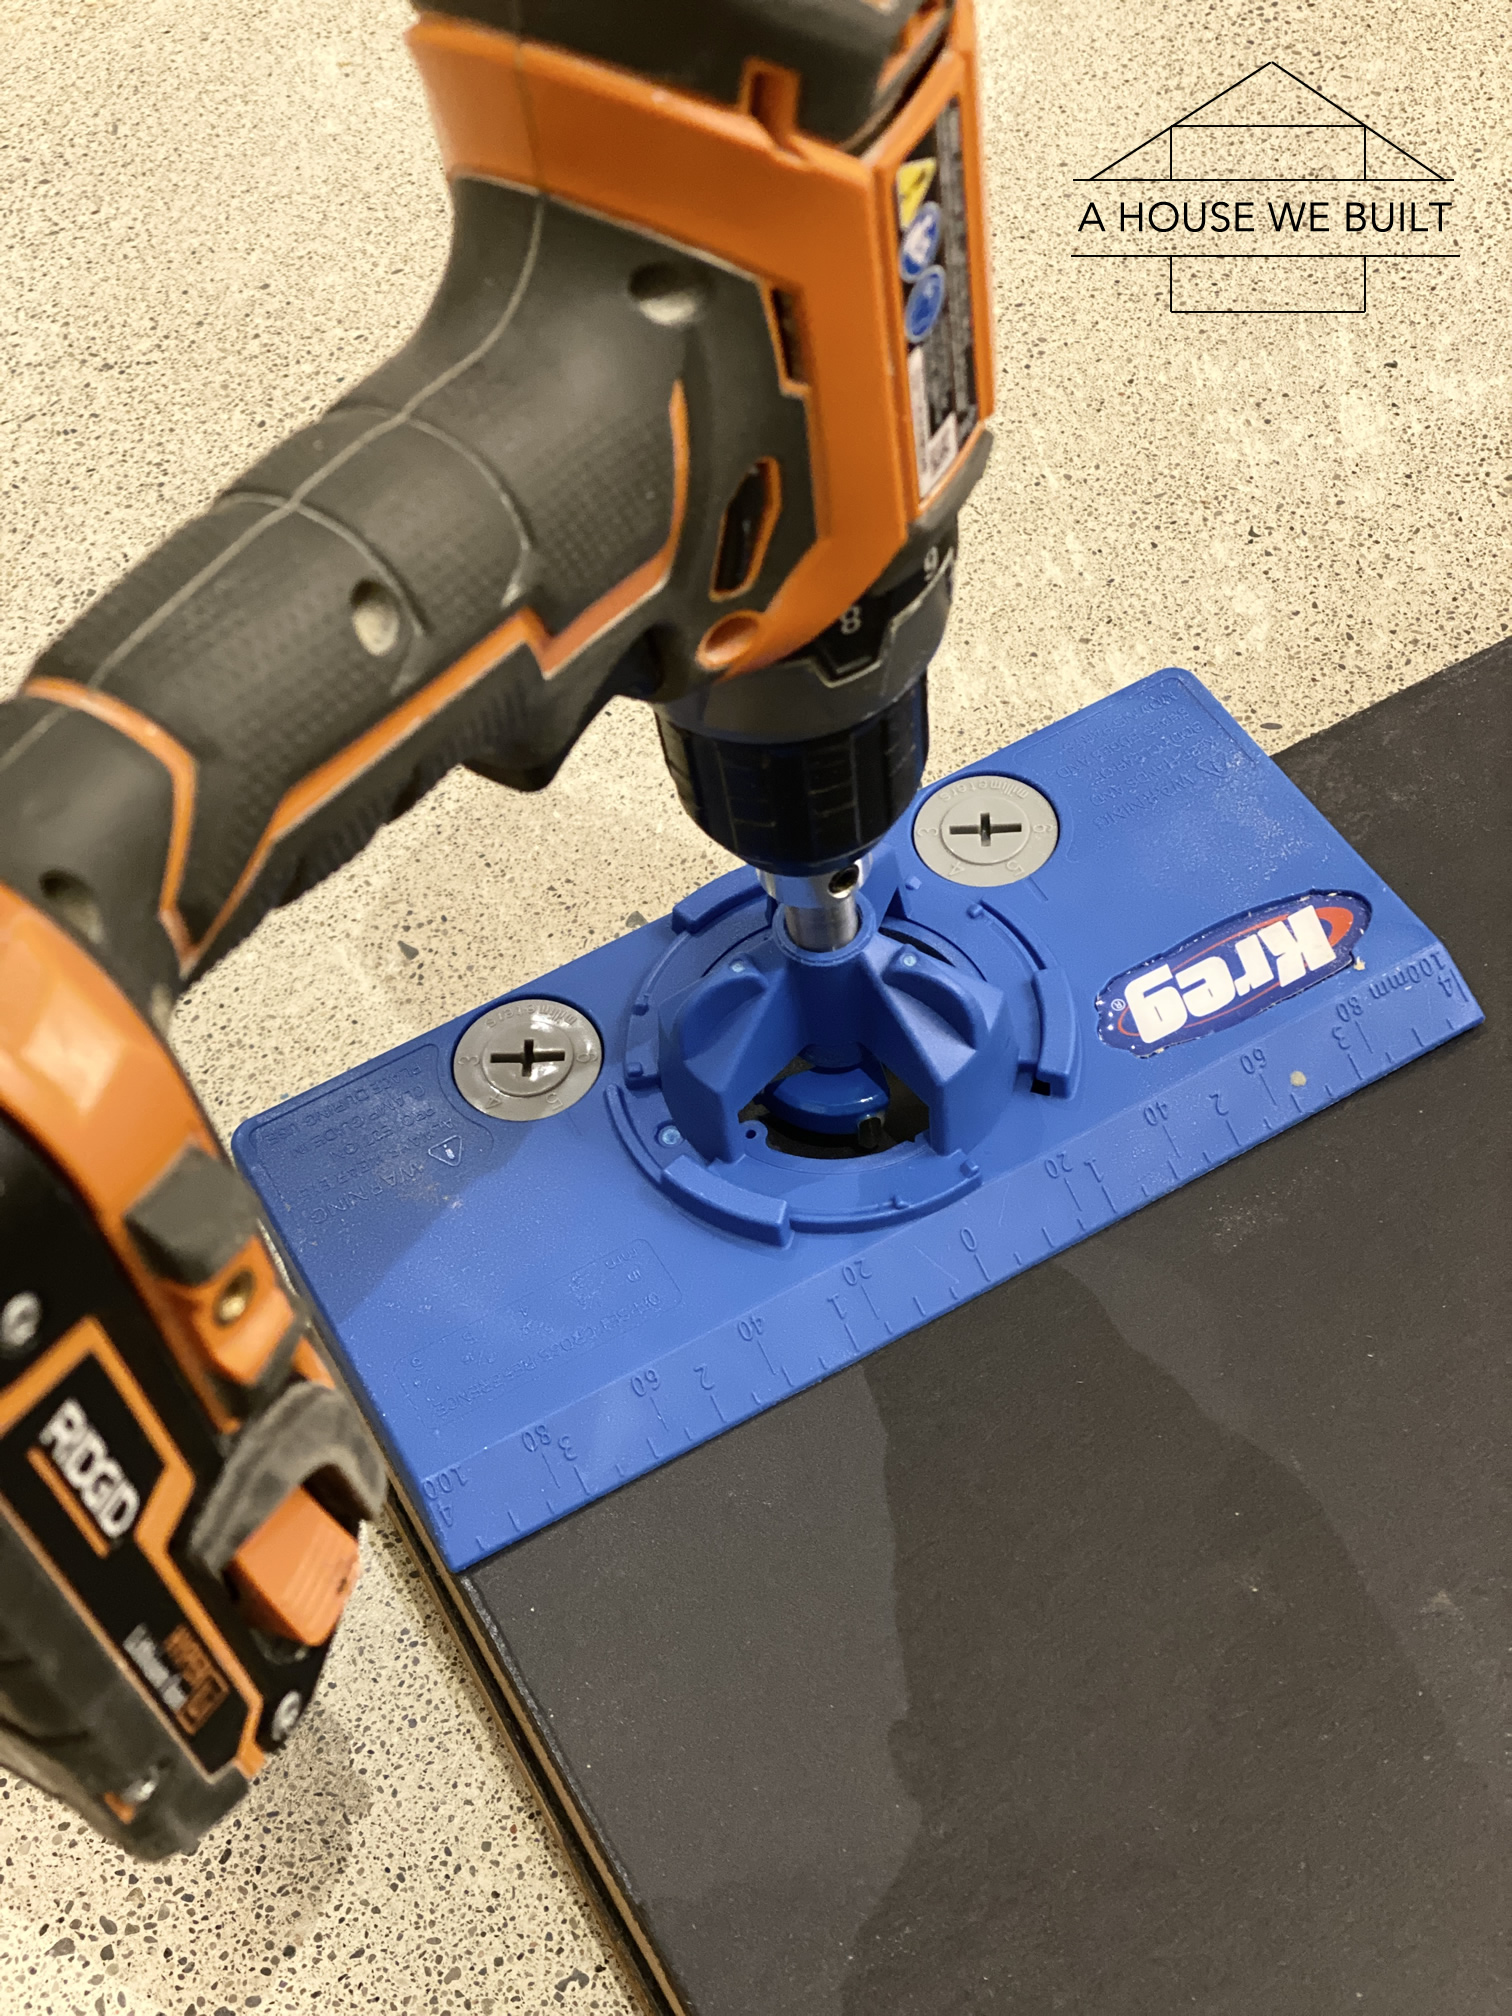
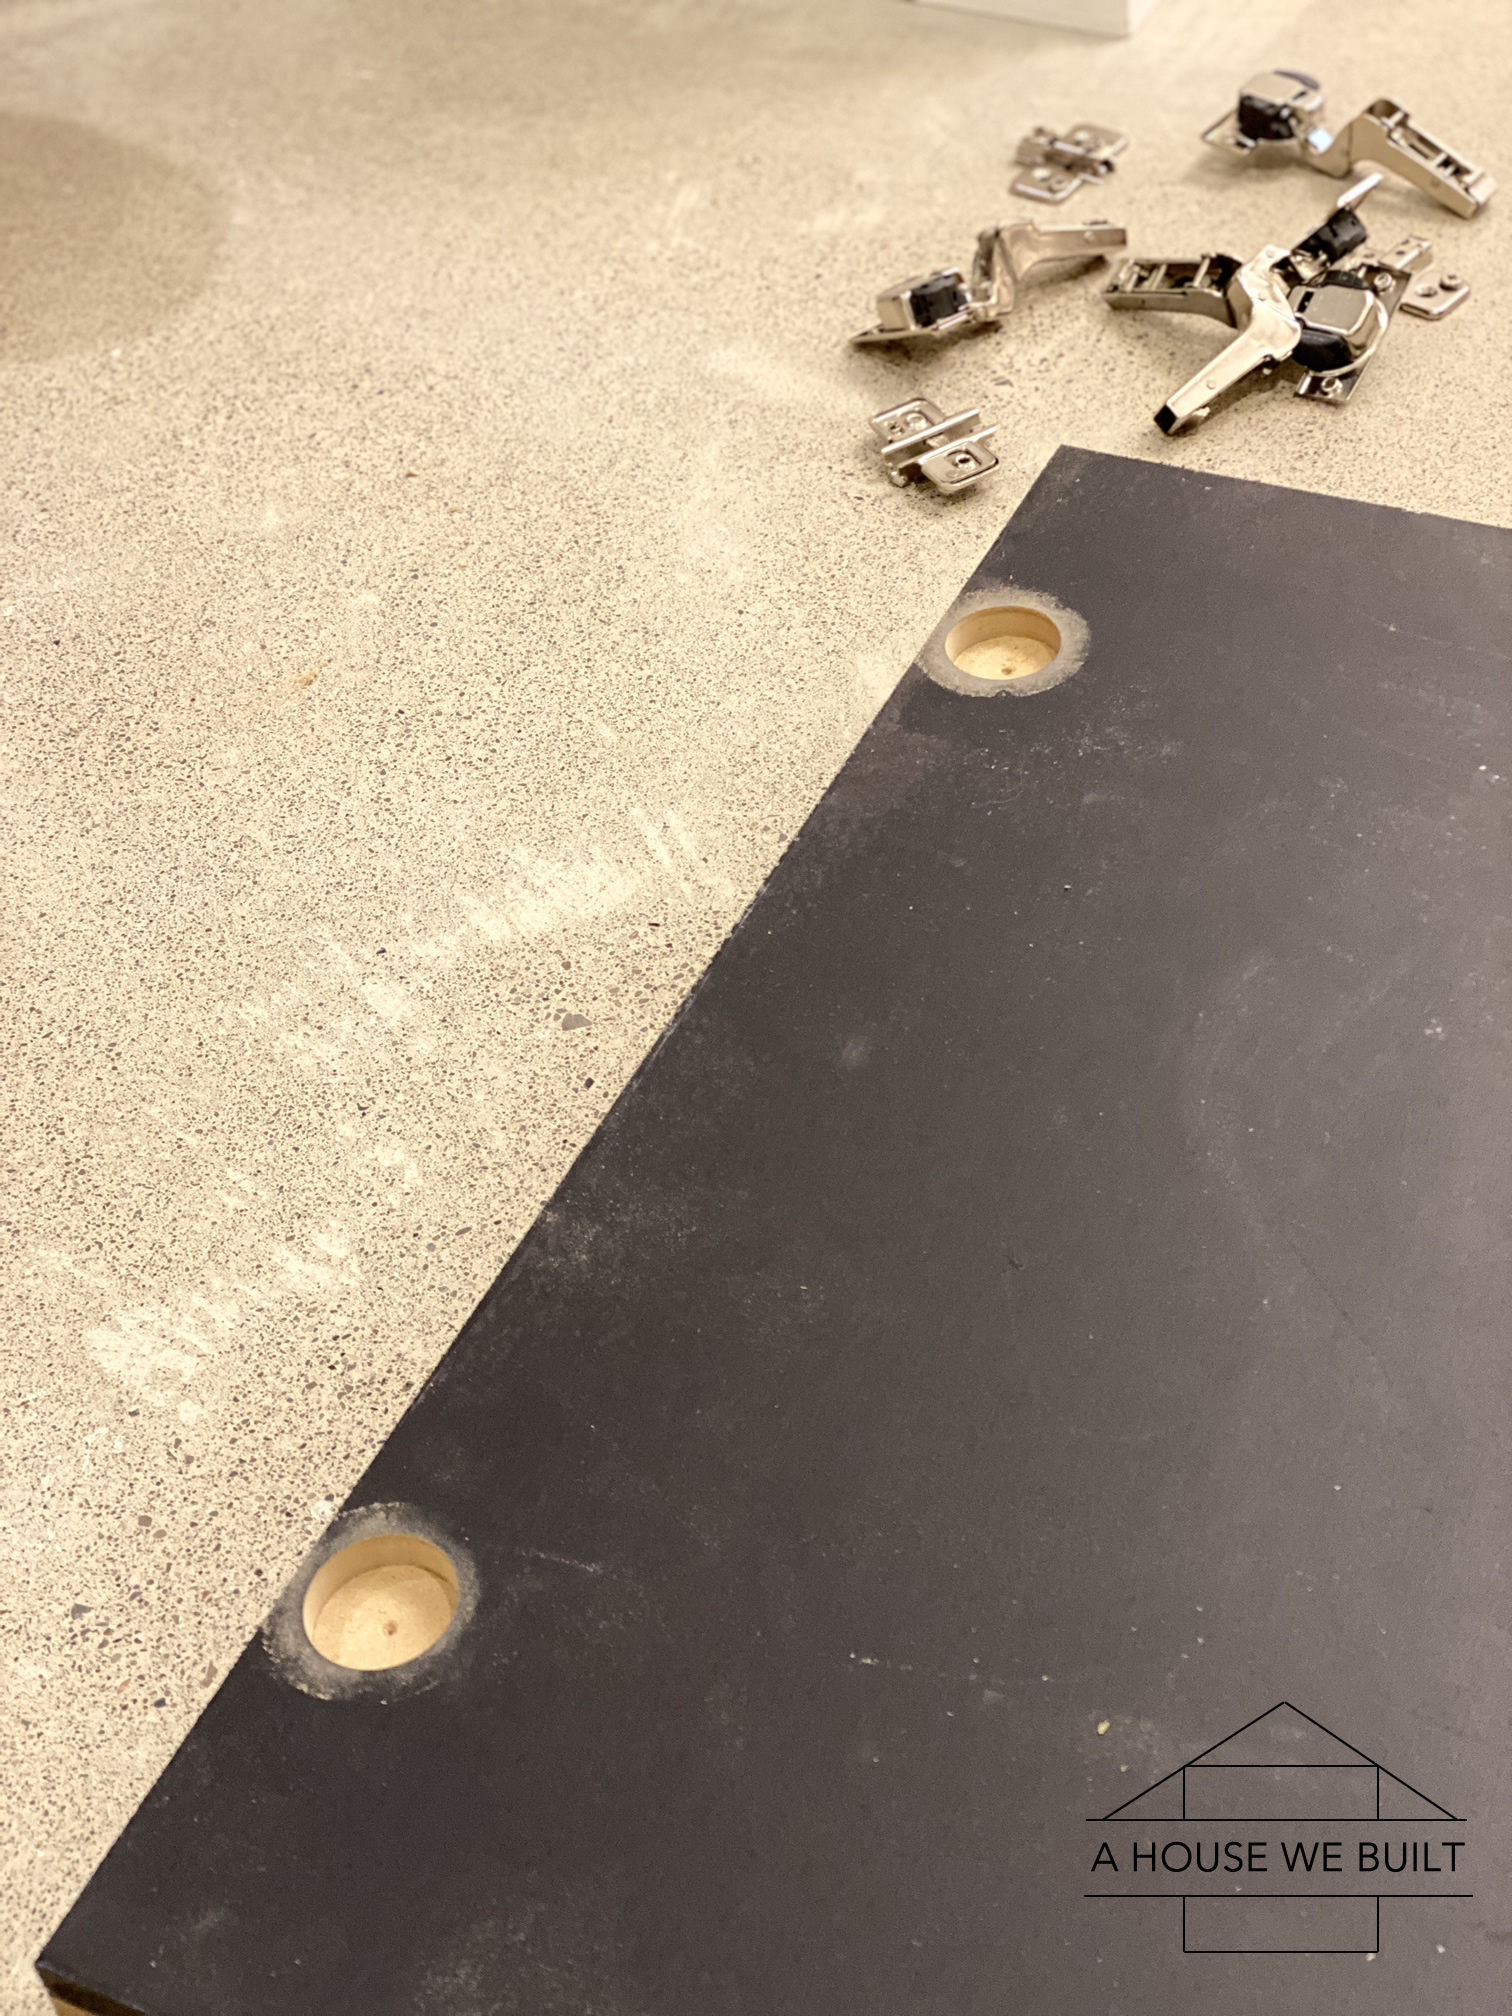
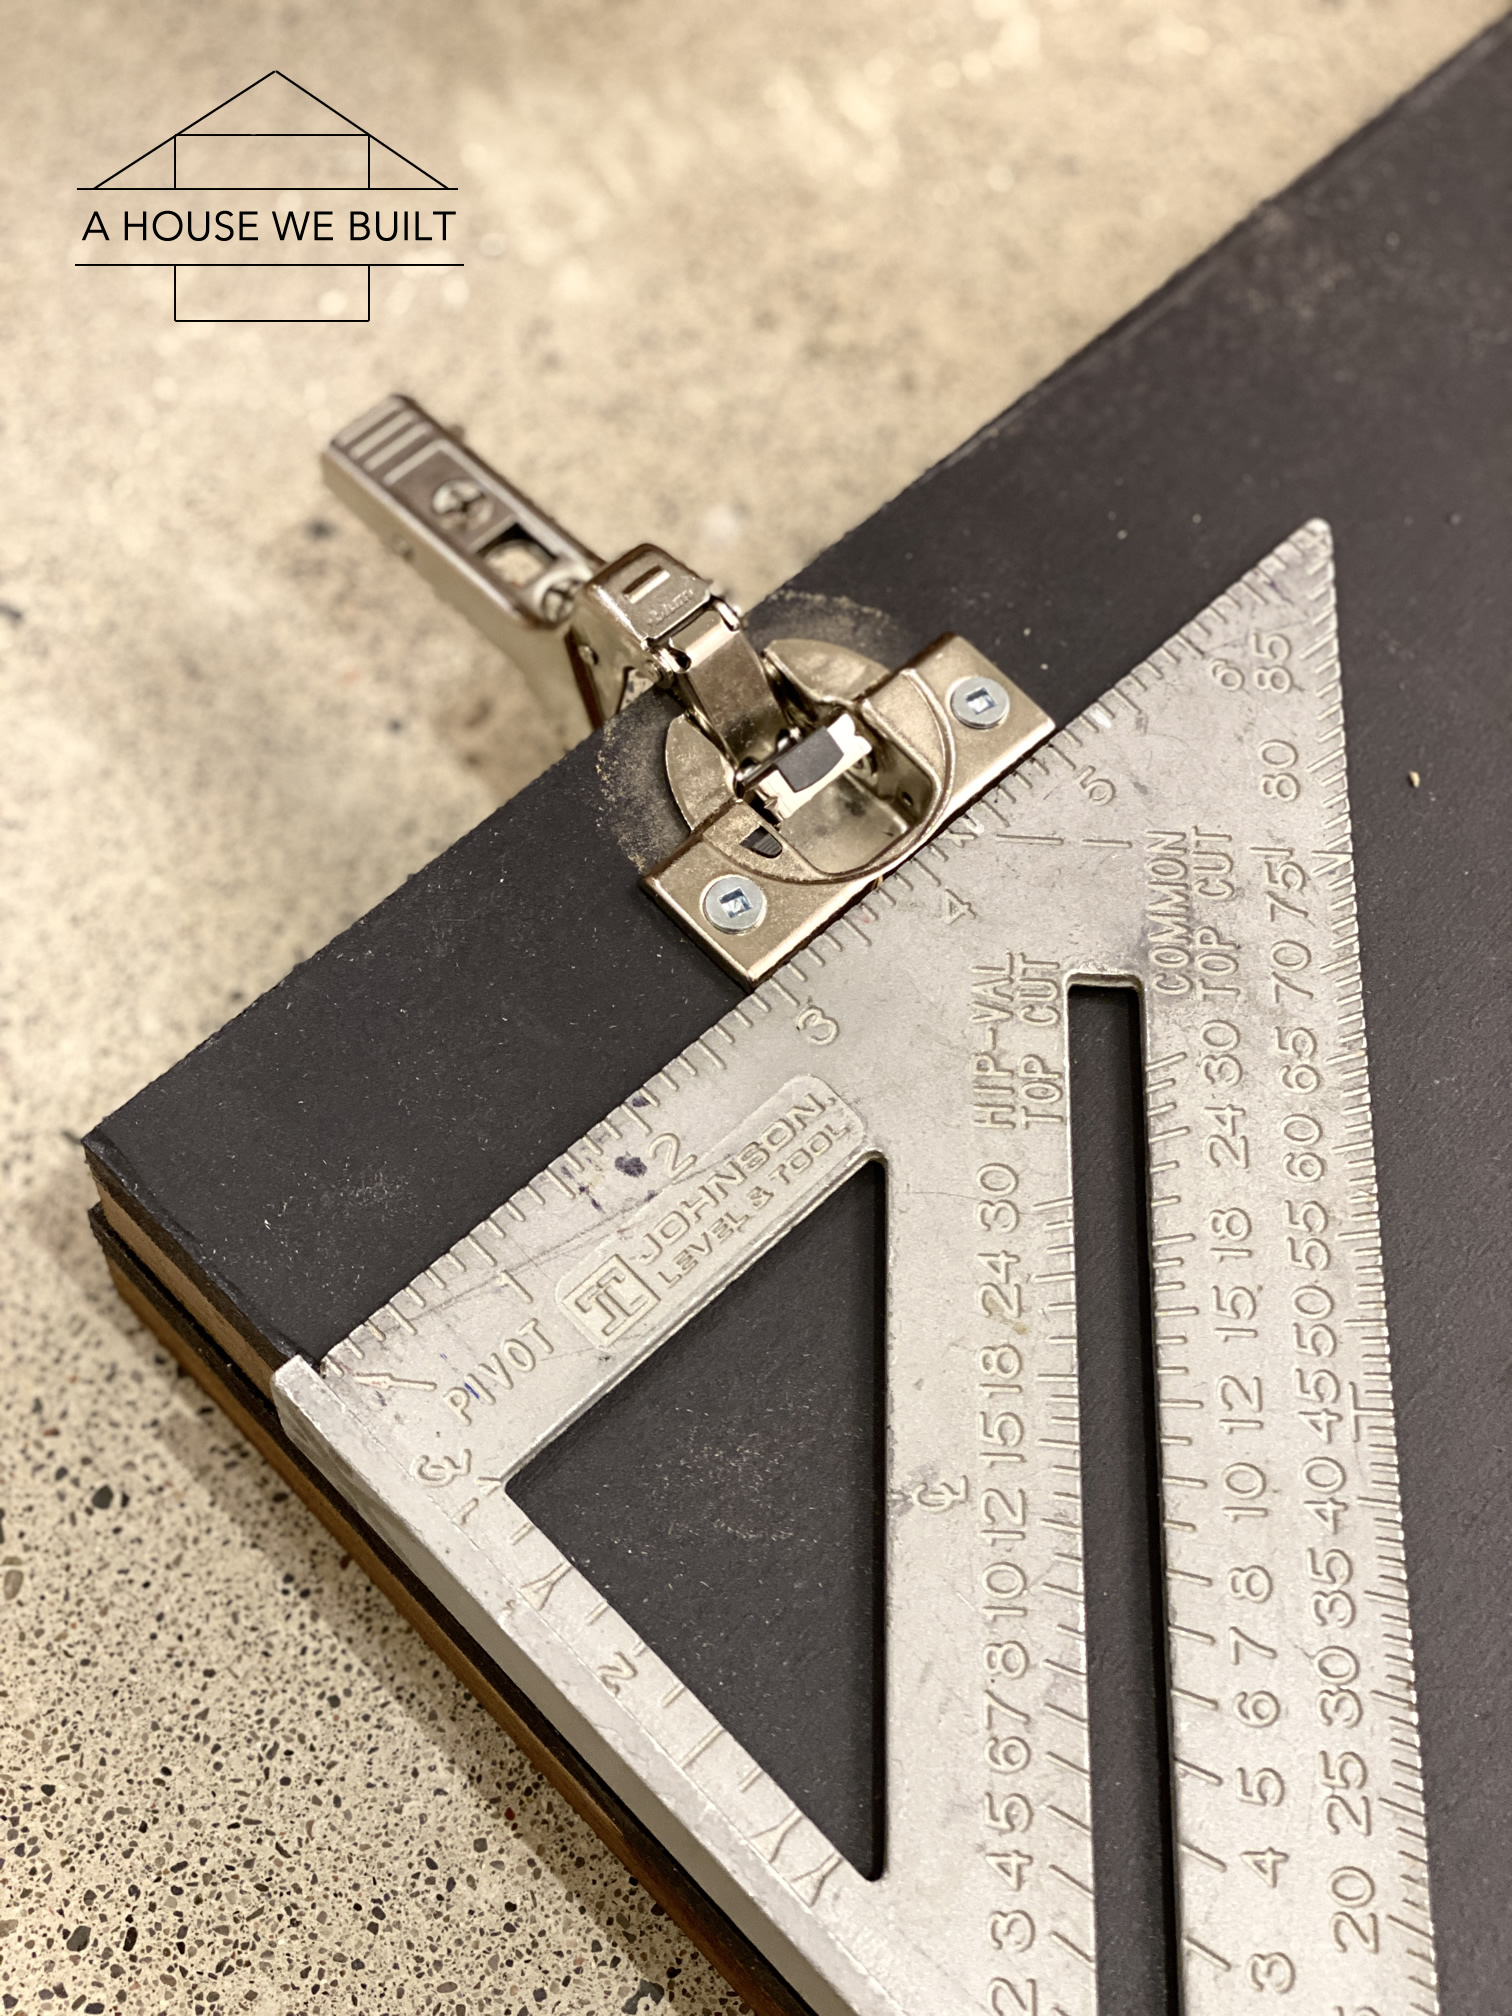
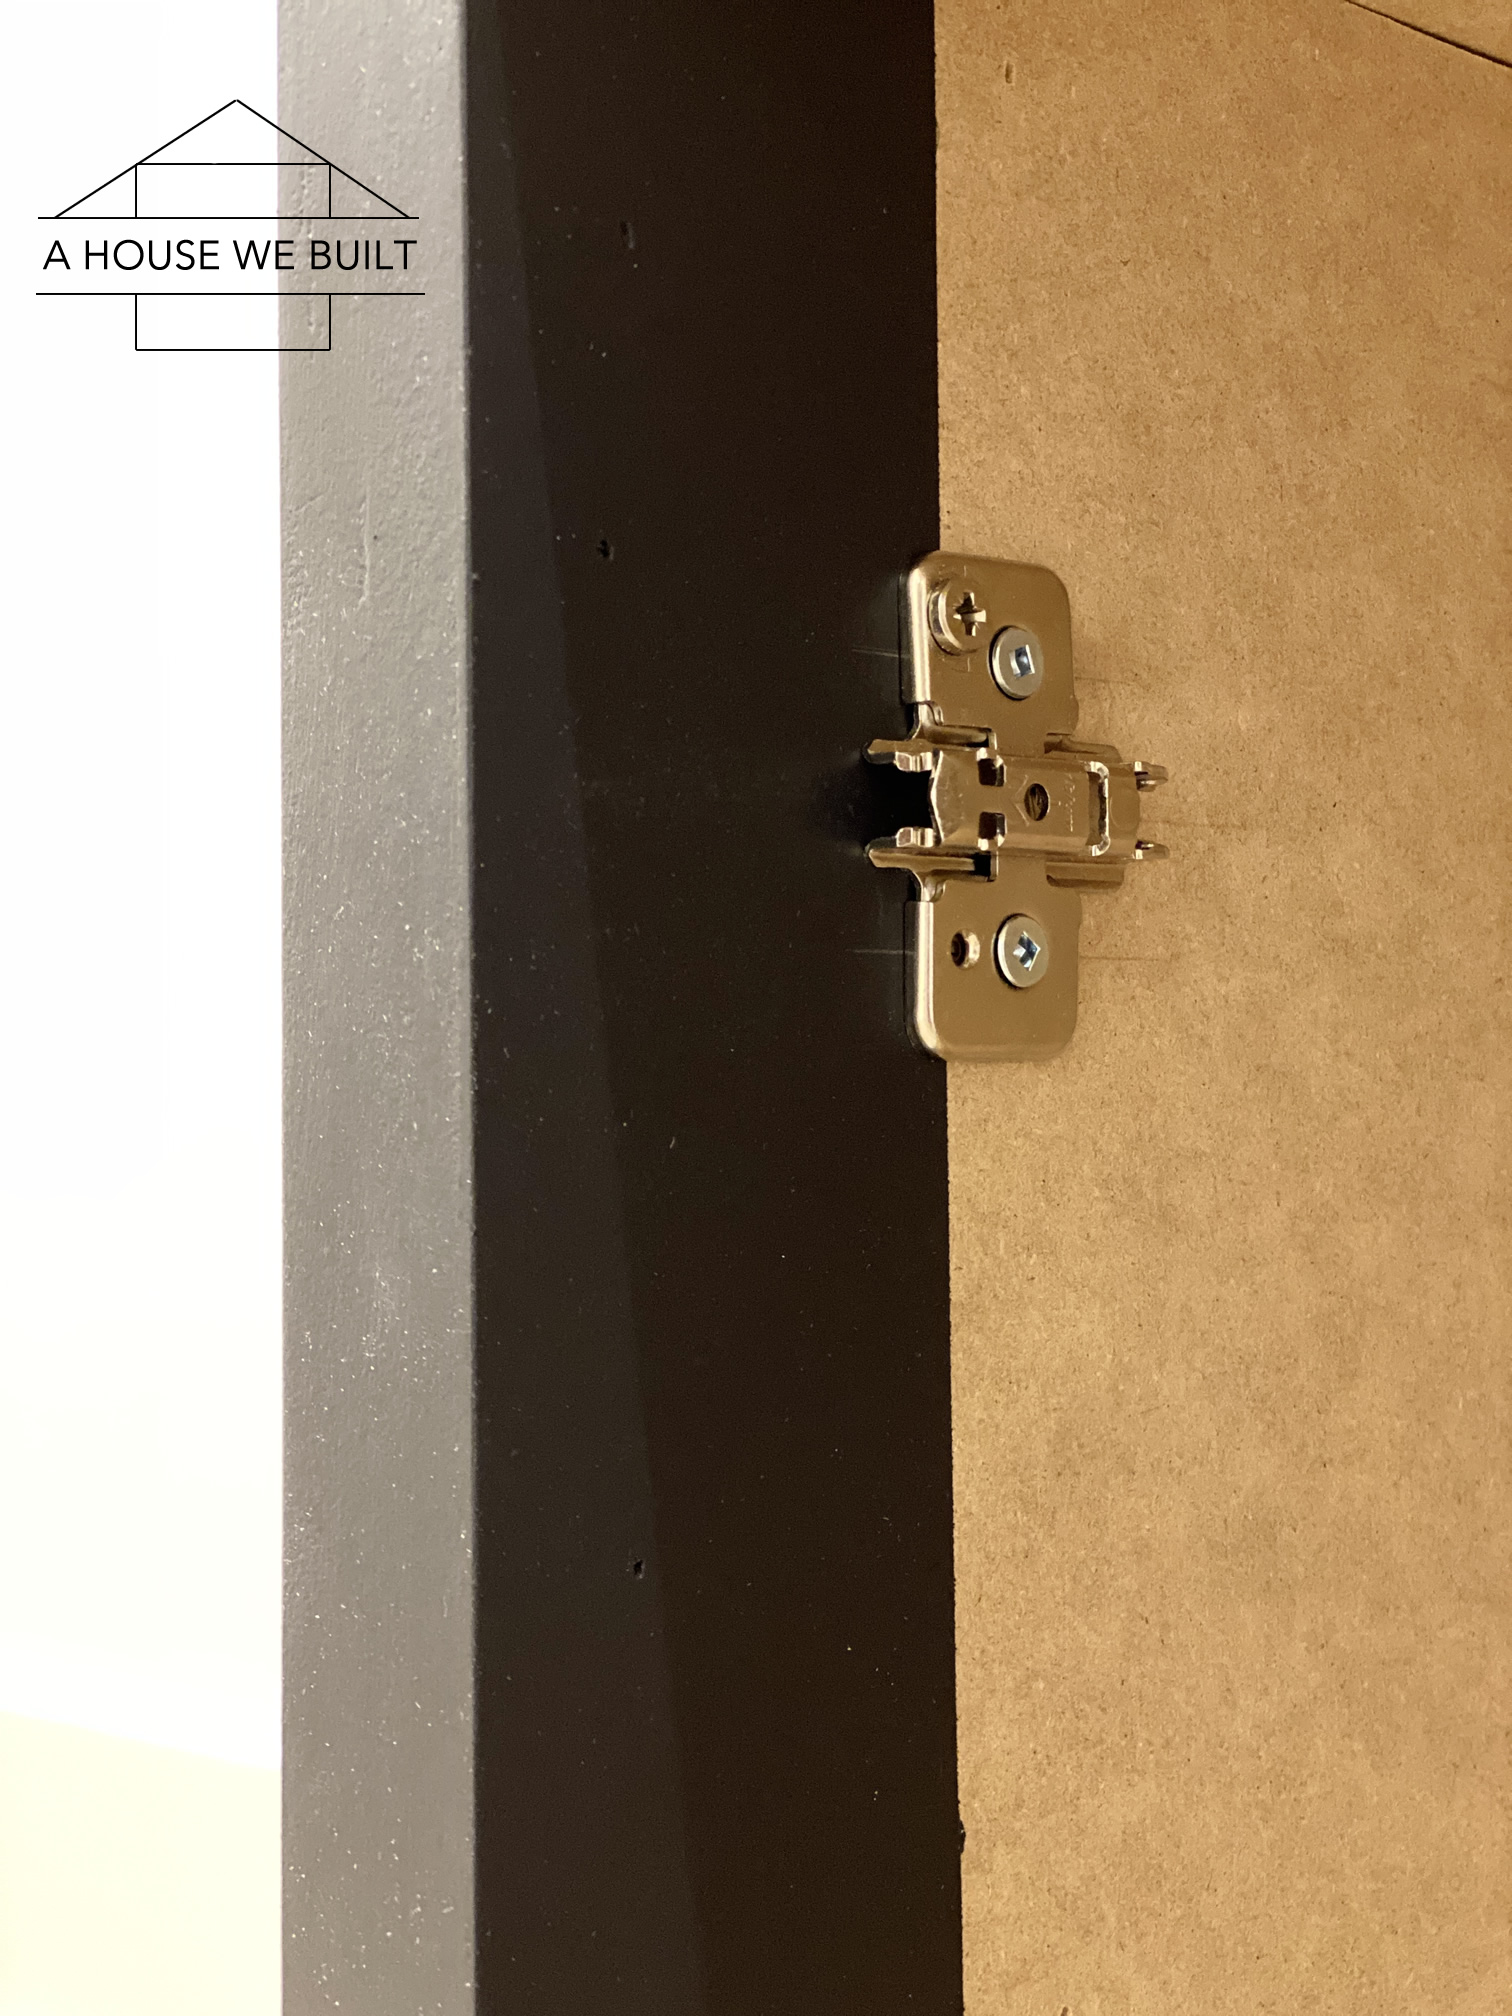
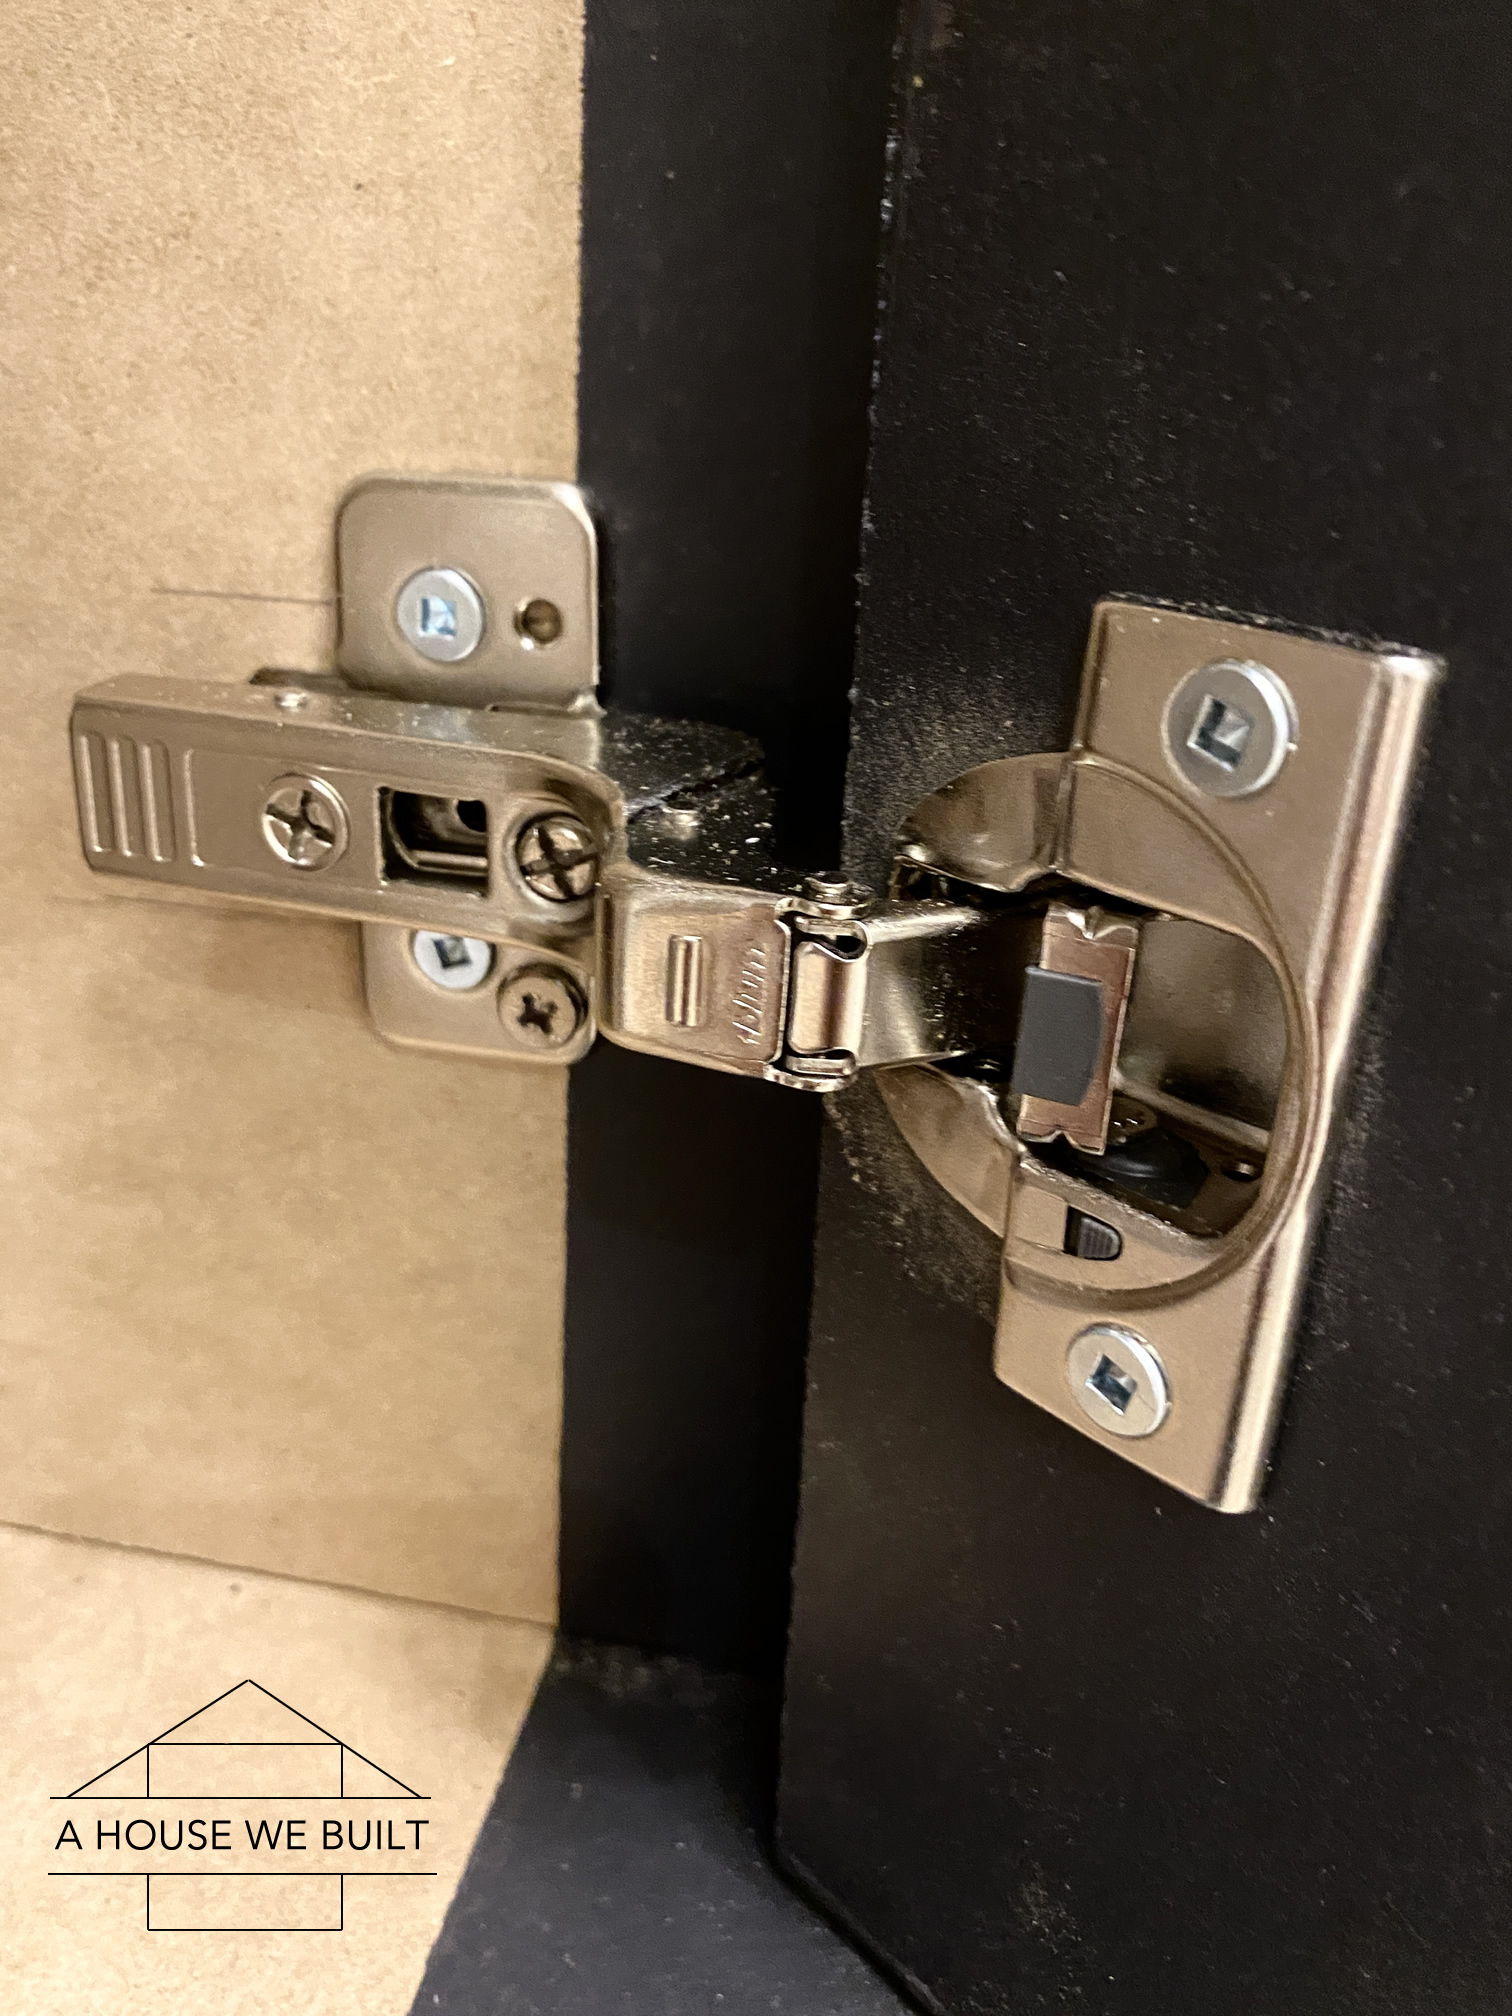
- Hinges. Attach as per manufacturer’s instructions. We use this Kreg Jig to drill the holes in the doors for the hinges. I recessed my doors 1/8″ into the cabinet.
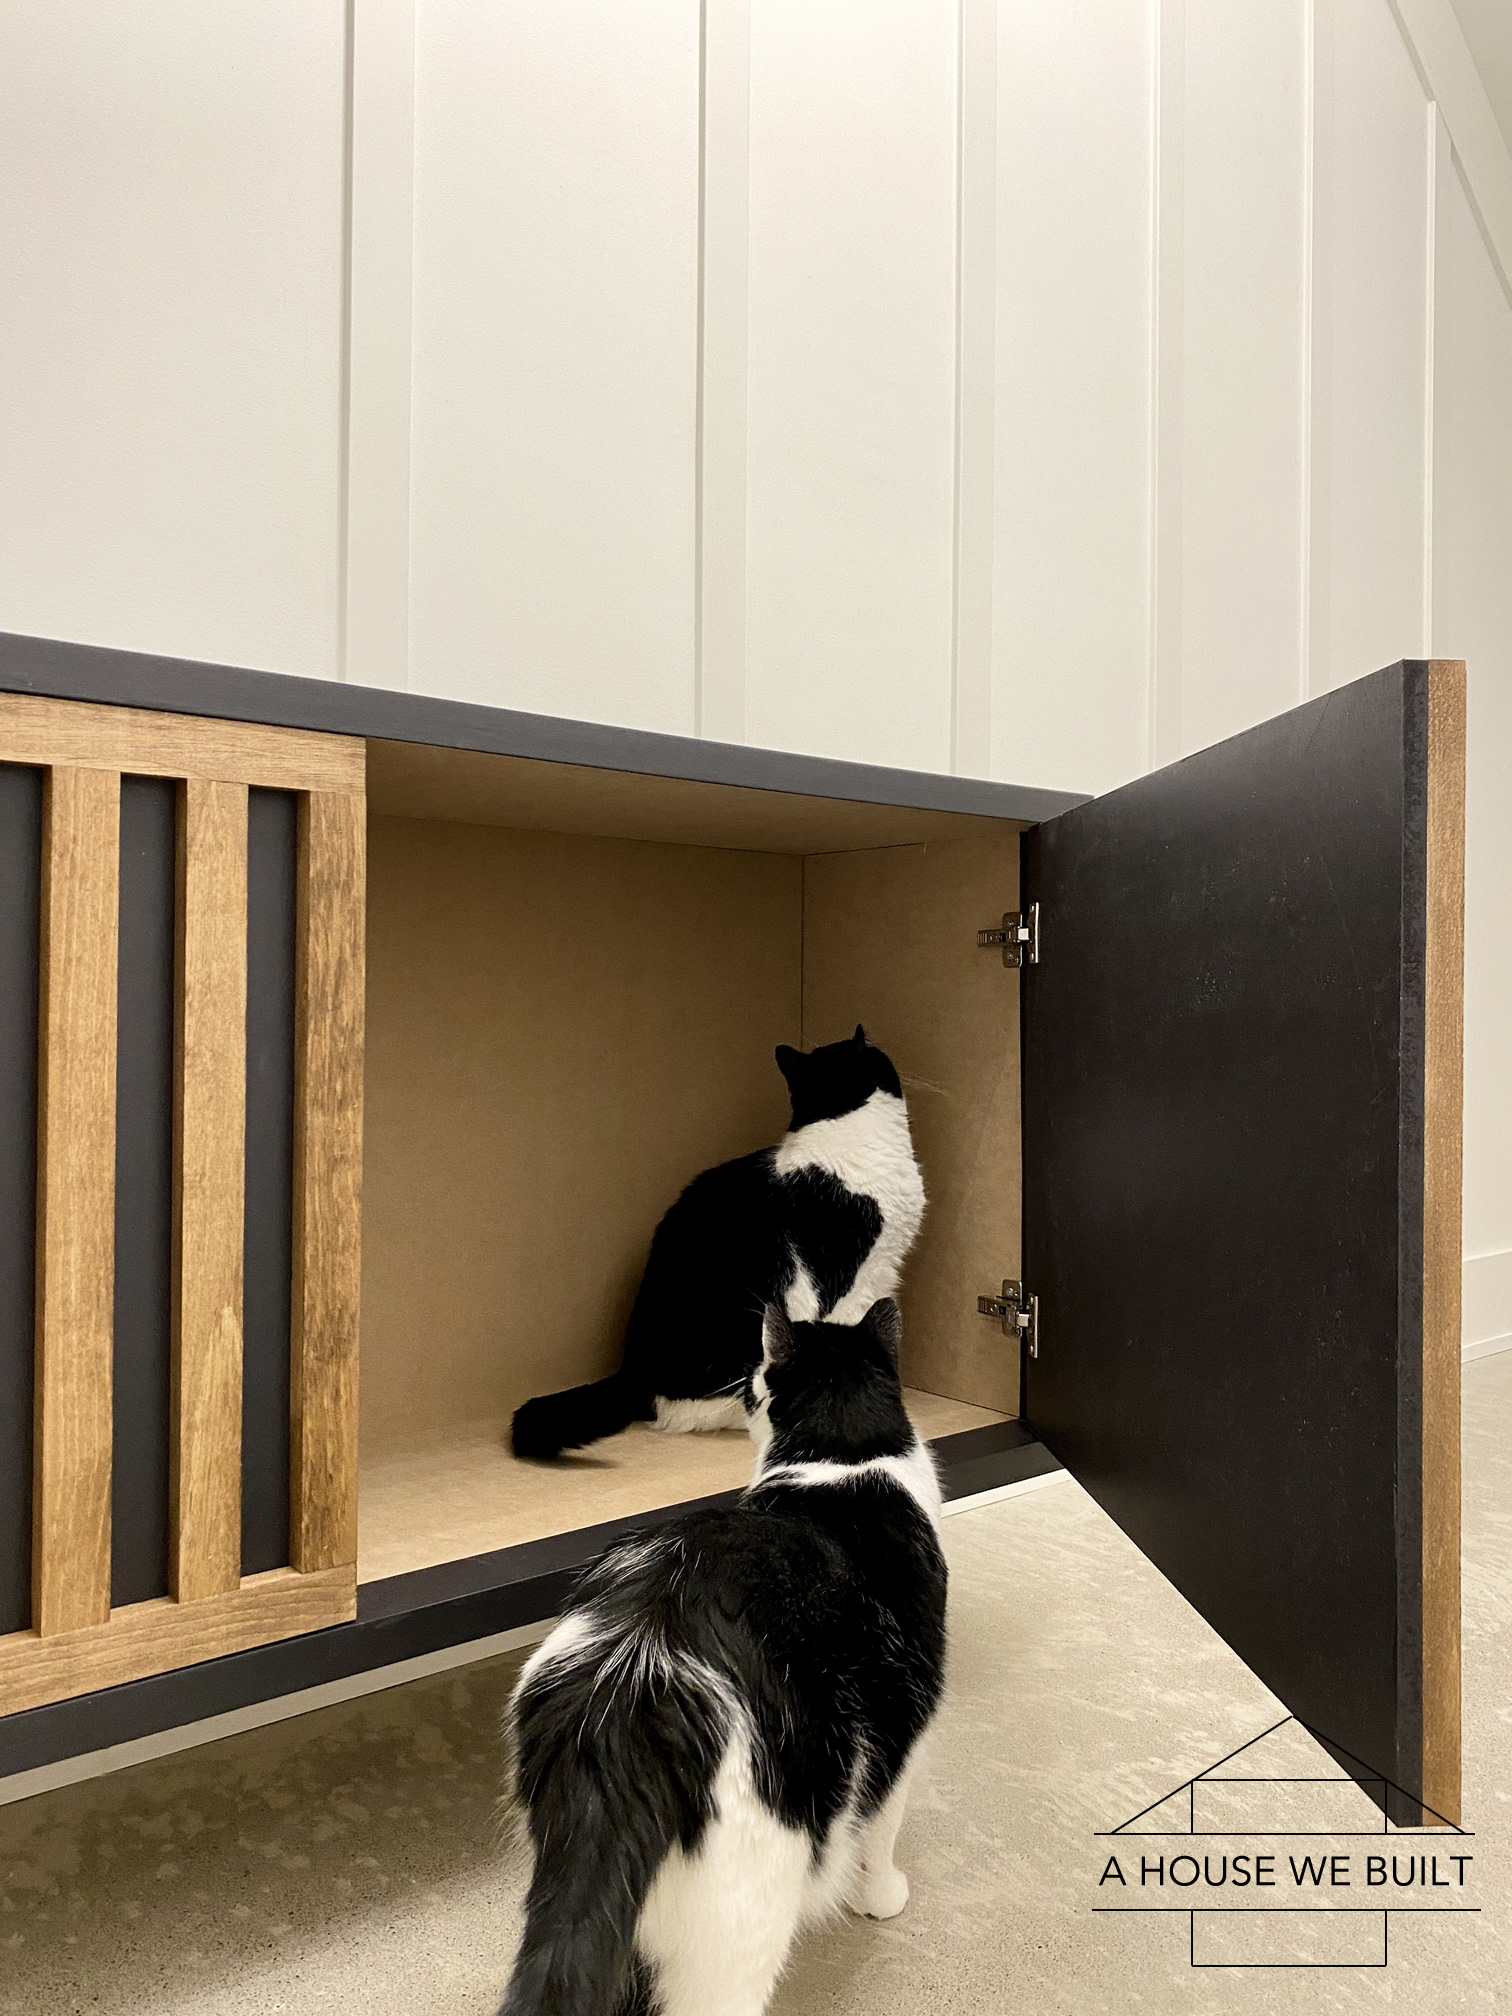
- At the very end, I decided to add a support piece in the middle which doubled as a doorstop and also prevented any sagging. I didn’t think the top would bend, which is why I didn’t do this earlier, but it did sag about 1/16″ so the support piece did help. Mine was 13 3/4″ deep x the full height of the inside of my sideboard. I probably should have done this earlier but hey it all worked out!
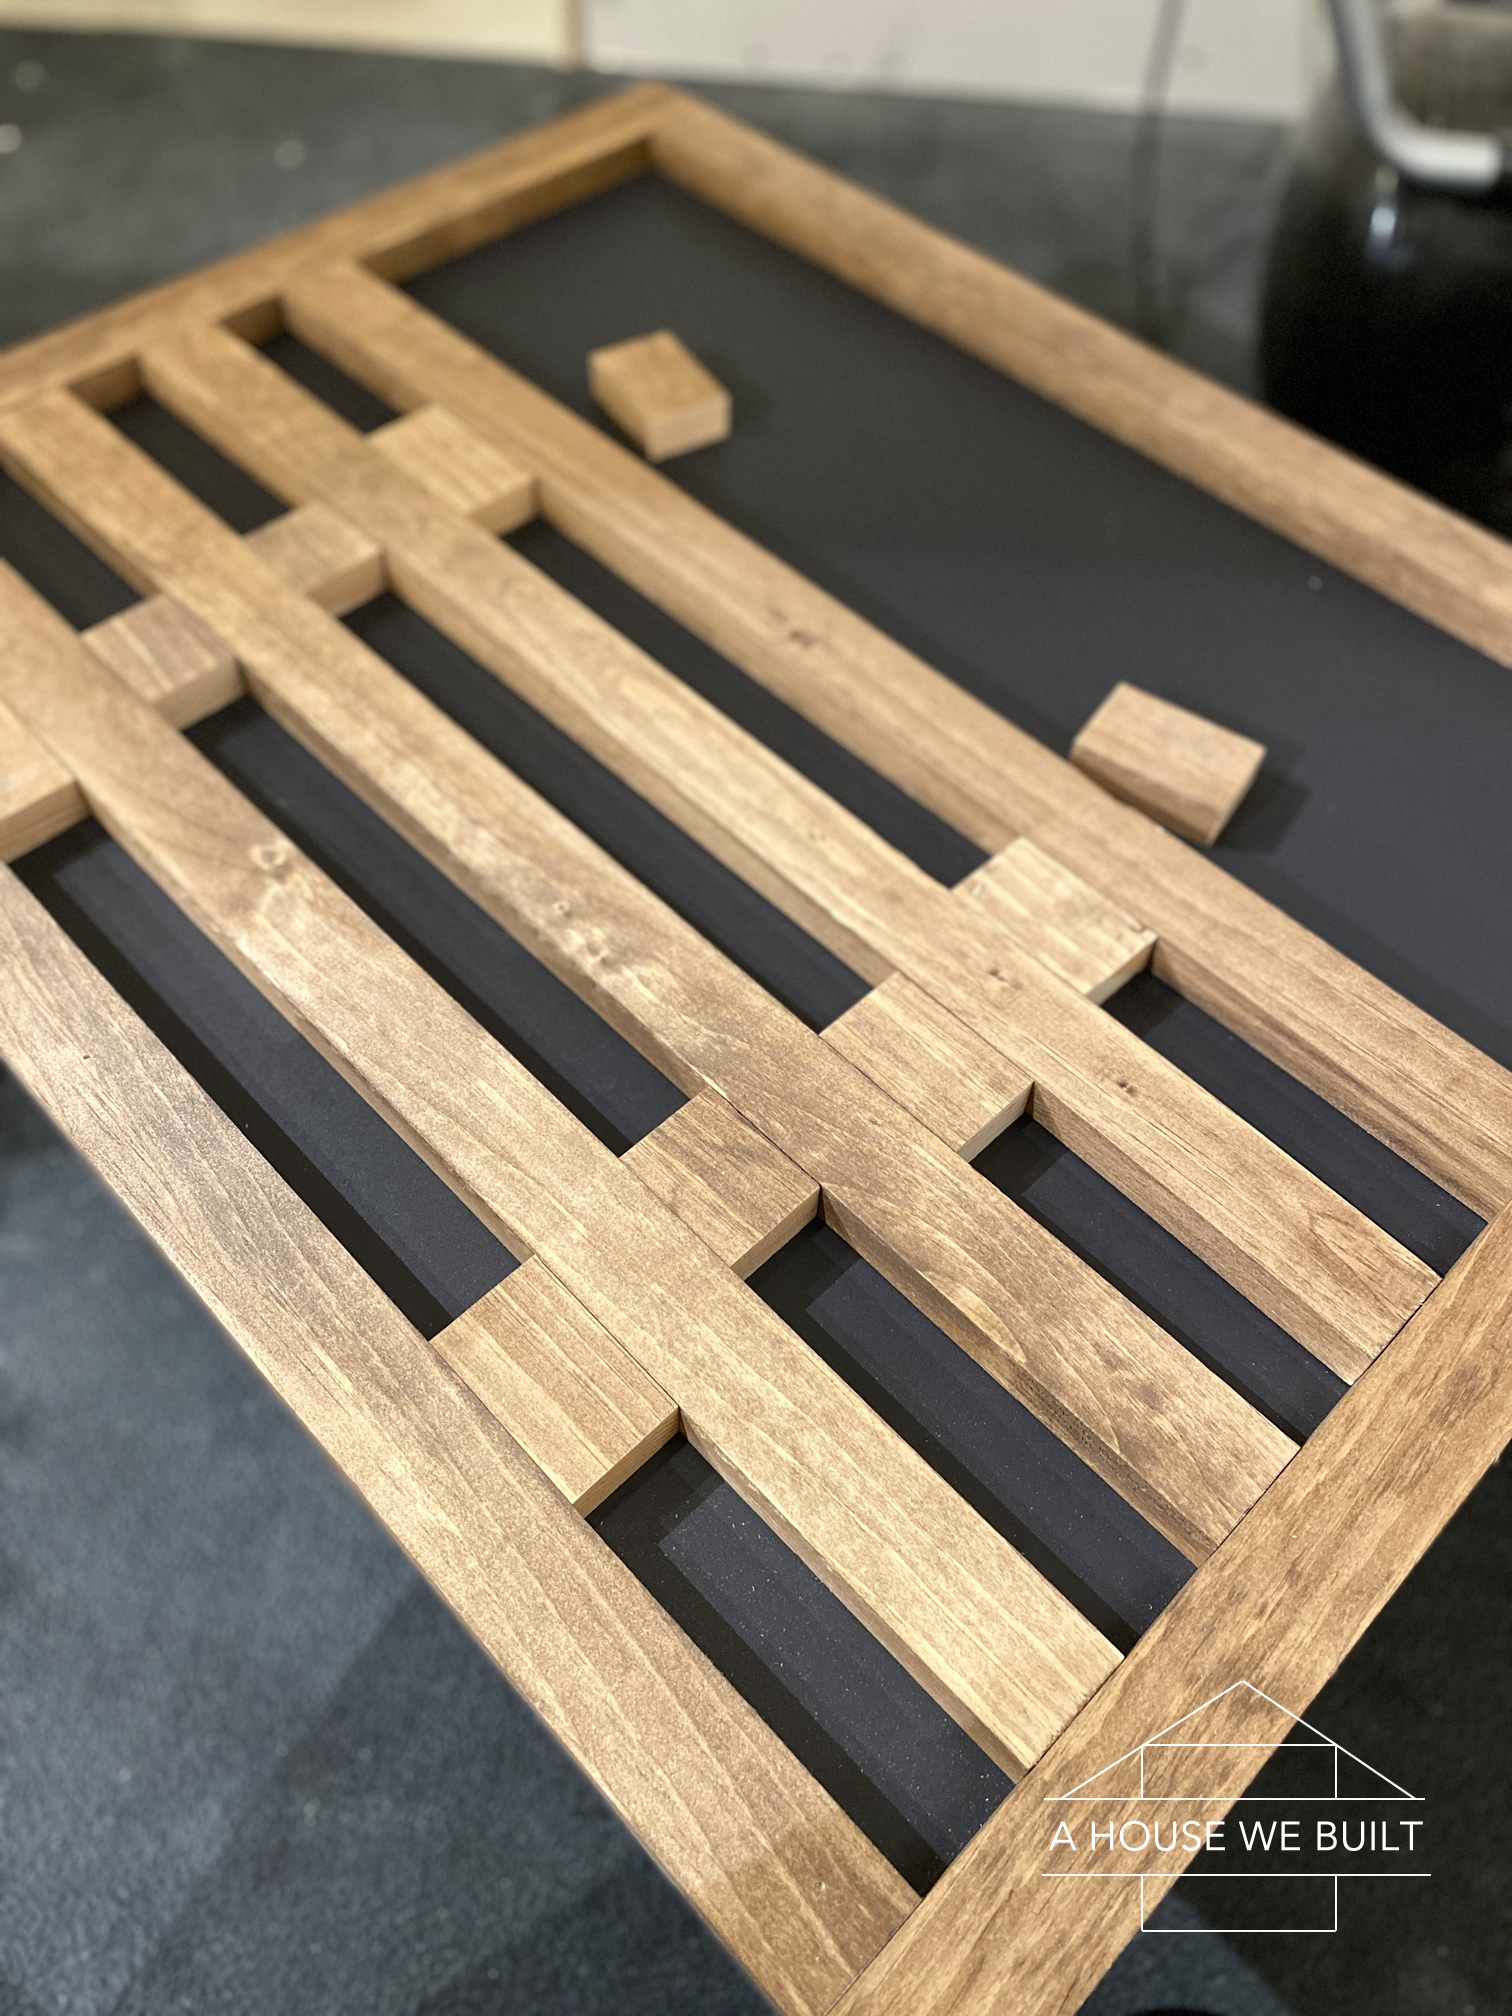
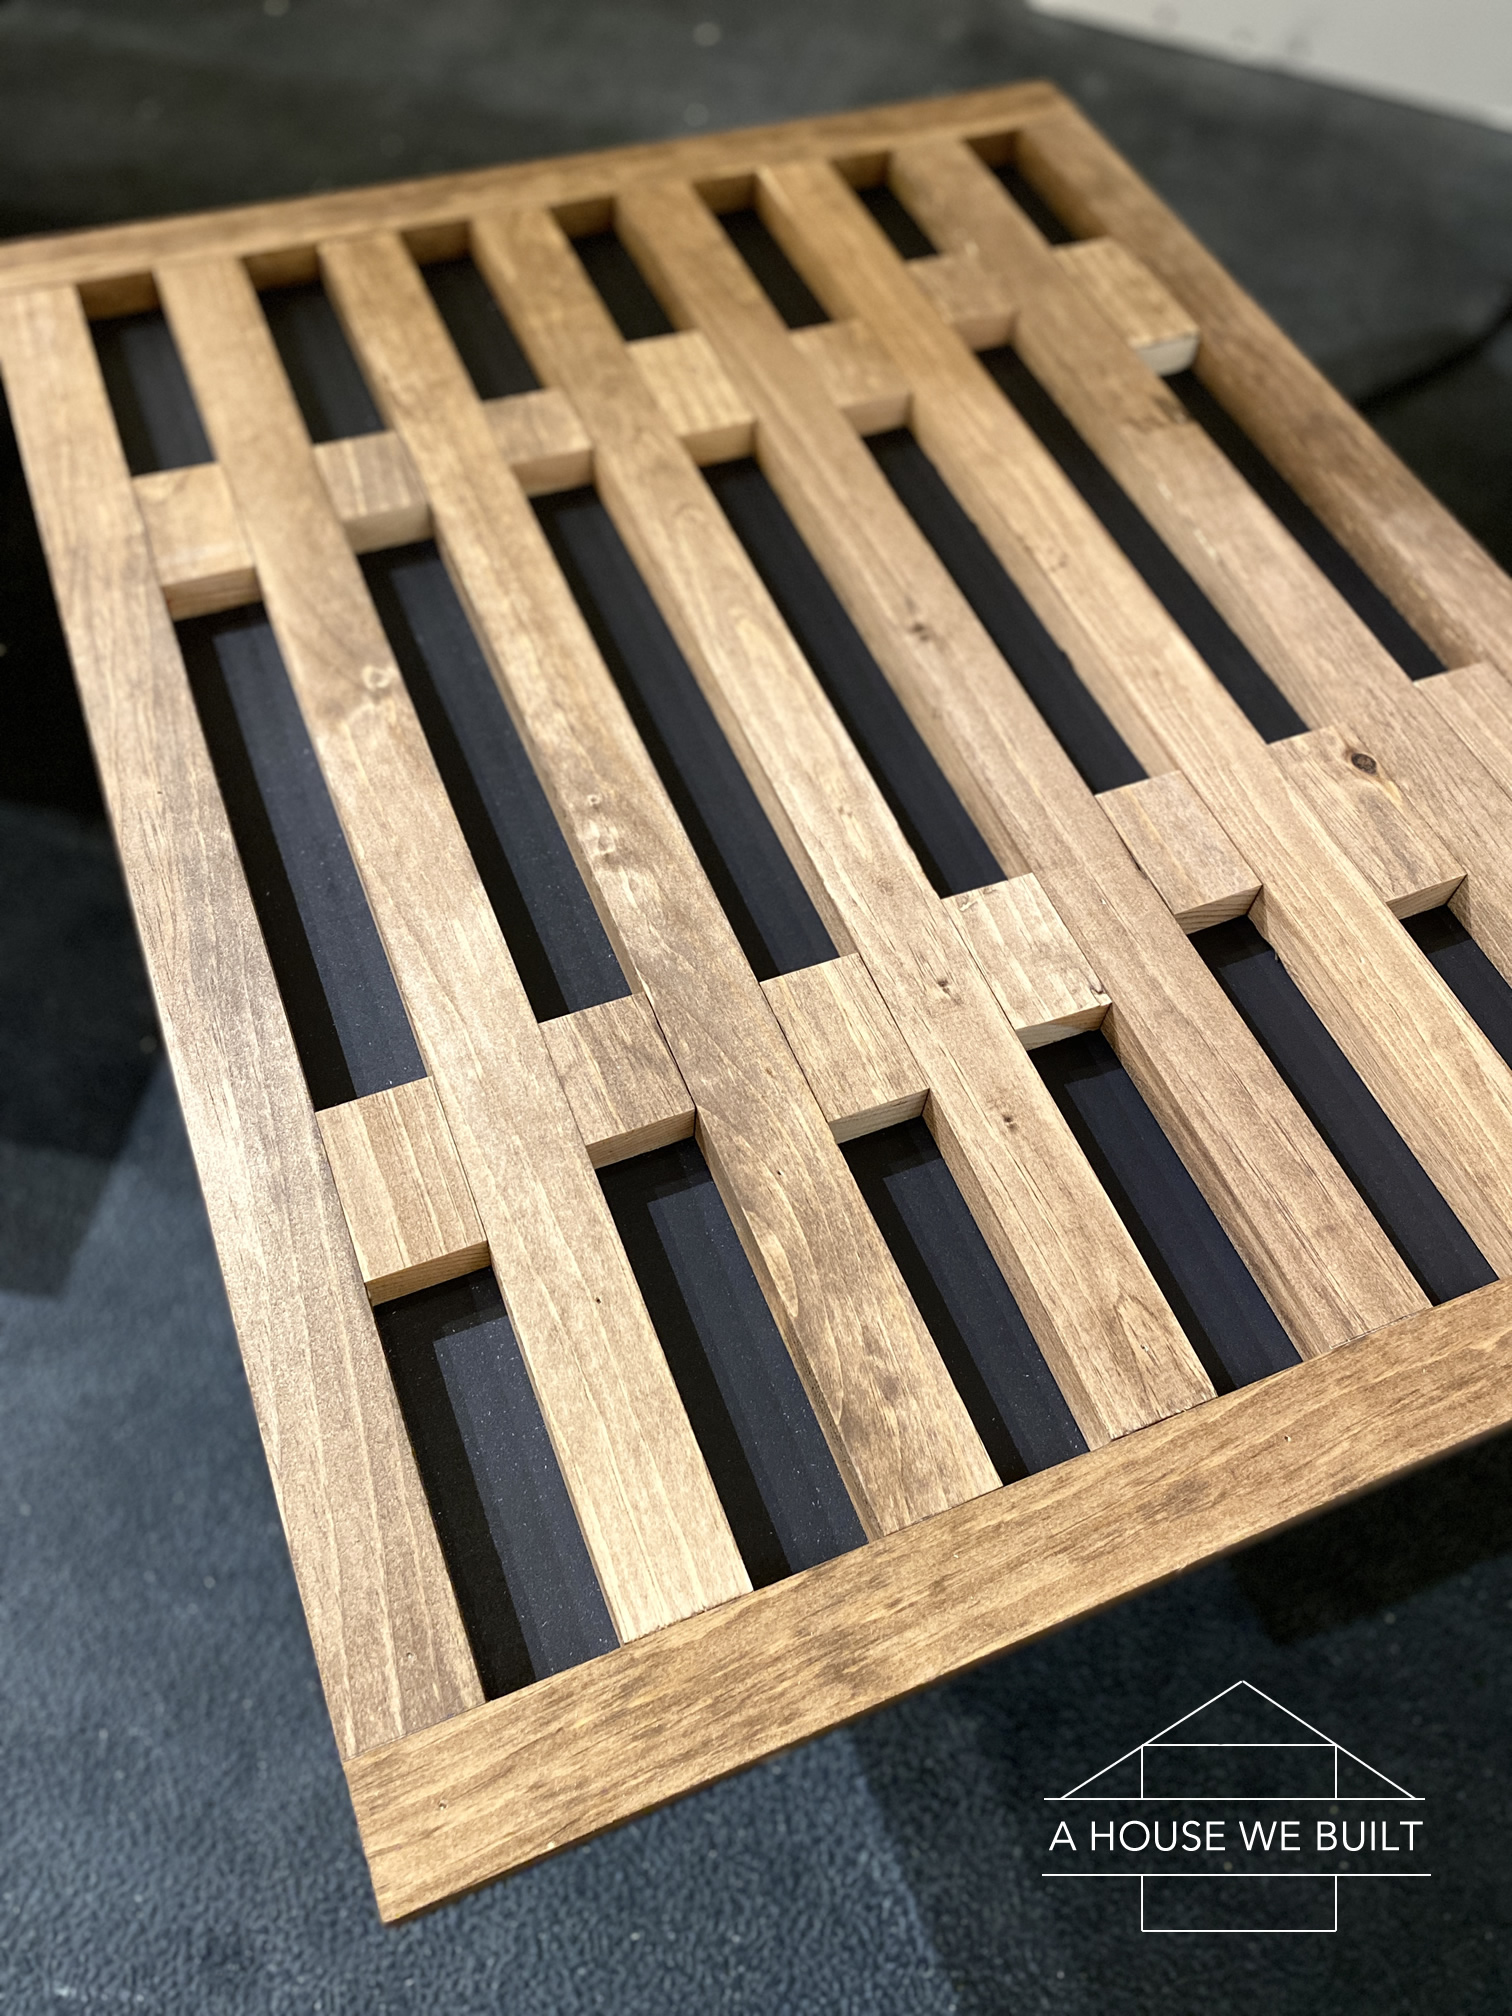
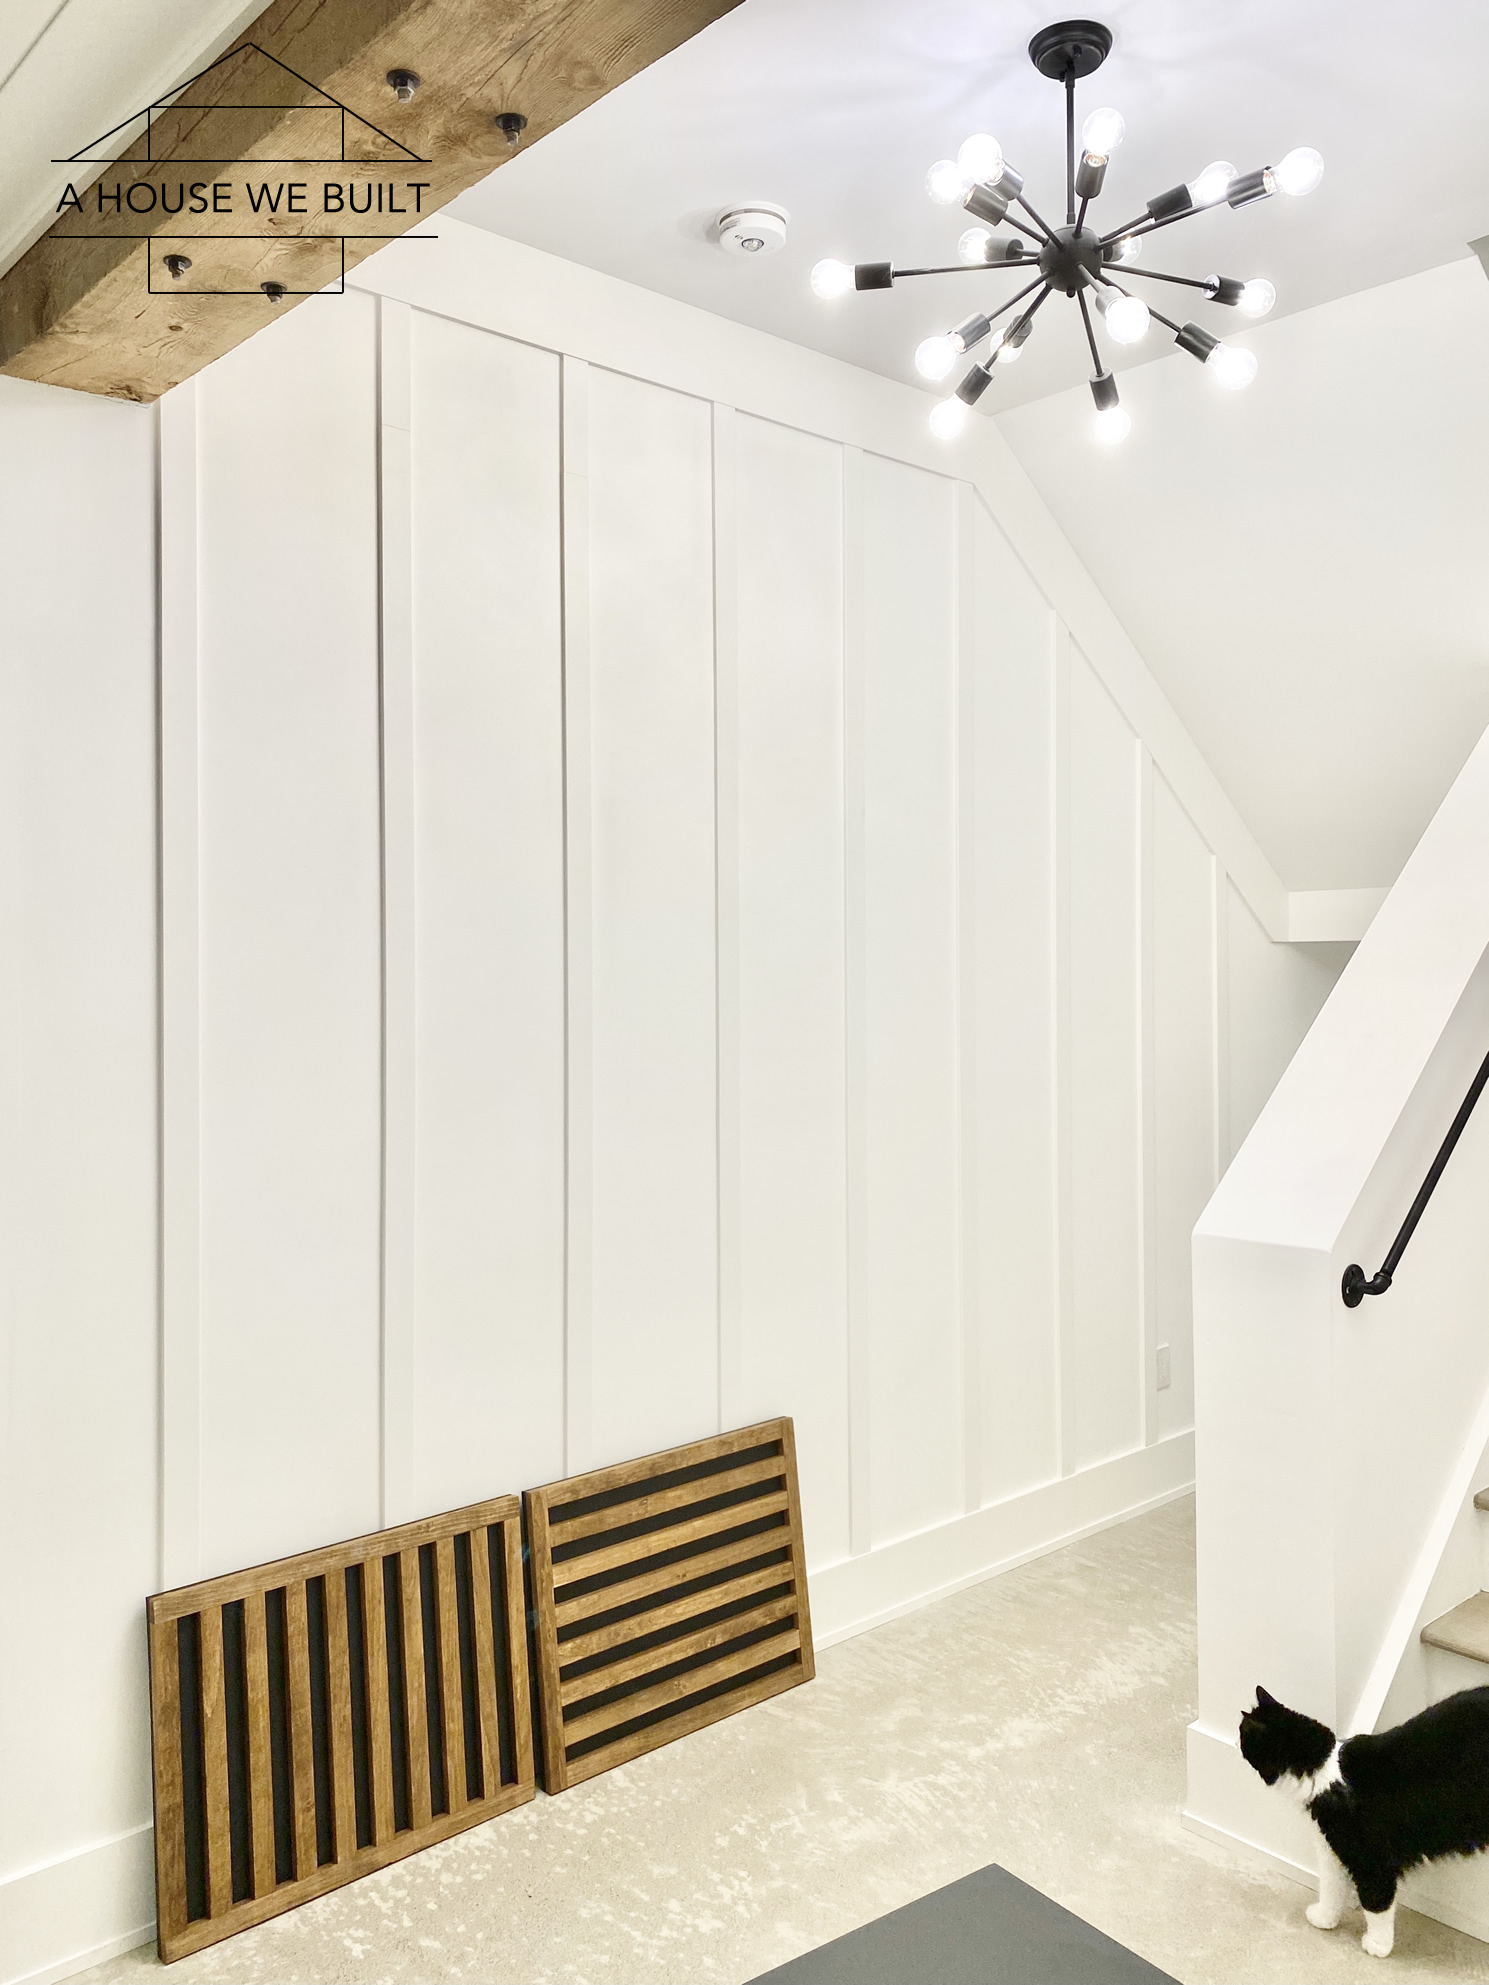
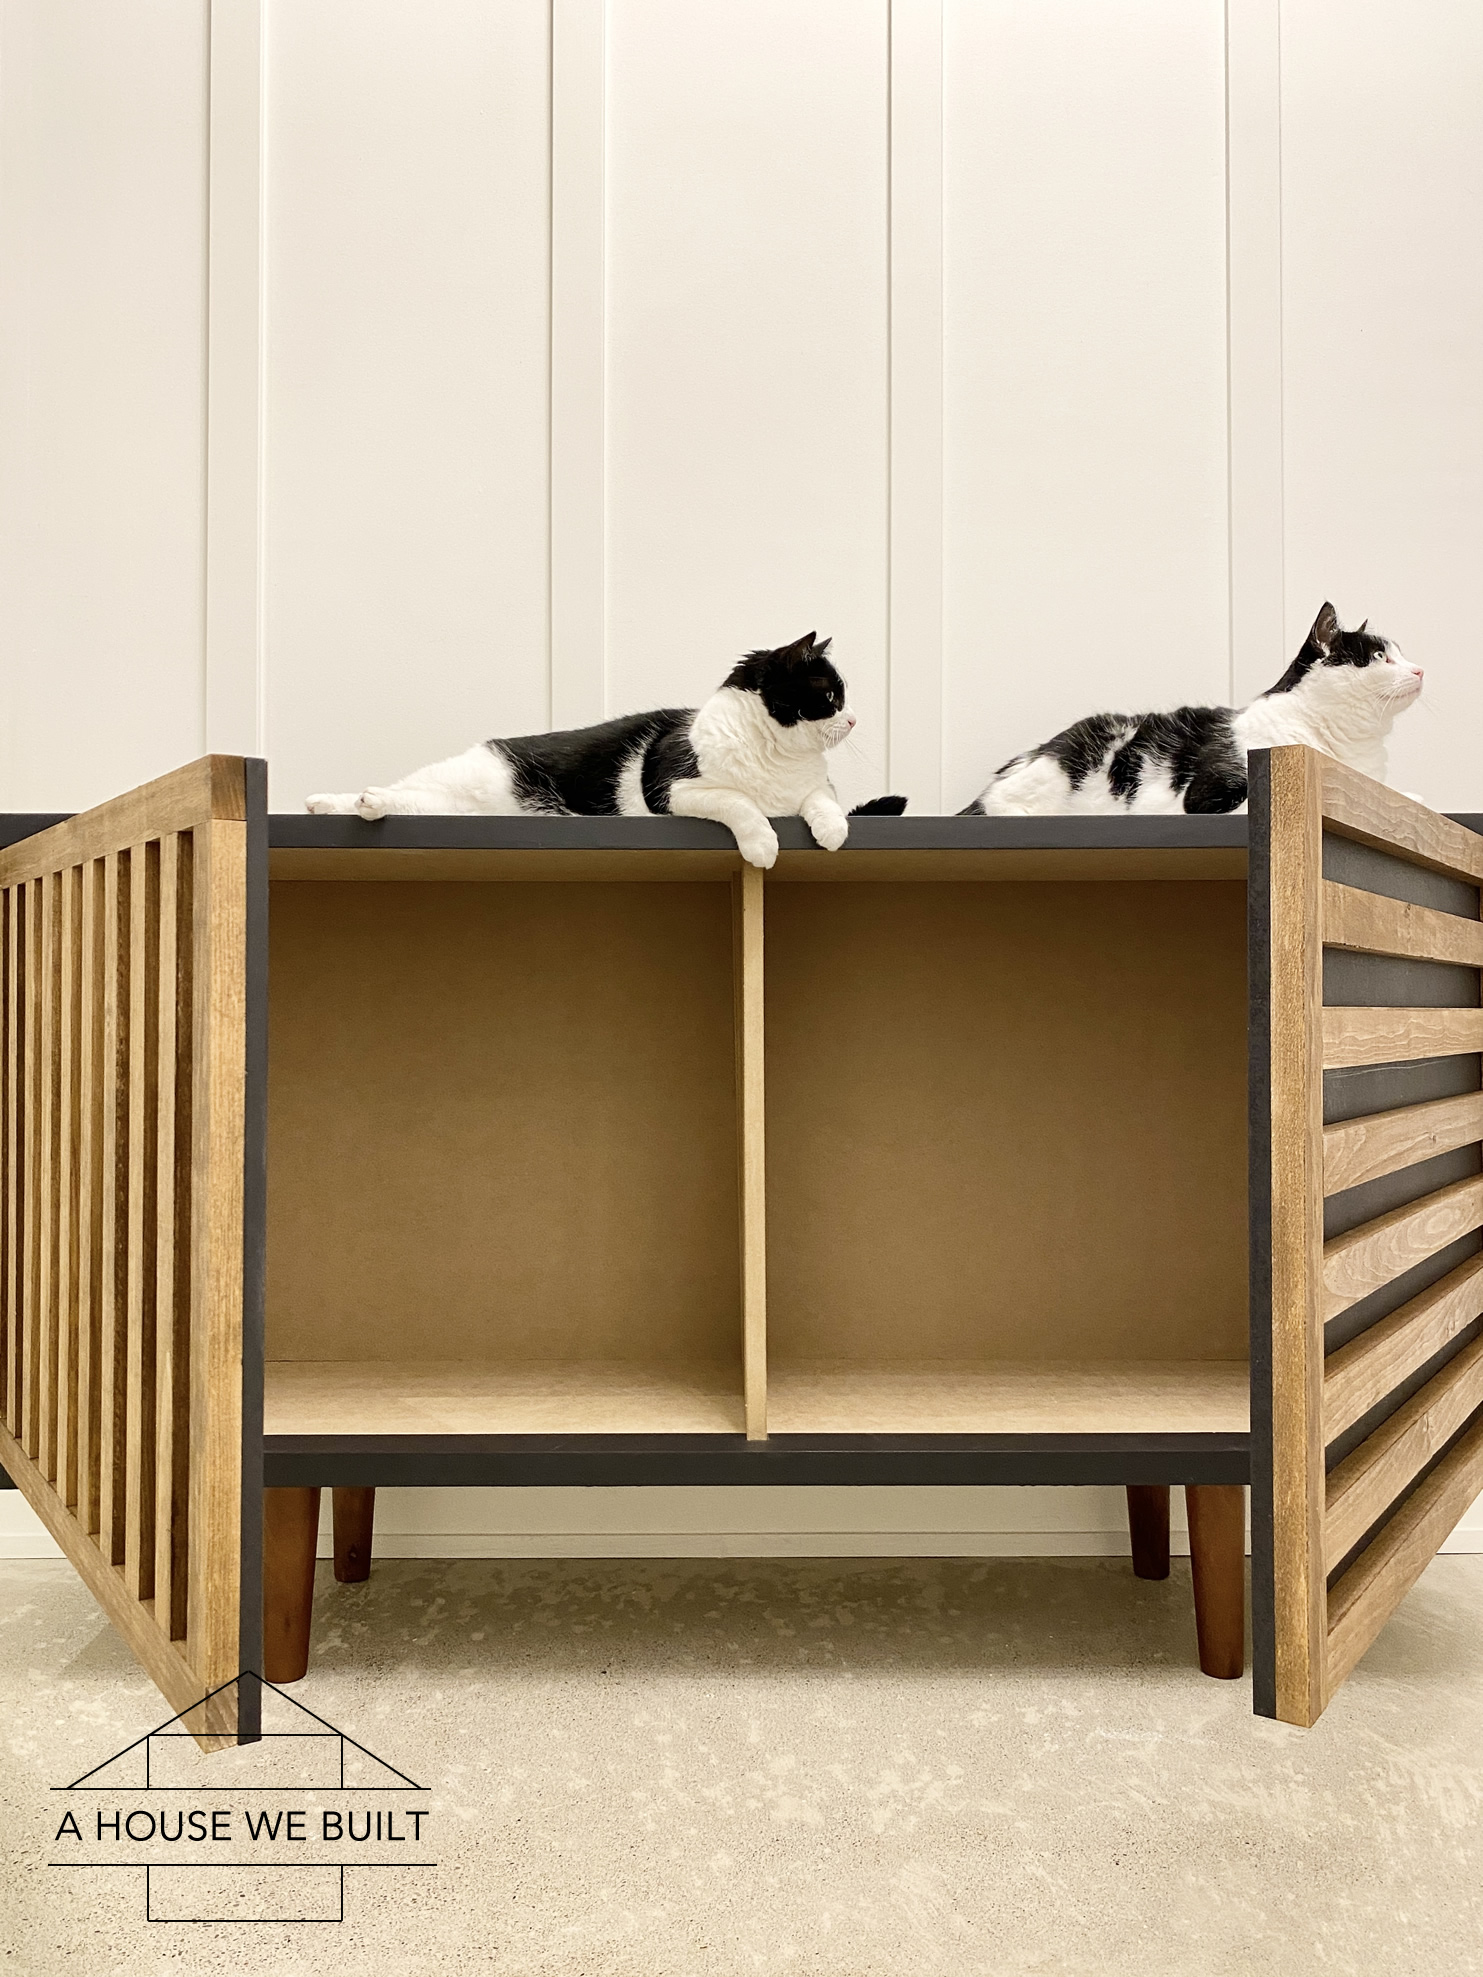
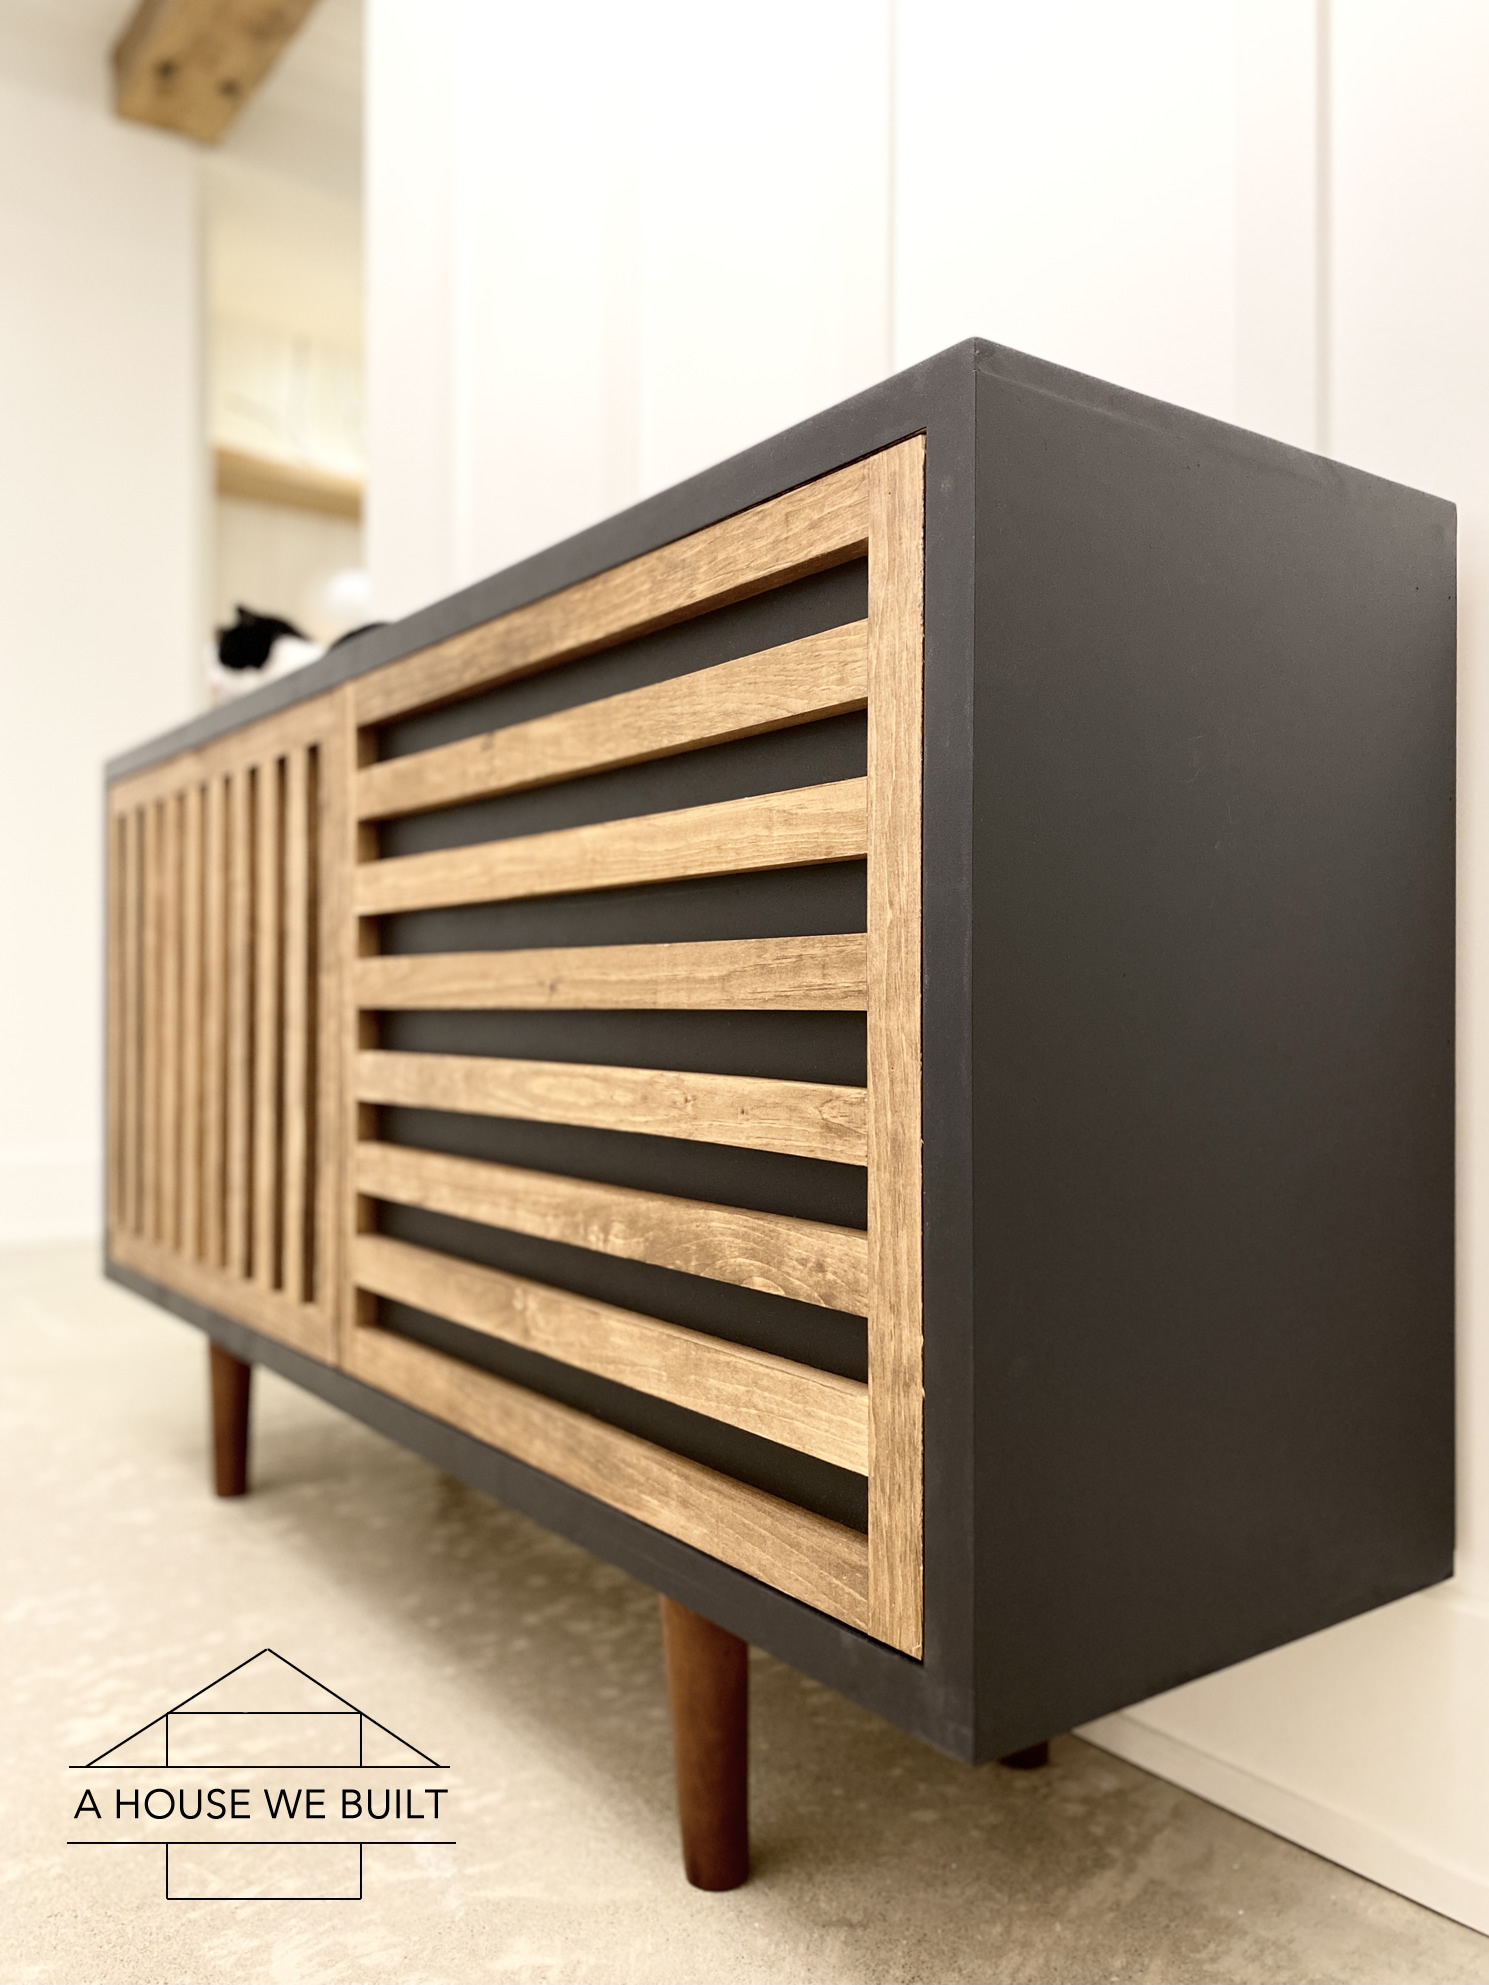
And that’s it! Here’s our finished sideboard:
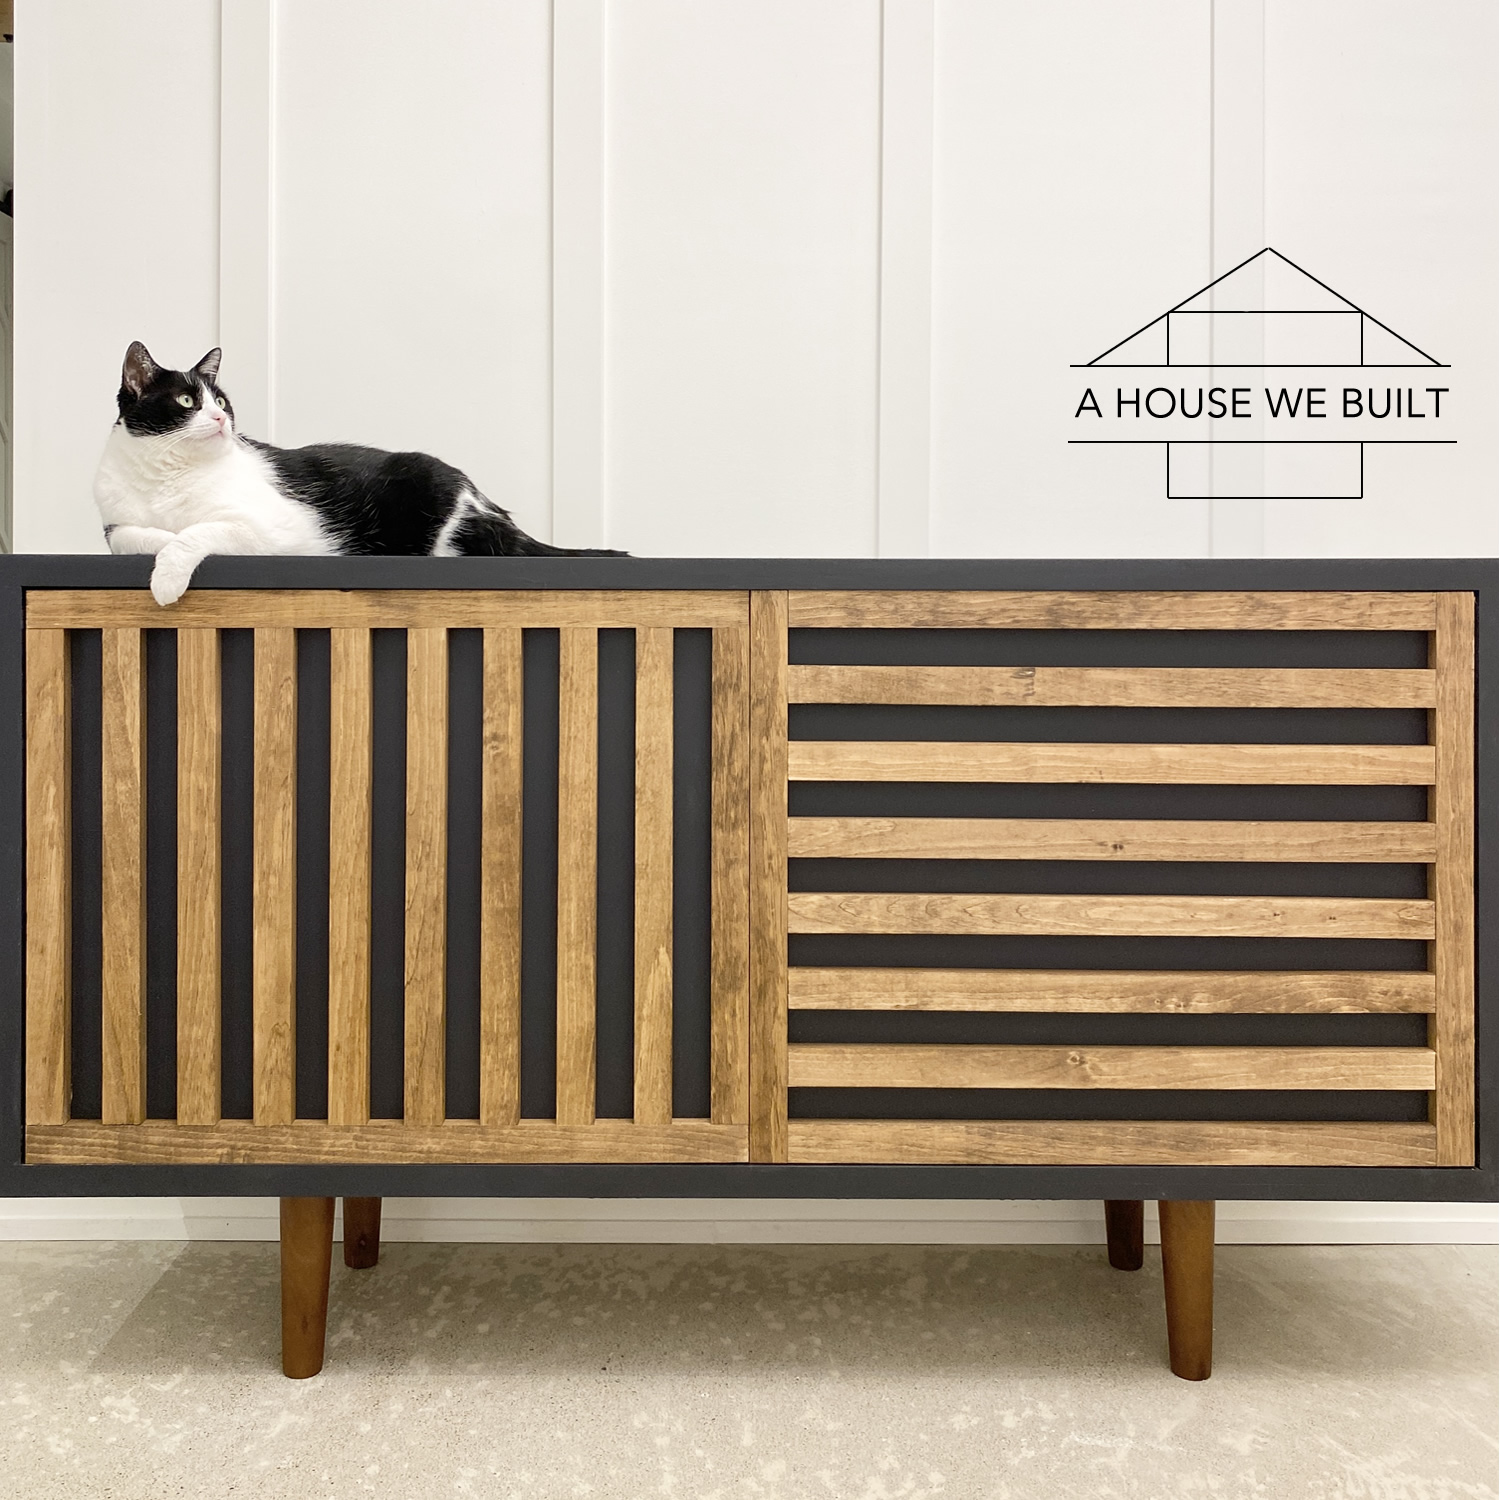
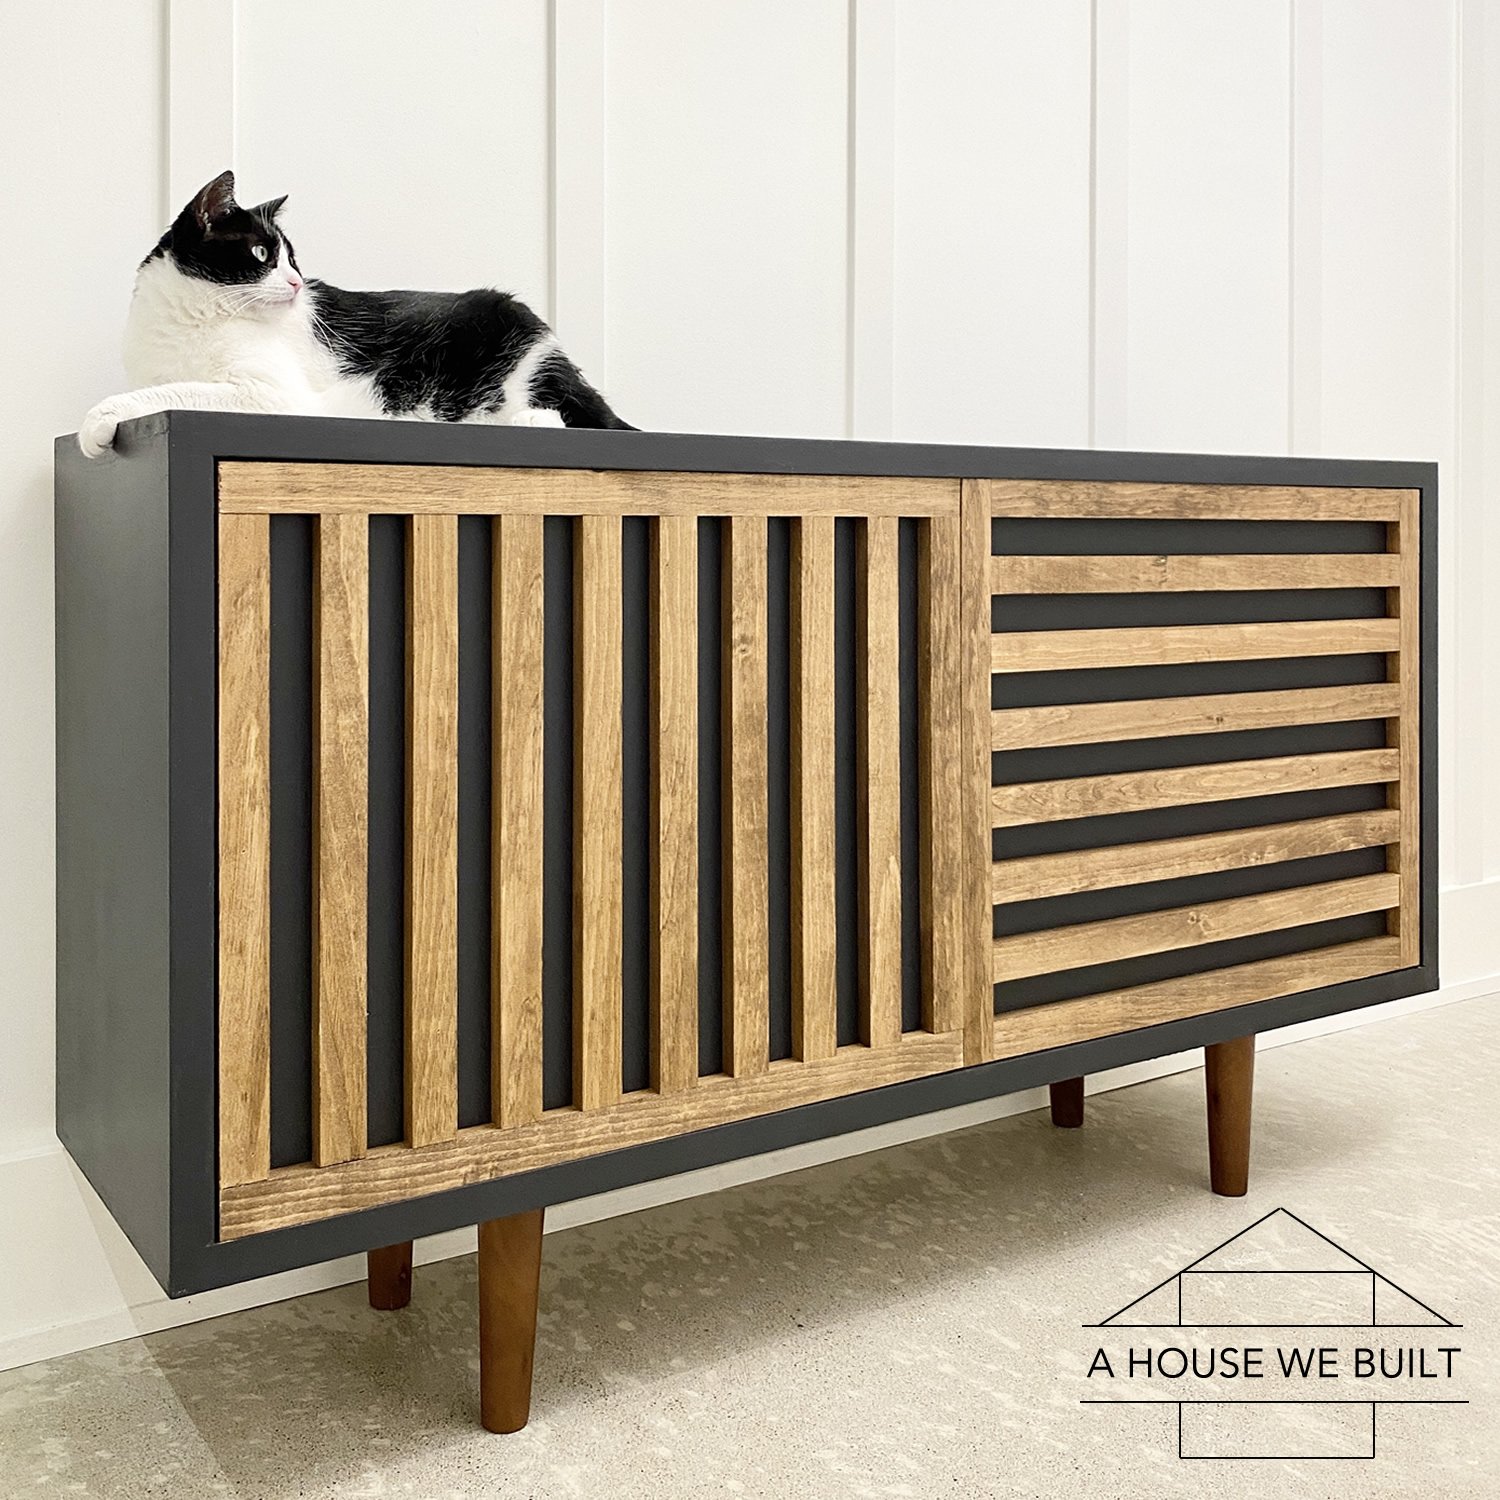
SIMILAR OPTIONS:
If you don’t feel like making one from scratch but you love this look, here are similar options:
- Similar sideboard (larger than ours): Crate & Barrel
- Similar sideboard (all black/wood): West Elm
- Similar consoles (smaller than ours): Overstock | Wayfair
- Similar coffee table: Wayfair
- Similar end table: Wayfair
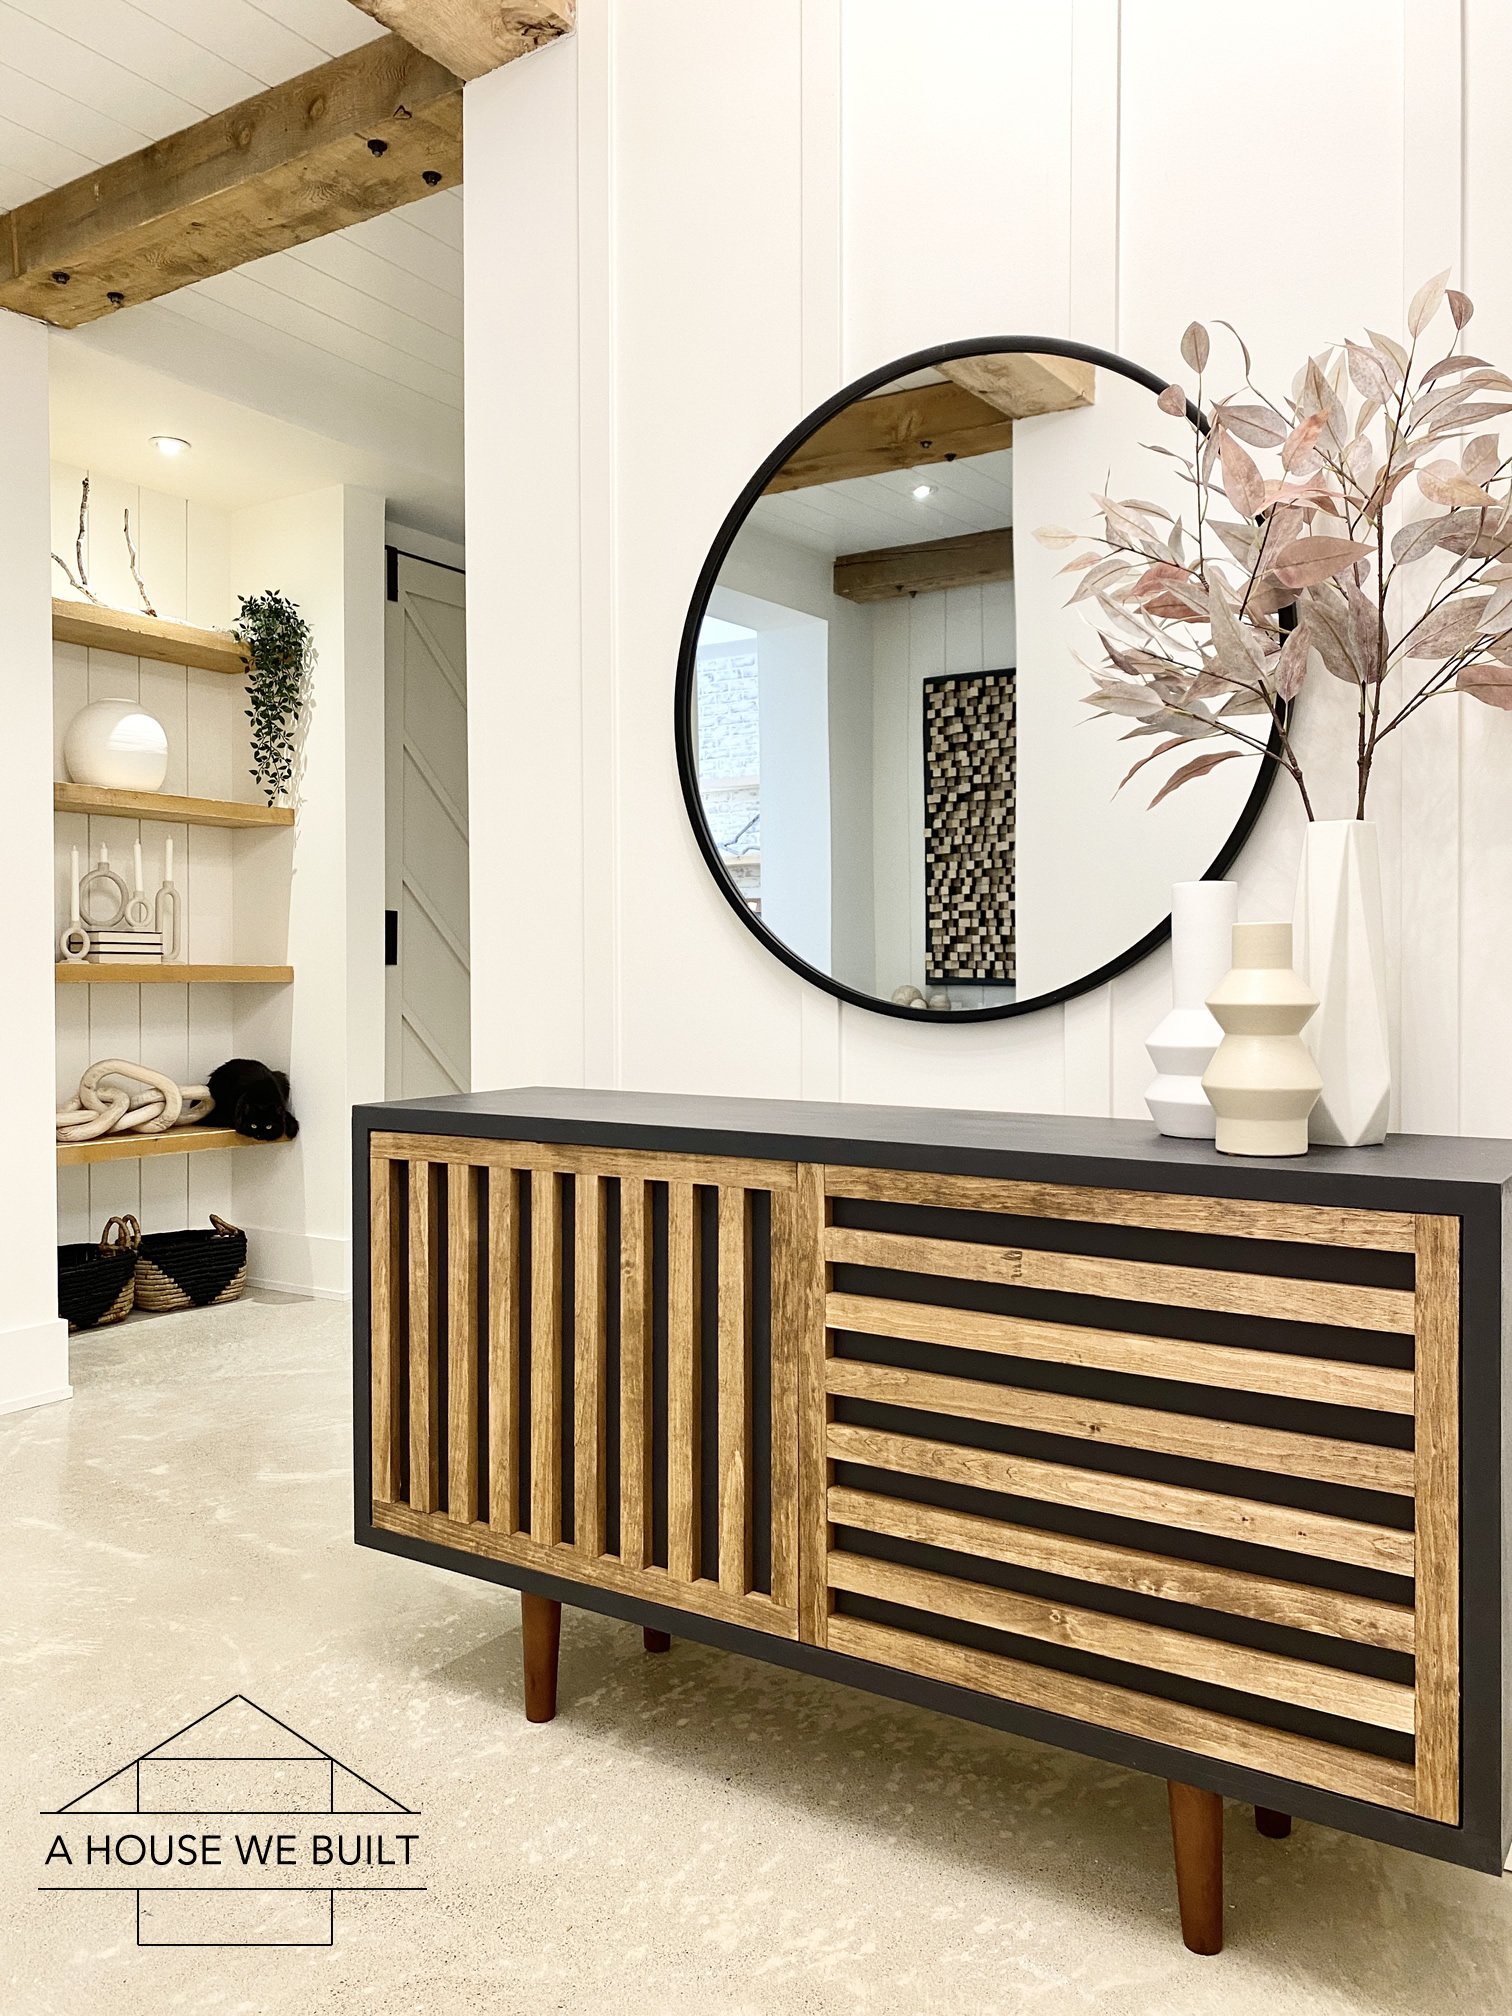
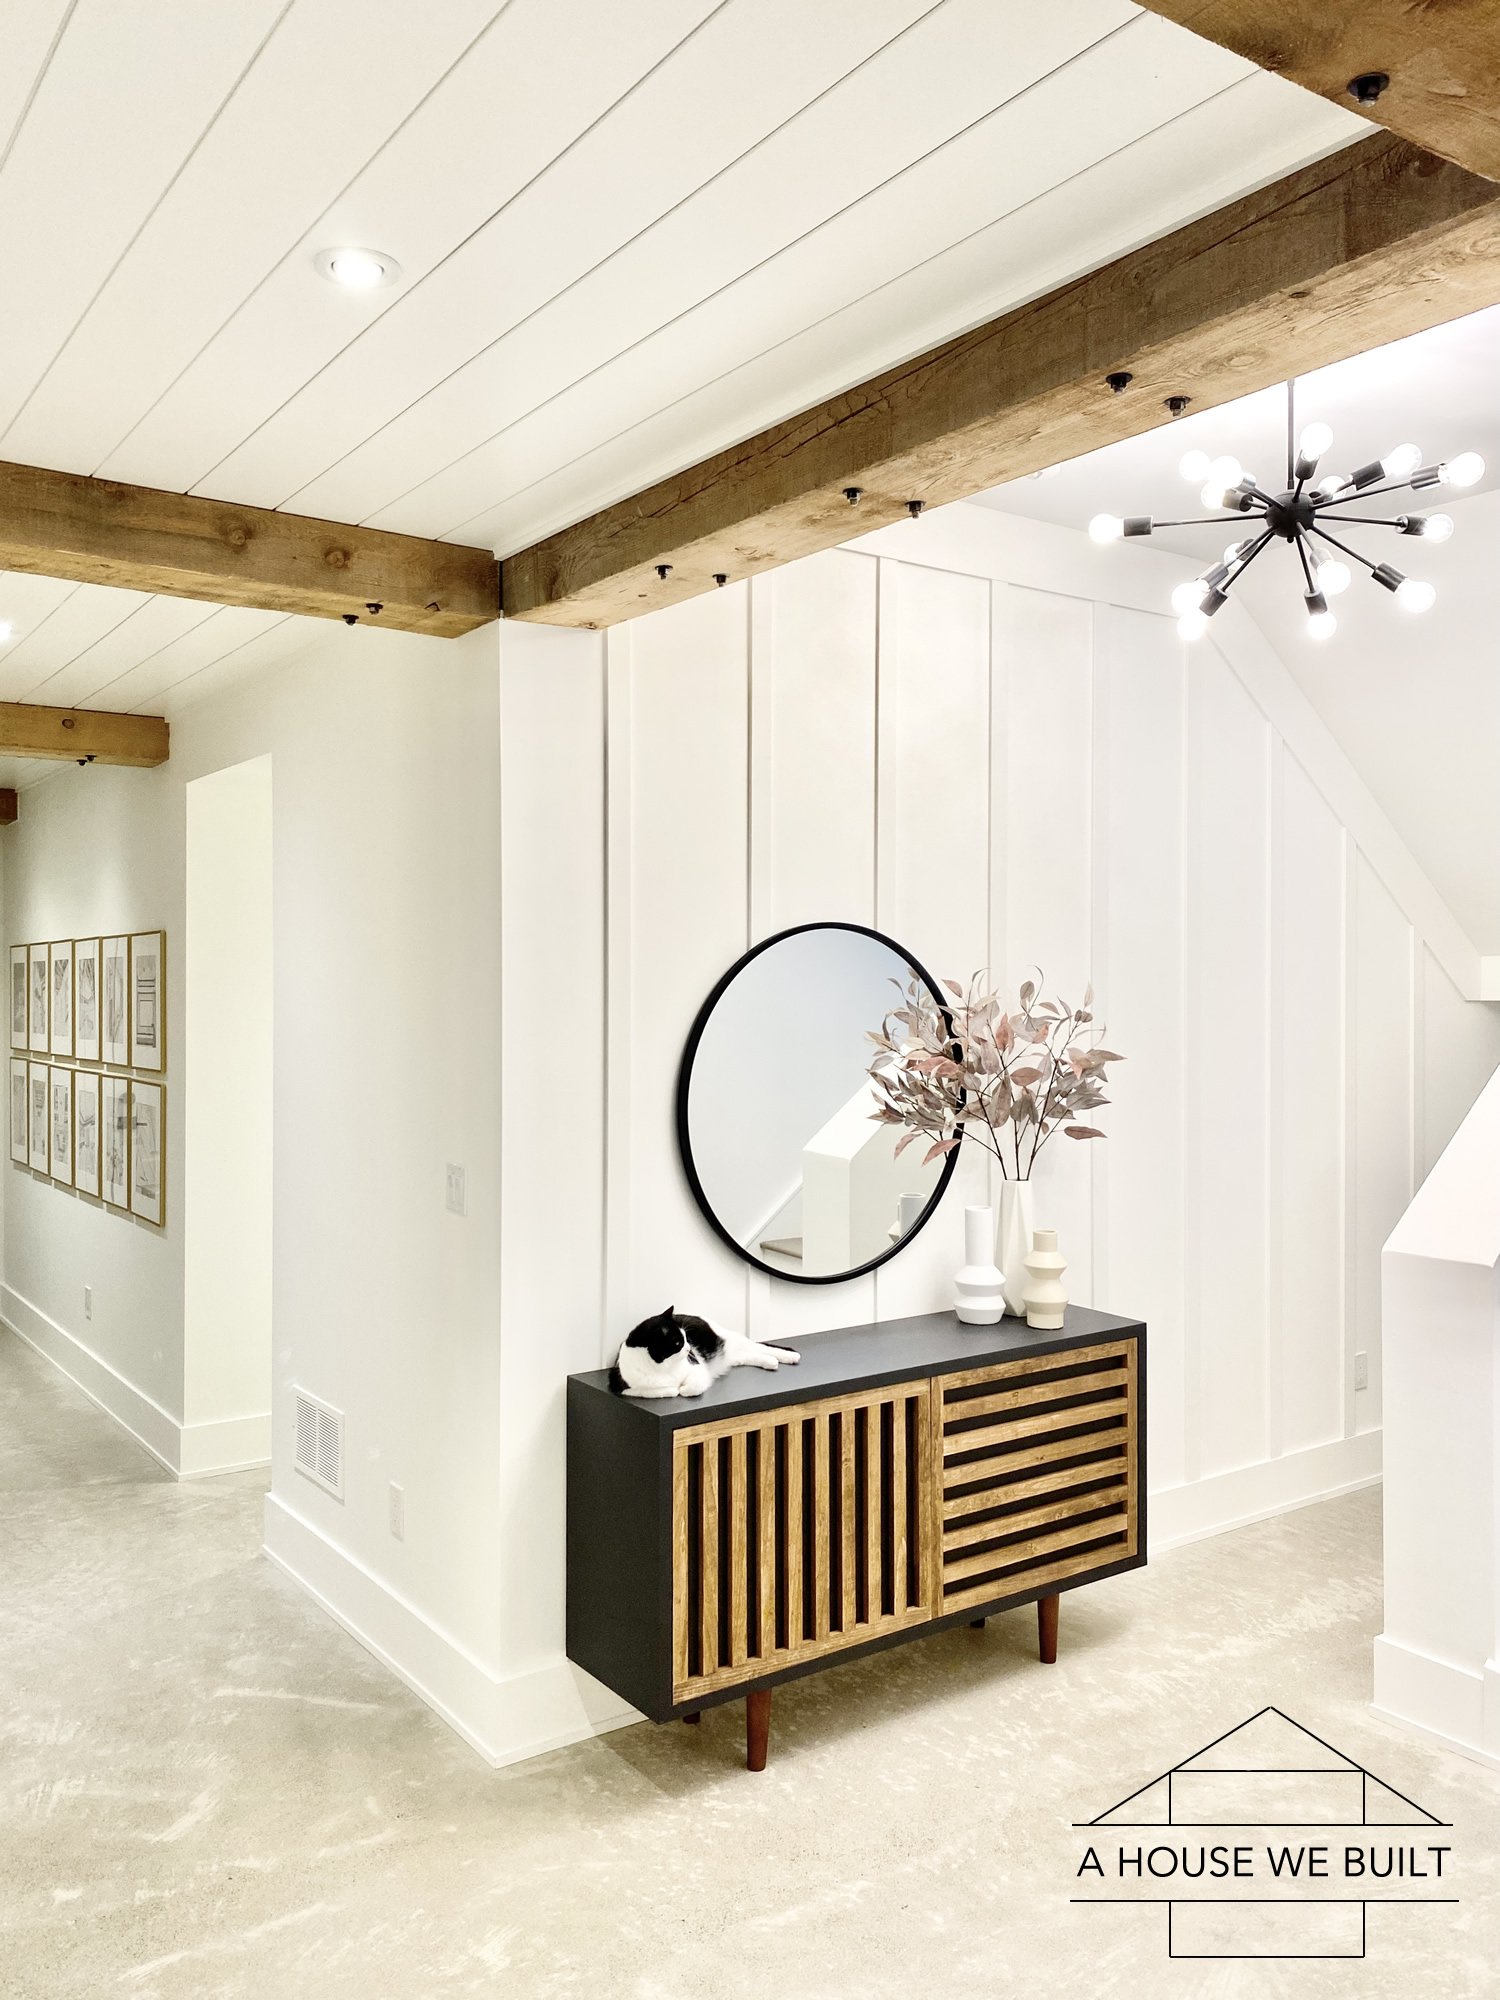
And just for fun, here’s our new sideboard all styled:
Sources:
- Round mirror (same mirror, multiple sources): Wayfair | Amazon | Home Depot | Urban Outfitters
- Light fixture: Wayfair | Overstock
- Geometric vases: West Elm | Similar: West Elm | West Elm
- Leaf stems: Crate & Barrel
- Board & batten wall trim: Home Depot
- Black/natural baskets: West Elm
- Stone candle holders: Crate & Barrel
- Large wood links: Bloomist
- White round vase (similar): CB2 | West Elm | Pottery Barn
- Gallery wall frames (gold): Amazon | Similar: CB2 | Wayfair
- Wood art piece (reflected in mirror): Tutorial: How to Make a Wood Block Art Piece
- Wood spheres (reflected in mirror): McGee & Co
- Barn doors: Tutorial: How to Build Bypass Barn Doors
- Shiplap: Tutorial: How to Install Shiplap
- Stairs: Tutorial: How to Stain & Paint Stairs
- Railings: Tutorial: How to Make Industrial Stair Railings
For more of our tutorials, click here.
To explore rooms in our home, click here.
If you liked this project, check out our Slat Wall Tutorial and Rustic Sideboard Tutorial.
To follow our daily updates and home progress, follow us on Instagram @ahousewebuilt.
Chelle says
What brand/color stain did you use on your slat doors?
admin says
The stain is listed in the post ^^ 🙂