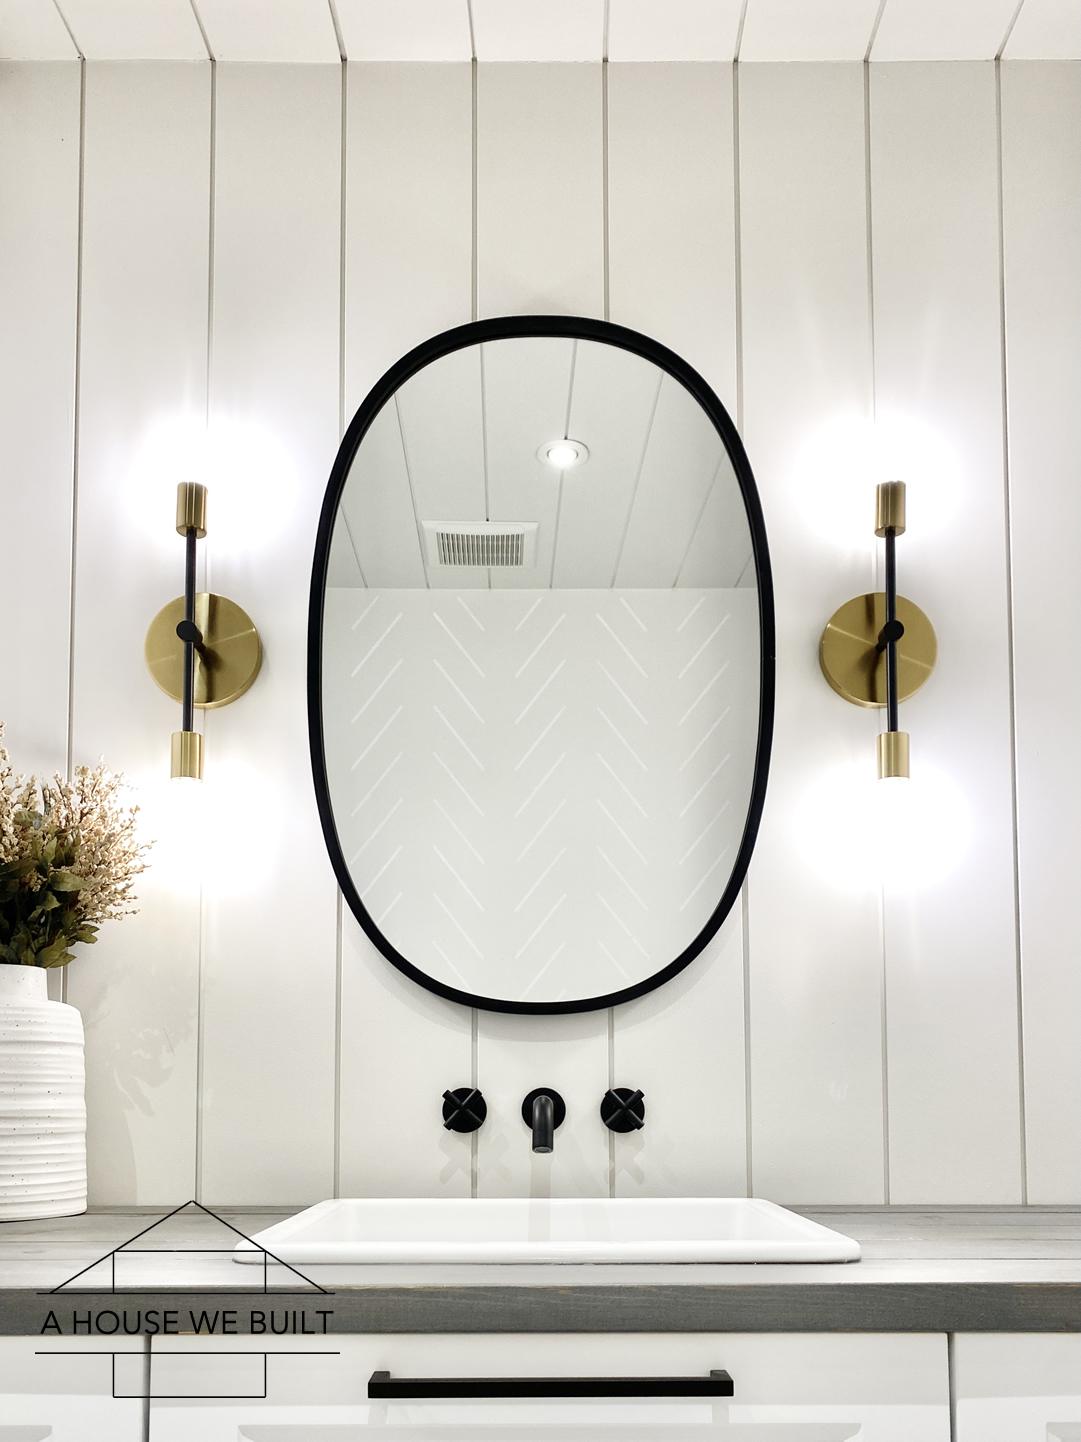
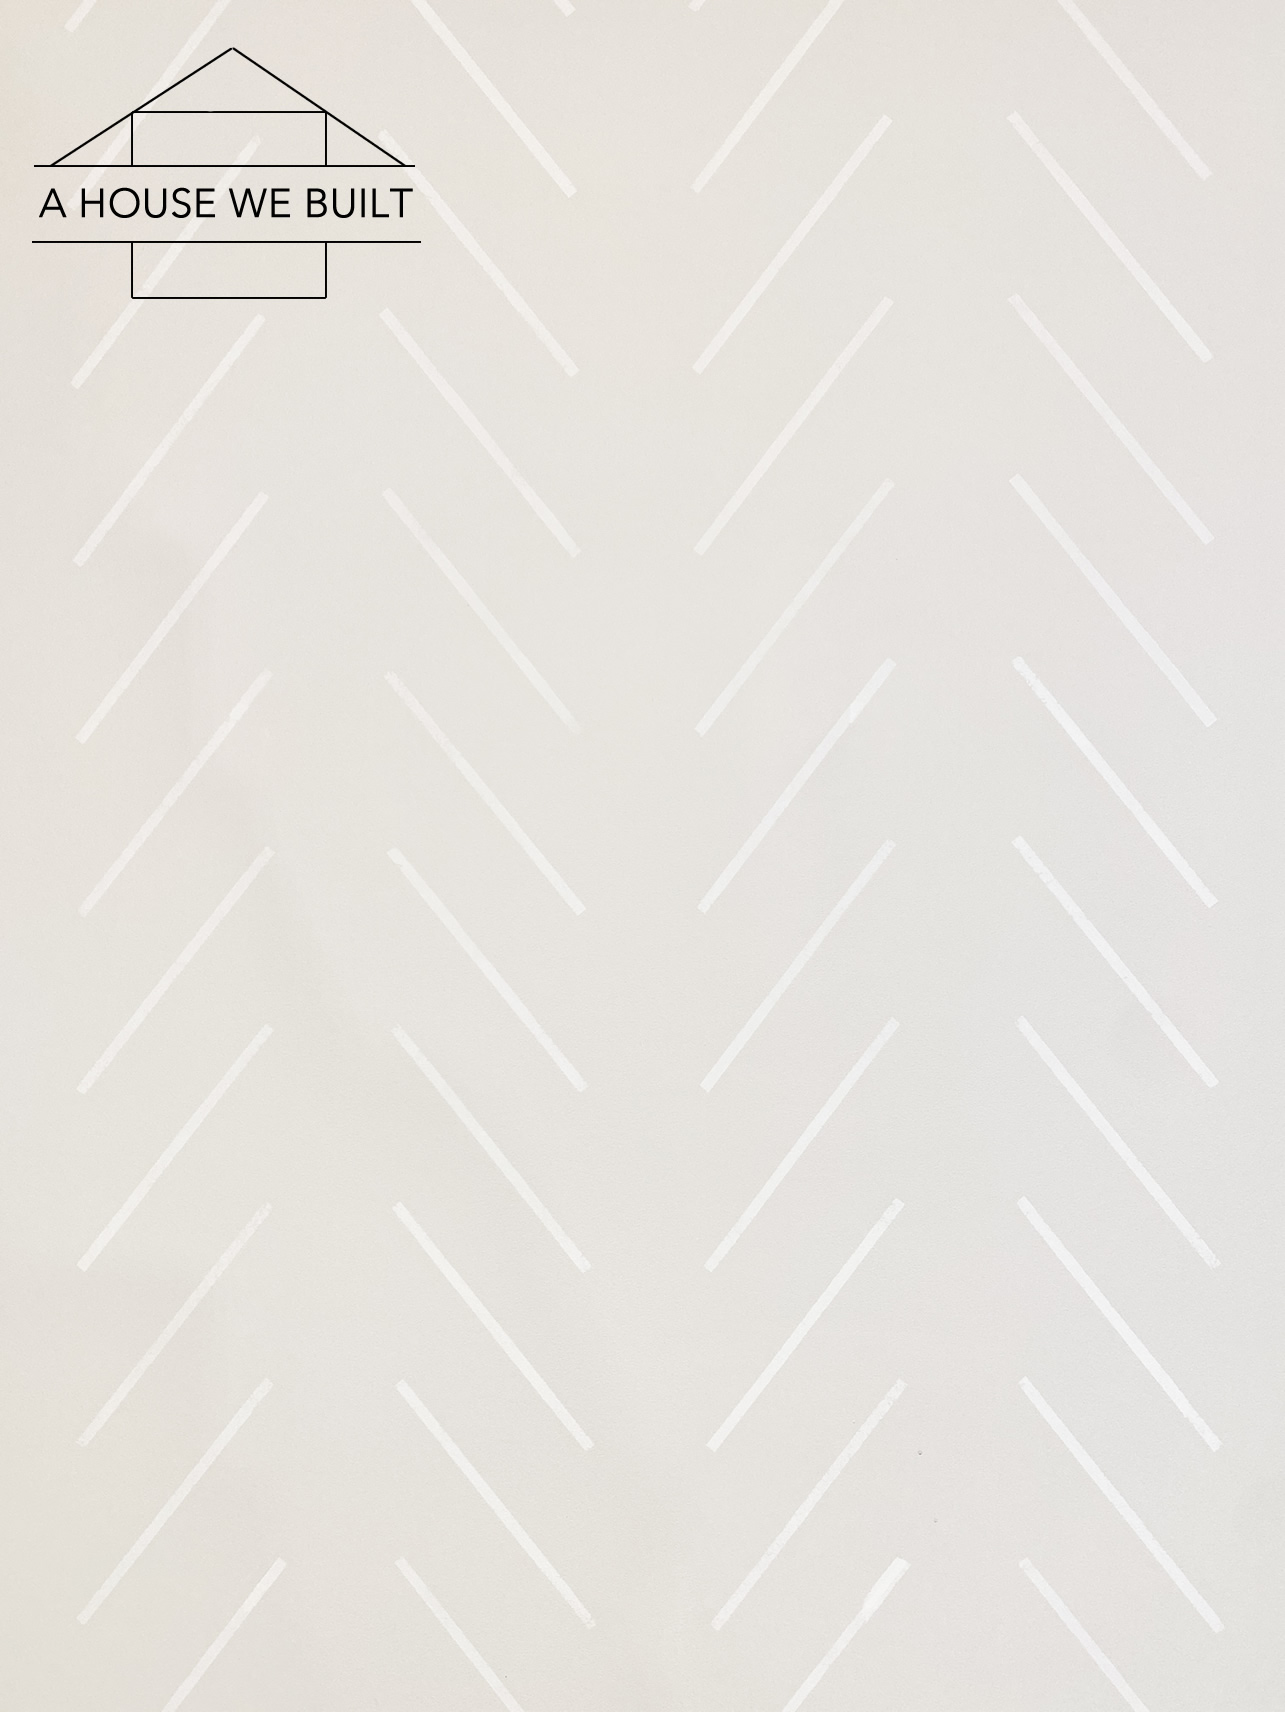
I stenciled a wall in our basement bathroom and it was SO EASY! The whole project took me only about an hour to do and quickly transformed an otherwise blank background wall into something really fun!
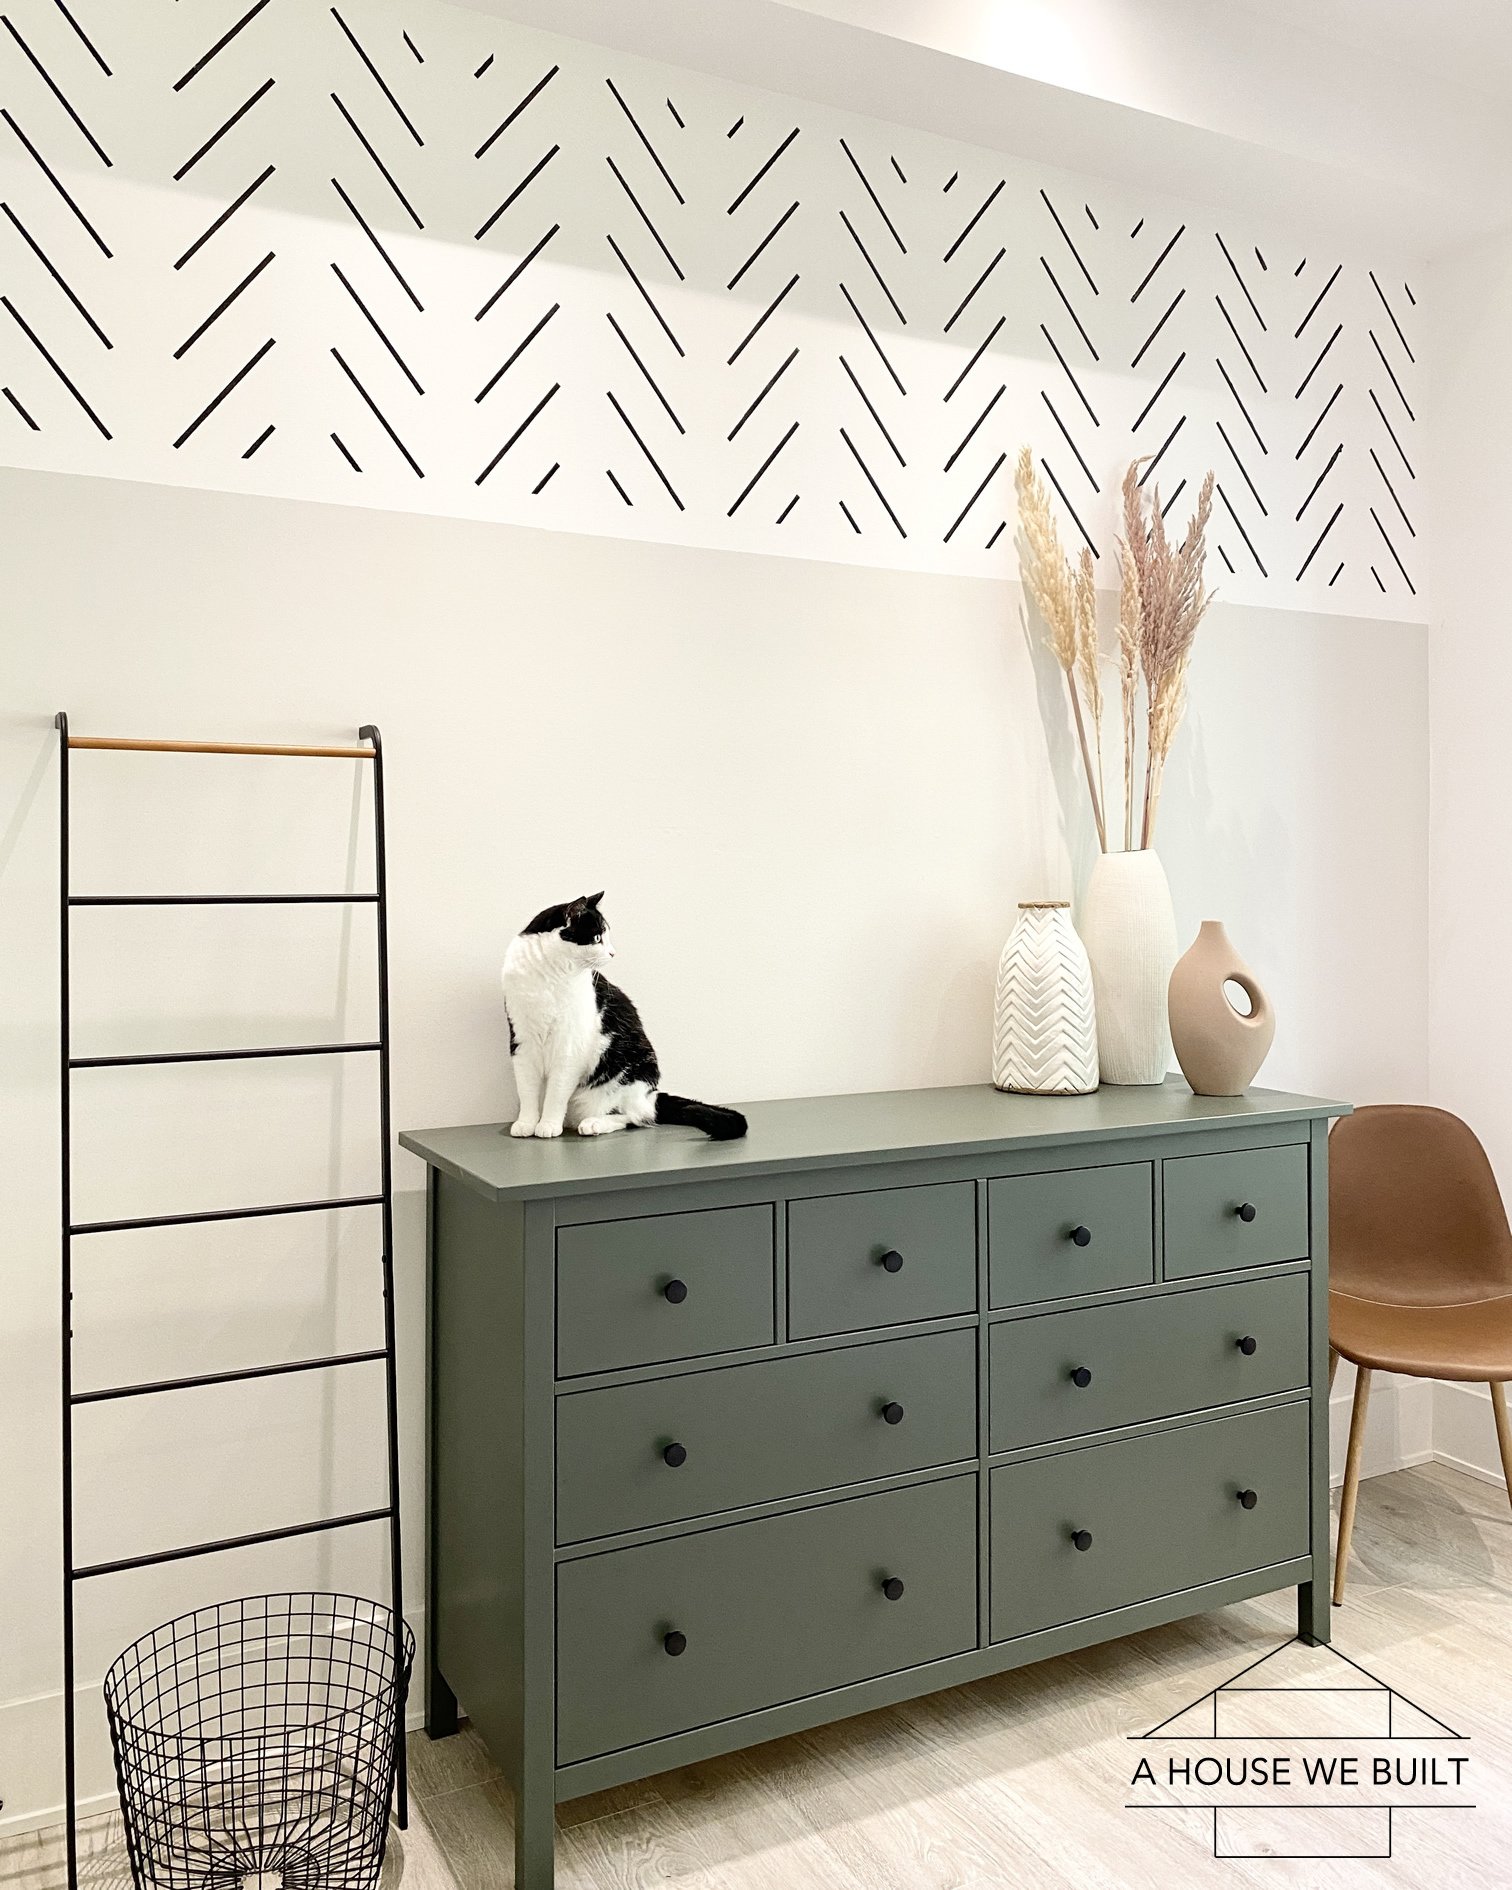
Edit: I also recently stenciled a second wall (details on that space here) so I’ll just insert those pic so you can see an option with black stencil lines. I used the same stencil so this tutorial applies to both projects.
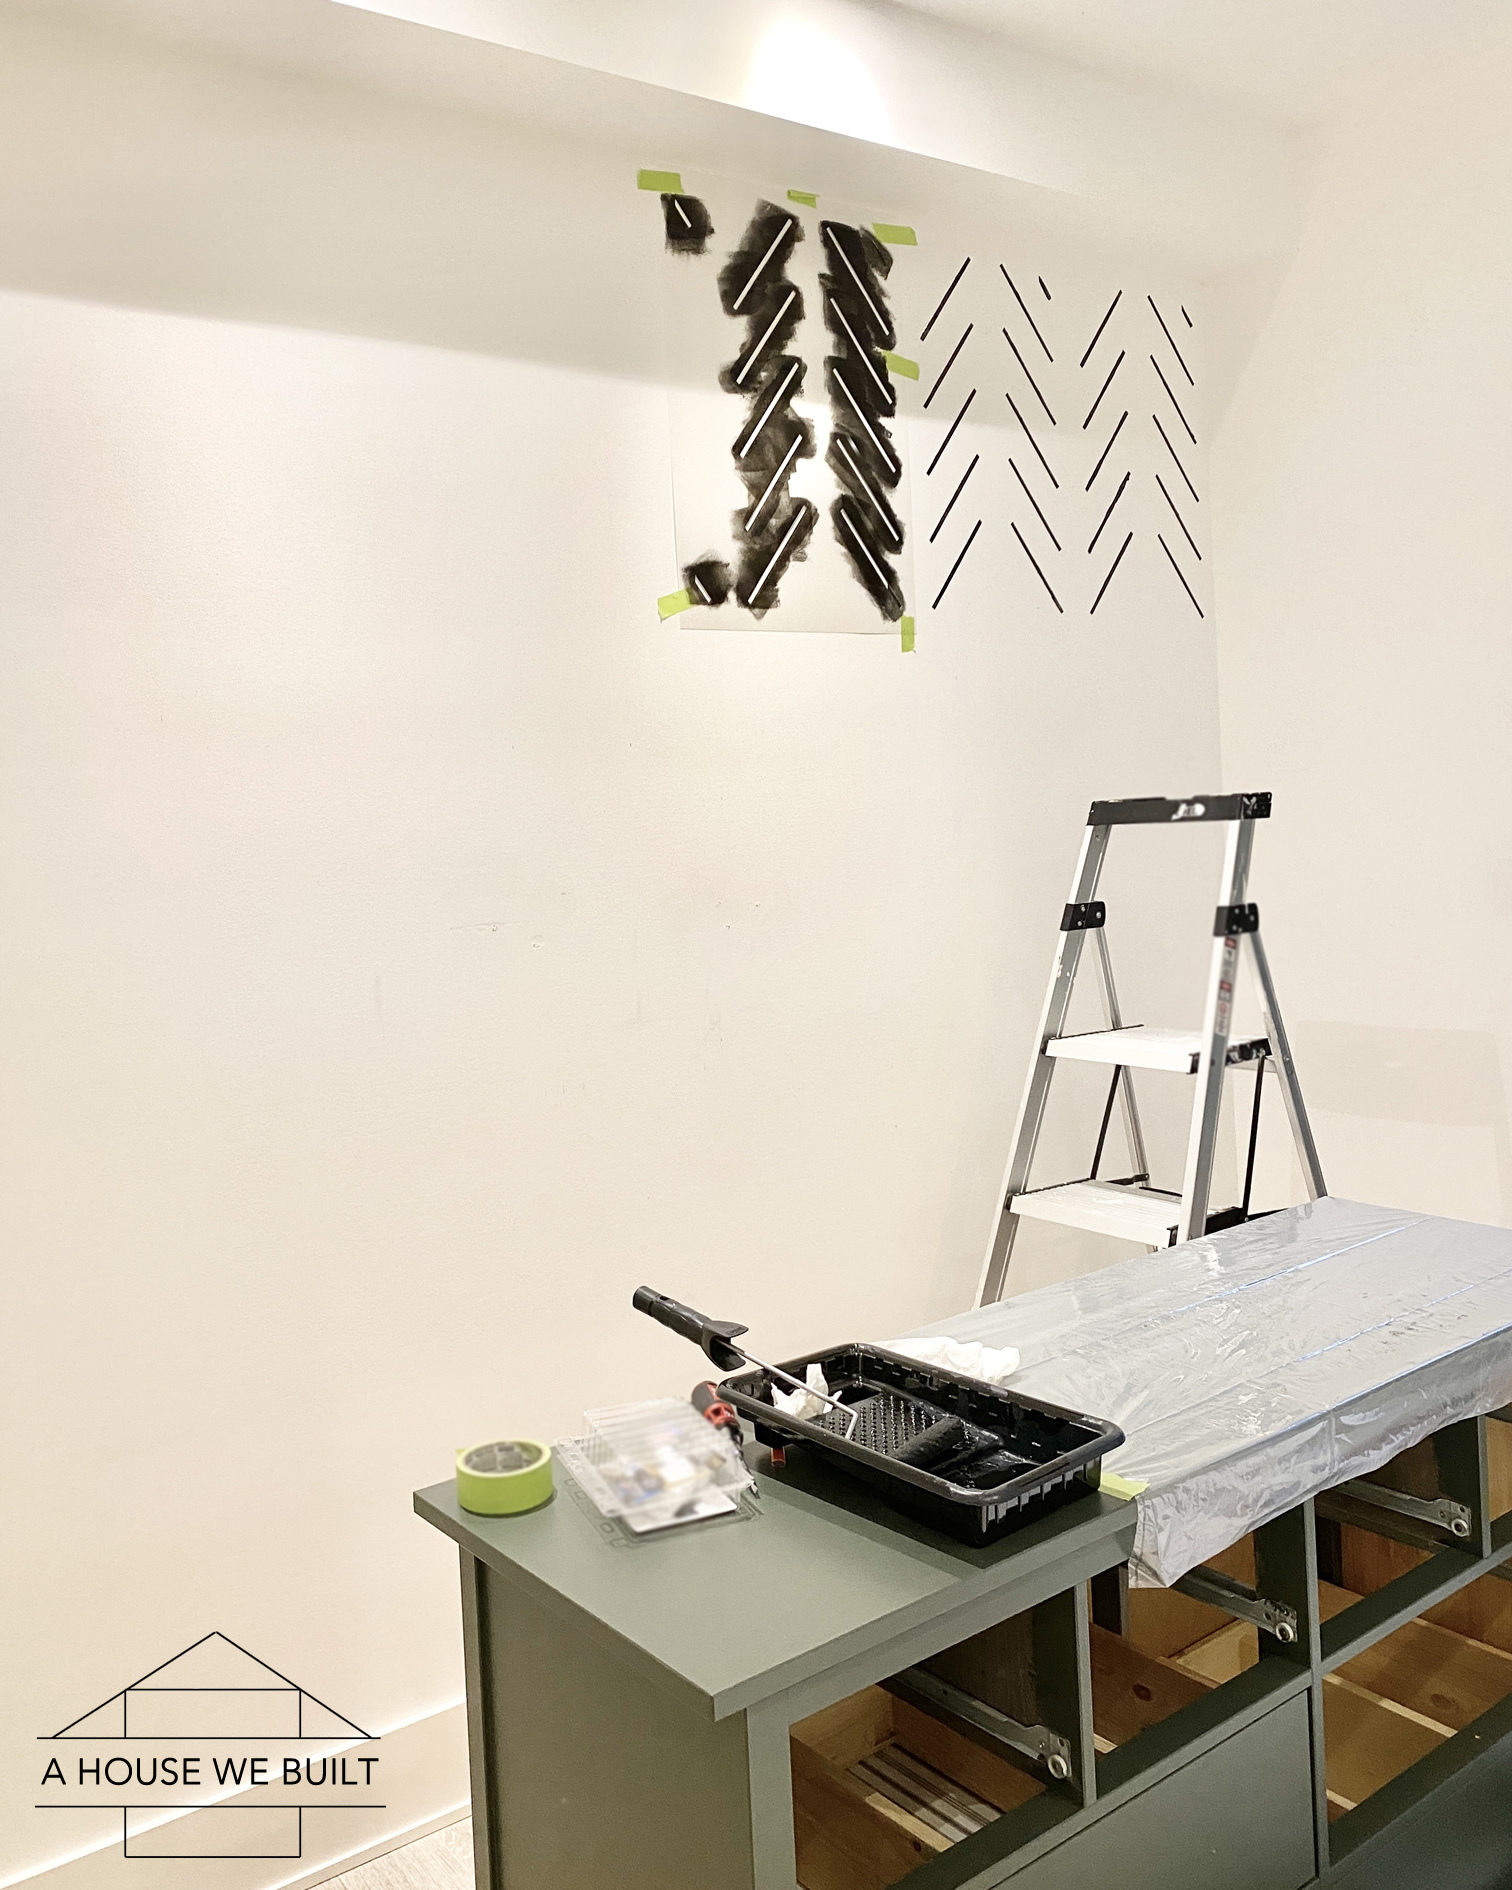
I wasn’t planning to do a tutorial for this project because stenciling is actually so easy. But since I had previously expected it would be wayyyyy harder, I hope this tutorial helps you see how fast and easy it is!
This is the stencil I used: Amazon | Walmart.
The best thing about stenciling is that it transforms a space with JUST PAINT! No power tools, no cutting, no nailing, no “building” required… if you change your mind in a couple years, just paint back over it! It’s versatile, easy, and honestly it’s the type of project most anyone can do even if you’re not very handy.
STENCILS | Stencils come in all shapes, sizes, and styles. You *can* do this without a stencil by using painter’s tape to tape off a pattern or even free-handing your pattern, but I wanted an even pattern I could repeat quickly and easily so I decided to use a stencil. Here are some of my favorite herringbone looks:
- Large herringbone stencil: Amazon | Walmart (what I used)
- Smaller herringbone: Amazon (alternative option)
- Brush strokes herringbone: Amazon (alternative option)
- Vertical wall herringbone: Amazon (alternative option)
- Straight lines: Amazon (so many fun possibilities with this)
If you’re wondering how I chose this pattern to do, I’ve just always loved herringbone and chevron patterns as shown in both our barn doors in our basement hallway, and my home office desk space.
WHAT YOU’LL NEED:
- Stencil: Amazon | Walmart
- Painter’s tape: Amazon
- Small microfiber roller & tray: Amazon
- Matte wall paint: just a sample-size bottle. I used BM Simply White on BM Classic Gray wall
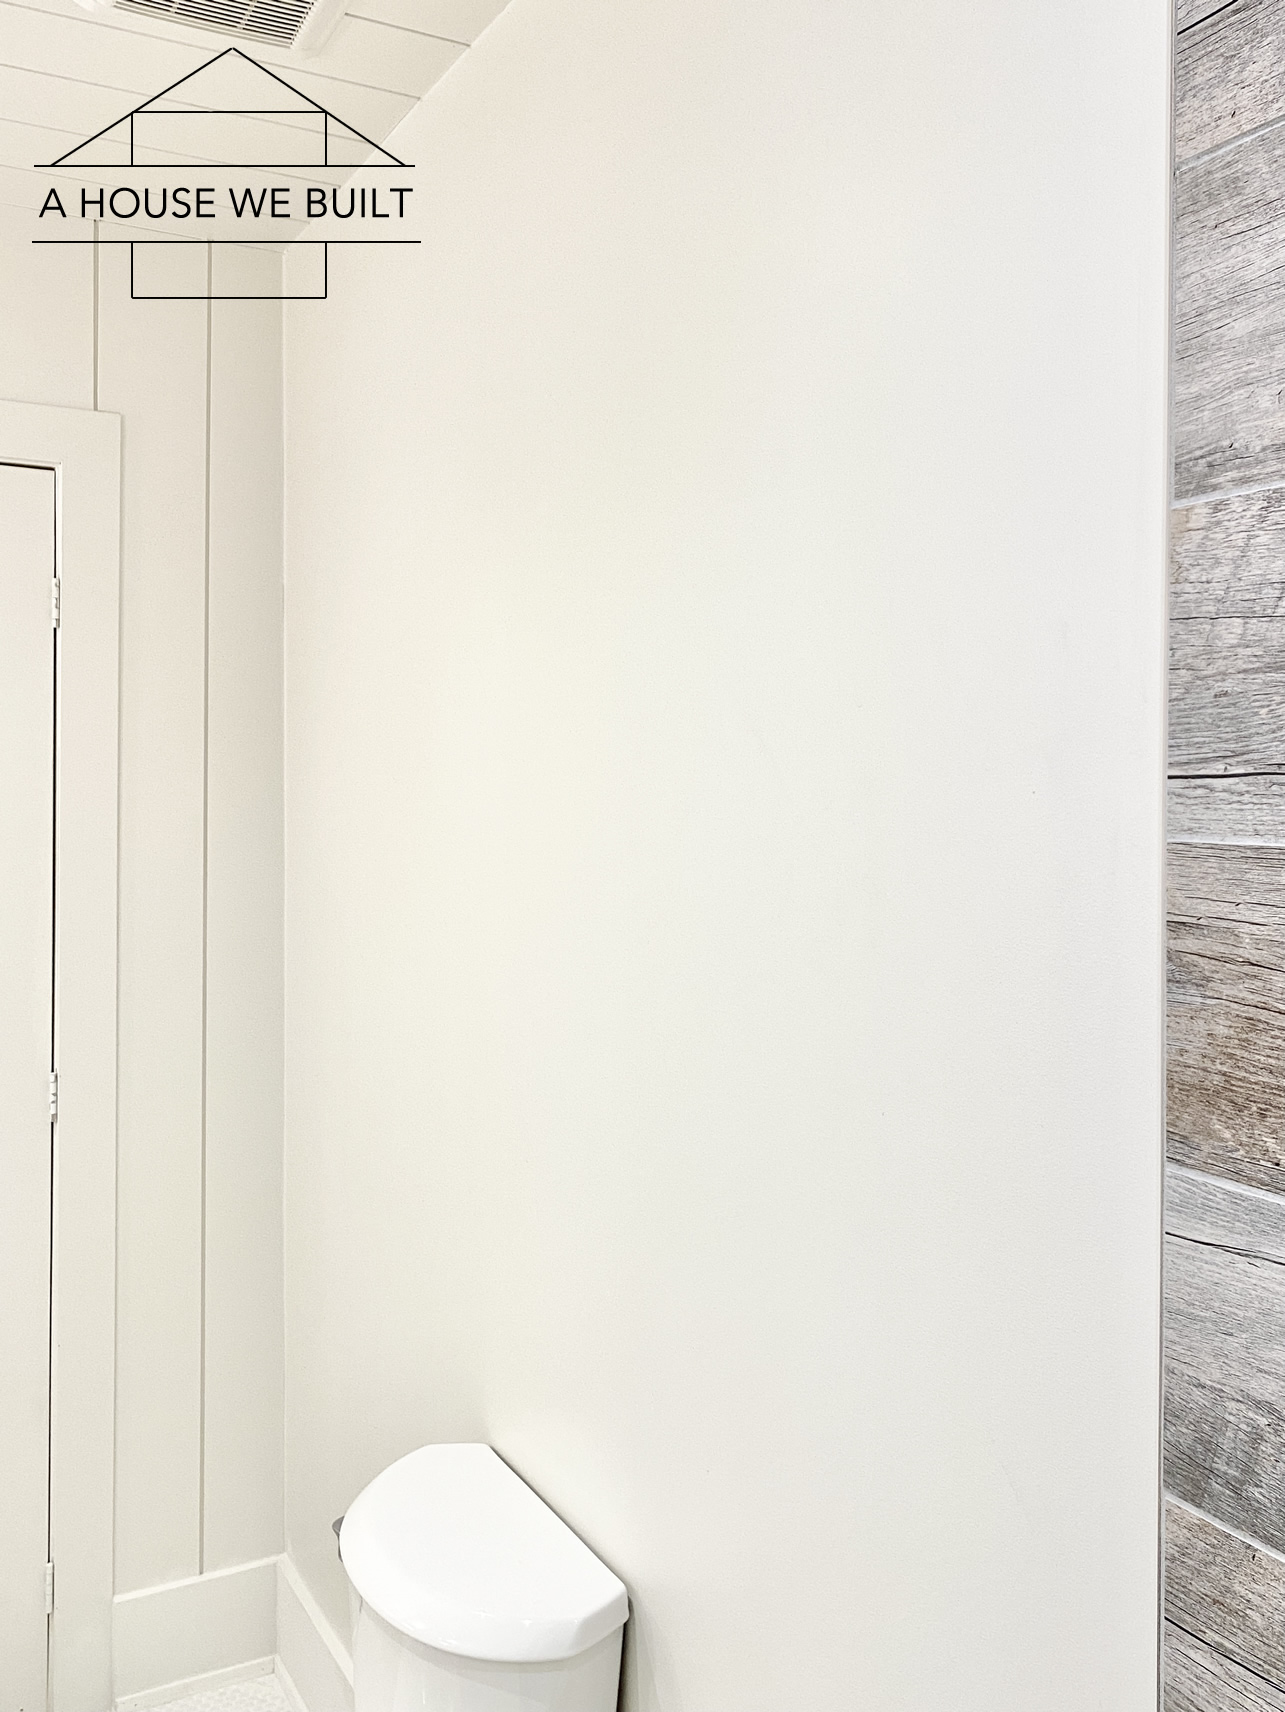
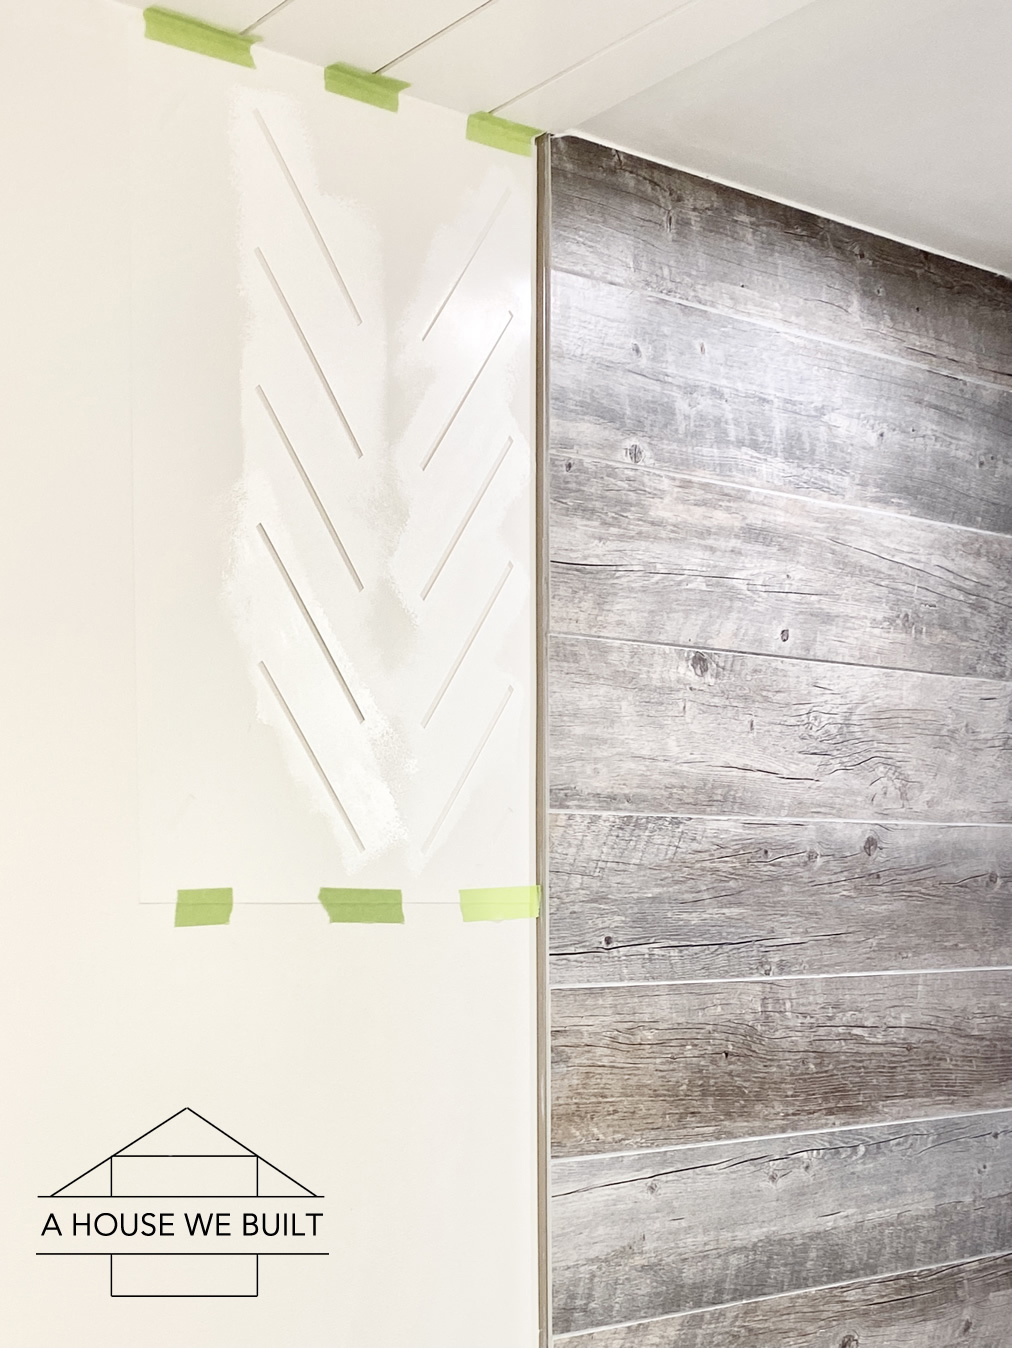
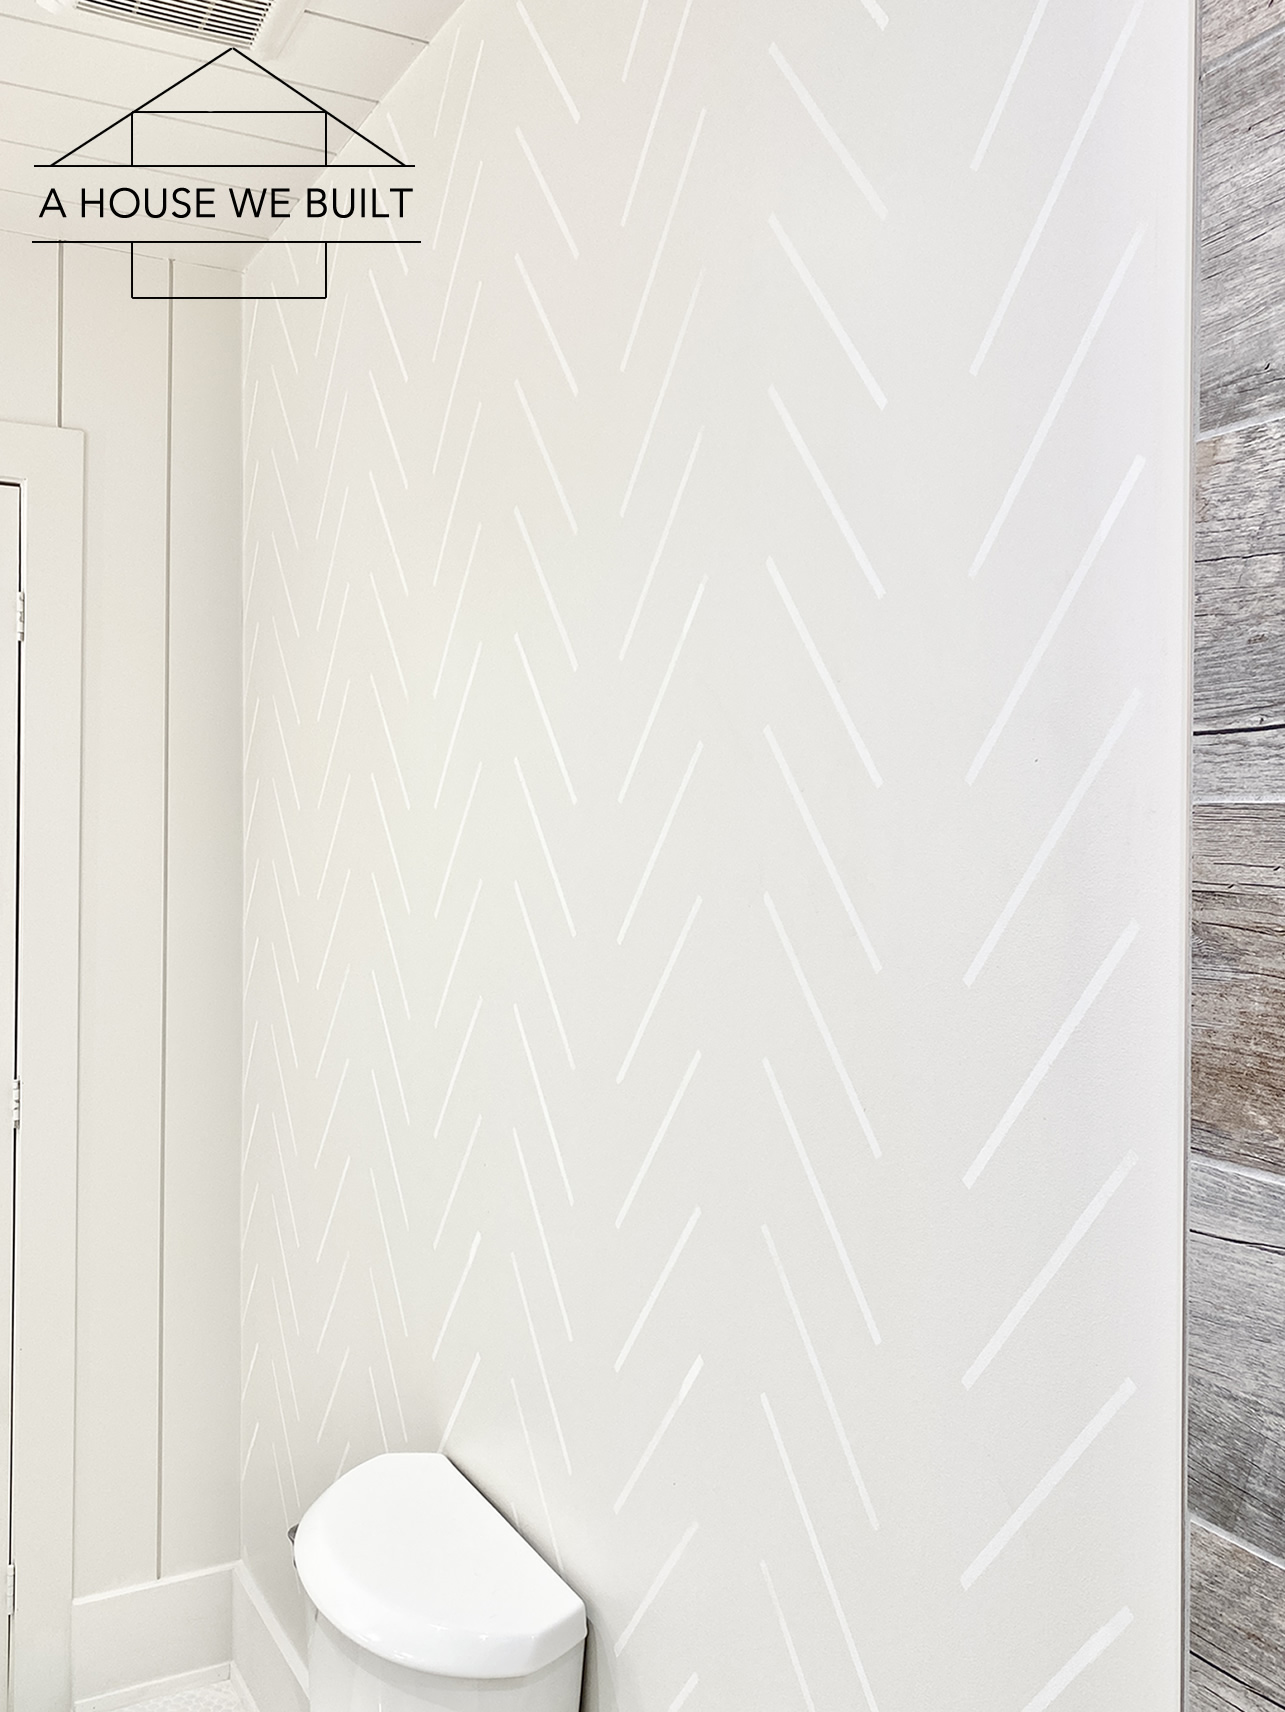
HOW TO STENCIL:
- Use painter’s tape to stick your stencil to the wall, starting at the ceiling. You can either start it in the center of the room and move outward to the two sides, or start at one side and stencil your way across. I recommend measuring your wall-to-stencil dimensions to be sure you are happy with where your stencil pattern ends, then adjust where you start your pattern accordingly.
- Using a very, very, very dry microfiber roller, roll over your stencil to imprint the pattern on your wall. Seriously, you just need the tiiiiiniest amount of paint – like so little paint that it dries in less than a minute. Using a dry roller also prevents bleeding when applied to a smooth wall/surface. I also recommend rollering only in an up-down direction (you want to prevent yourself from pushing the paint under the stencil which can happen if you paint in multiple directions).
- Wait about 1 minute, then gently remove your stencil and reattach it to the wall below the first one – it will have little guides to help you repeat the pattern. You basically want to overlap it slightly so that your next stencil section is a proper continuation of the first section.
- Stencil a column down the wall, then move to the sides and cover the rest of your wall.
A FEW TIPS:
- The surface you’re going to stencil should be smooth. Stenciling does not work well over textured walls as the texture won’t allow the stencil to sit flush on the wall and the paint will bleed.
- Use a matte paint to stencil with. You really only need a tiny amount of paint – like a sample size paint can would have been enough for a wall many times the size of the one I did.
- I recommend using a roller, but you can also use a paint brush if you don’t have a roller – just again make sure it’s very, very dry. I did try using a sponge too in one section and it did not work well.
- If you’re wondering like I did about how to keep reusing a stencil that has just been painted over, don’t worry. If you’re using a very dry brush, the paint dries in less than a minute so pretty much by the time you’re ready to move the stencil, it’s already dry.
- Before you start, test the stencil somewhere other than your “good” wall just to get the hang of it.
- The type of stencil I used was simple straight lines but it was hard to get into the corner with it so I just used painter’s tape to tape off the last part of the pattern manually rather than bend my stencil.
- Cleaning the stencil is very important. If you take good care of them, they can last years. The best way I found to do it was to take a damp cloth and wipe the whole stencil down just to get it wet, then use a putty knife (like this: Amazon) to just scrape it down. This technique removed all the paint very quickly and just needs a final wipe down after to remove all the paint scrapings.
This was such an easy project that I wasn’t planning to do a tutorial for it so I didn’t take many progress pictures. But I hope these tips help answer any questions or give you the nudge to try stenciling!
Other sources from this bathroom:
- Lighting: West Elm | Similar: Wayfair
- Oval mirror: Amazon | Wayfair
- Black drawer pulls: Amazon
- Wall-mounted faucet: Home Depot | Walmart (similar)
- Vase: Crate & Barrel
- Wood counters: How to Build Wood Countertops Tutorial
- Shiplap: How to Install Shiplap Tutorial
For our daily progress, follow us on Instagram @ahousewebuilt.
To explore the other rooms in our house, click here.
Leave a Reply
You must be logged in to post a comment.