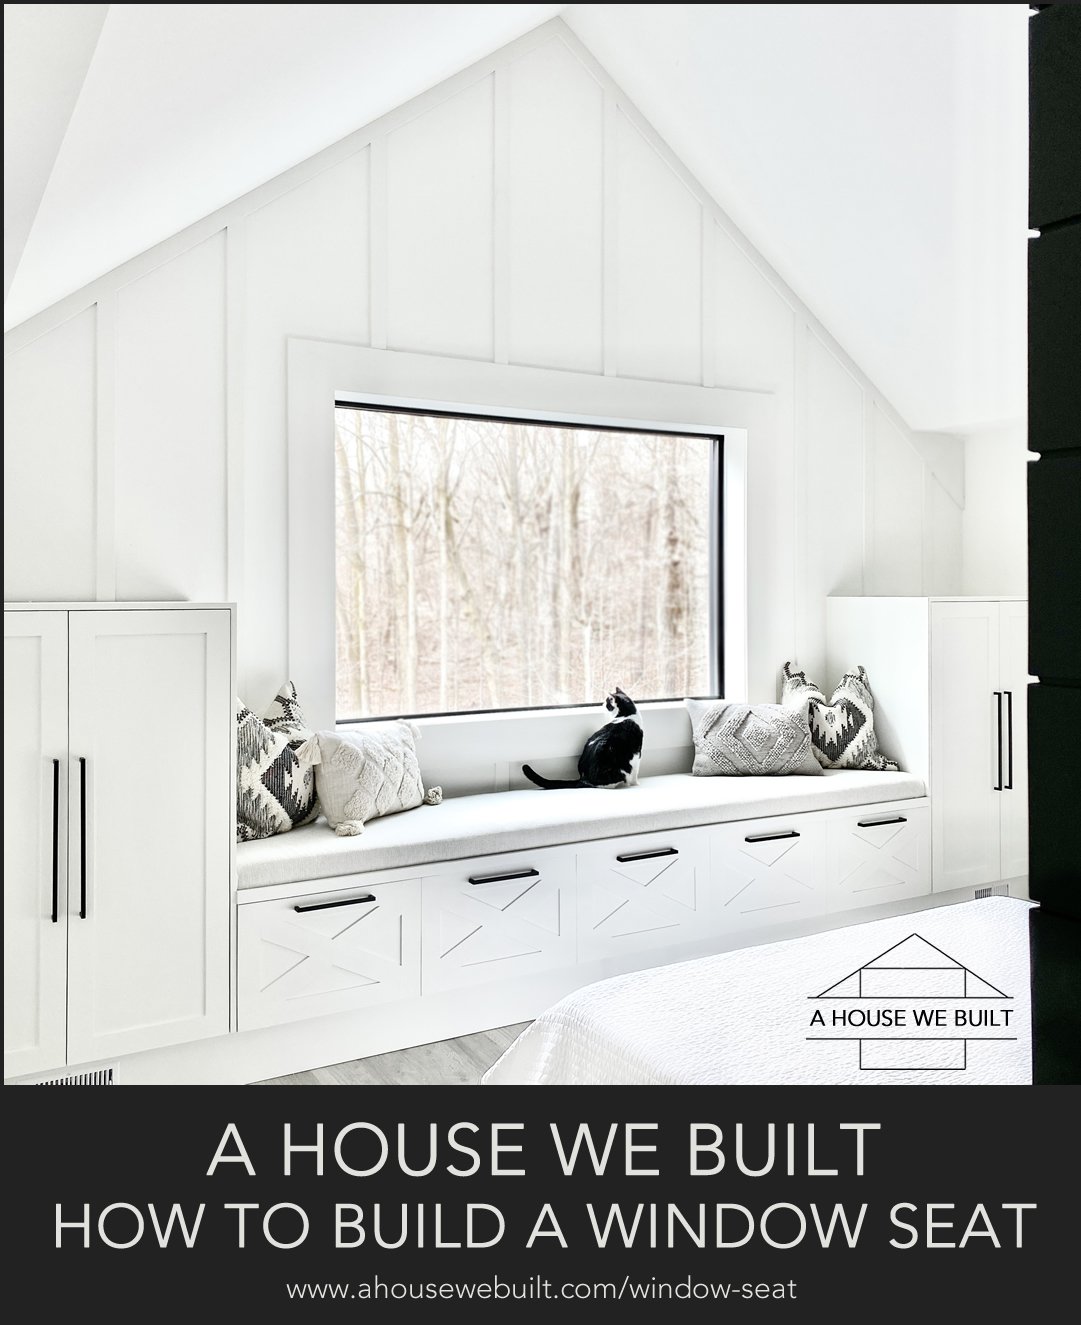
We built this window seat in our primary bedroom from scratch and I’m going to share how we did it here. This is intended to provide general information on how we designed and built this part of our home. I’ve included all relevant sources throughout the post and there’s also a sources recap at the bottom.
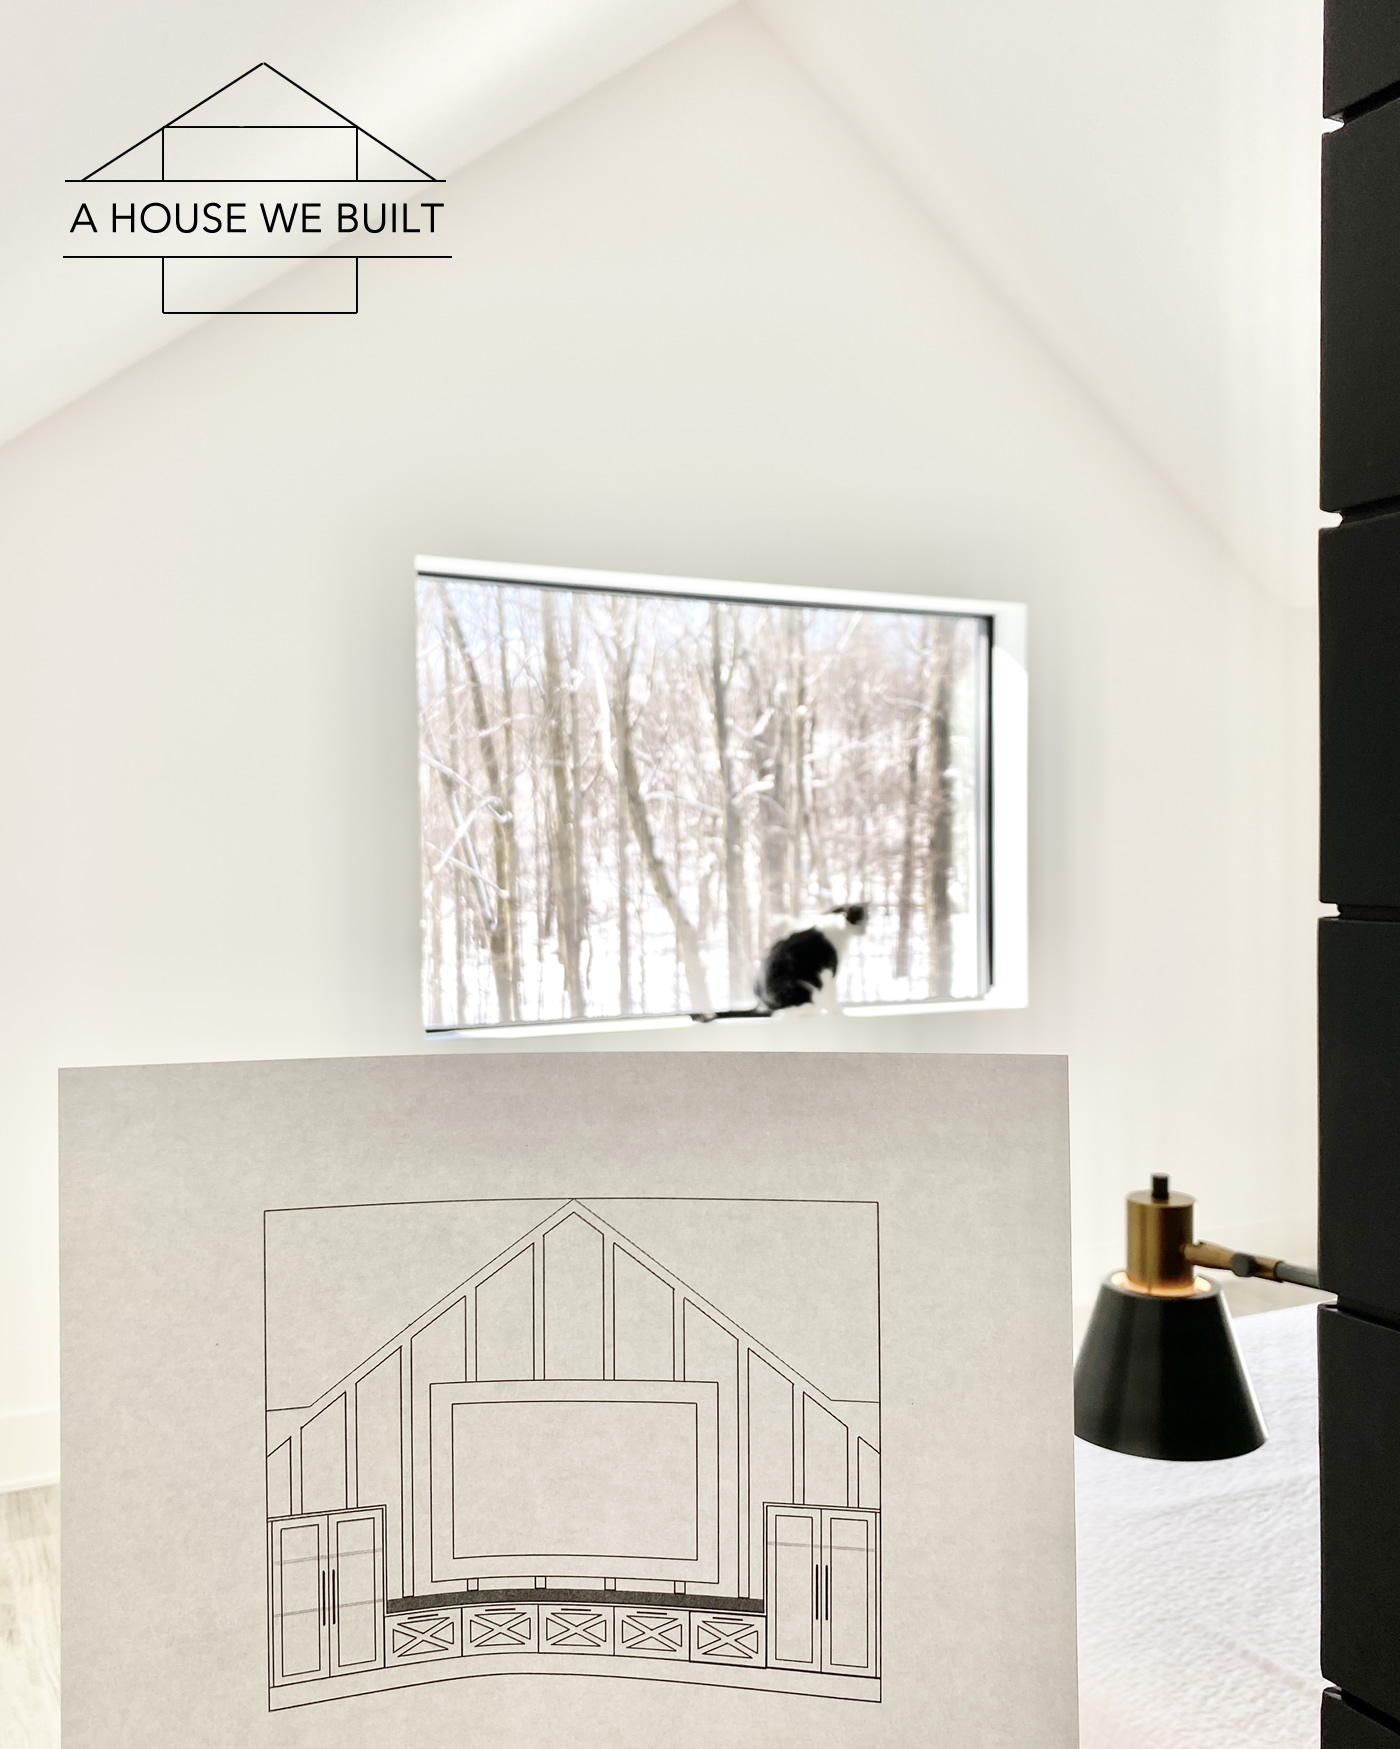
This vaulted window wall opposite our bed had been on my mind ever since we first designed our home and I’d been running over possibilities for what to do with this space and I had SO many different ideas that I loved but it wasn’t until I came up with this window seat design that I had my “AHAH!!! moment” and just knew this was what we should do. So, it all started with a little sketch I drew one night…
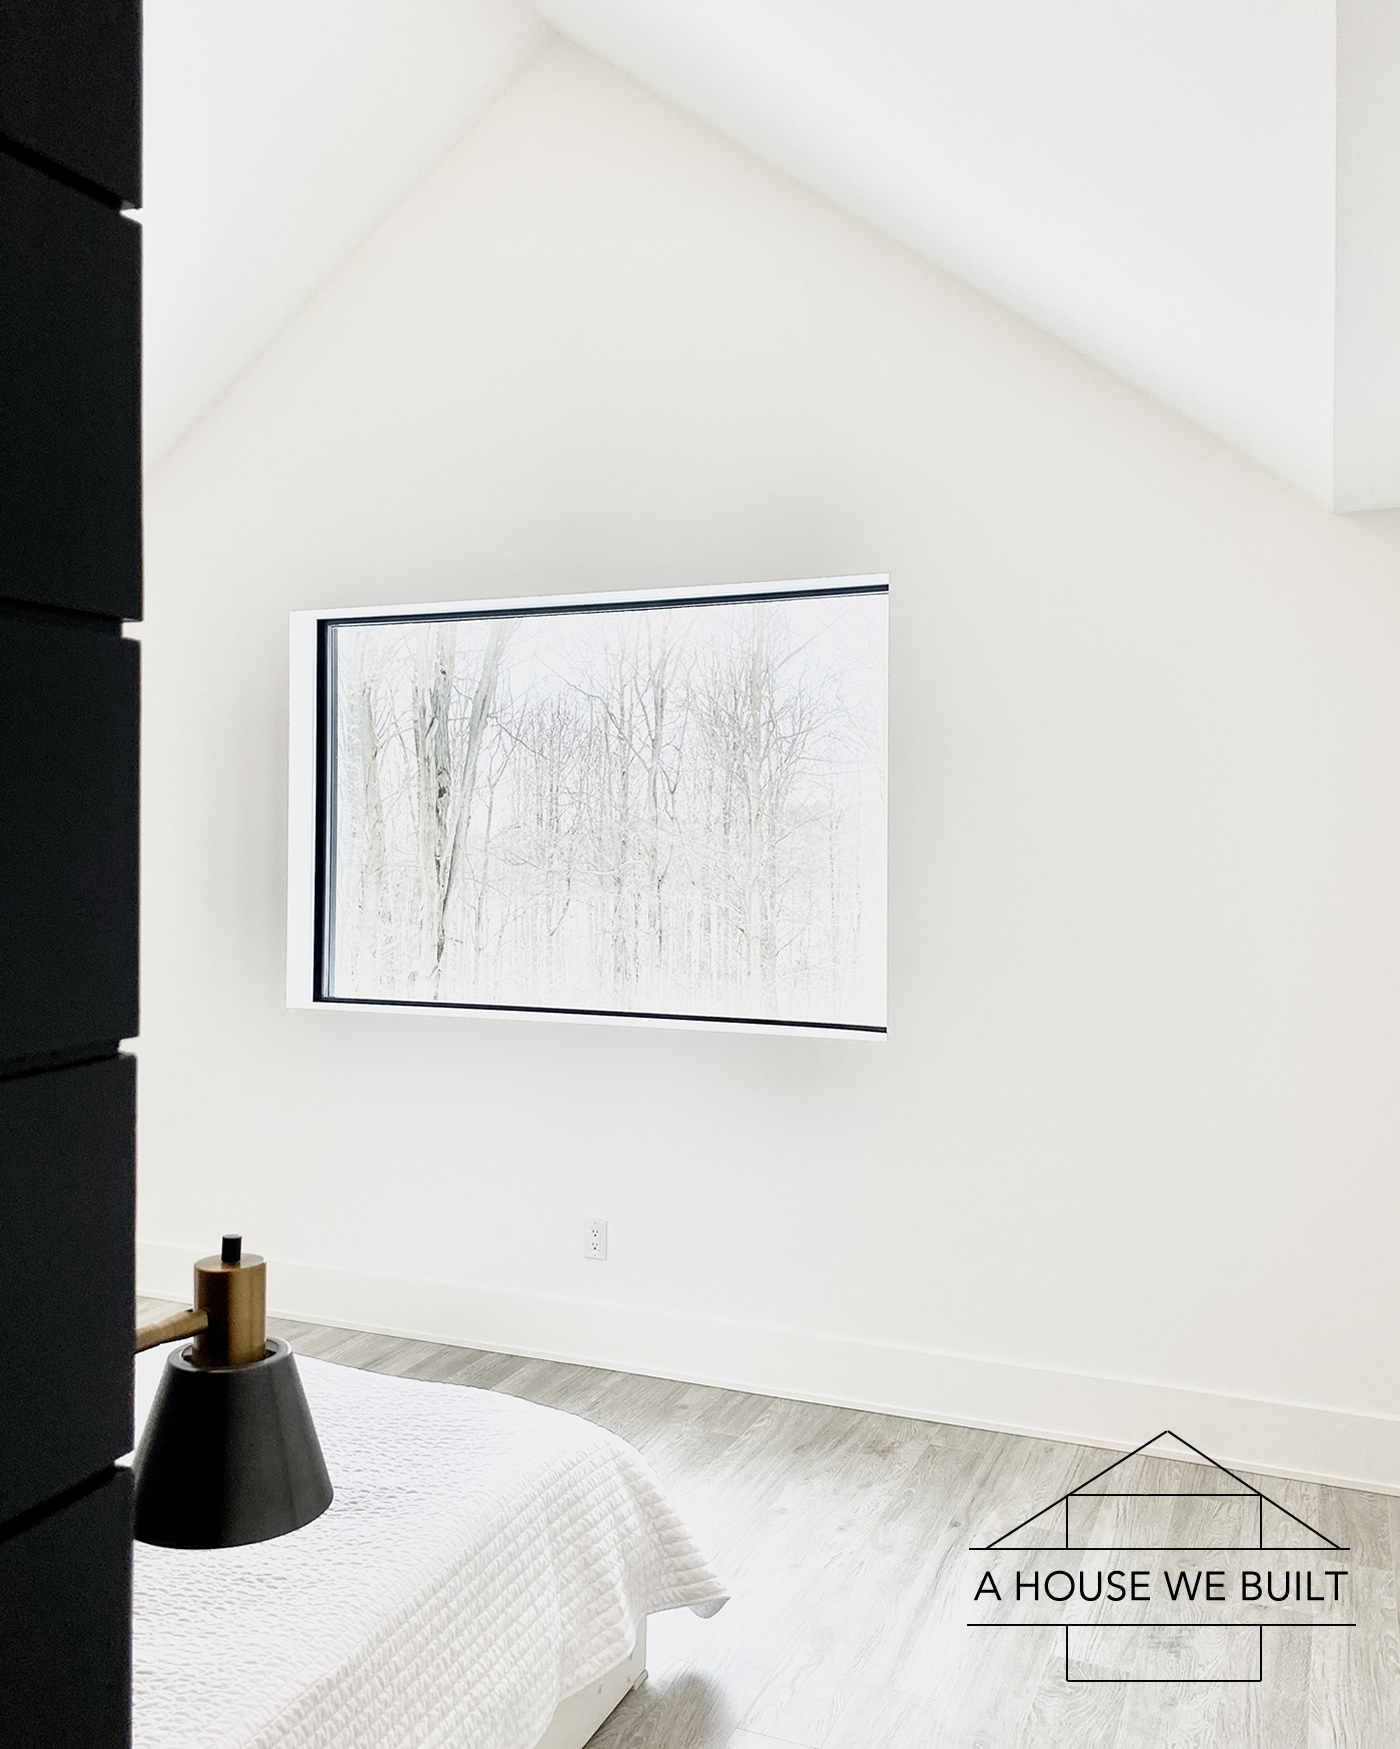
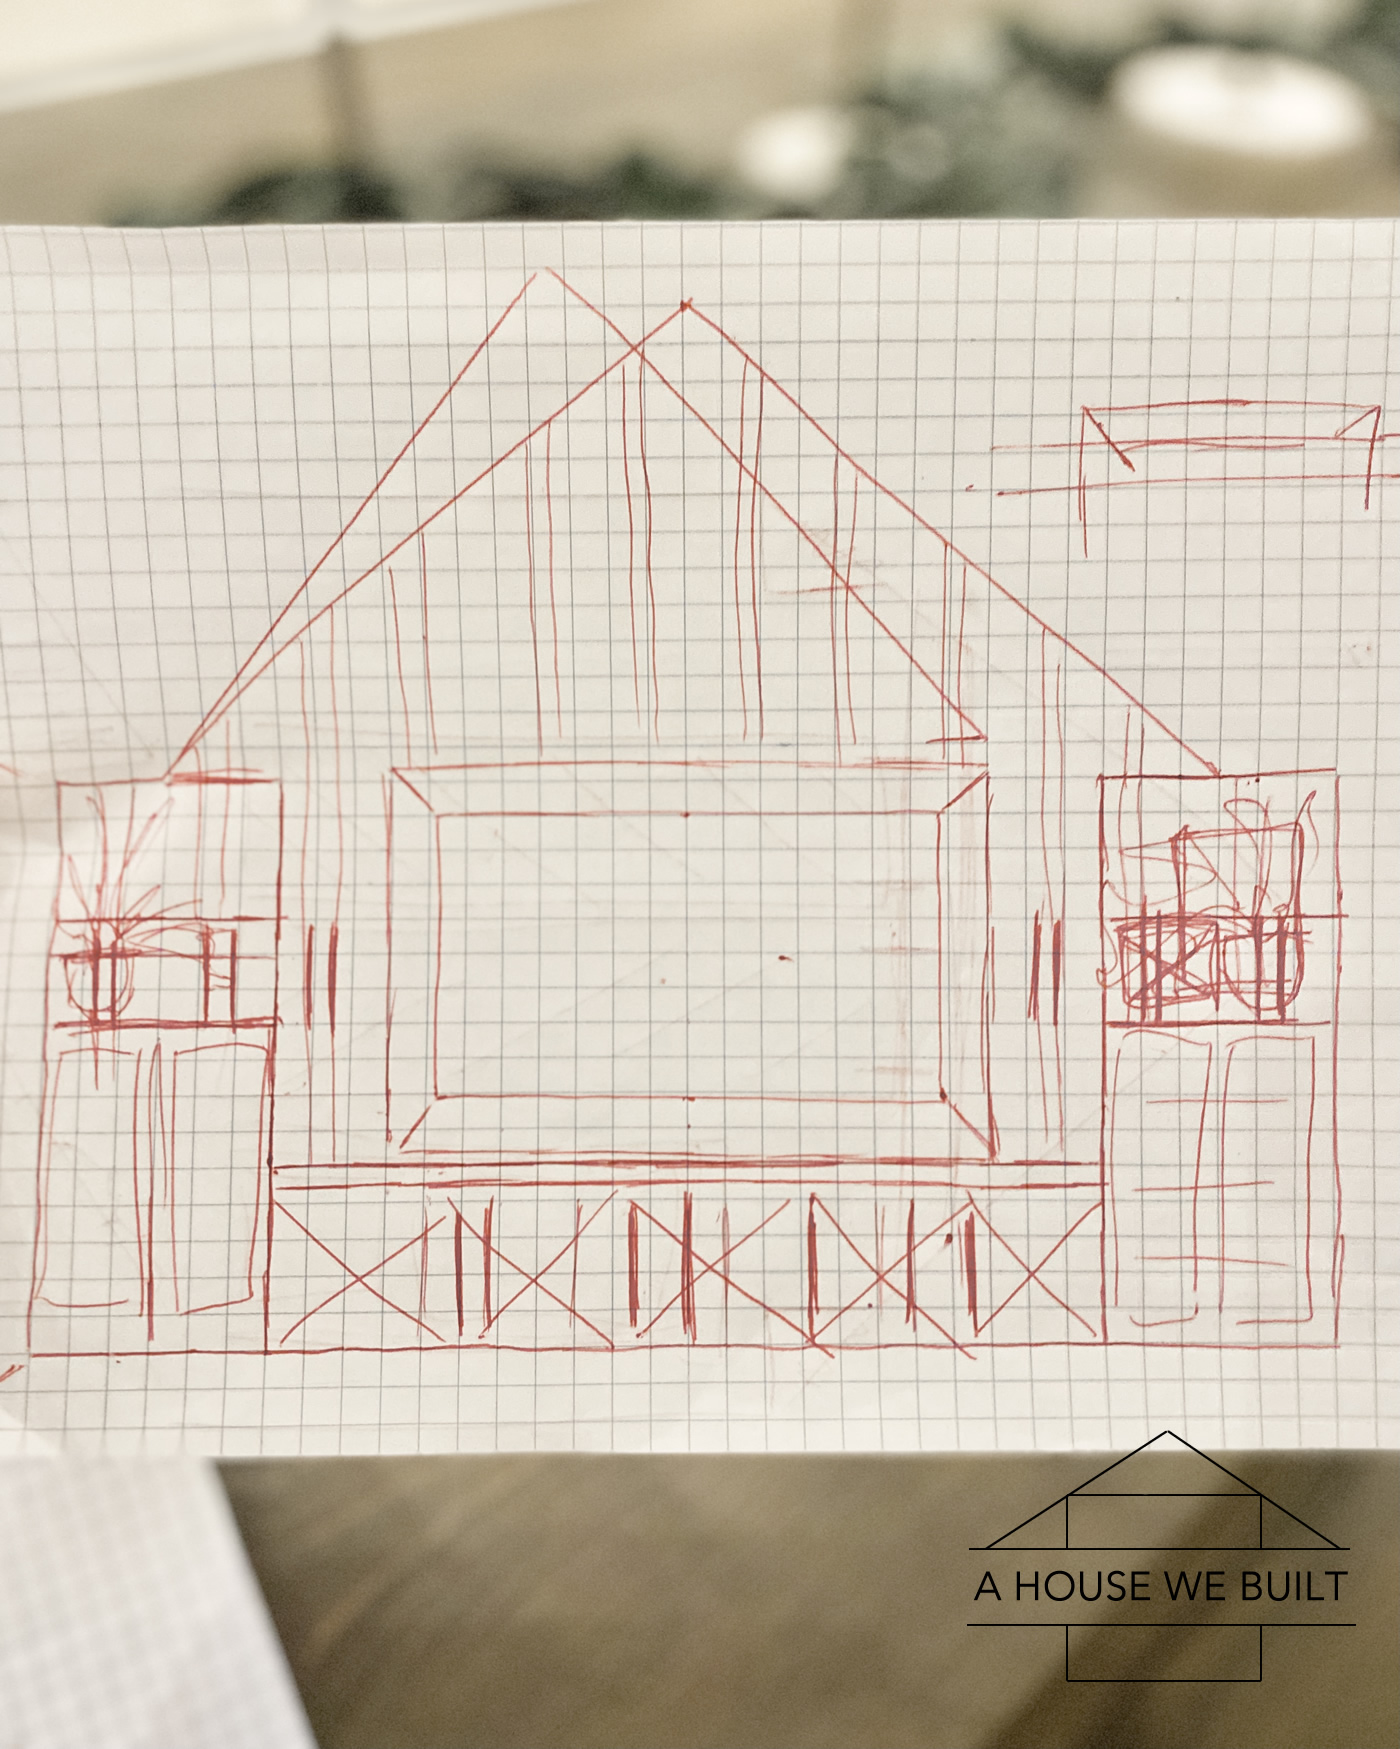
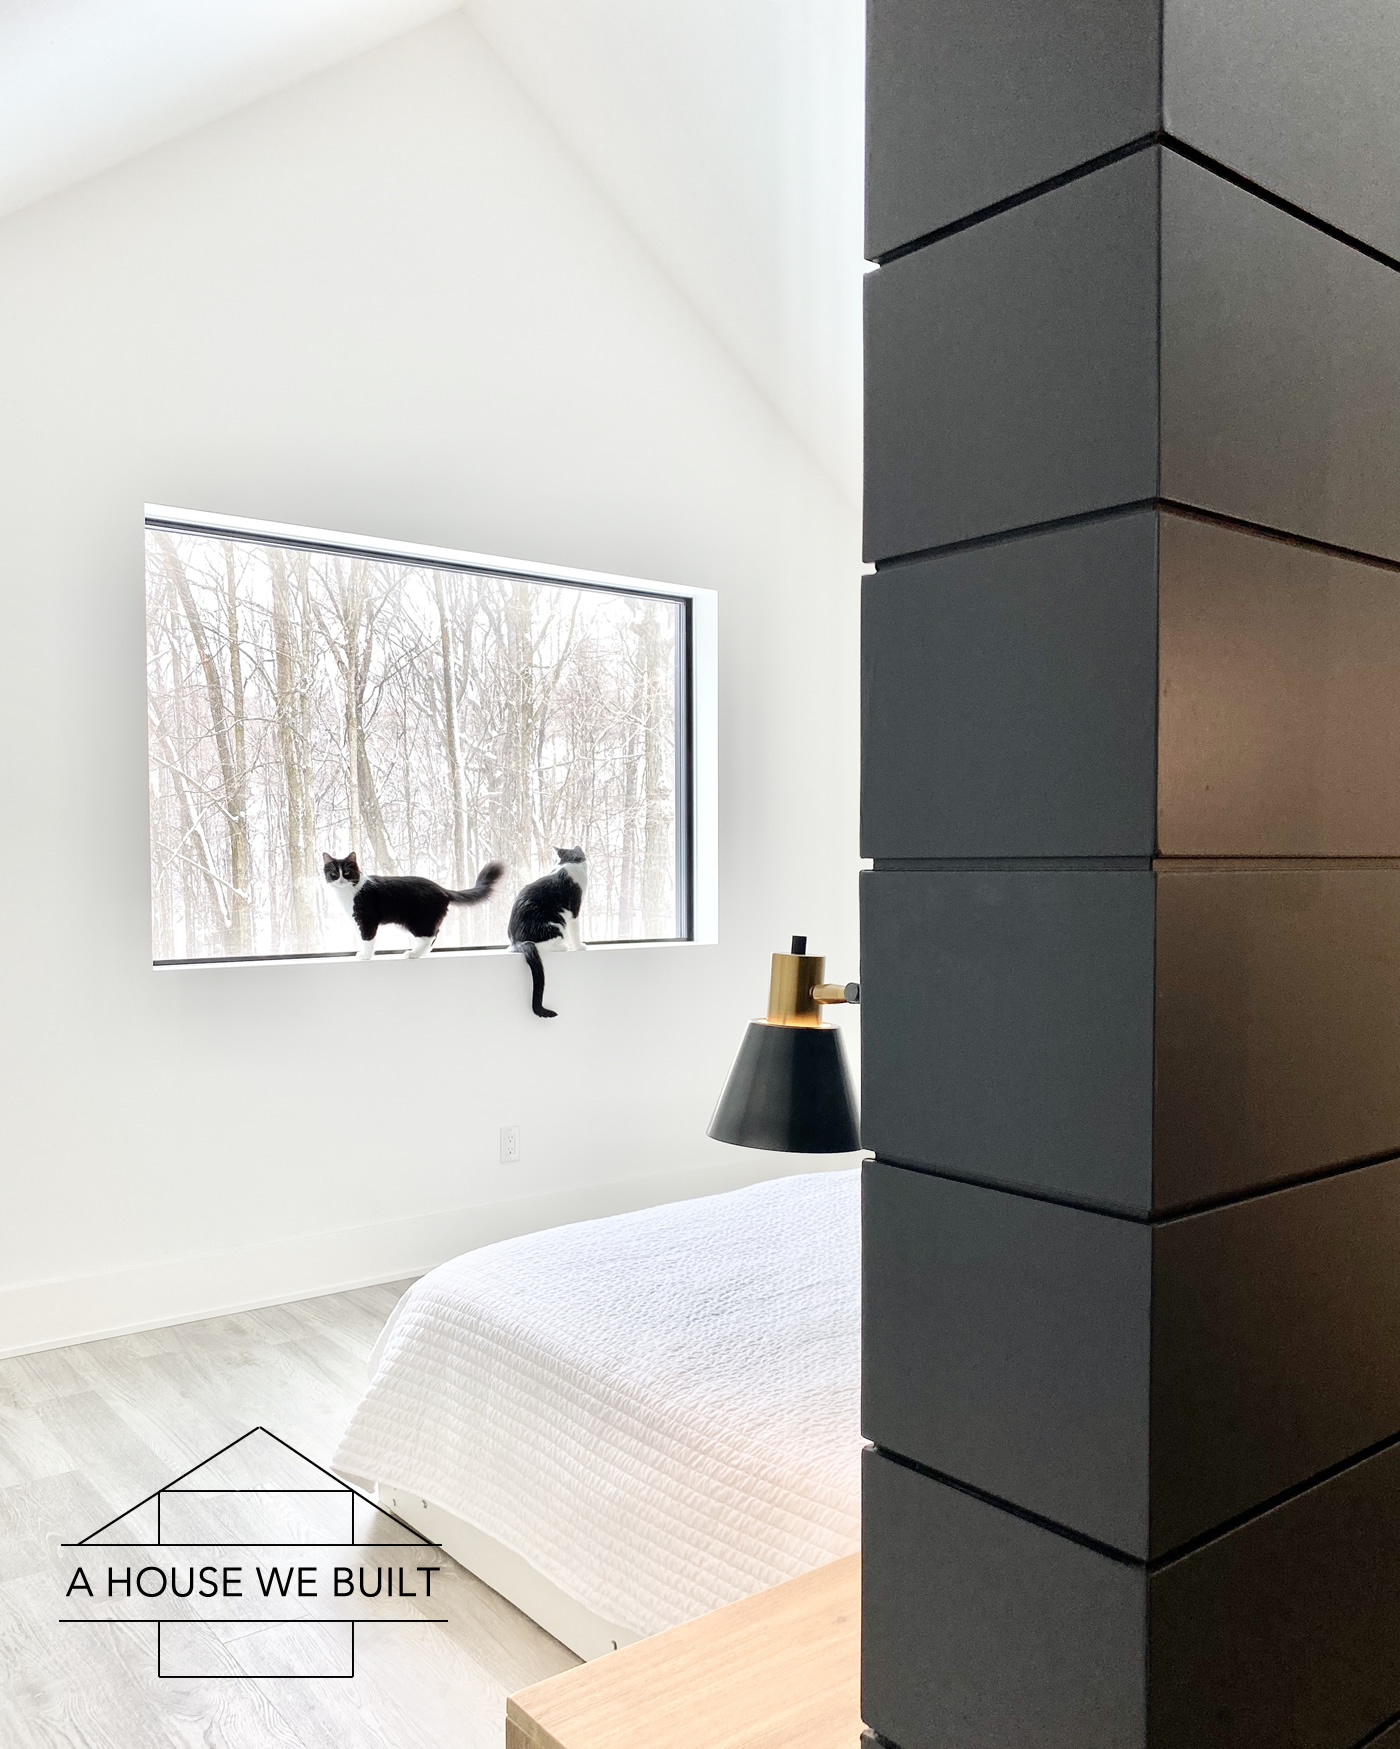
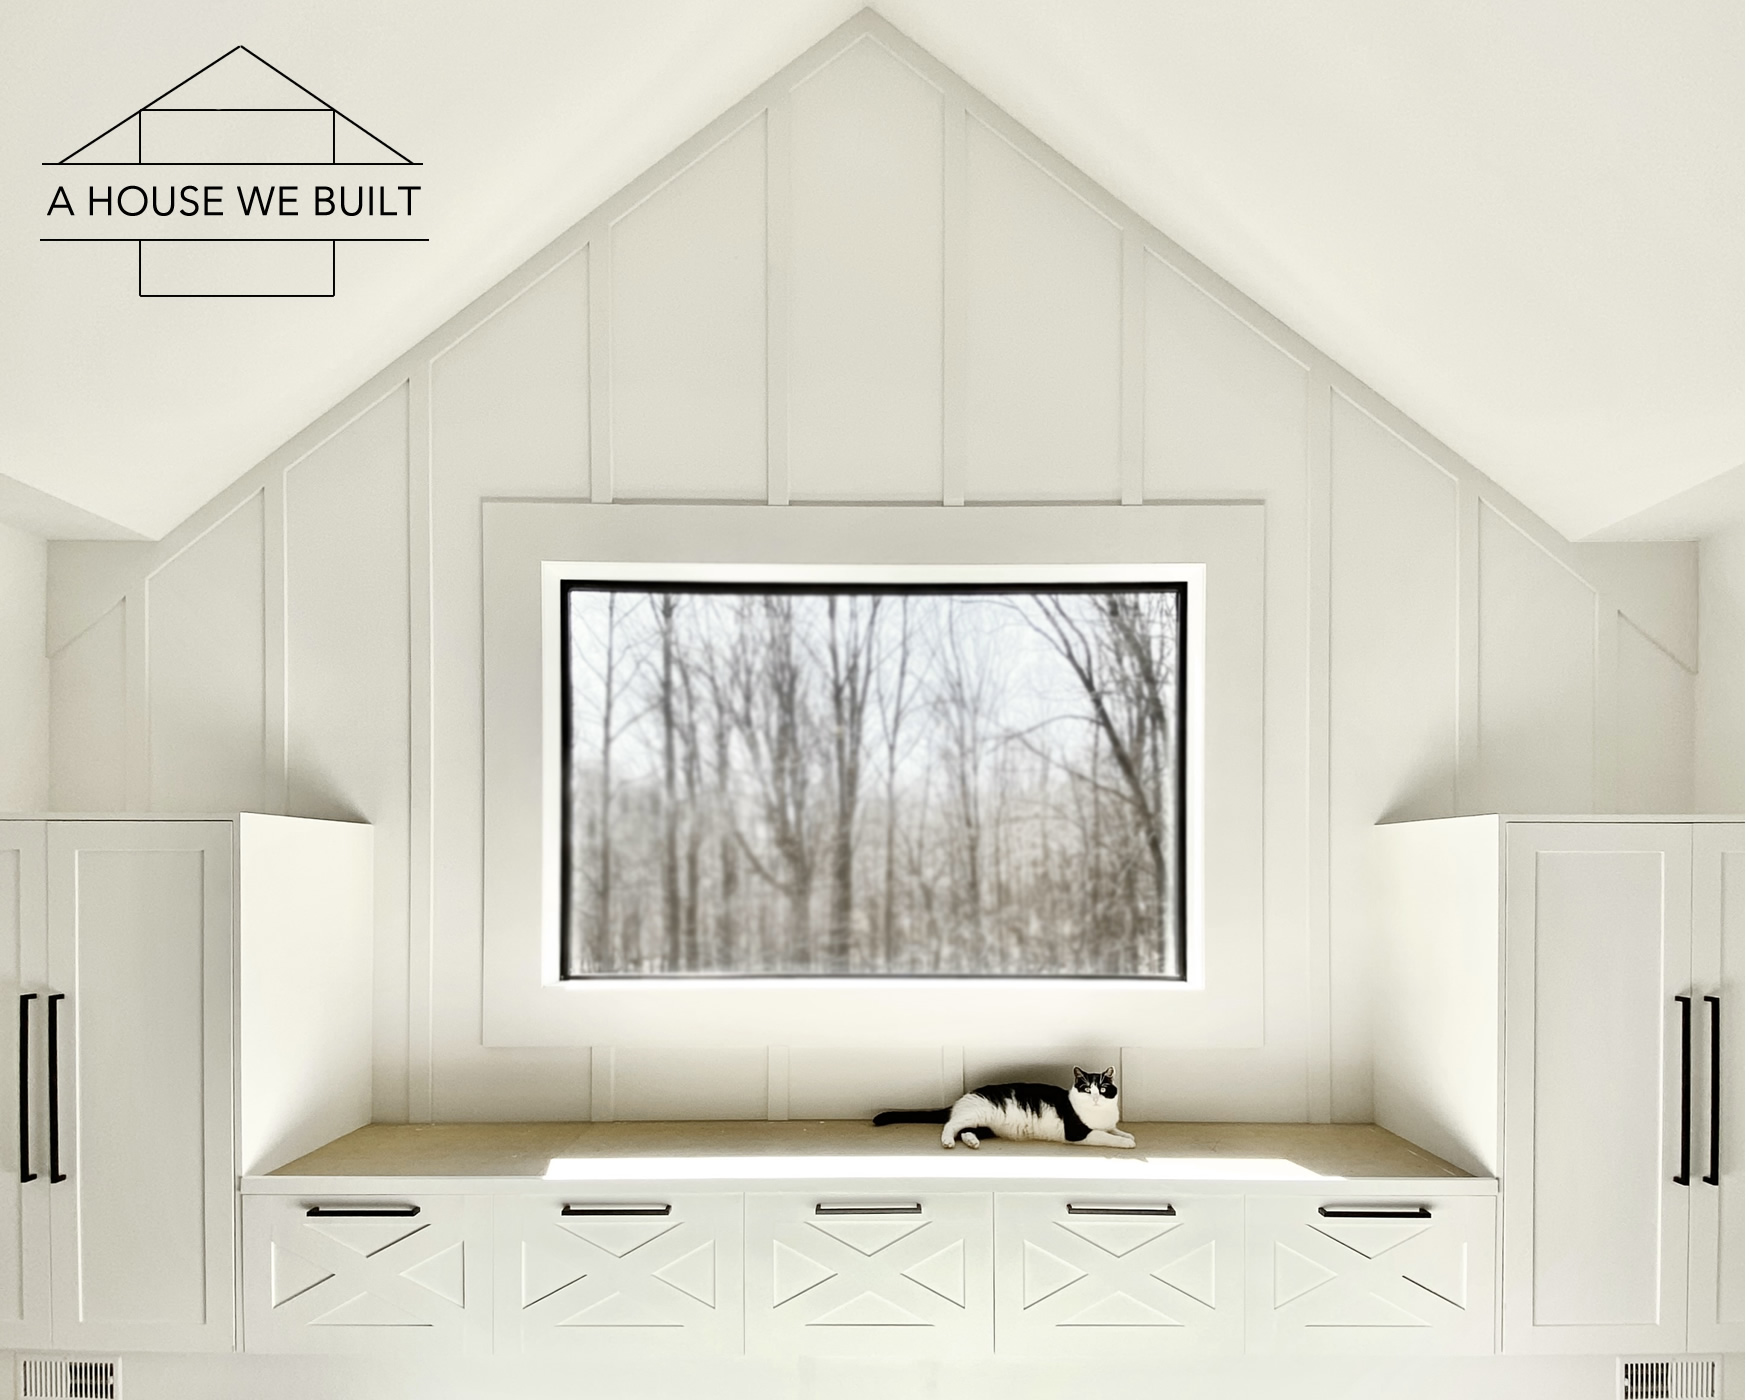
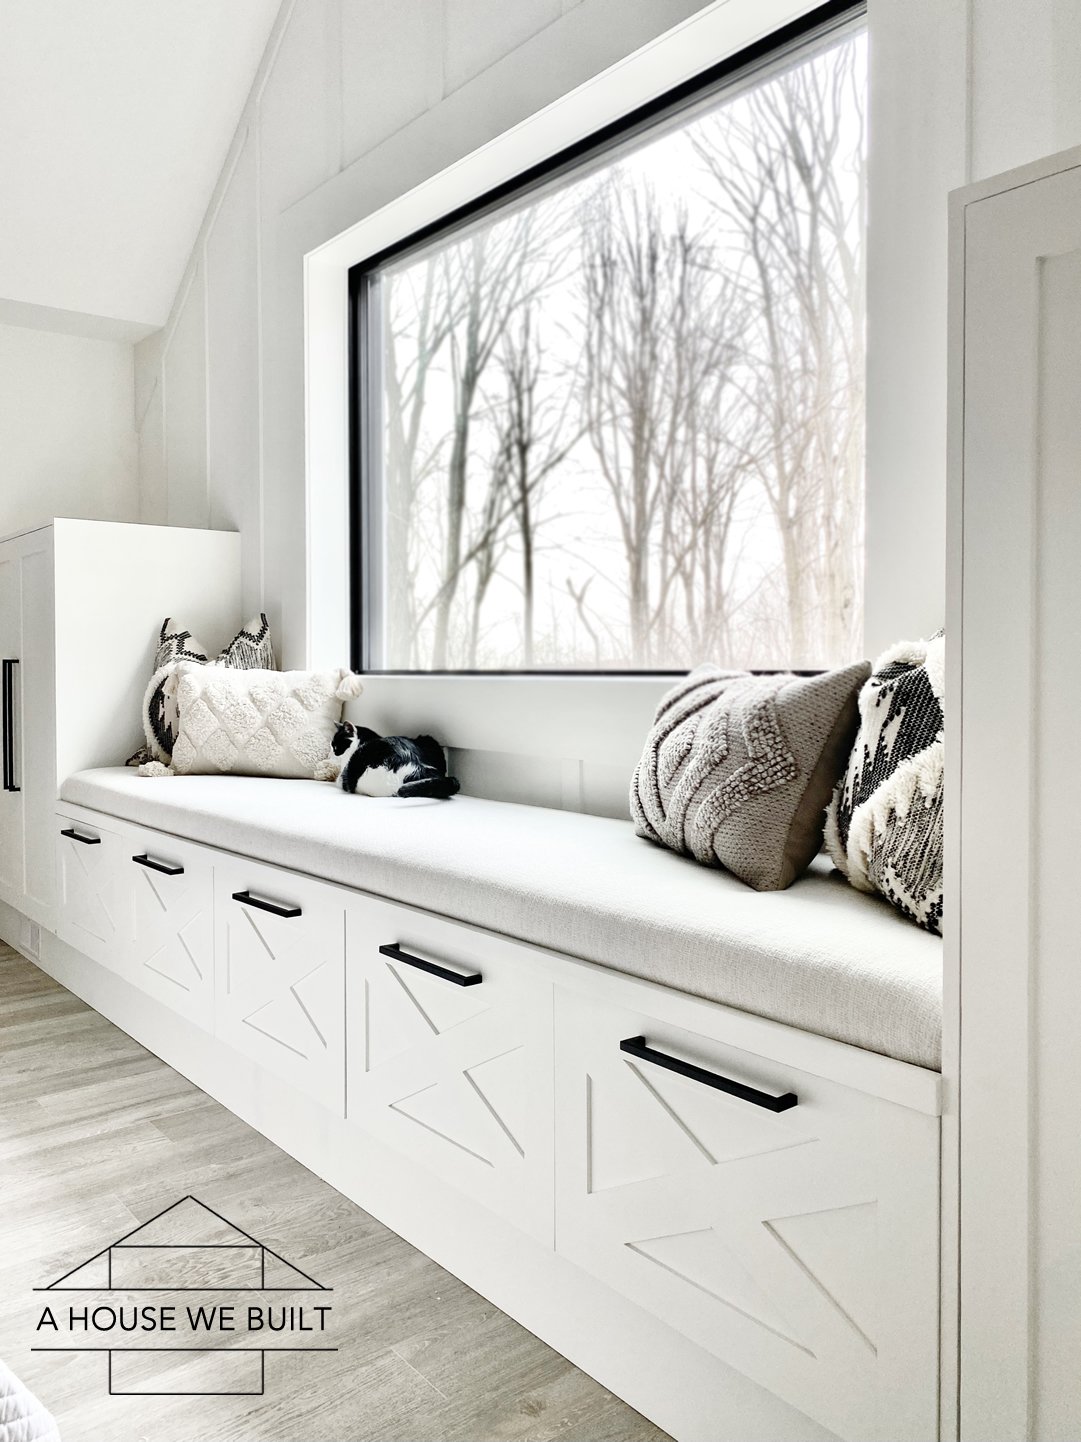
… which I then then developed into a digital sketch (see below) of my idea to create a long window seat bench with a row of wide/deep drawers underneath it for linen storage. While we have created many storage spaces around our home, we actually did not have a specific place in our bedroom for extra pillows, sheets, etc and from a practical perspective this storage would help our home organization.
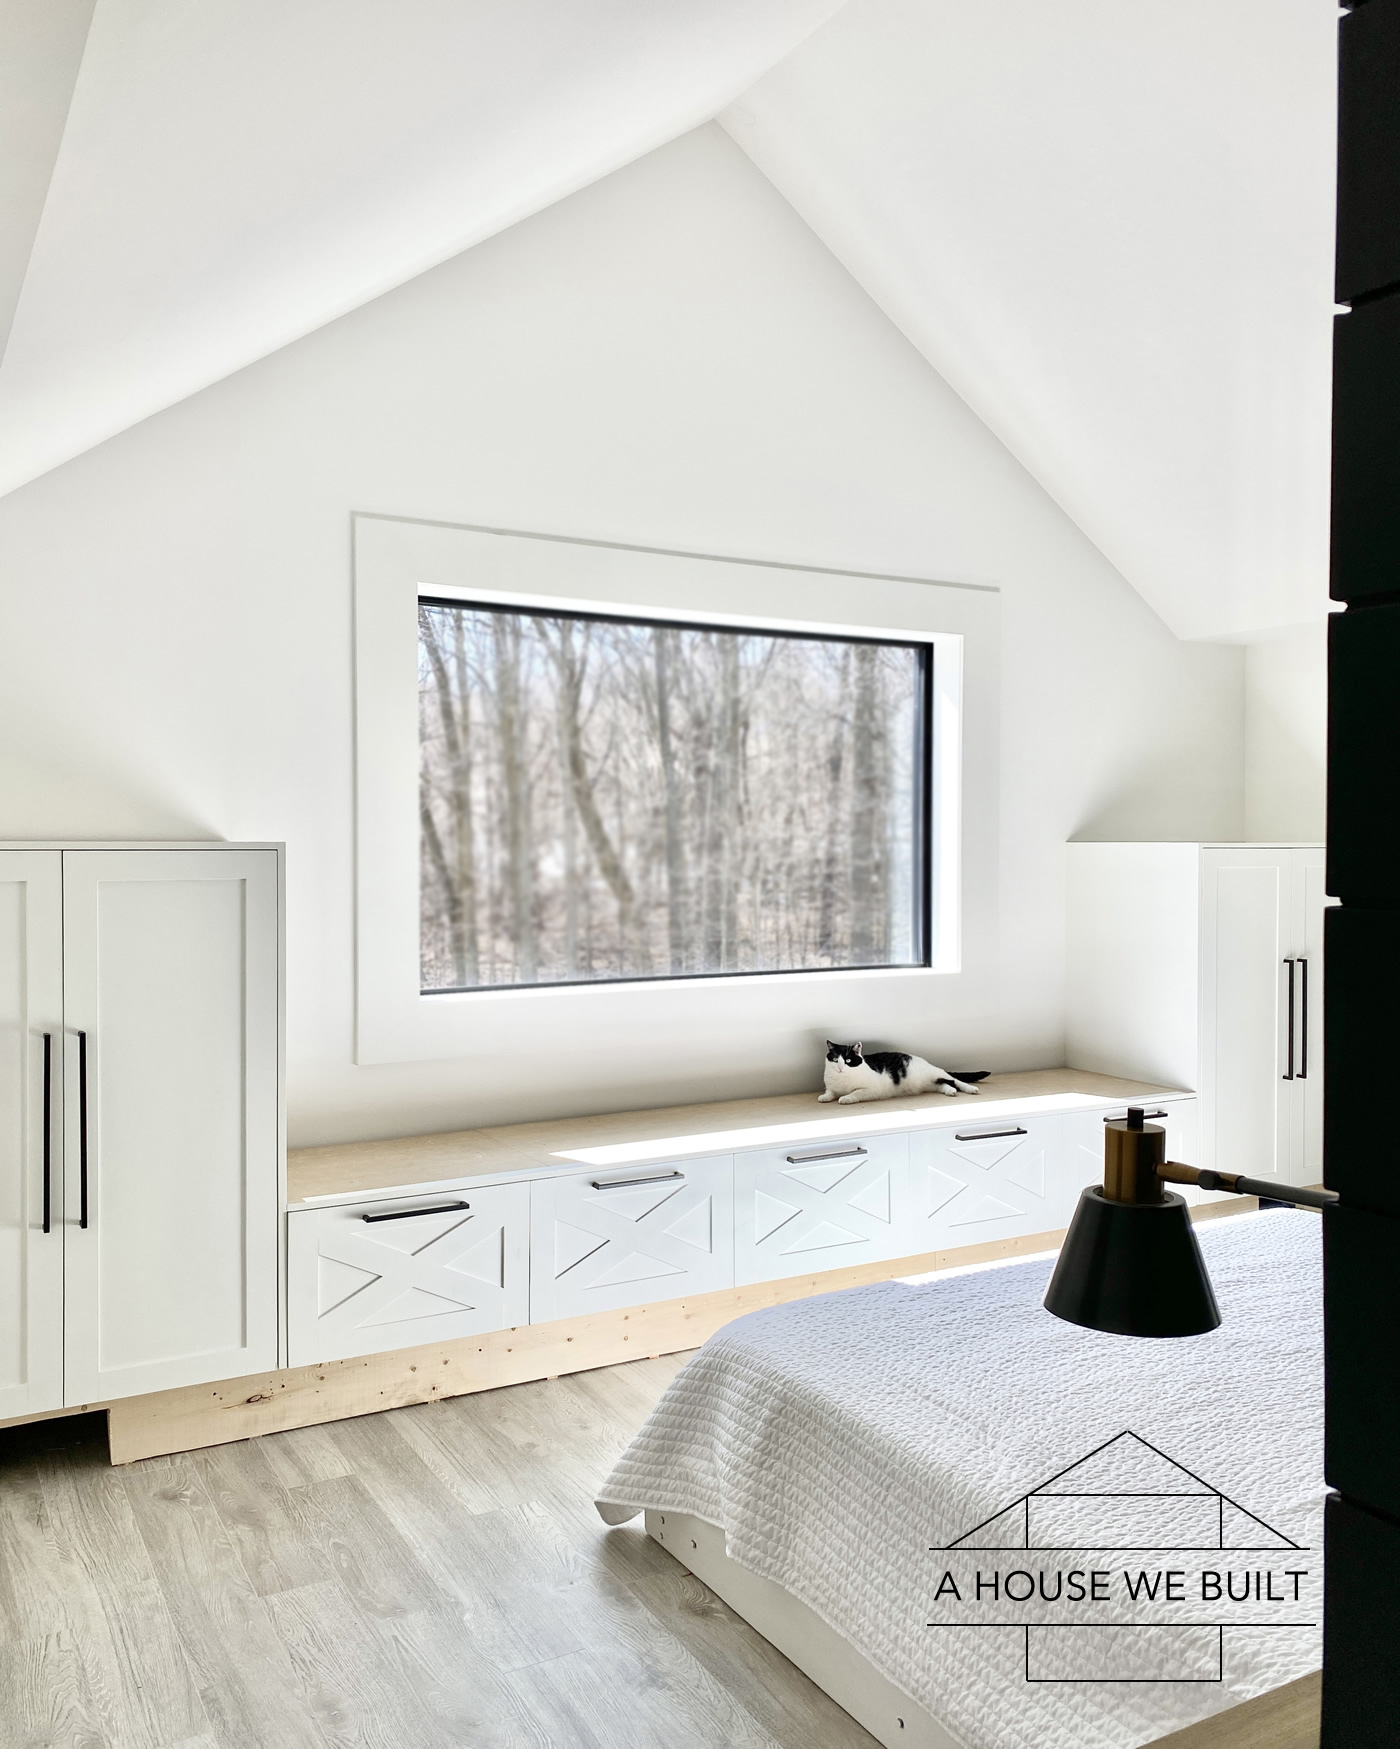
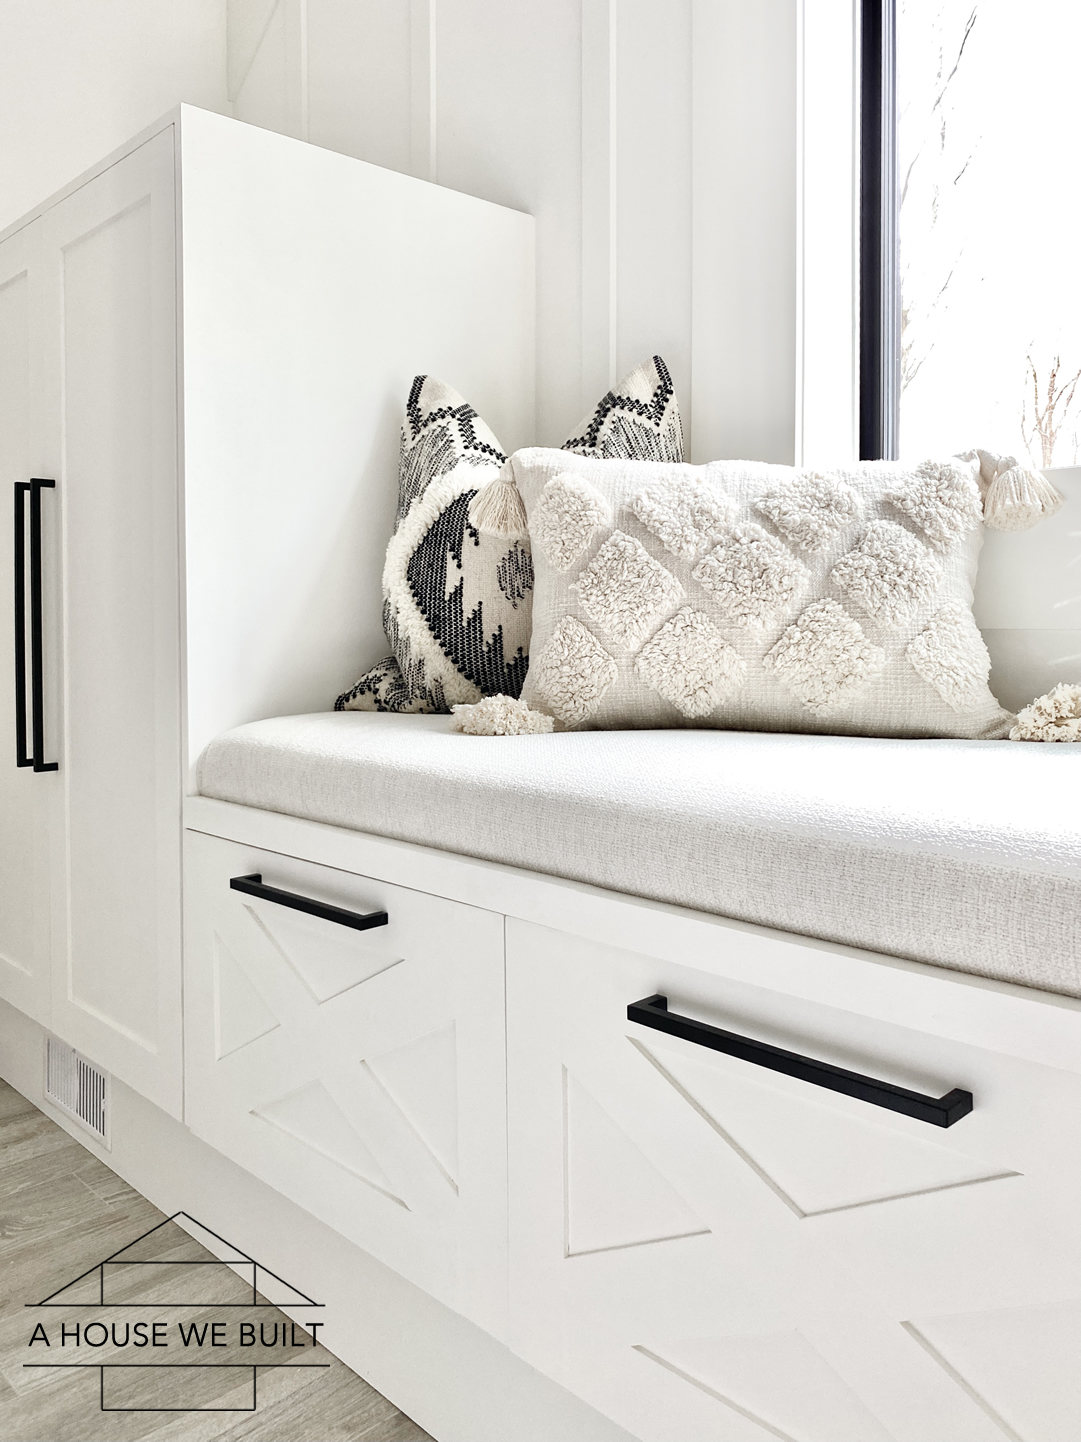
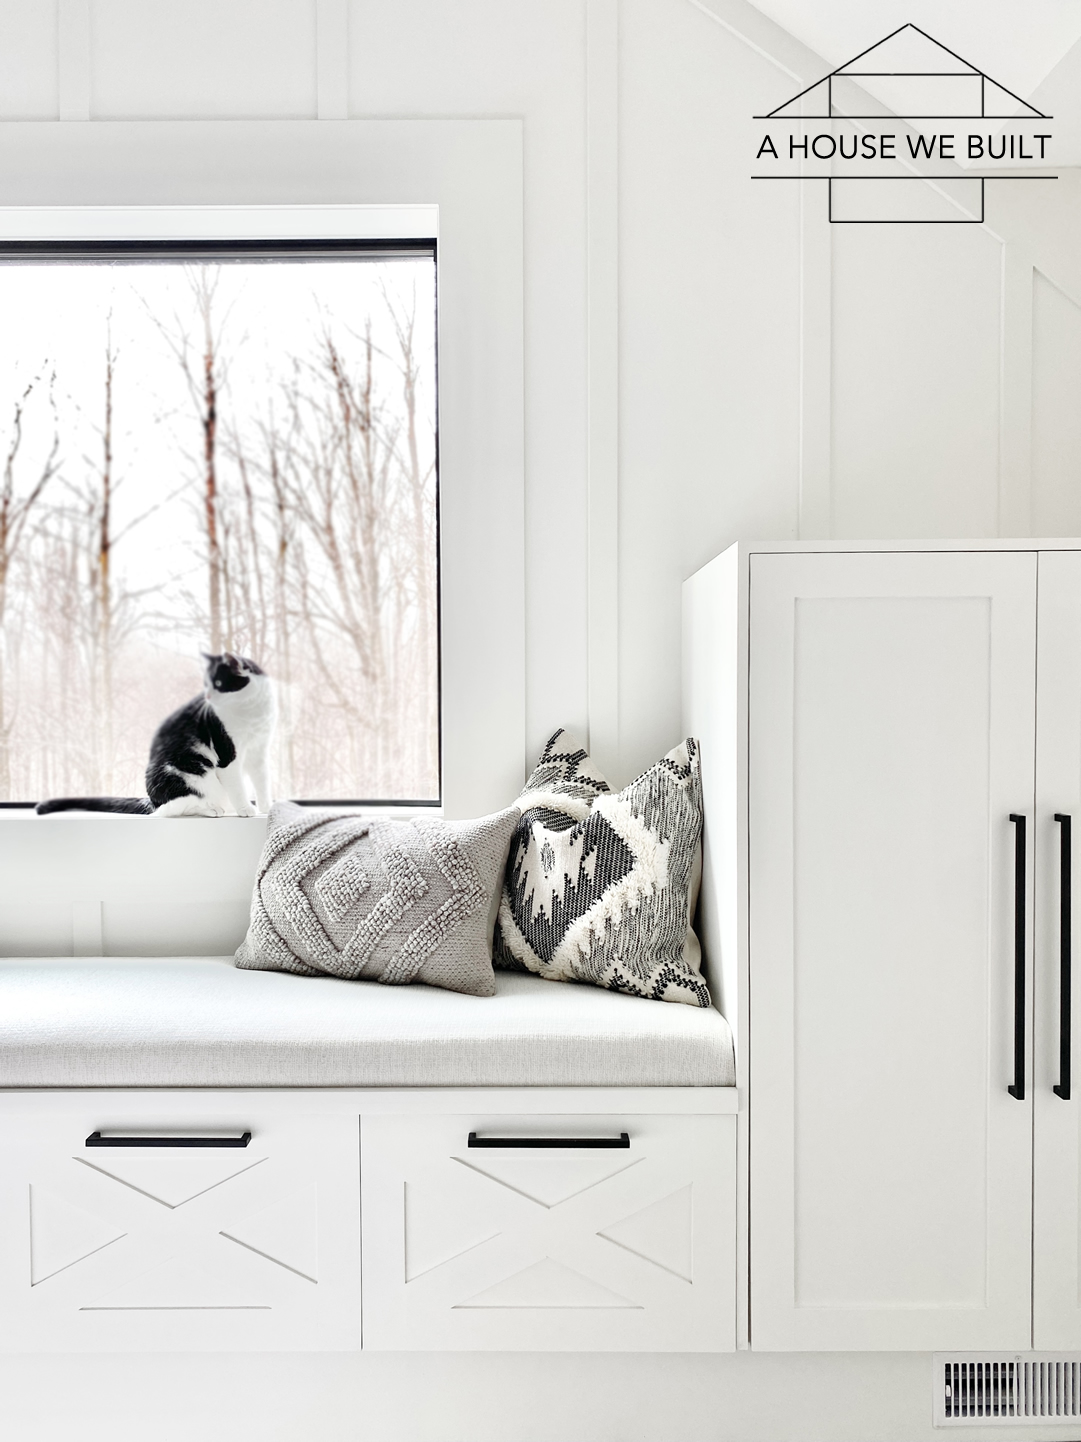
On the two sides of the window seat would be two larger cabinets with shelving inside. We also planned to frame out our window with the same wide boards as we use for our baseboard to give it a bold frame almost as though it were wall art. Then, we would add board and batten trim all the way up to the ceiling as a finishing touch. Finally, we planned to paint everything white on white on white (walls, cabinets, trim, window seat) with bold matte black hardware and window accents, and neutrally patterned throw pillows.
Paint color: BM Simply White in matte
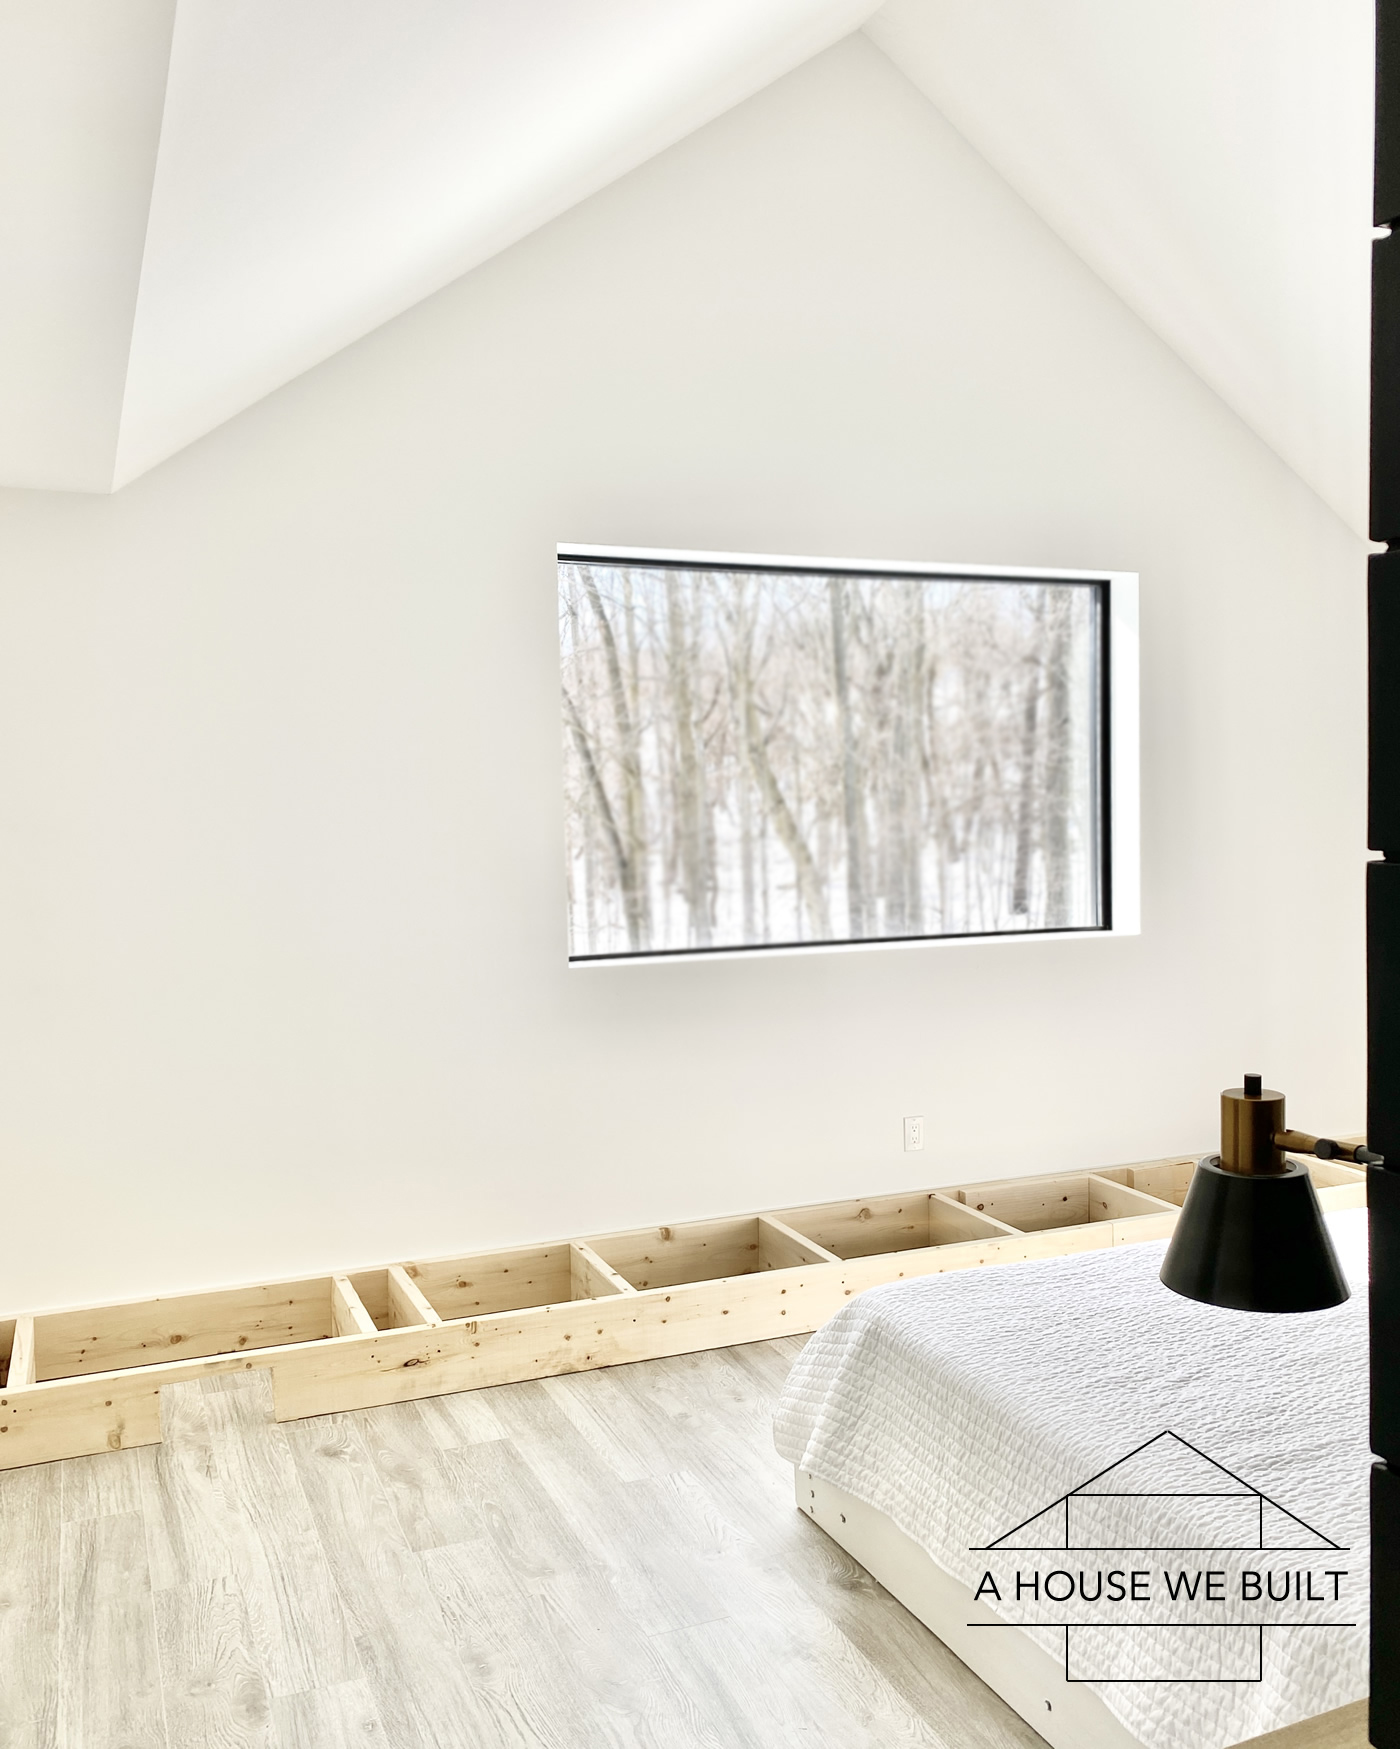
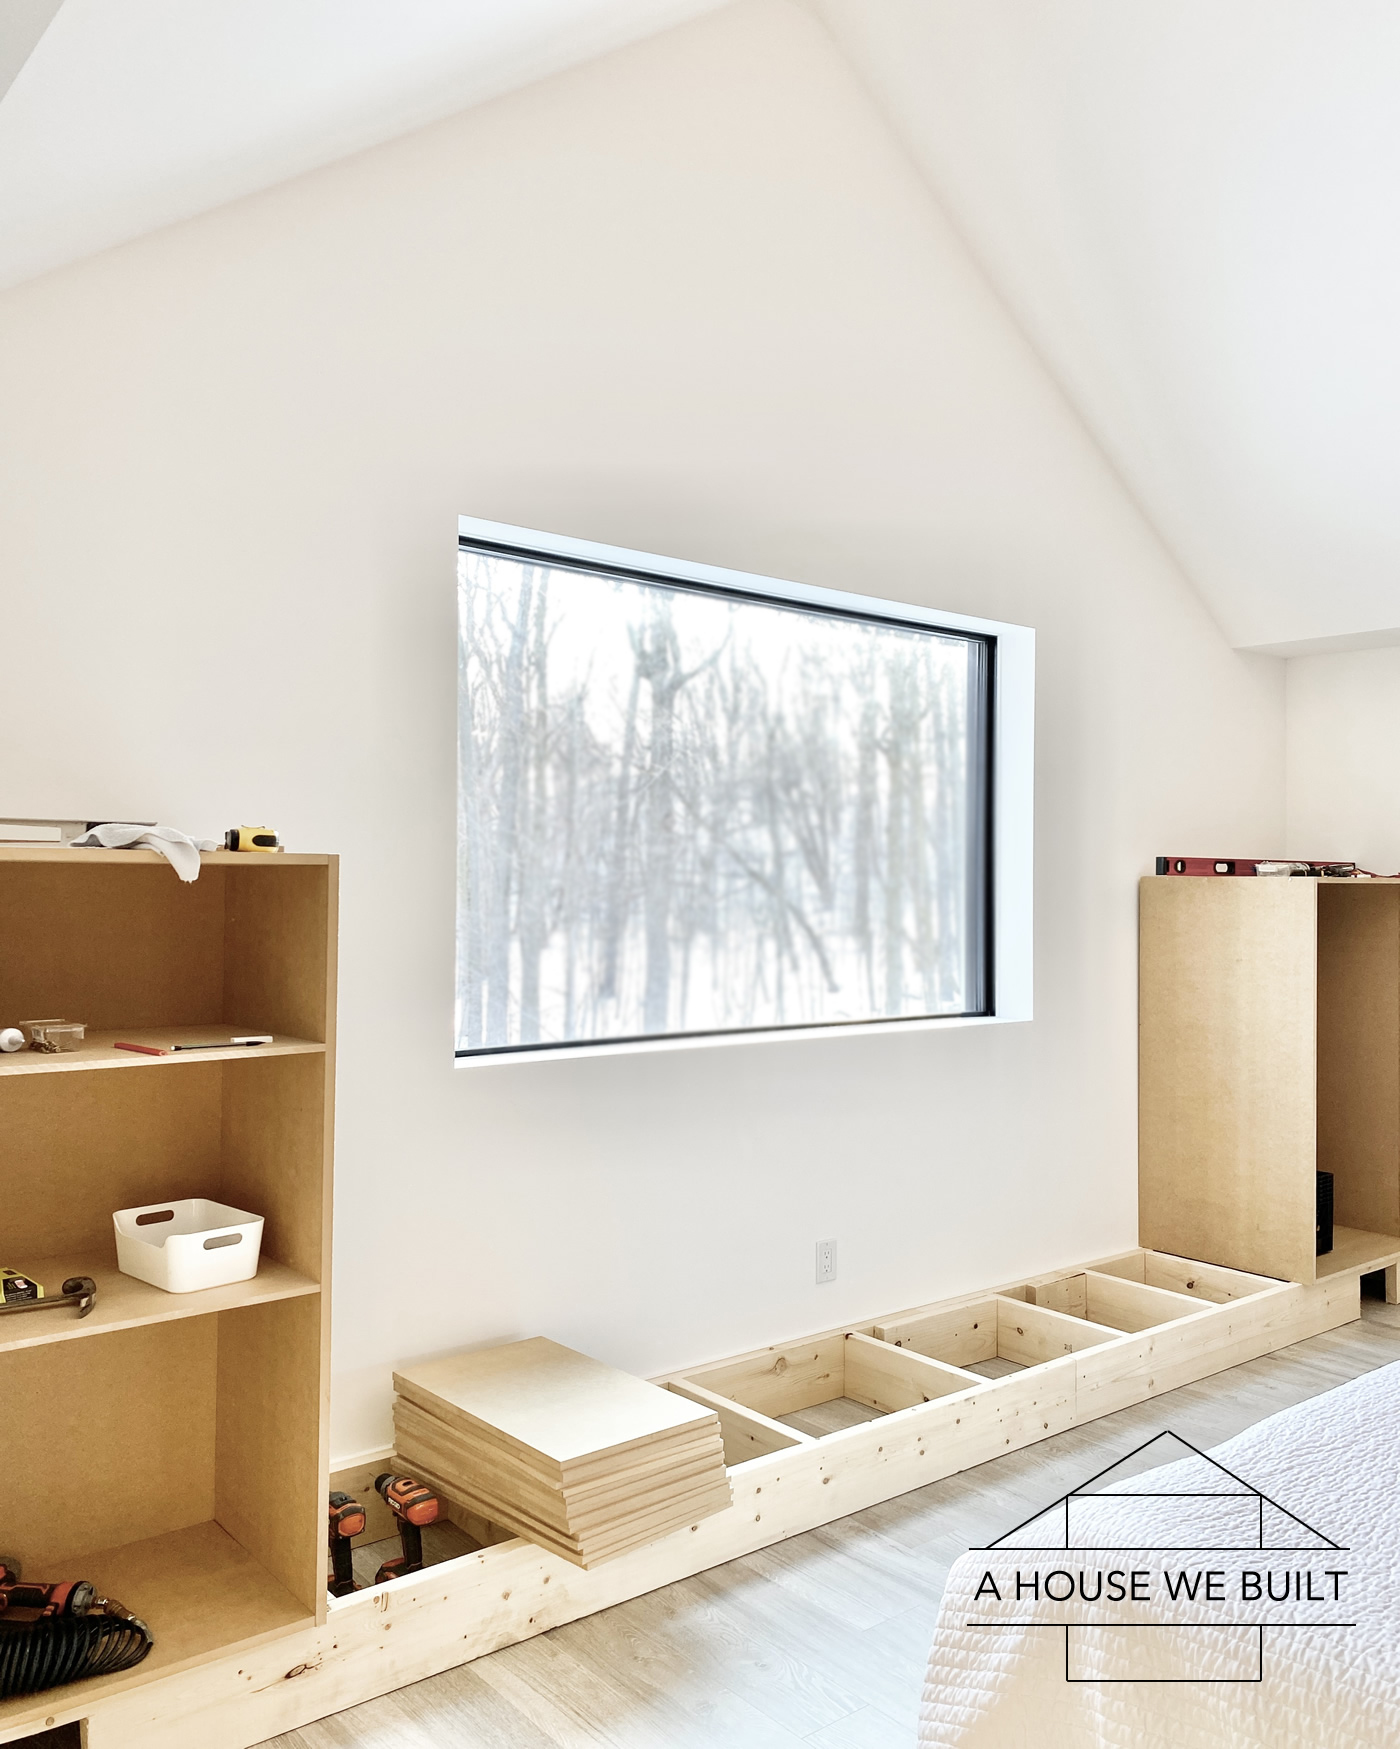
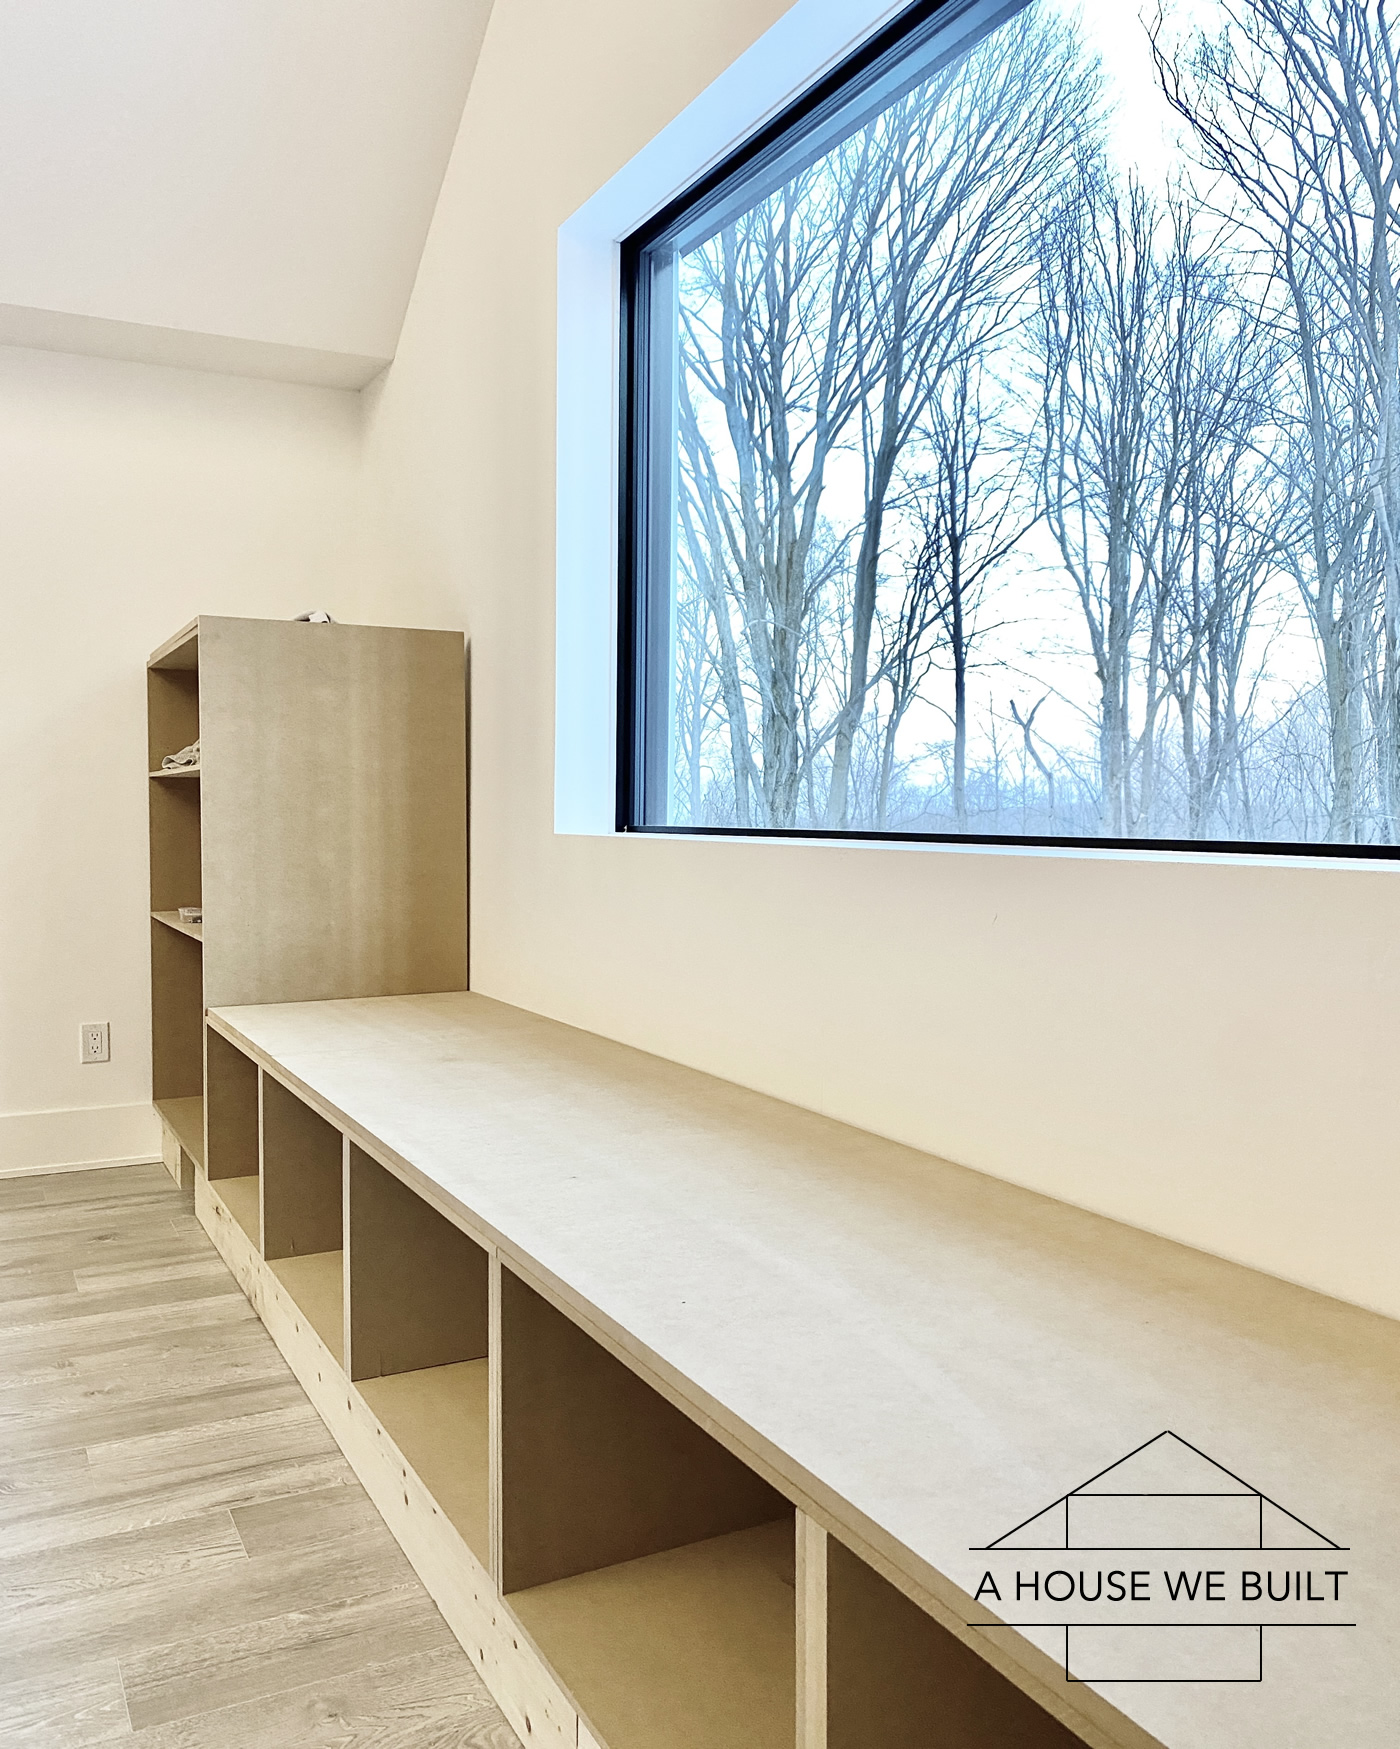
So the first step to building this window seat project was to create the under-frame (left pic below). We made this out of 2x8s so that the cabinetry would be raised to the same height as our baseboards.
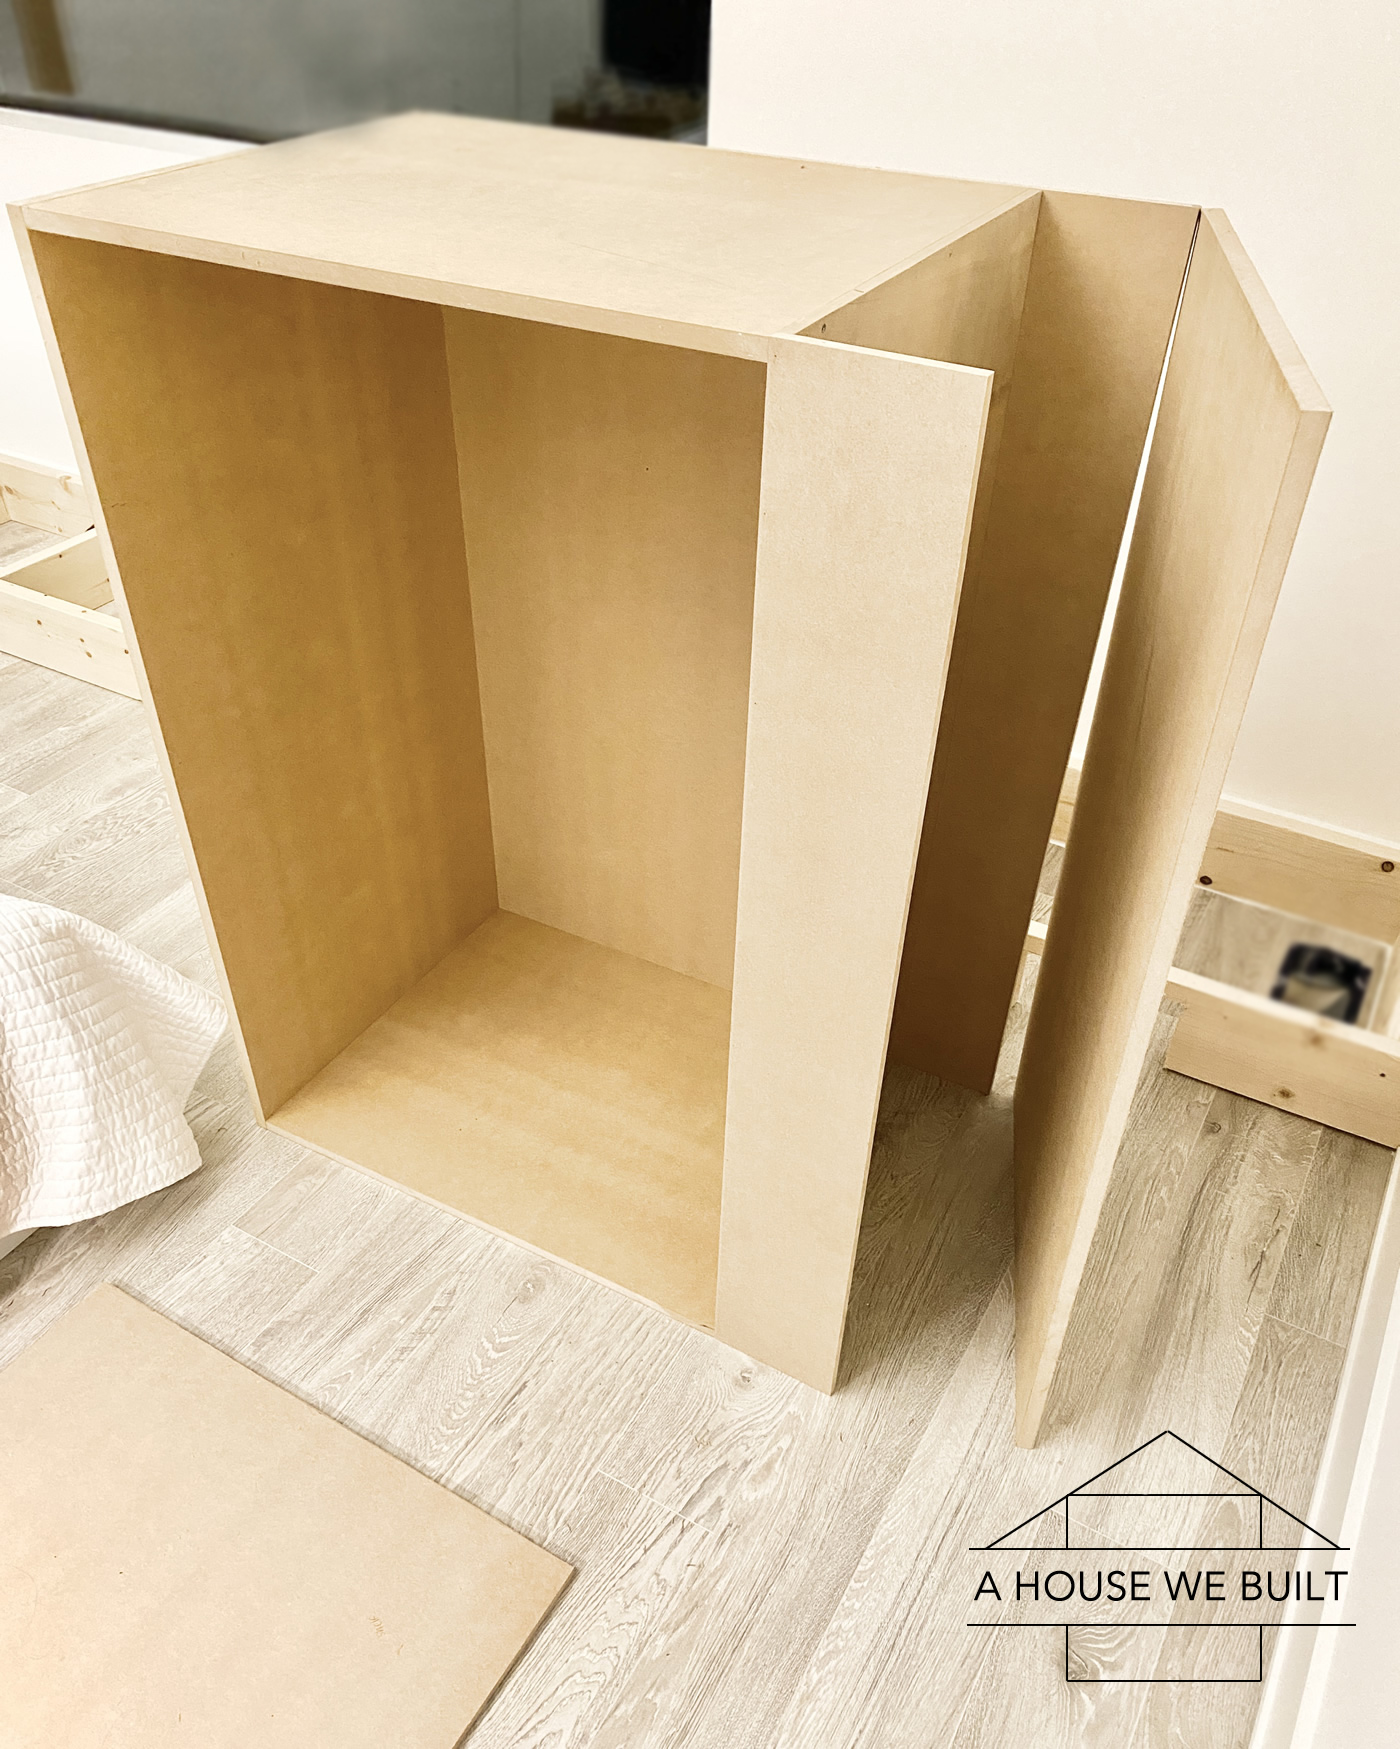
Next, we built the frames of the two taller side cabinets on either side of the window seat out of 3/4″ MDF. We laid them face down on the floor so that the front pieces would be perfectly flush.
We cut all the cabinet and drawer MDF (not including trim) with a light-weight worm drive circular saw.
Circular saw: Home Depot | Amazon
Brad nailer: Home Depot | Amazon
2x8x8 boards: Home Depot
3/4″ MDF panel: Home Depot
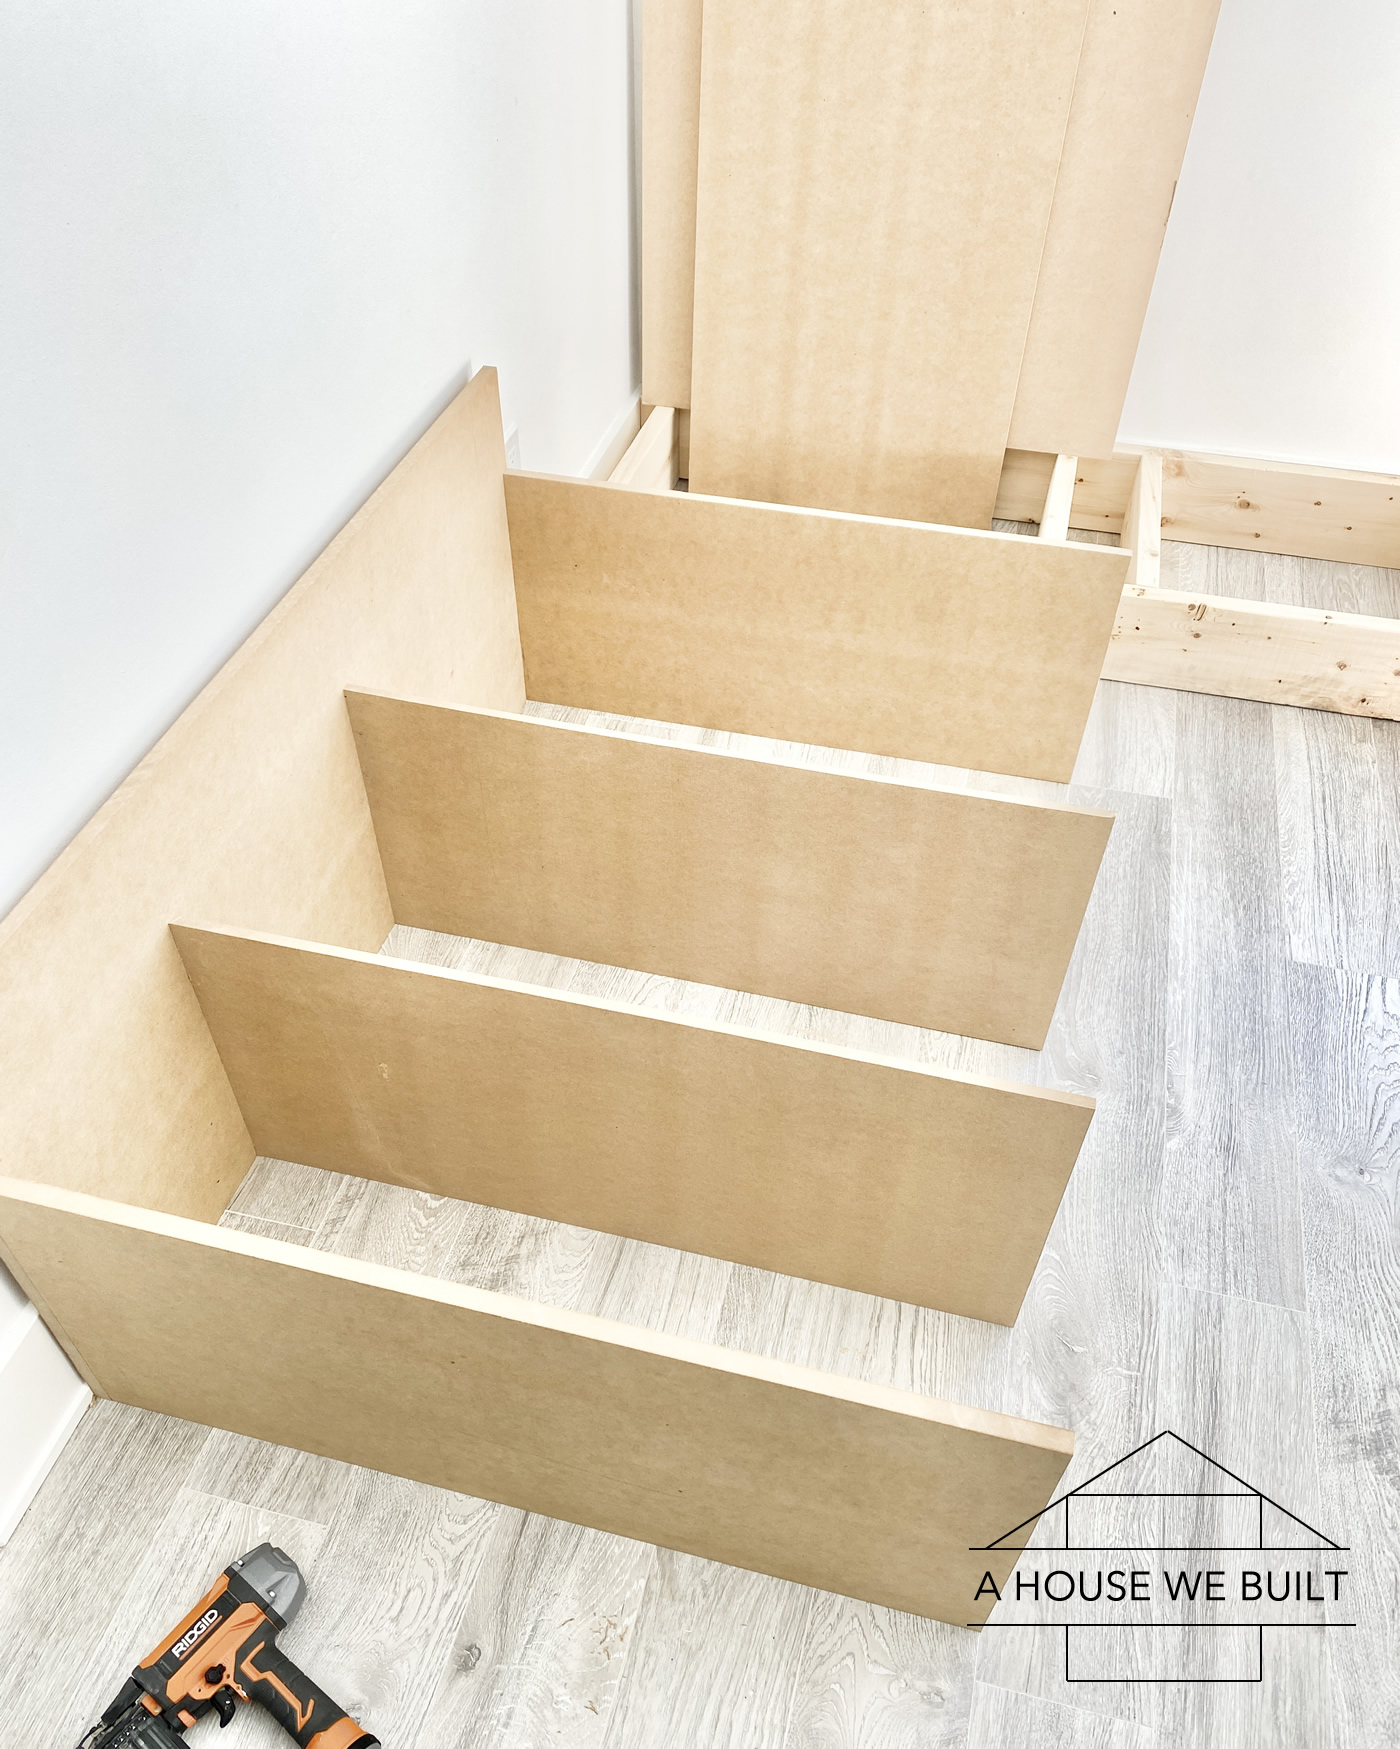
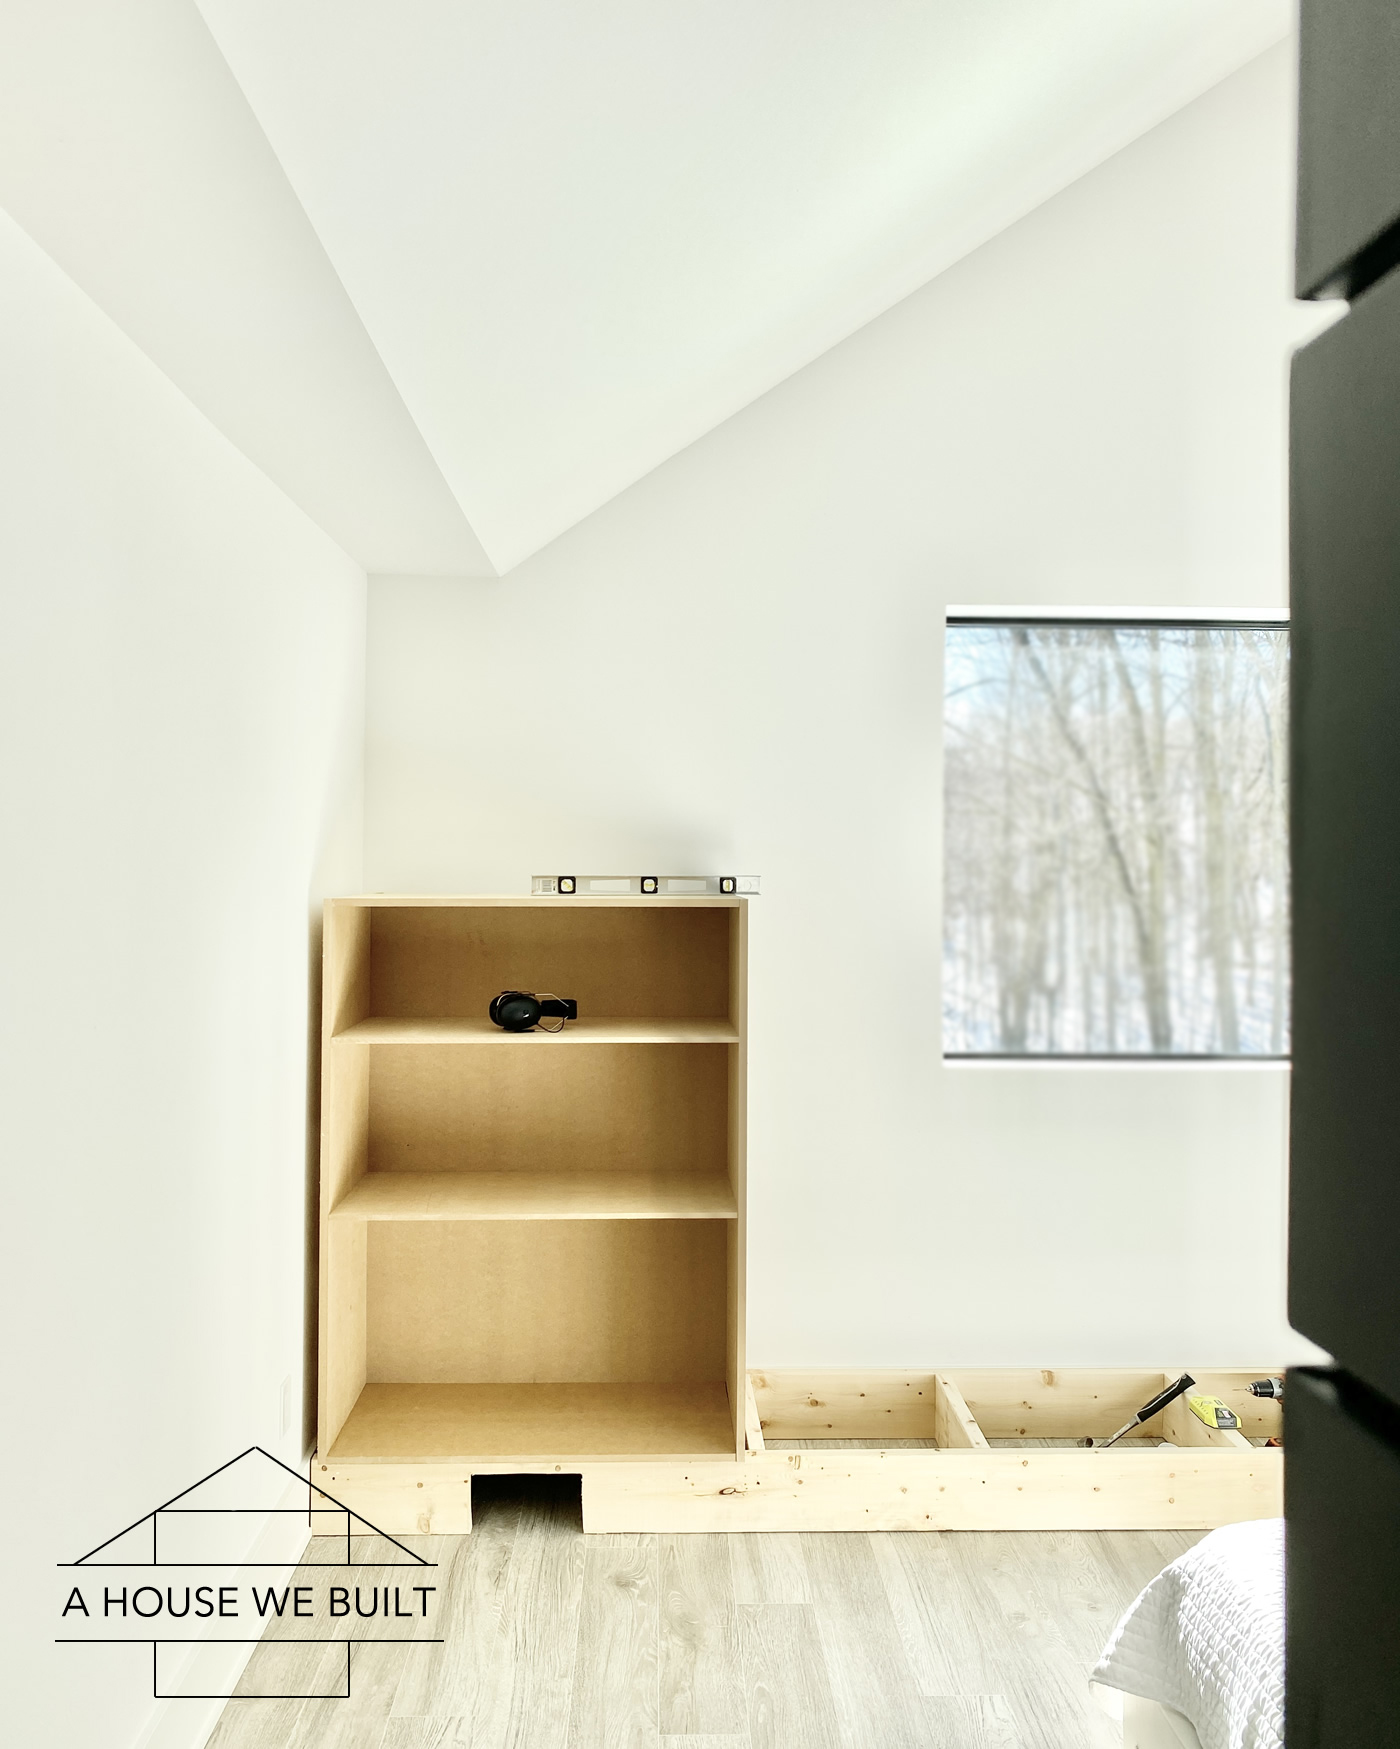
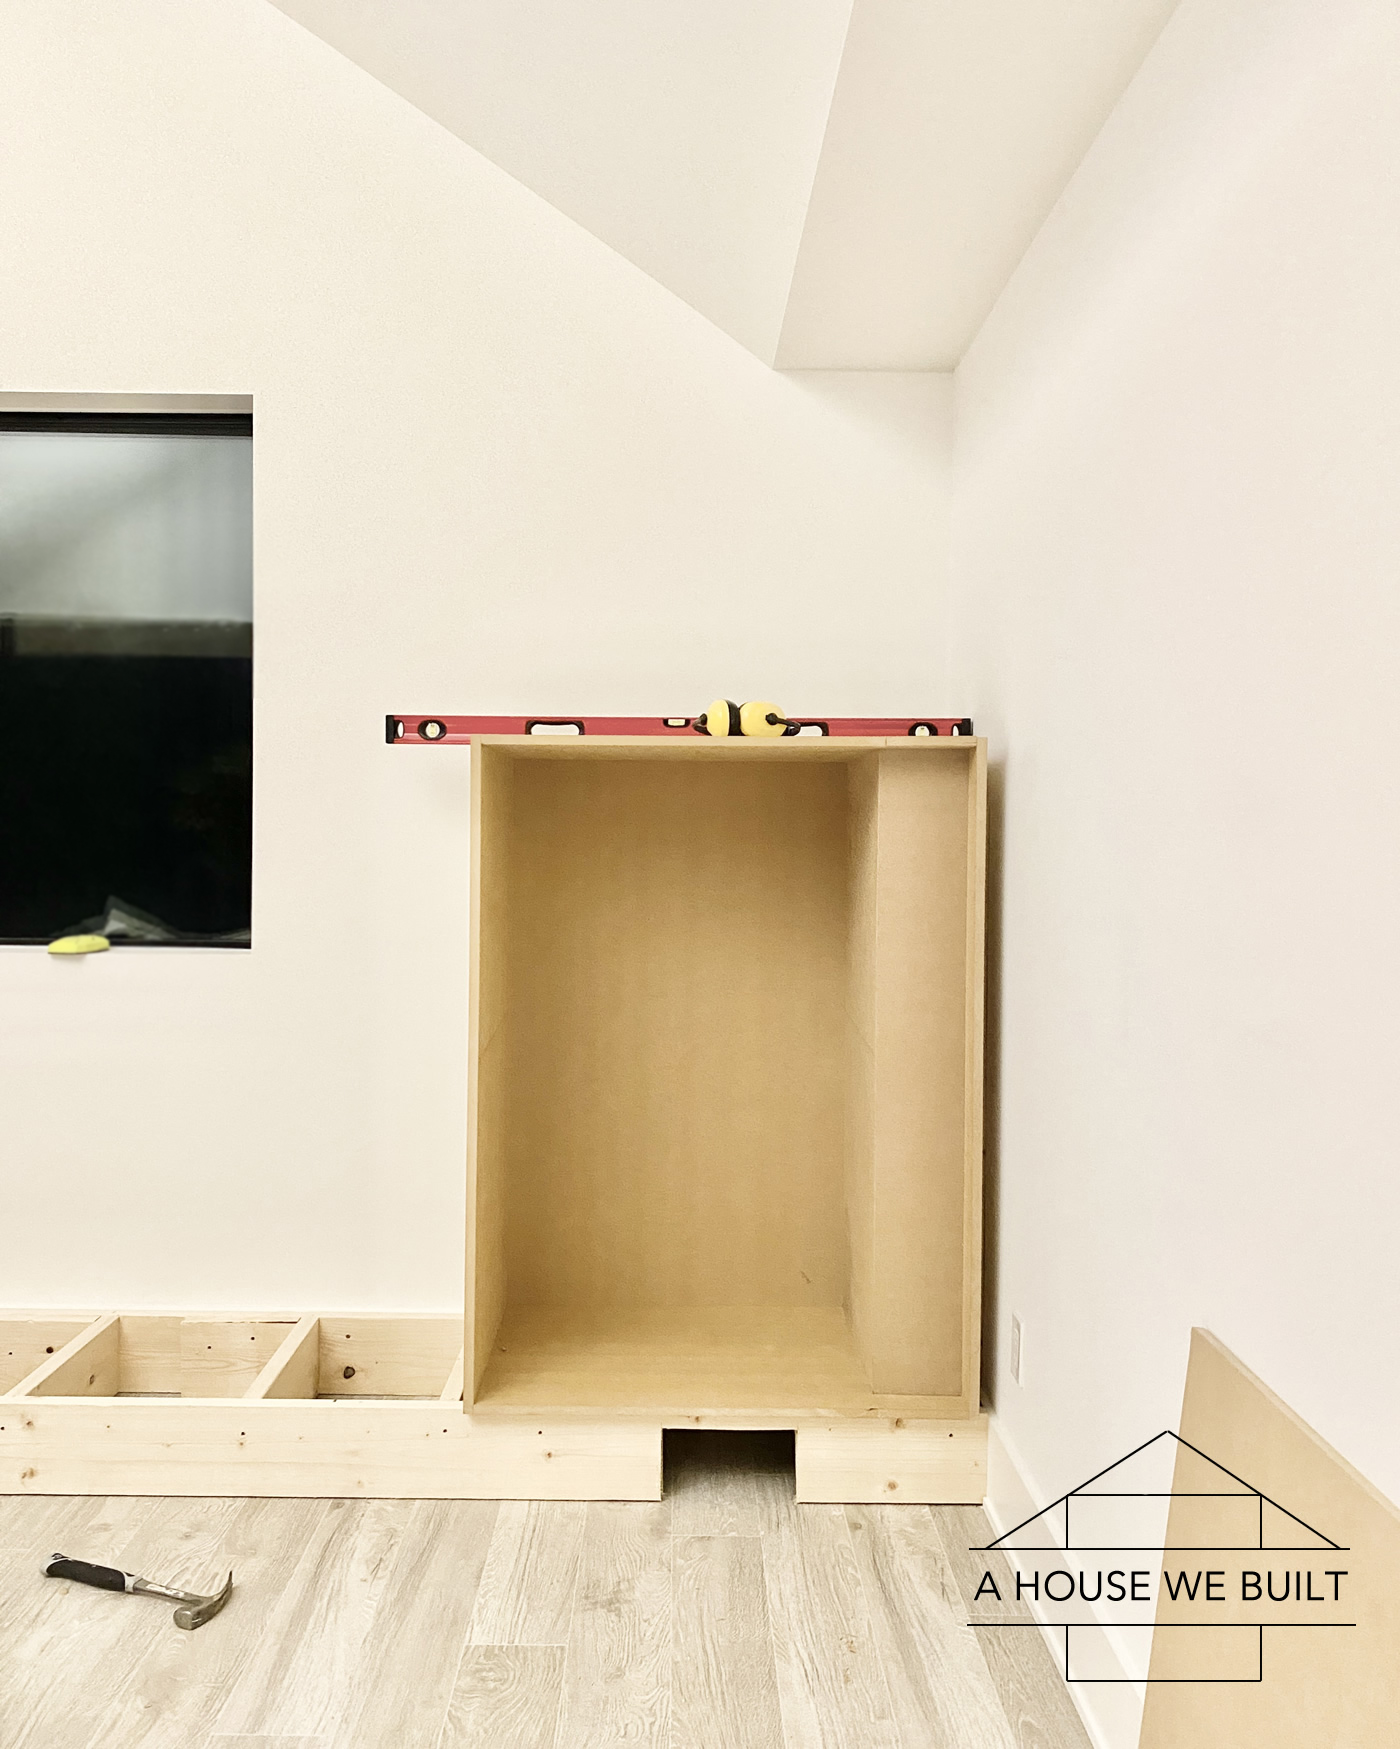
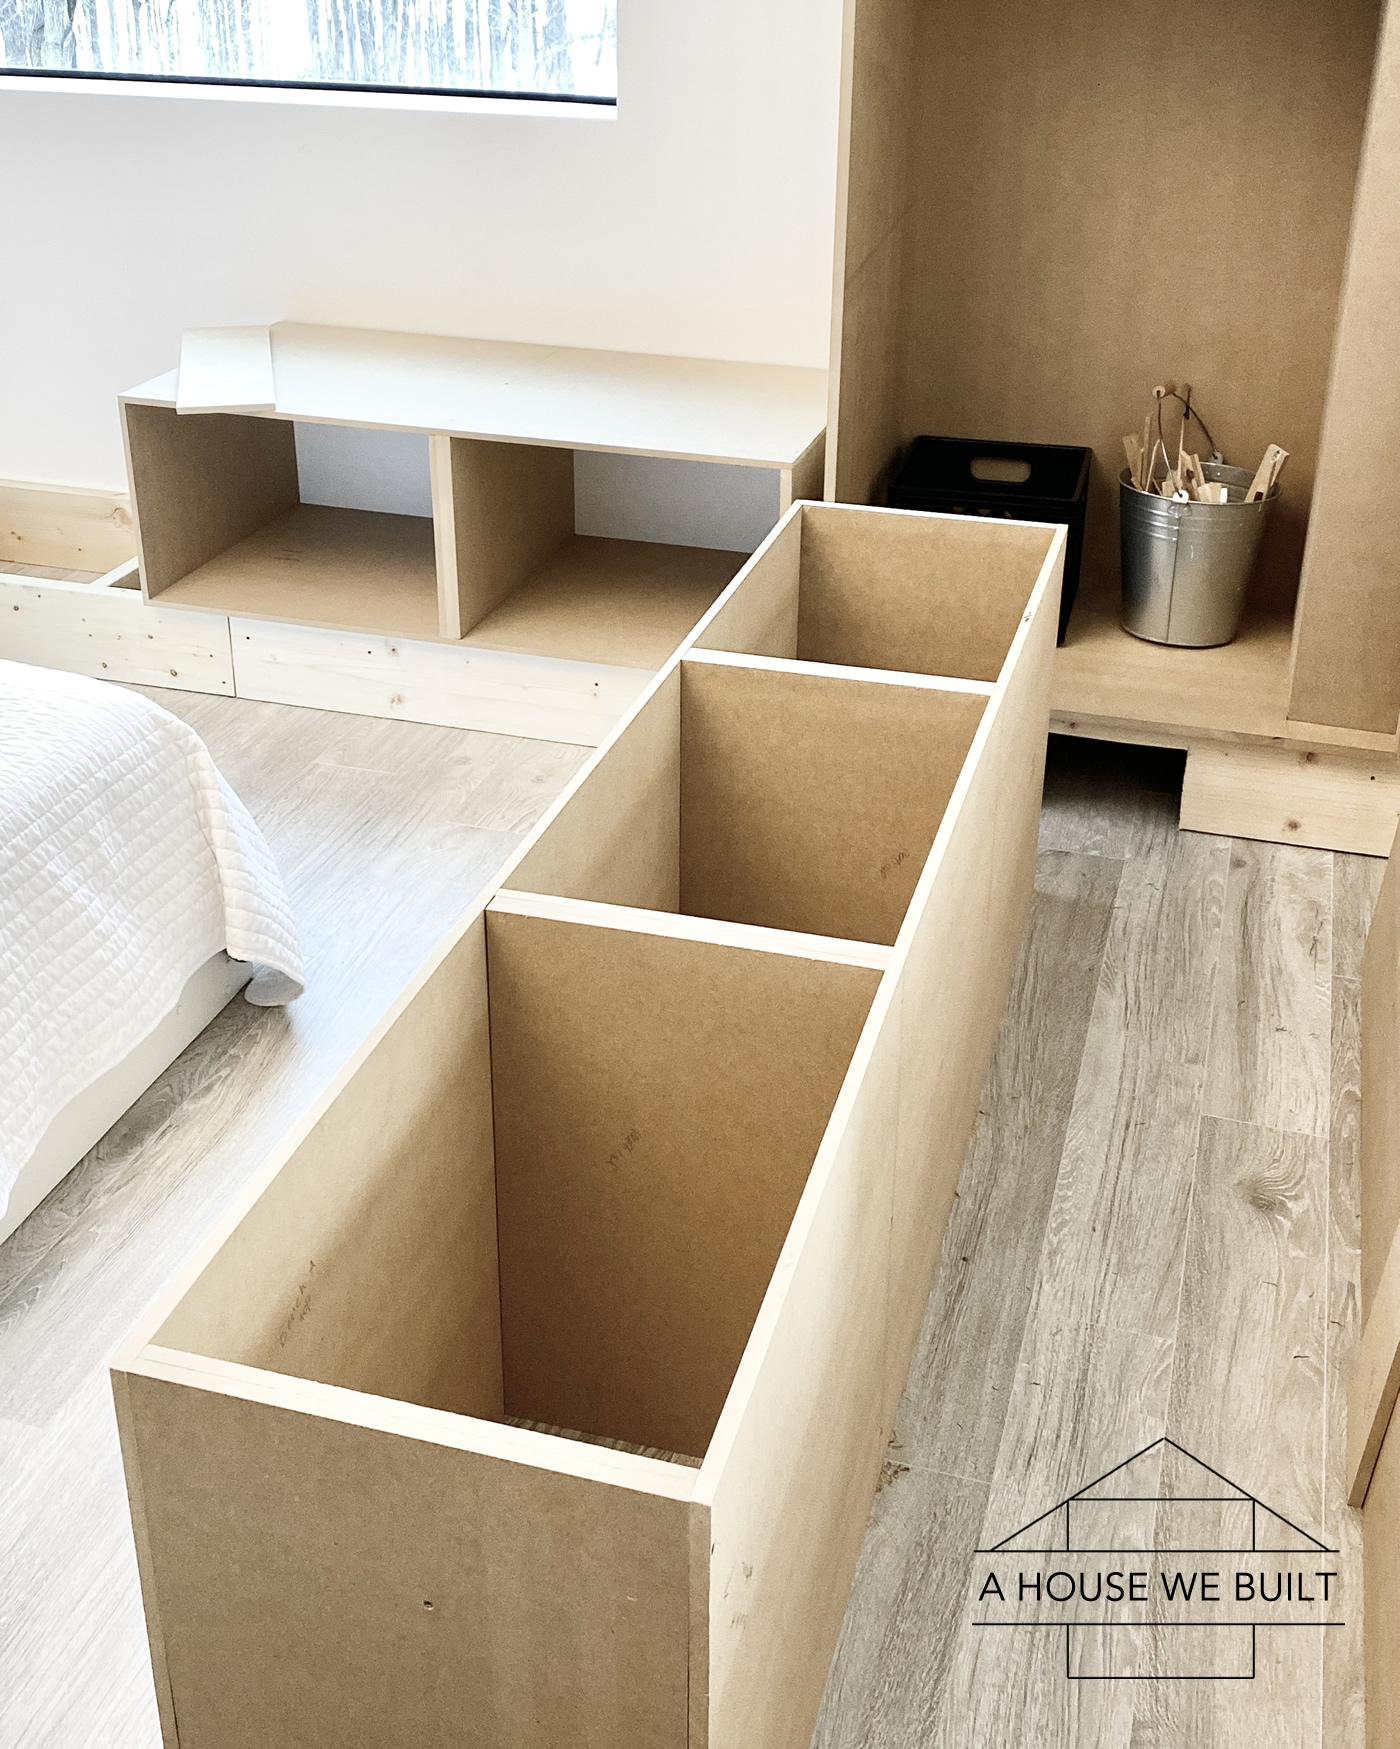
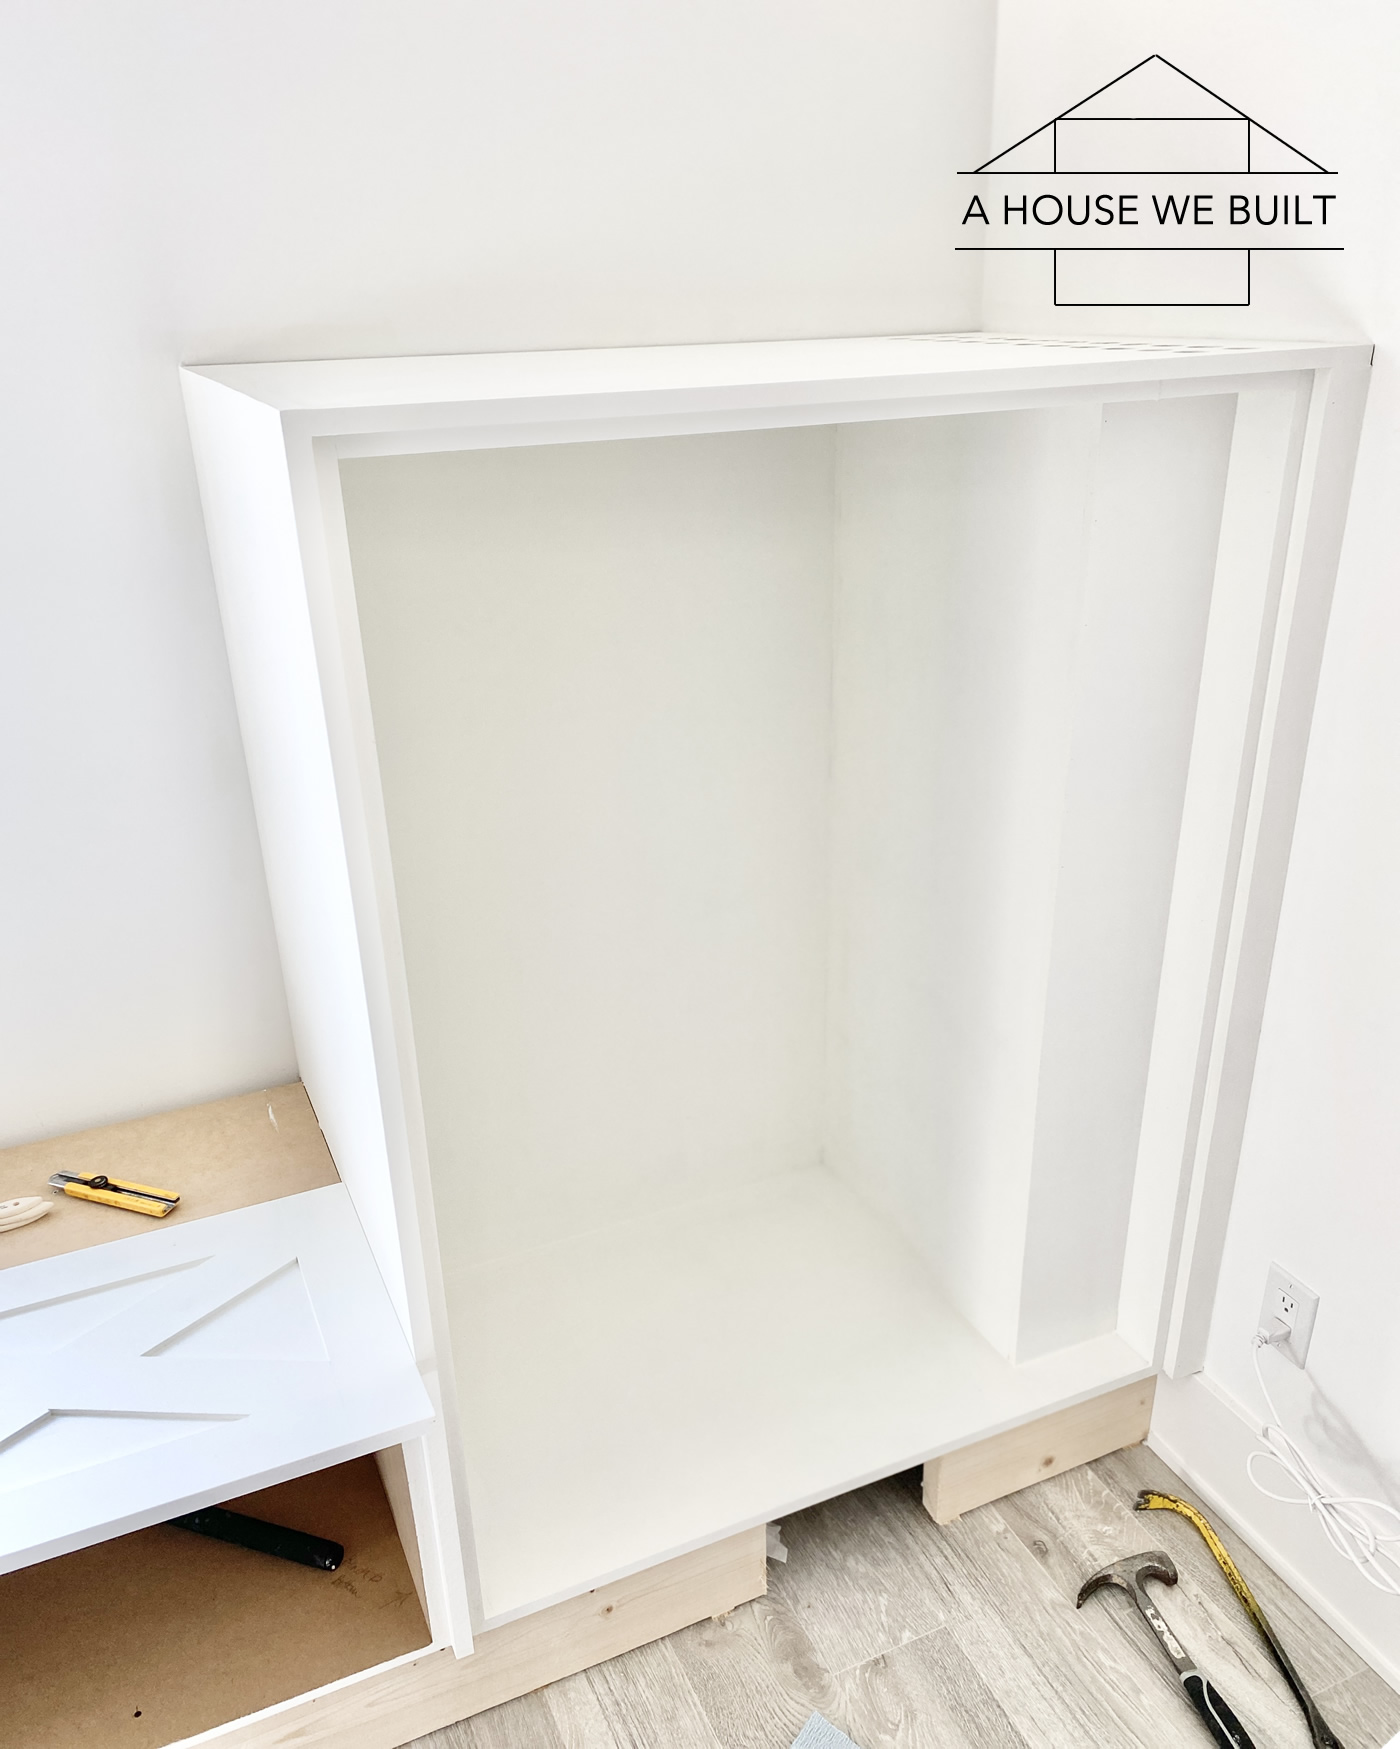
We made an important consideration regarding airflow in our design because we had two floor vents located underneath the two side cabinets and air circulation is very important in our home (since we have a whole-house particulate filter always running to help with cat allergies), so we needed to to incorporate the vents into our cabinets without restricting airflow. We accomplished this in two ways:
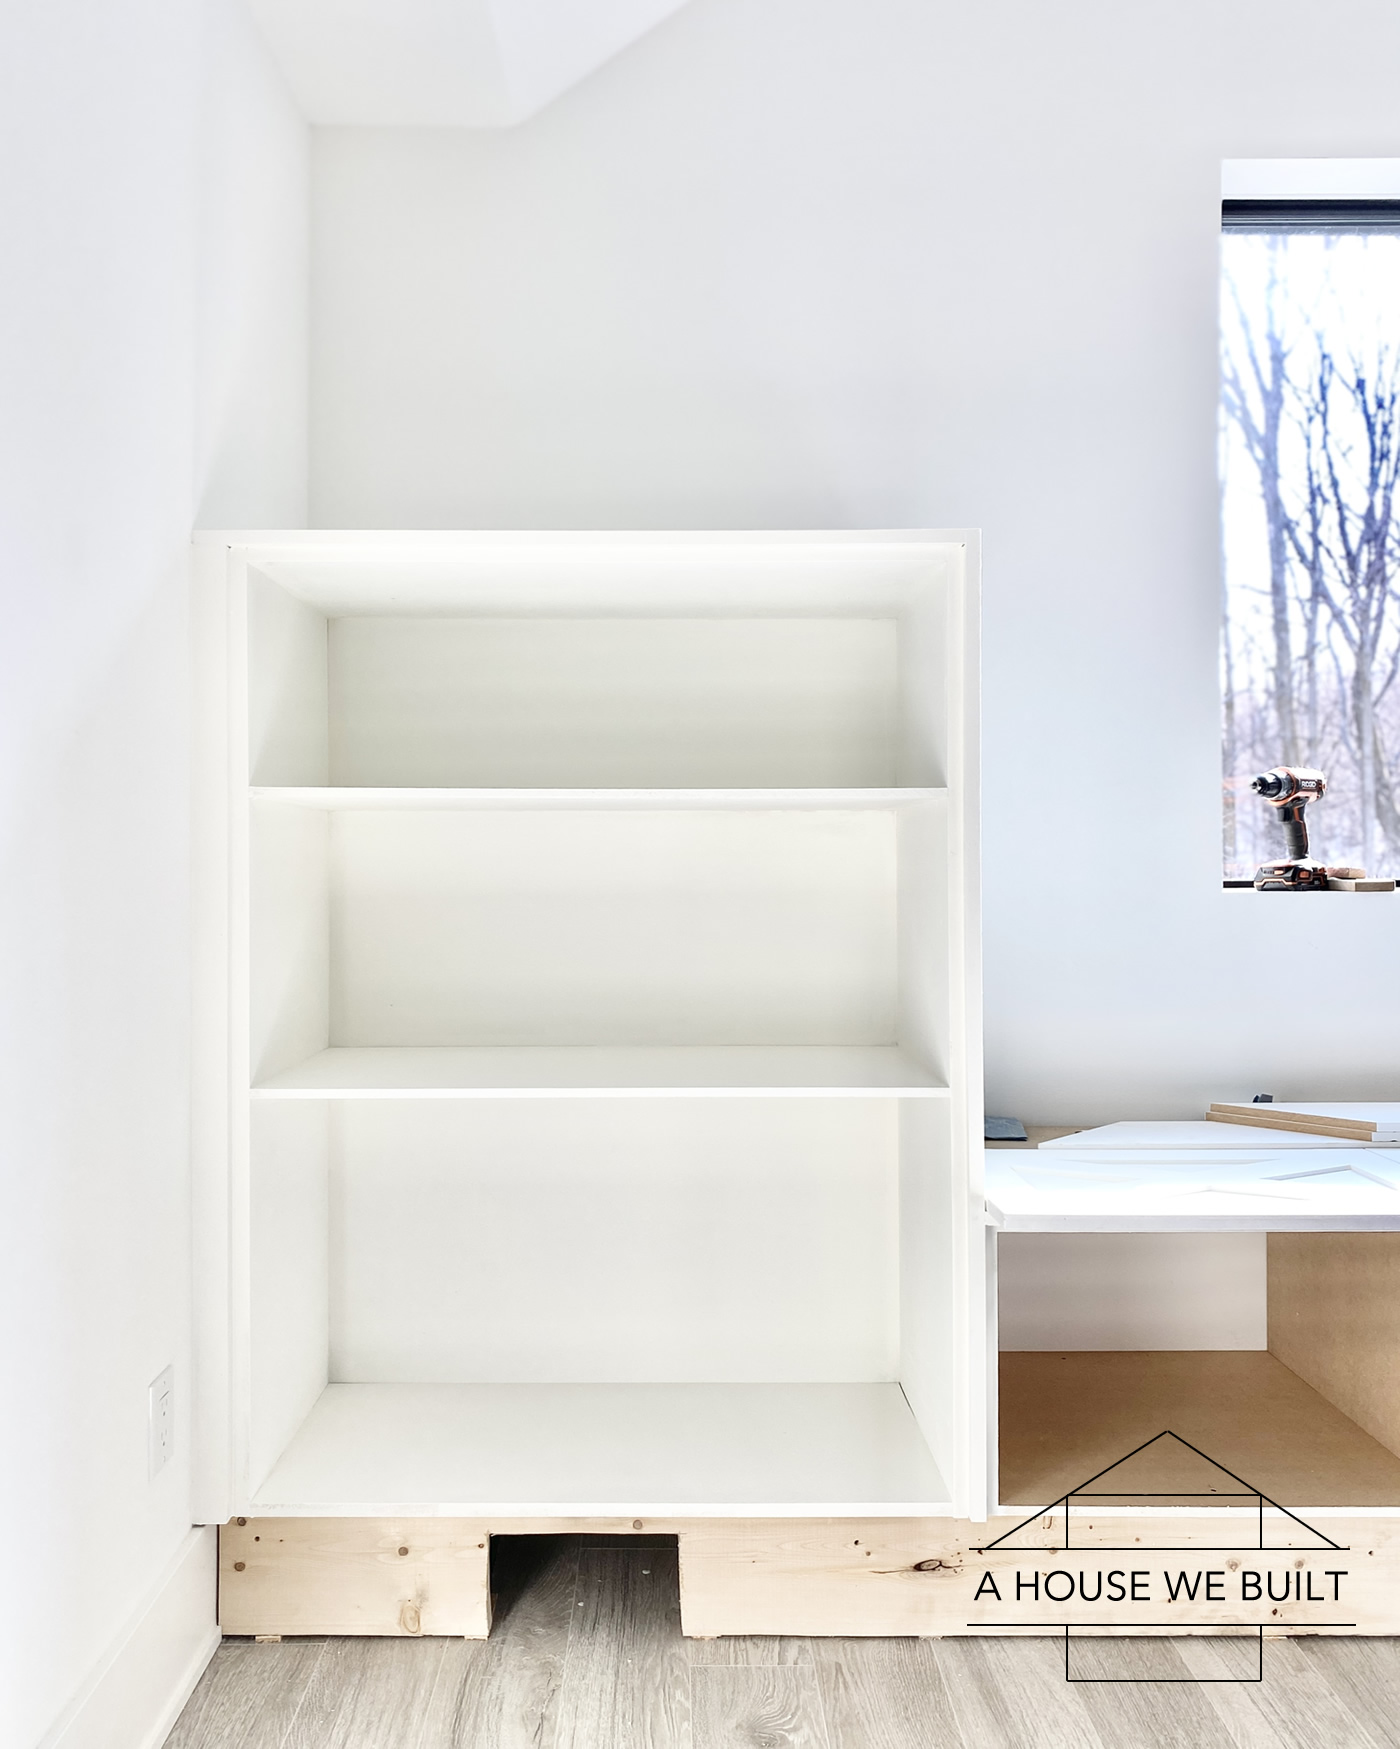
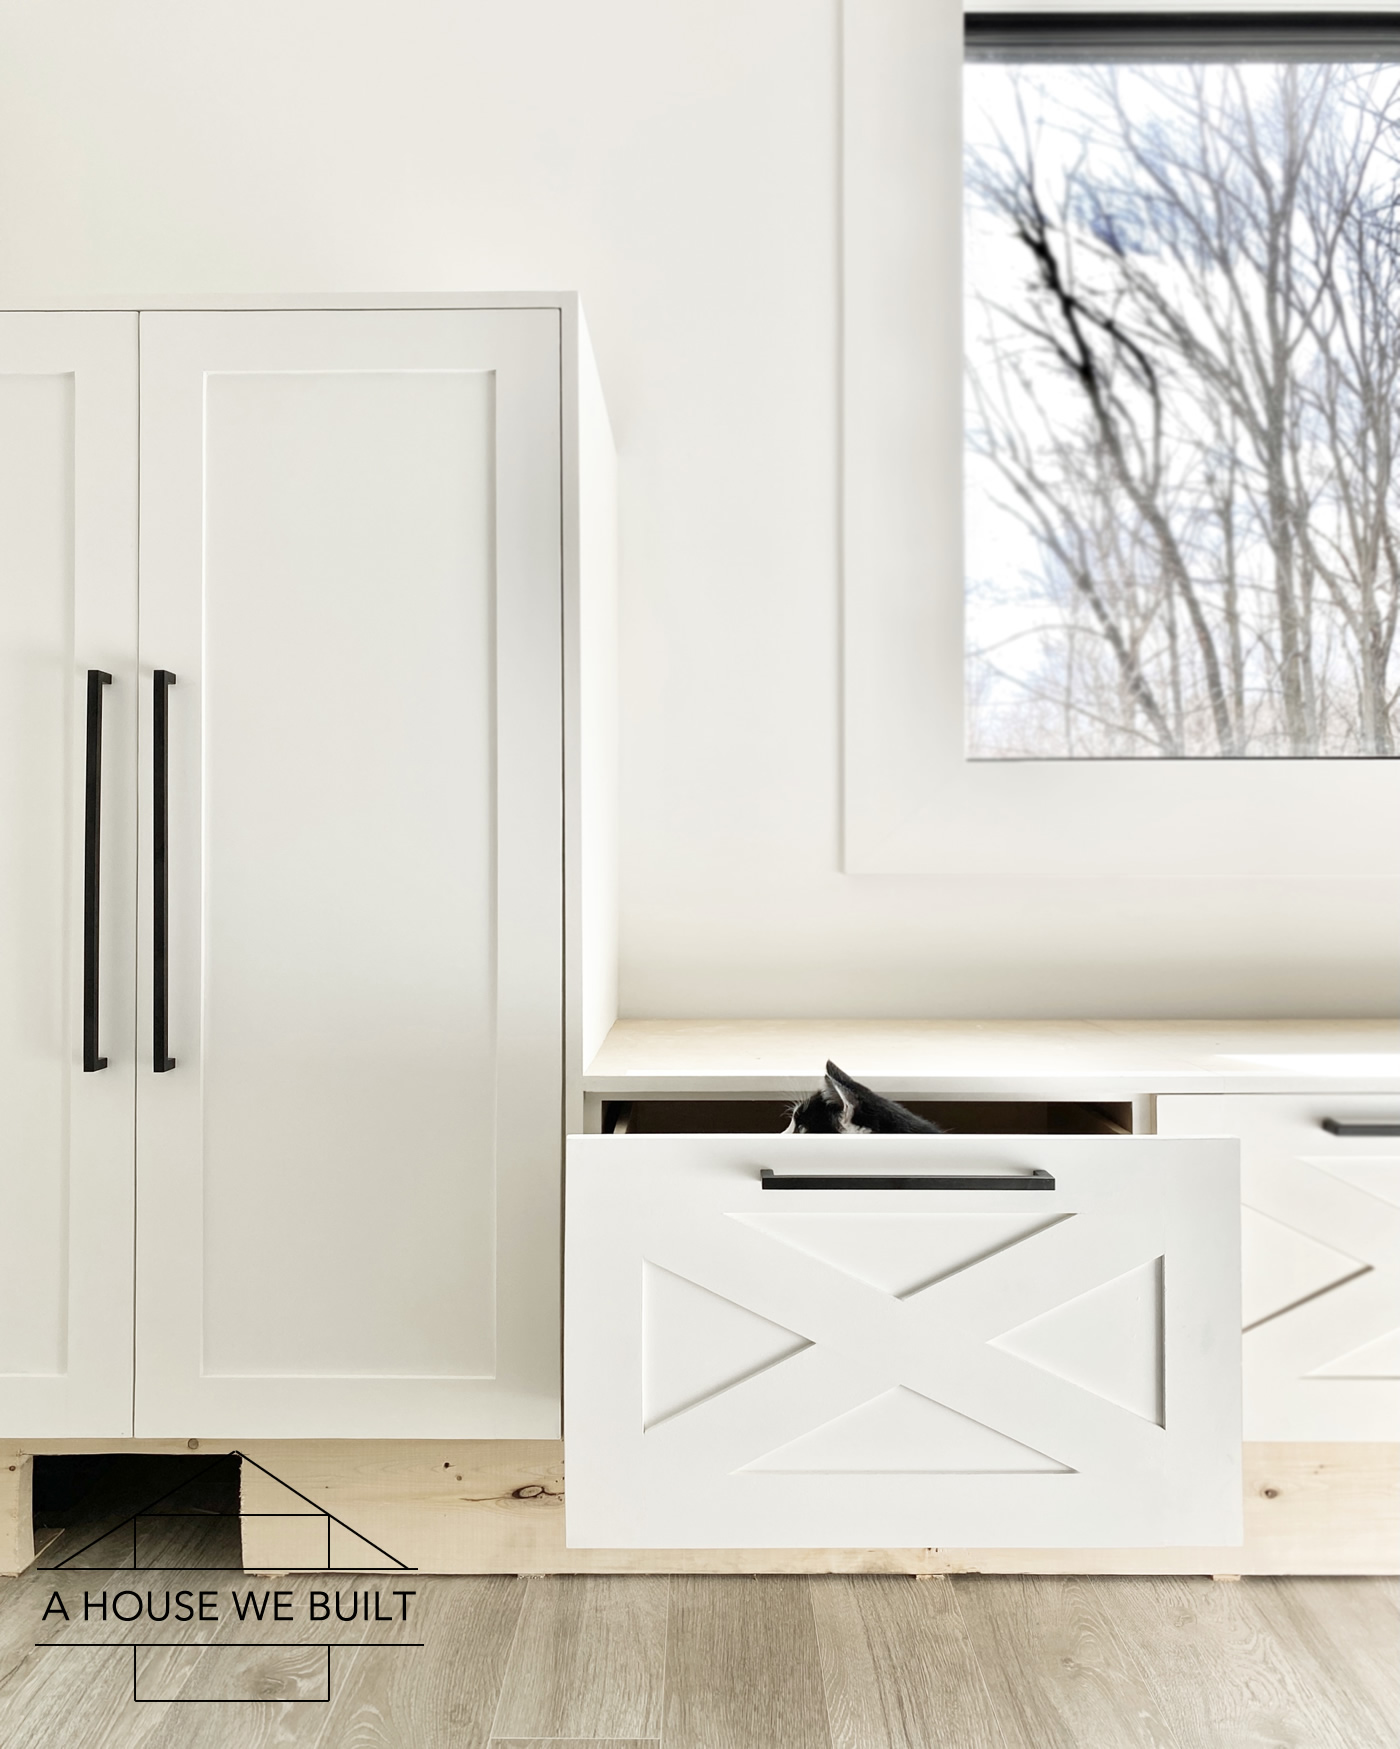
First, we created two front-facing vents underneath the side cabinets in the 2×8 frame. But we didn’t stop there. We also built in hidden air ducts in both the side cabinets and later on we used a 1.5″ drill bit to drill holes on the top of the cabinets to allow the air to also flow upward while being aesthetically pretty.
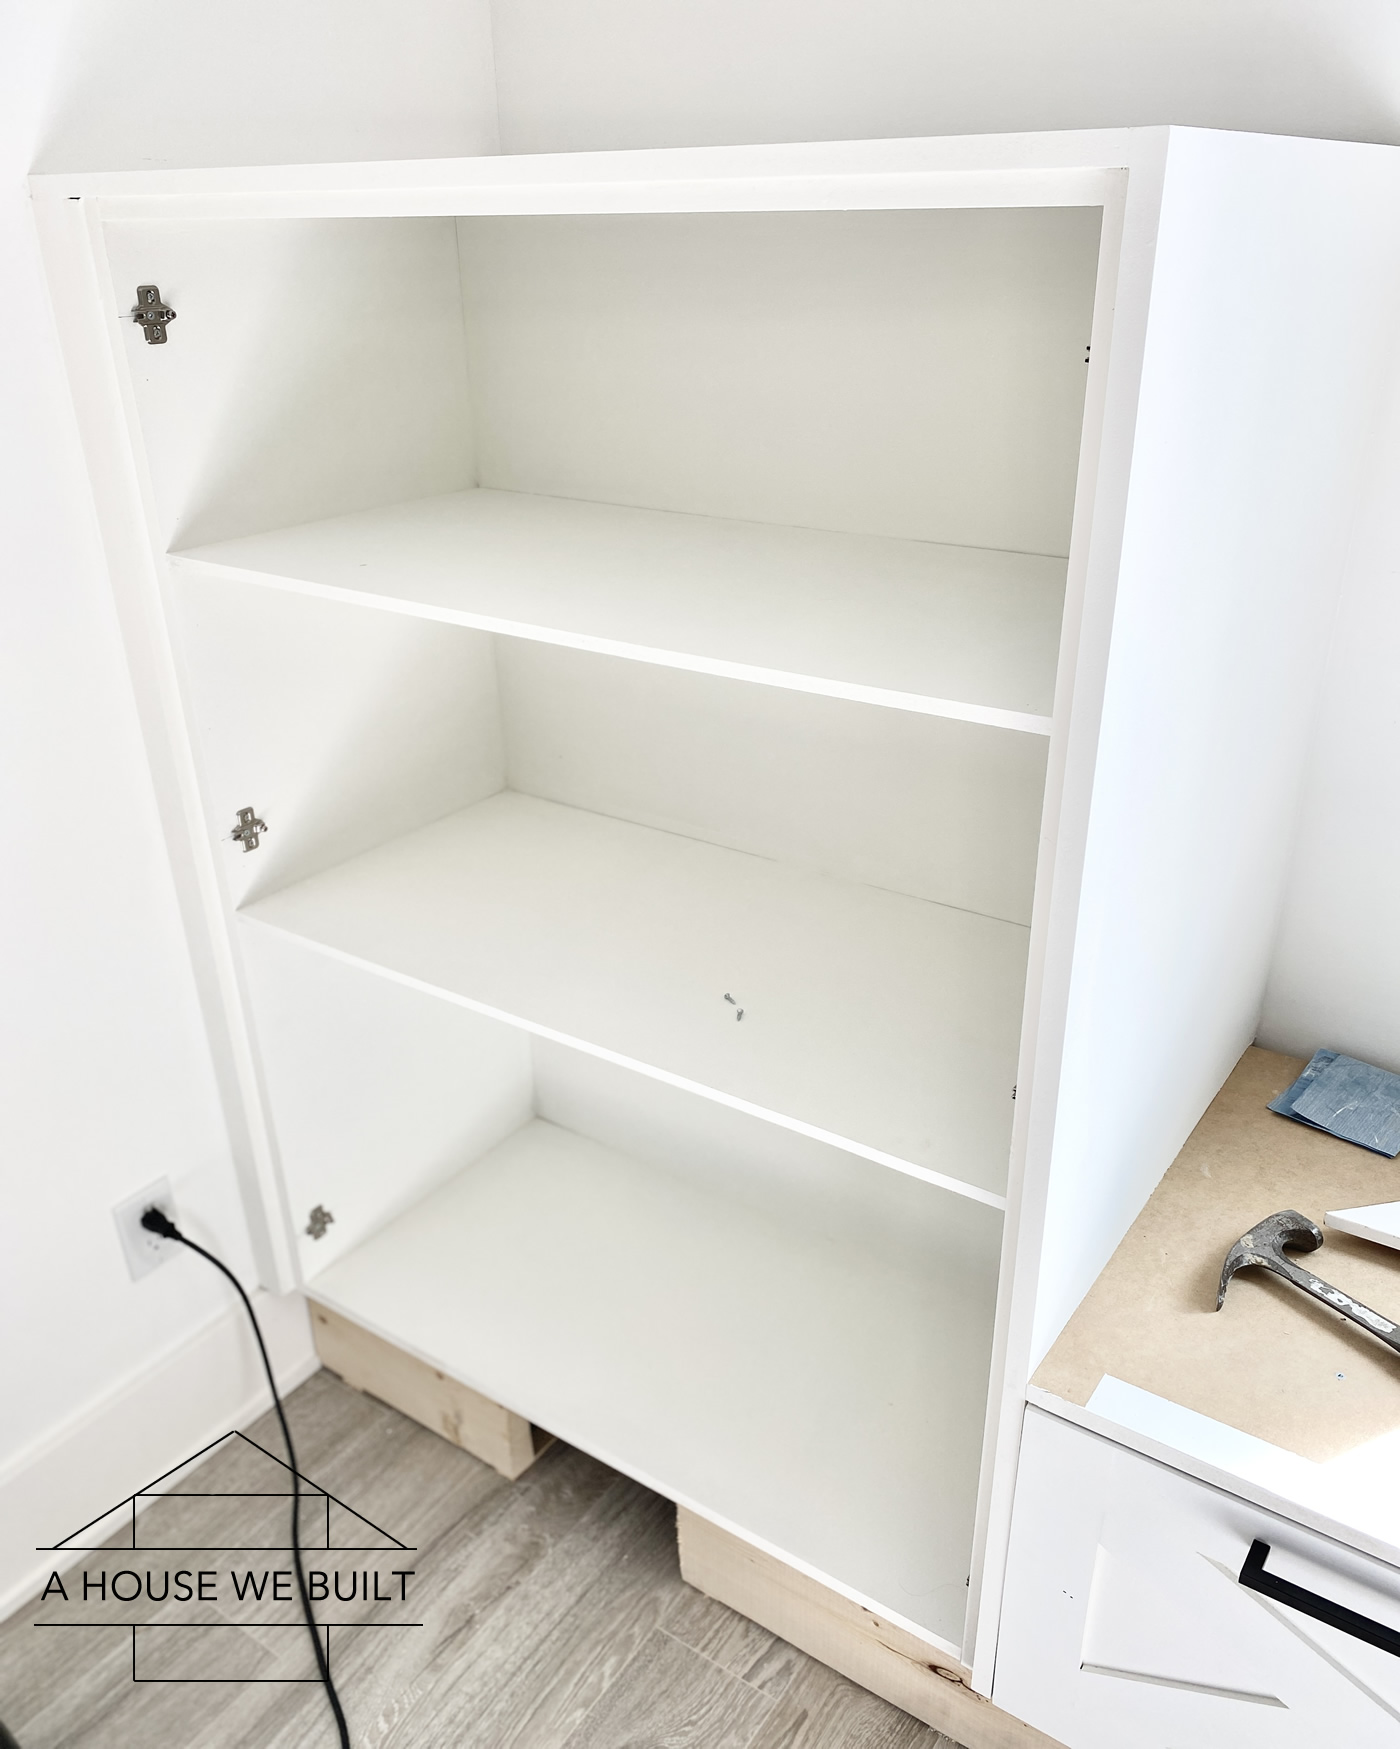
In the left-side cabinet, we brought the back of the cabinet forward by 6″ (see the middle pic above) to allow the air to flow up from the vent behind the cabinet and out the top. In the right-side cabinet, we boxed it in on the side instead of the back. I should note that we built the right-side duct incorrectly at first and then had to move it backwards 4″ because I totally forgot to allow room to hang the door hinges. Oops. You can see it incorrect in the left pic below, but then fixed in the middle pic below.
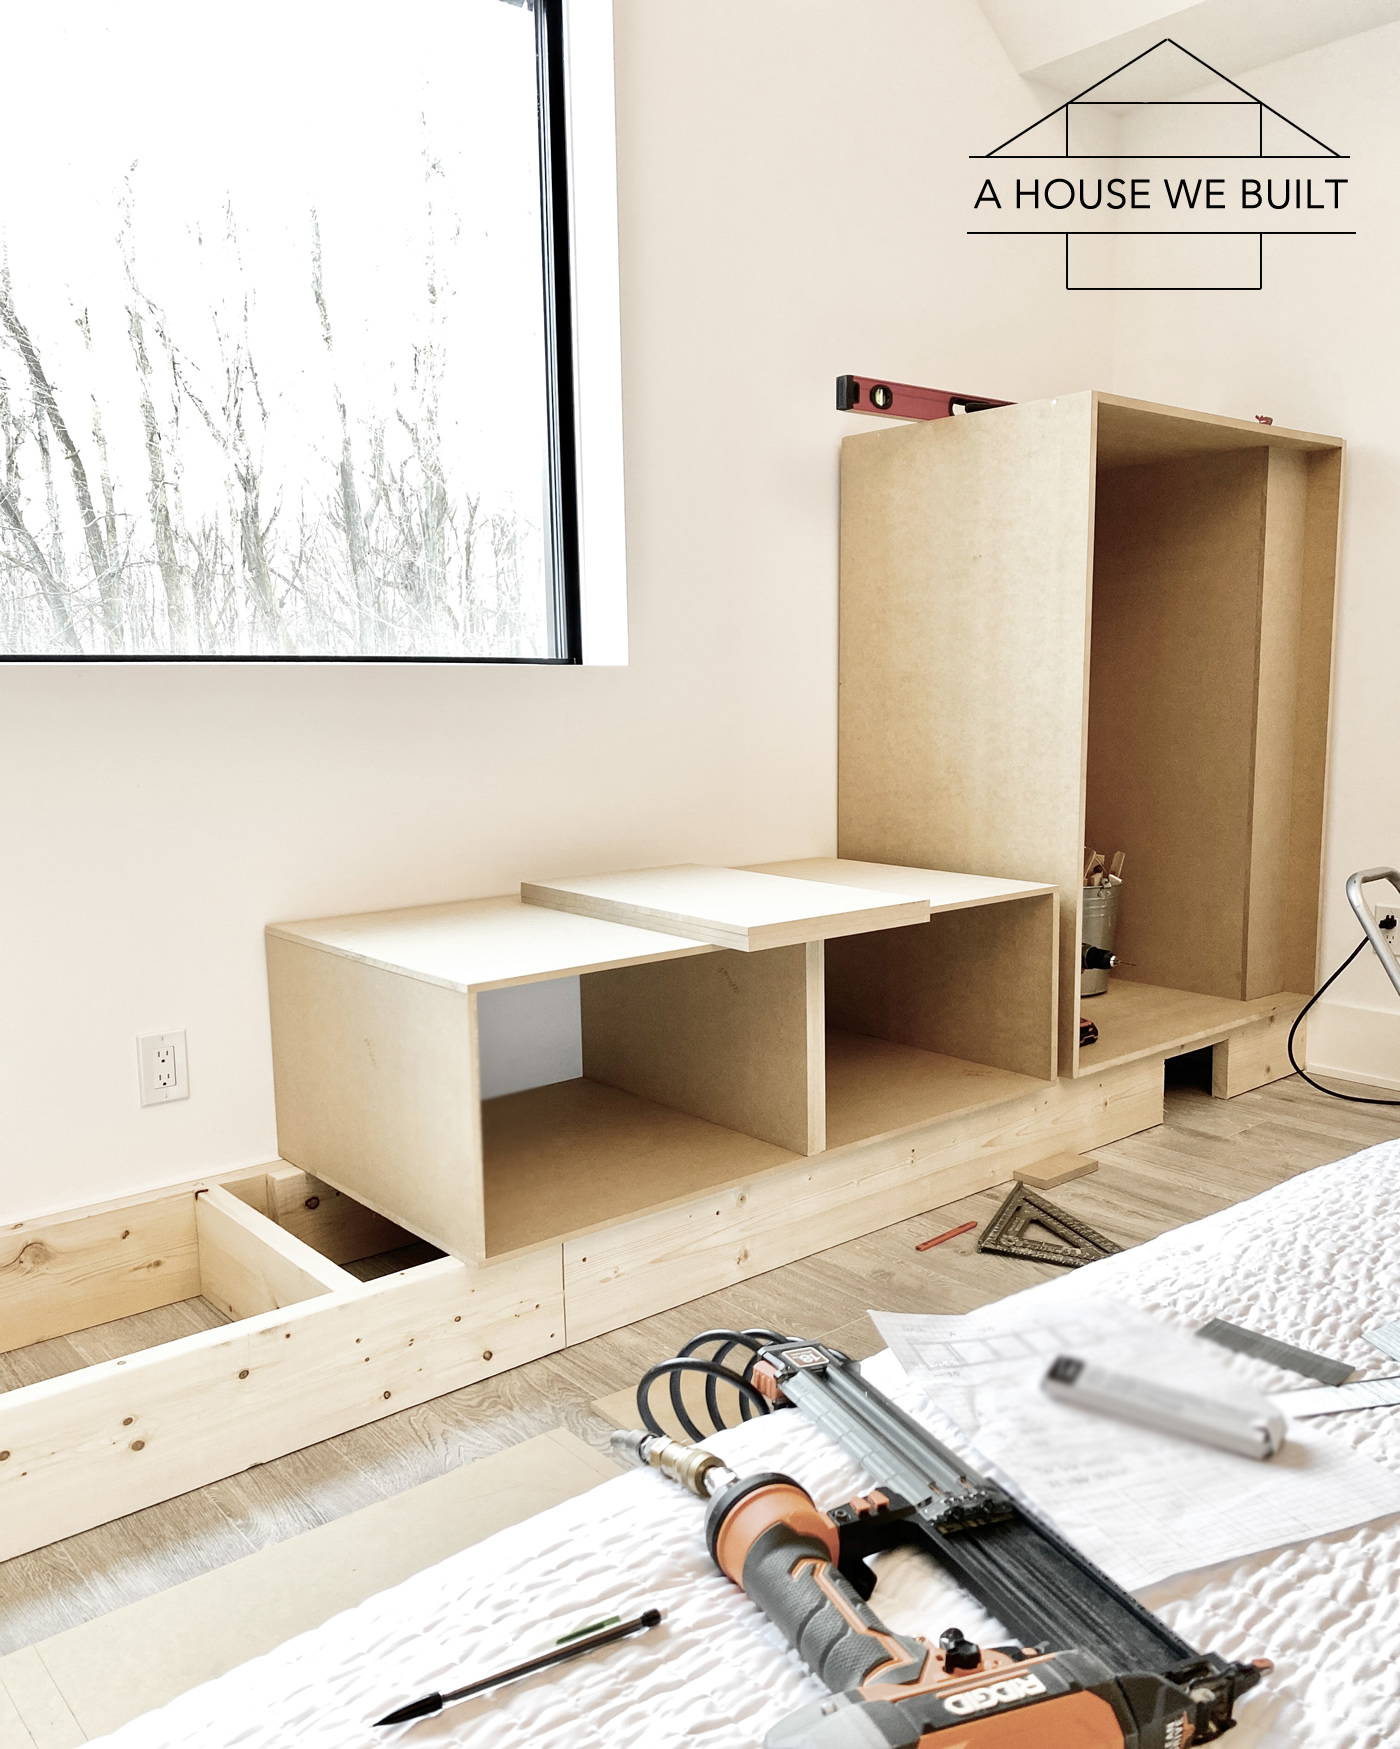
Once our side cabinet frames were built, we built the drawer frames. Since our window seat was longer than 8-ft, we built them in two sections: a 3-box unit and a 2-box unit. We used 3/4″ MDF for the top and bottom pieces and far left/right verticals. Then for the middle verticals, we layered 3 x 1/2″ pieces to create 1 1/2″ widths (3/4″ for each drawer side). So left to right, the 3-box frame went 1 x 3/4″ vertical, 3 x 1/2″ verticals, 3 x 1/2″ verticals, 2 x 1/2″ verticals. Then left to right, the 2-box frame went 1 x 1/2″ vertical (to get sandwiched up to the other box’s 2 x 1/2″ vertical to create one 3 x 1/2″ vertical section that would secure the 3-box and 2-box frames together), 3 x 1/2″ verticals, 1 x 3/4″ vertical on the right.
Finally, we added a 3/4″ cover panel made from two pieces to create the full 8-ft length. For stability, we staggered the joins so for the boxes, the 3-box frame was on the left and the 2-box frame was on the right meaning the join was towards the right side. So for the cover panel, we put the full 8-ft piece on the right and the smaller filler piece on the left so that the join would be over the left side instead.
Brad nailer: Home Depot | Amazon
1/2″ MDF panel: Home Depot
3/4″ MDF panel: Home Depot
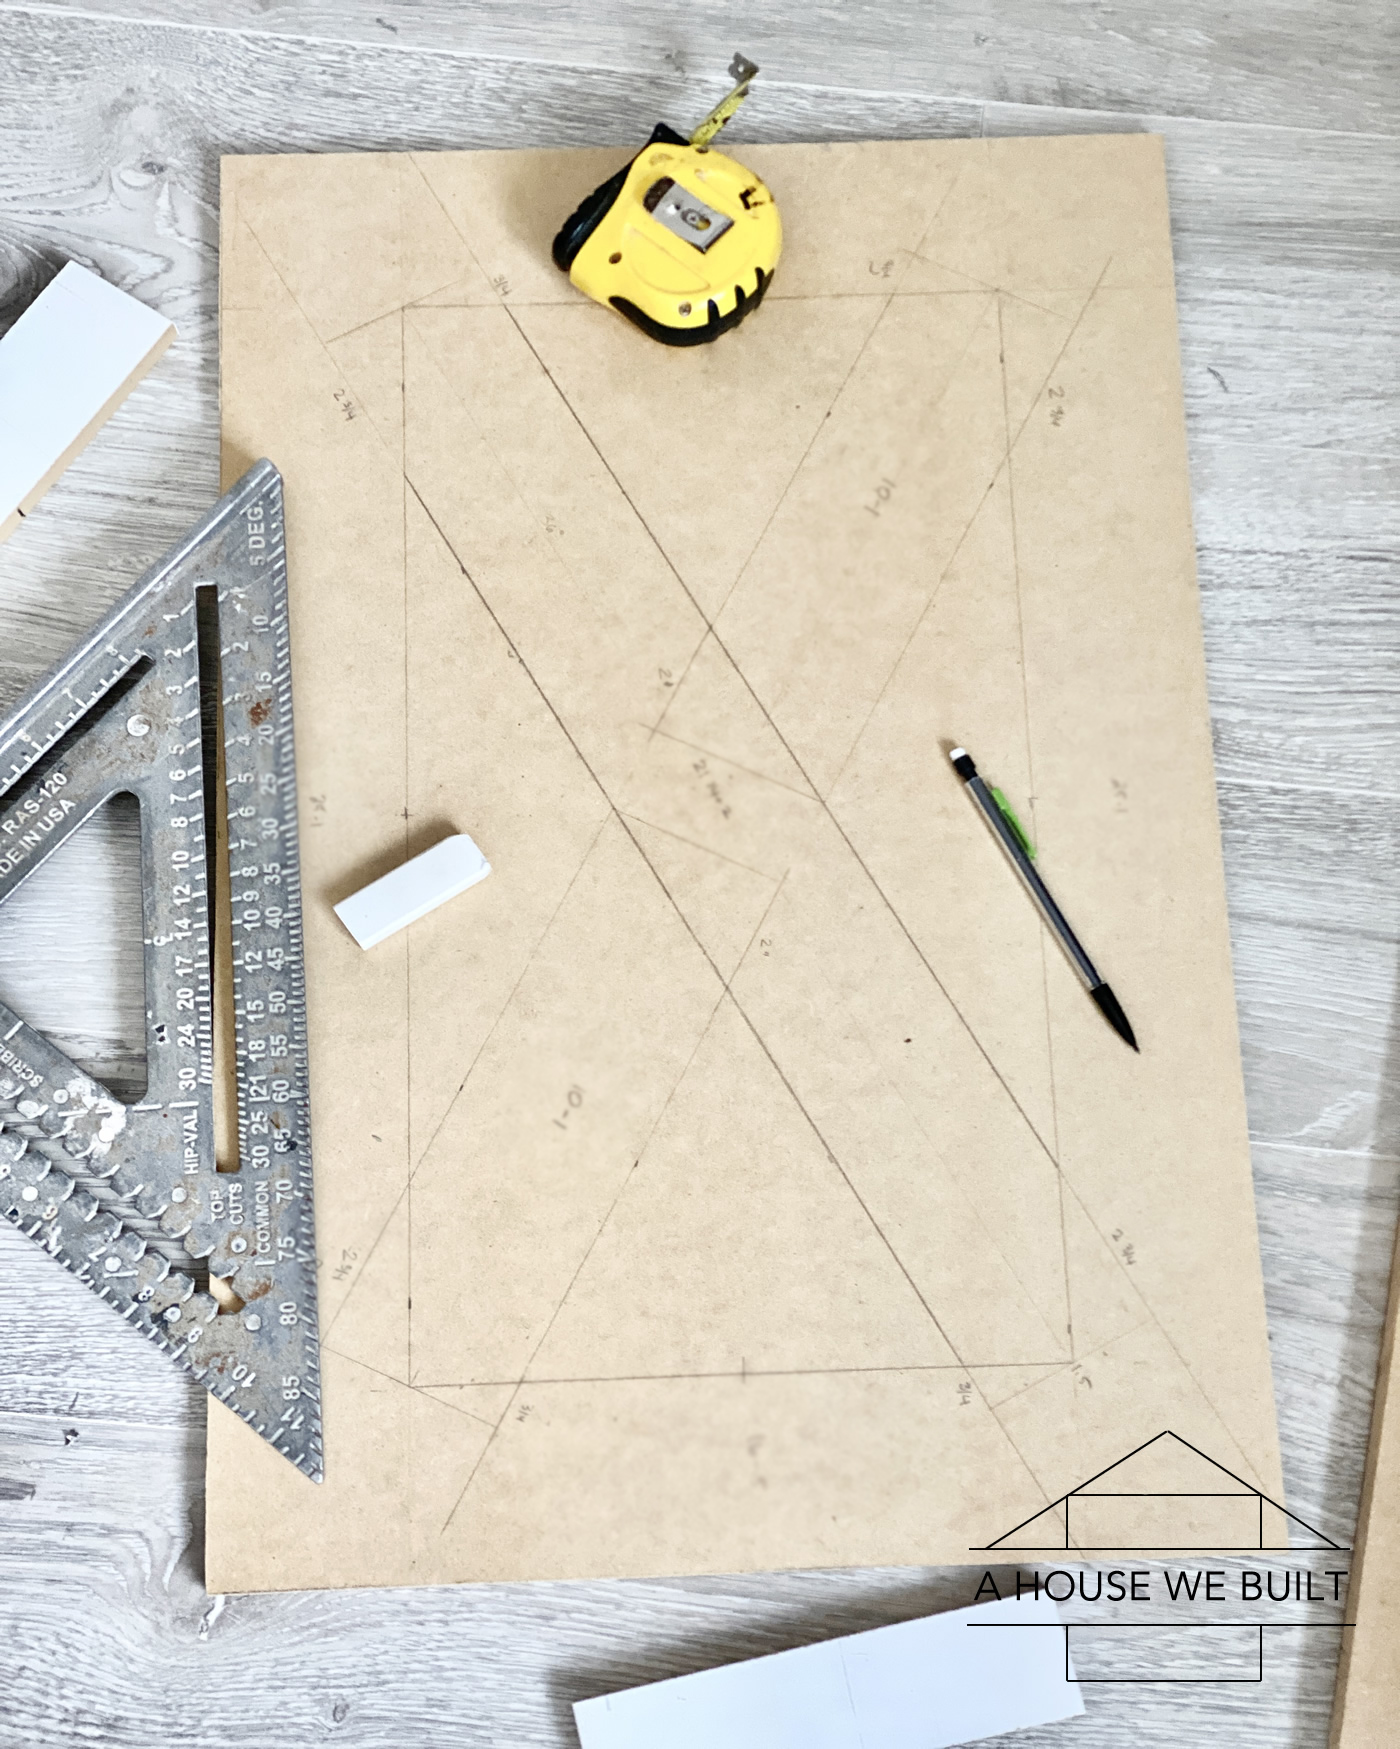
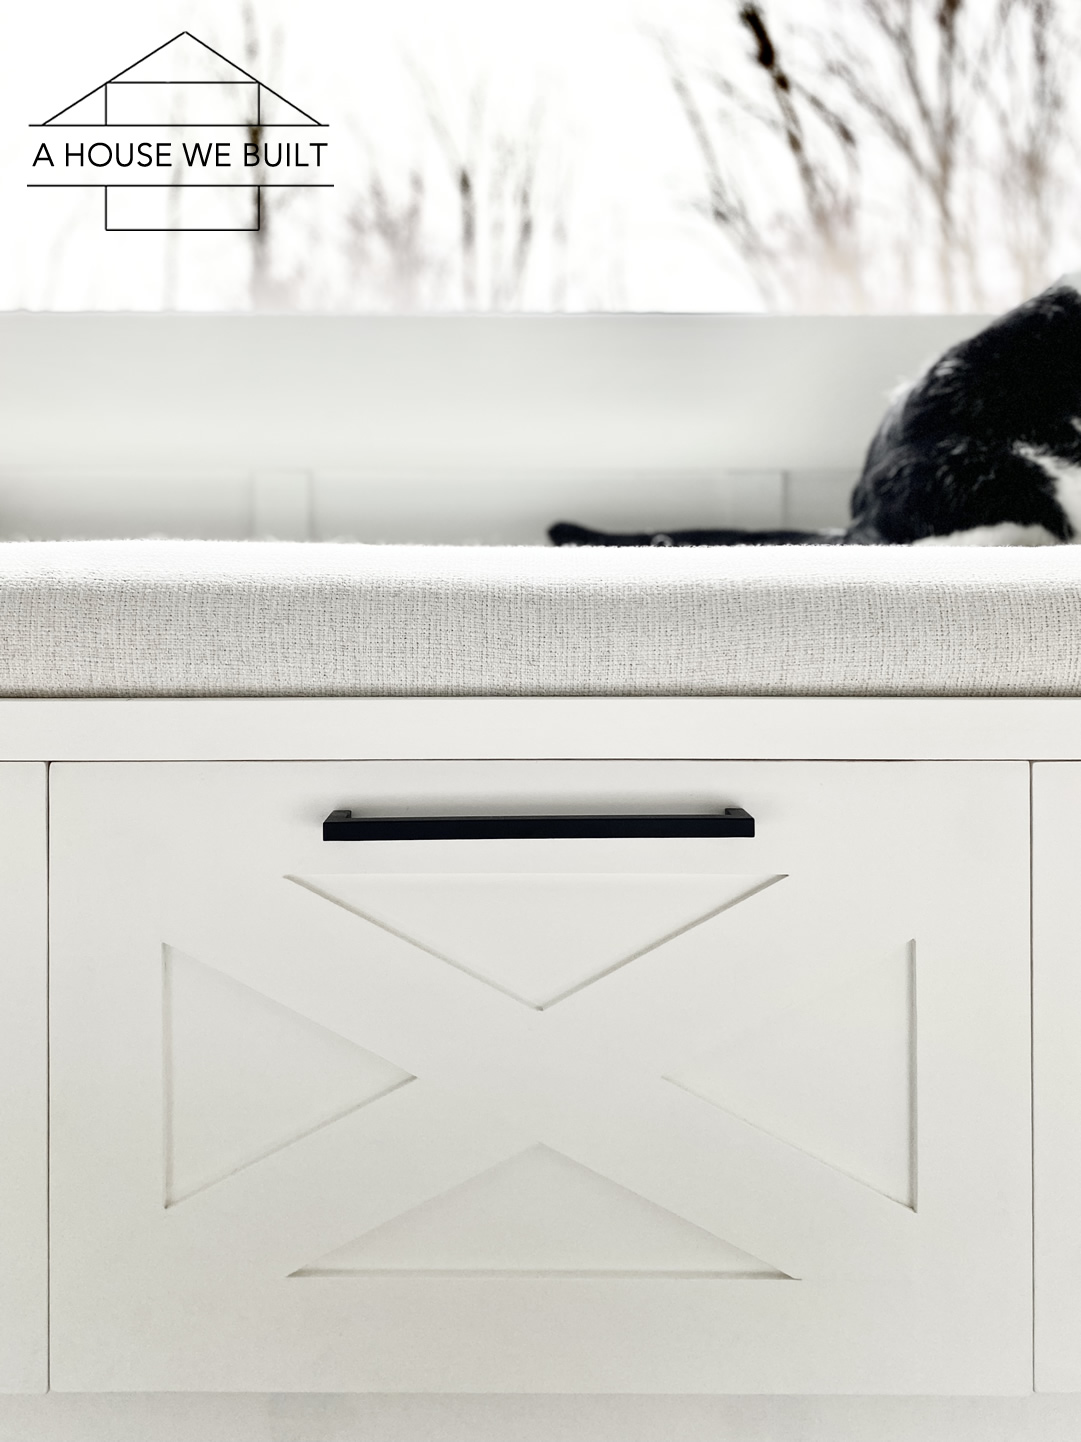
Next I started building the drawer fronts and cabinet doors shaker style out of 1/2″ MDF backer panels with 1/4″ MDF trim pieces glued on top to create an overall thickness of 3/4″ for each drawer front/cabinet door. I went with a 3″ wide strip of 1/4″ trim to create all my shaker panels and just ripped the panels down on our table saw (I think you can buy 3″ strips too but it’s much less cost effective).
I have a tutorial here for shaker doors: How to Build Cabinet Doors.
1/2″ MDF panel: Home Depot
1/4″ MDF panel: Home Depot
Table saw: Home Depot | Amazon
To calculate the size of my drawer fronts, I just gave them all 1/8″ clearance on all sides. I cut the 1/2″ MDF backer panels to size first and dry fit them in front of the drawer/cabinet boxes to be sure I’d cut them all accurately before moving forward to the shaker trim. It’s easiest to fix the sizing now if needed.
Regarding the trim pieces for the X-detailing on the drawer fronts… I’ll be honest, we’ve built a lot of things at this point, but calculating angles still makes my head spin so I’m not even going to explain how I did it but it basically just involved wayyyyyy more math than I like to do in my day-to-day life.
I also built the 4 tall cabinet doors at the same time but didn’t really take pictures of it because they’re pretty basic shaker panels: 1/2″ MDF backer with 1/4″ MDF trim around all 4 sides in 3″ widths.
I cut everything for all the doors/drawer front before assembling and dry fit them all to make sure that each door/front’s trim pieces fit, then I labeled all the pieces so that I knew which ones went together.
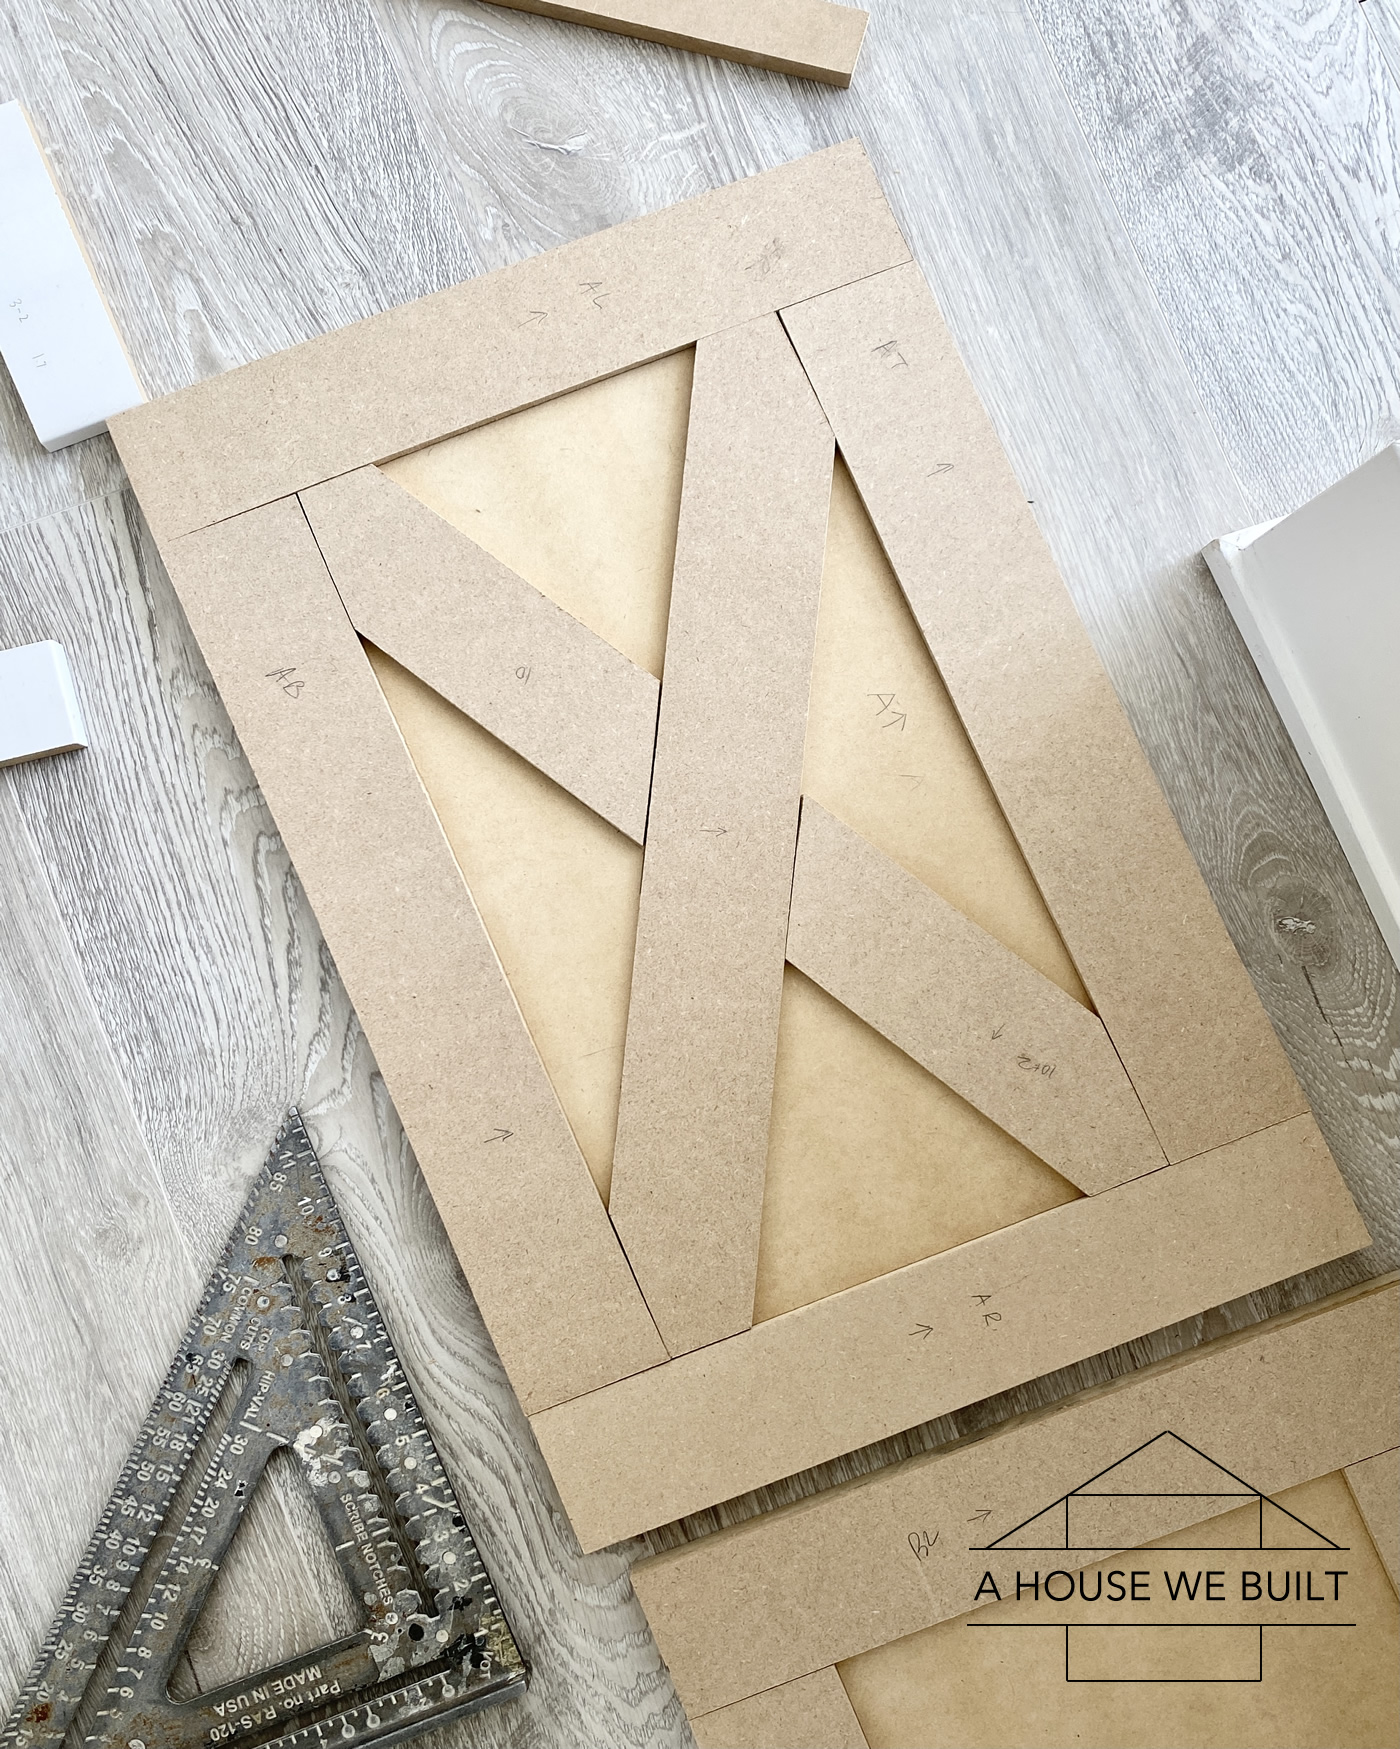
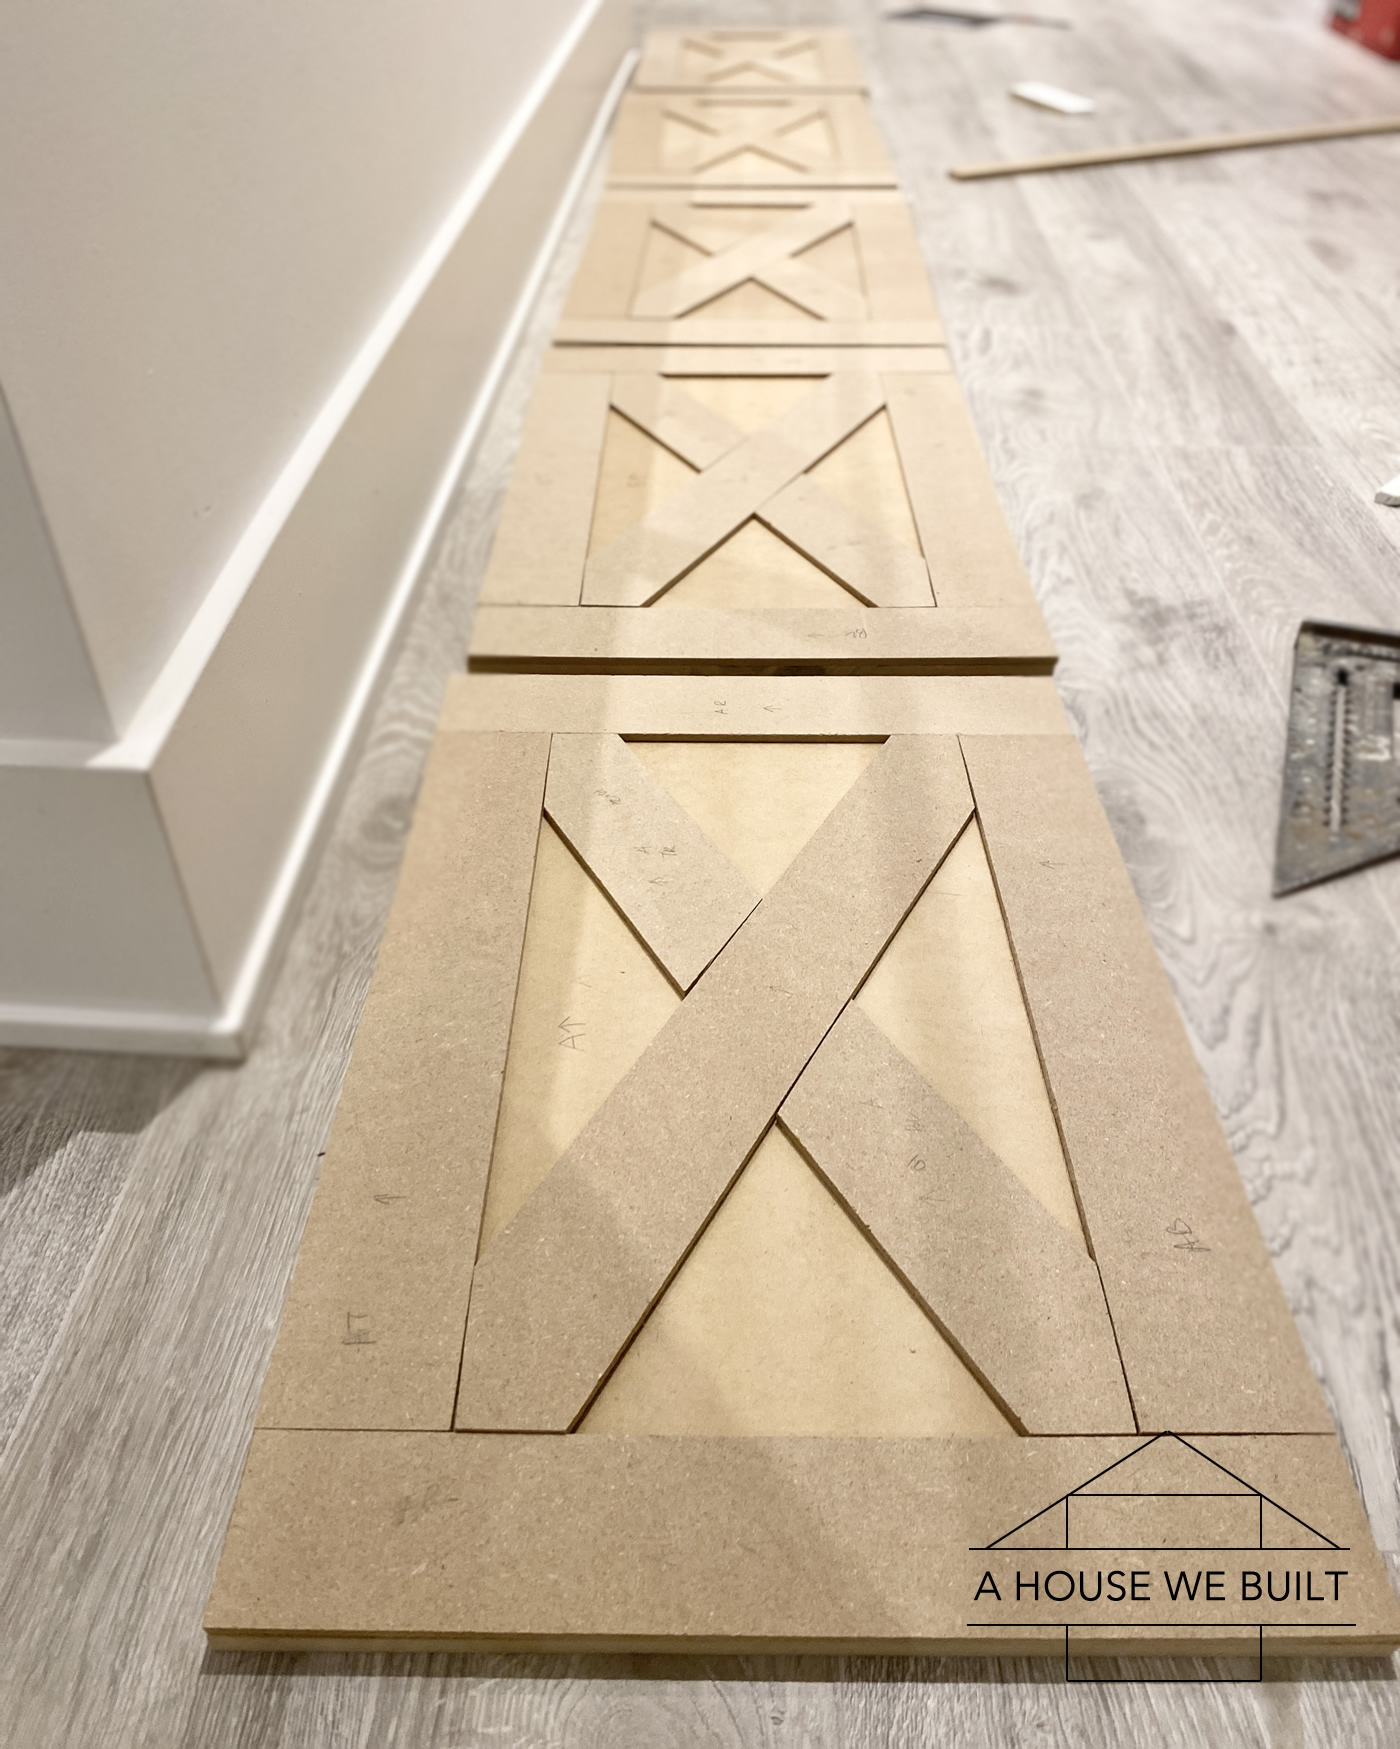
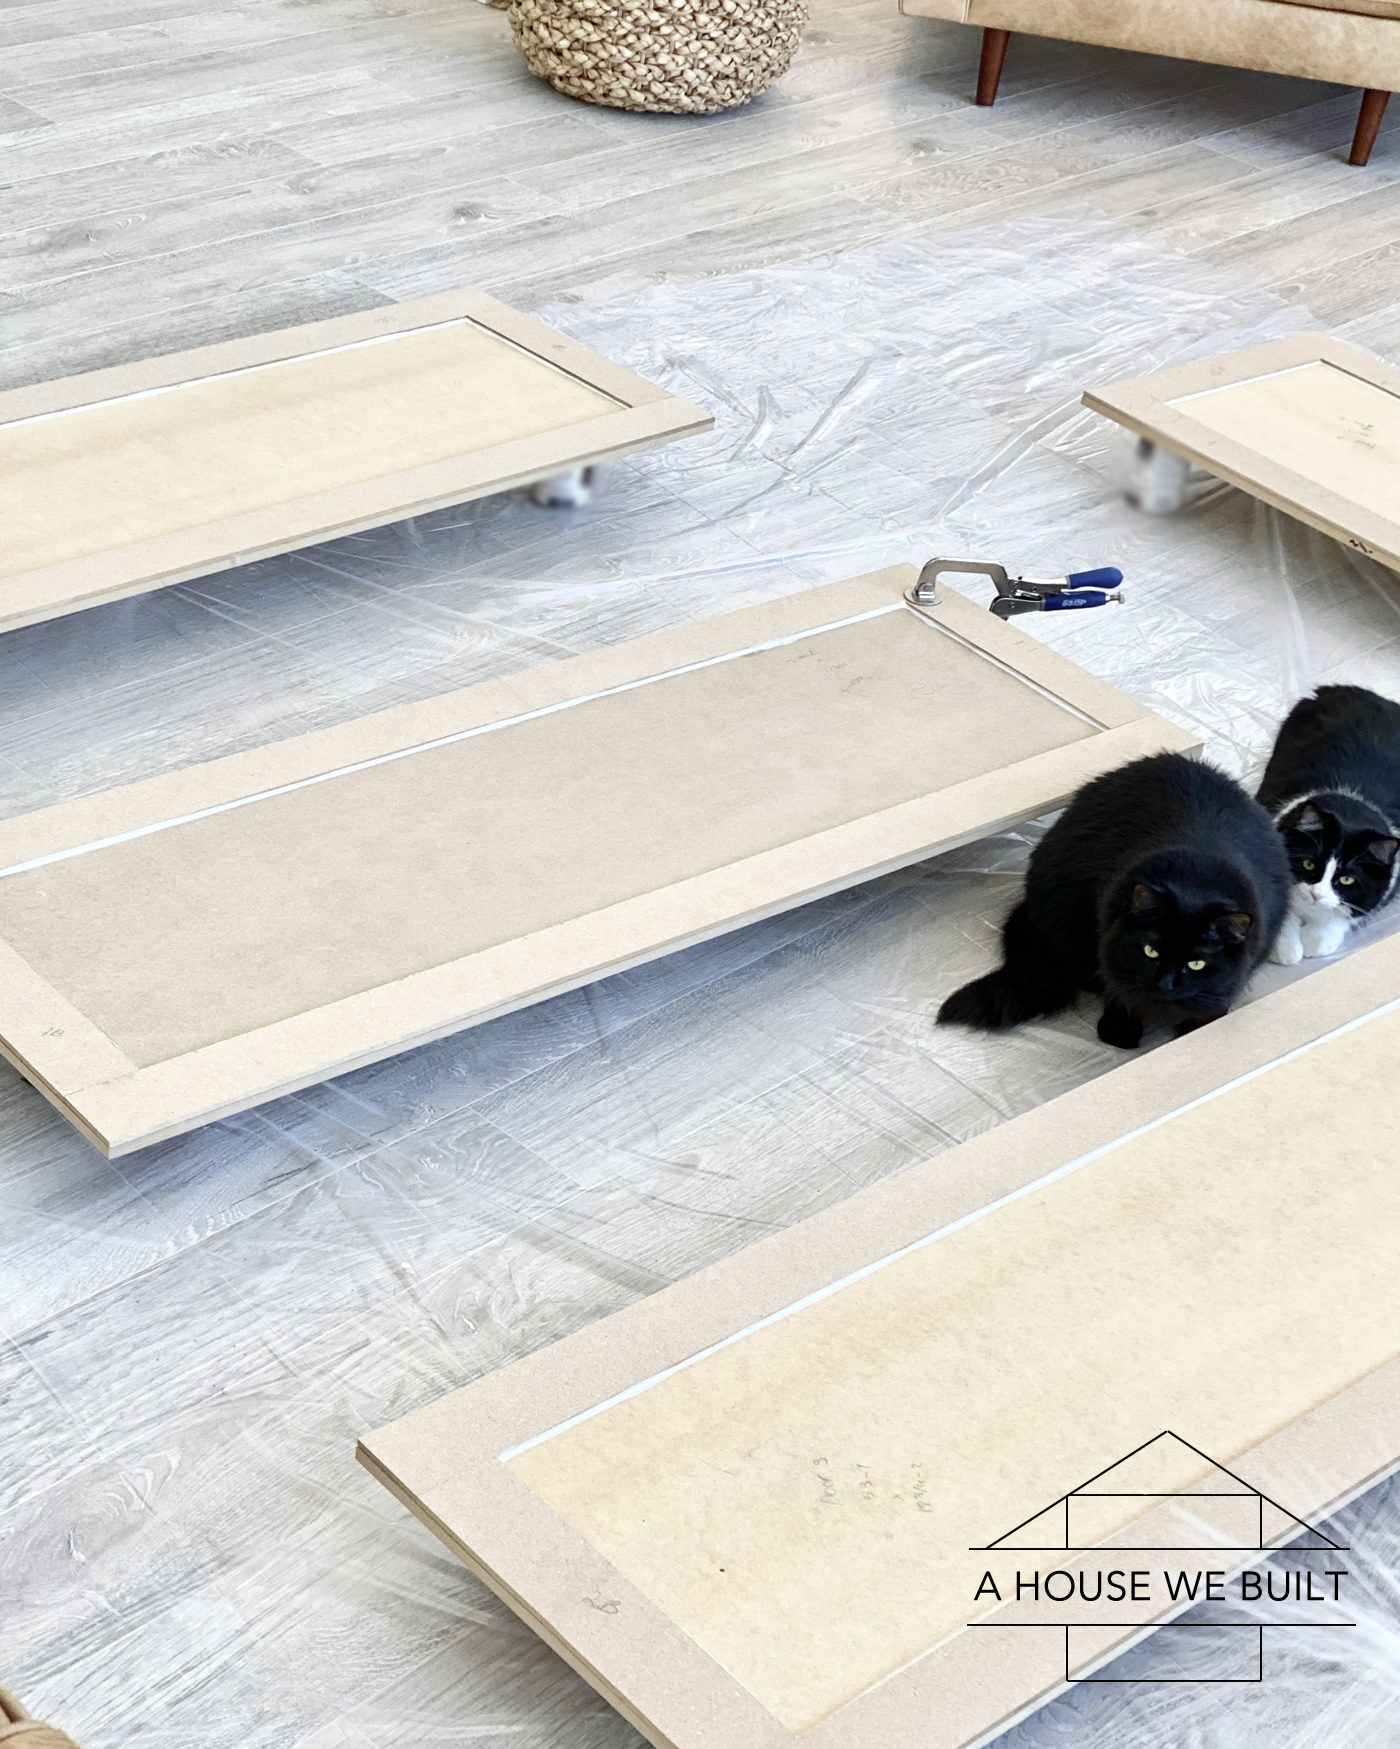
To assemble the drawer fronts and doors, I used construction adhesive to glue the trim onto the backer panels and I literally just used cans from our pantry to weight down every join (so one can over each join) overnight so that everything would dry flat. I did this right in the middle of our living room floor and find this “can-weight” method is much easier than clamping everything down in my opinion.
Once all the doors/fronts had dried overnight, I took the cans off them and instead used the cans as “lifts” underneath the doors/fronts to elevate them. Then I wood-fillered all the seams on the fronts and along every side. After the wood filler had dried, I sanded them all down until they were perfectly smooth.
Construction adhesive: Home Depot | Amazon
Wood filler: Home Depot | Amazon
Putty knife: Home Depot | Amazon
Sandpaper: Home Depot
When I was finished making all the doors/fronts, I took them to the window seat and dry-fit them along where they would eventually go juuuuuuuust to make double sure that everything fit perfectly (because sometimes the wood filler can add extra width to the panels if they’re not sanded down all the way).
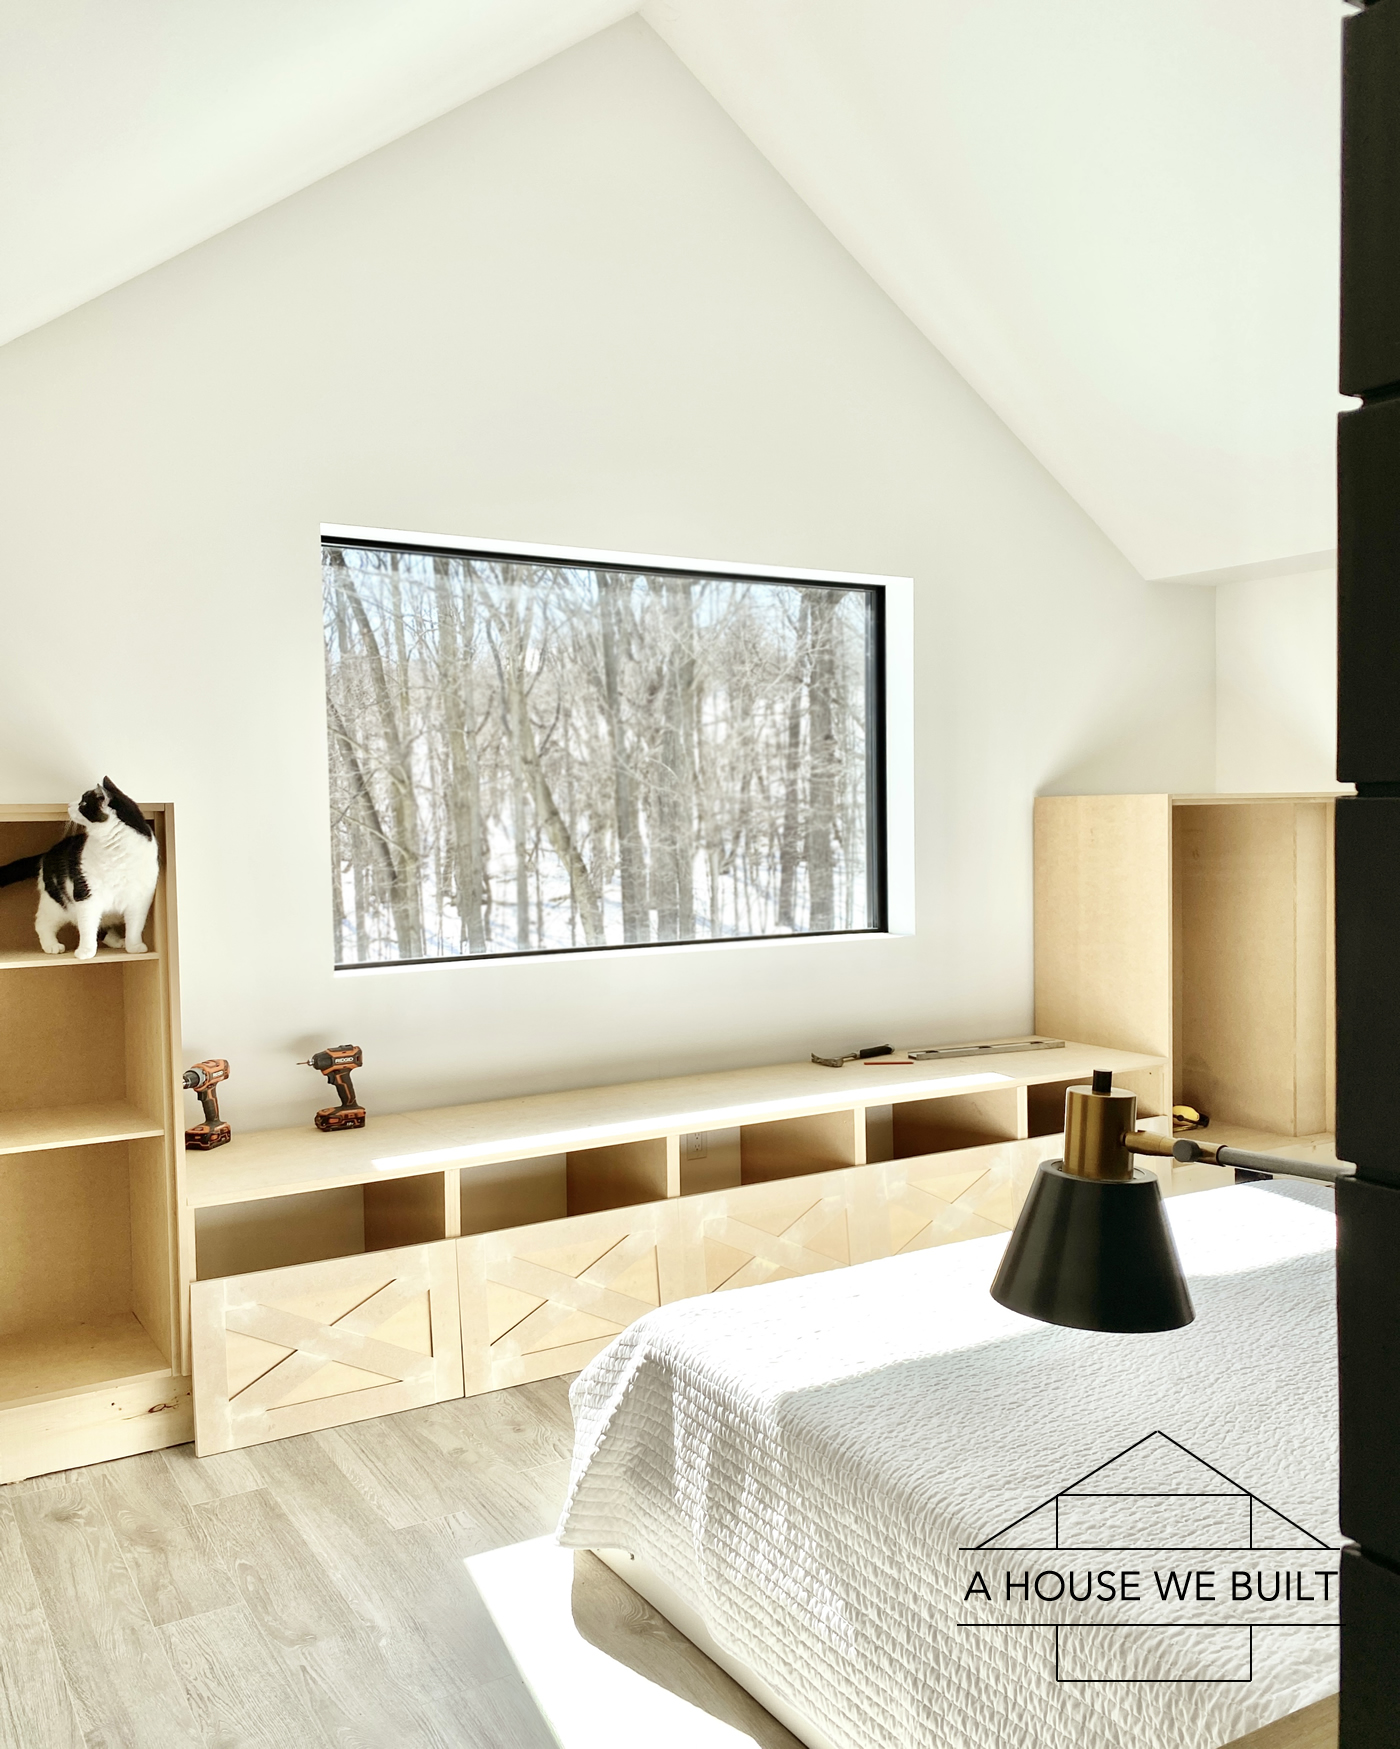
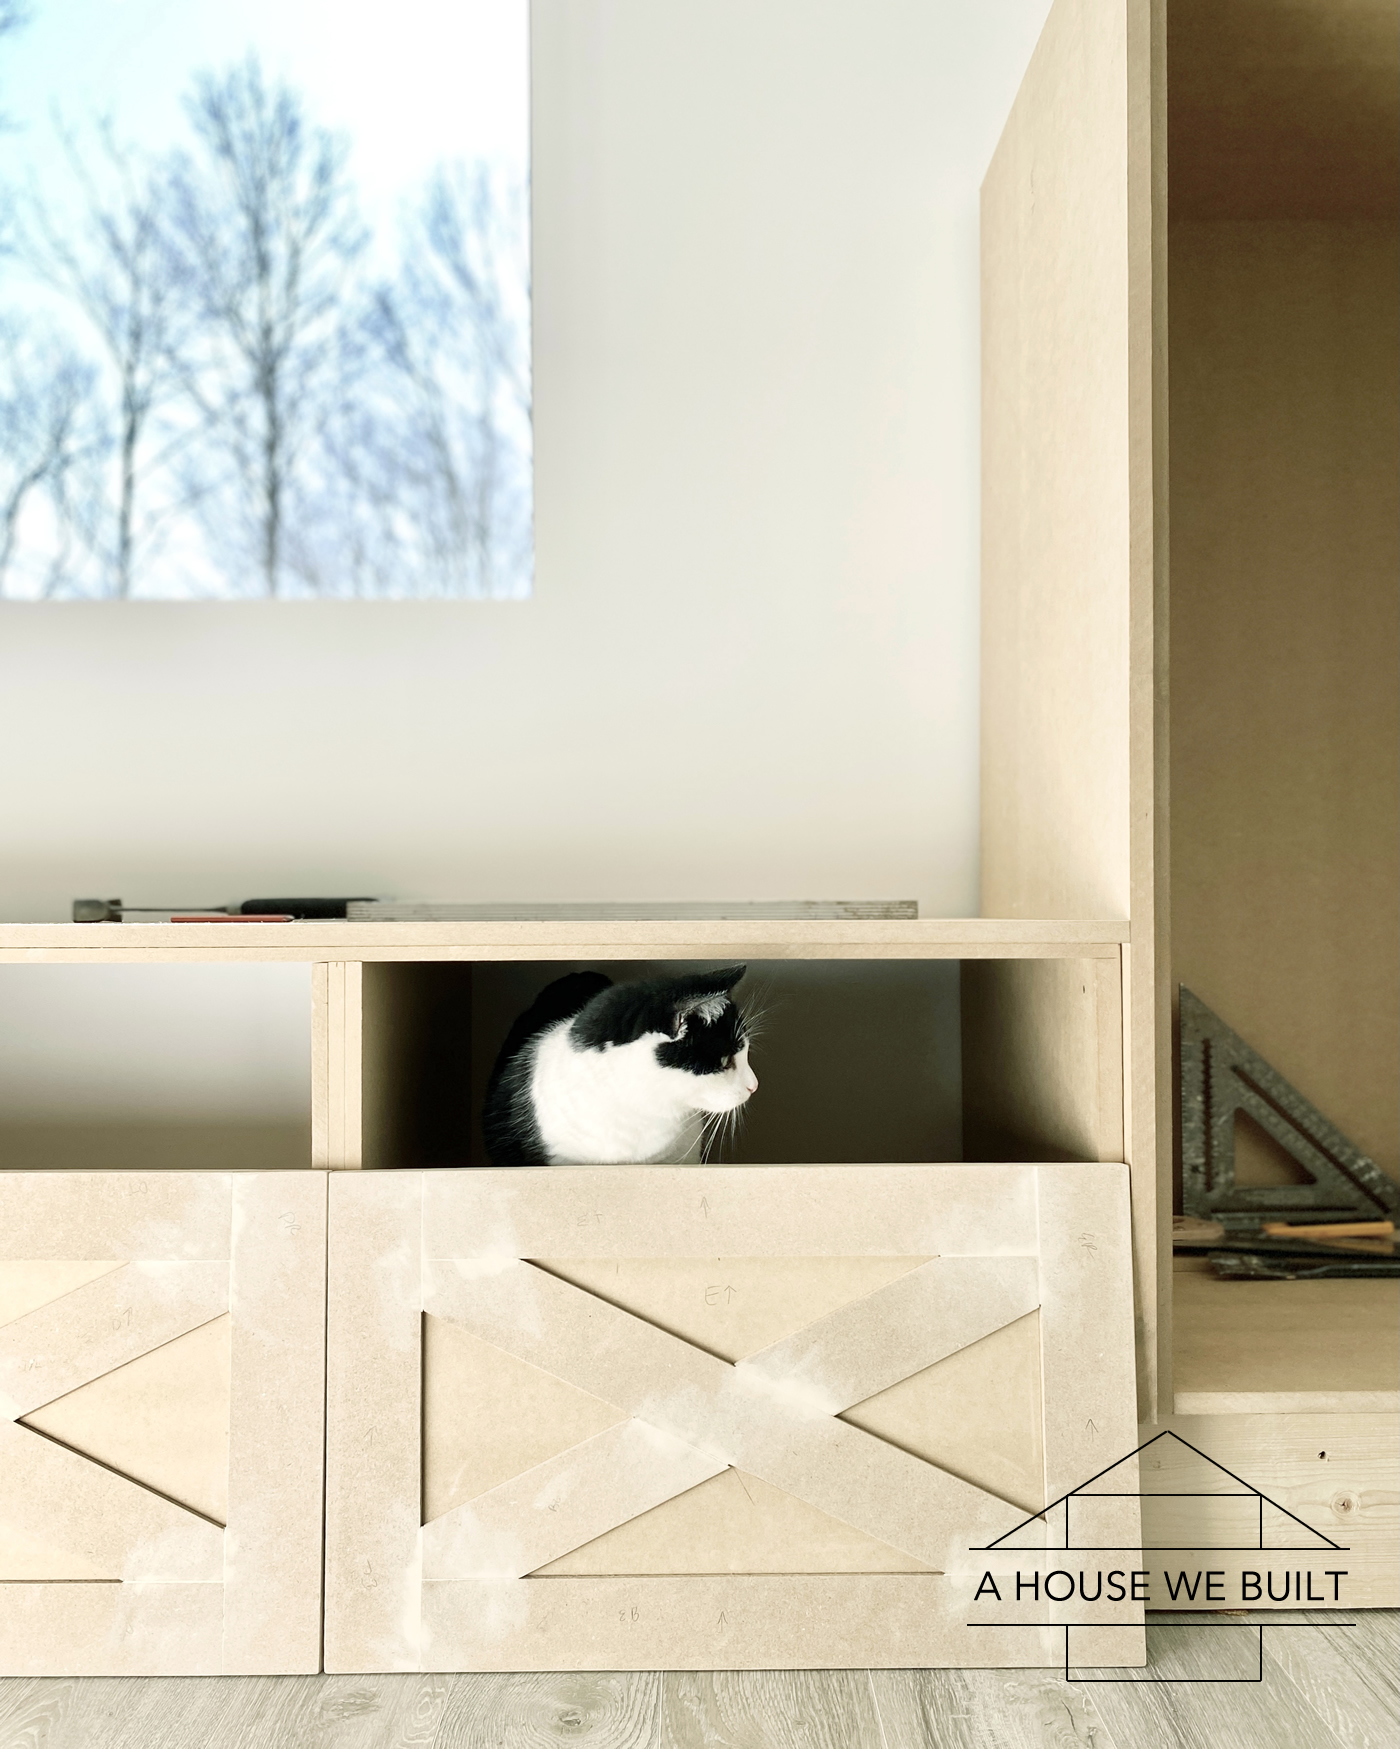
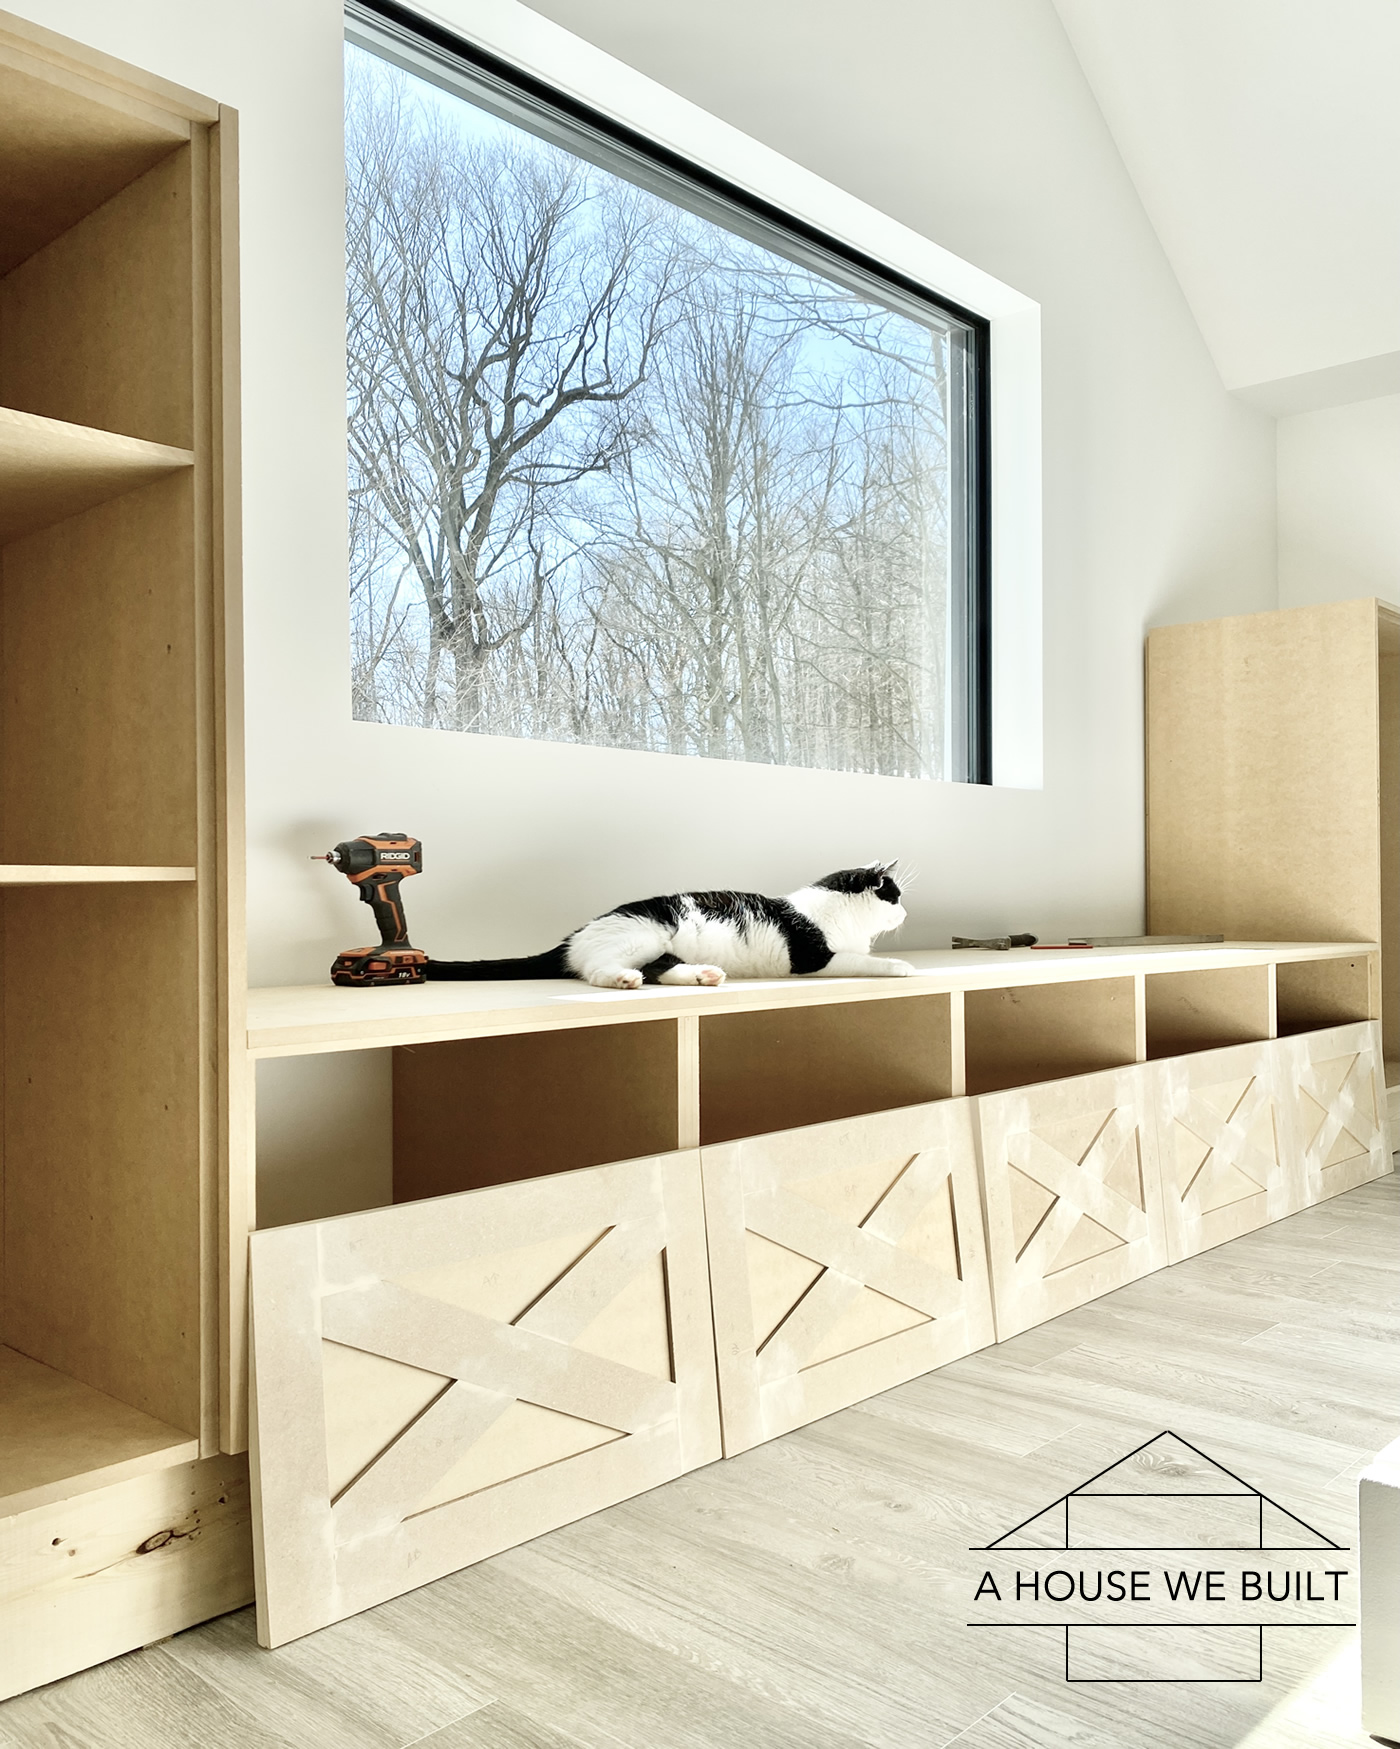
Next, it was time to paint. I always brush/roller everything. I have a paint sprayer (a pretty nice one too) but for the life of me I cannot summon the willpower or patience to clean it so I always prefer to brush/roller.
The trick to brush/rollering well is to make sure you never let your brush work dry without rollering over top it to smooth out the lines. So I use the brush to get into all the nooks and crannies, but then roller overtop right away to give everything a nice finished edge. So I use the brush and roller in combination with each other at the same time. My preference is always to use microfiber rollers.
Microfiber roller: Home Depot
Roller refills: Home Depot
Paint tray: Home Depot
Paint: BM Simply White in matte
Another paint tip: paint the backs first, but do not paint the edges when you paint the back! Just paint the flat backs of the panels alone. Then, once the backs are dry, flip them over and paint the edges at the same time as when you paint the fronts. That way you will never have any accidental drips on the front.
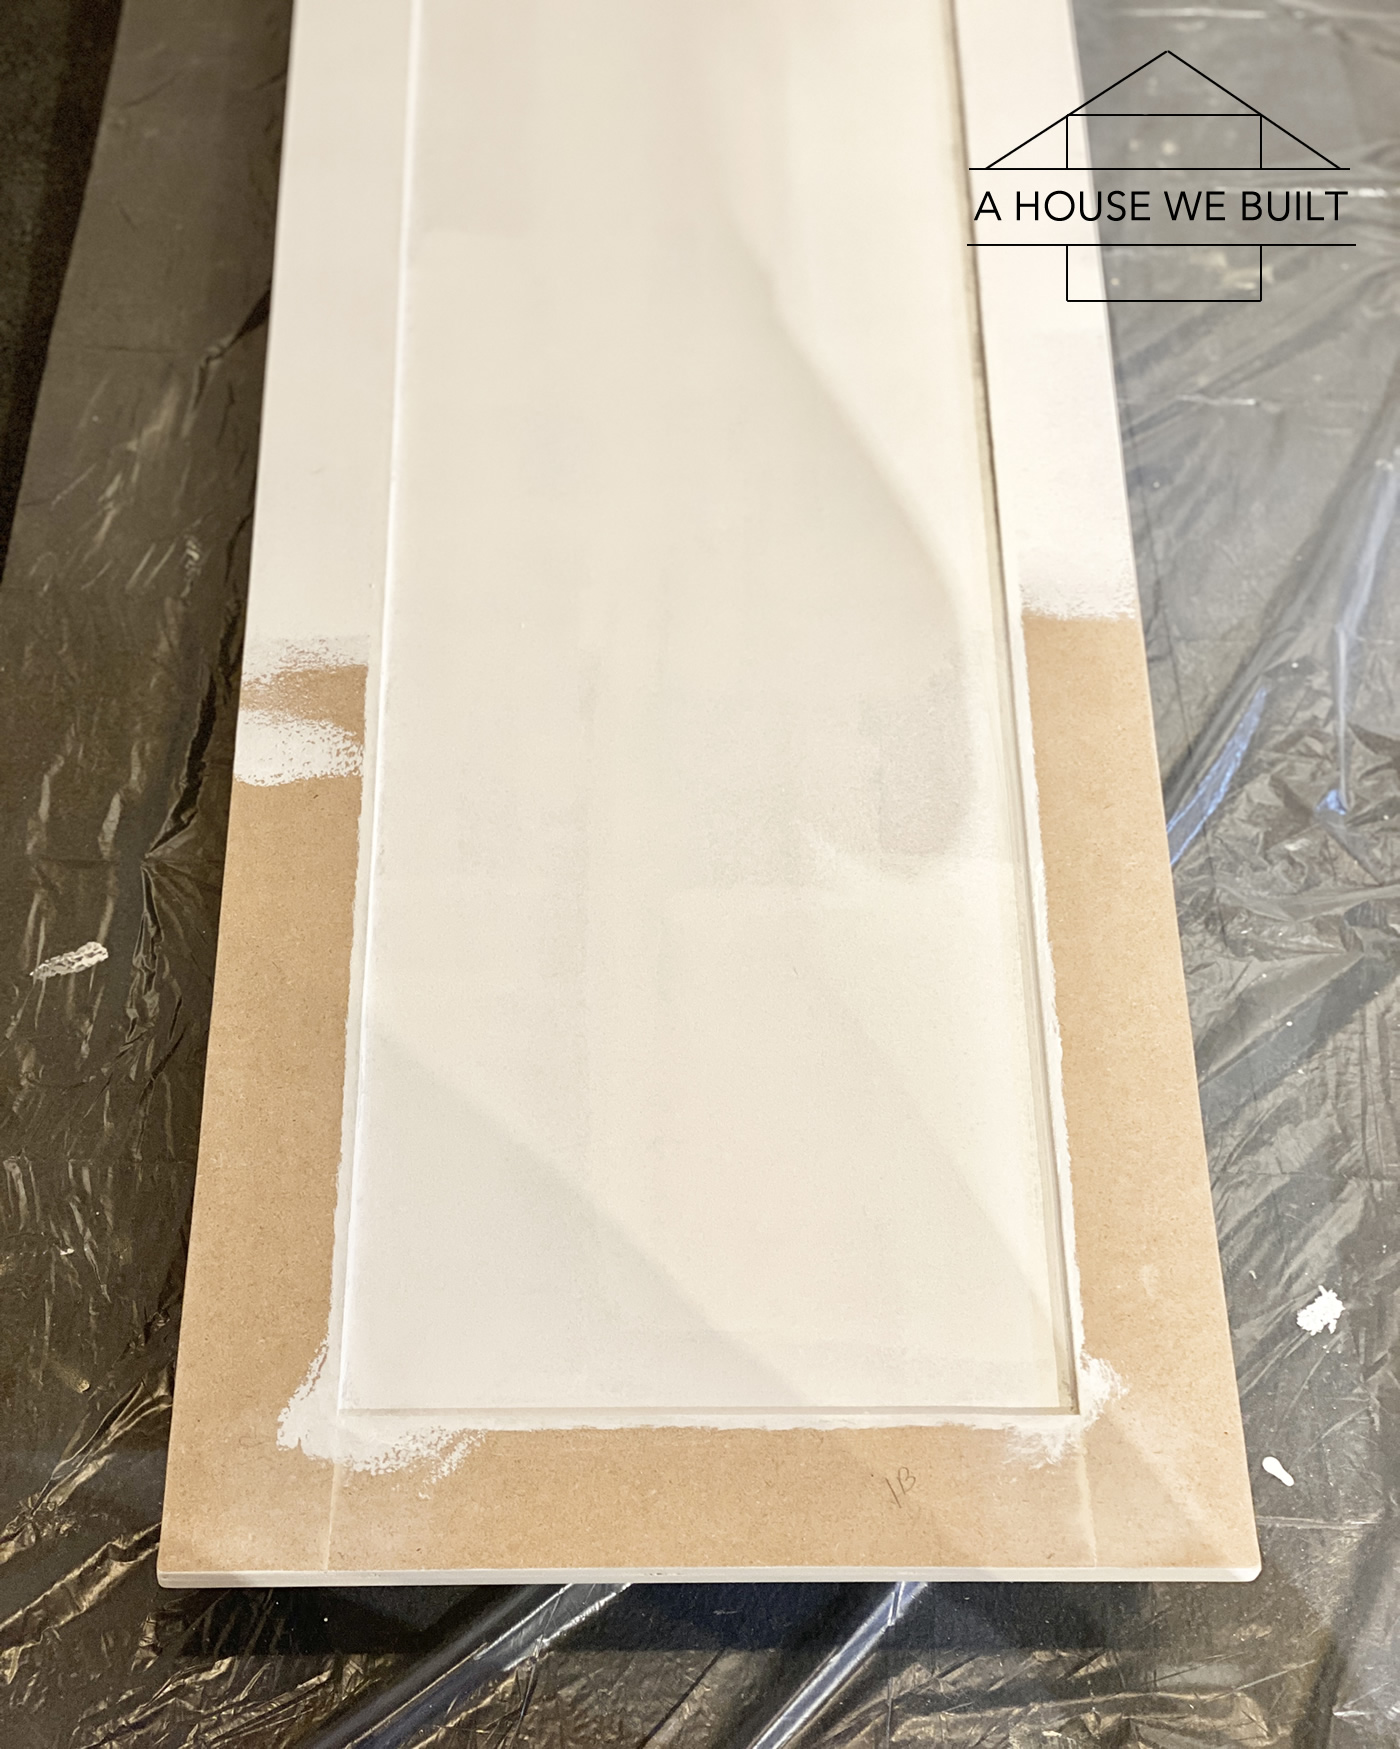
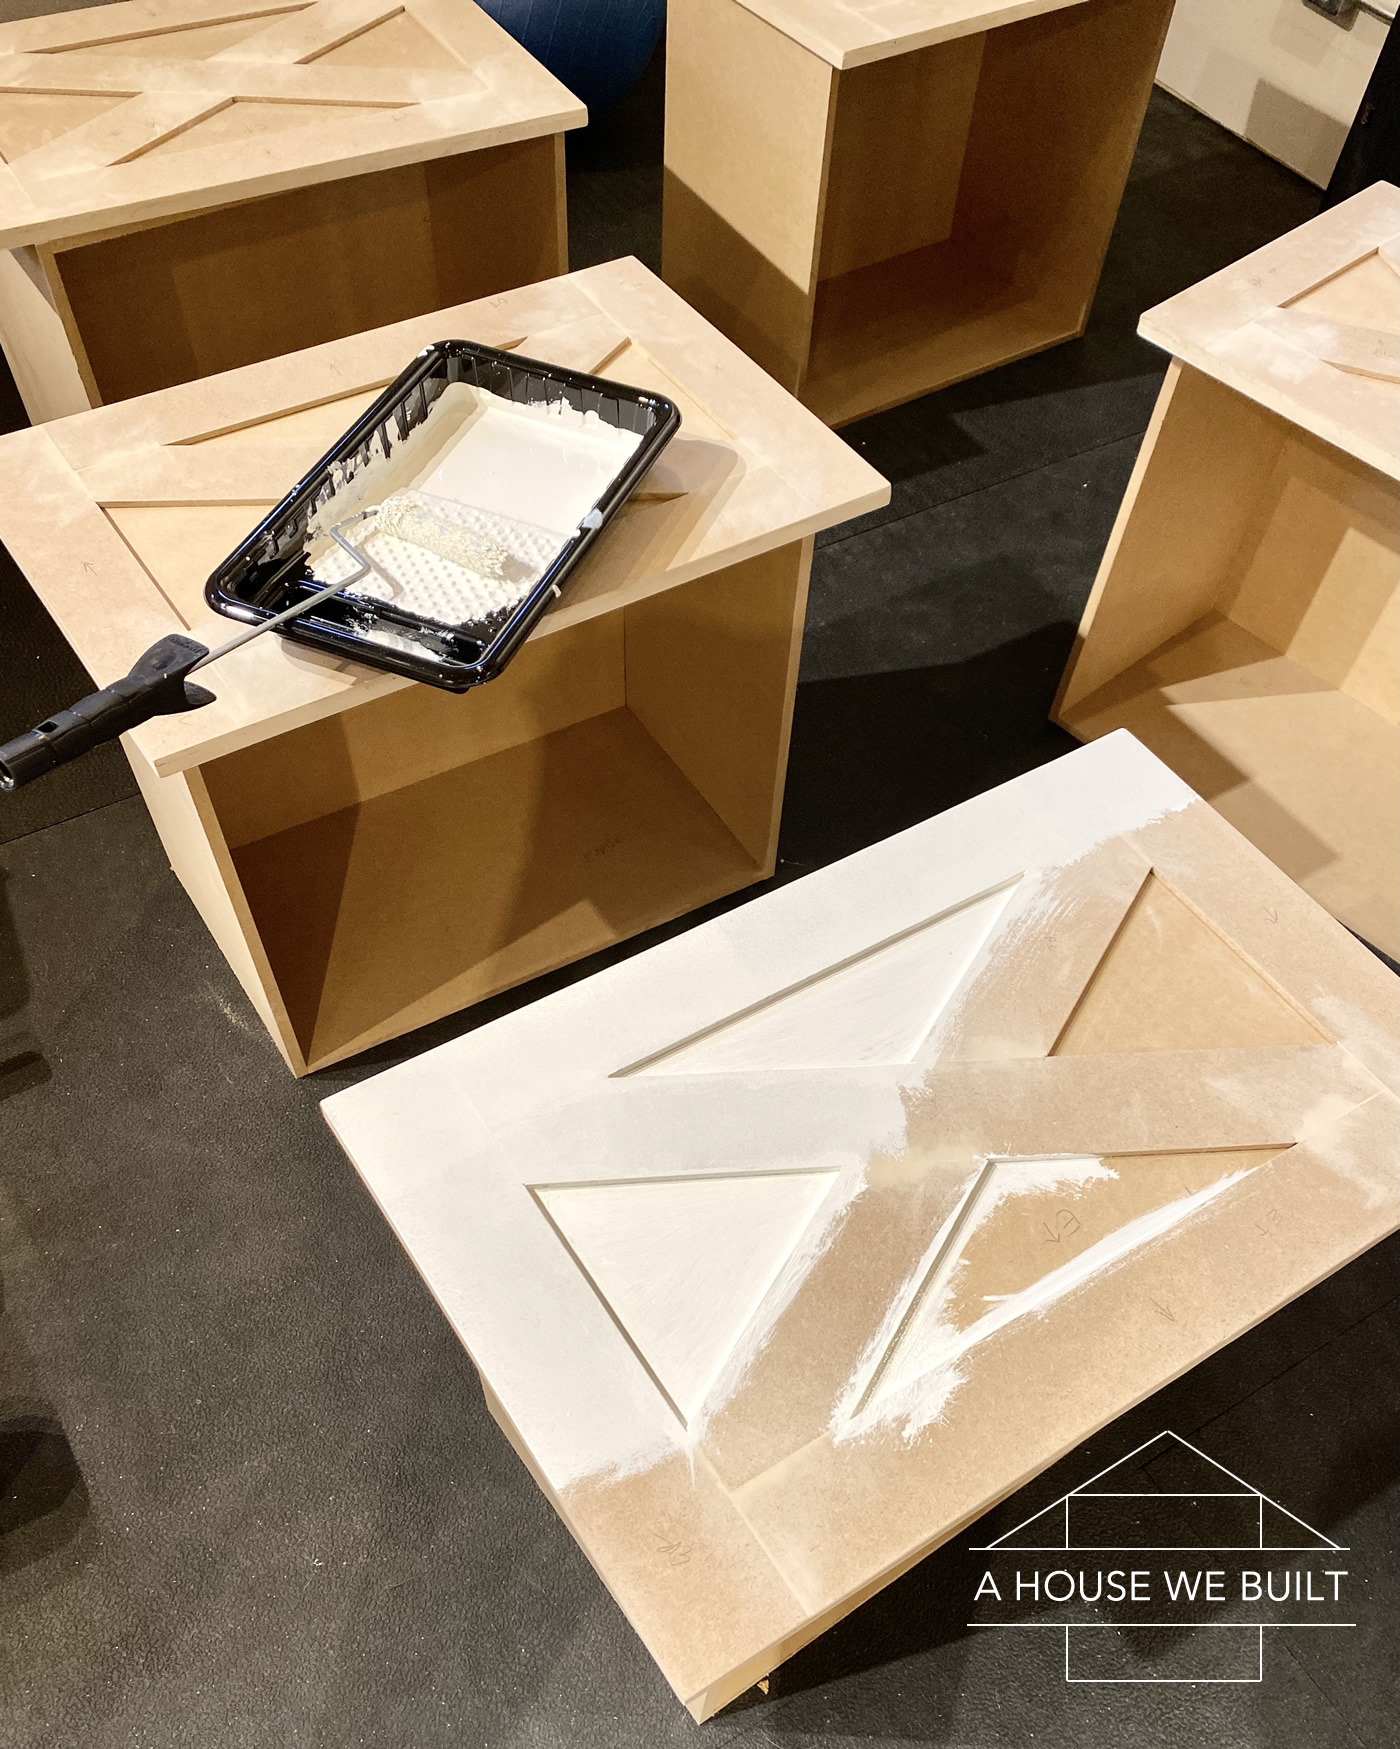
Around the same time, we also built the drawer boxes out of 1/2″ MDF. They’re pretty basic boxes – literally just 4 sides and a bottom nailed together. I also sealed all the drawer boxes with my favorite matte top coat use everywhere because I wasn’t planning to paint them and I wanted to seal the MDF.
Matte top coat: Amazon | Home Depot
Next, we cut the cover panels for the two side cabinets and attached them 3/4″ proud of the cabinet frames to allow for the cabinet doors (which are 3/4″) to be flush with the cover panels. We also cut the trim pieces for between the cabinets and the walls. Then I wood filler and sanded all the seams.
Finally, this was when we drilled the holes for the vents on top of the cabinets – because the holes are really only in the cover panels. I just laid the holes out in an even pattern.
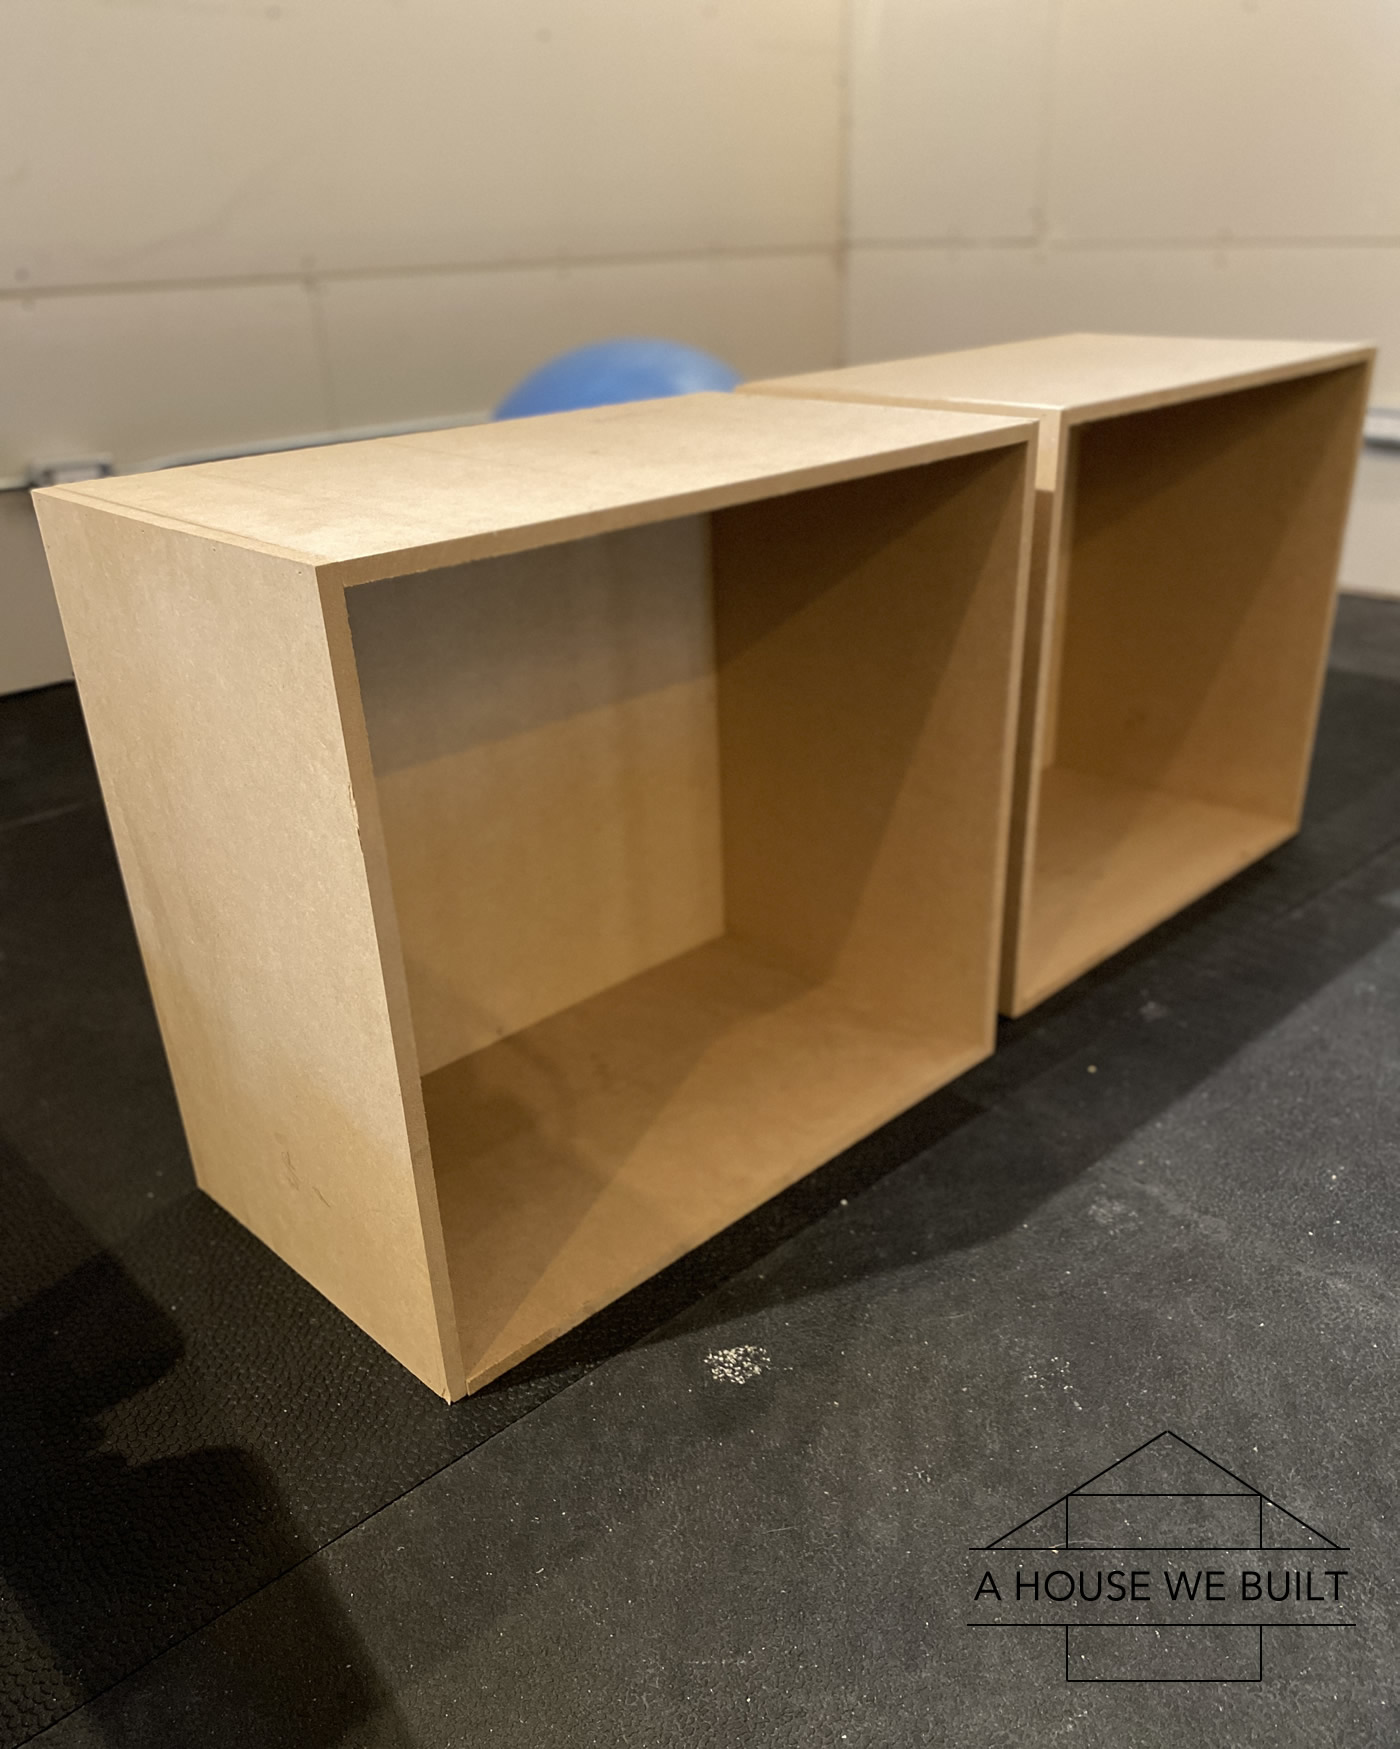
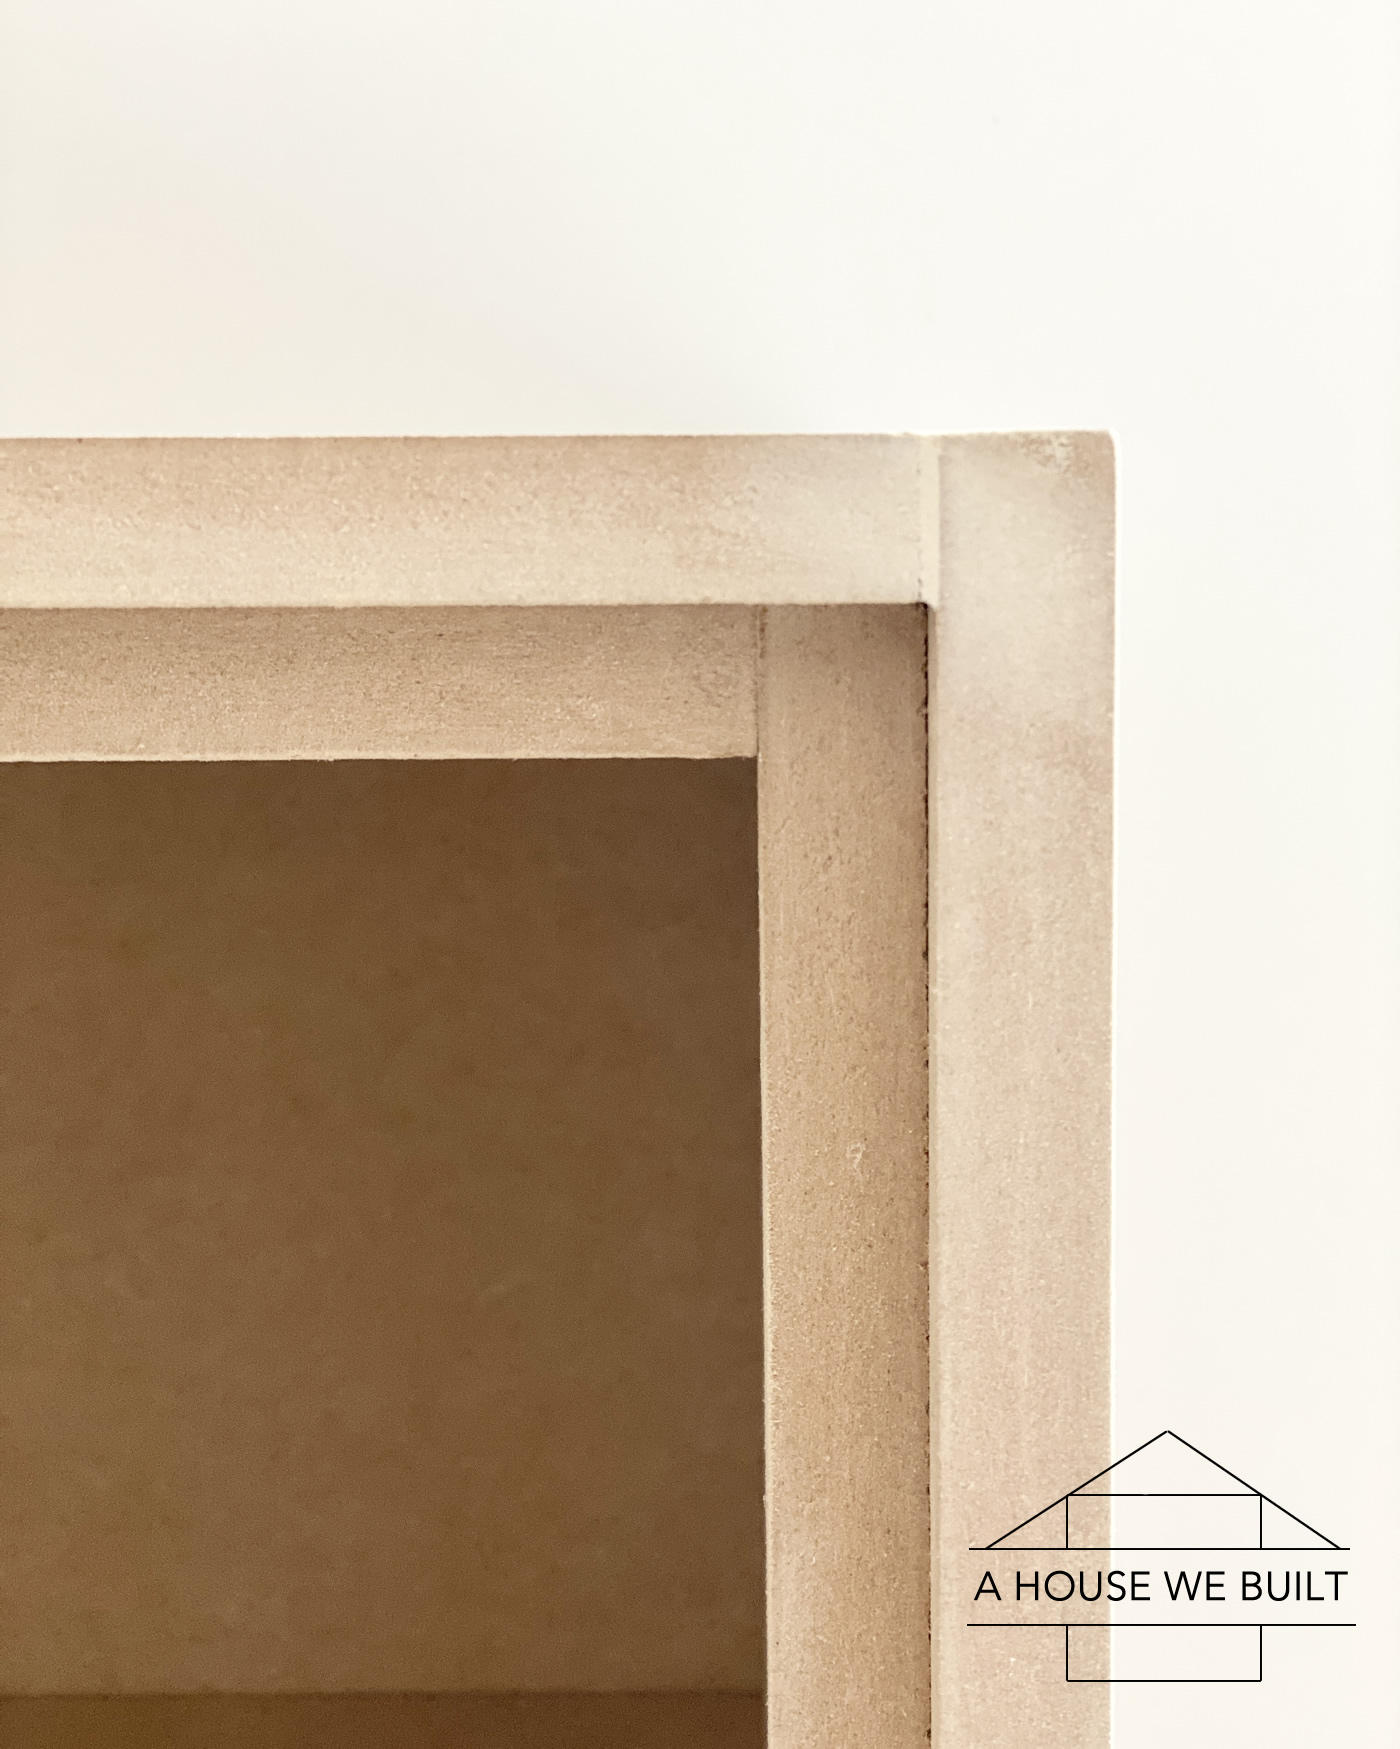
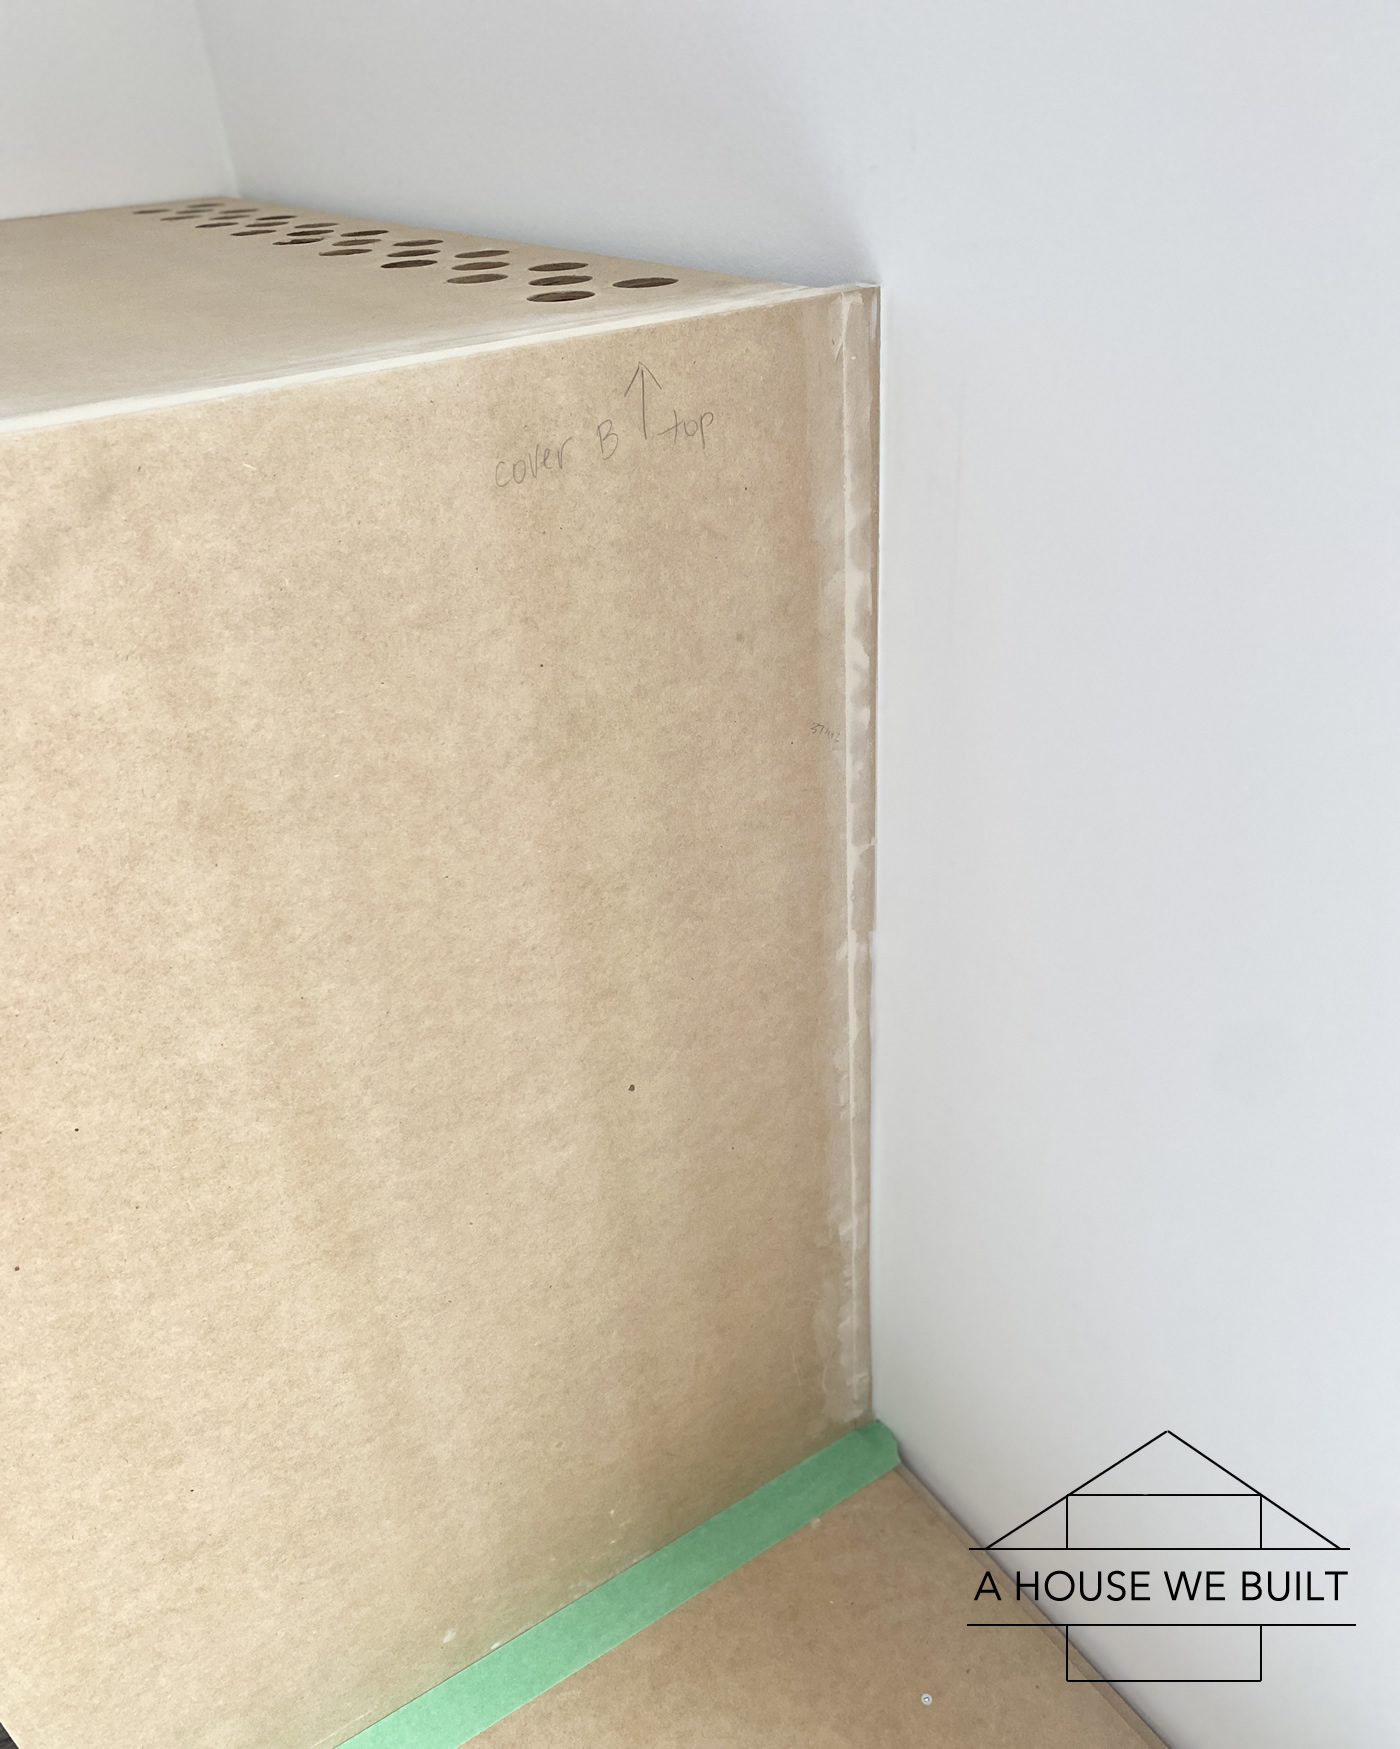
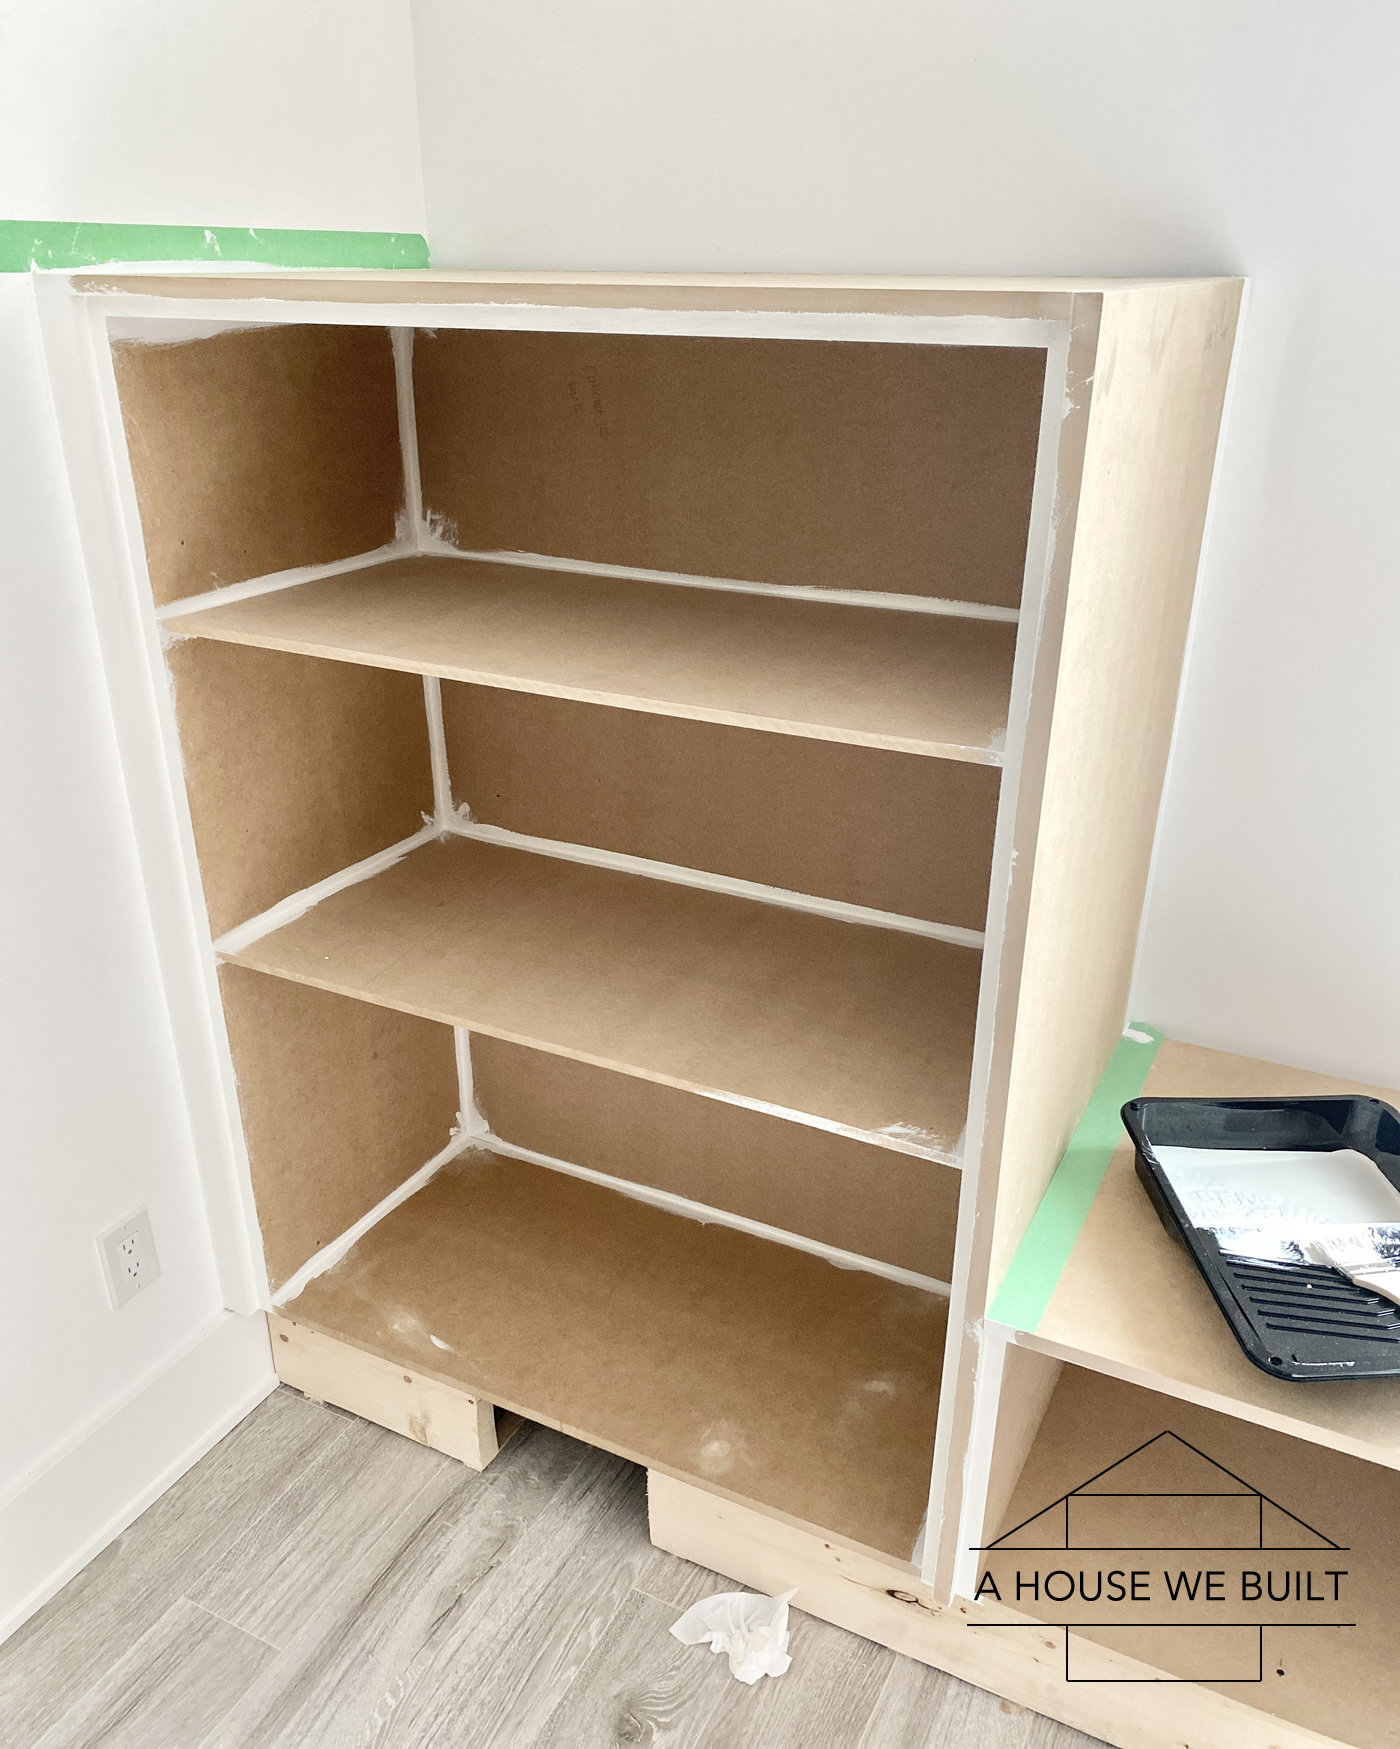
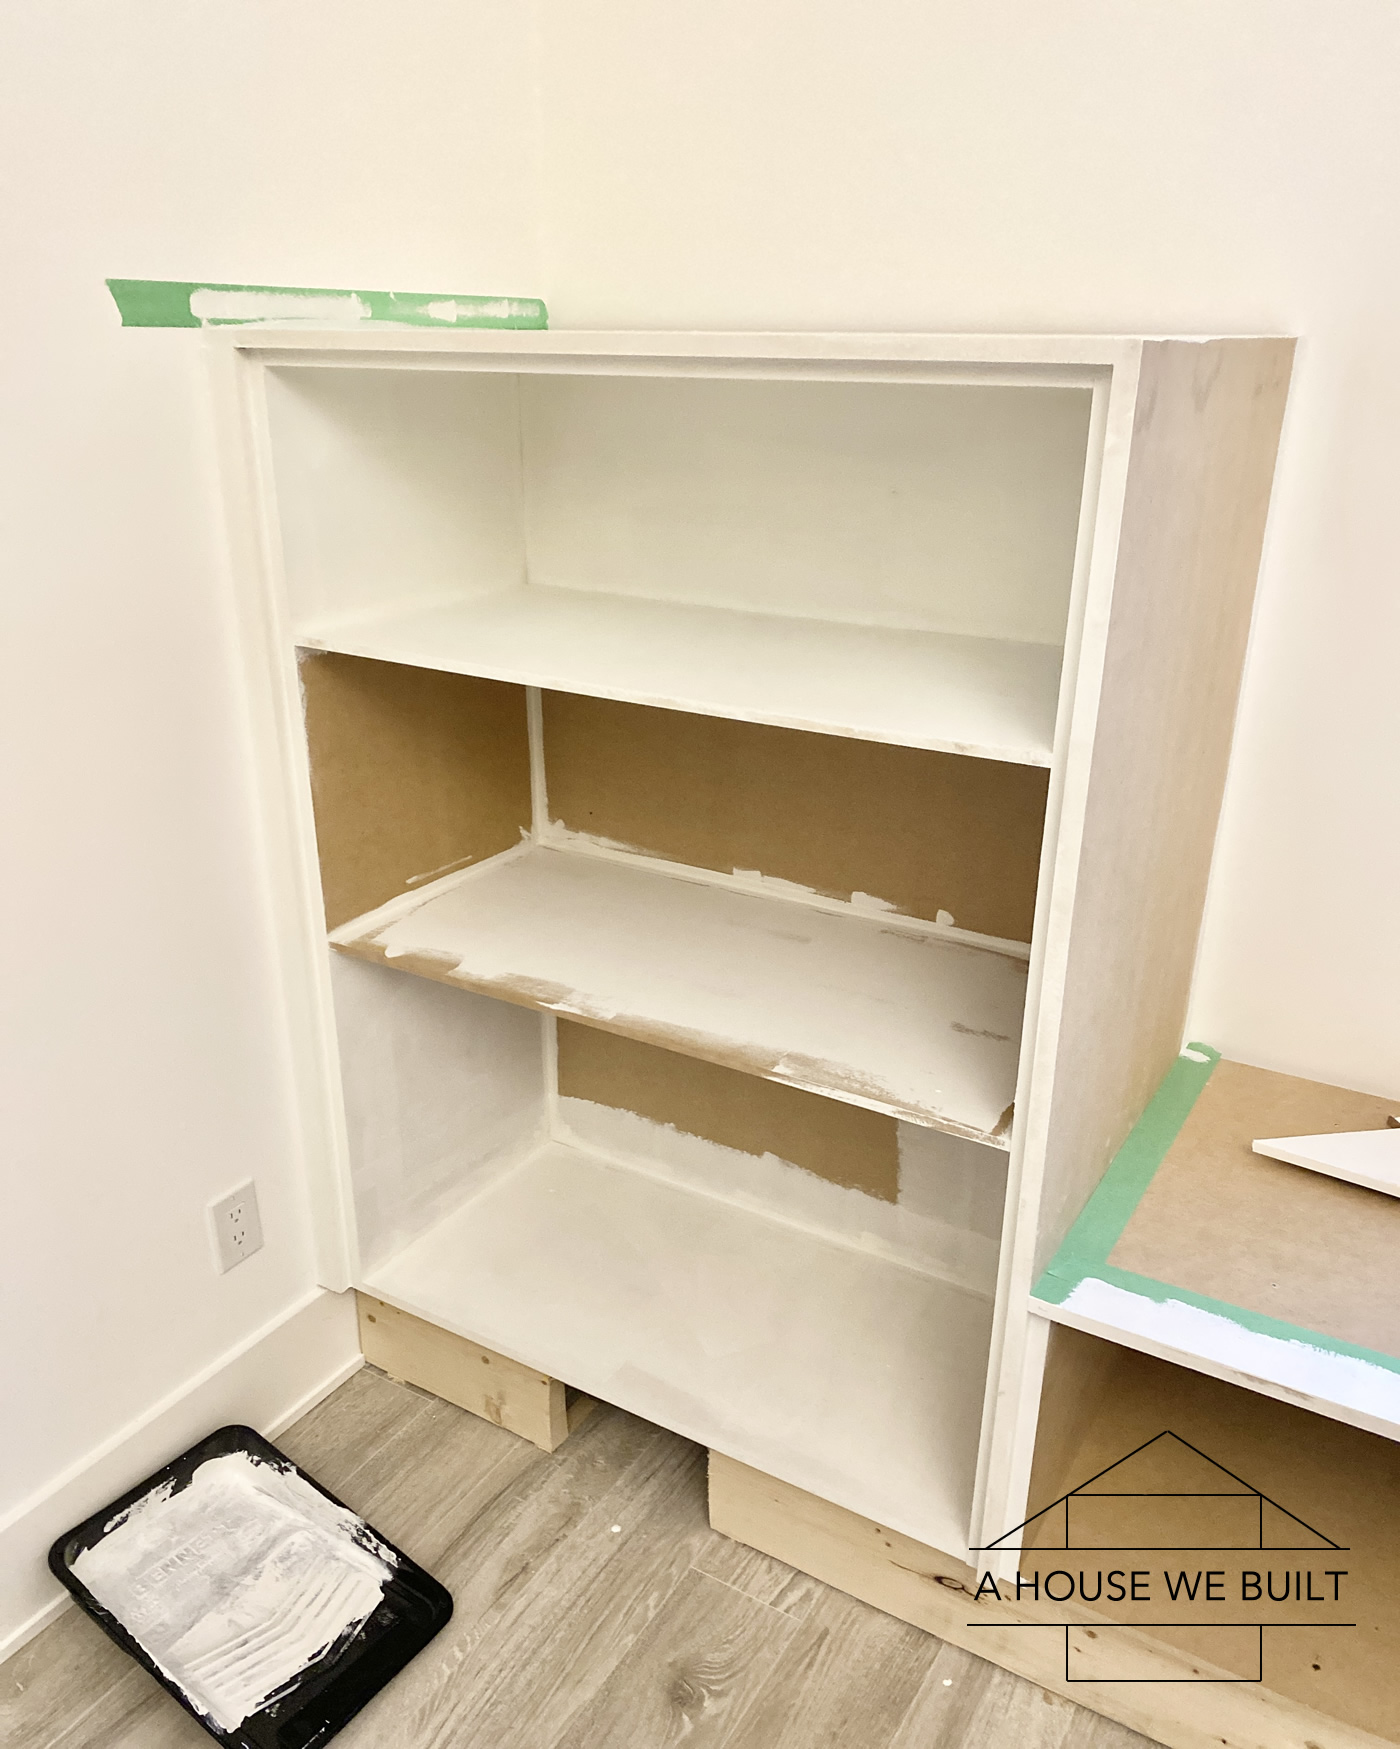
I caulked where needed and then painted all the cabinet frames with a brush/roller. Painting is pretty self-explanatory so I won’t go into much detail. I did 2-3 coats everywhere and lightly sanded the final coat.
Paint: BM Simply White in matte
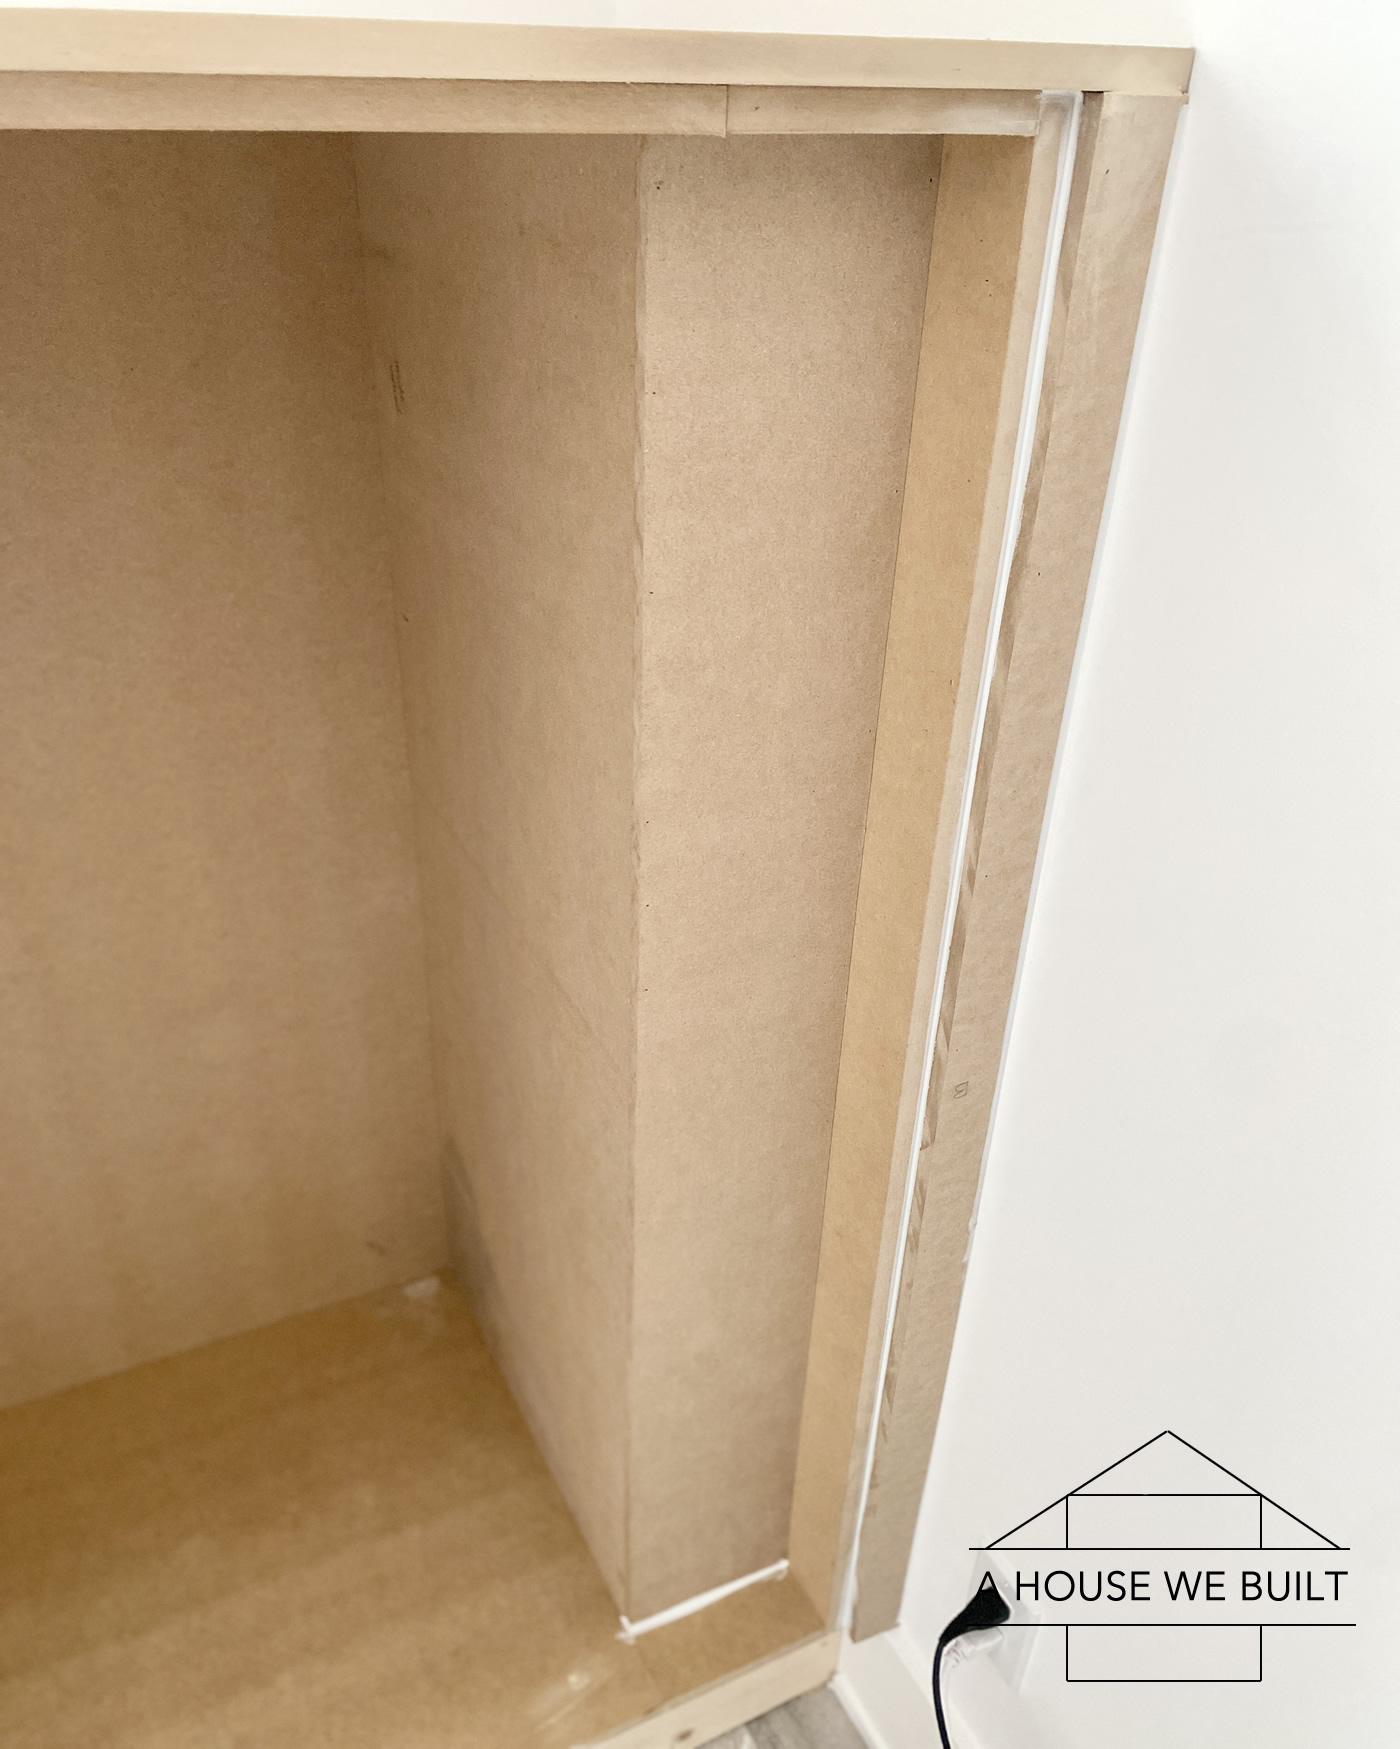
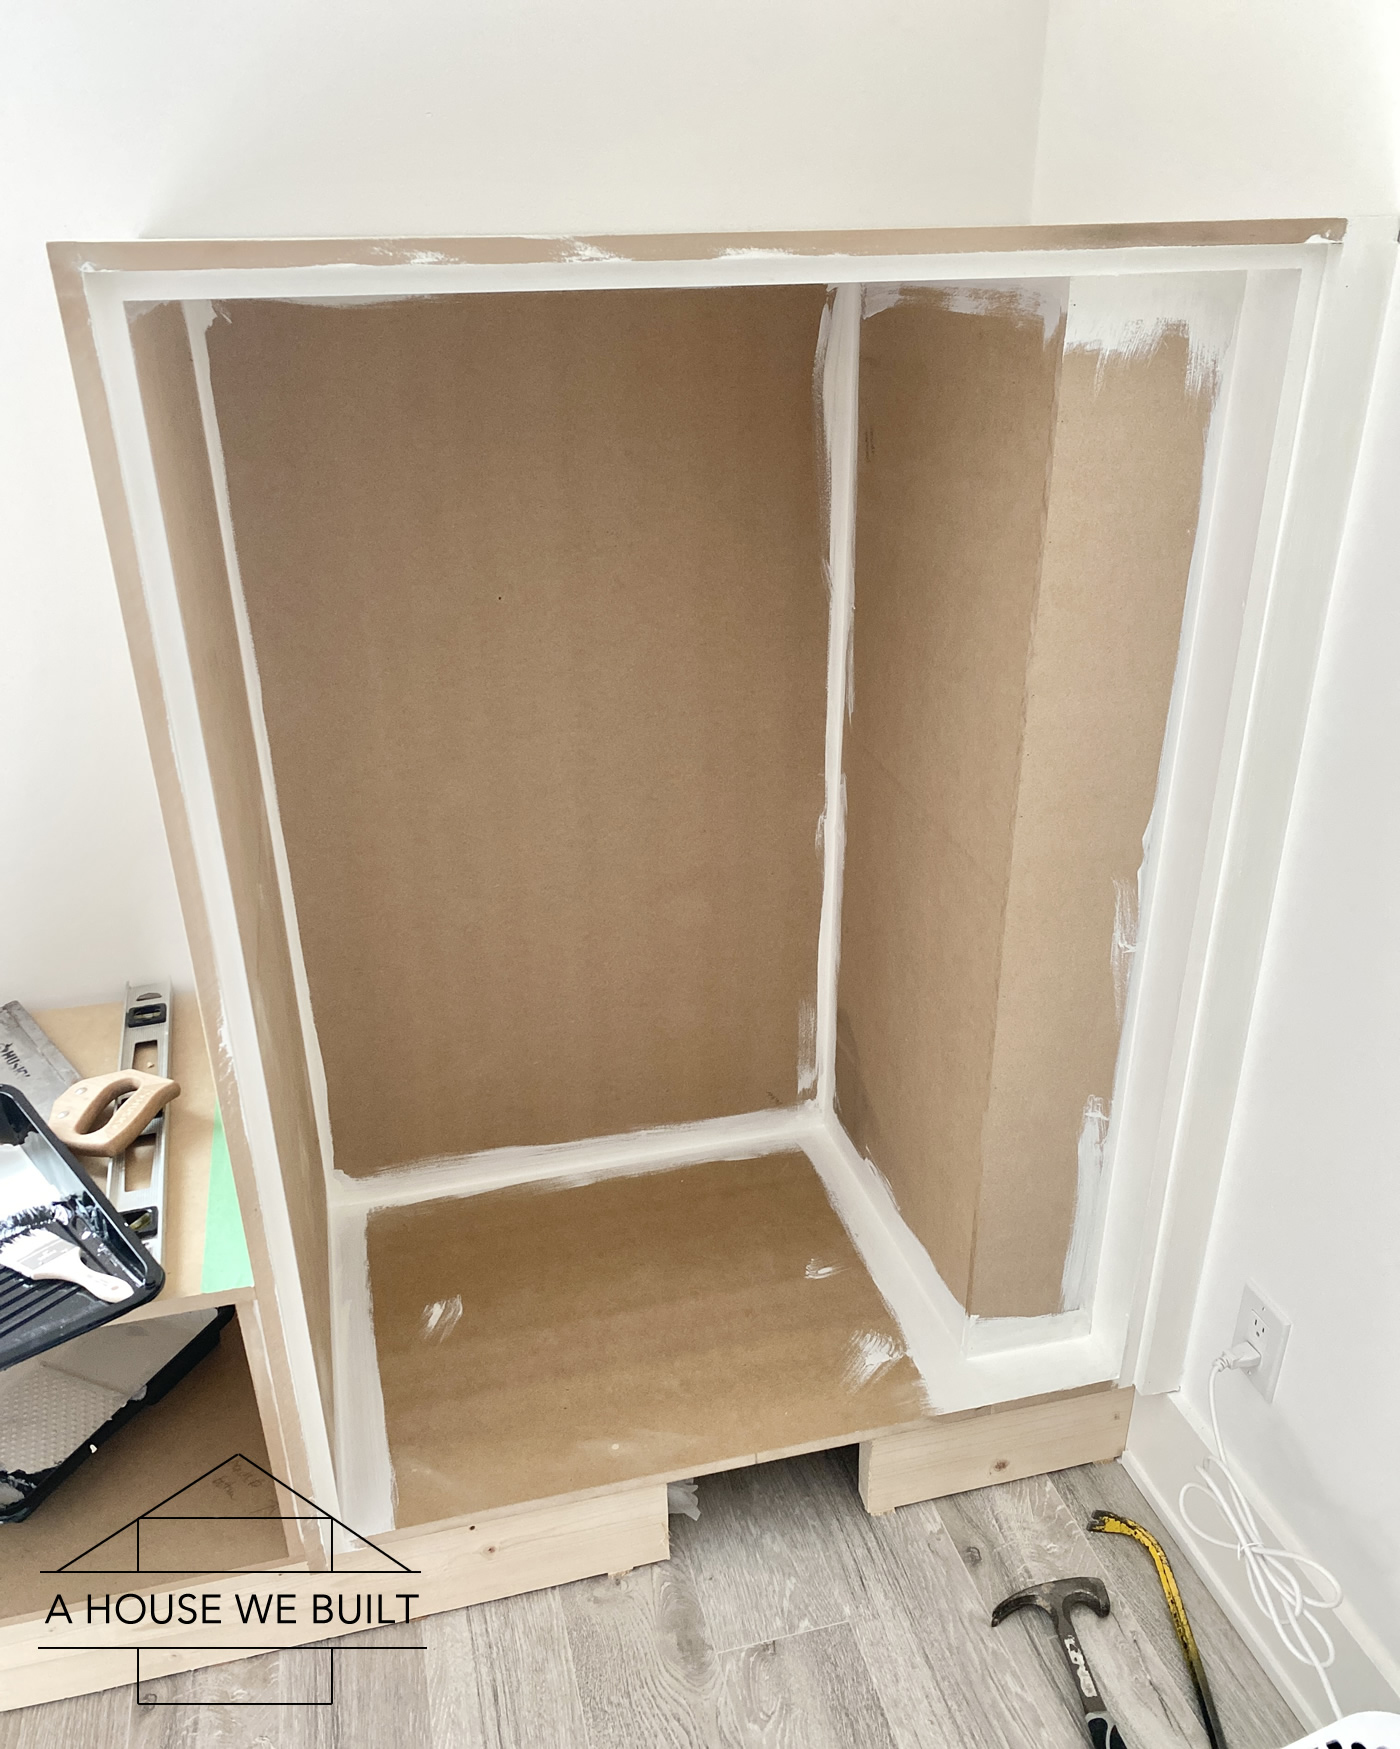
Side note: we built the shelving in this cabinet to exactly fit our various bedroom throw pillows 😀
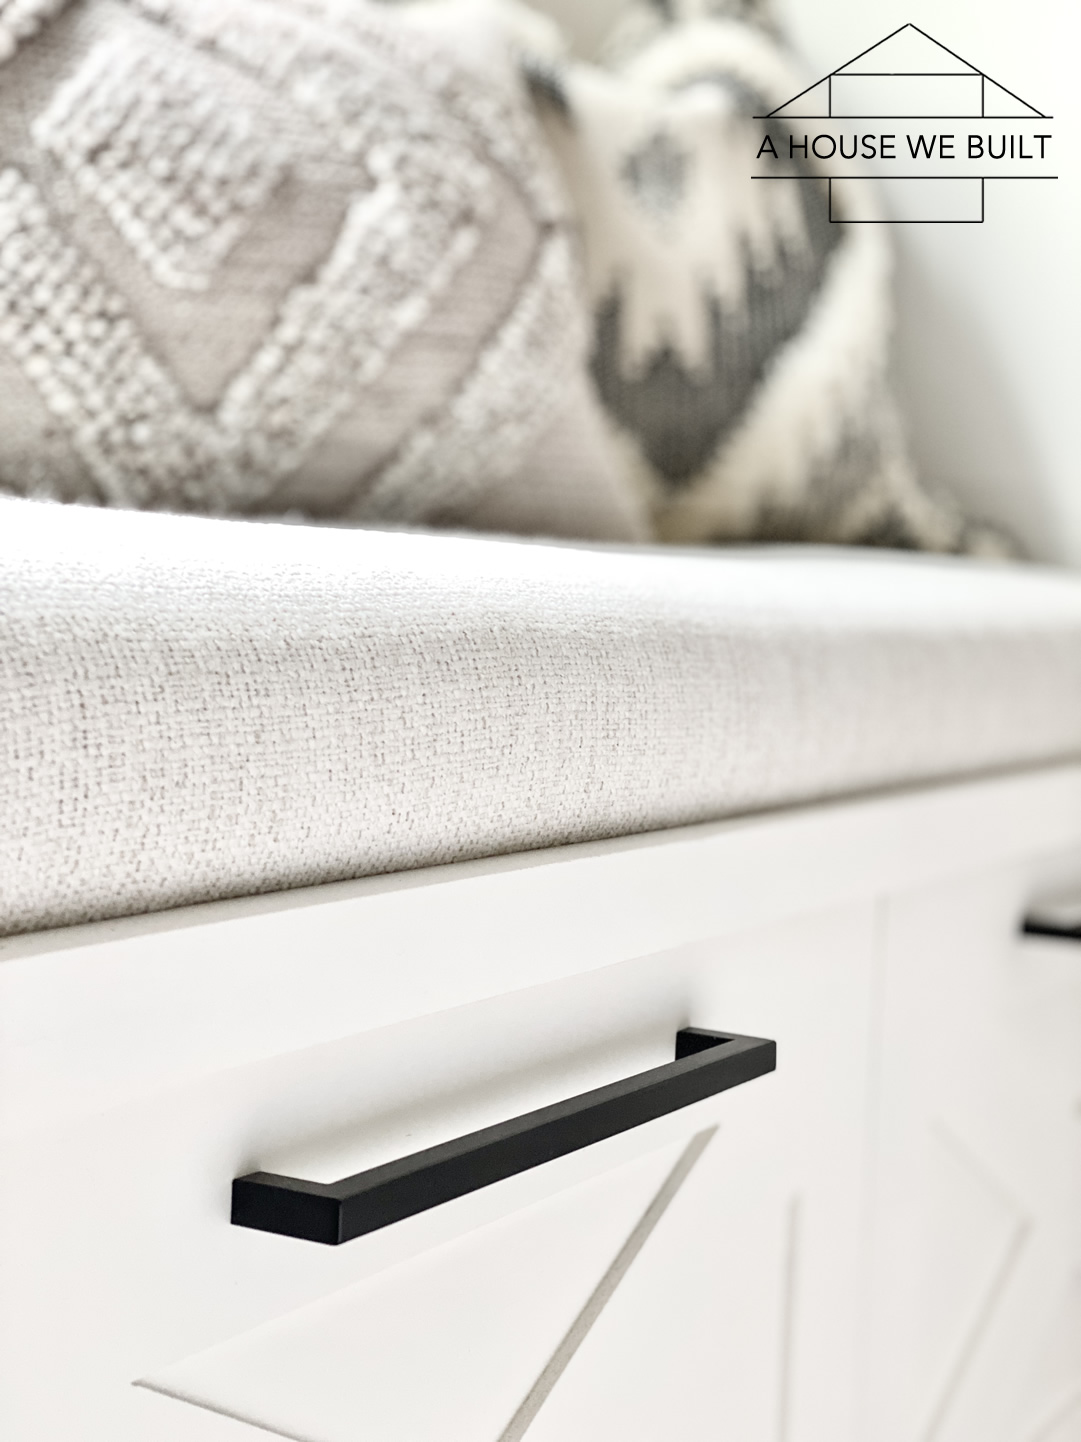
Next, we pre-drilled the holes for the drawer hardware. I like to pre-drill for hardware before installing the drawers, but do all the door hardware after installing the doors.
Drawer hardware: Amazon
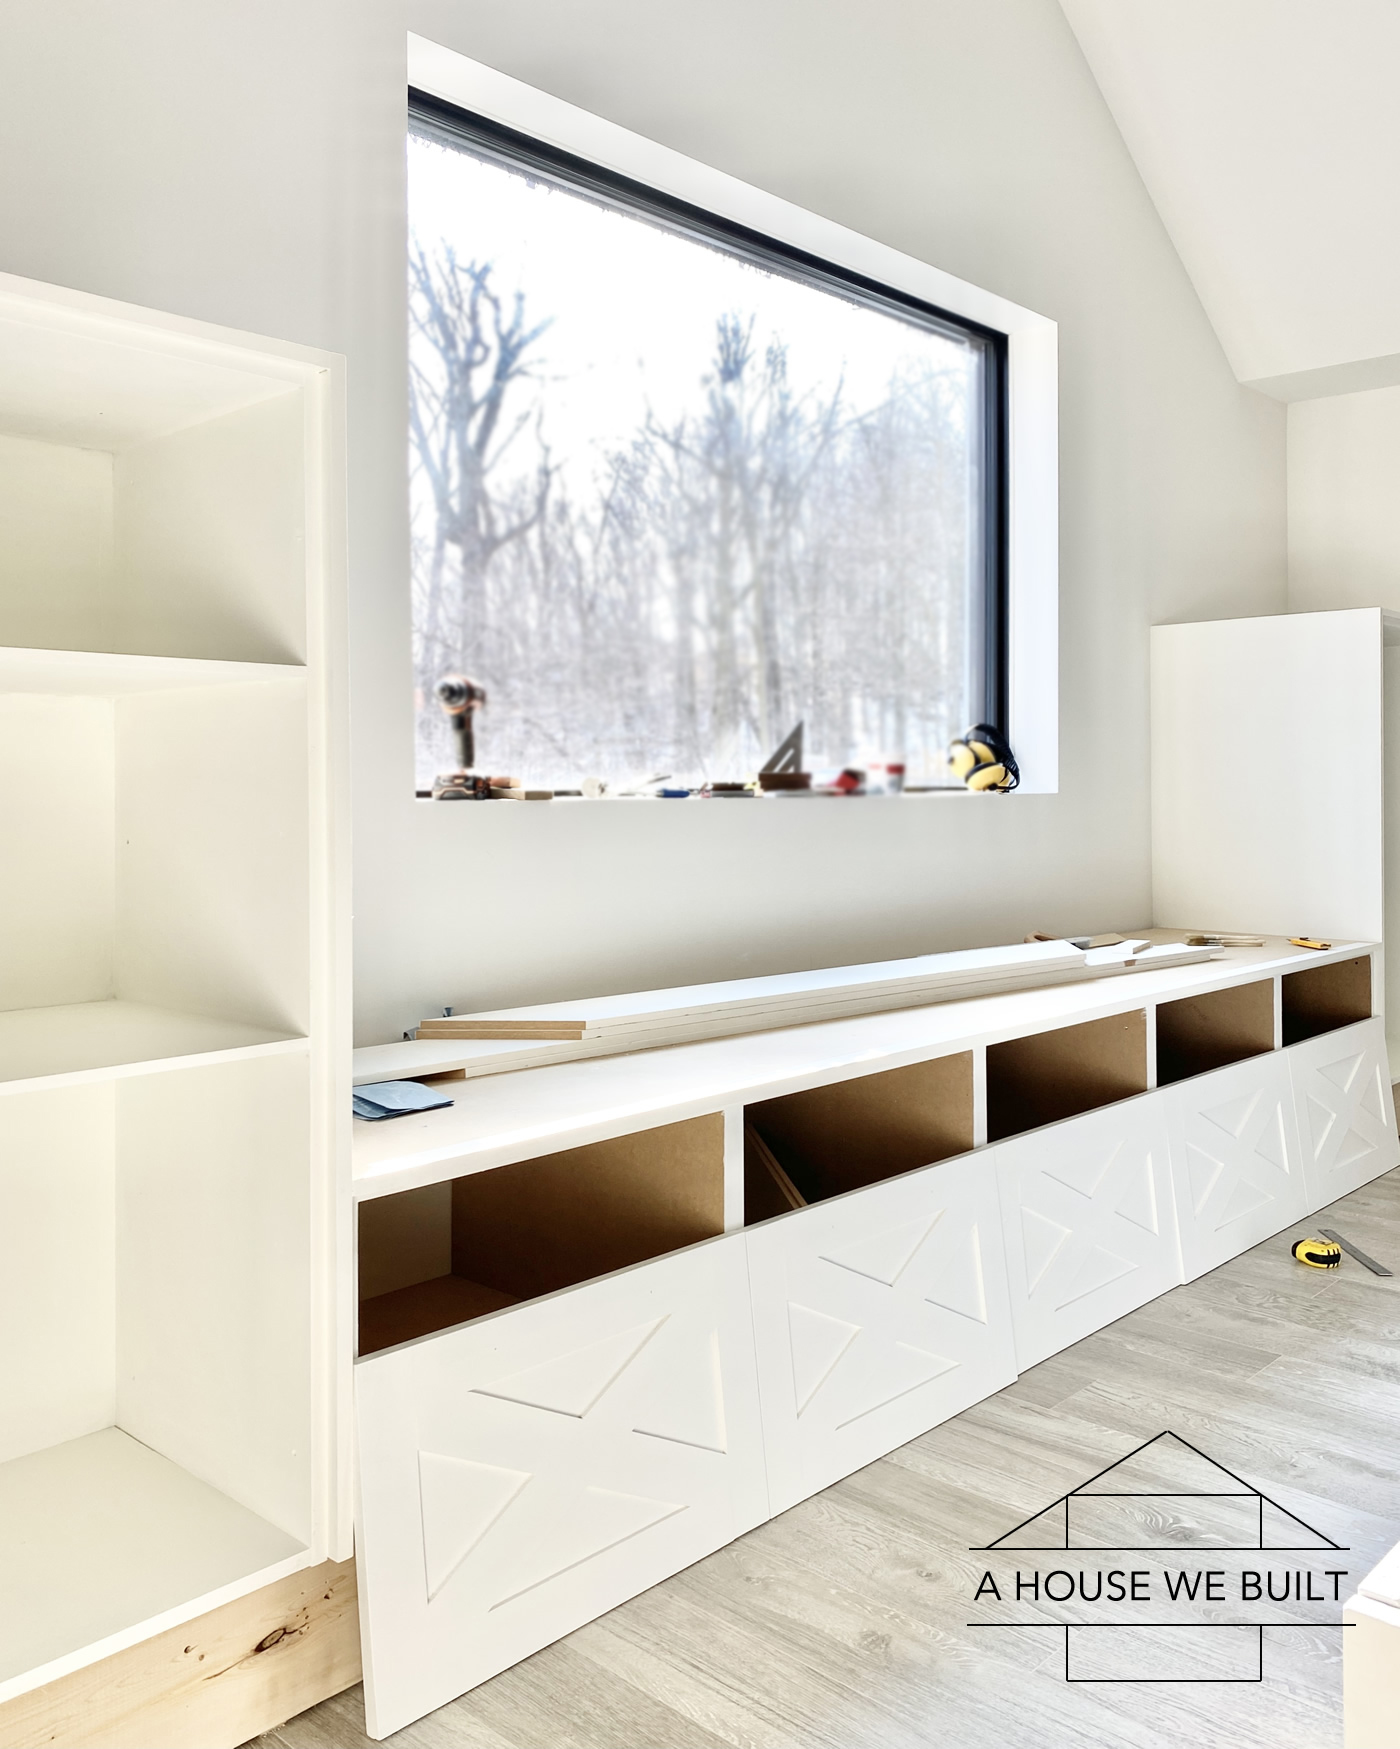
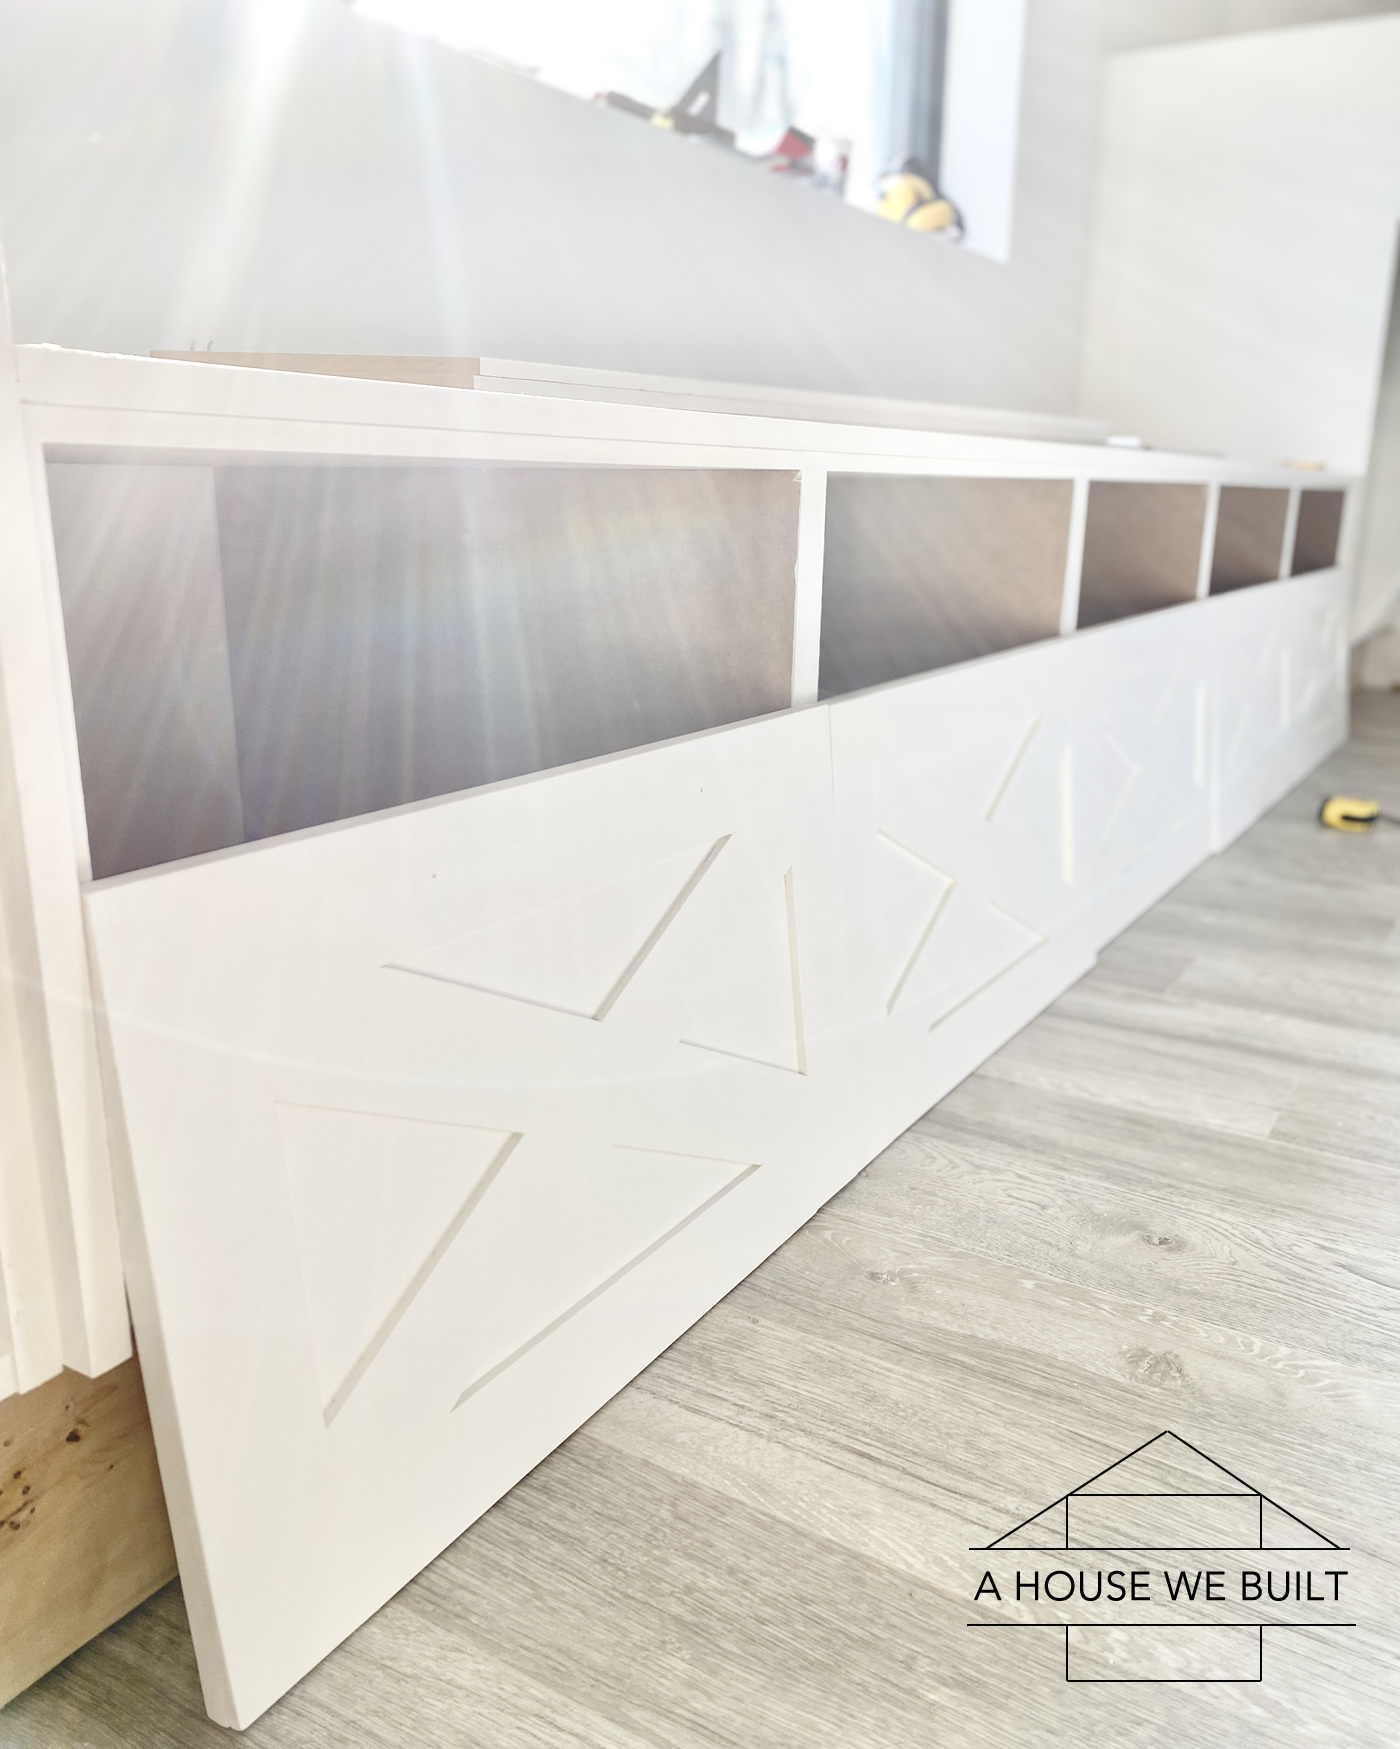
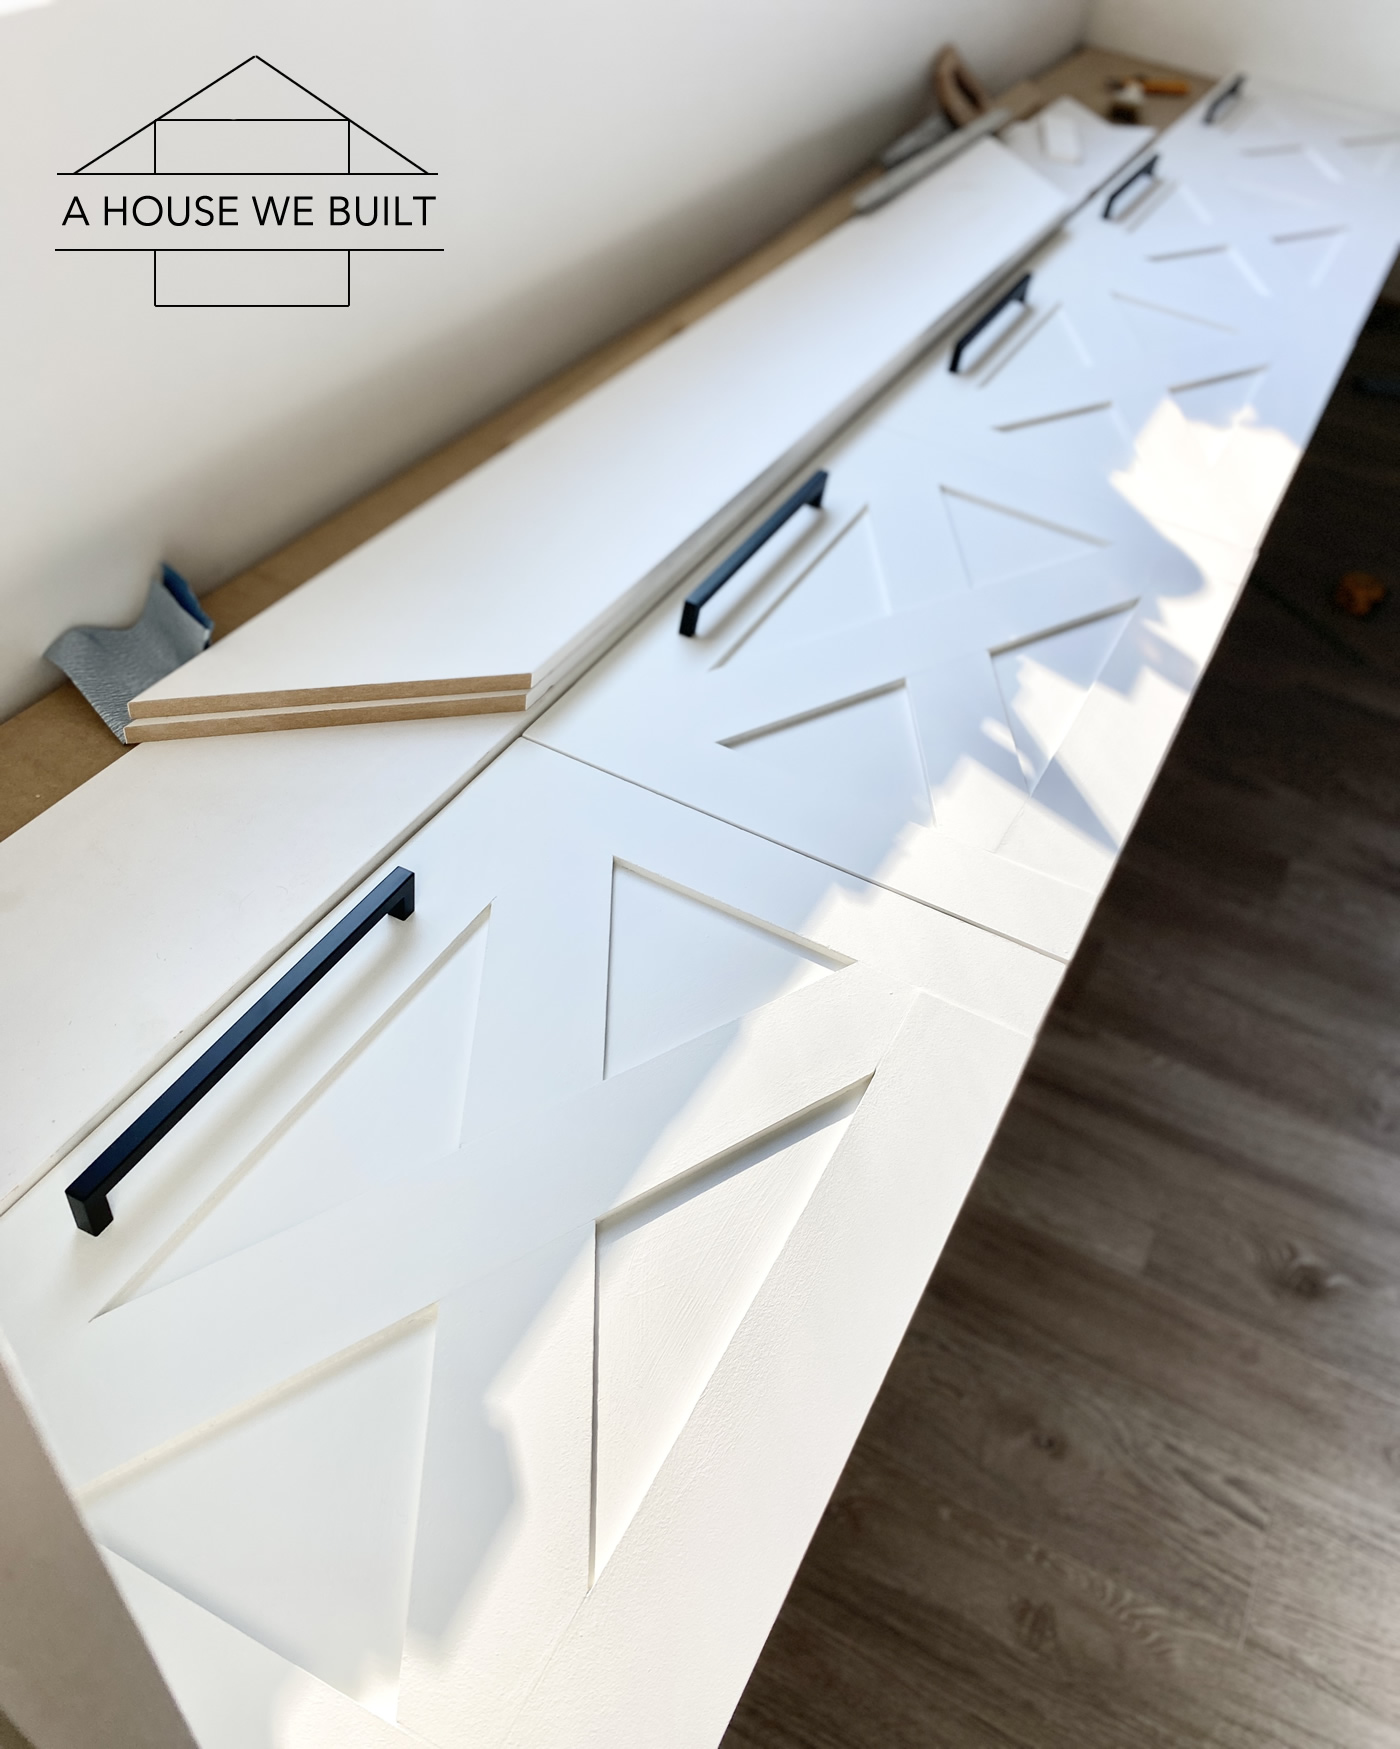
There’s a step here I didn’t photograph because… well, it was late and I was tired and just forgot. But next we attached the drawer slides and installed the drawer boxes. Then, we attached the drawer fronts to our newly-installed drawer boxes. And finally we attached the hardware. VERY exciting moment!
Drawer slides: Home Depot | Amazon
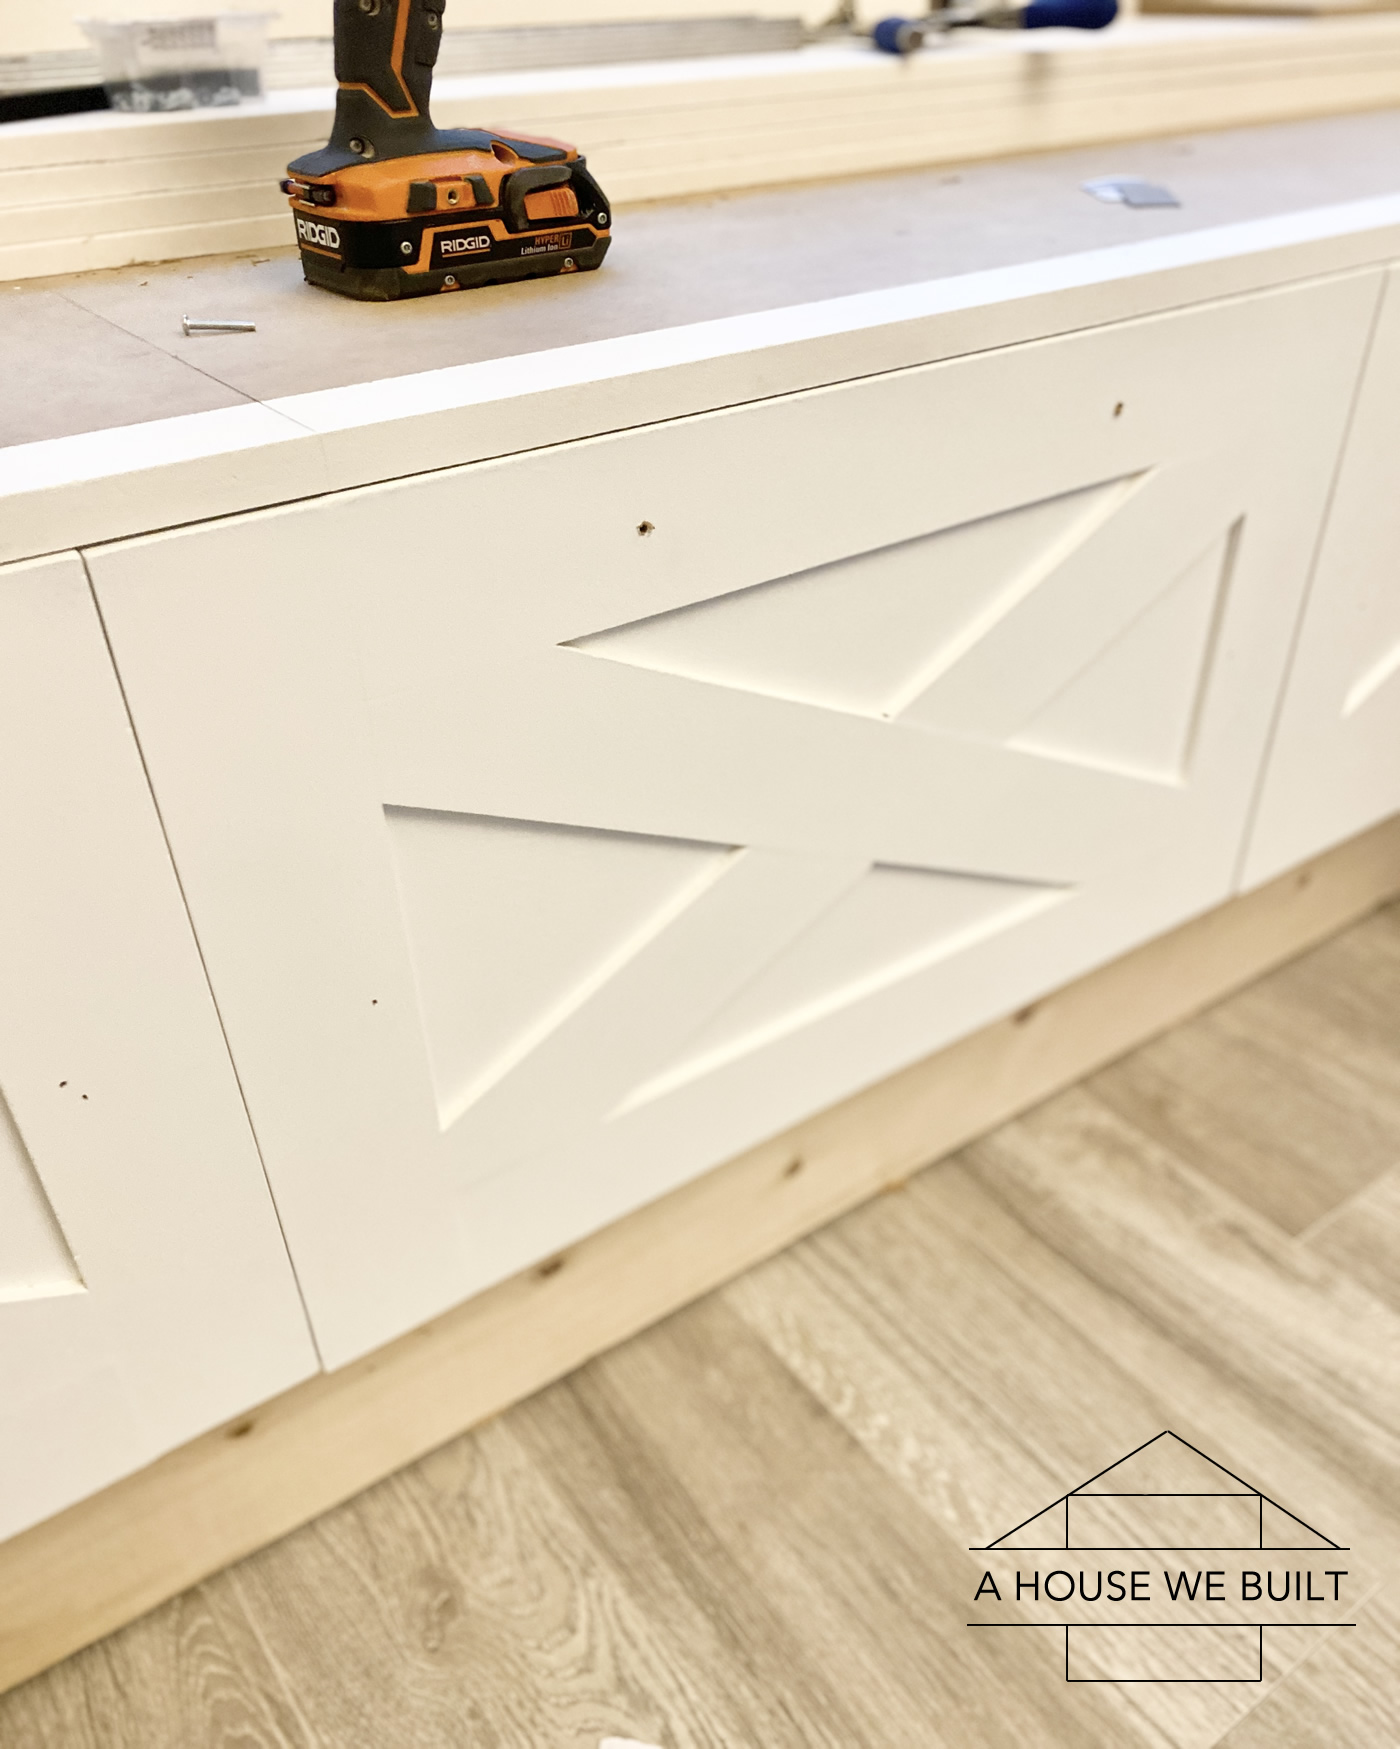
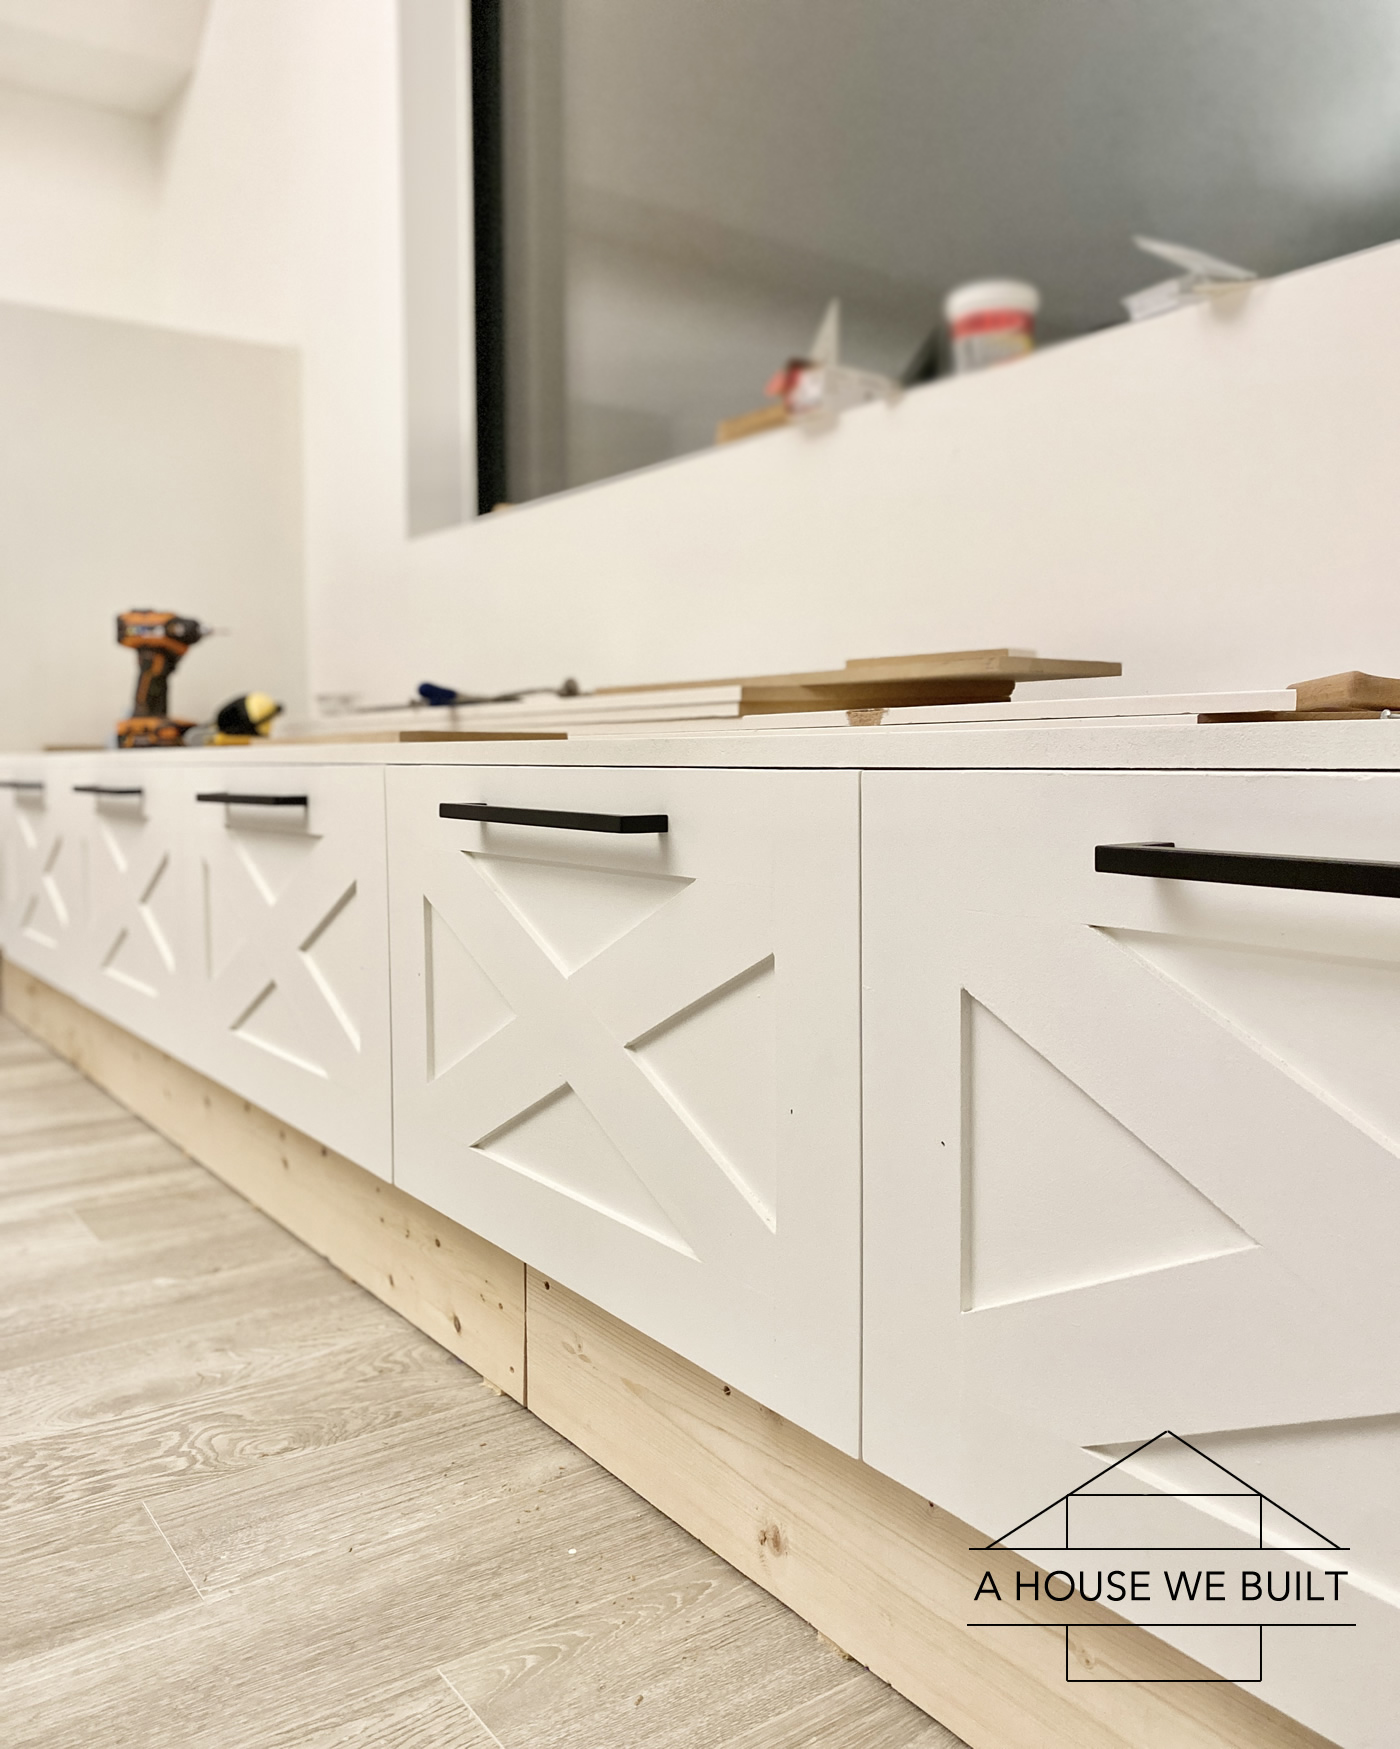
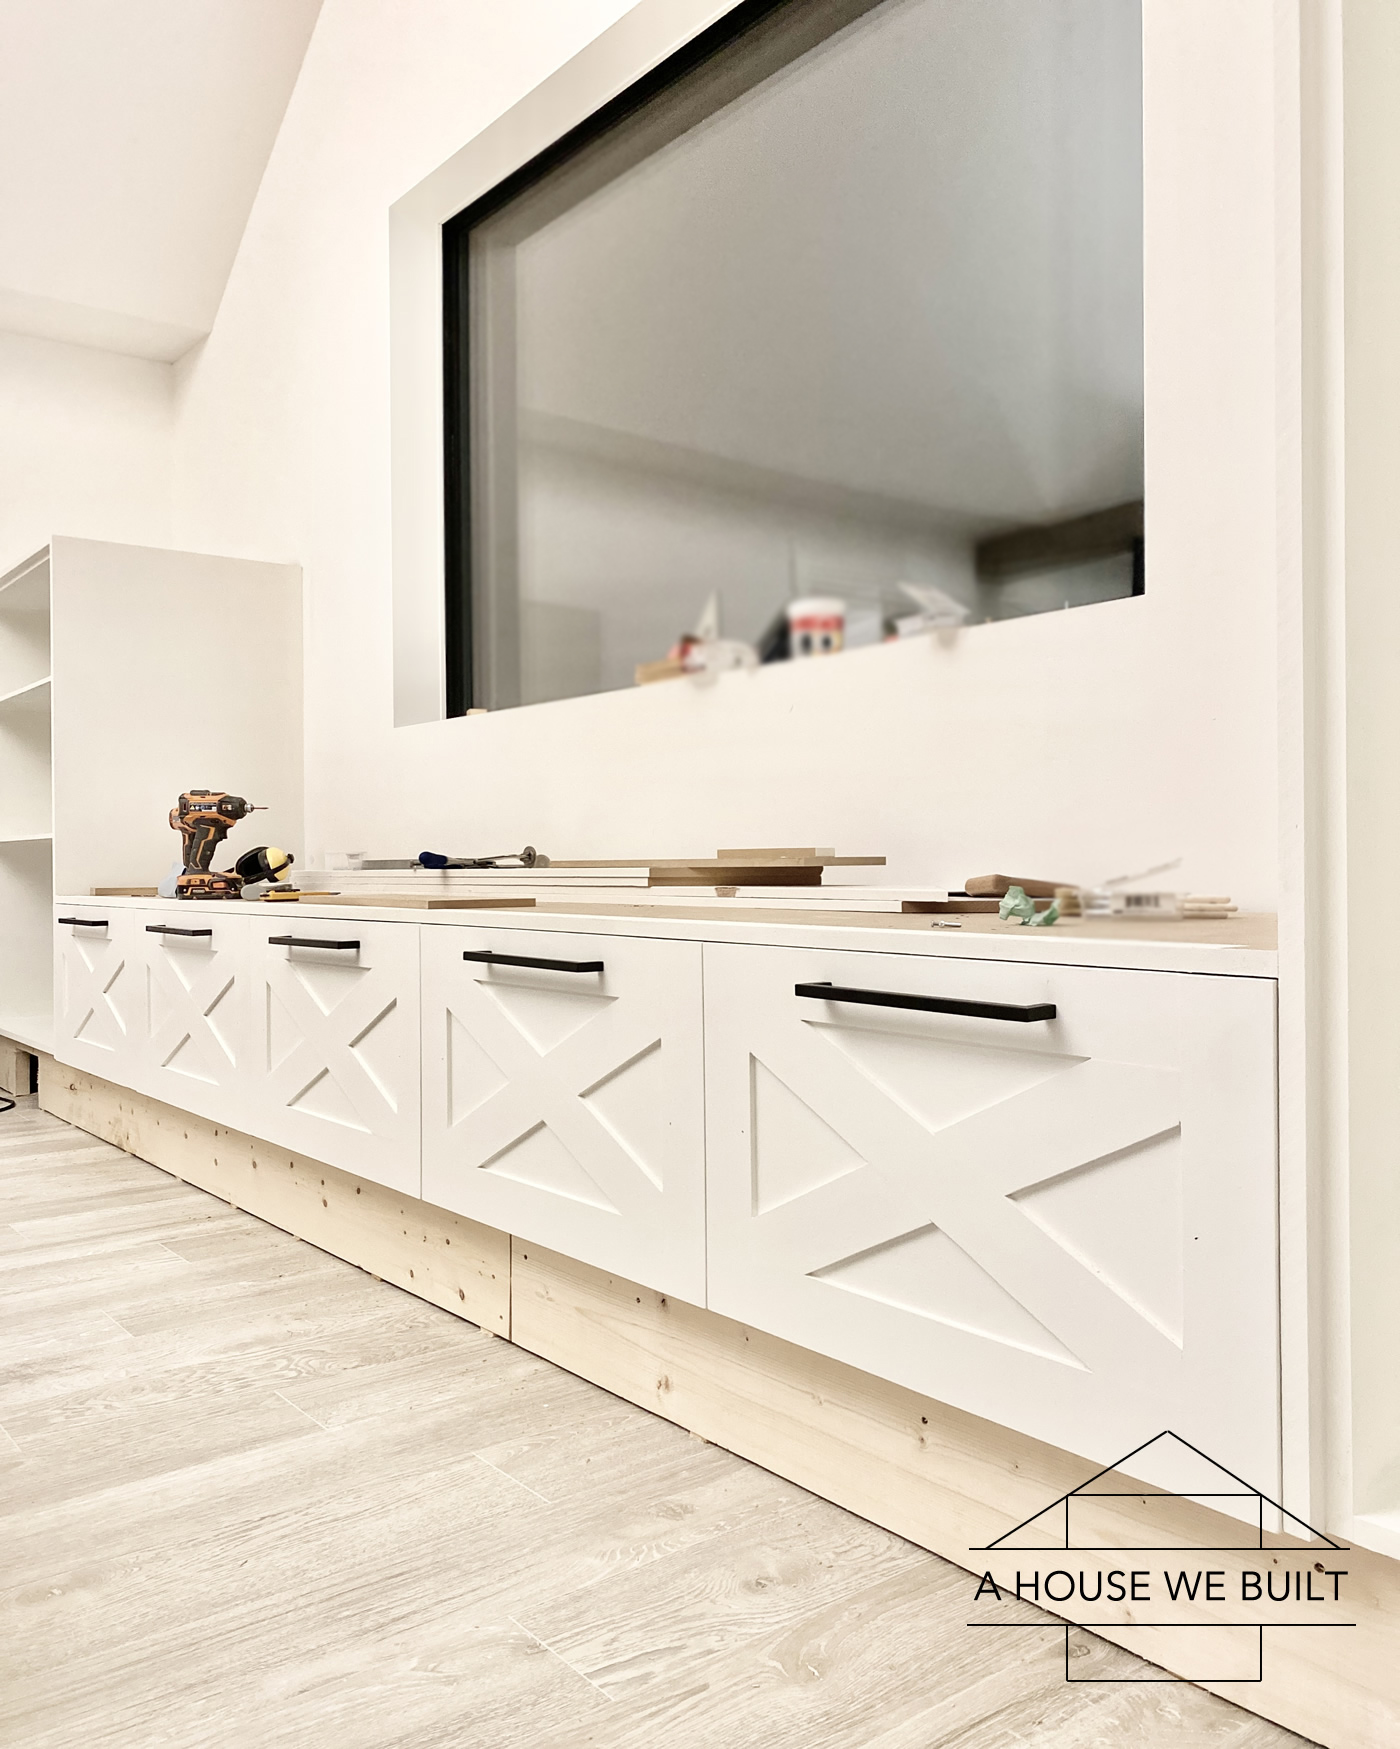
Door installation was next. We use this awesome door hinge drilling jig from Kreg Jig which makes door installation pretty easy. Still… SO much math, but it definitely makes it doable!
Kreg Jig hinge jig: Home Depot | Amazon
Power drill: Home Depot | Amazon
Hinges: Home Depot | Amazon
Door hardware: Amazon
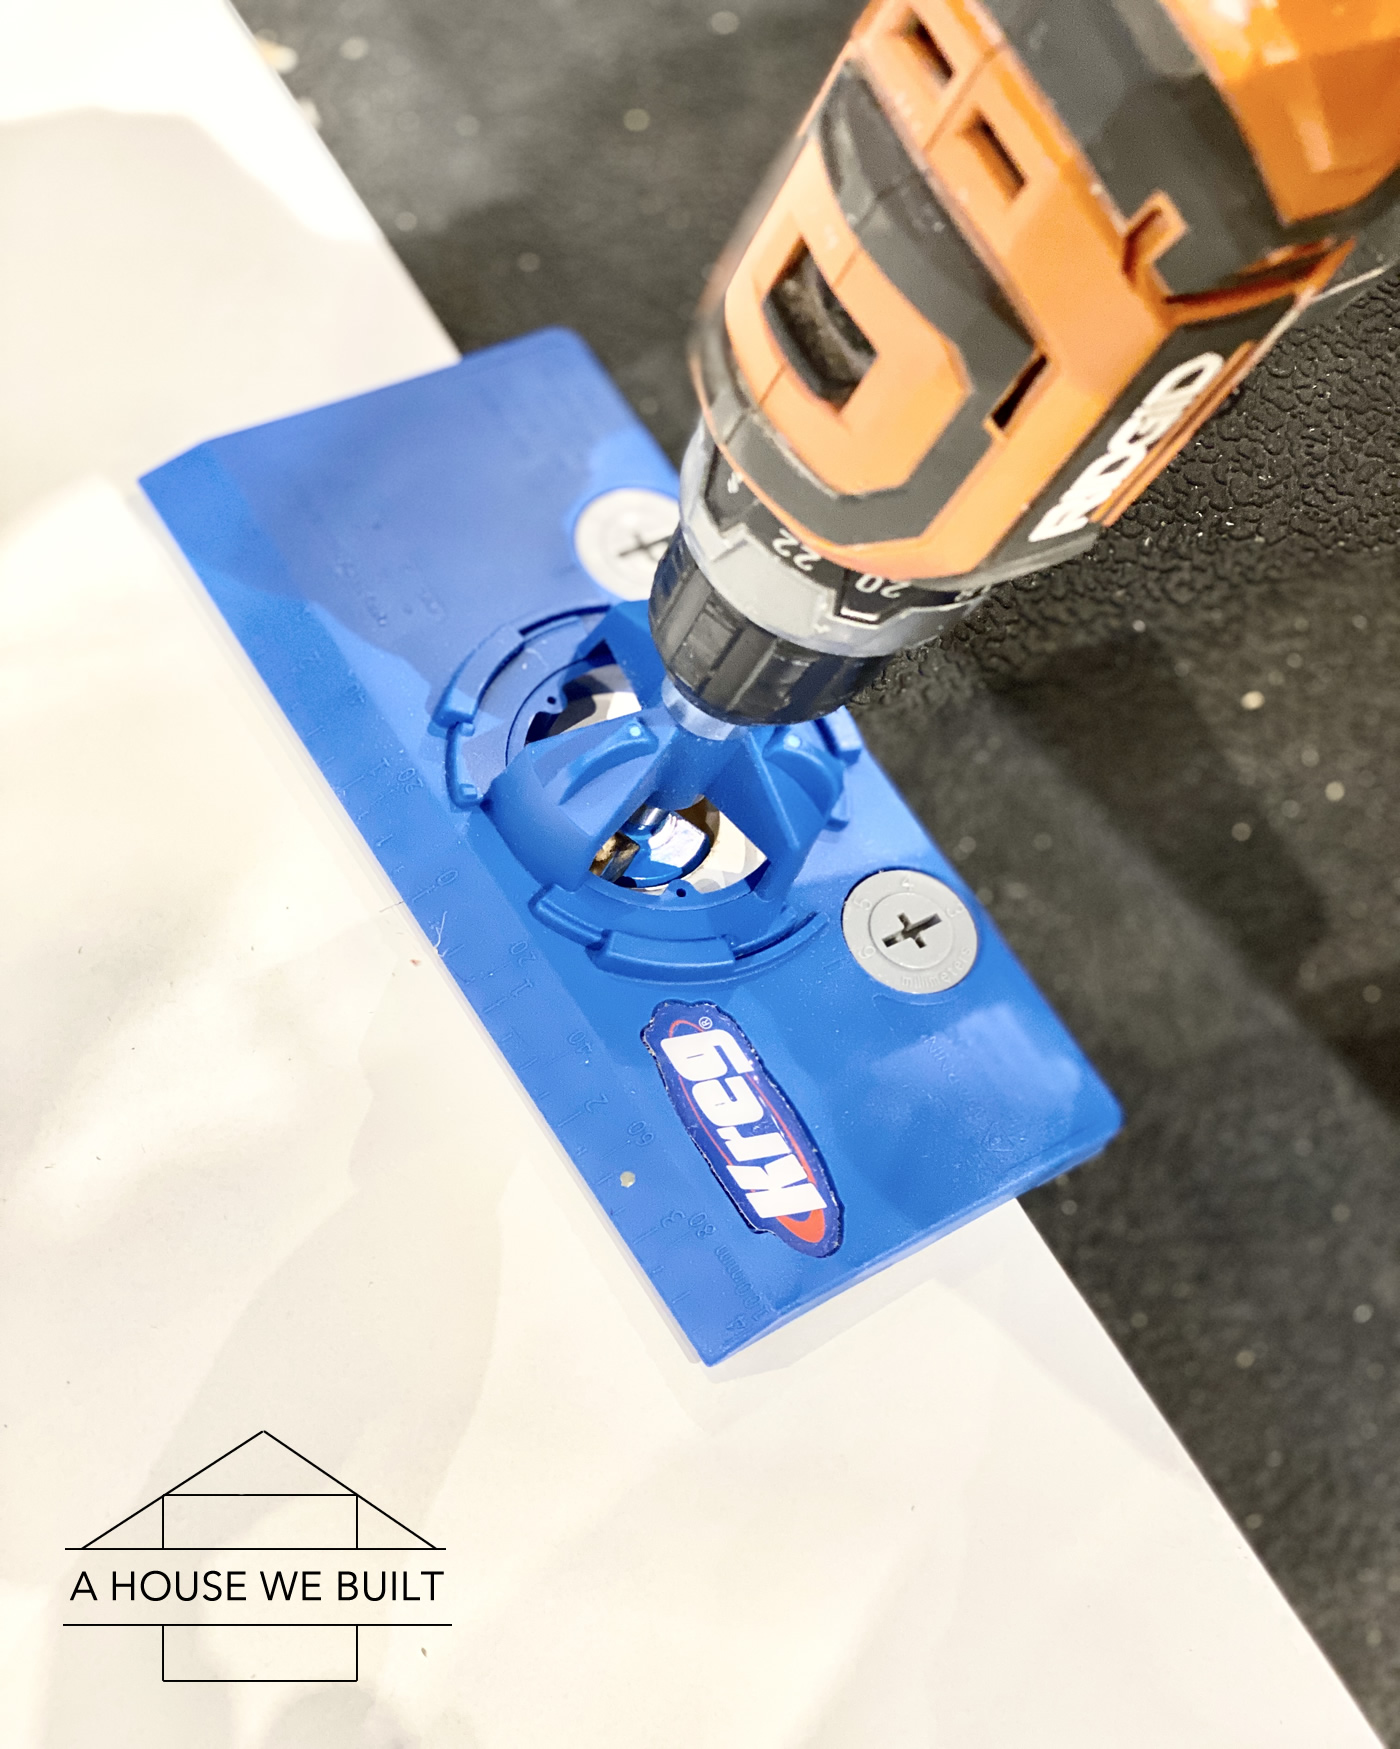
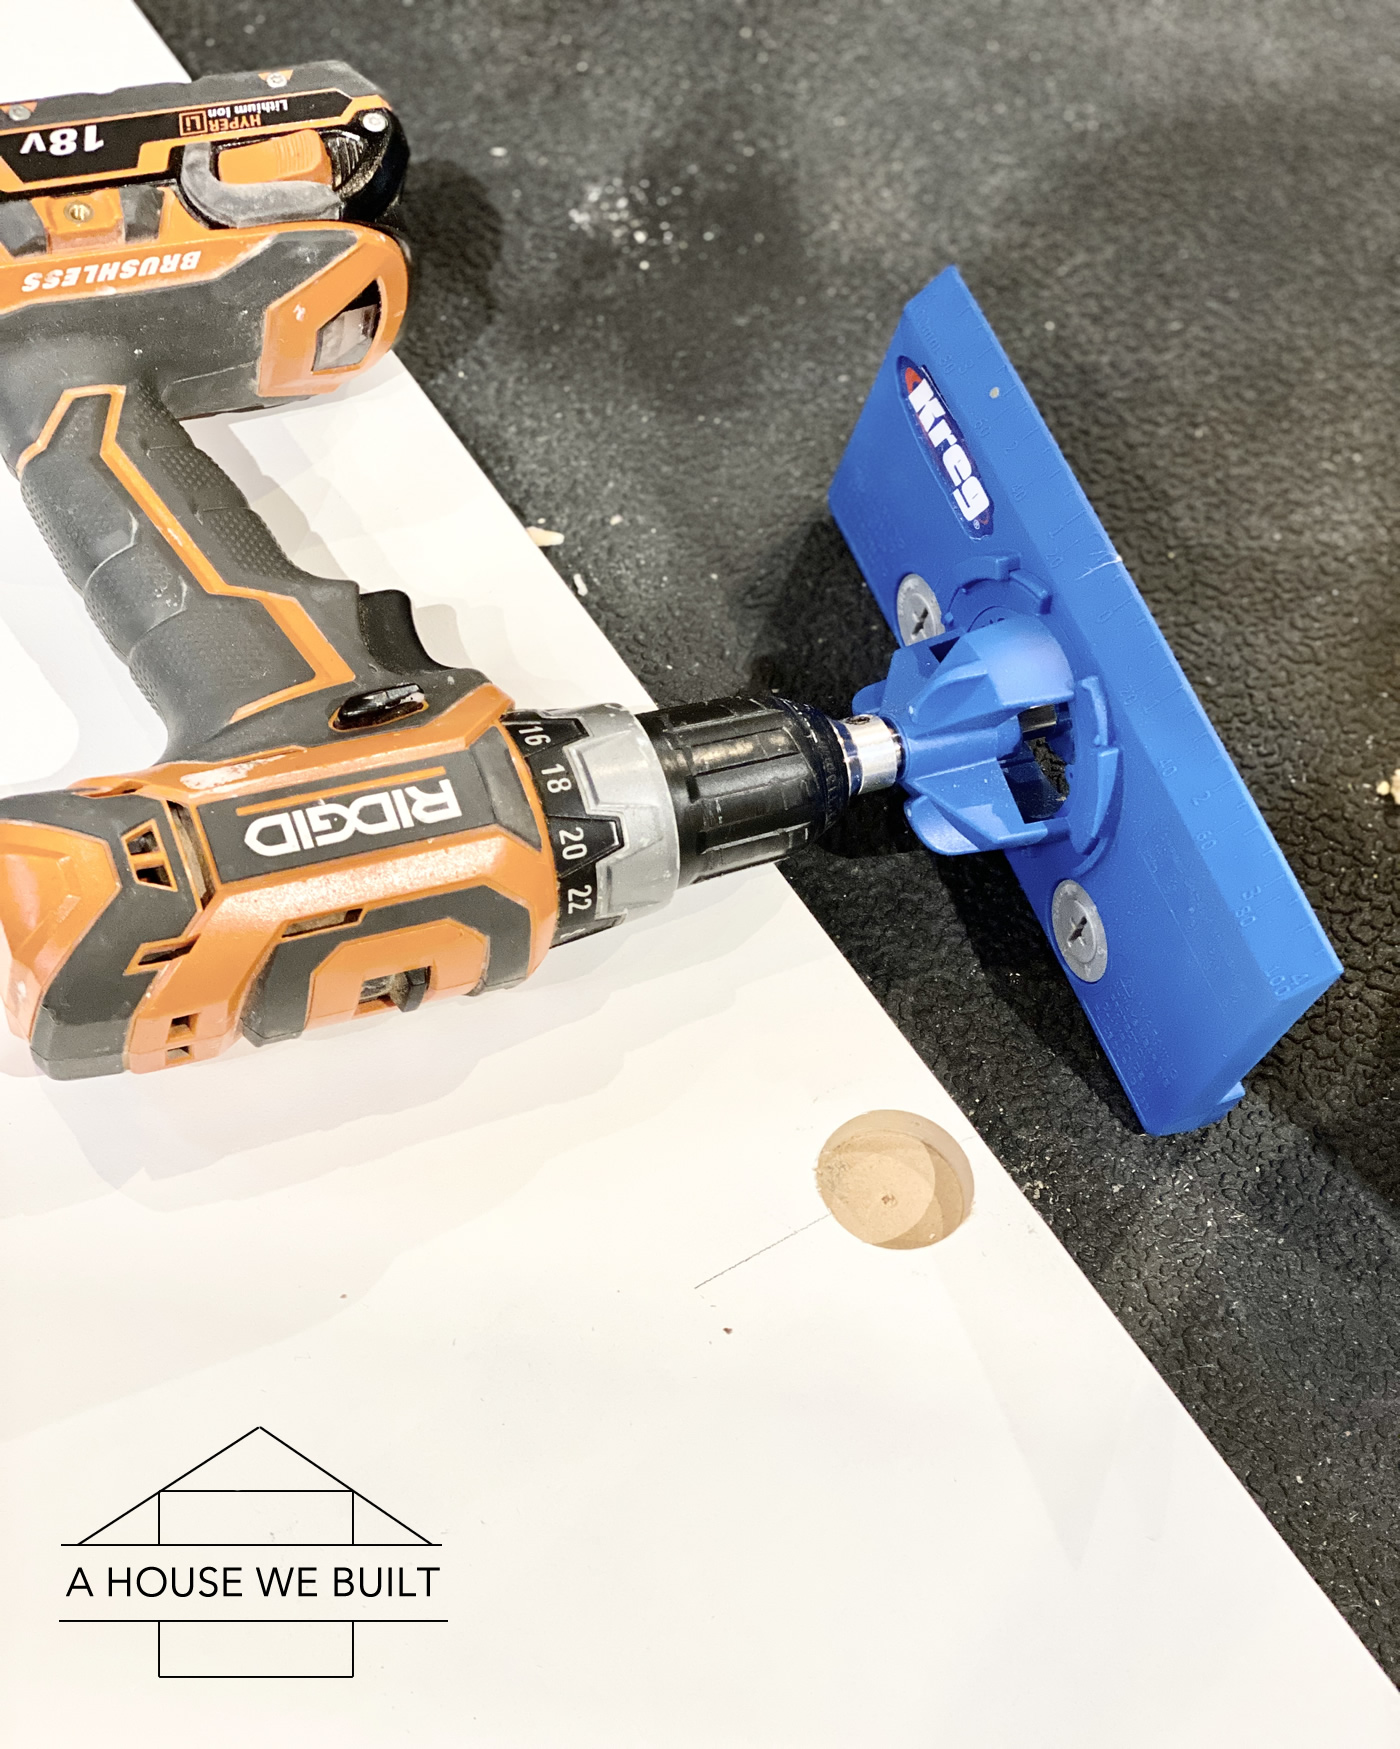
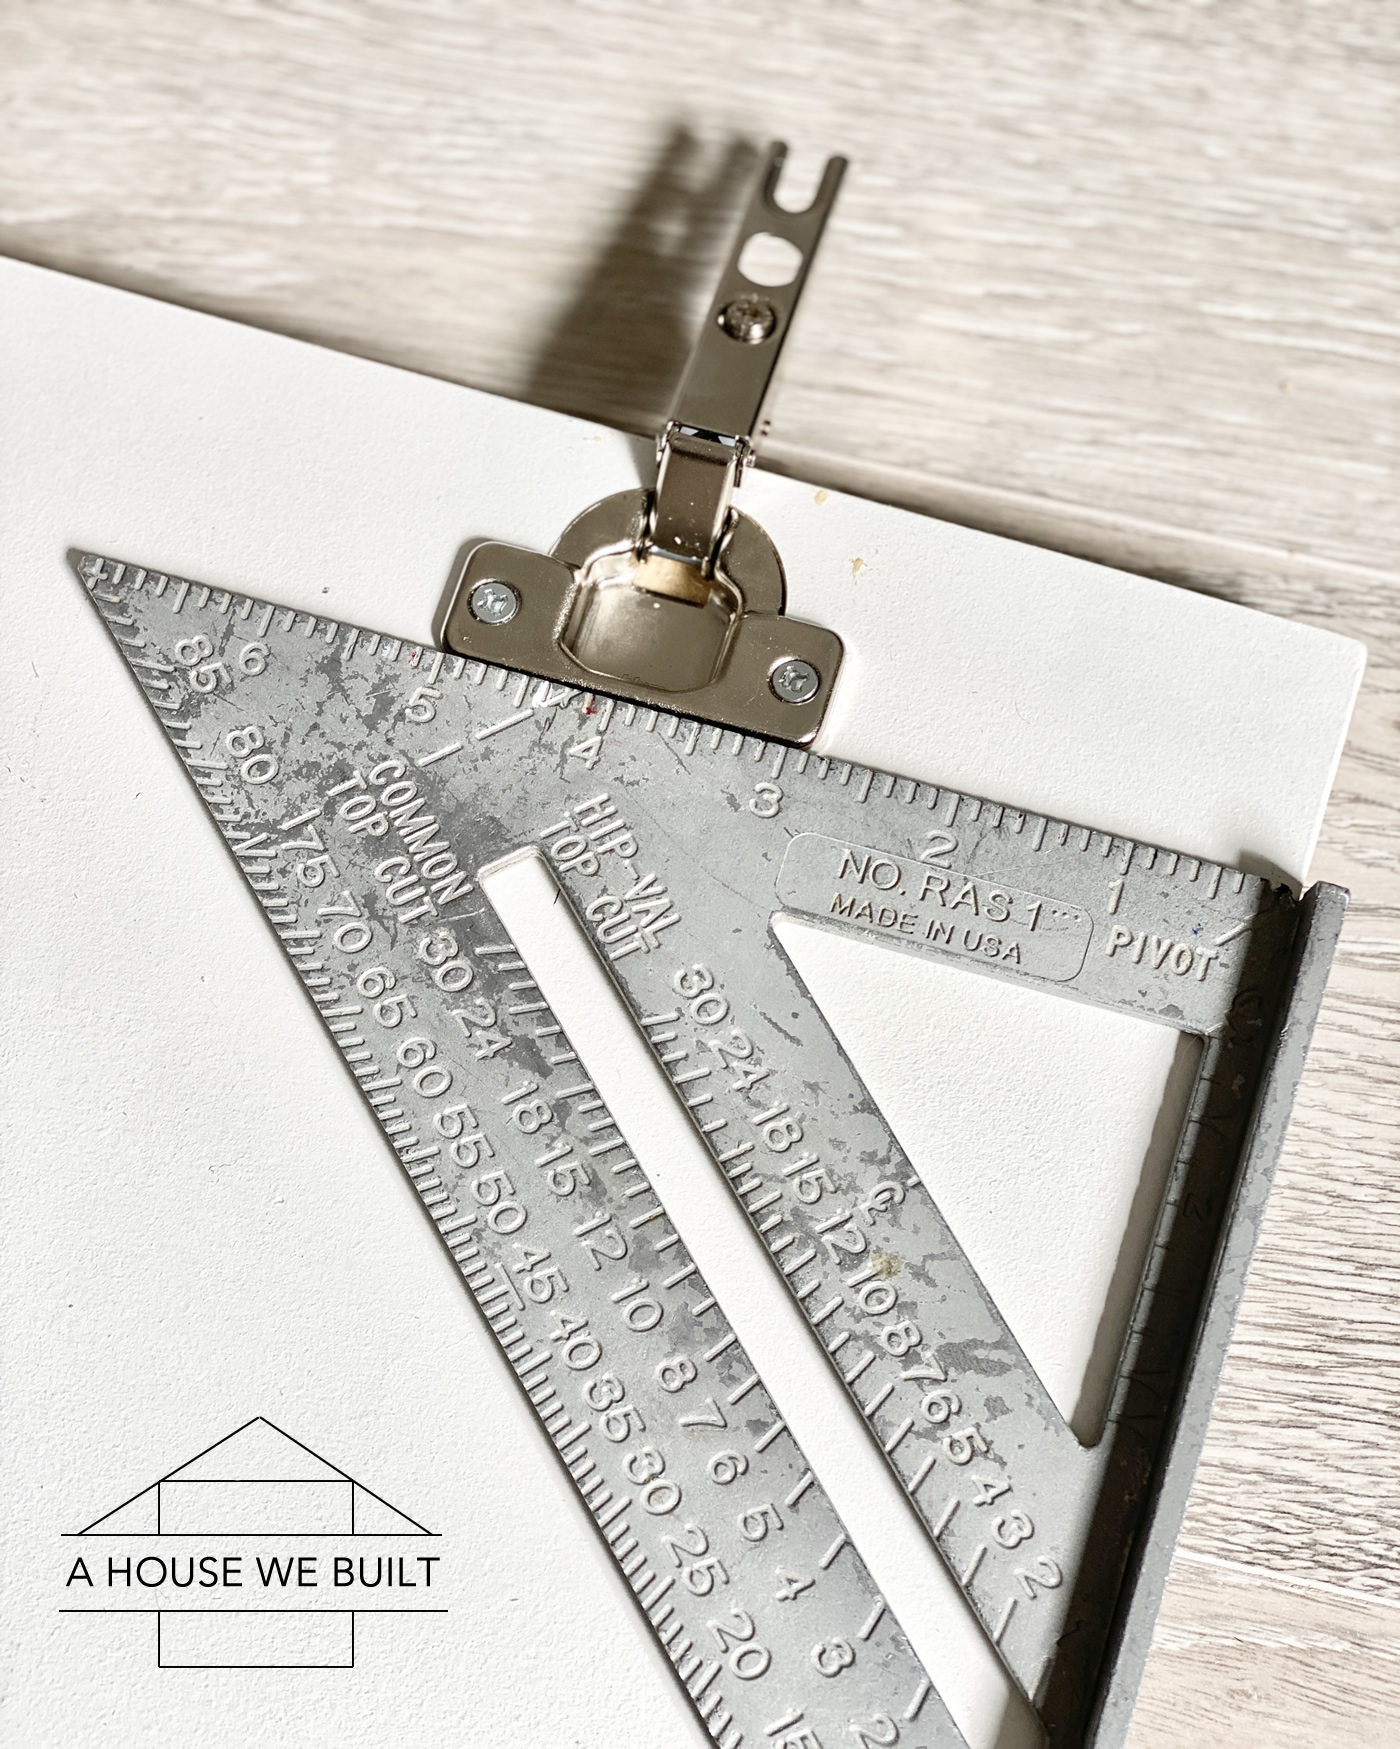
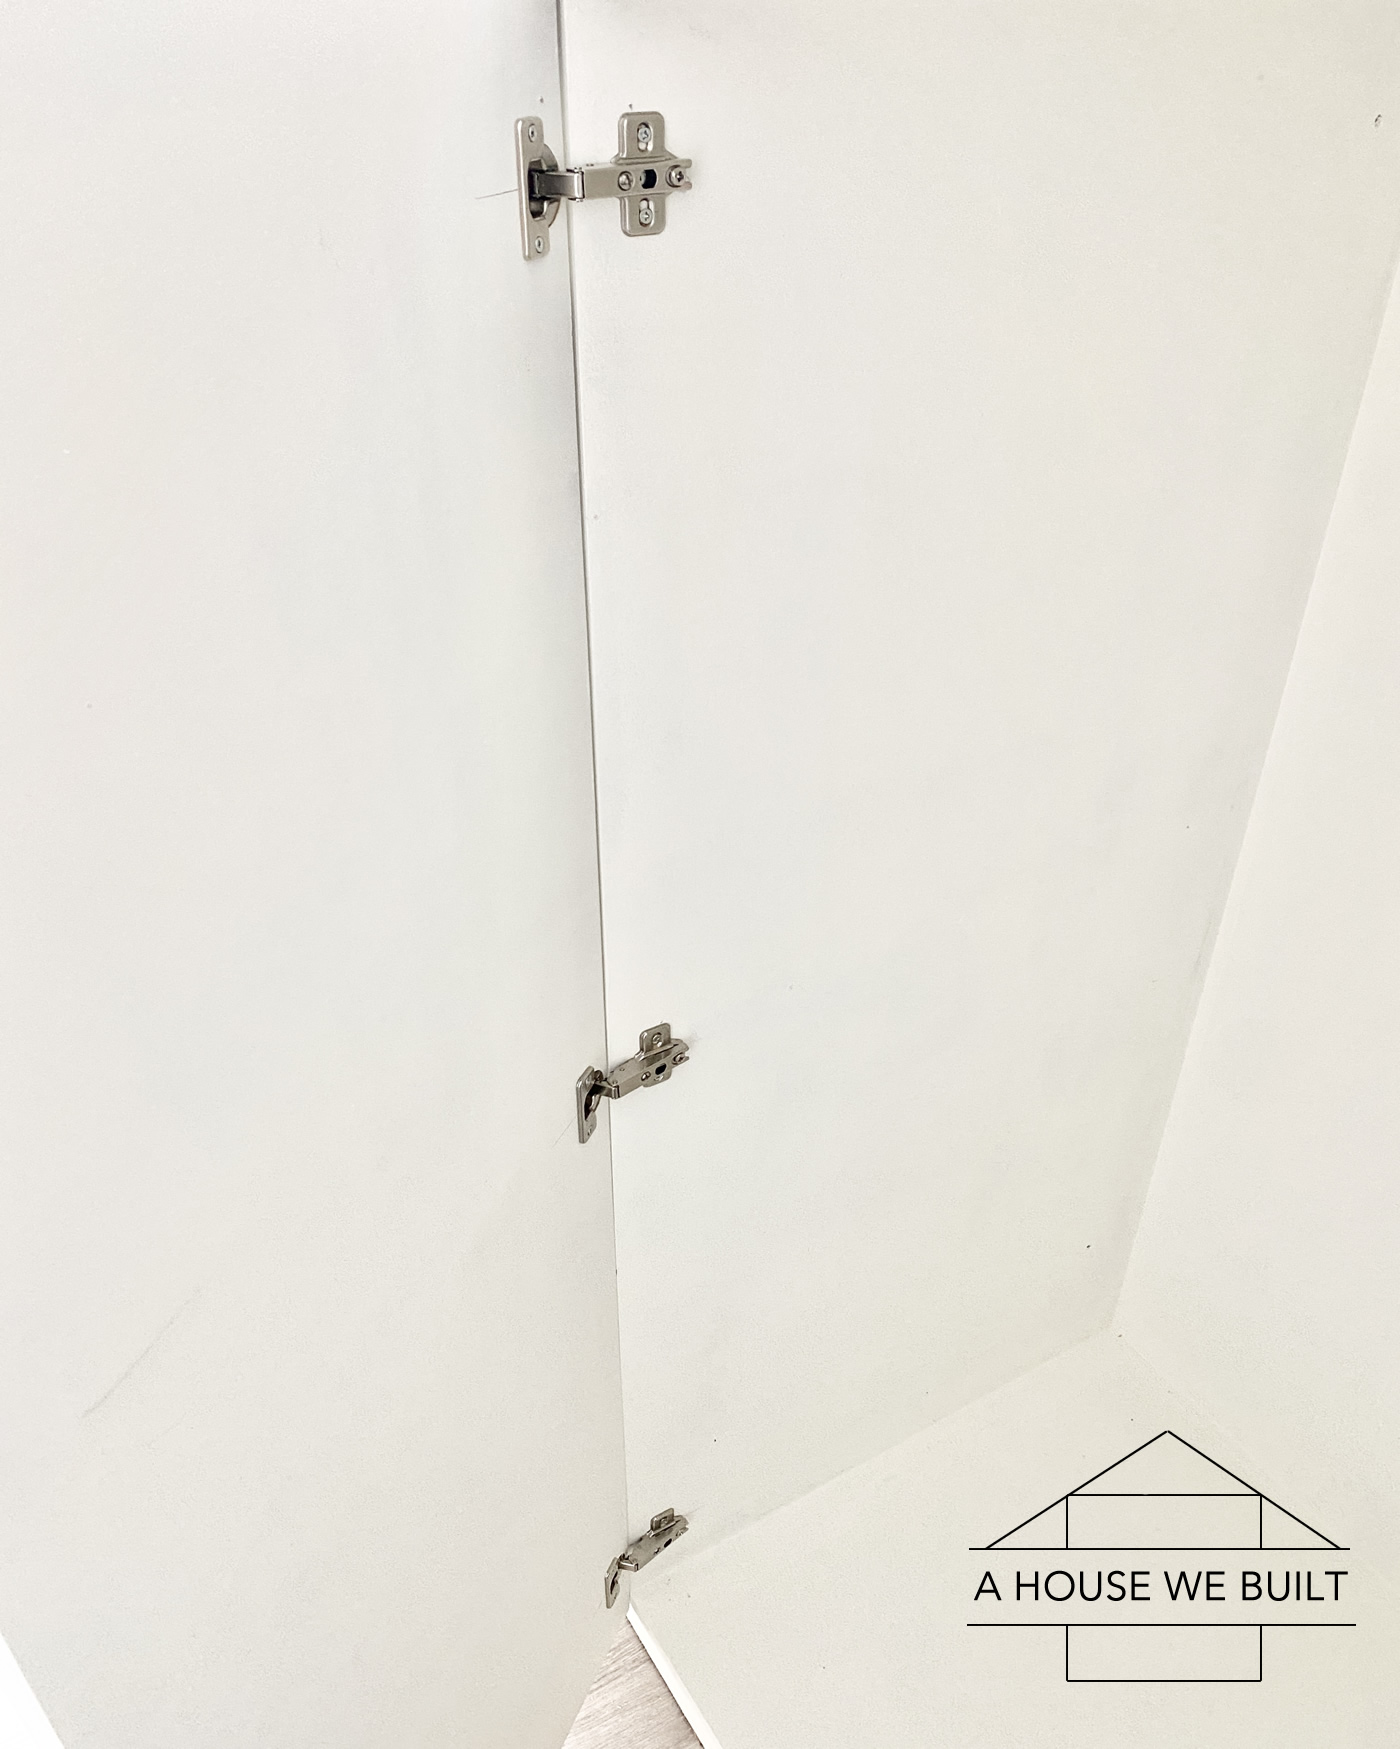
Basically, first you drill the holes for the hinges, then you attach one side of the hinge to the door, and the other to the cabinet. Then you attach both hinge sides to each other. Measure thrice, drill once!
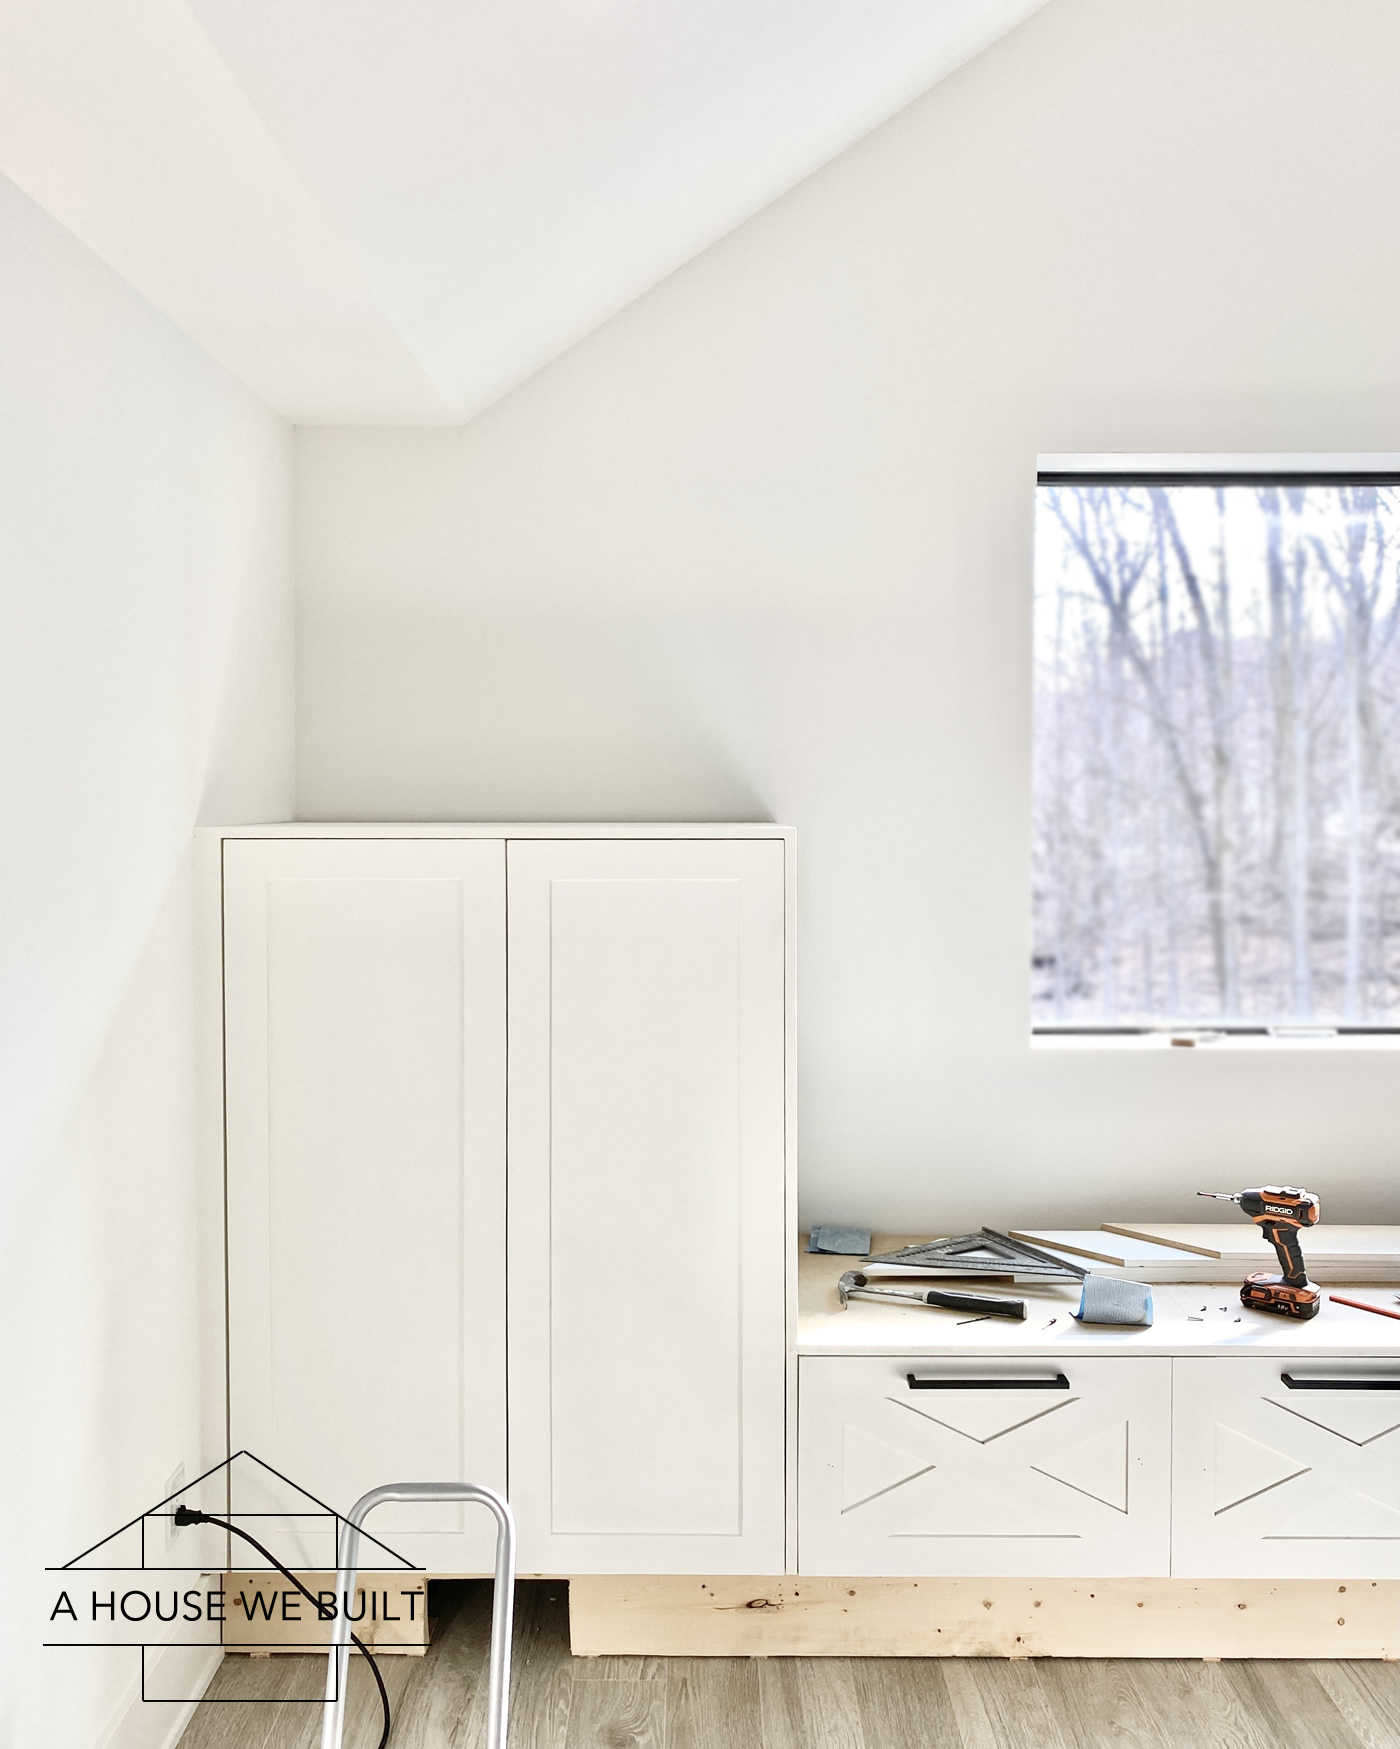
Confession: I actually miscalculated the middle drawer handle (I seriously have no idea how – I must have just been sleep-deprived) so I had to uninstall it, fill the holes in, re-drill and re-attach the handle. Even up close you literally can’t tell but I feel like it’s a good reminder that everybody makes mistakes and that’s ok.
Then we installed the door hardware and sat back to admire our work!
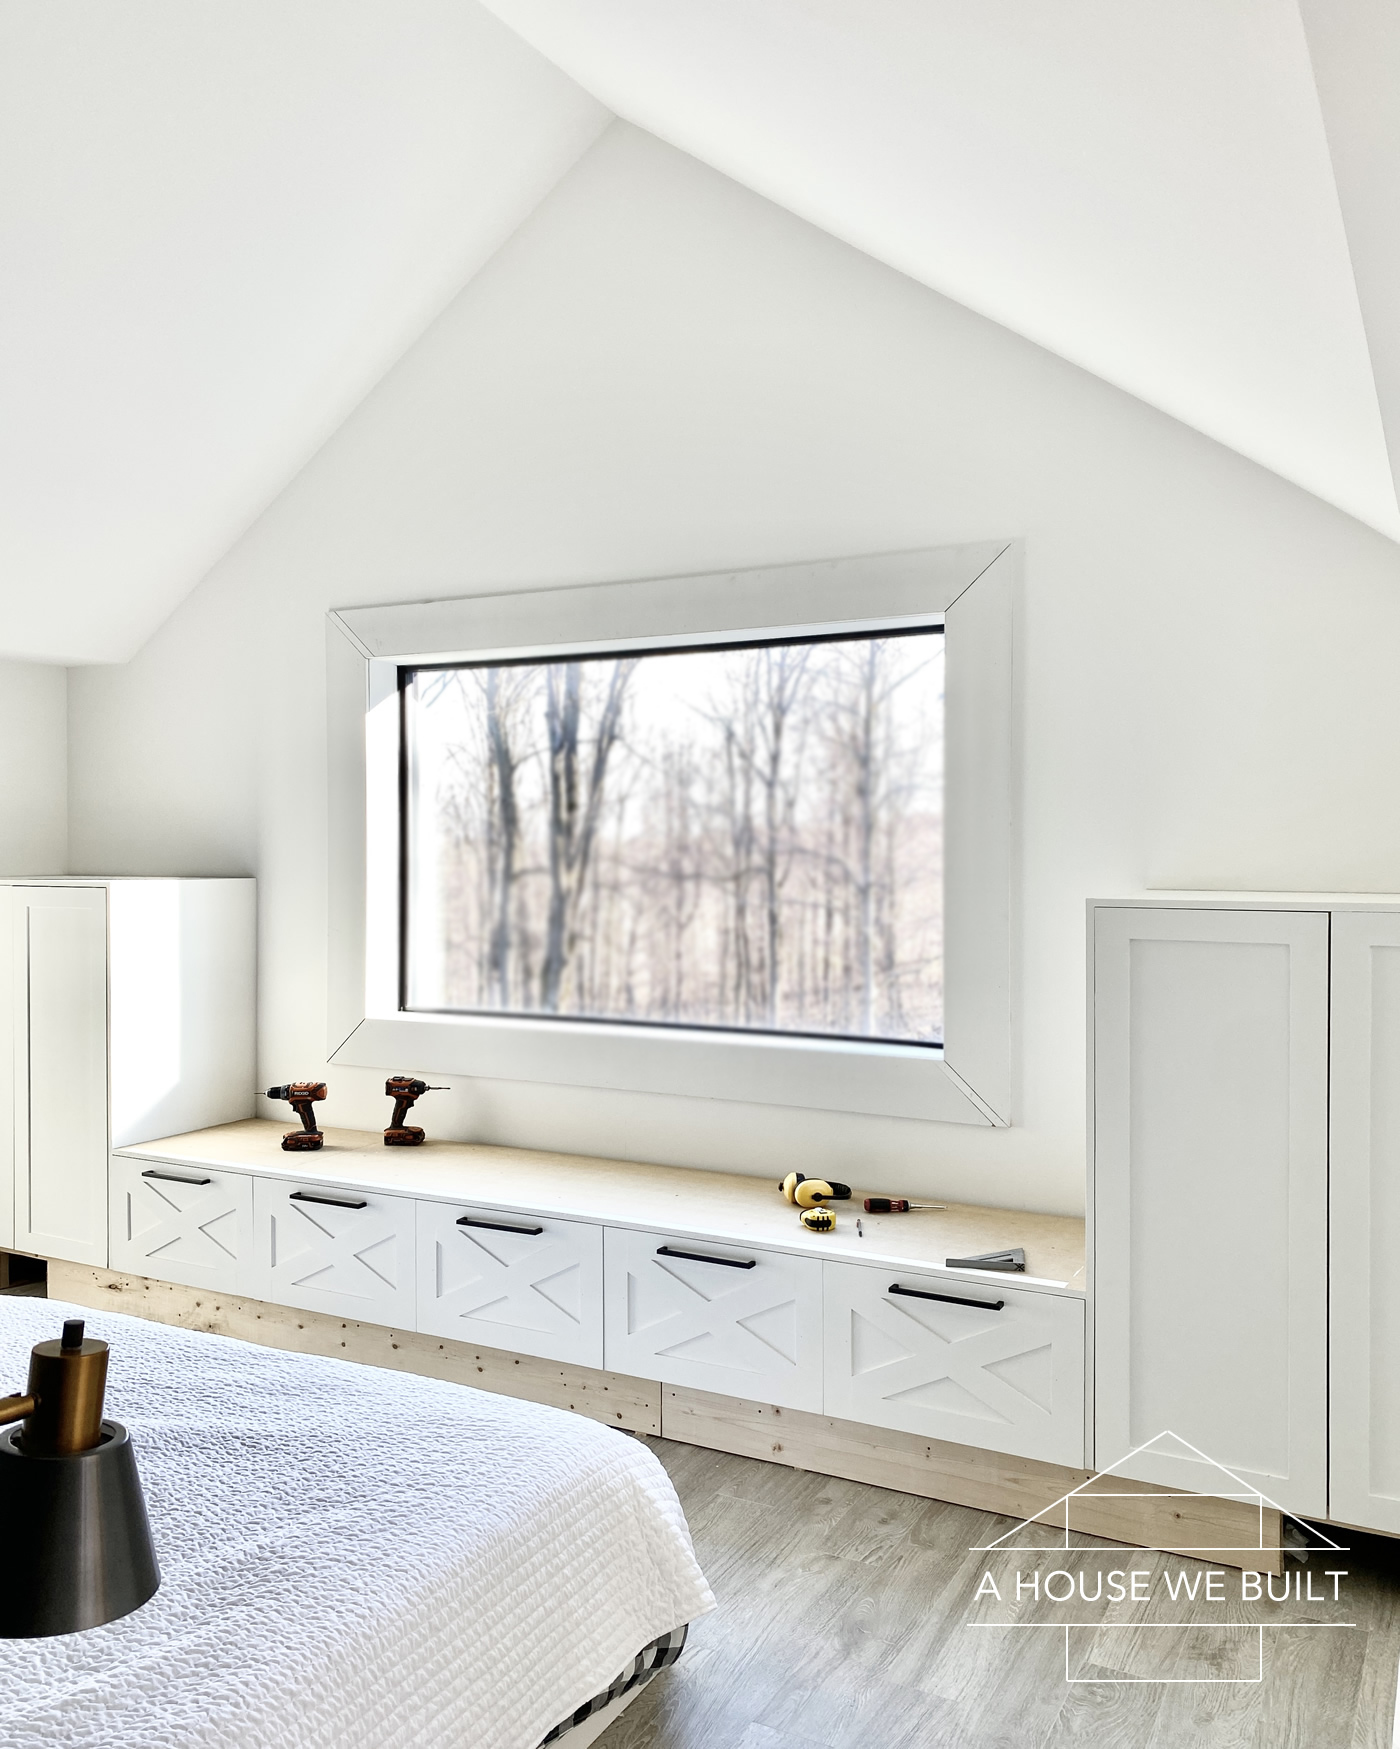
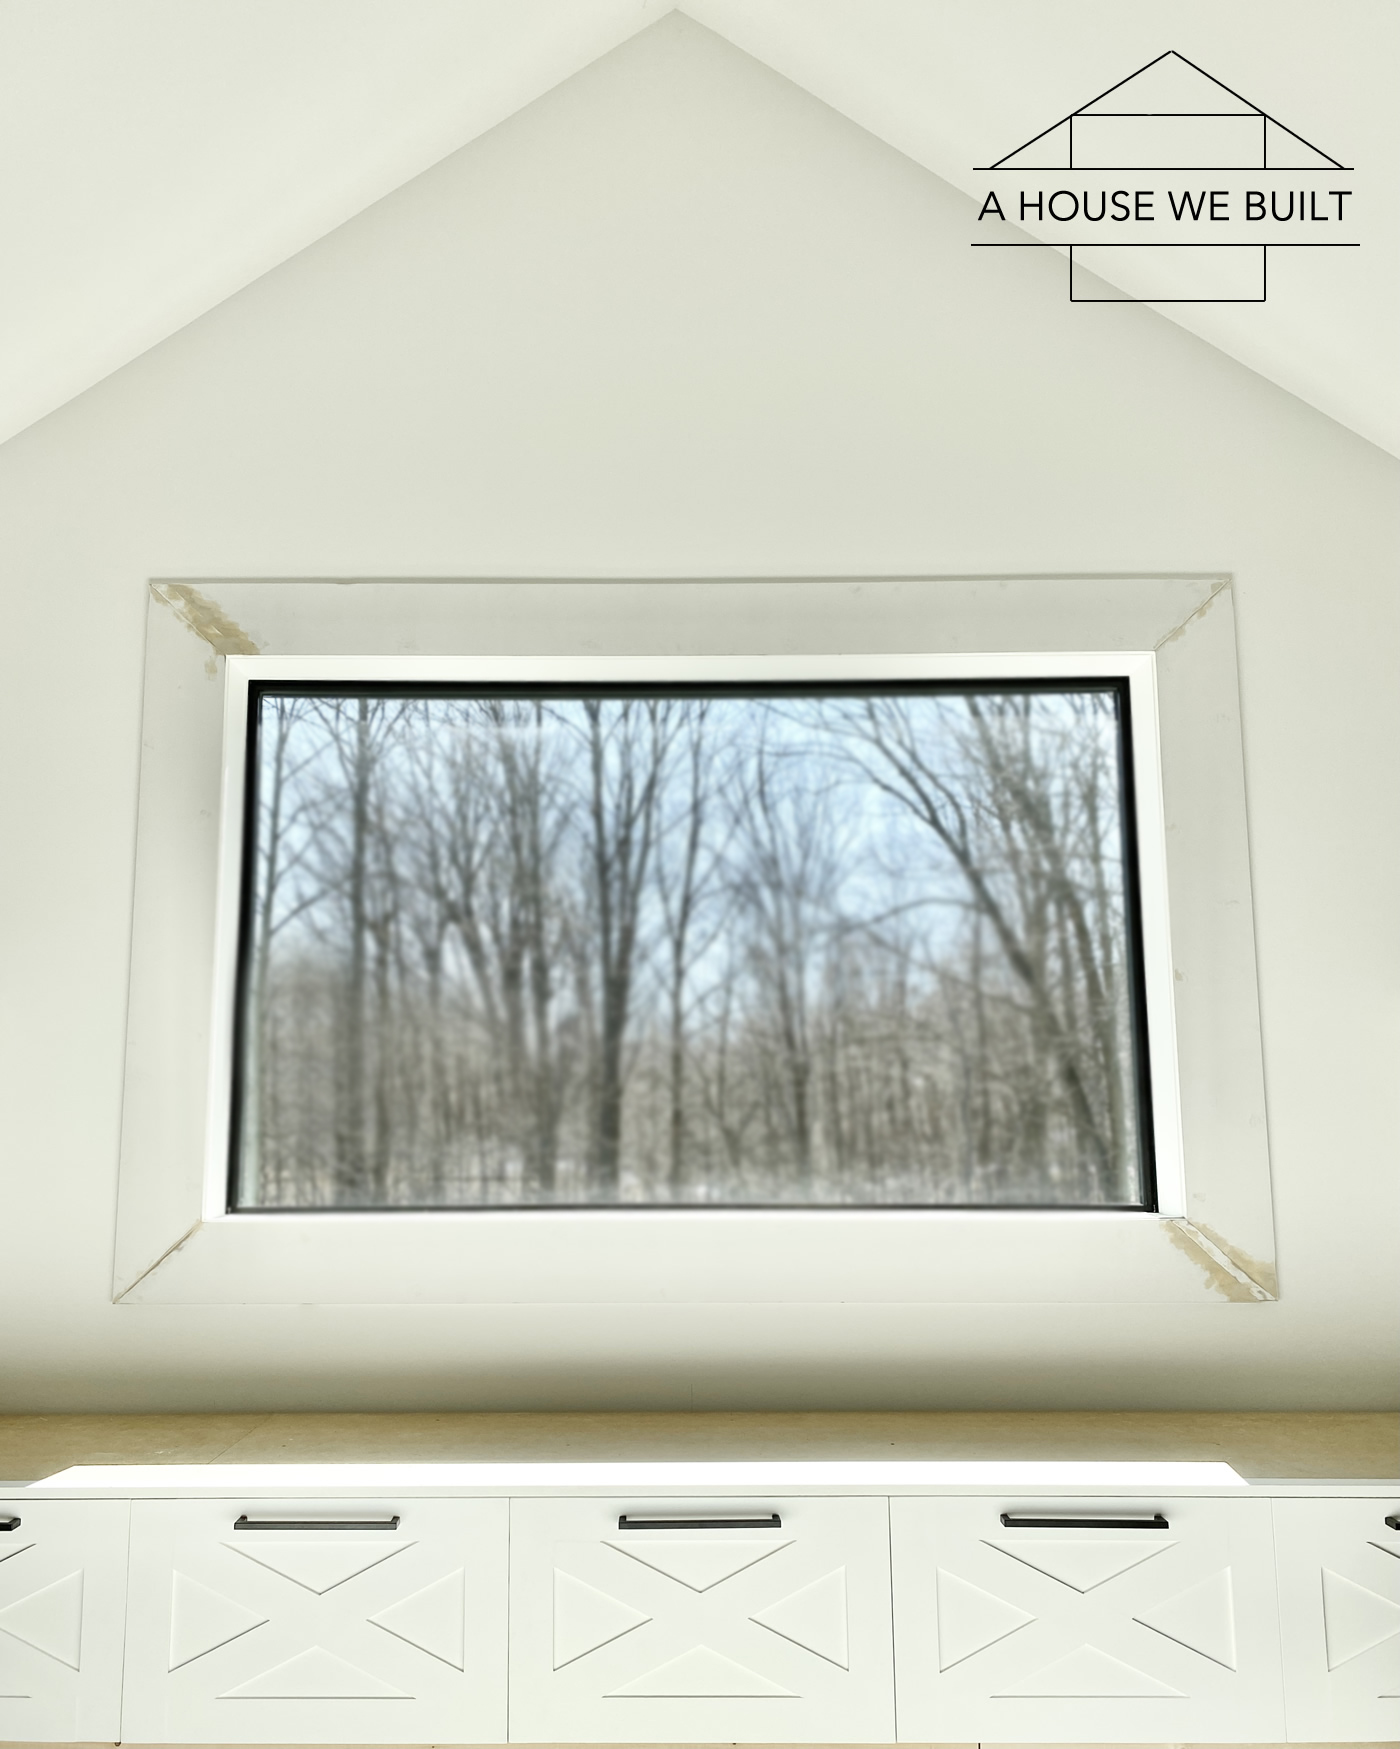
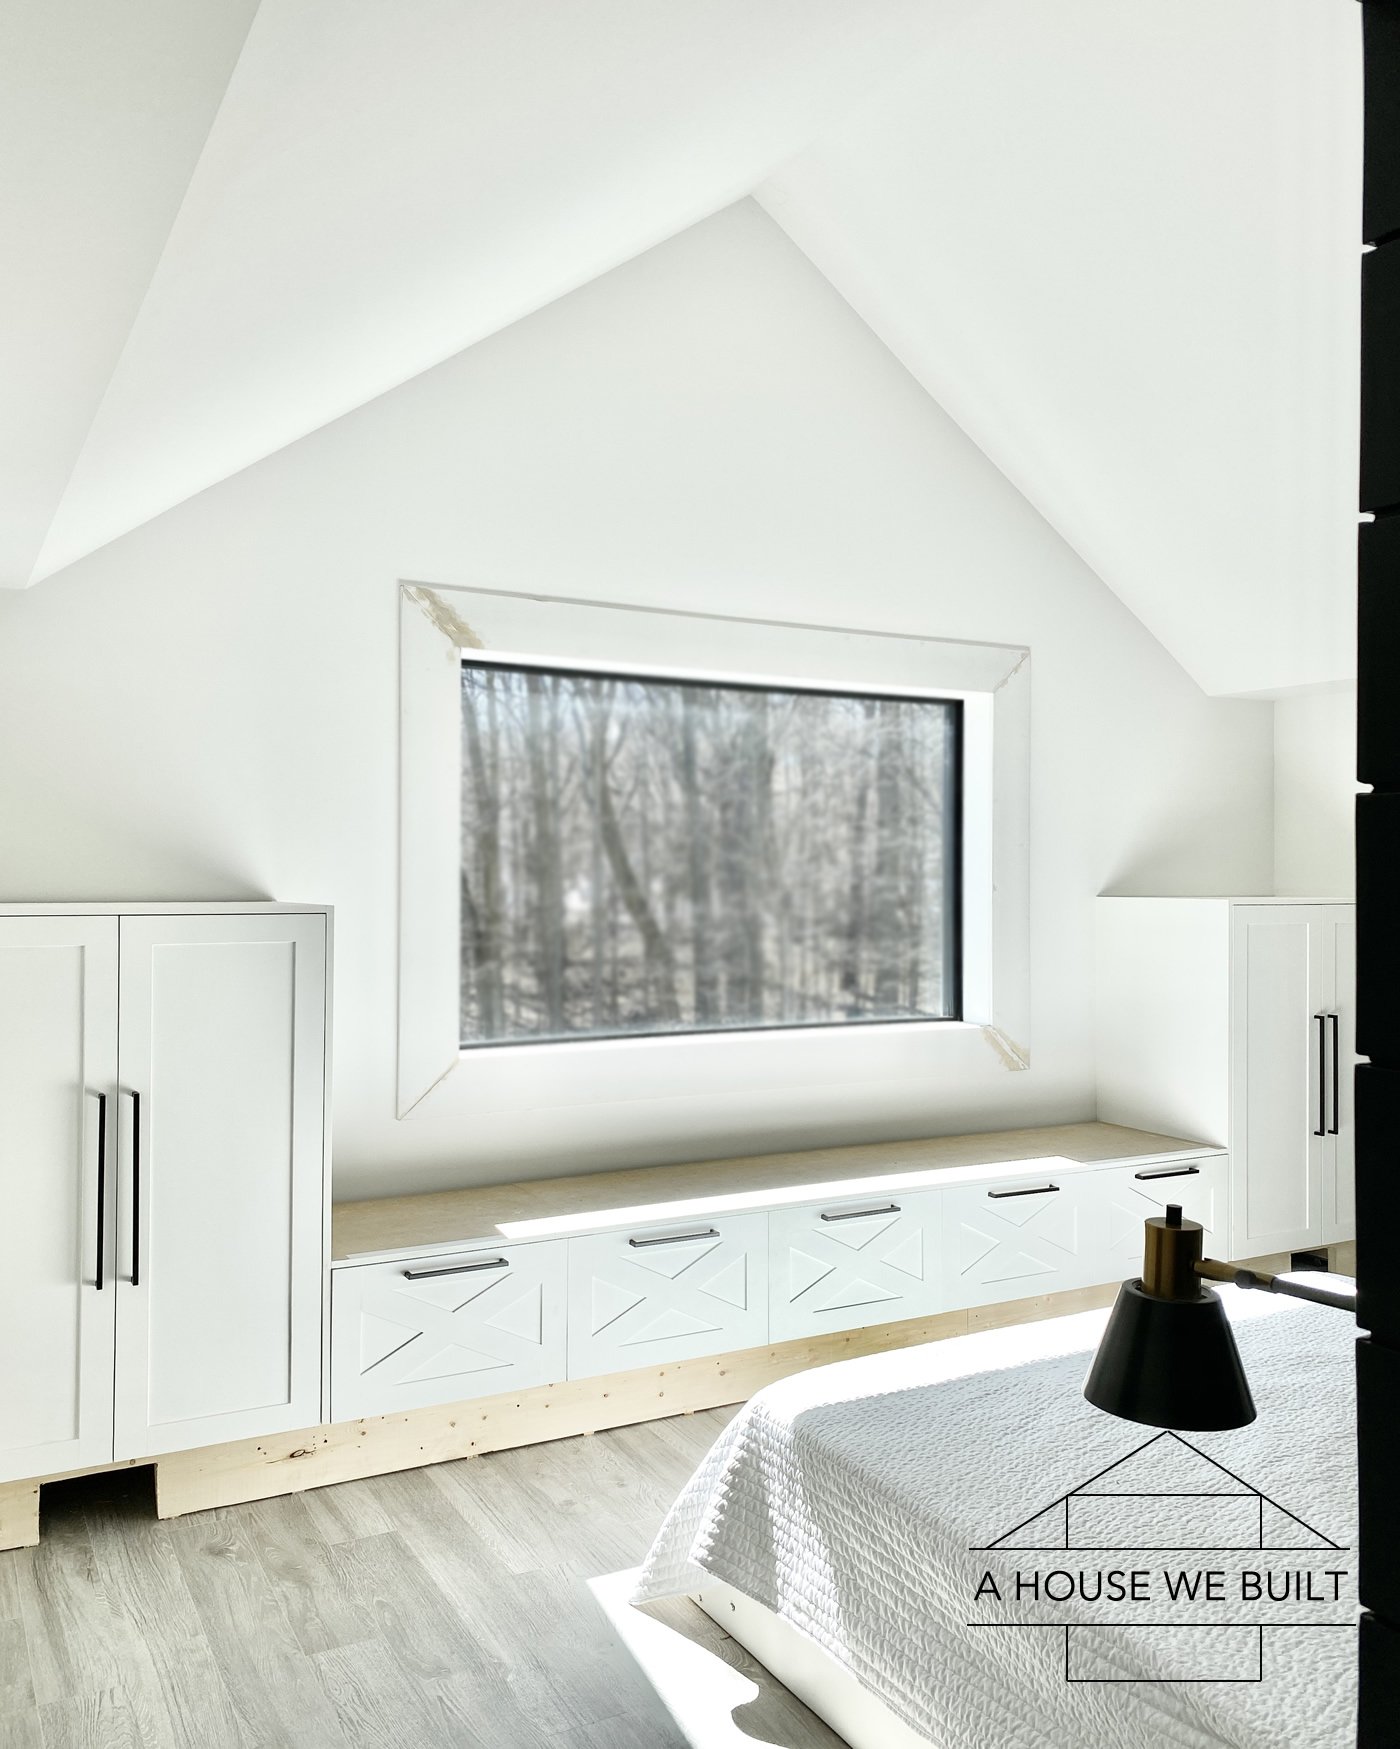
At this time, we also framed out our window (see the 3 pics above) out of 1×8 MDF with mitered corners. I set the trim 1/8″ back from the window box to create a little detail and really love how it turned out.
1×8 MDF trim: Home Depot
Miter saw: Home Depot | Amazon
Around our home, most of our windows have drywall returns but the few that have shiplap around them also have this 1/8″ setback so we wanted this one to have the same feeling. Our window was longer than the trim pieces I had on hand, so you’ll notice I had to splice some pieces together at the corners. But by the time I wood-fillered, sanded, and painted the trim, you’d never know just by looking at it.
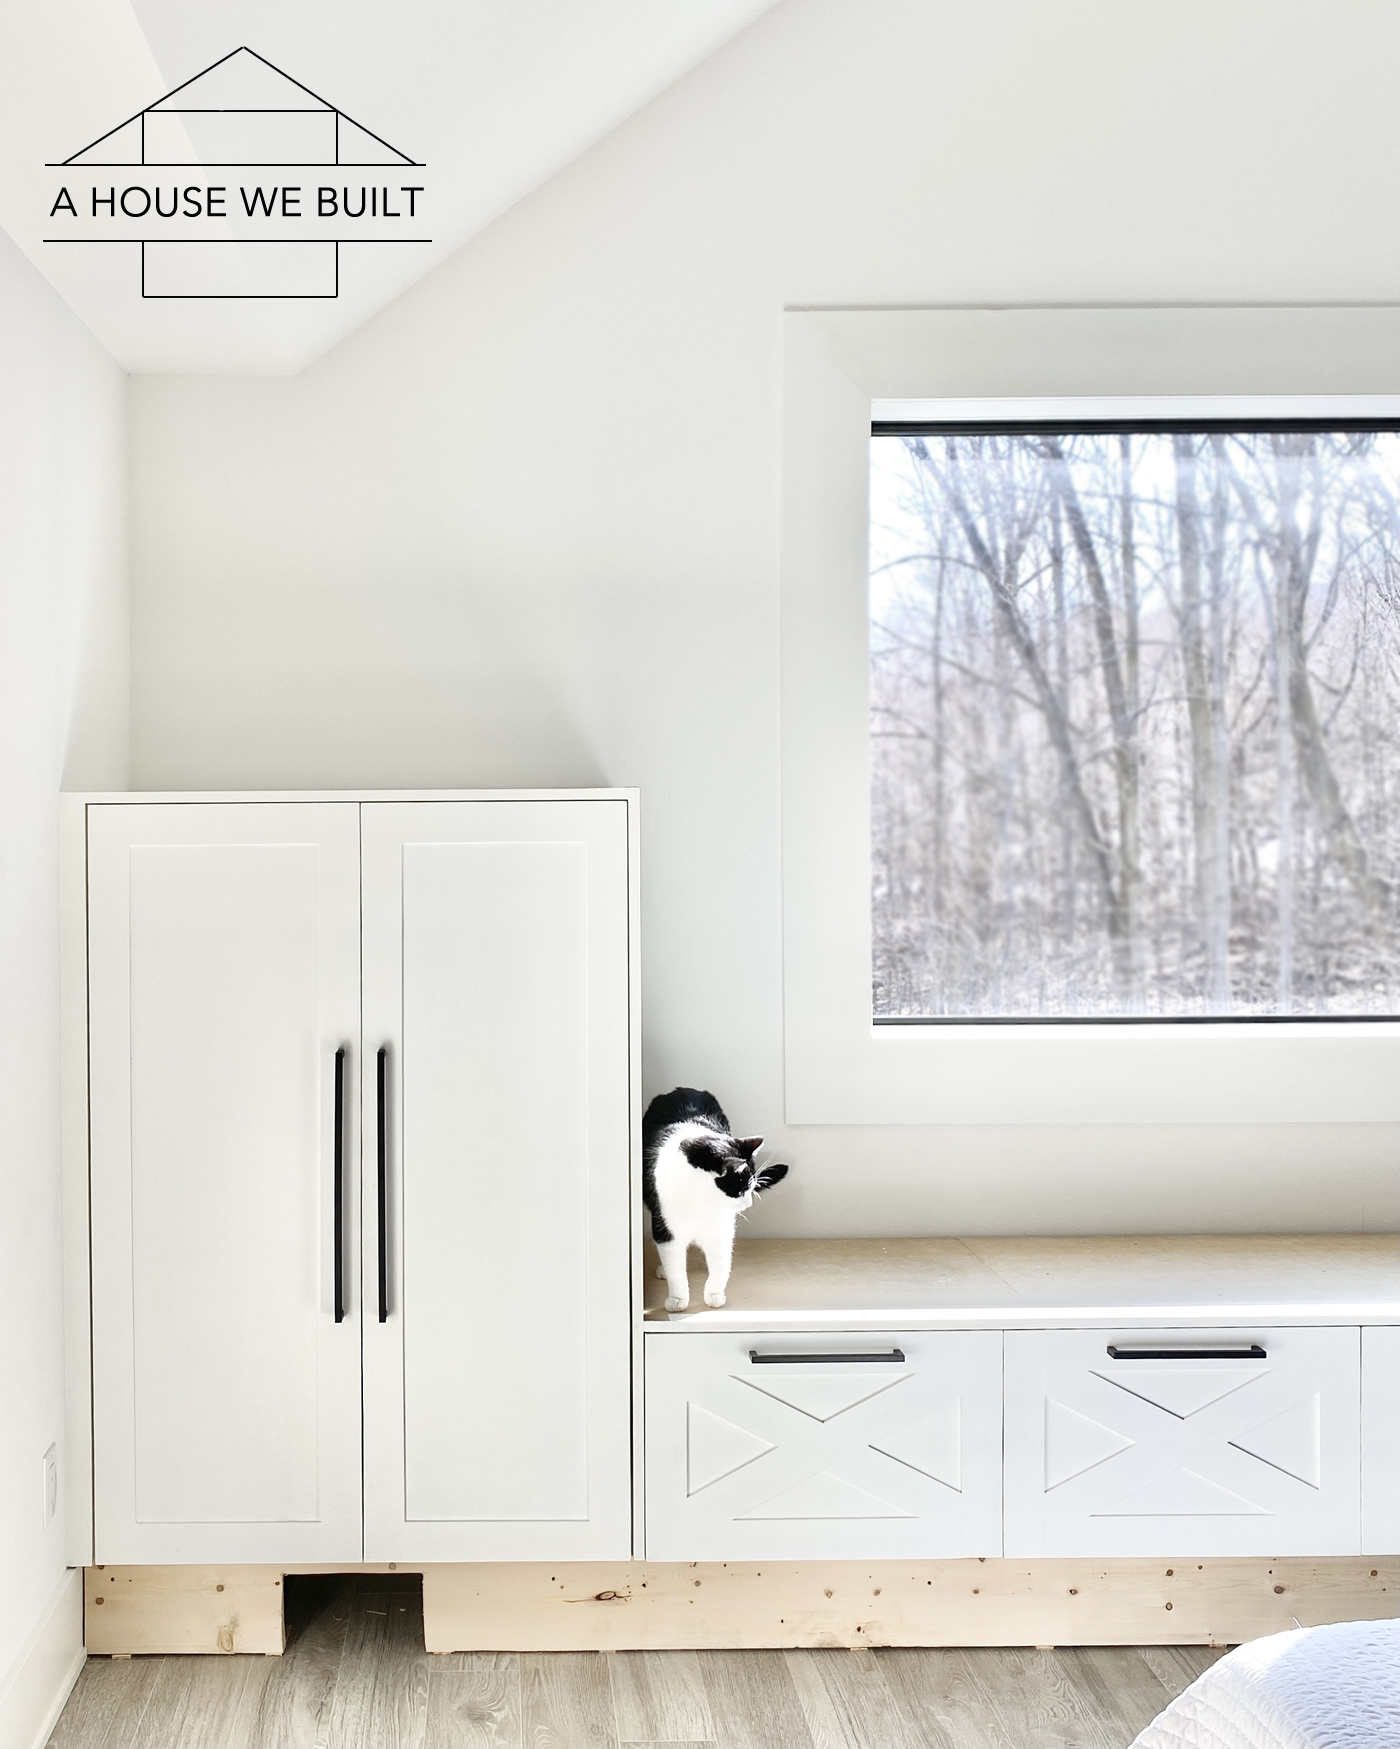
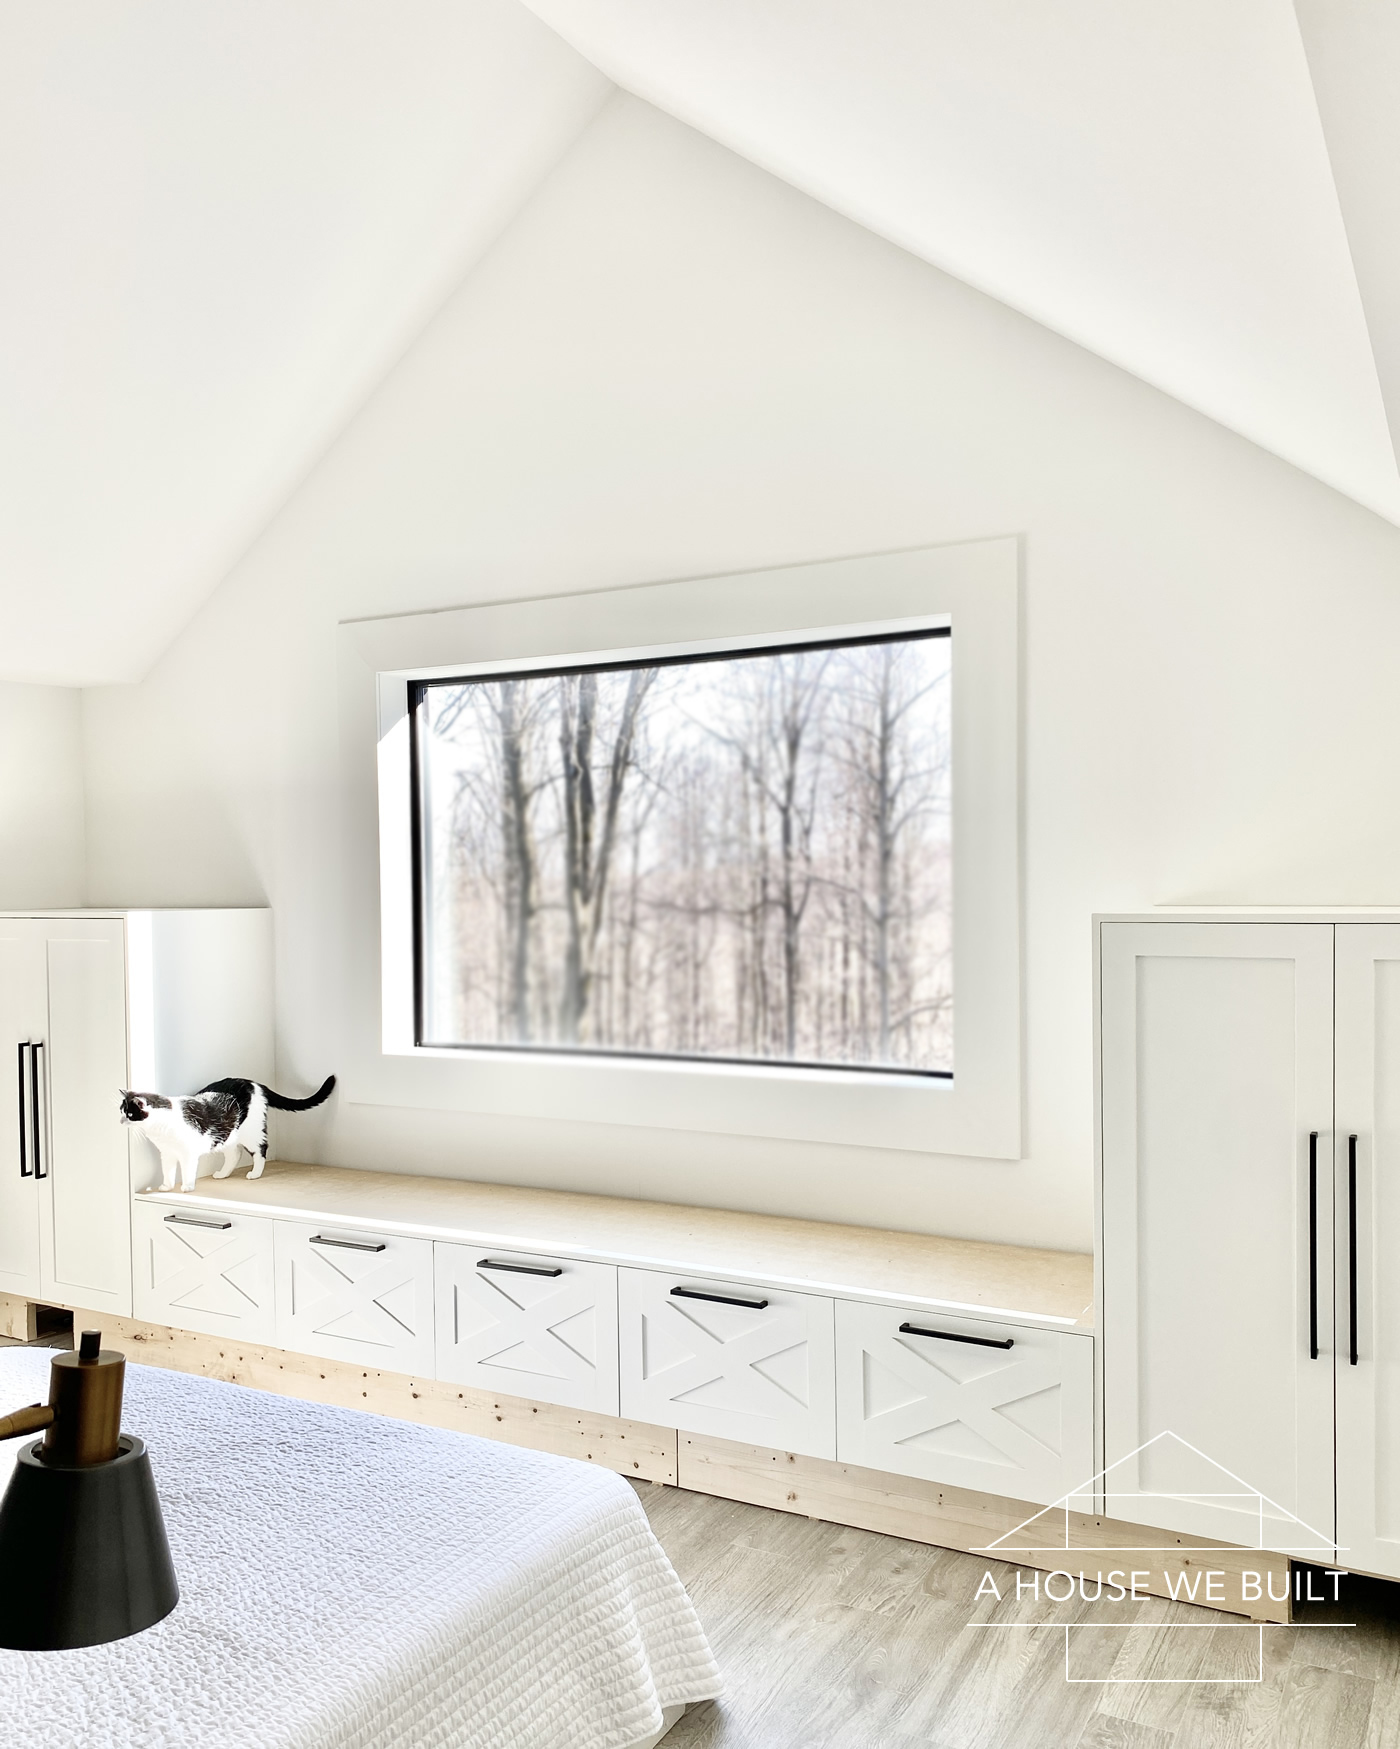
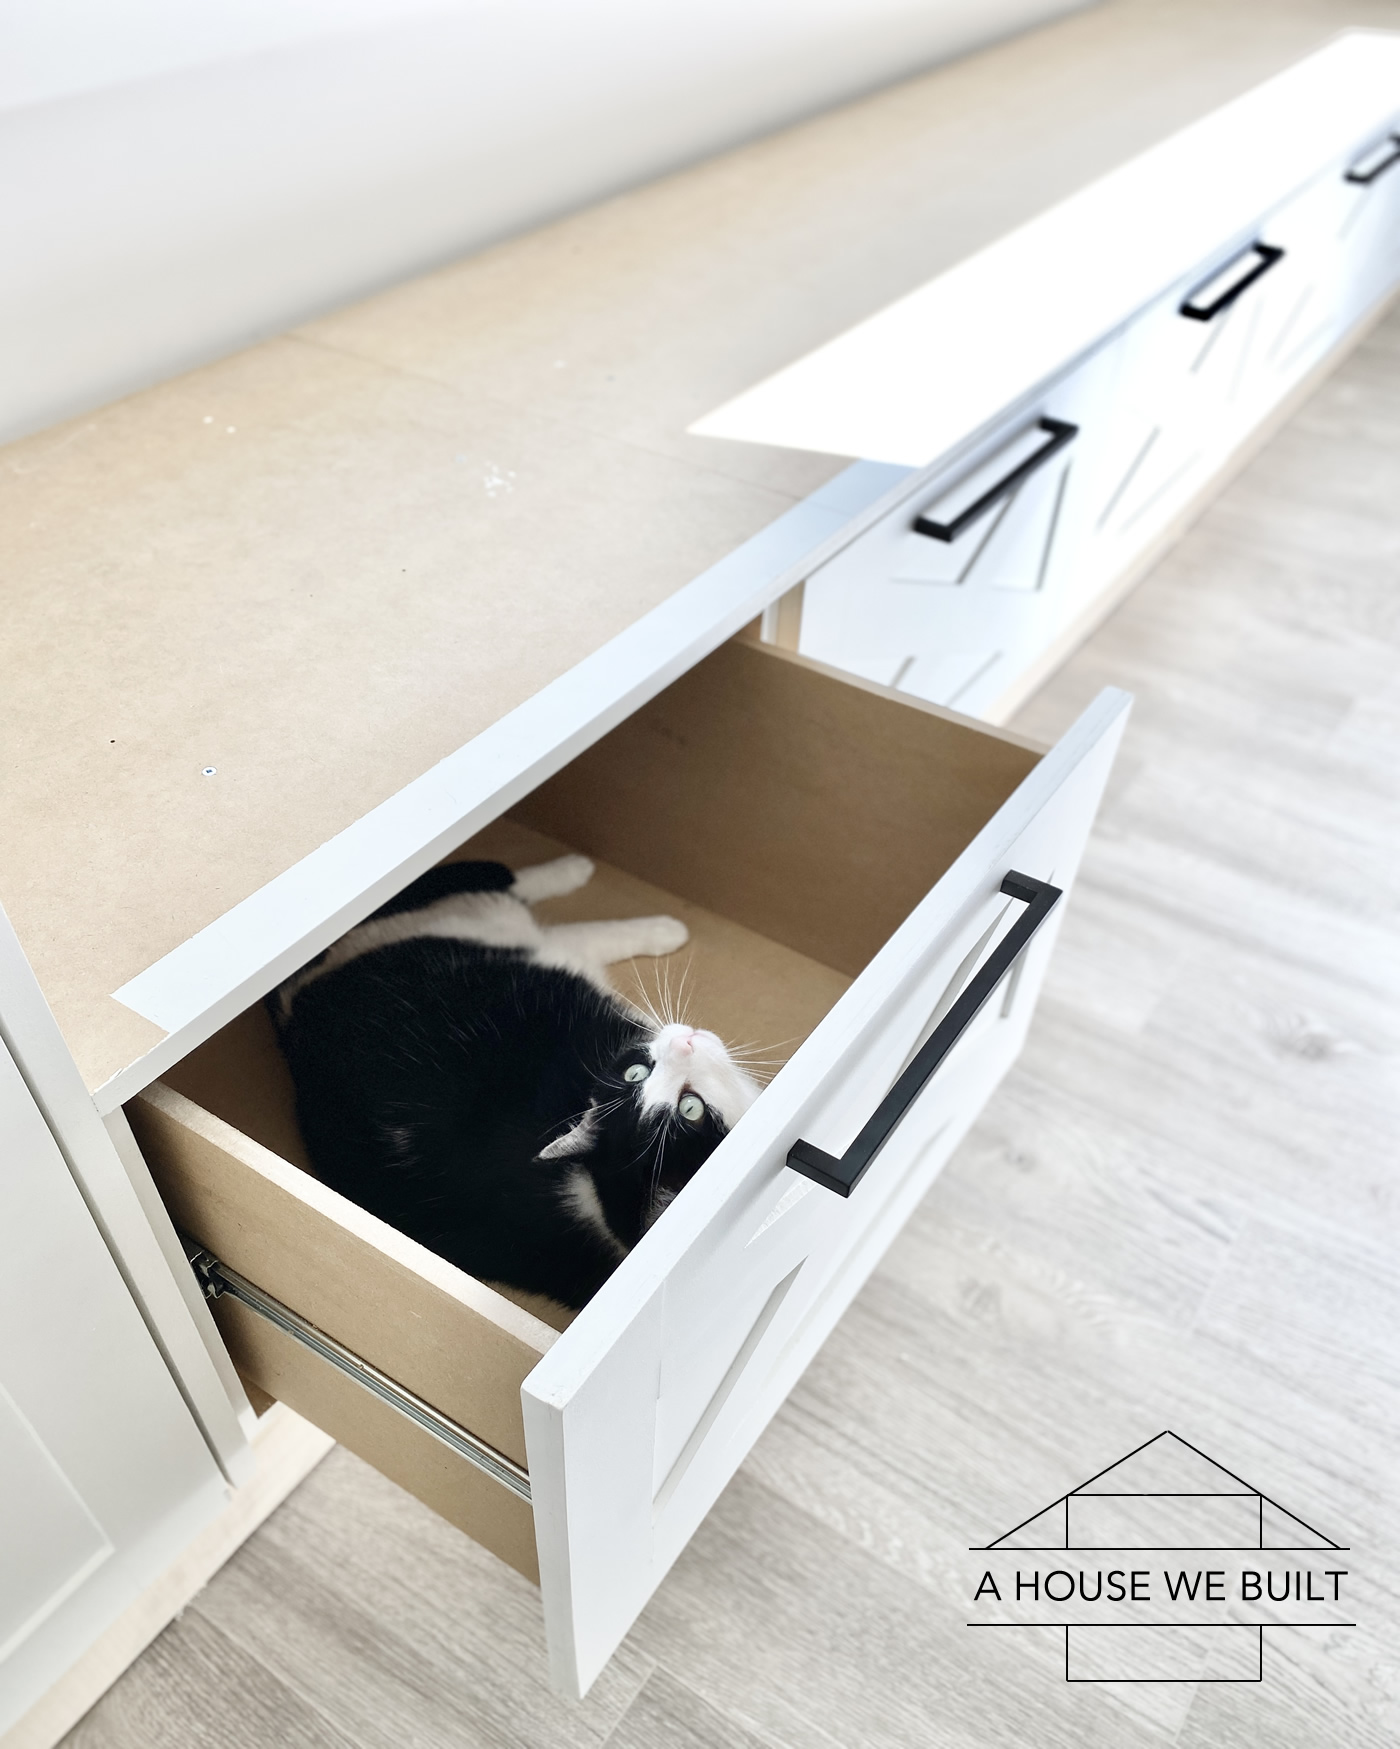
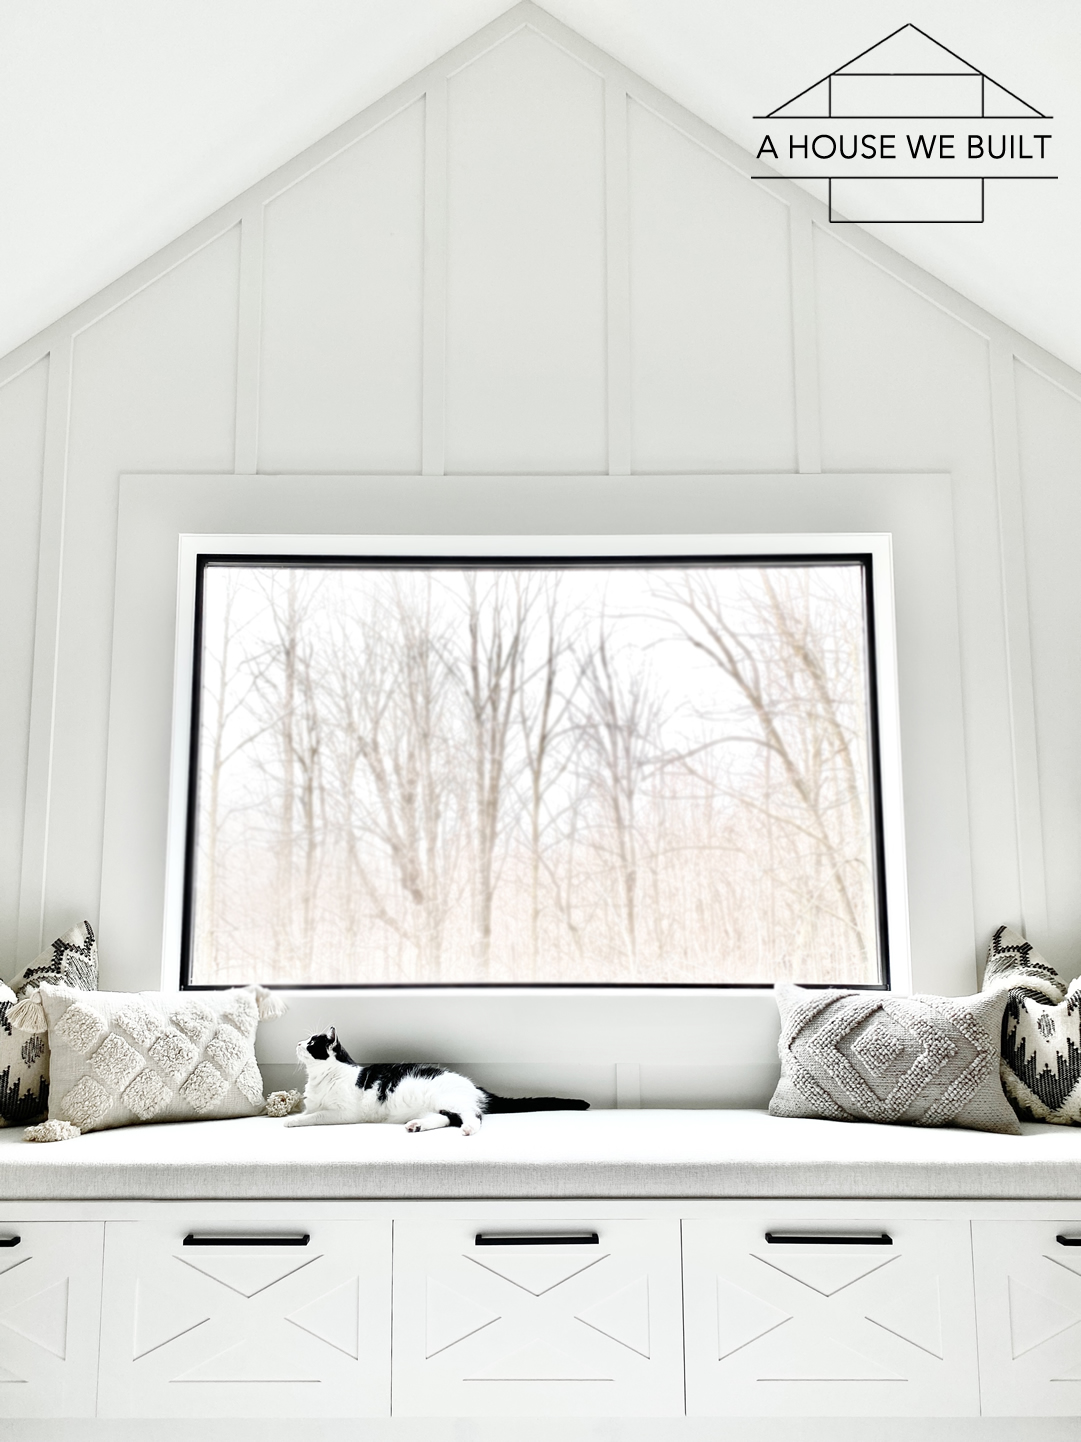
One of our rescue kitties and Lead Project Snoopervisor, Chai, came to inspect our progress on his new nap spot. He gave everything a thorough sniff-down and also tested our drawers. He was very thorough.
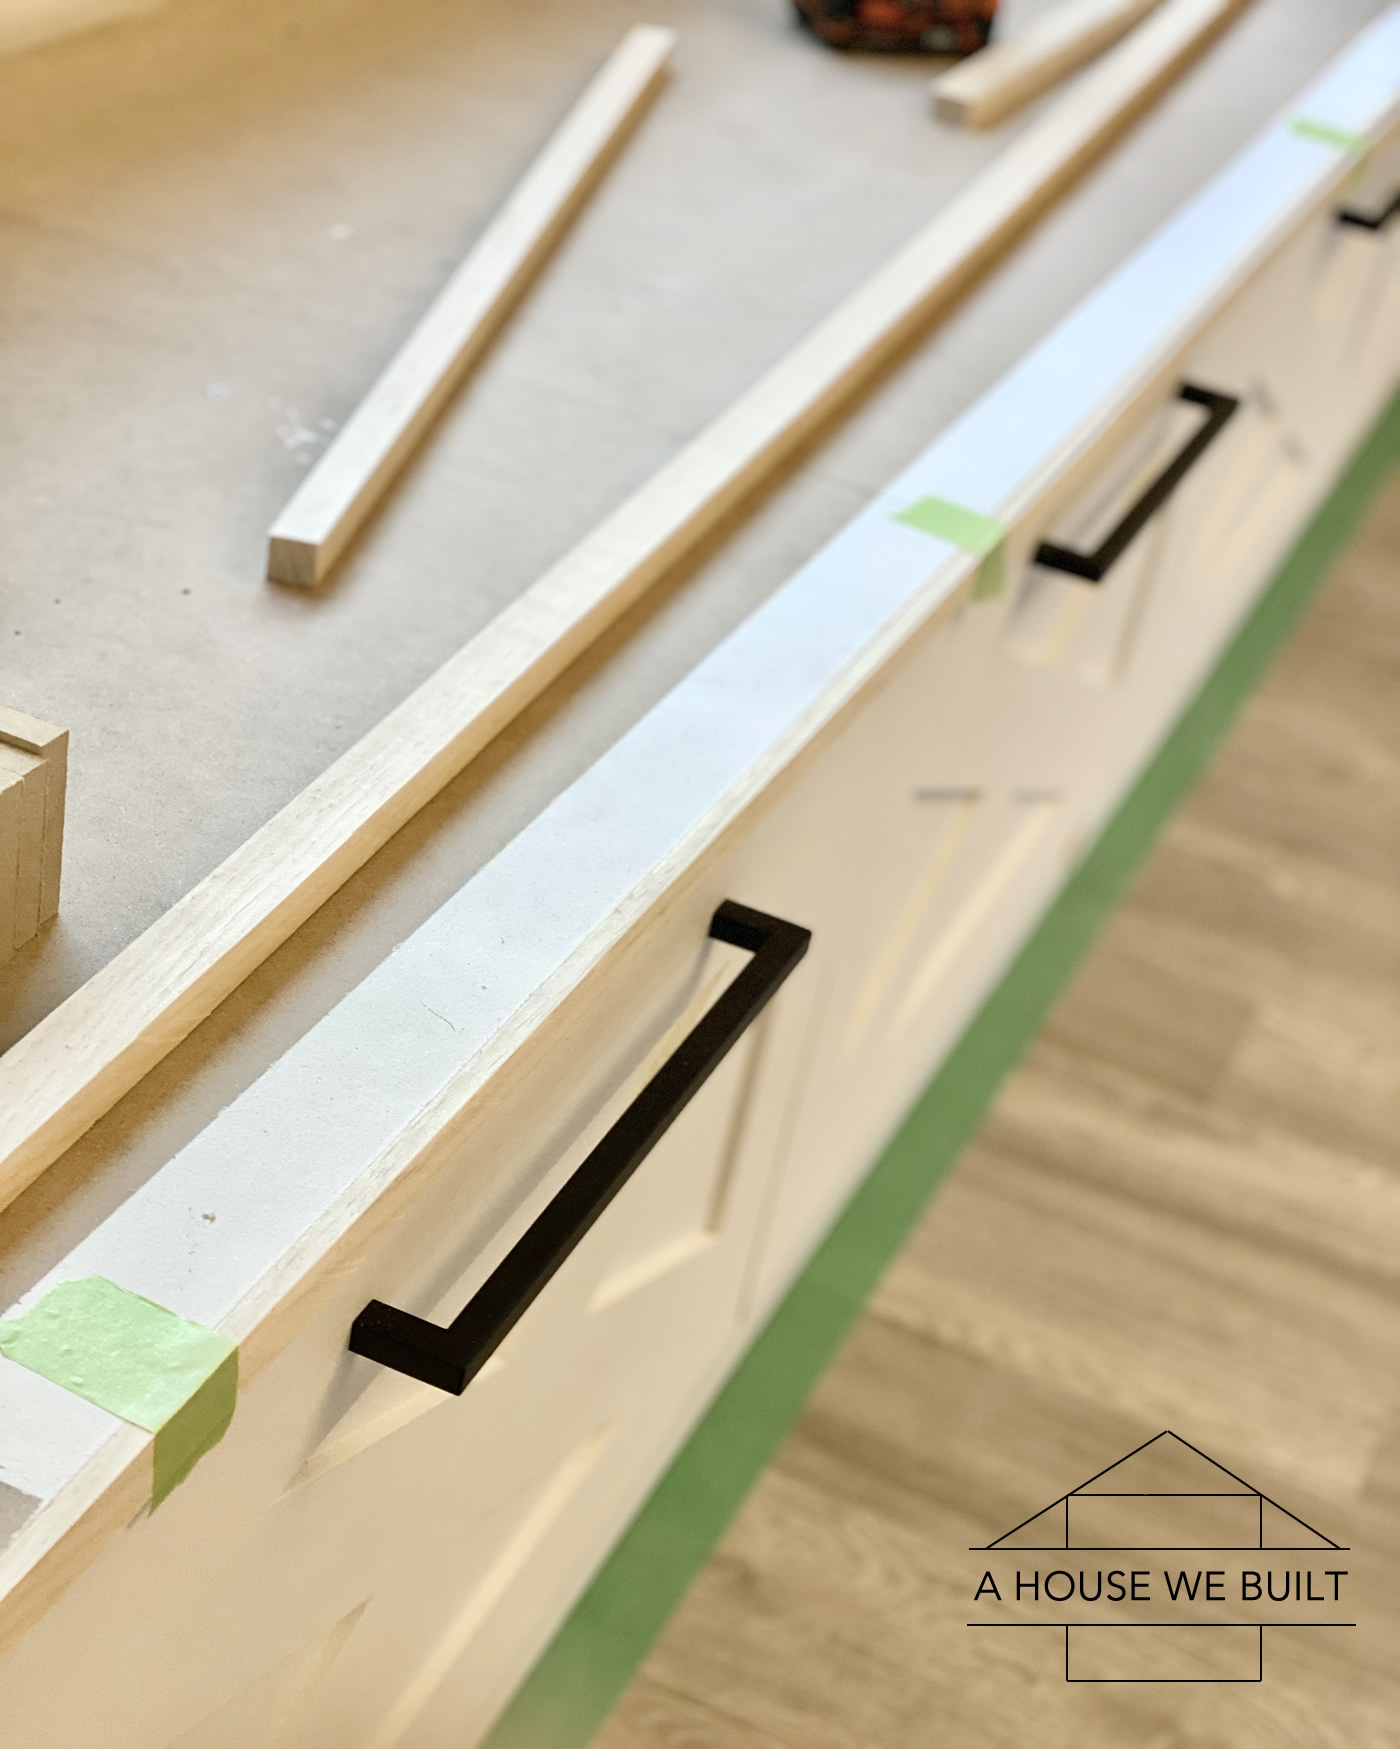
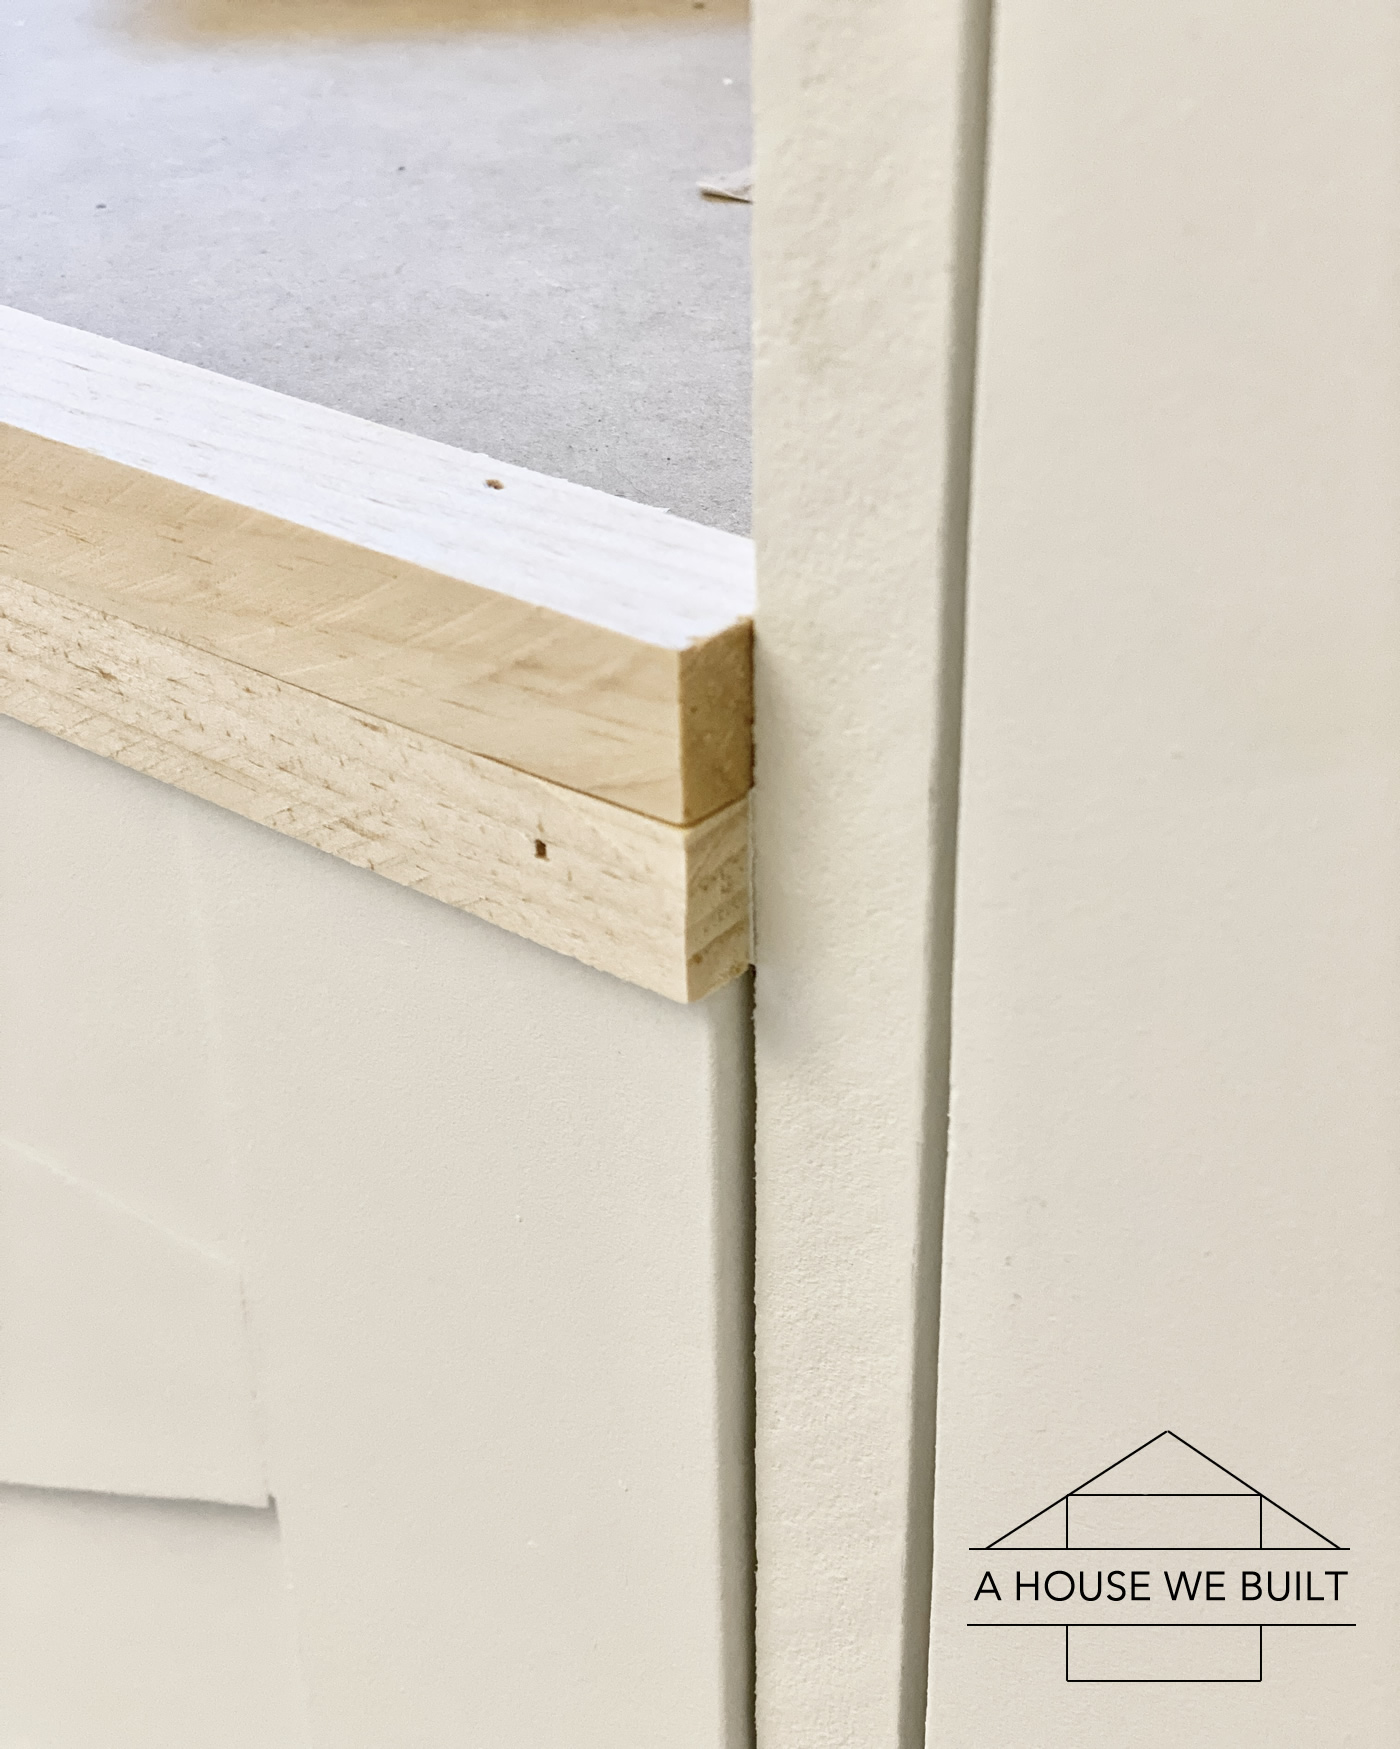
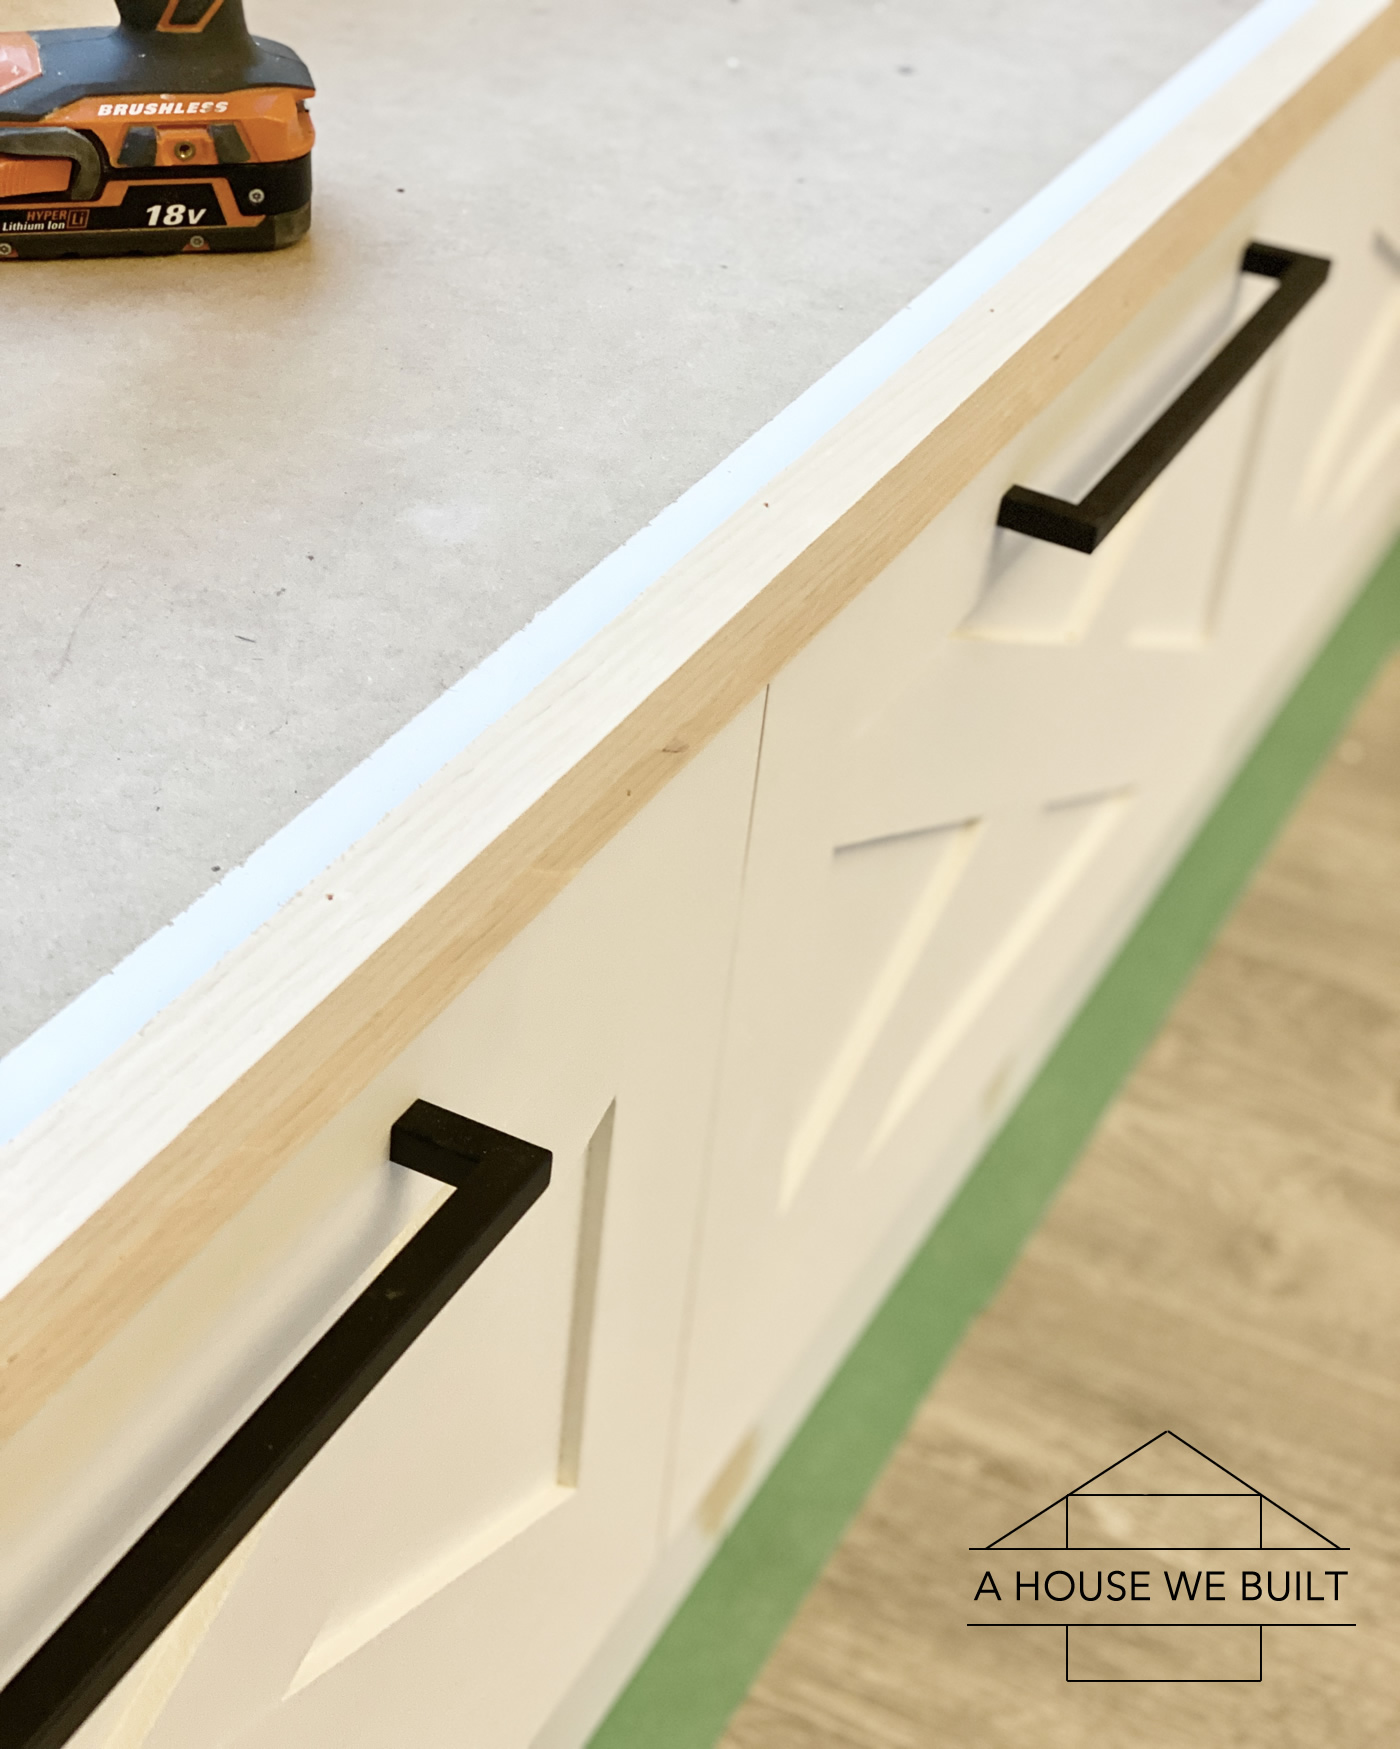
Next, I decided to build a “curb” at the edge of the window seat because I just felt it needed an extra piece of trim to really give it a finished look, and I also wanted a sort of lip that the window seat cushion would sit “in” to prevent it from sliding forward. So I used my table saw to rip down a piece of wood into two strips: a 1/4″ x 3/4″ strip that I attached to the face, and a 1″ x 3/4″ strip that I attached on top of that. Then I wood-fillered, sanded, and painted it. It basically looked like one fancy trim piece in the end.
Board & batten time!
Doing B&B on an angled ceiling involved more angle math (*sobs quietly*) but here’s how I did it: First, I attached the two ceiling trim pieces – fully glued and nailed in. Then I cut short test pieces of trim to move around until I found a spacing I was happy with. Then I started with the middle two pieces and worked my way outward from there. I cut as I went instead of trying to calculate everything all at once. The good thing is that since my vertical trim pattern was an exact mirror image on the left and right sides, each pieces on the left + right sides was exactly the same length as the one on the opposite side (just reversed).
As I cut my pieces, I would dry-fit them into place and once they were good, I used painter’s tape to secure them into place but did not glue or nail them!!! This allowed me to dry-fit the entire wall all at once and be positive I was happy with every board placement before officially attaching them. When I was done cutting and happy with the positioning, I took them down one by one and glued/nailed them.
1×3 MDF trim (for B&B): Home Depot
Miter saw: Home Depot | Amazon
Paneling adhesive: Home Depot | Amazon
Brad nailer: Home Depot | Amazon
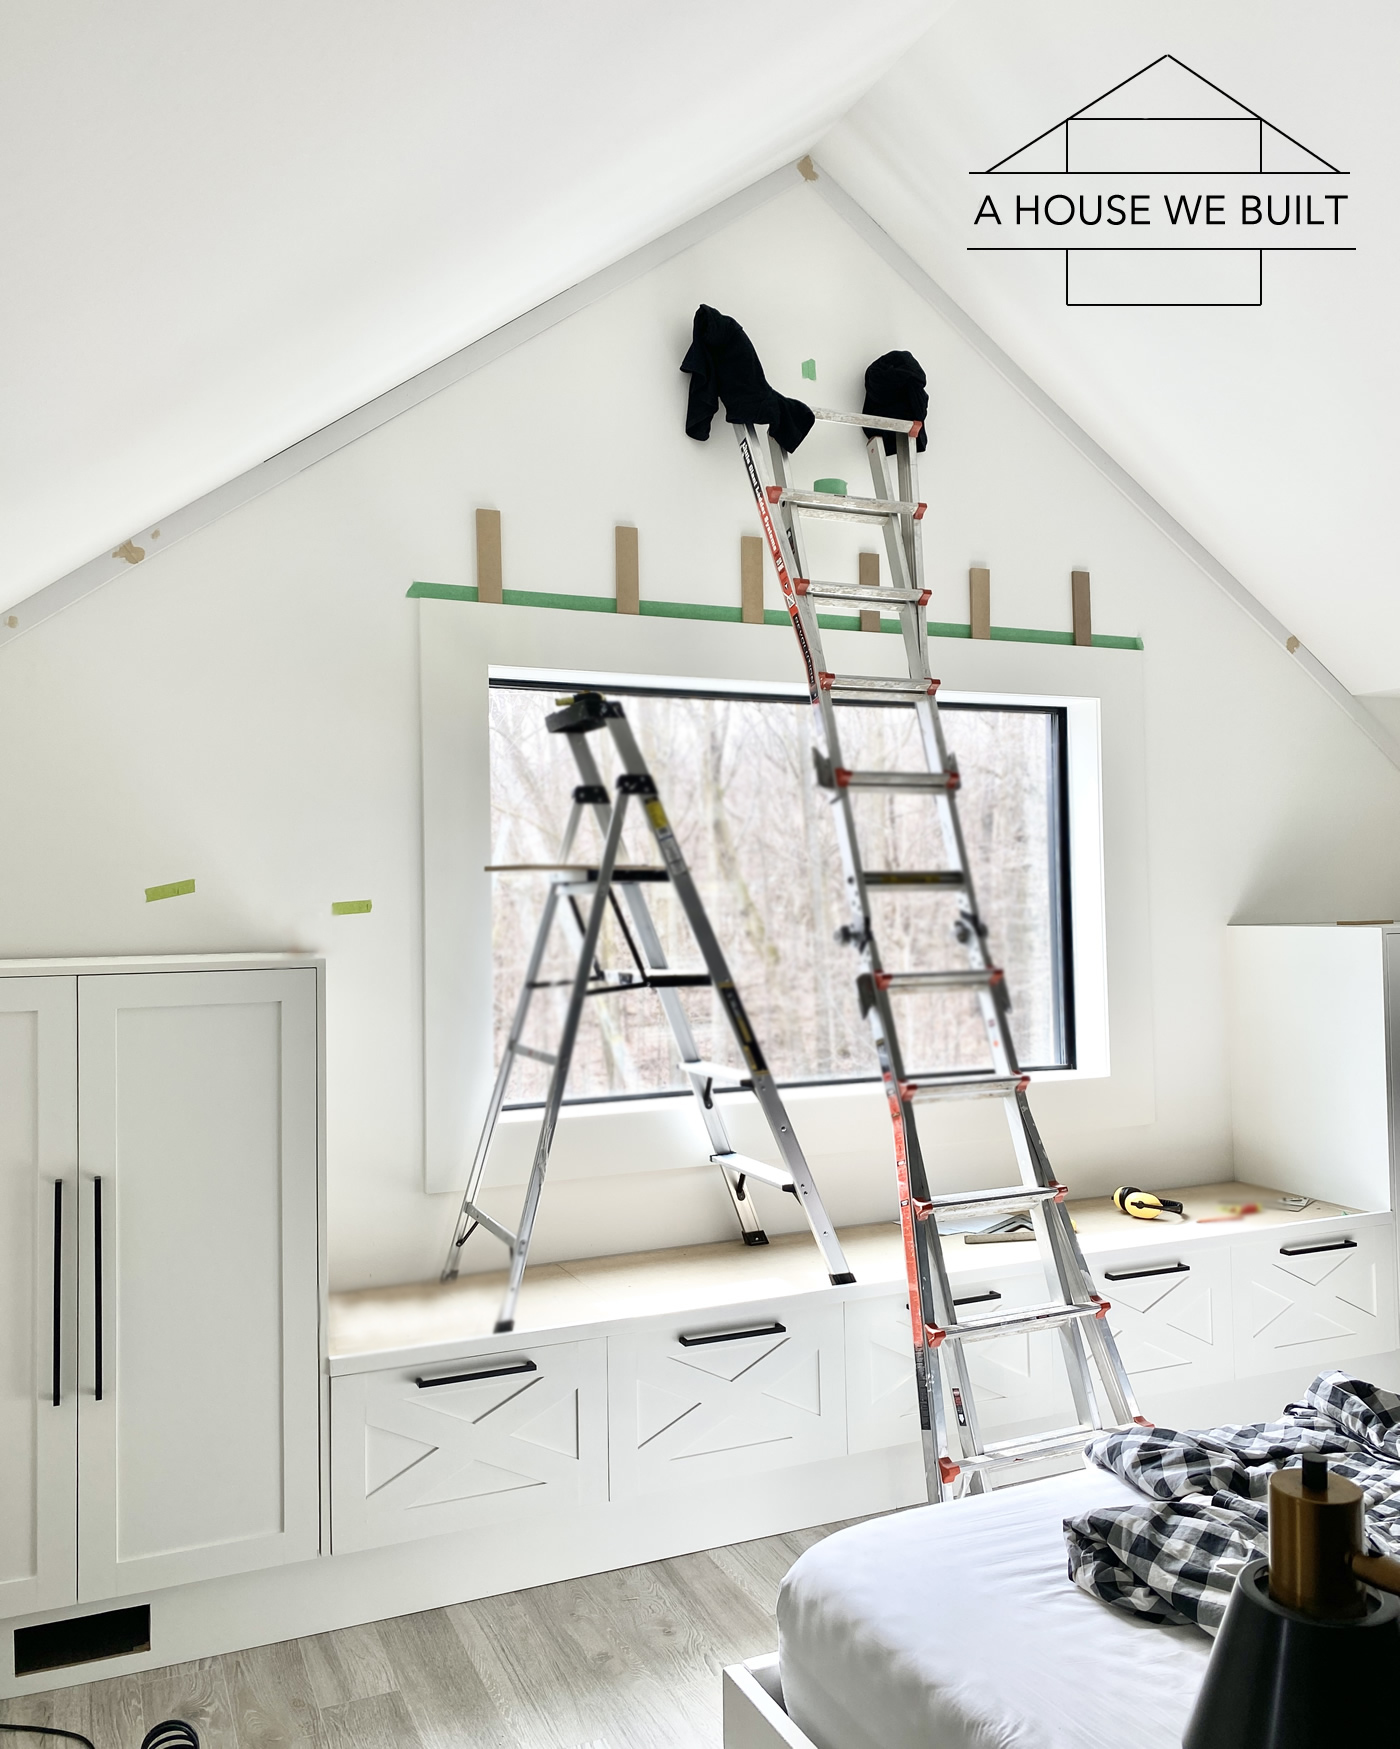
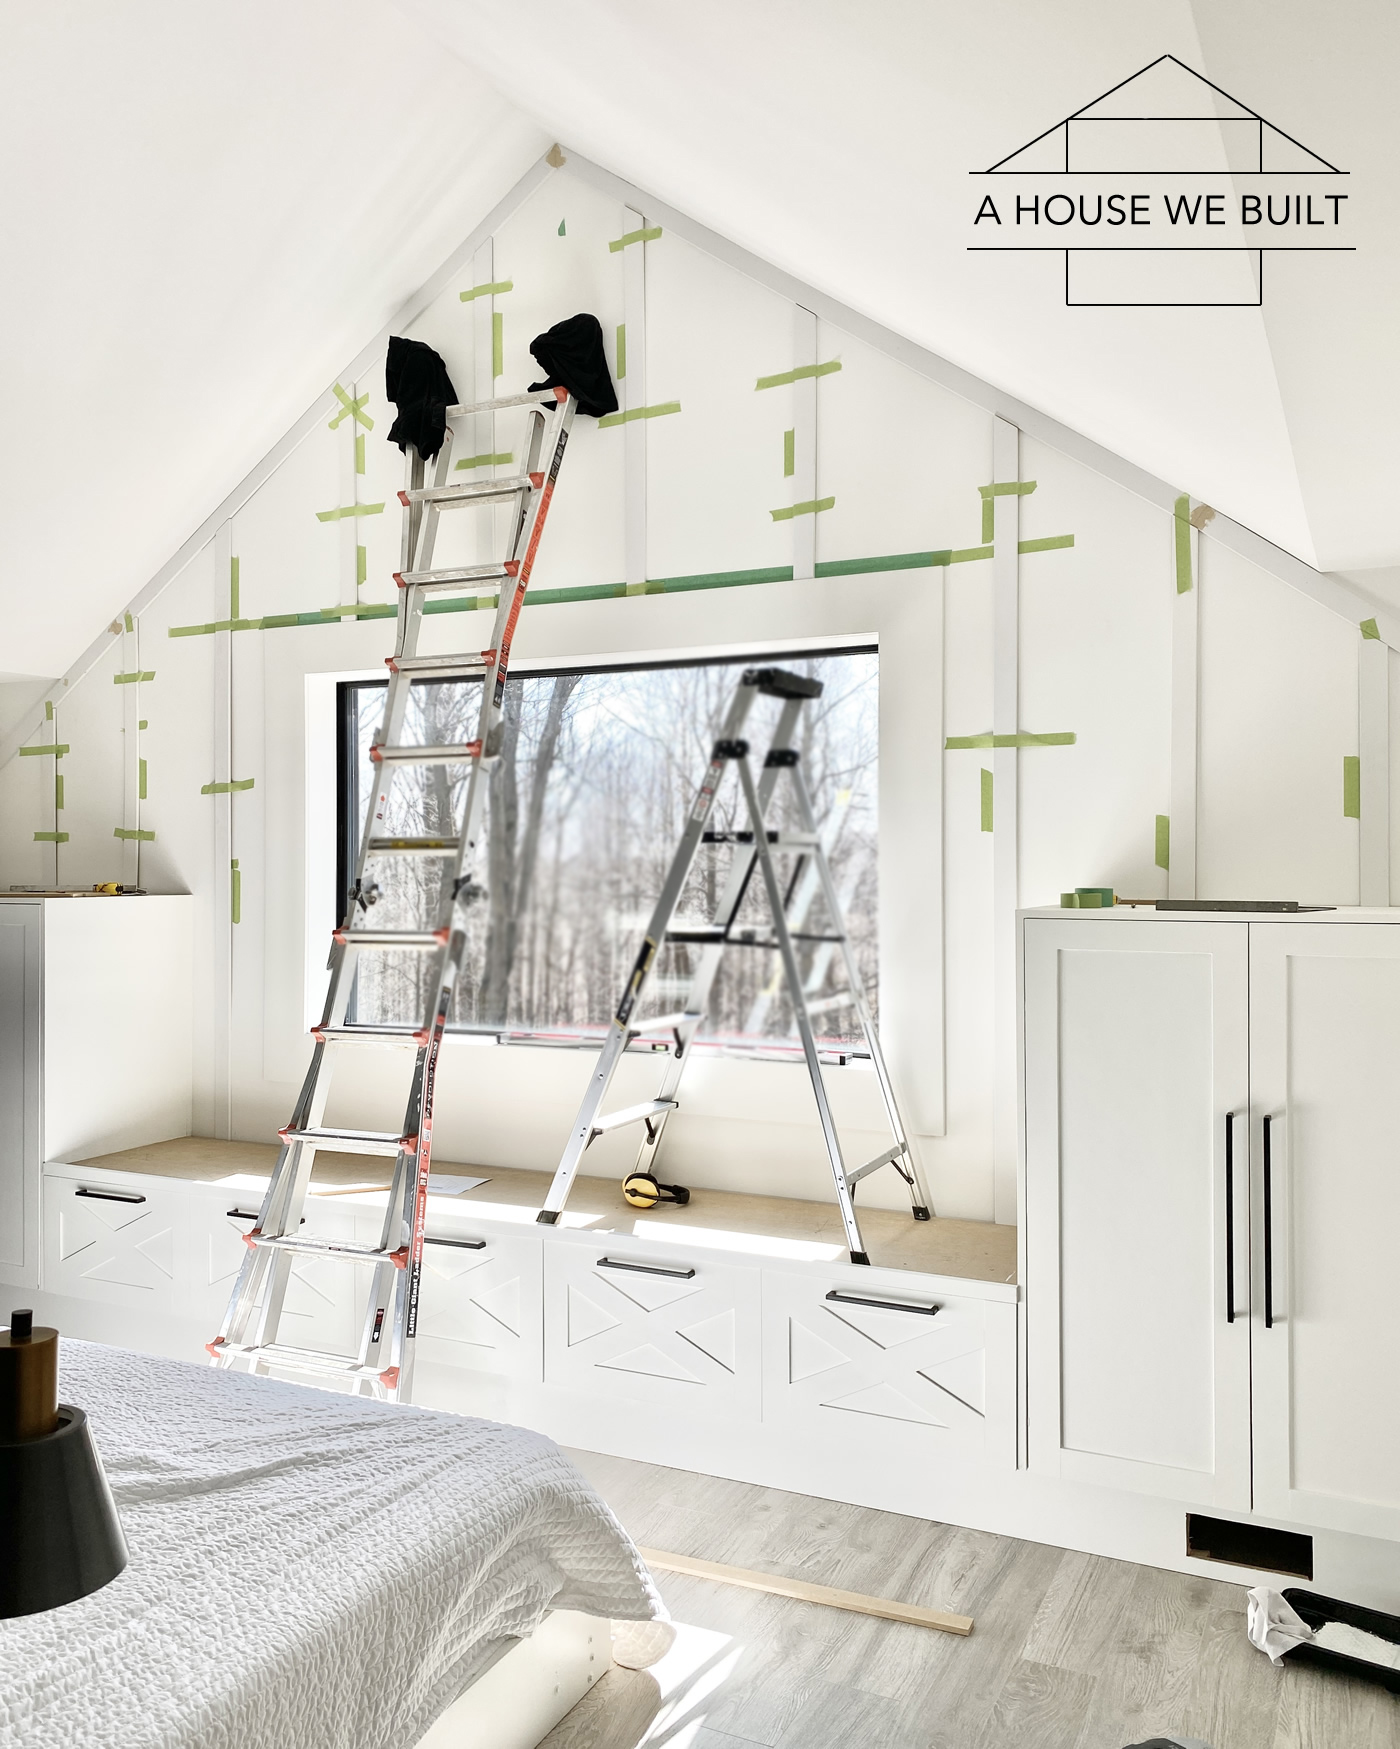
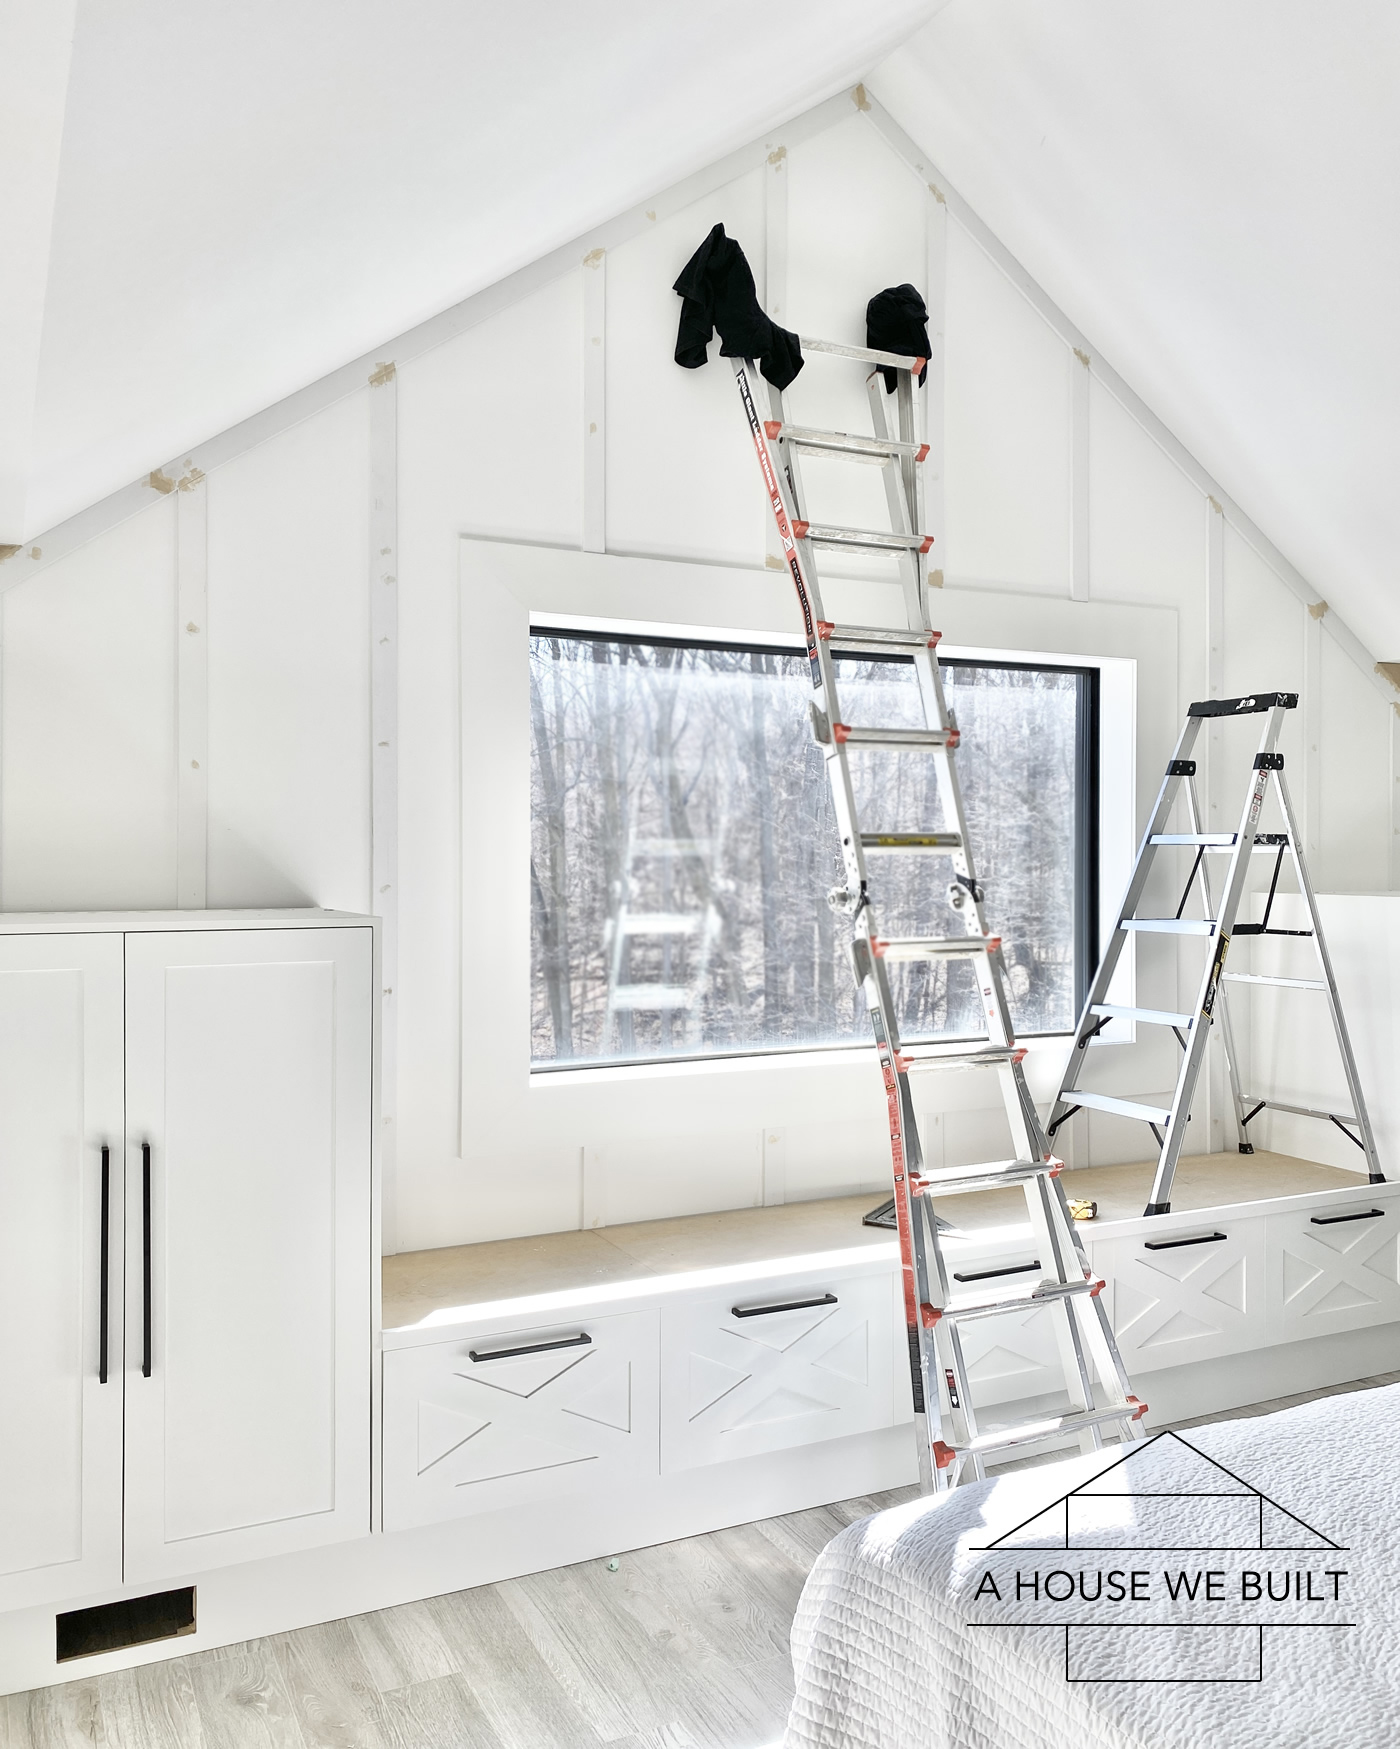
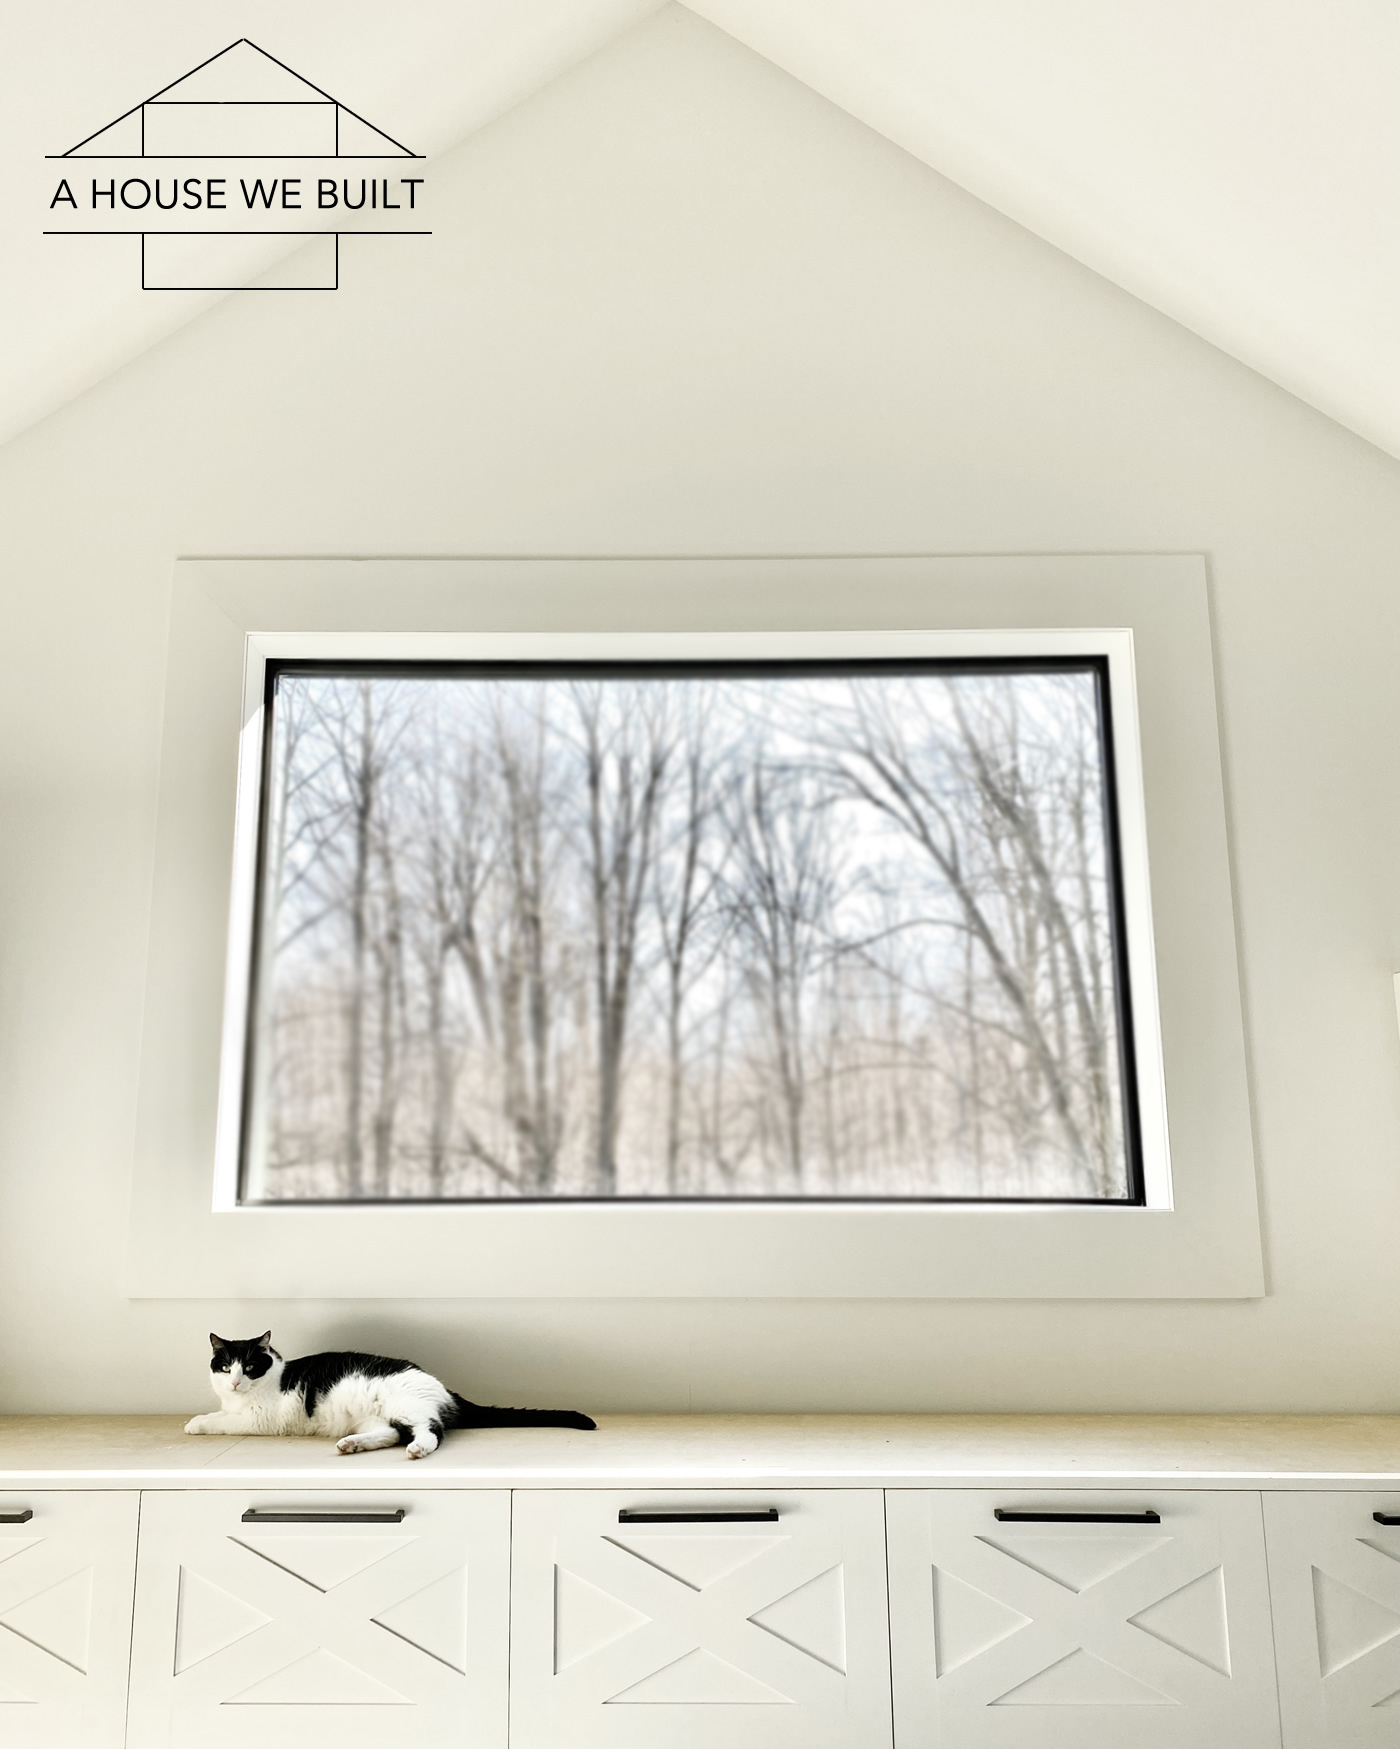
Once my B&B trim was installed, I used wood filler between any joins, and caulked every single seam between trim + drywall. Then I painted it all and… all the “major construction” parts of this project were DONE!!!! Chai, our previously mentioned Lead Project Snoopervisor, came in to inspect our work.
Caulk: Home Depot | Amazon
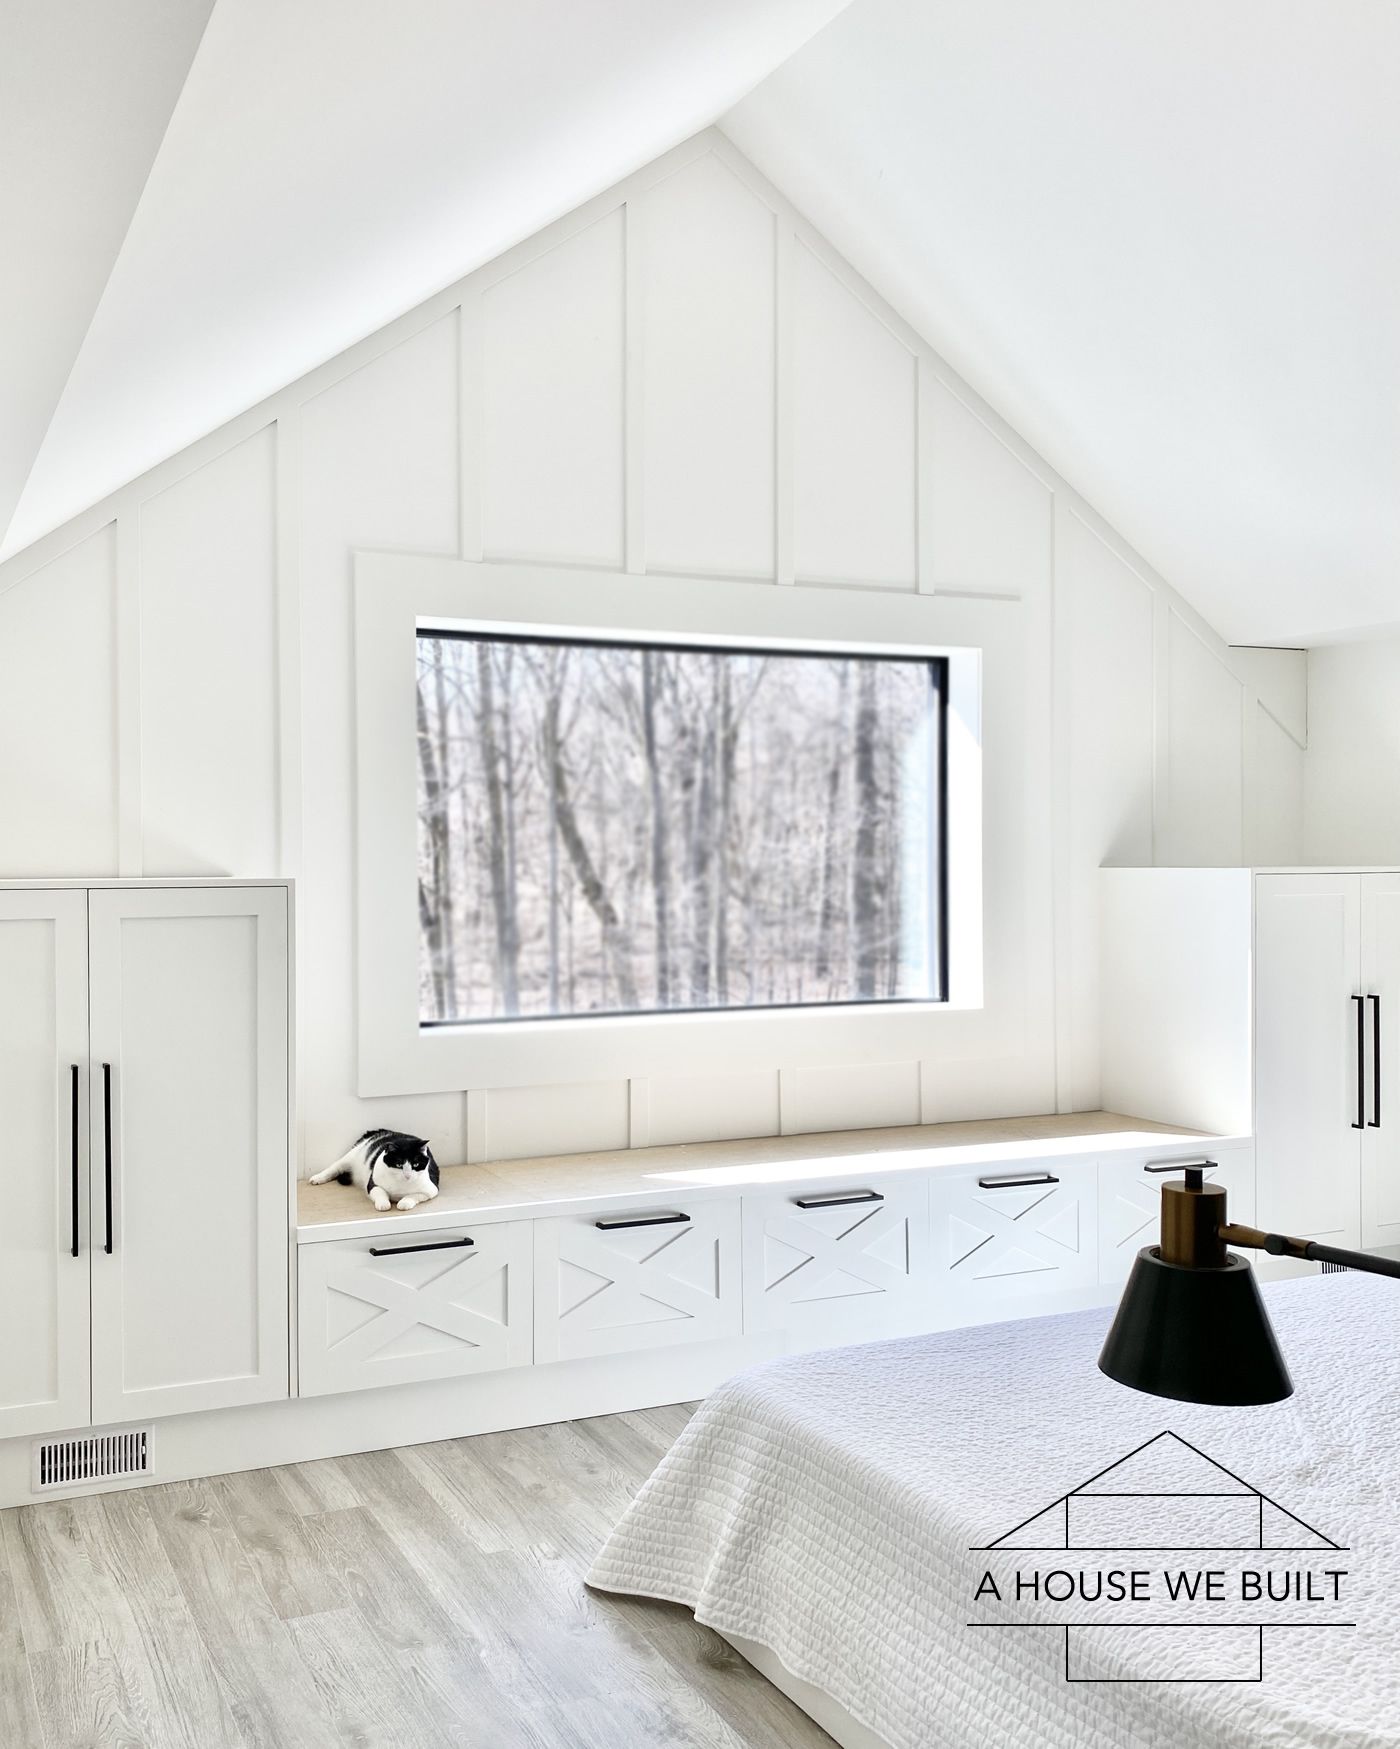
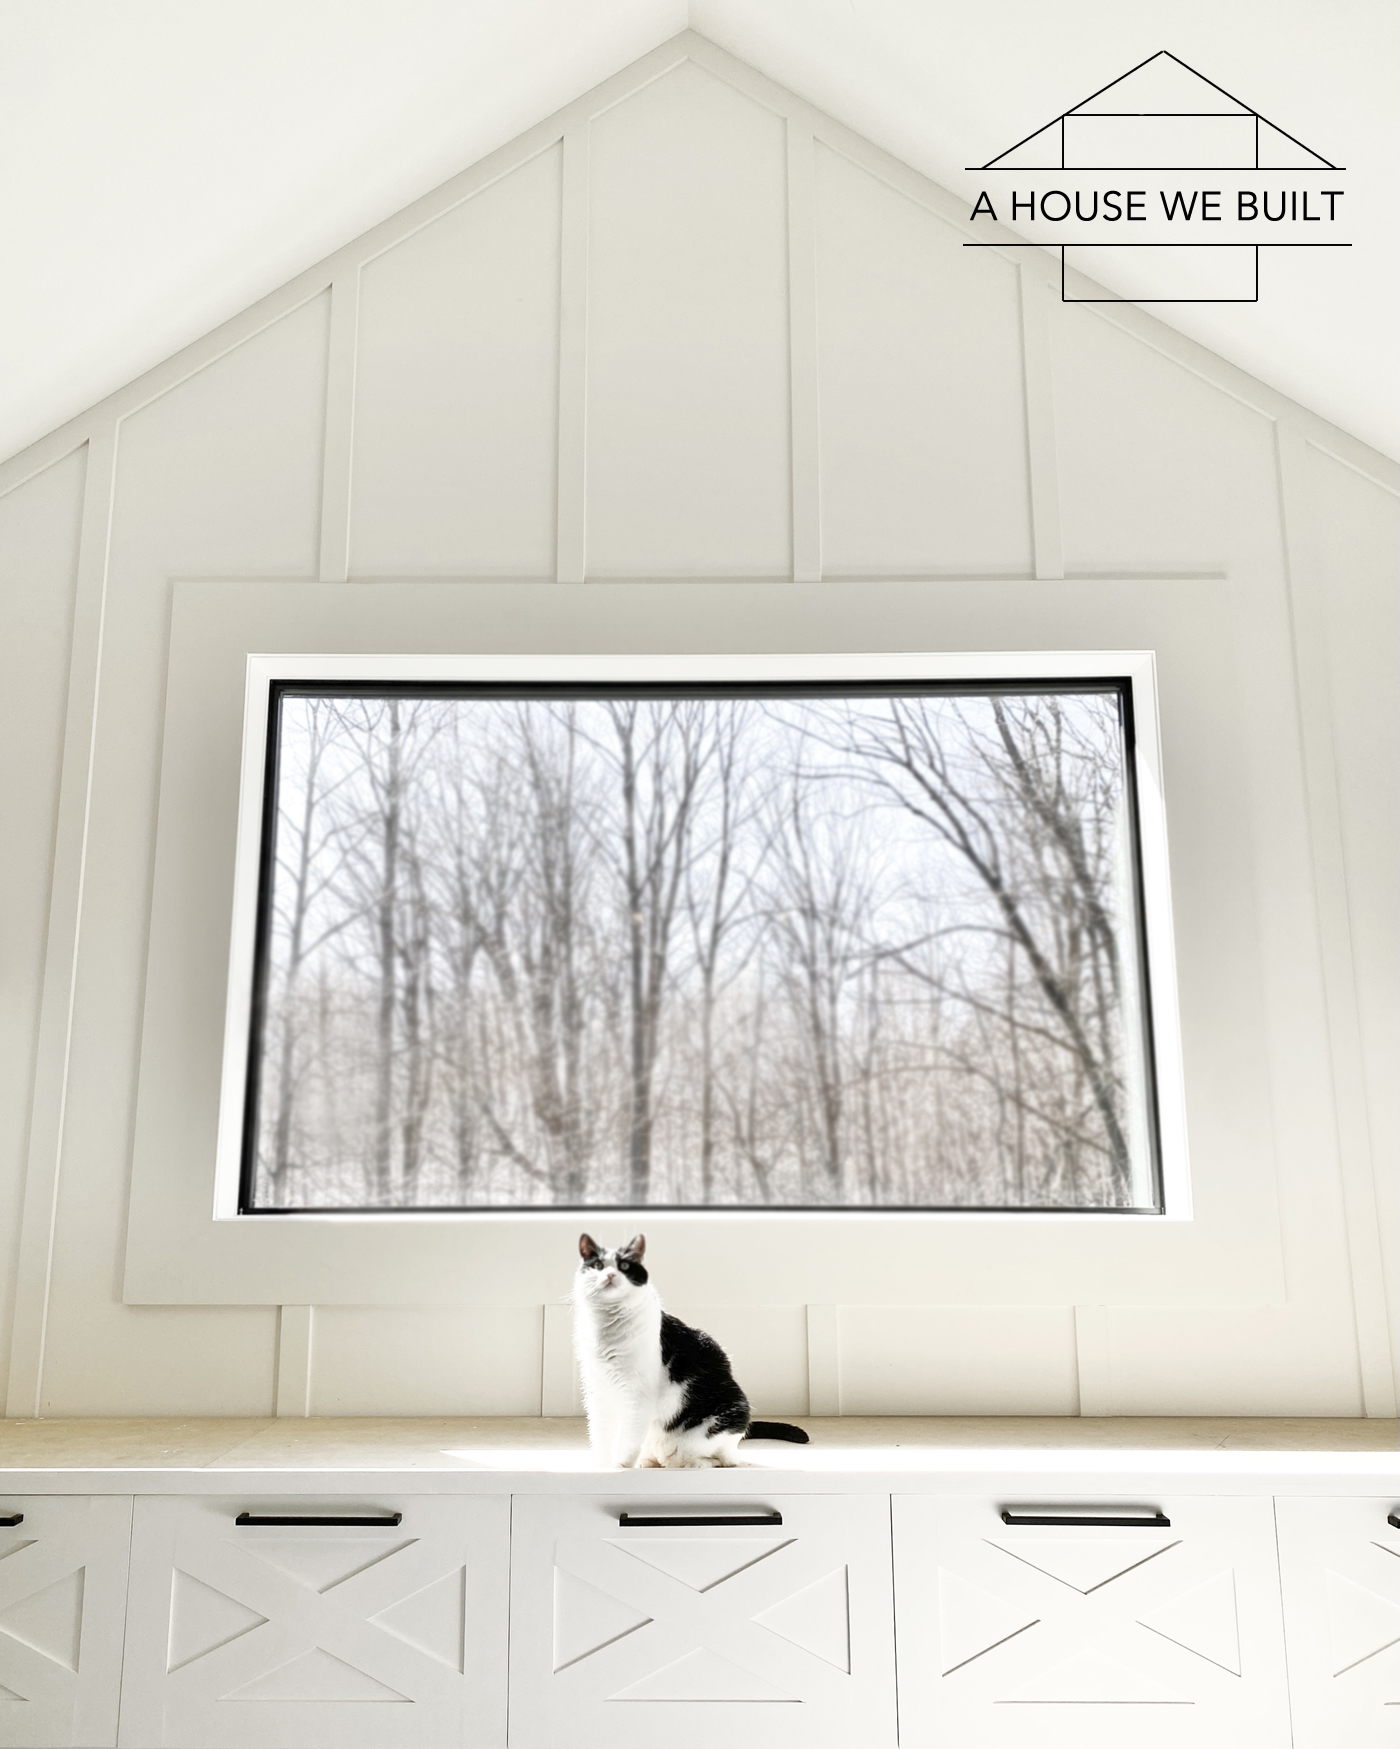
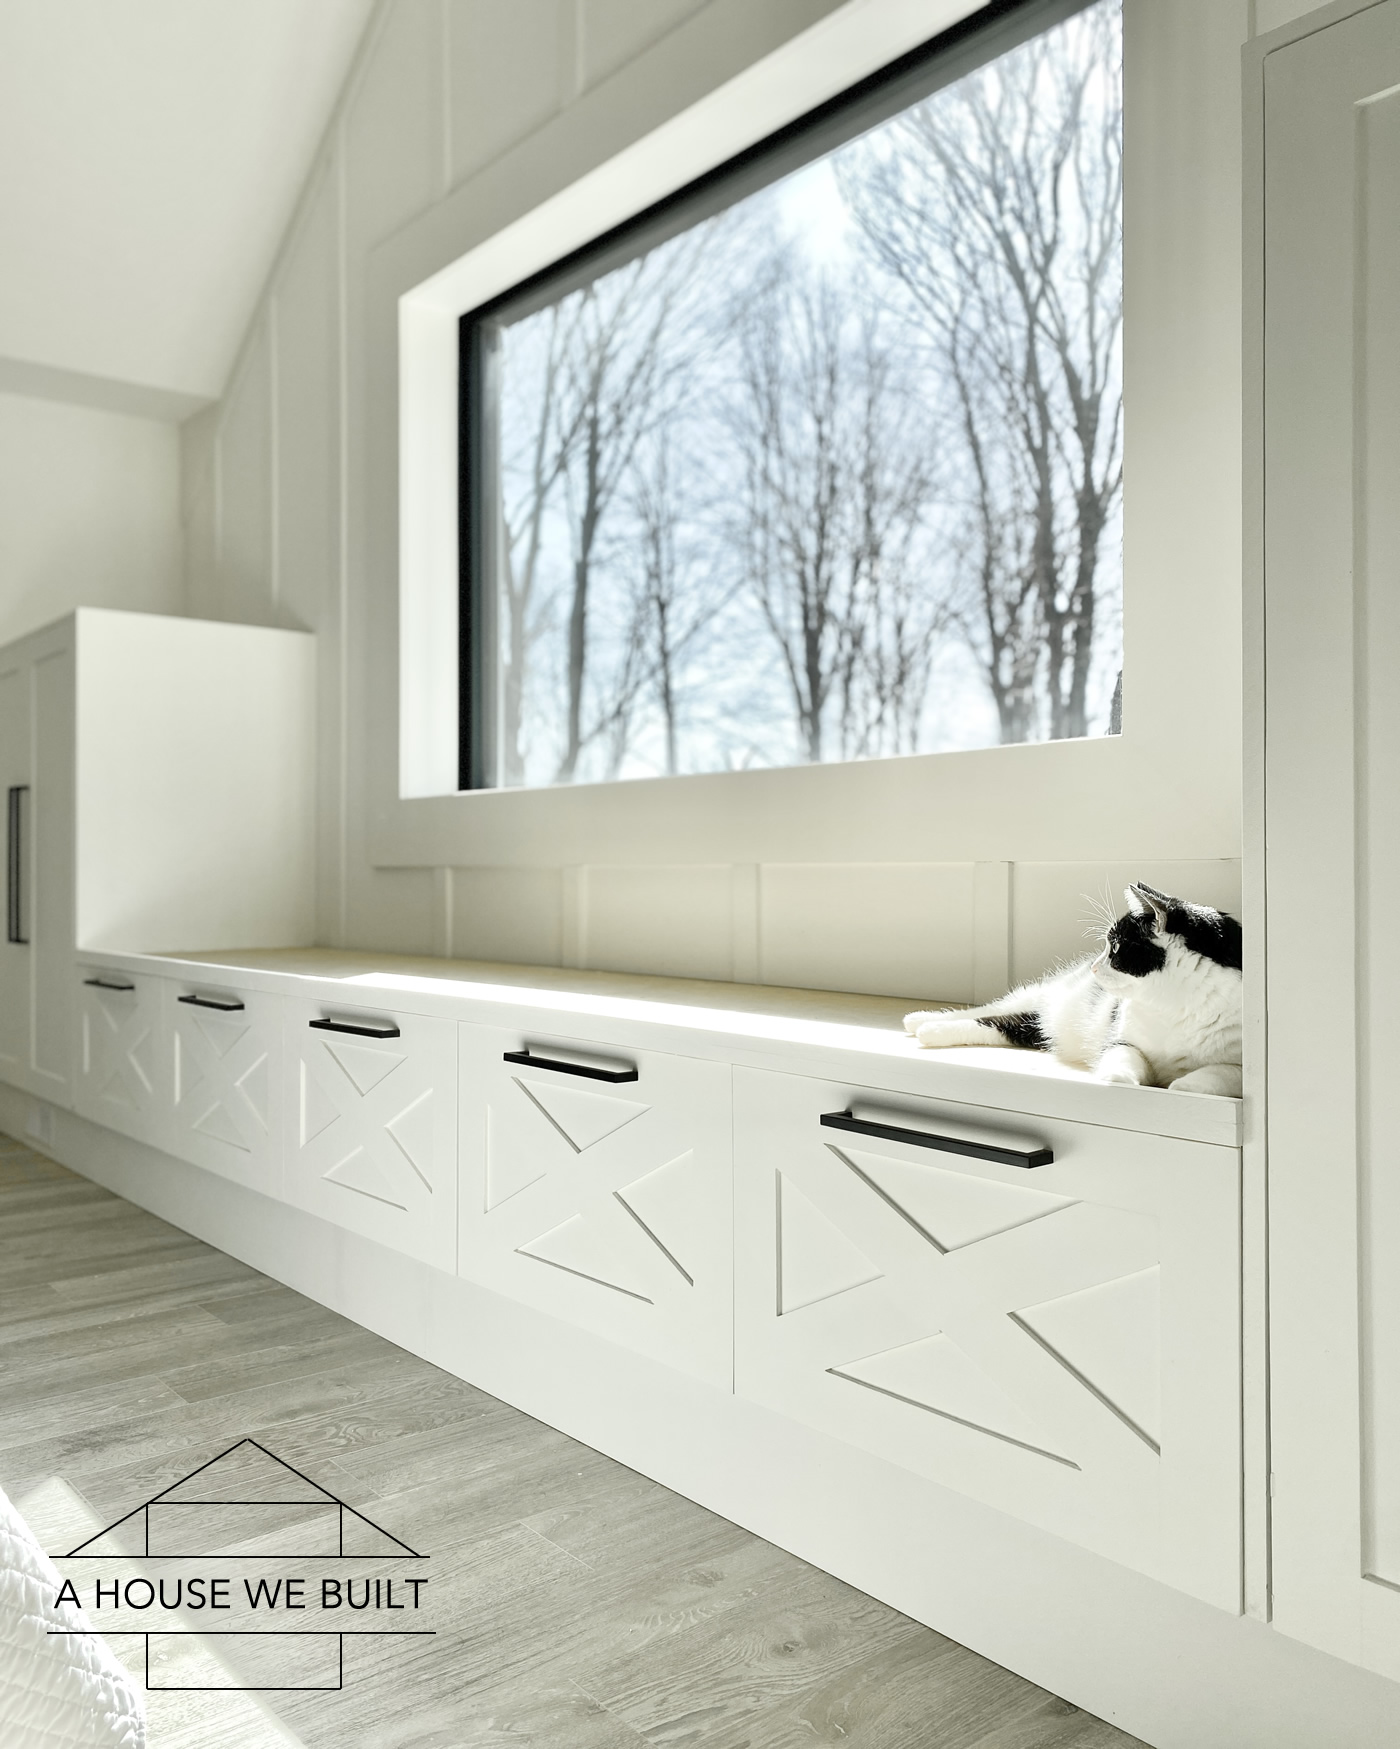
It’s so much fun to see a design that I literally sketched out on a pad of paper come to life!!
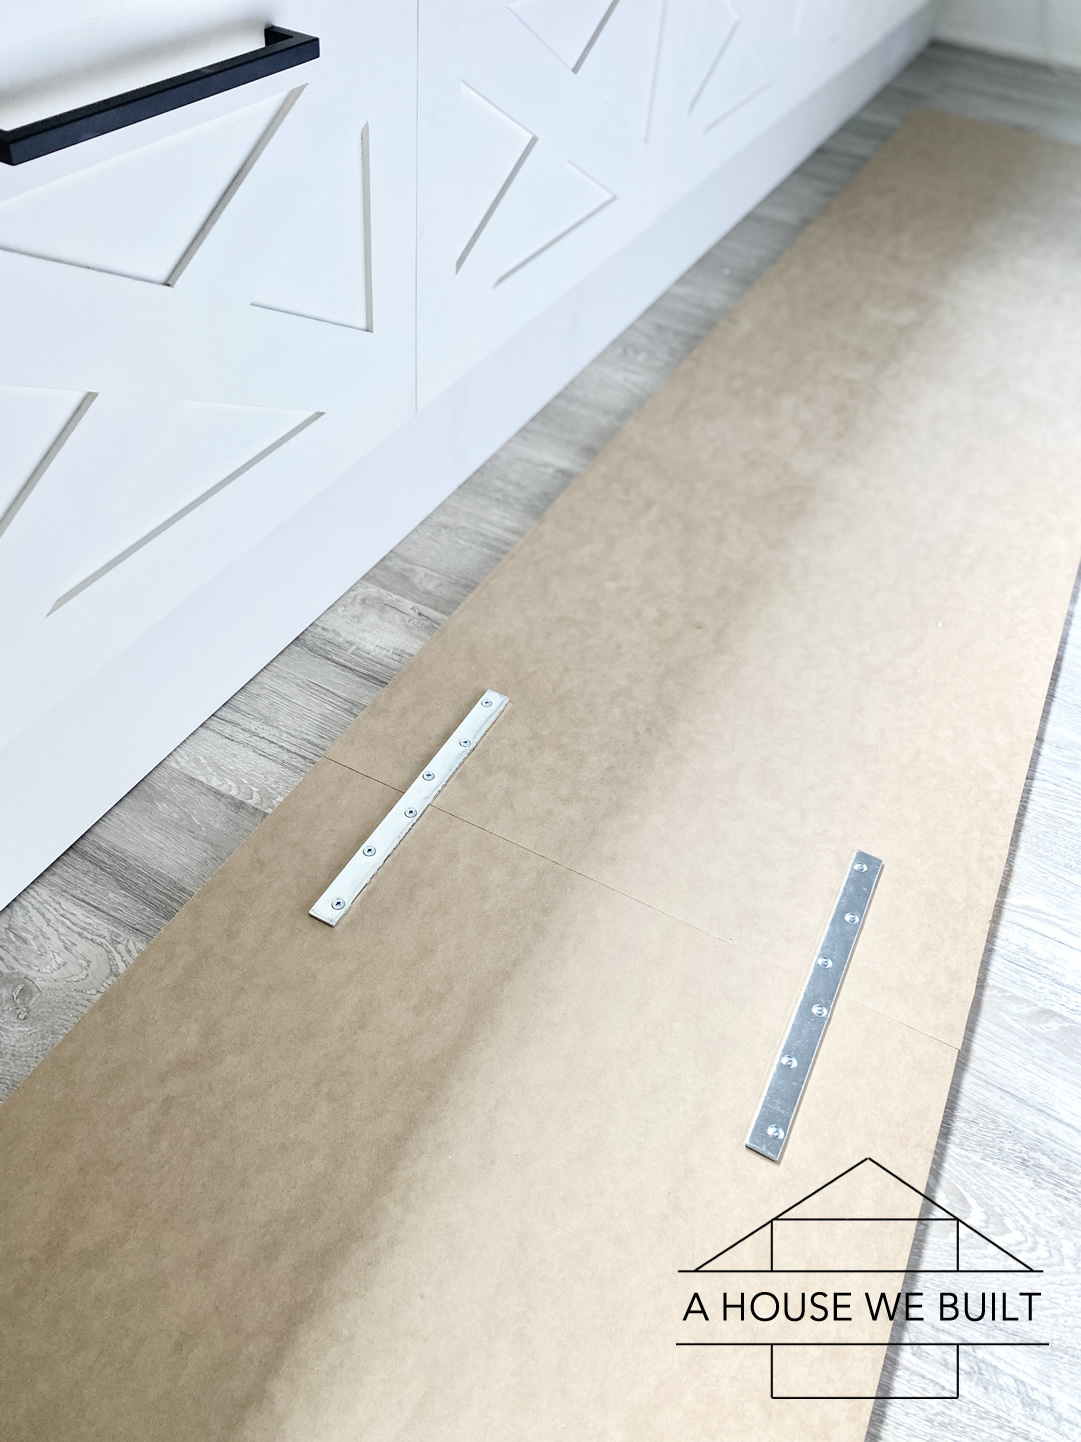
Next up: window seat cushion. We made this one using the same technique as the window seat in my home office room that my dad built. Here’s our tutorial for: How to Build a Window Seat Cushion
First, we used steel brackets to attach two pieces of MDF together since our bench is longer than 8-ft.
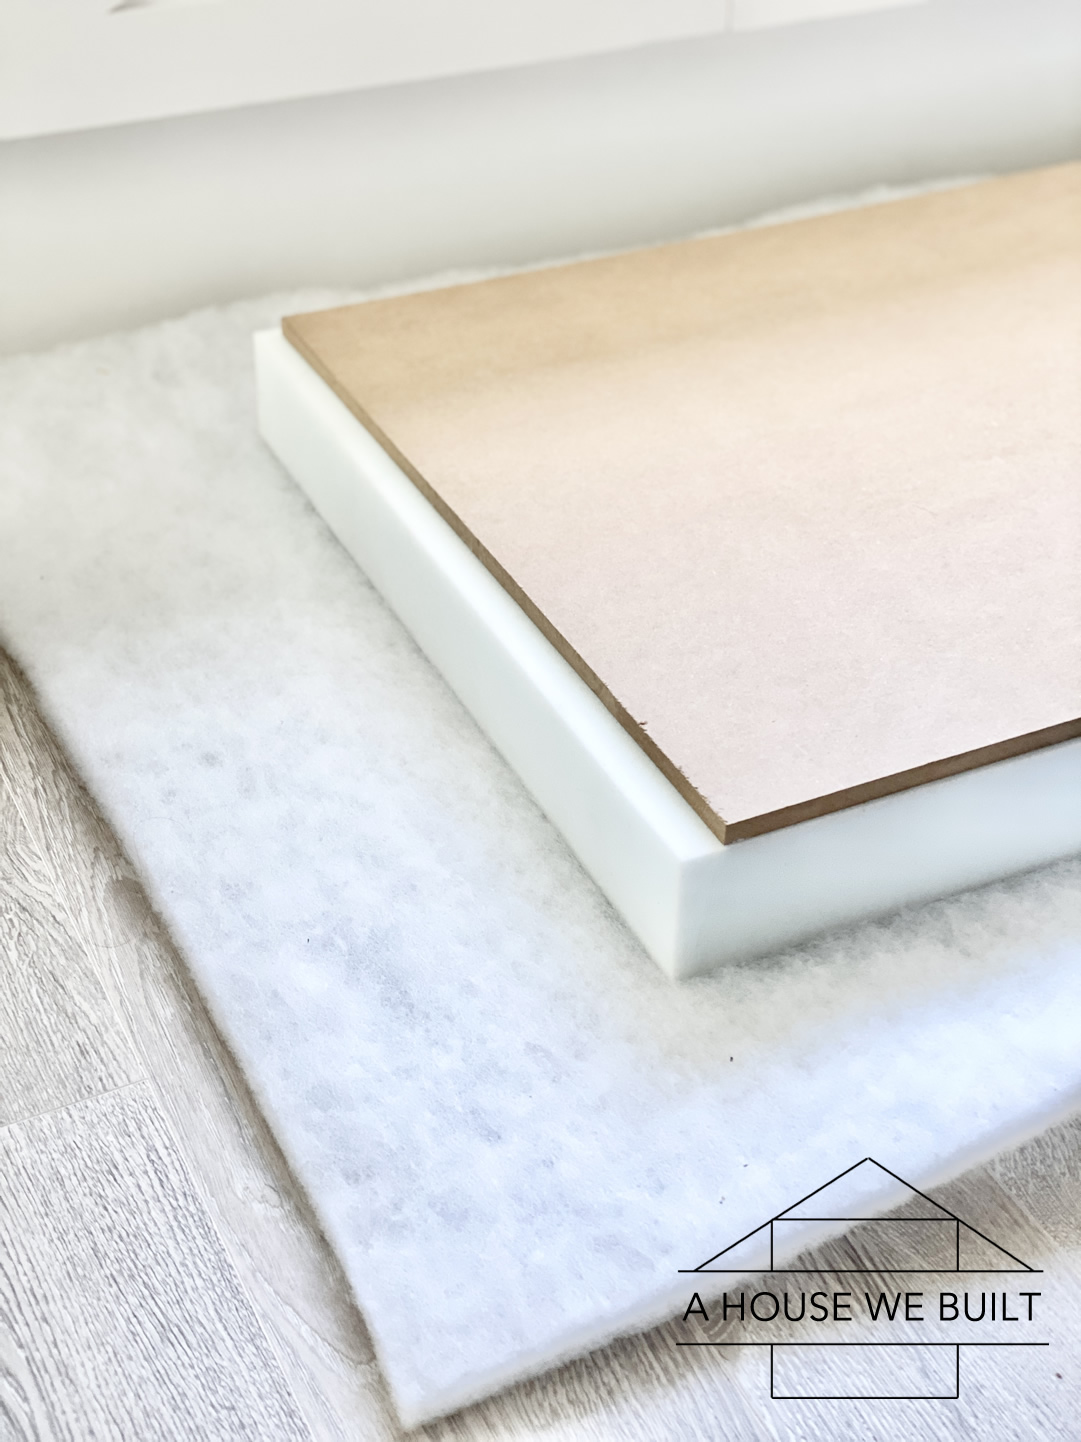
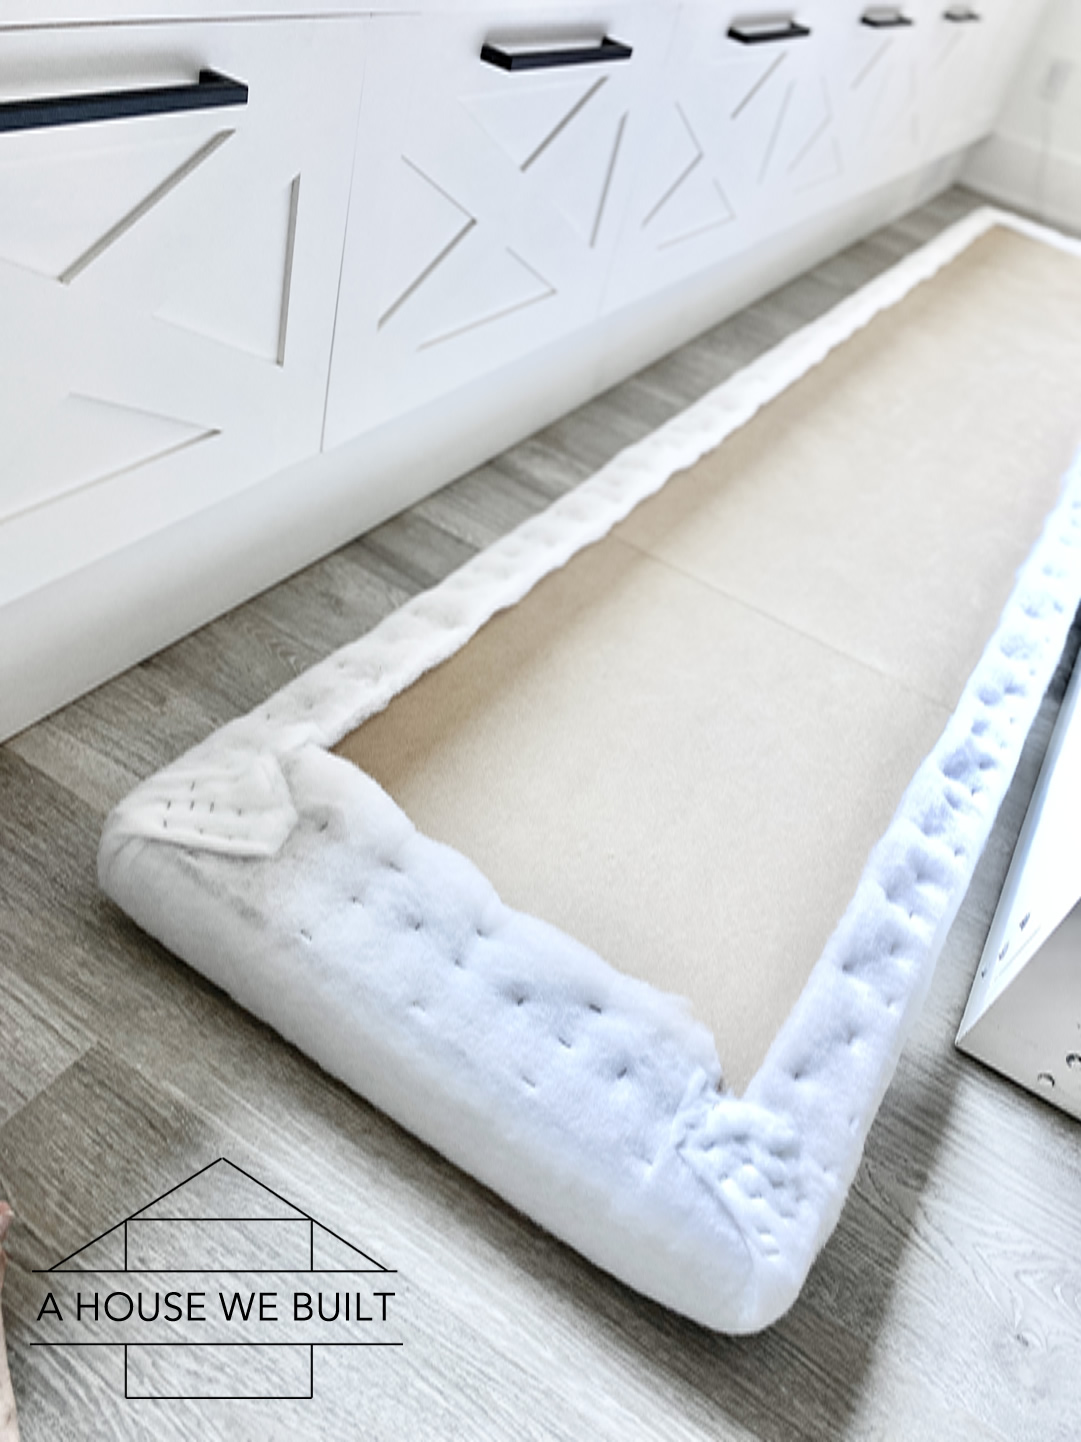
The cushion itself has 4 layers: a 1/2″ MDF base, then several inches of high-density foam, and a cover layer of dacron to round out the edges that create the cushion, then a separate fabric layer on top.
We built it upside down so first we laid the dacron on the floor, then placed the HD foam over it, then the MDF. Then carefully folded the dacron over the edges, making sure to pull it firmly to remove any wrinkles and stapled it to the MDF. The order to staple is: first, start with the two short sides, then do the two long sides, then finish with the corners. Next, lay your fabric on the floor with the “nice” side face down, and place your dacron/foam/MDF cushion face down on top of it and repeat same the process of stapling the fabric to the MDF (in the same order as you did with the dacron around the cushion).
1/2″ MDF panel: Home Depot
High-density foam (similar): Amazon
Dacron (similar): Amazon
Heavy duty stapler: Home Depot
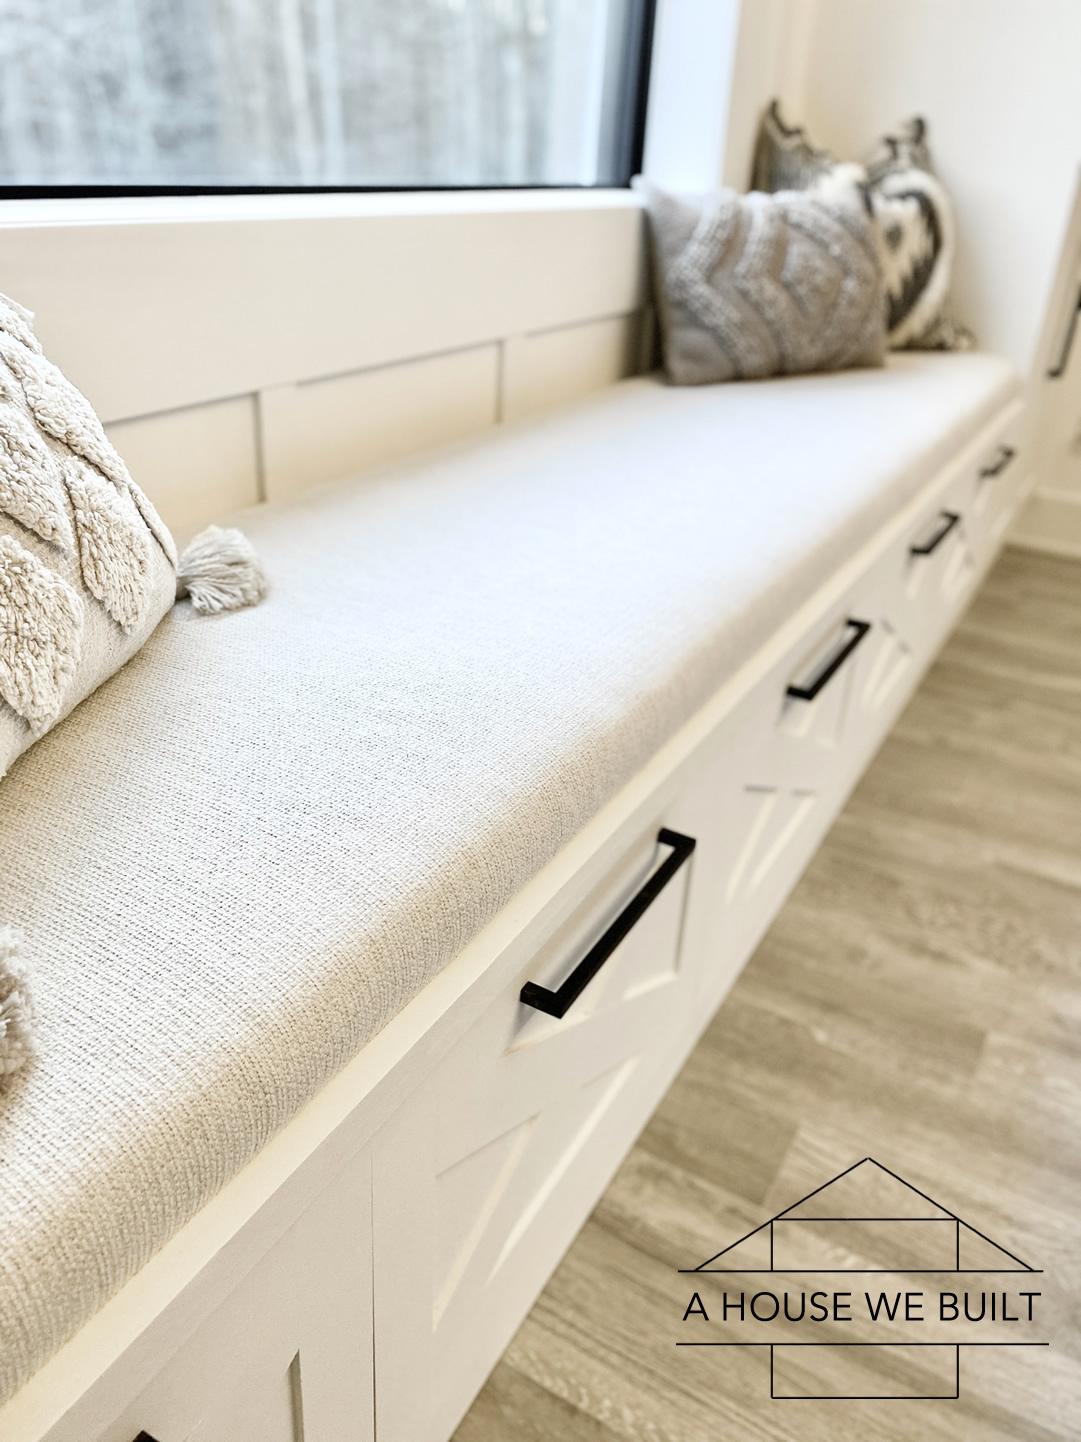
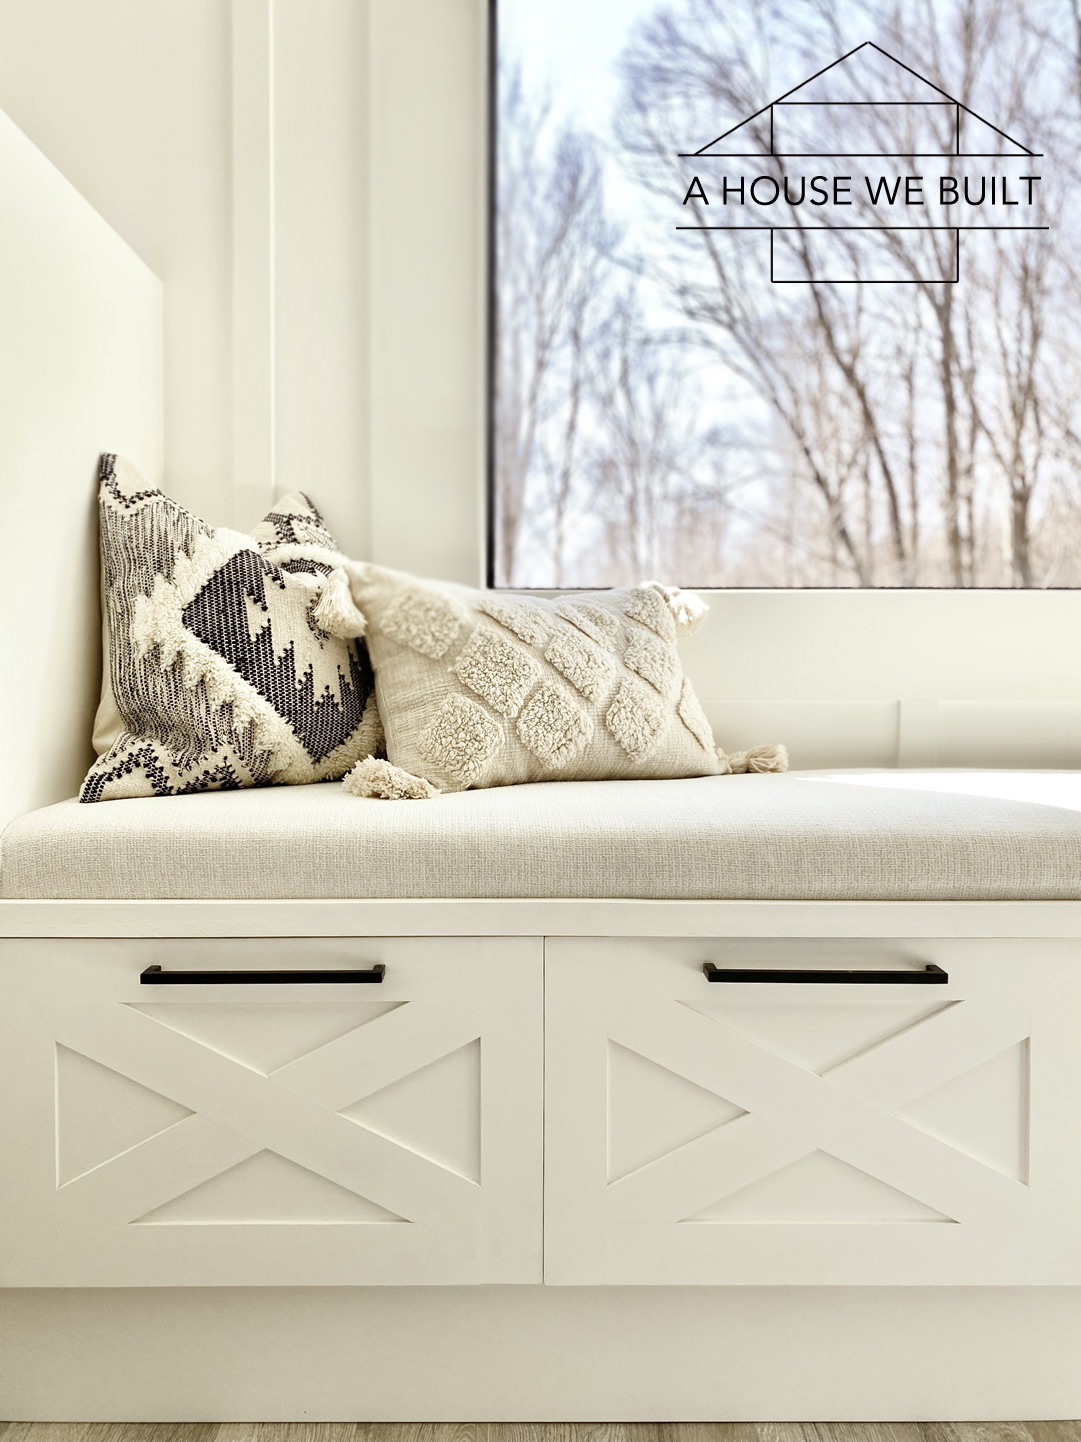
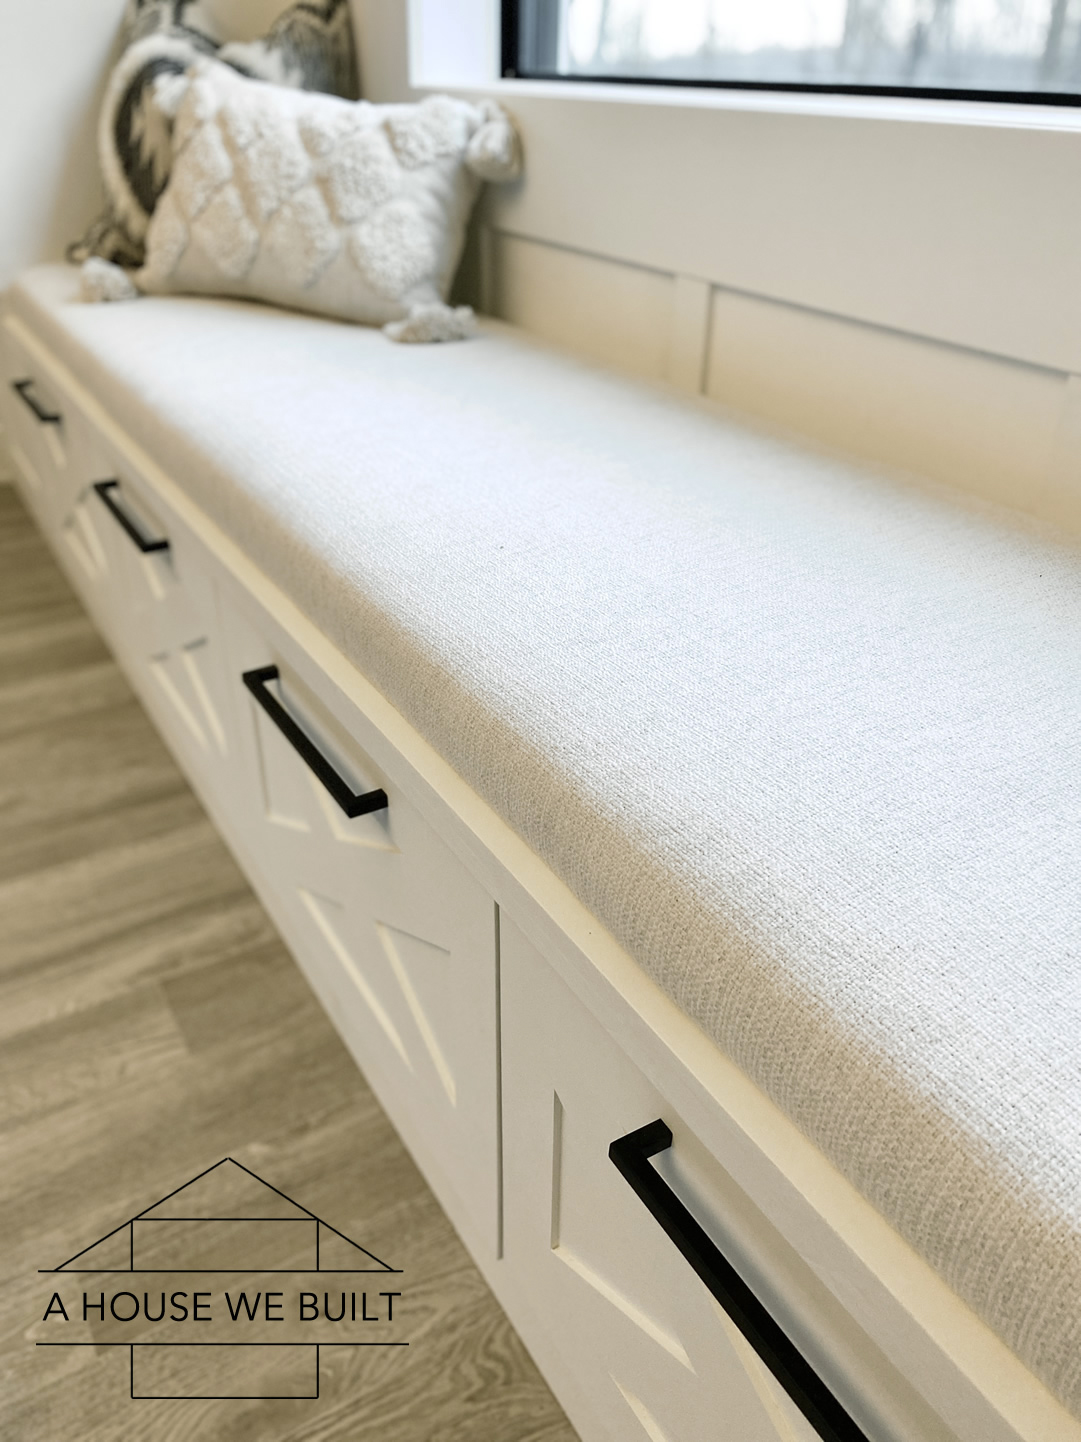
Finally, I added in a some fun accent throw pillows to complete this space! I’ve sourced as much as possible below and also found lots of similar available options as well.
Natural rectangle pillow: H&M Home | Similar: Urban Outfitters | Wayfair | Wayfair
Patterned square pillows (similar): Wayfair | Anthropologie | Wayfair | H&M Home
Gray rectangle pillow (similar): McGee & Co | Urban Outfitters
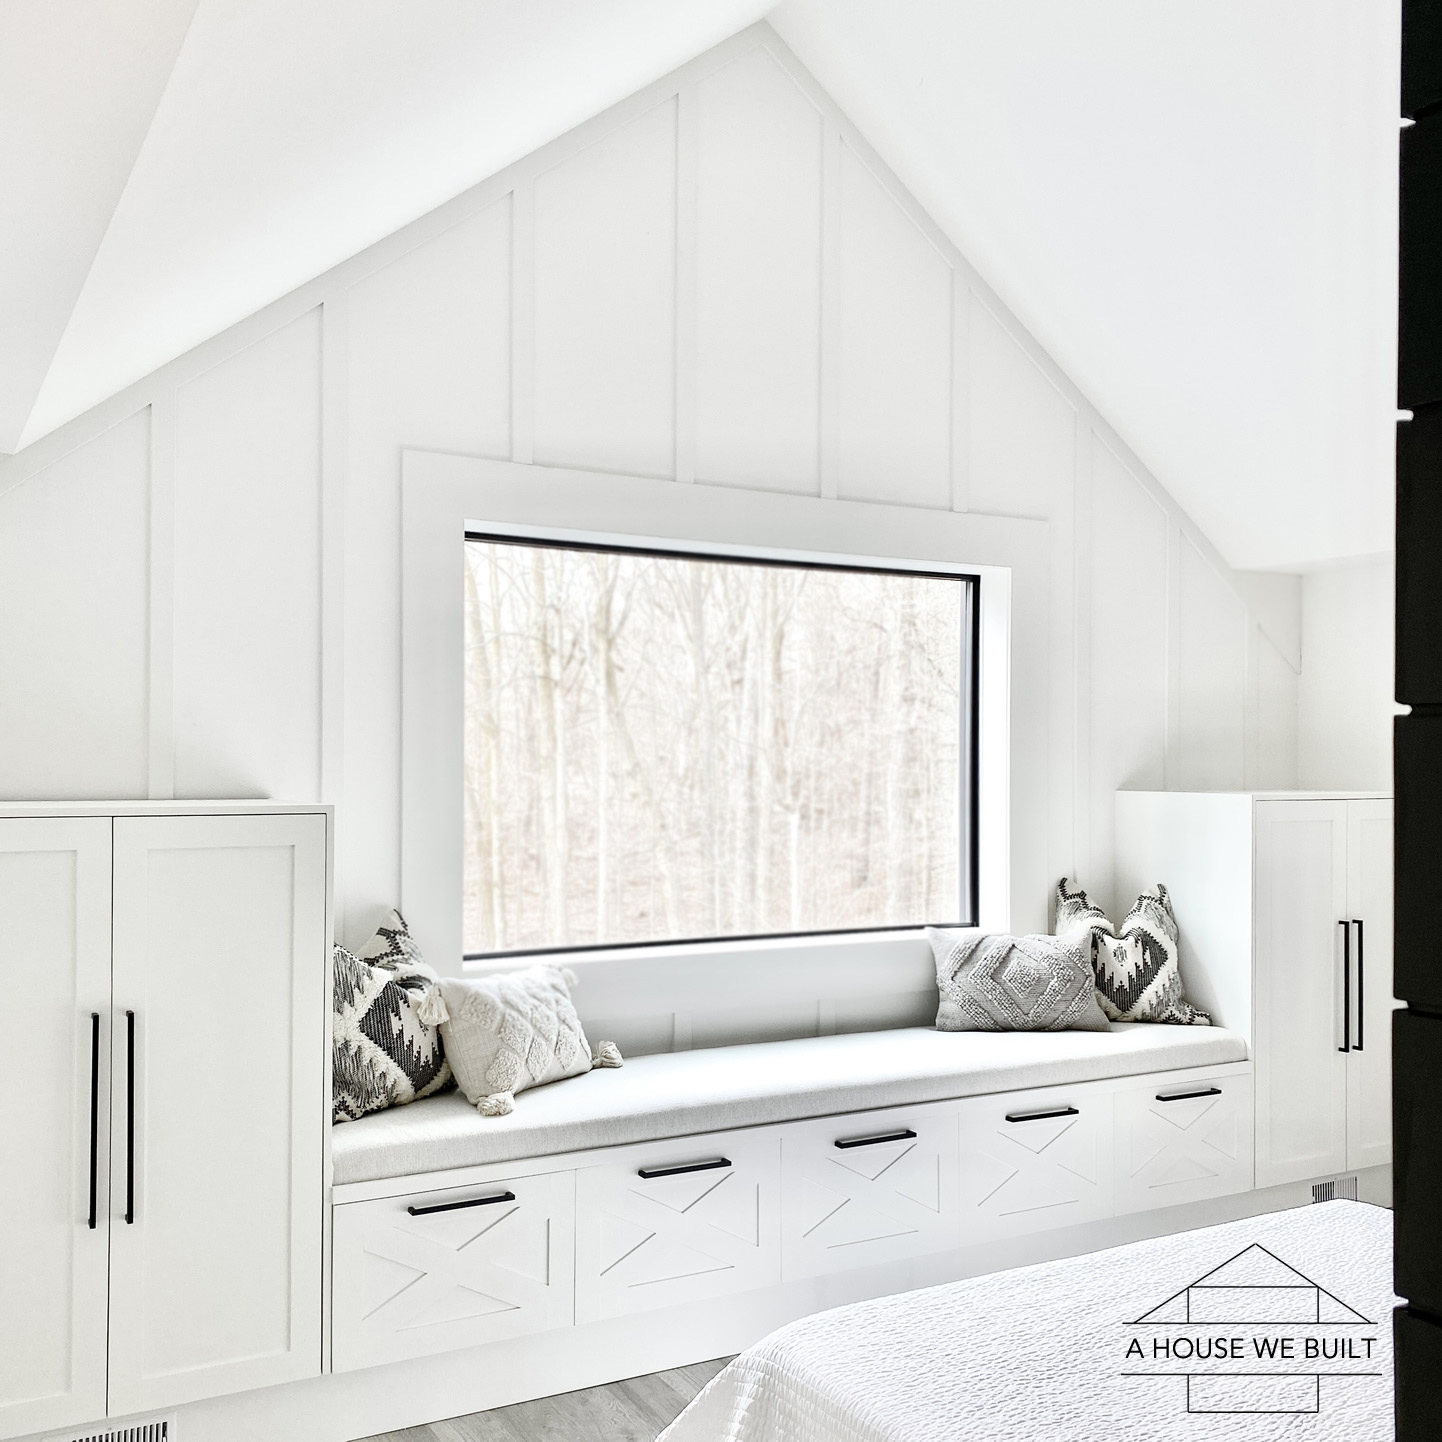
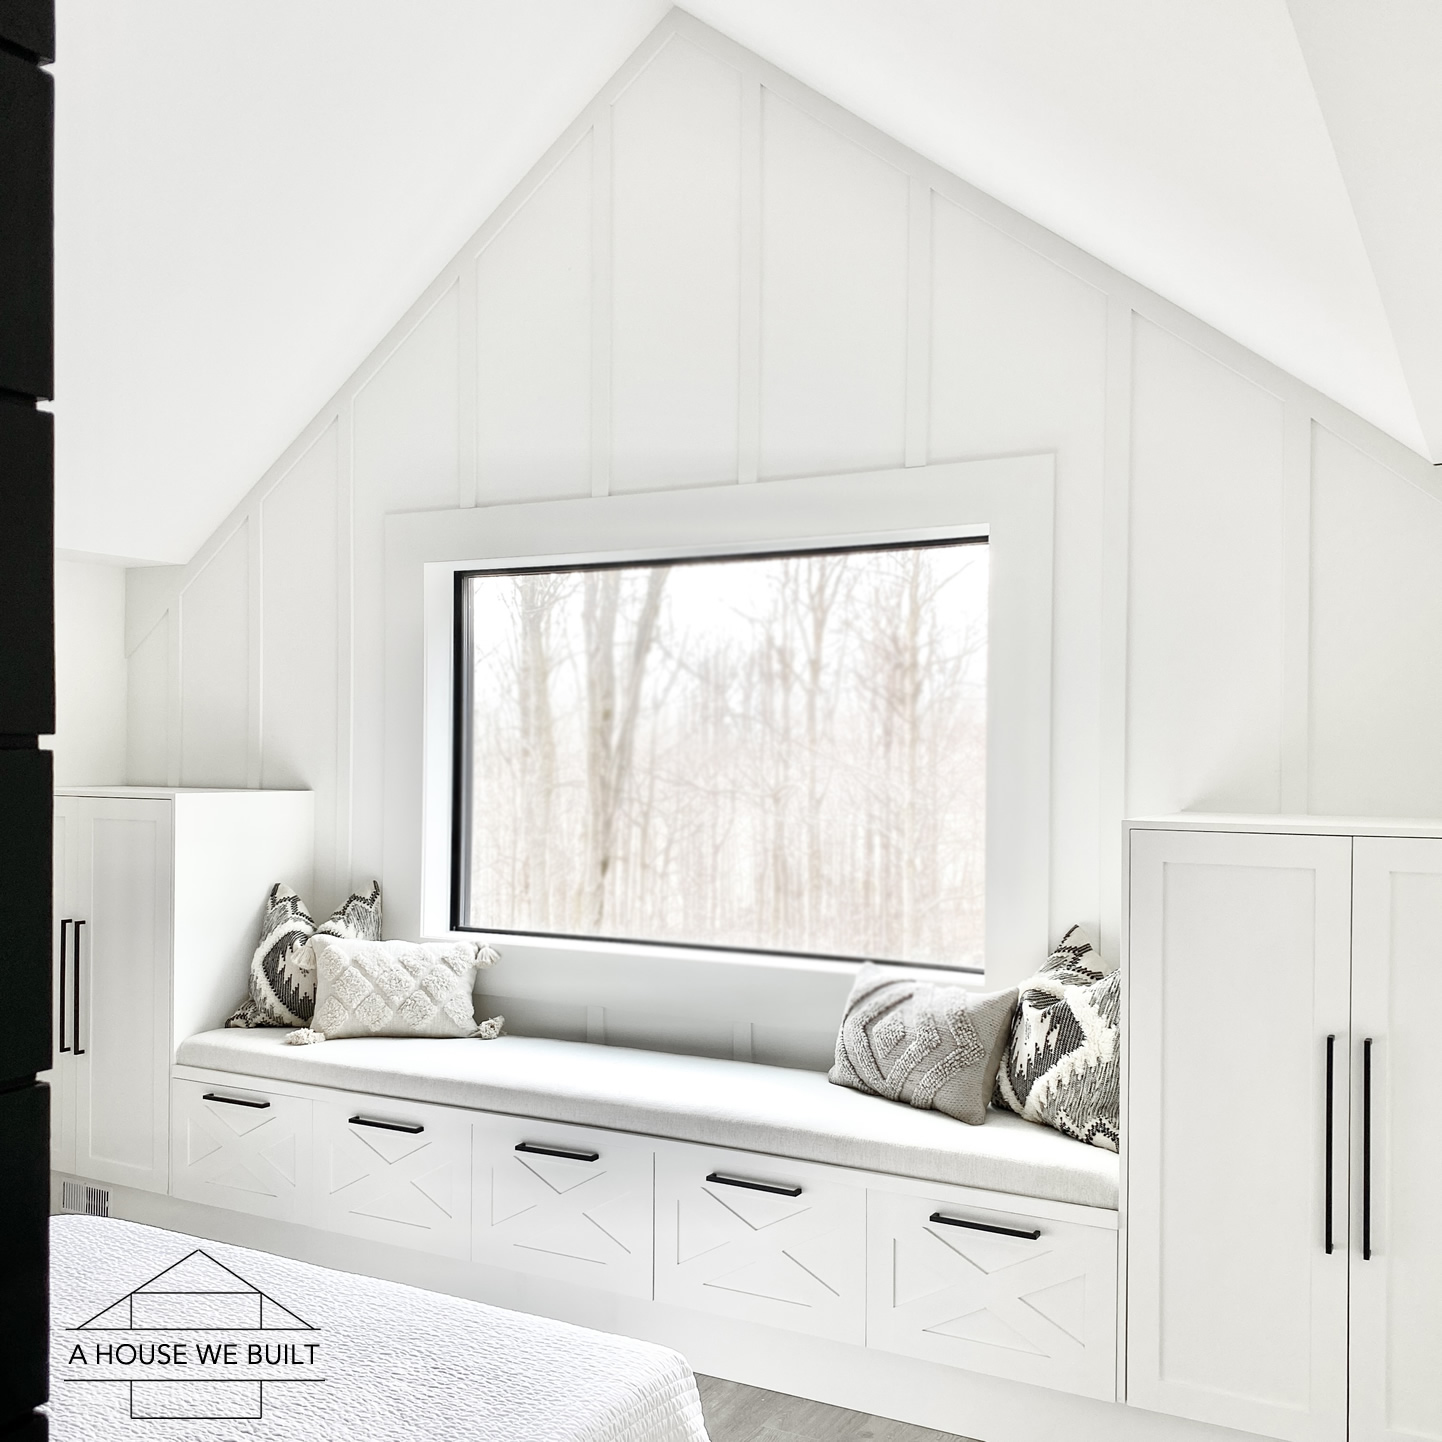
Btw, if you’re wondering why our white paint color varies so much from picture to picture, it’s because I took these pictures at all different times of day over several weeks – some pictures were taken on sunny days, rainy days, morning, evening, some with natural light only, some with interior light… so all the different whites you see in the pics is a great example of how much range this paint color has. The final set of pictures above were taken with natural lighting only on a cloudy overcast day (almost no sun).
The color is BM Simply White and here’s a recap of all paint colors in our house.
Sources recap:
Raw materials sources:
- 3/4″ MDF panel: Home Depot
- 1/2″ MDF panel: Home Depot
- 1/4″ MDF panel: Home Depot
- 1×8 MDF trim: Home Depot
- 1×3 MDF trim: Home Depot
- 2×8 wood boards: Home Depot
- High-density foam (similar): Amazon
- Dacron (similar): Amazon
Construction materials:
- Wood filler: Home Depot | Amazon
- Microfiber roller: Home Depot
Roller refills: Home Depot - Matte top coat: Amazon | Home Depot
- Paneling adhesive: Home Depot | Amazon
- Construction adhesive: Home Depot | Amazon
- Caulk: Home Depot | Amazon
Tool sources:
- Circular saw: Home Depot | Amazon
- Table saw: Home Depot | Amazon
- Miter saw: Home Depot | Amazon
- Brad nailer: Home Depot | Amazon
2x8x8 boards: Home Depot - Kreg Jig hinge jig: Home Depot | Amazon
- Power drill: Home Depot | Amazon
- Heavy duty stapler: Home Depot
Hardware sources:
- Cabinet hardware: Amazon
- Cabinet hinges: Home Depot | Amazon
- Drawer hardware: Amazon
- Drawer slides: Home Depot | Amazon
Pillow sources:
- Natural rectangle pillow: H&M Home | Similar: Urban Outfitters | Wayfair | Wayfair
- Patterned square pillows (similar): Wayfair | Anthropologie | Wayfair | H&M Home
- Gray rectangle pillow (similar): McGee & Co | Urban Outfitters
For more of our tutorials, click here.
To explore the other rooms in our house, click here.
For our daily progress, follow us on Instagram @ahousewebuilt.
Leave a Reply
You must be logged in to post a comment.