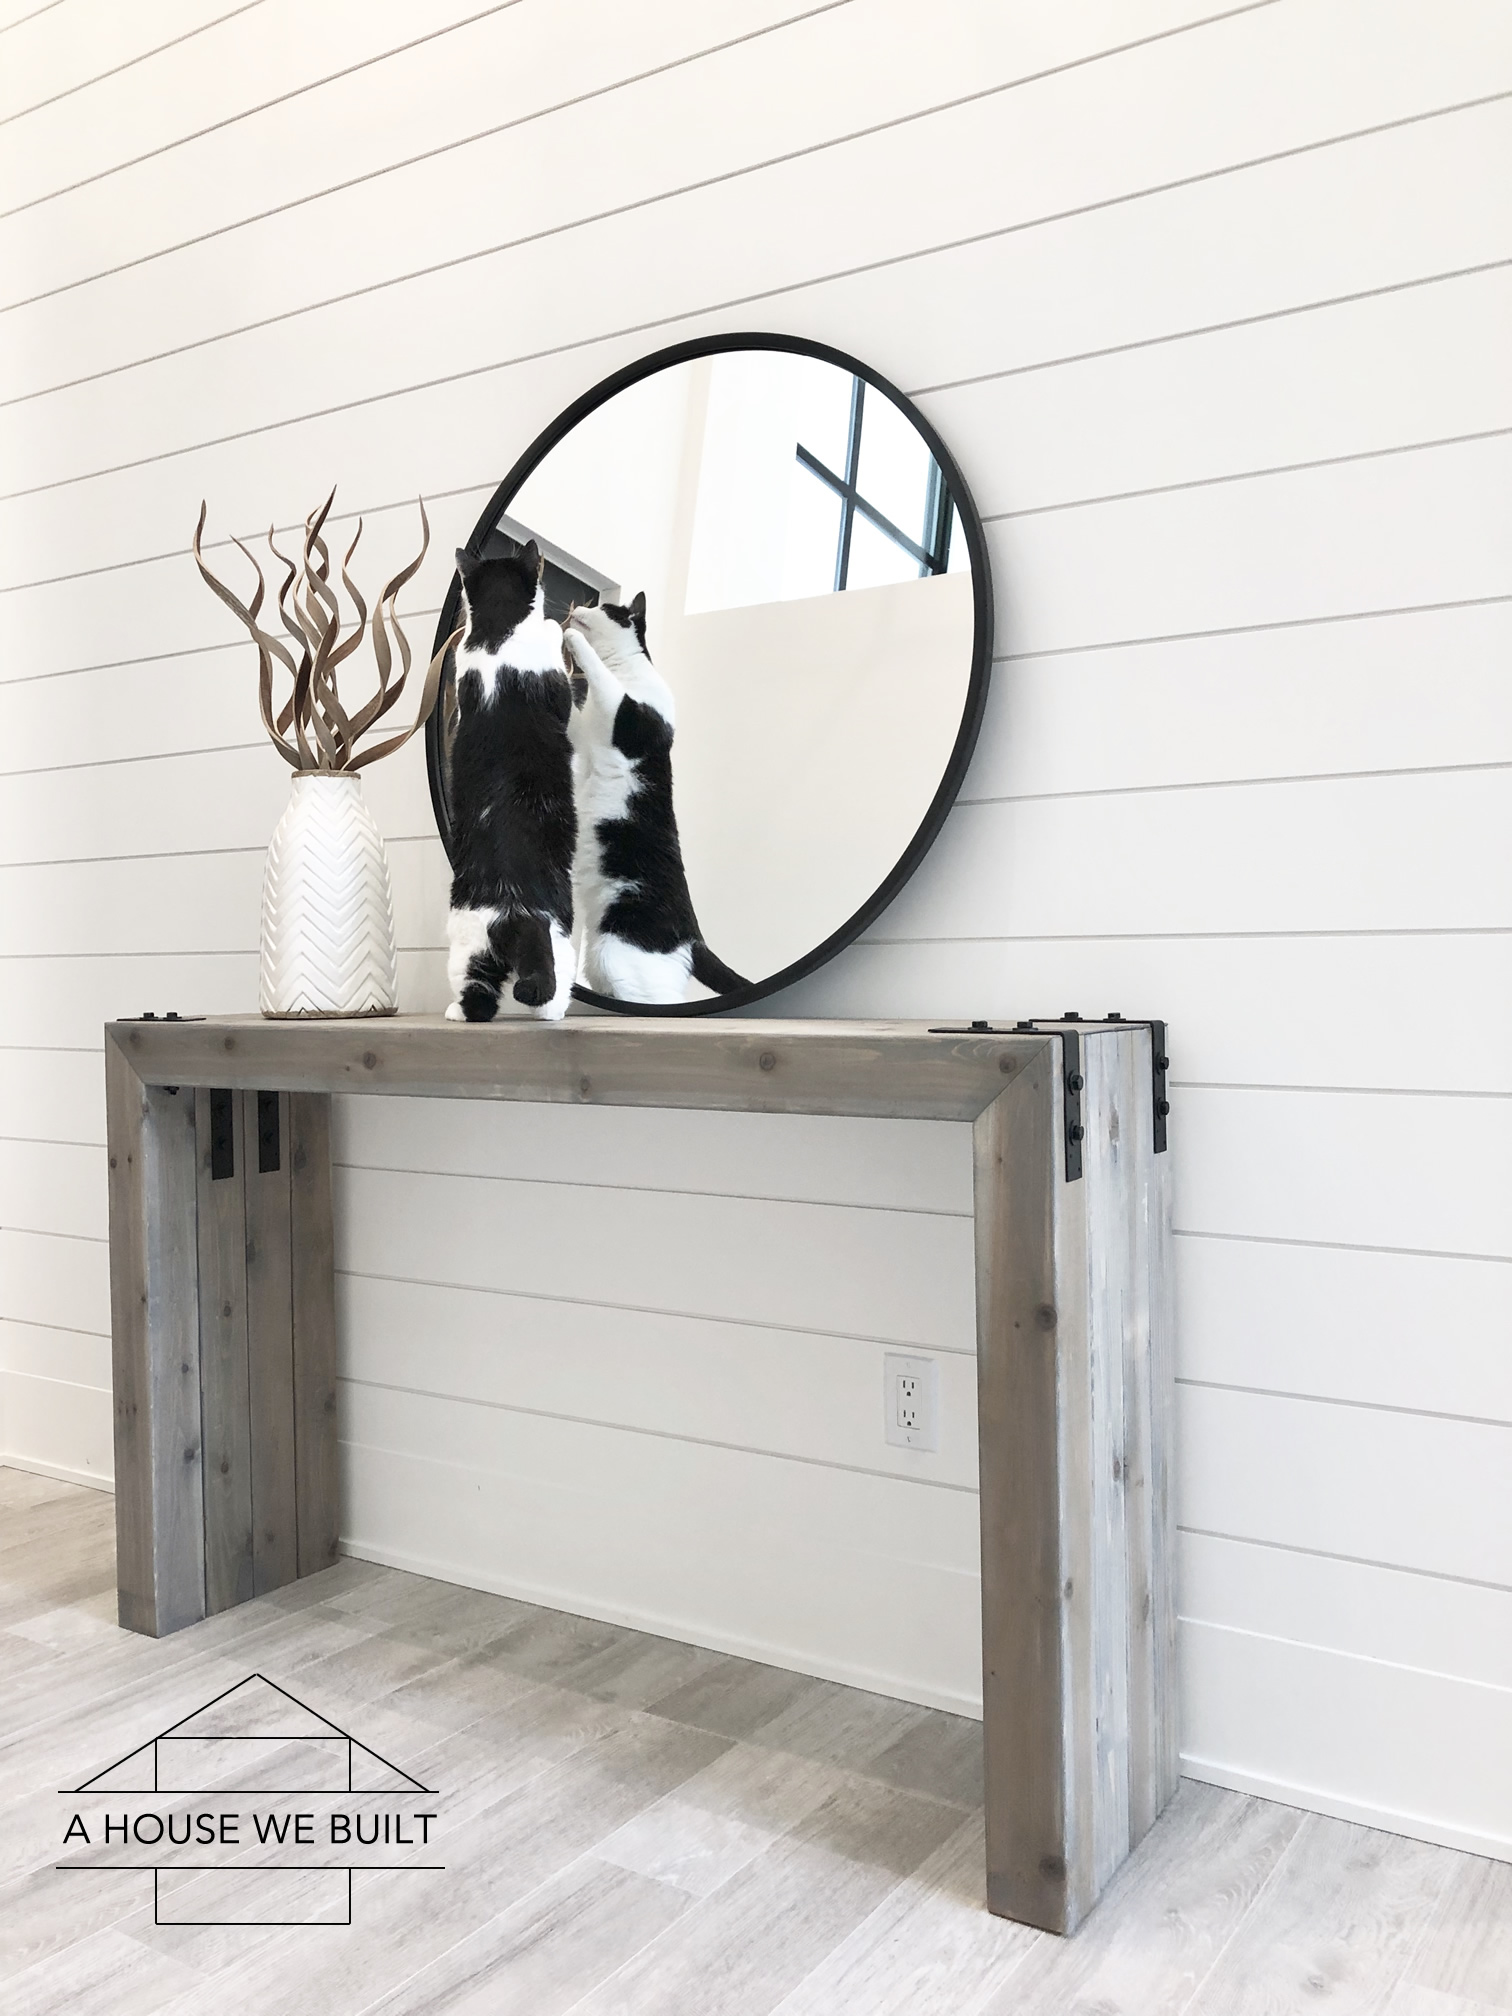
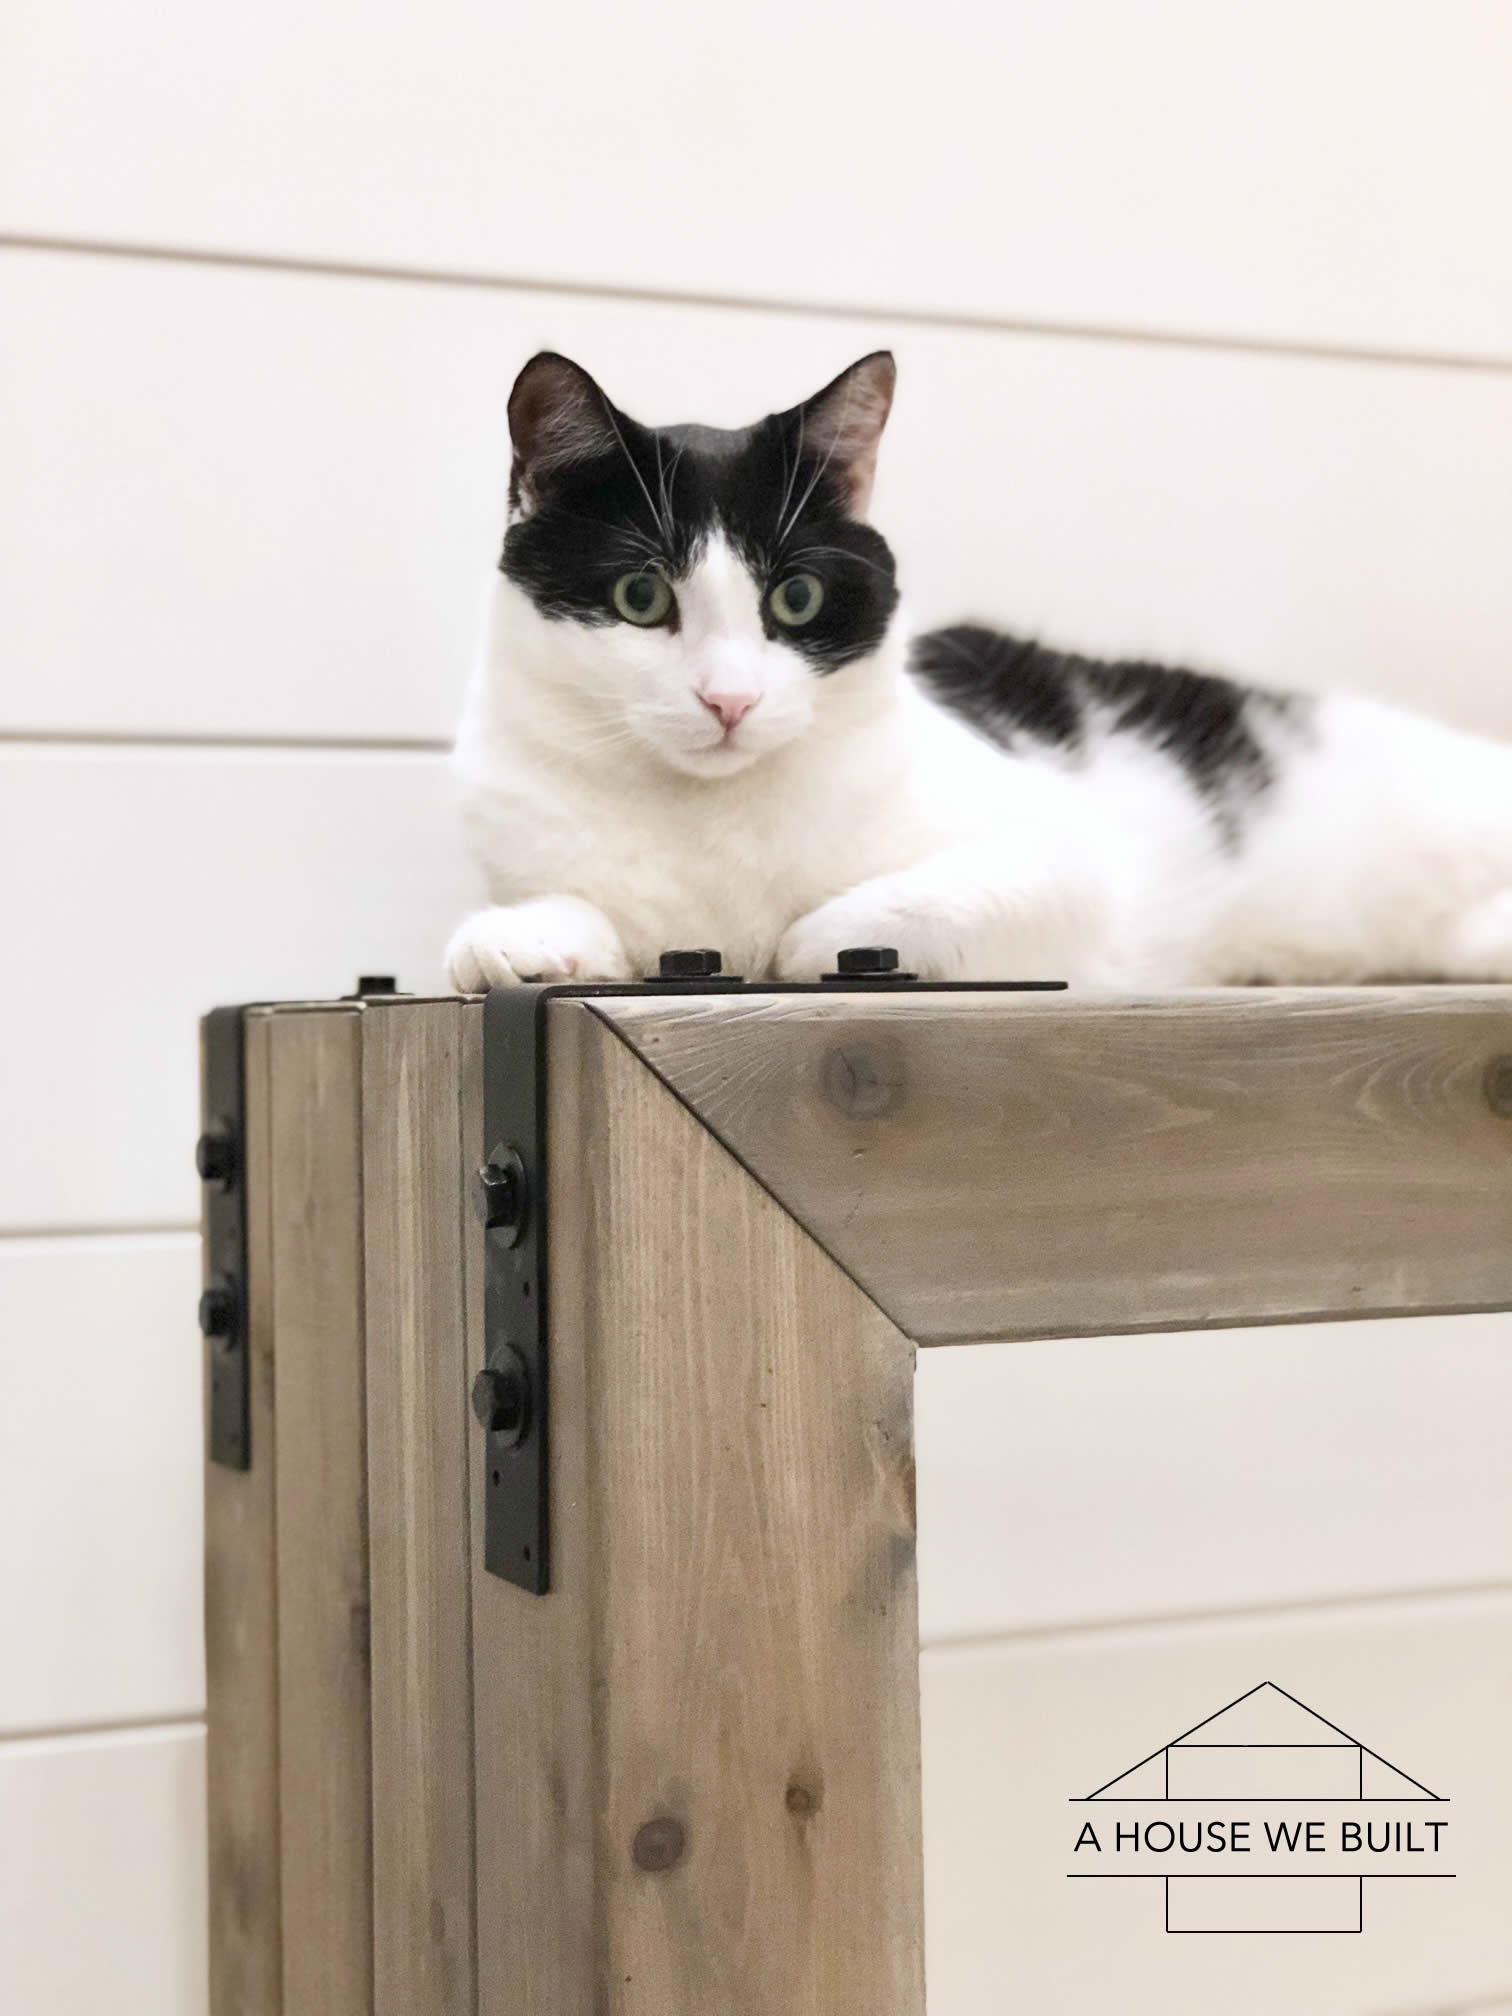
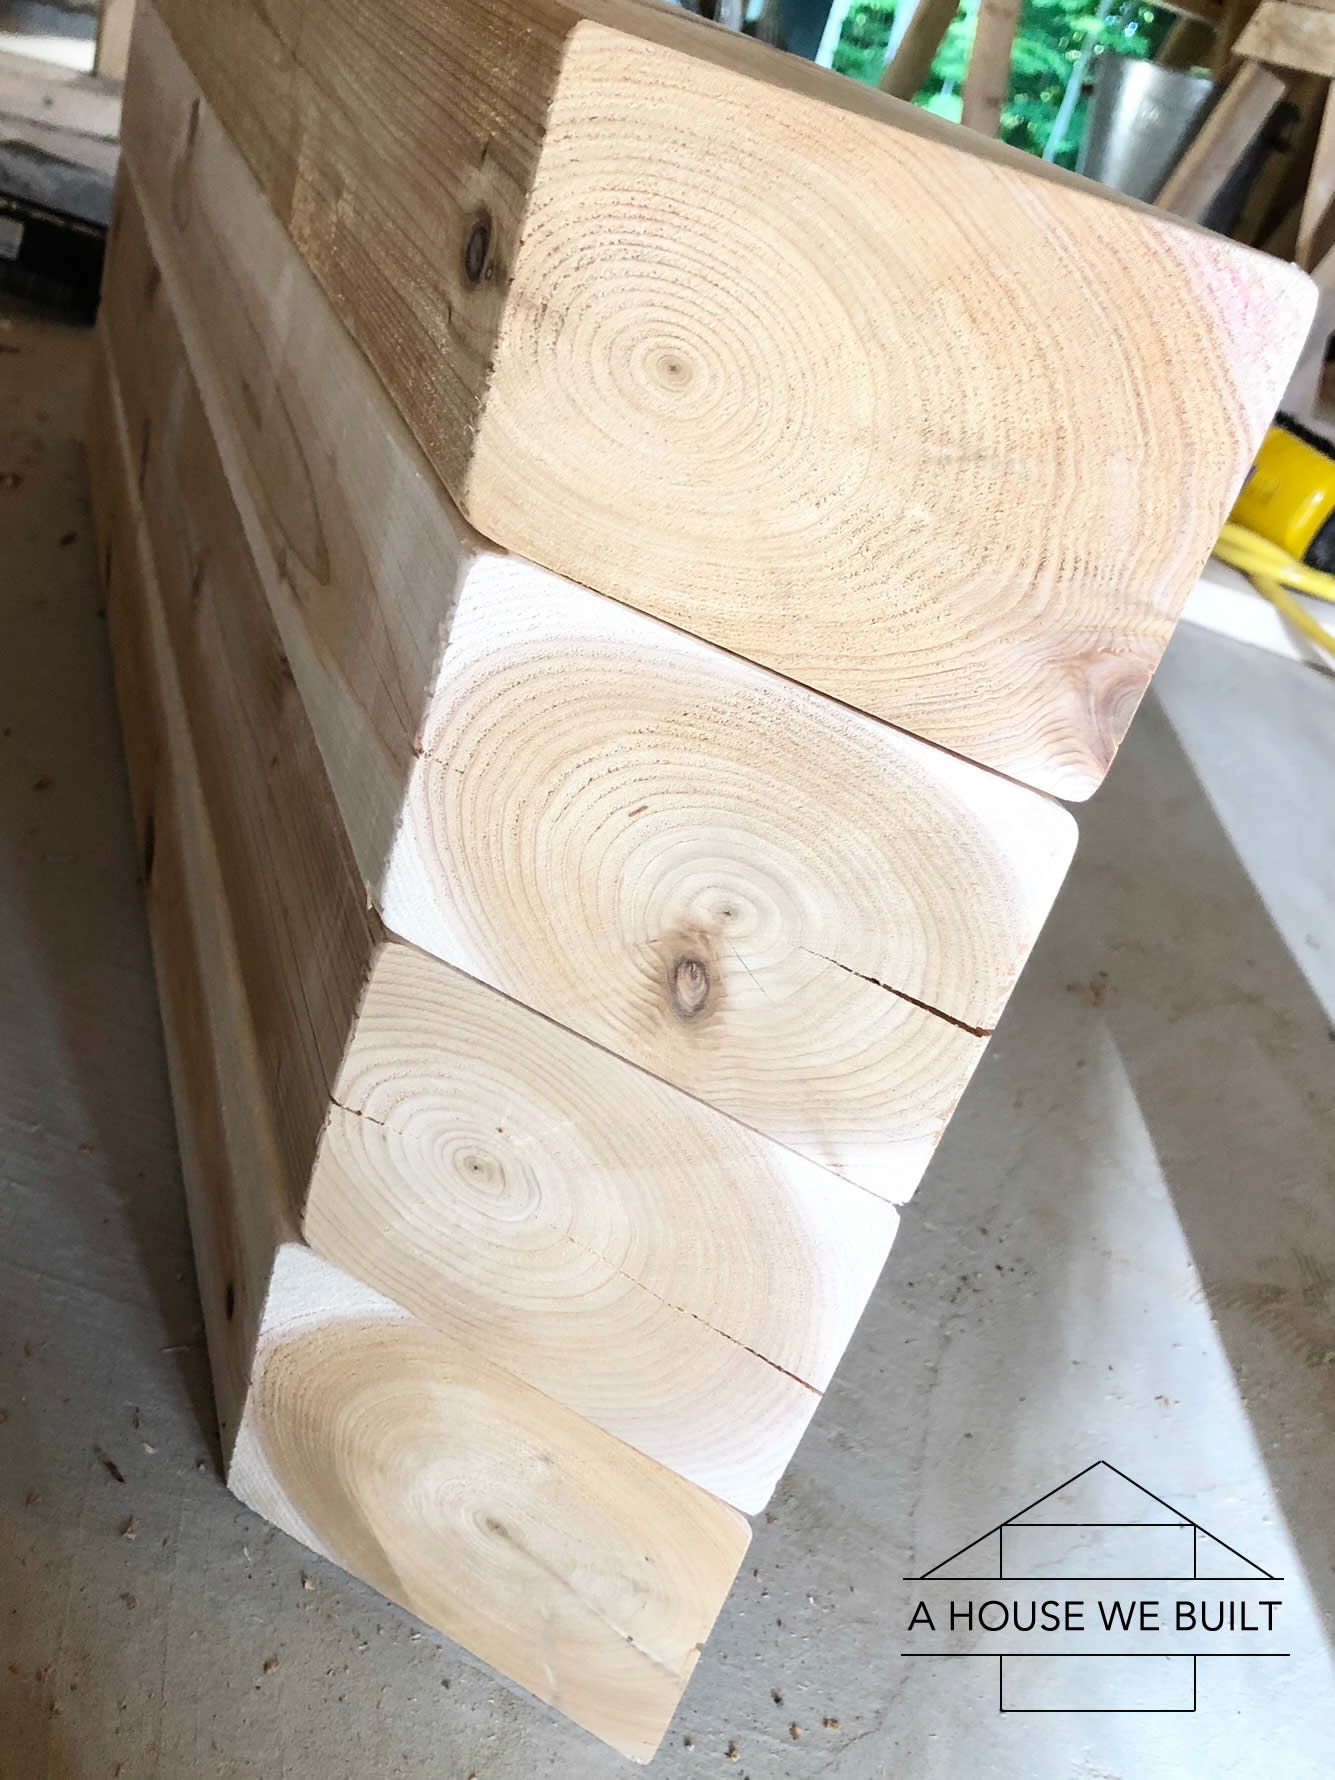
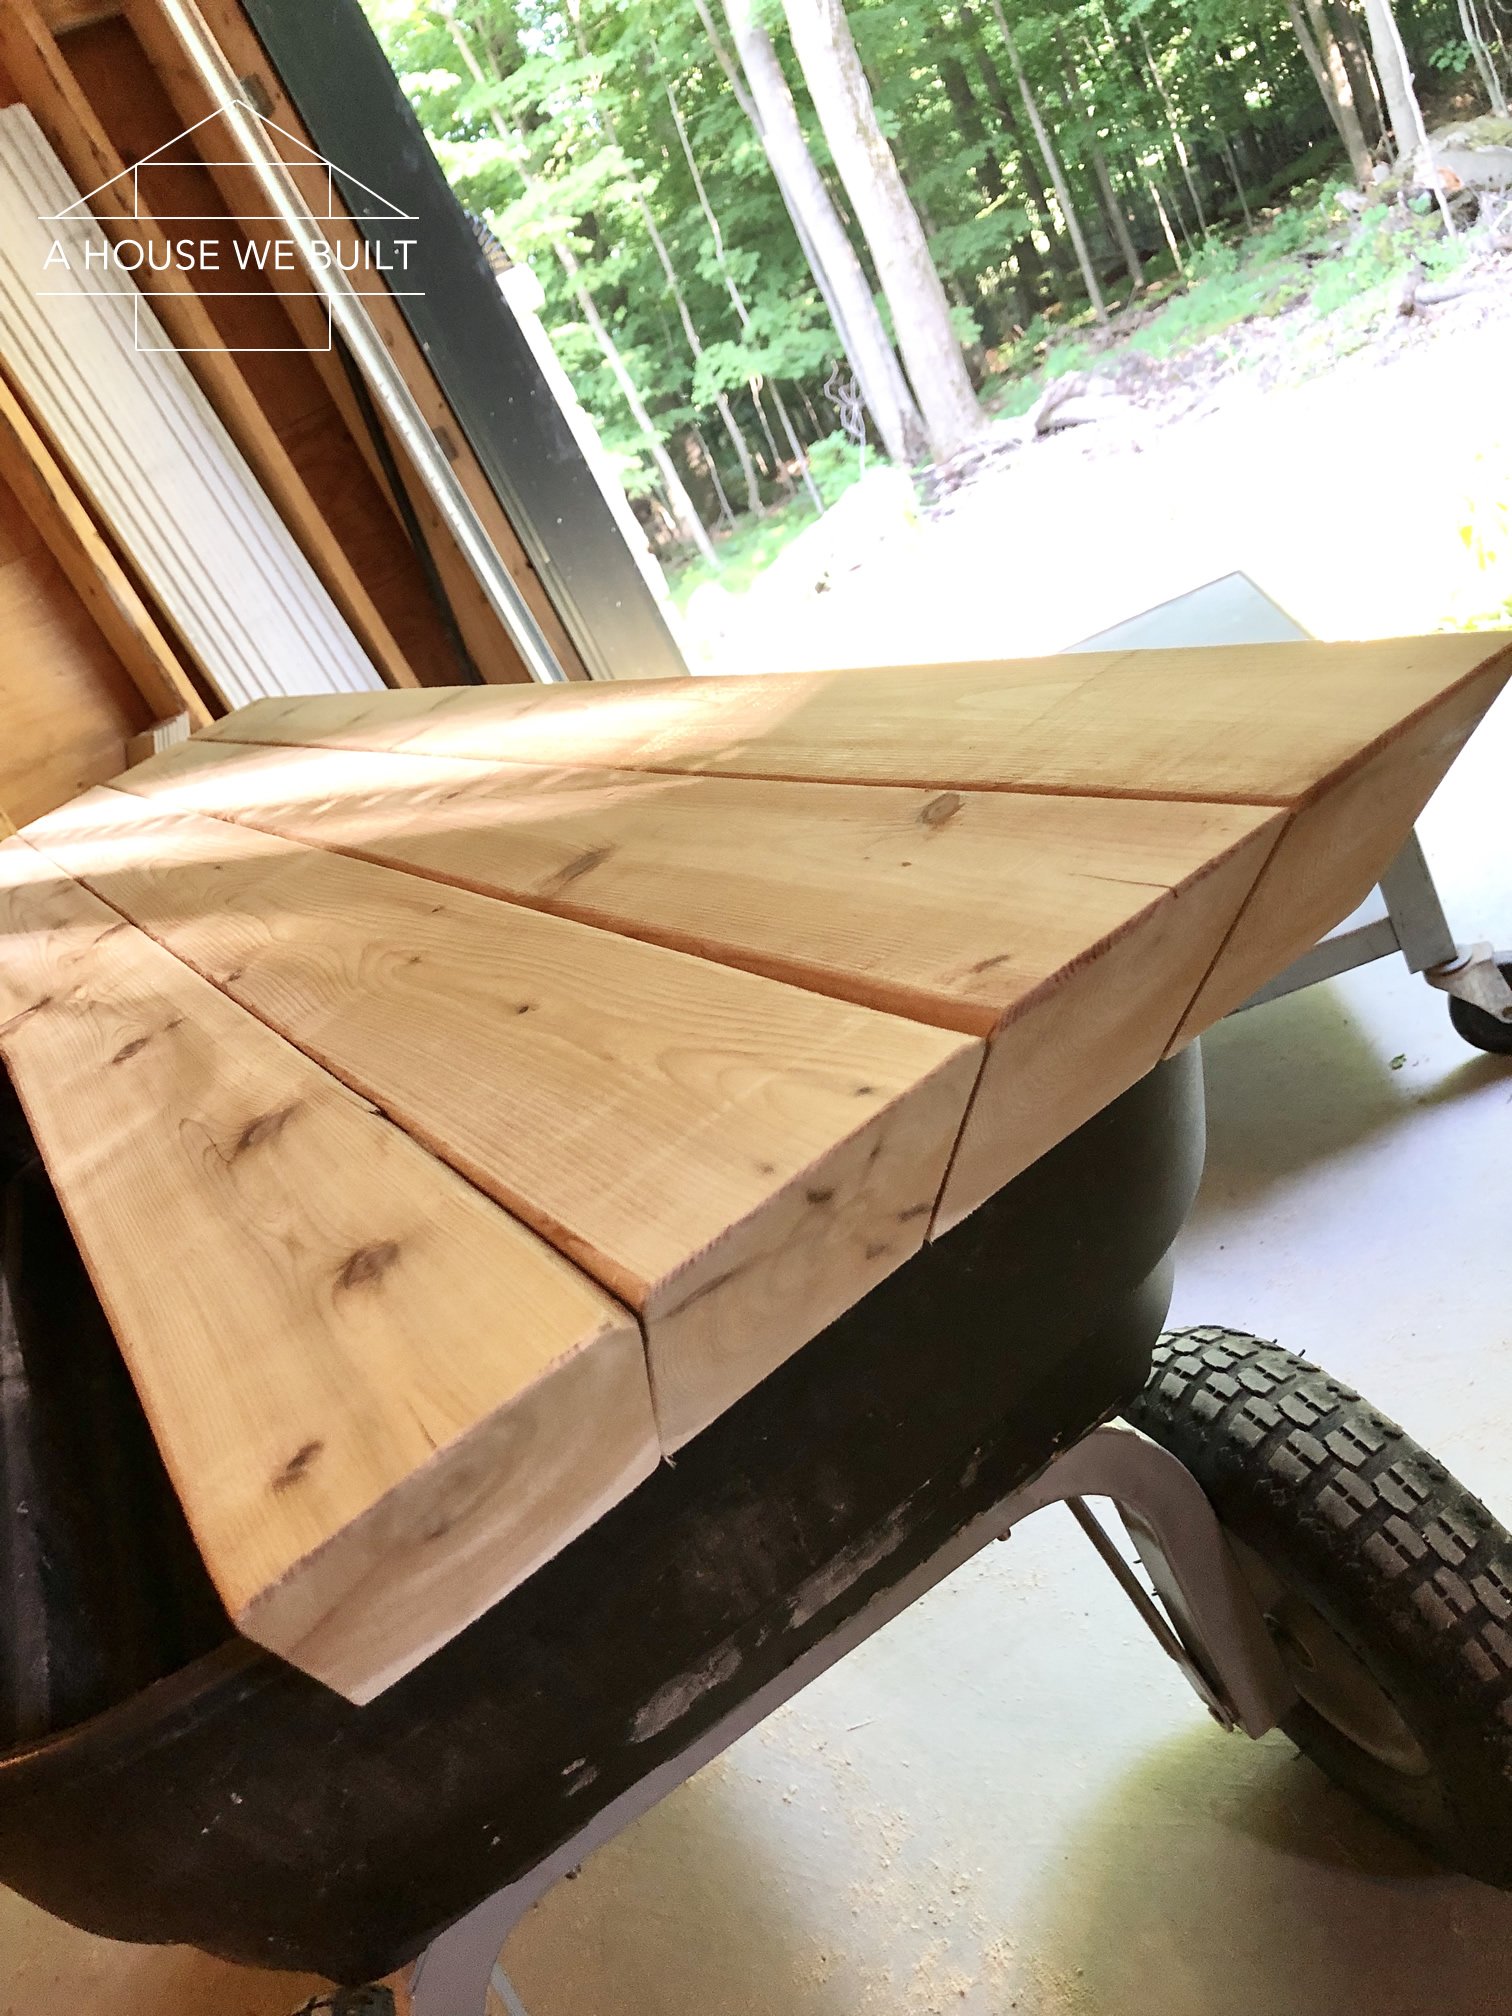
We built another table!! It all started because I wanted a console table for our foyer and couldn’t decide on which one to purchase and I spent so long thinking about it that finally I just decided to design and build my own and here we are. The basic concept of this table is quite simple, it’s just 4 rows of 4×4 lumber cut at 45 degree angles and glued and bolted together with steel brackets and chunky bolts.
If you don’t feel like going through all the trouble of building one yourself but you like this look, there are several similar ready-made tables available online and I’ve linked a bunch of them here if you’re interested: West Elm | Wayfair | Wayfair | Wayfair | Wayfair | McGee & Co | Crate & Barrel | Overstock | Overstock.
But if you do feel like building one yourself, here’s how we built ours.
Materials list:
- 6 x 4x4x8 lumber (we used cedar)
- 8 x L-brackets (we used ones that were 6″ in each direction)
- 4 x 3/18 x 4 1/2″ hex bolts
- 4 x nuts that fit the above bolts
- 16 x 3/8 x 2″ shorter lag bolts
- 12 x 3/8 x 2 1/2″ longer lag bolts
- 36 washers that fit these bolts
- 22 x 3 1/2 wood screws
- Wood glue: Home Depot (or, we used PL: Home Depot)
Stain & paint list:
- Pre-stain conditioner: Amazon (don’t skip this step!!)
- Gray stain (one coat): Amazon
- Matte top coat: Amazon
- Matte black metal paint: Home Depot
Tools list:
- Miter saw (ours is like this: Home Depot)
- Carpenter’s square: Amazon | Home Depot
- Power drill: Amazon | Home Depot
- Impact driver: Amazon | Home Depot
- Socket wrench
- 150 grit sandpaper
- 3-5 clean rags
- Sharp pencil
- Measuring tape
How to build:
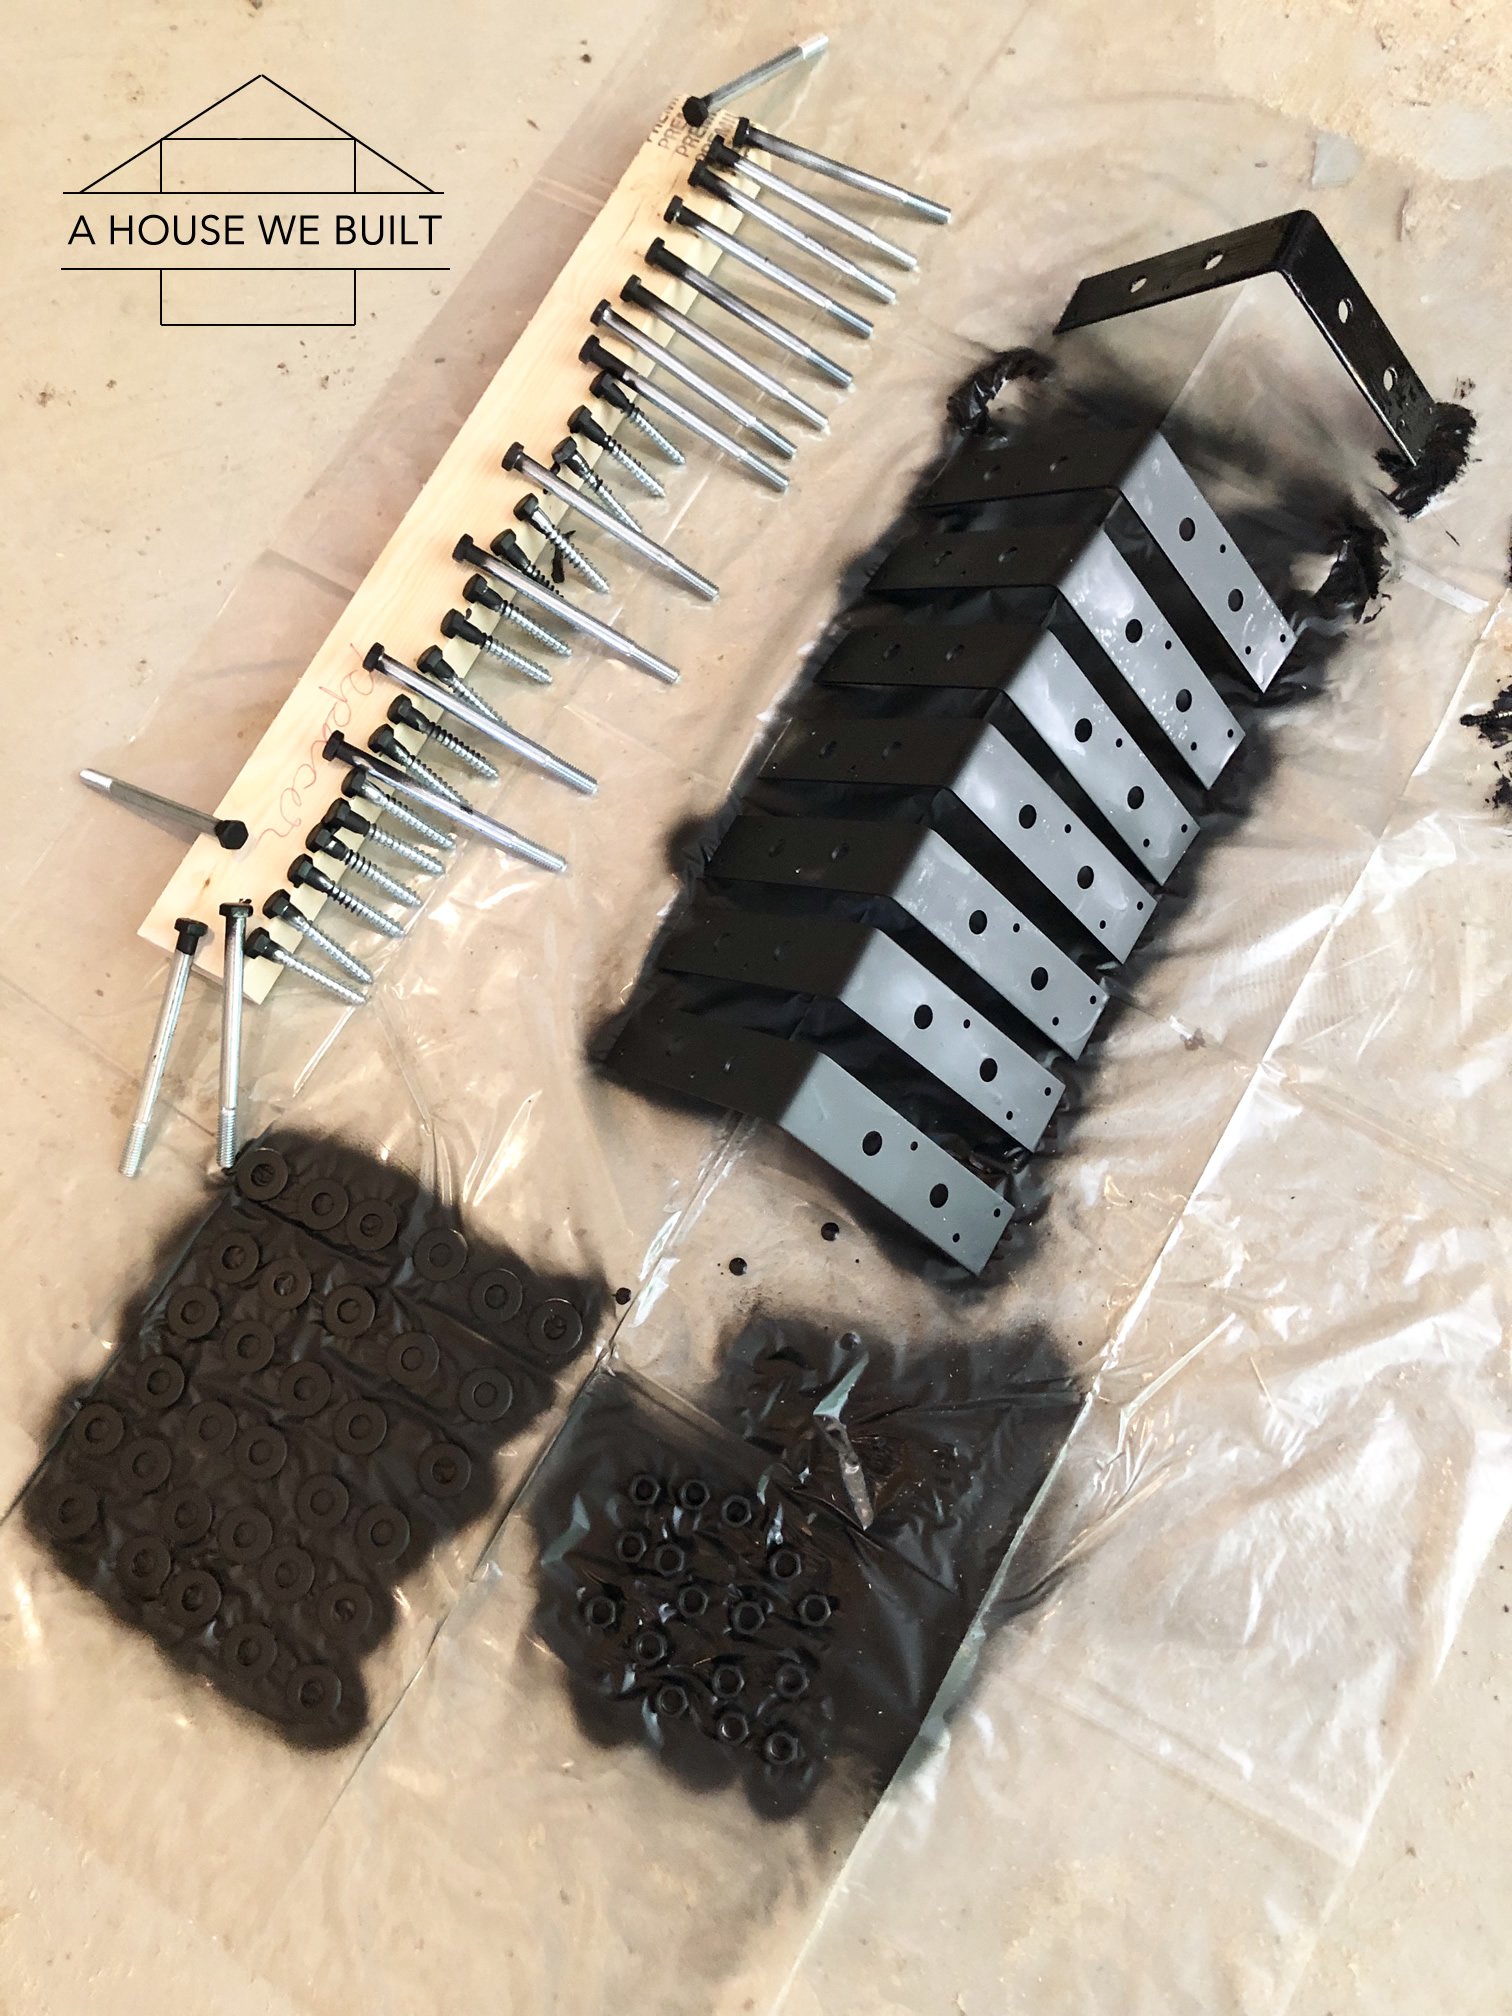
- Paint all your hardware and allow to dry while you build. Note: for the underside brackets, you’ll have to paint the inside of the brackets too.
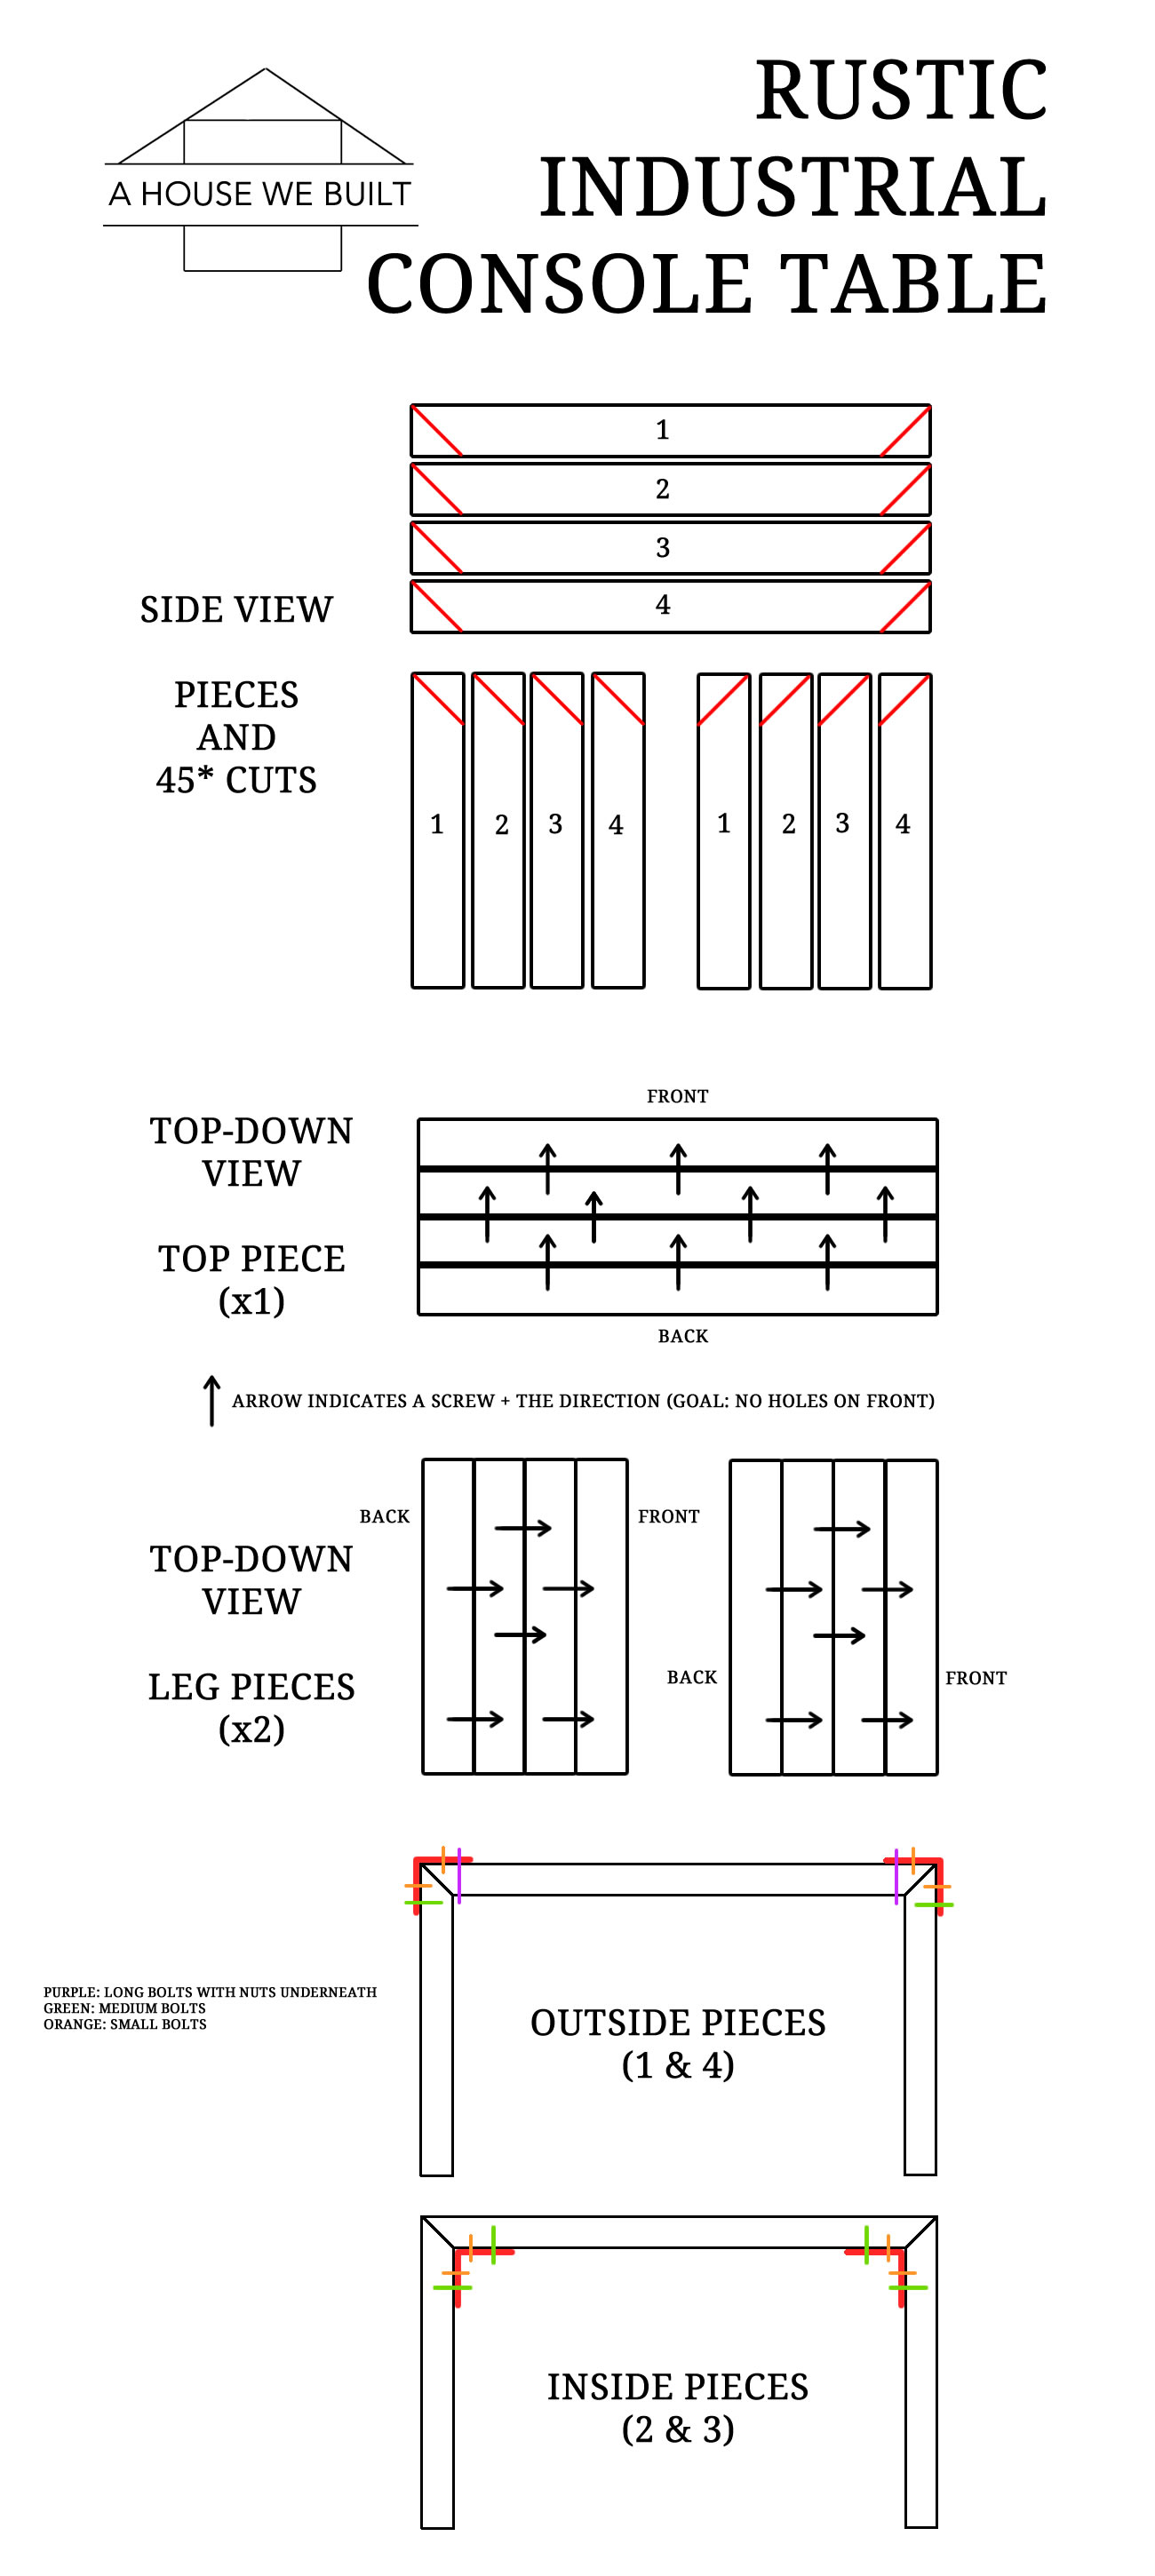
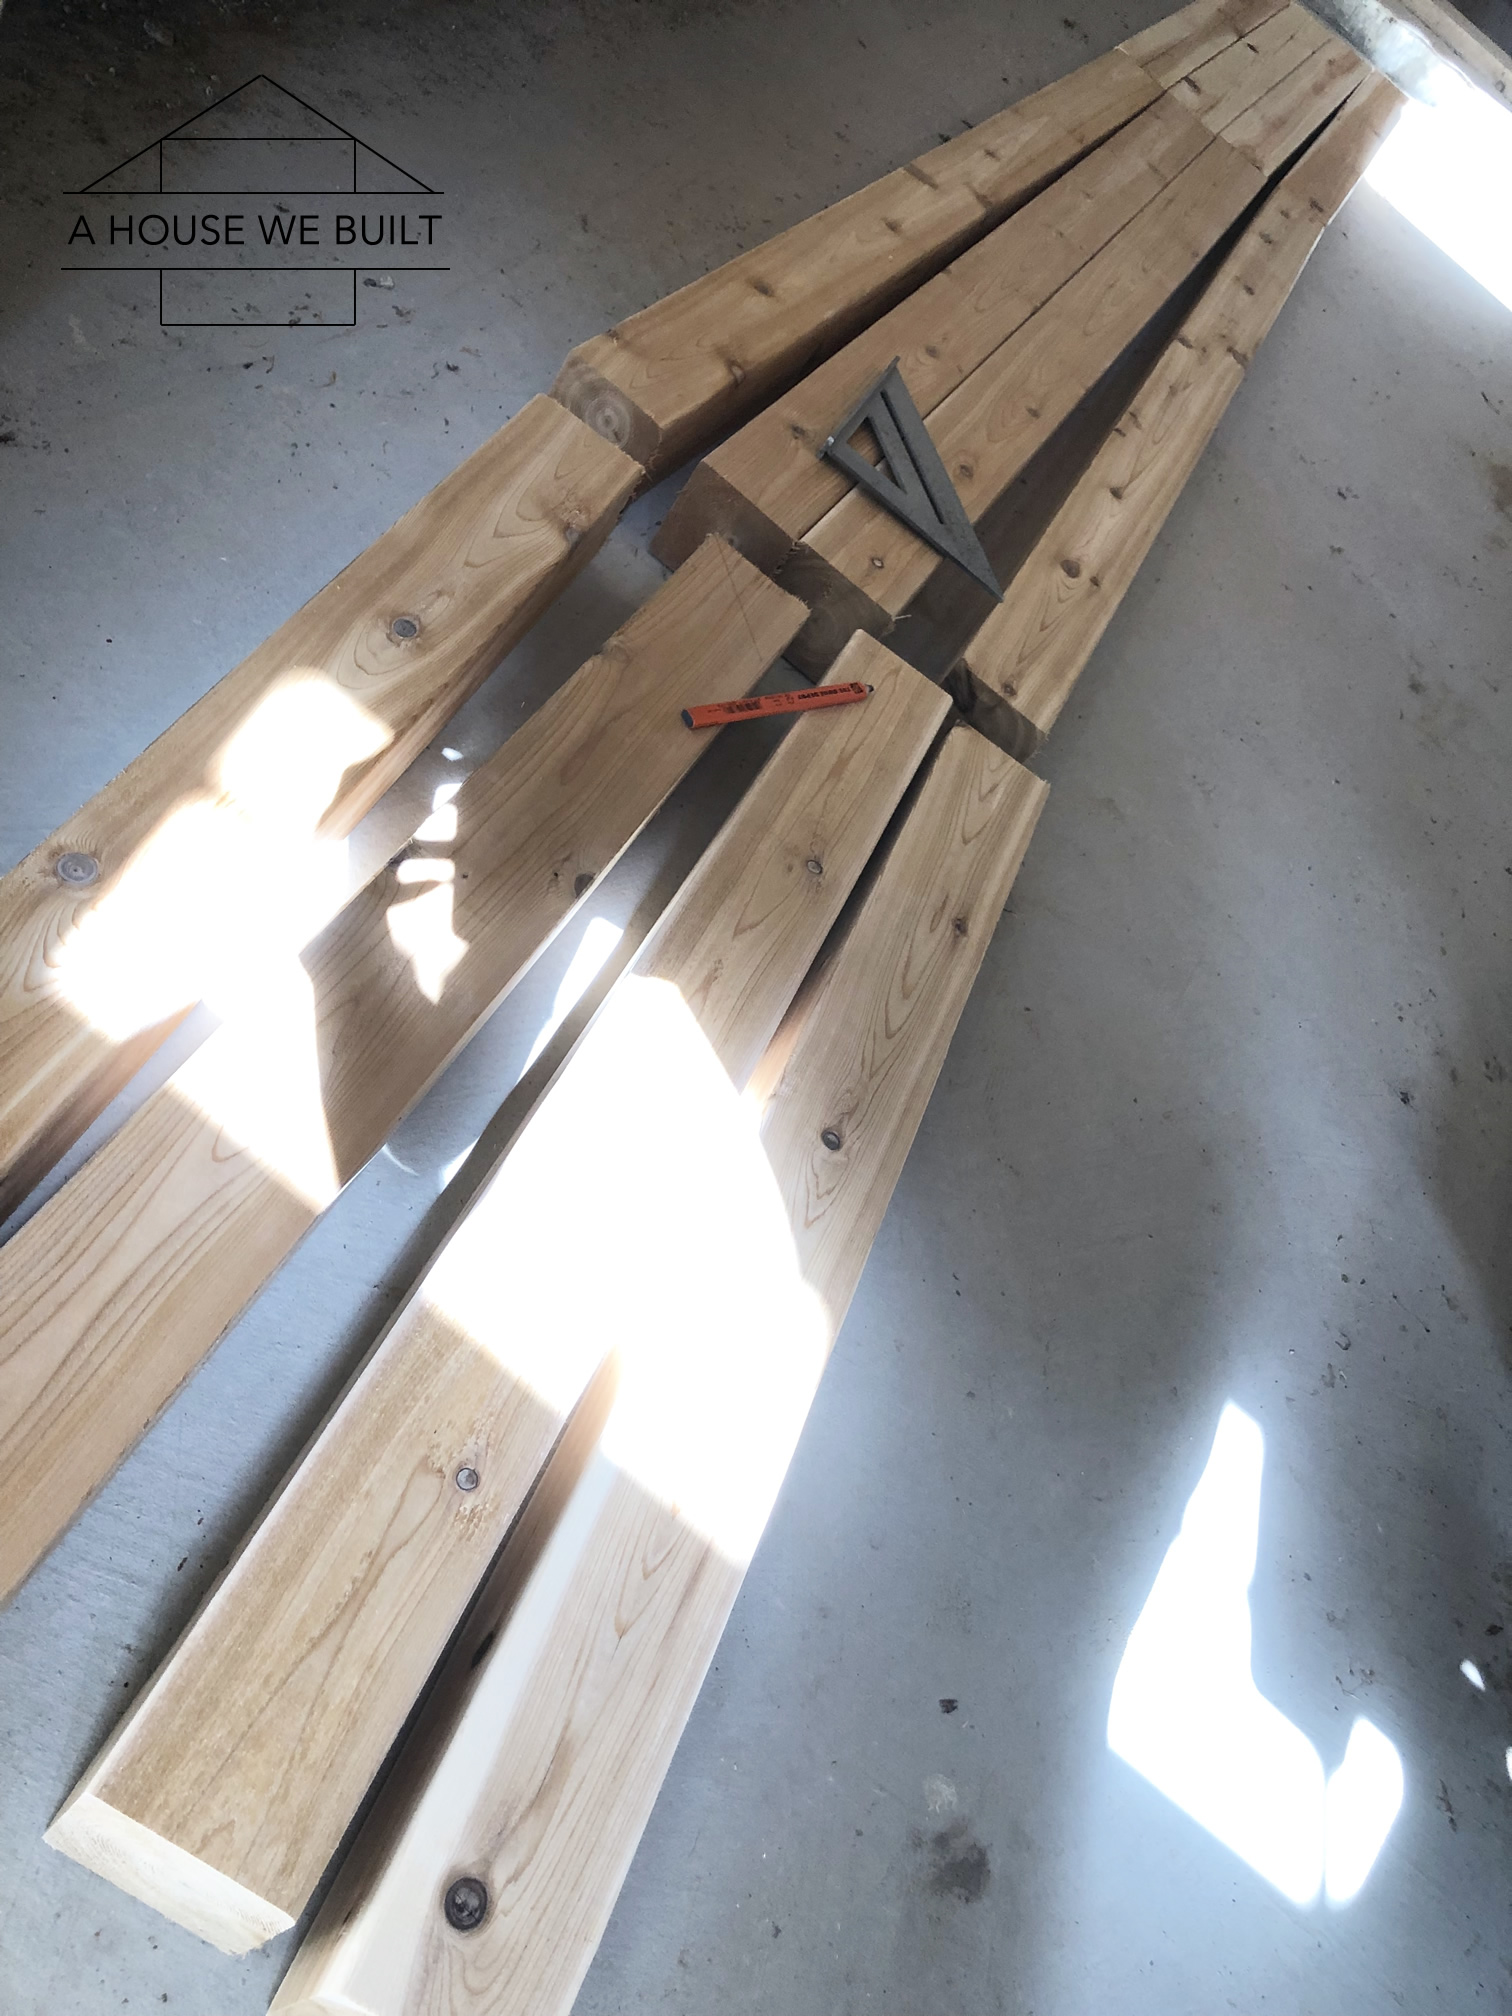
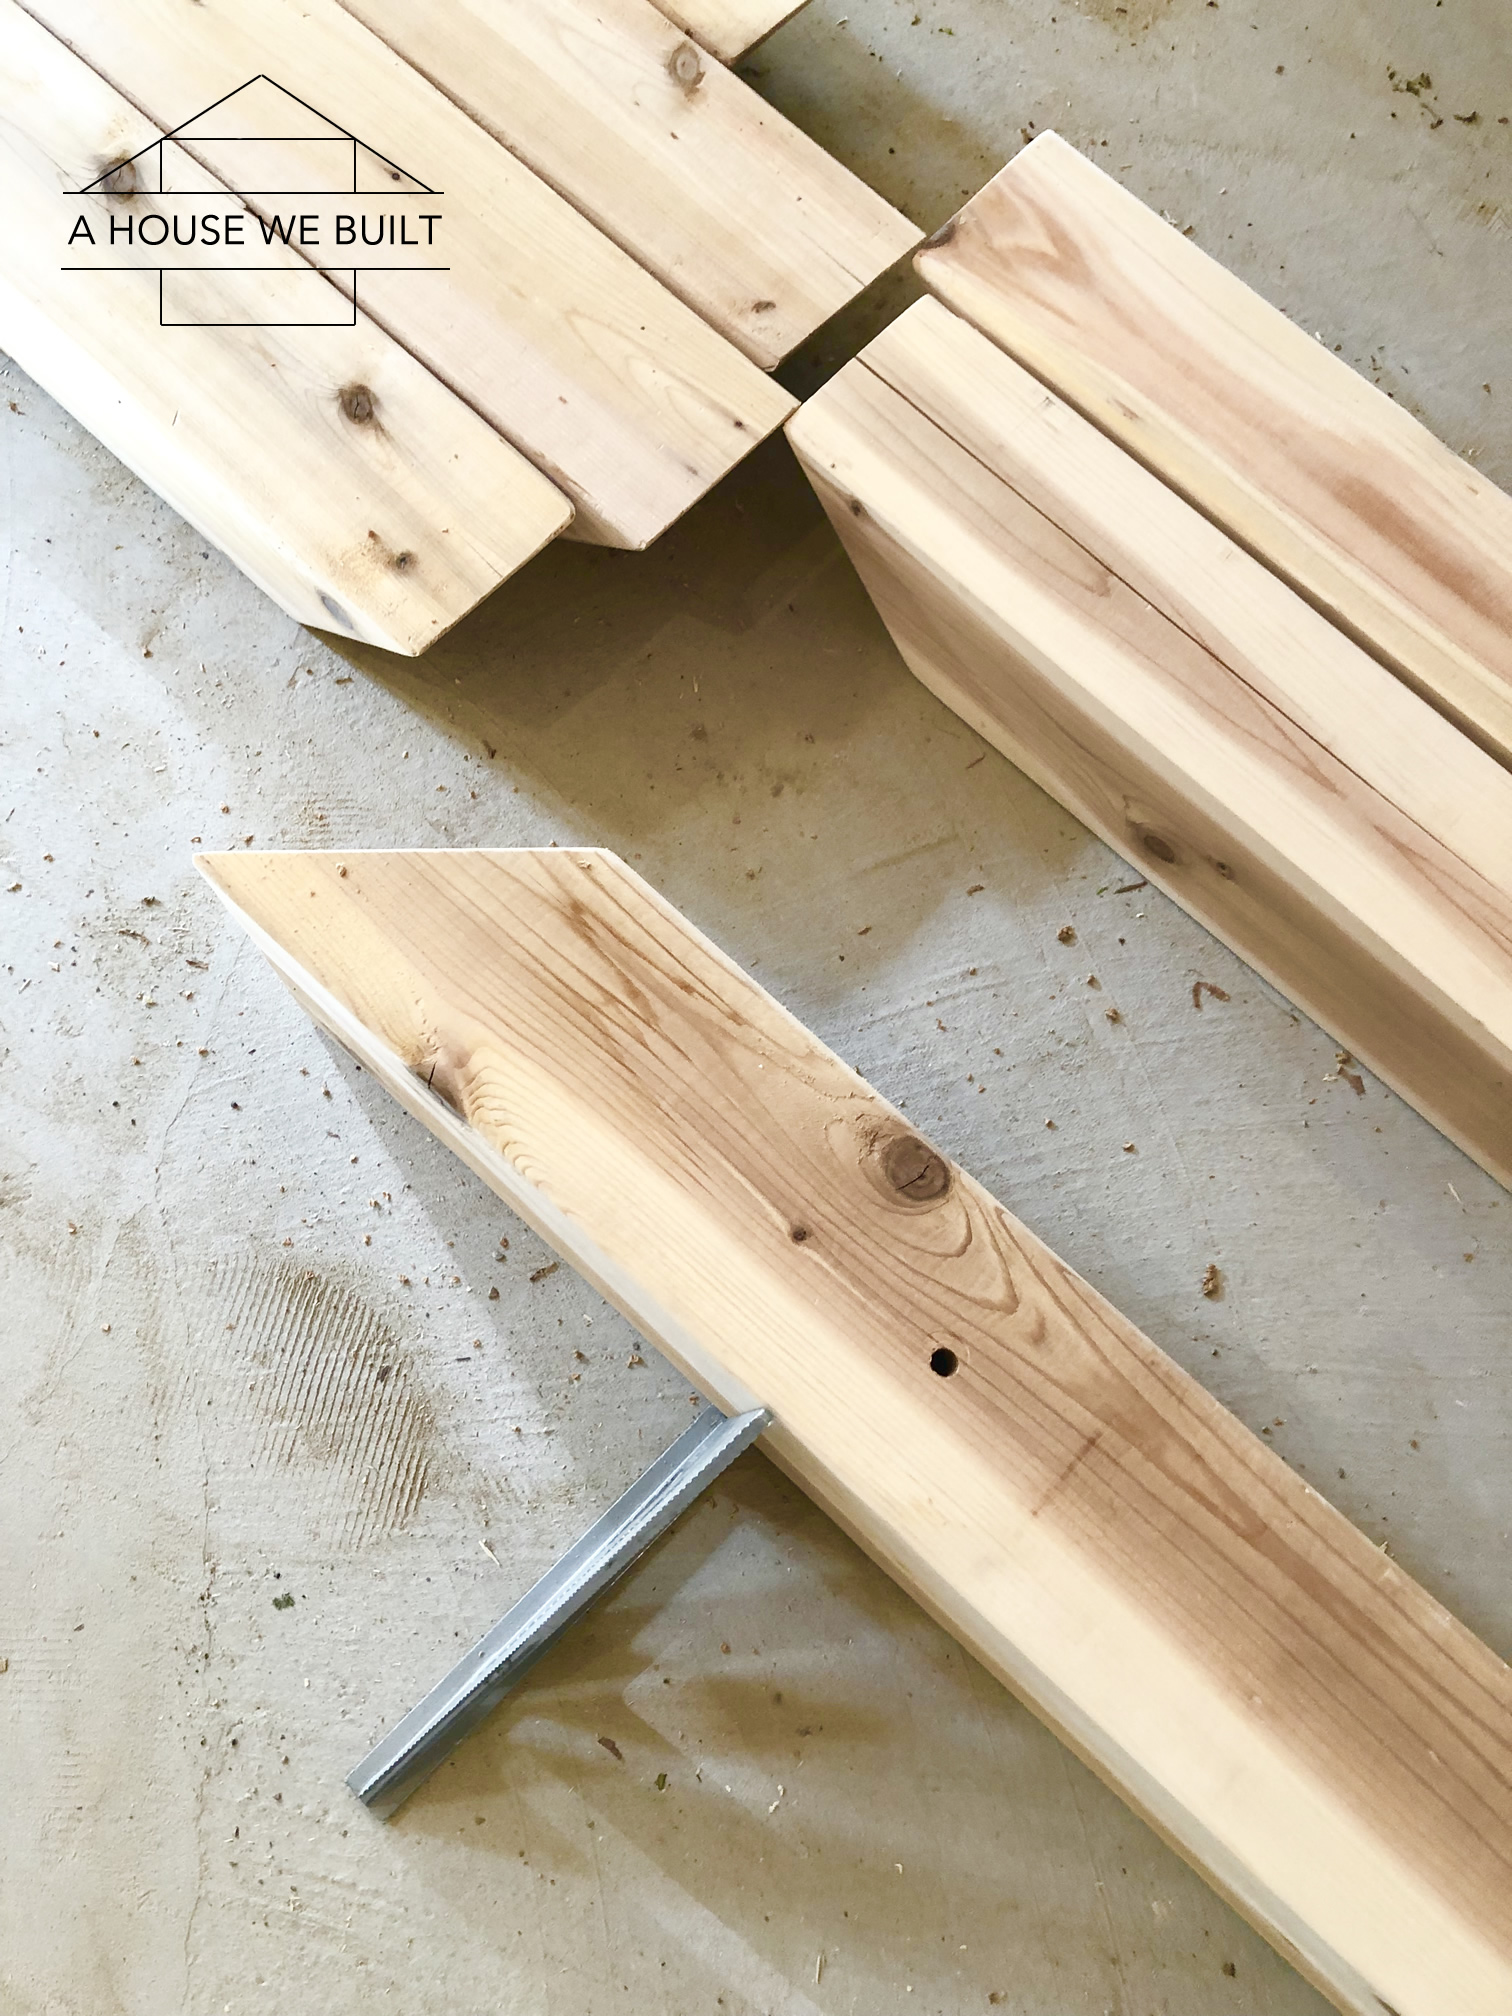
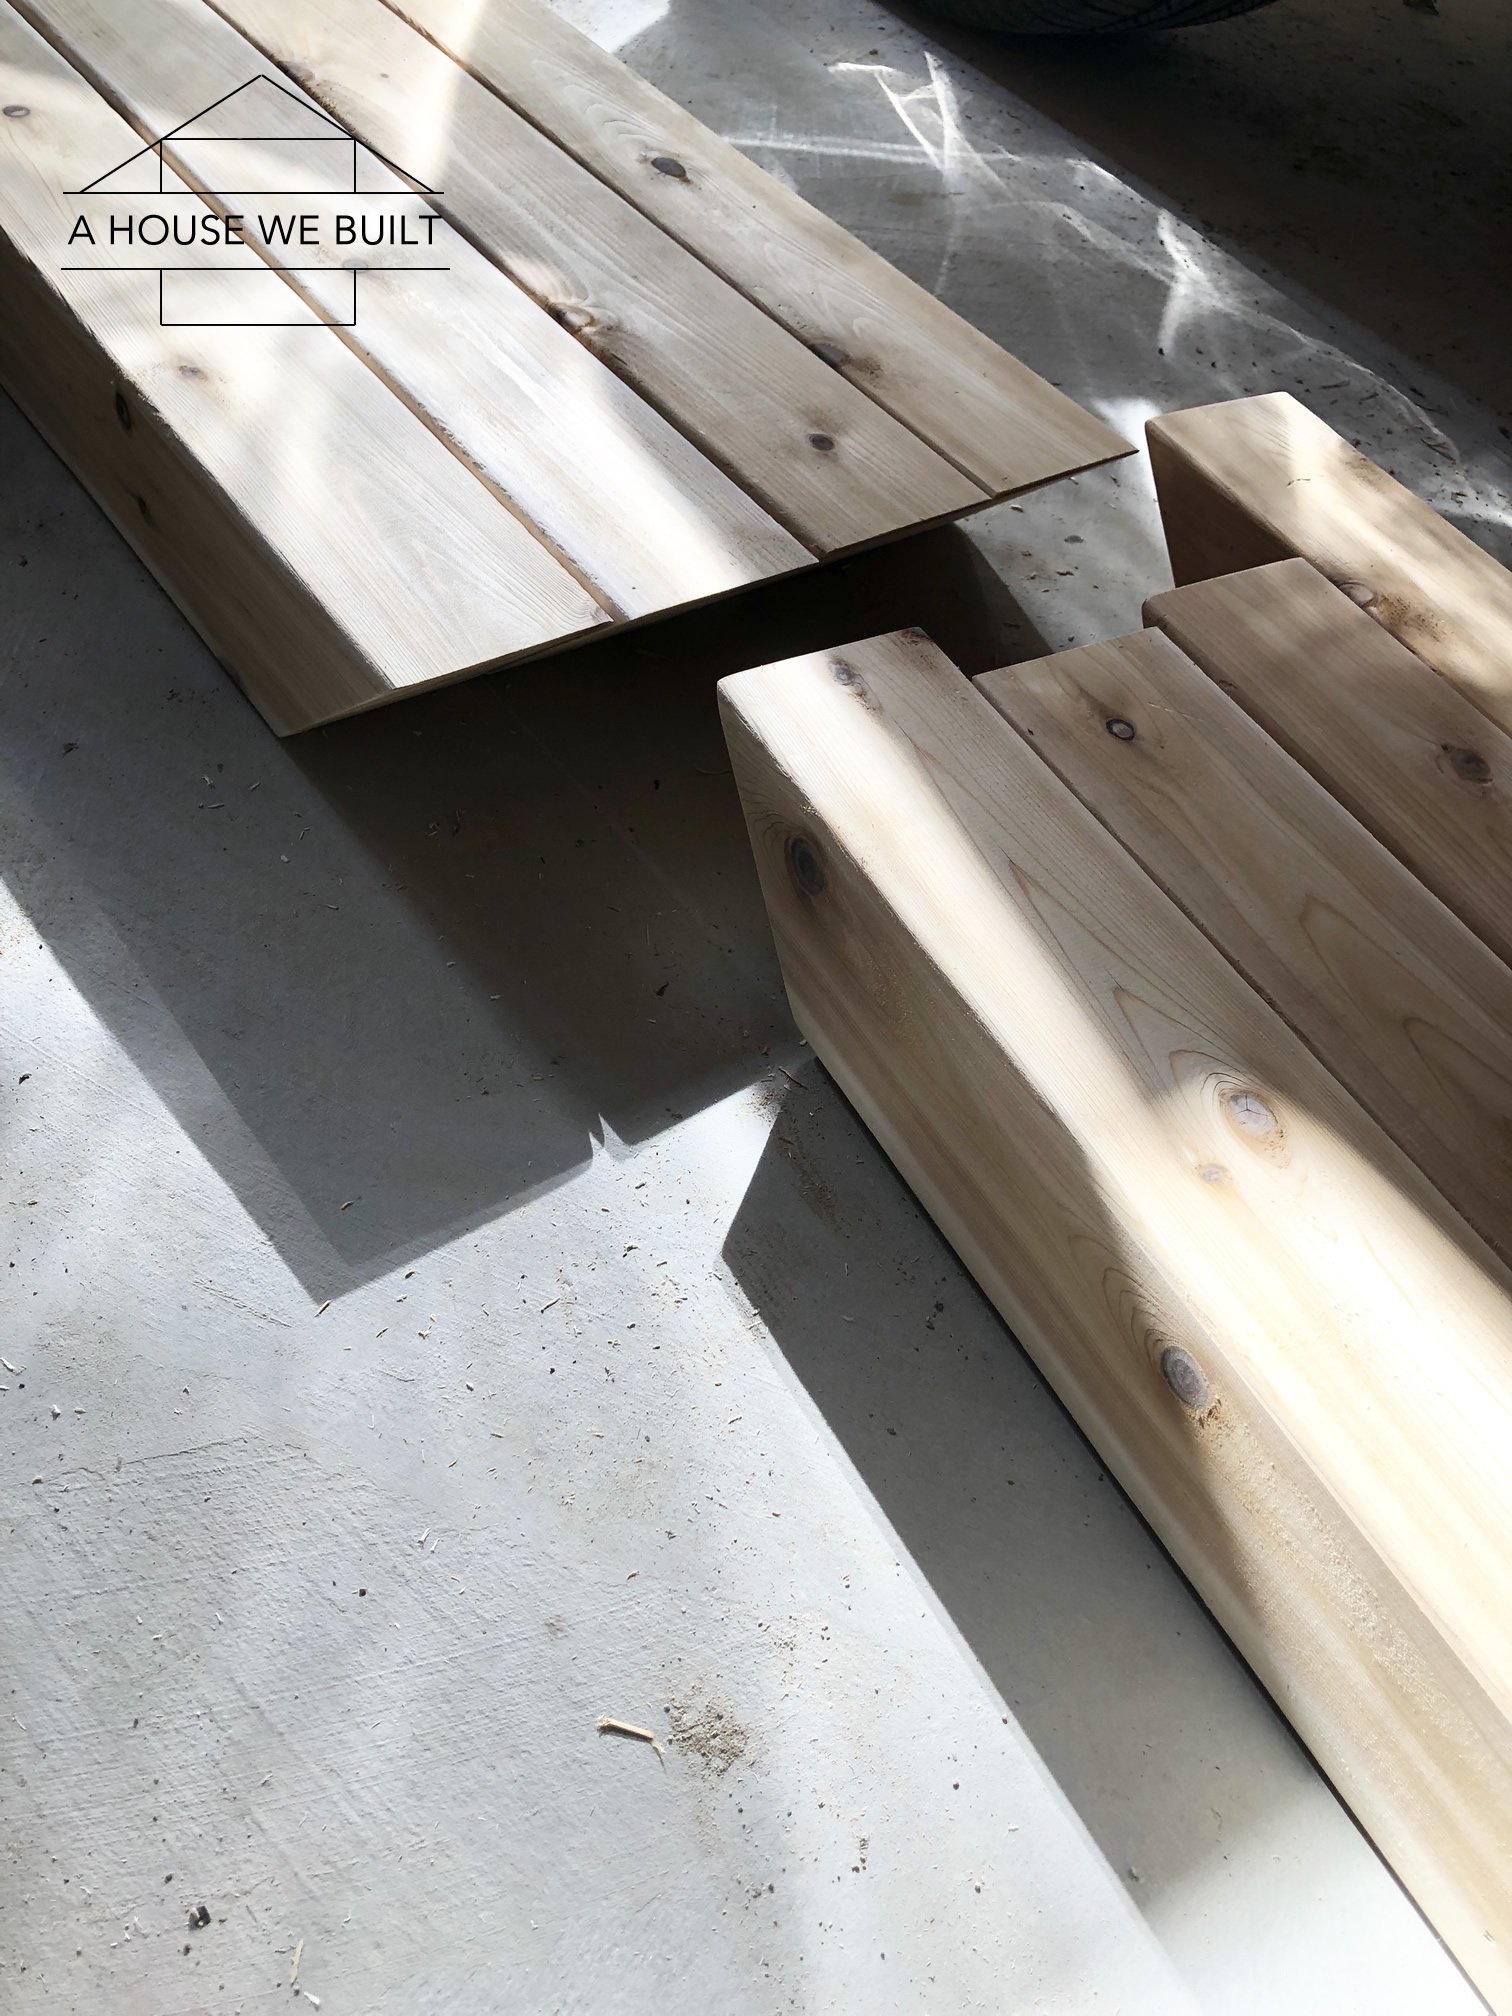
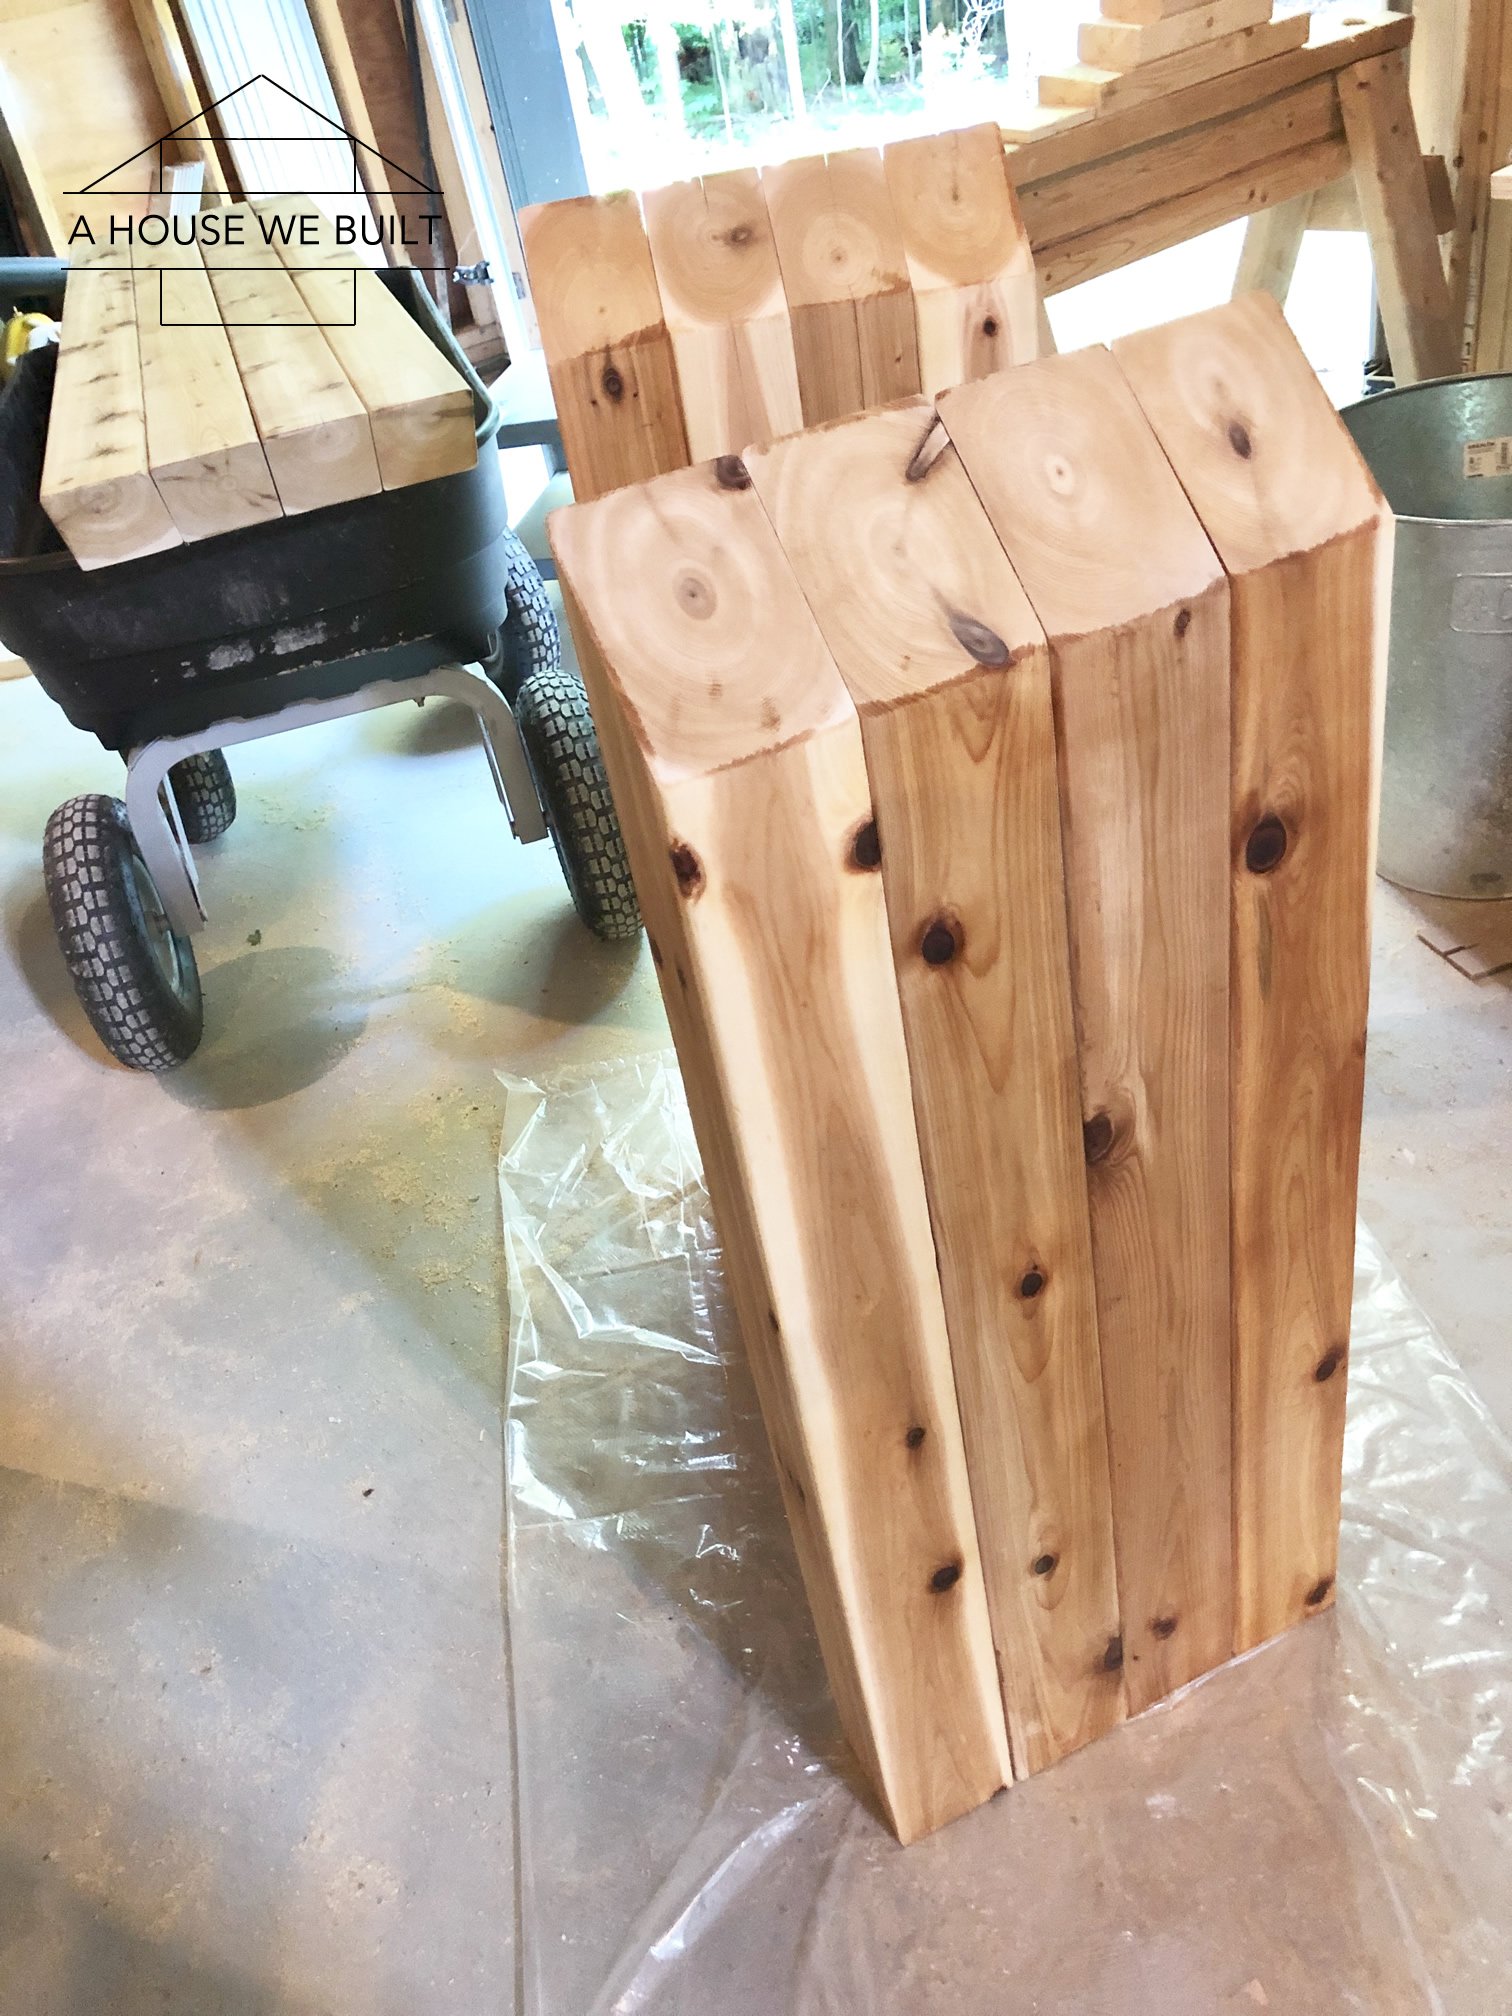
- Cut all your lumber to size. I had 4 x 58″ top pieces, and 8 x 35″ leg pieces. I cut everything straight (90 degree) first and then marked all my 45 degree cuts after. This made it easier for me. I recommend laying all your pieces out beside each other so you can choose which pieces of lumber you want where since they’re likely to have individual markings/graining.
- Sand edges with 150 grit sandpaper.
- Assemble your top + 2 side lumbers into single pieces as shown in the diagram with wood screws (we pre-drilled about halfway through each wood piece) and used glue between each piece as well for added strength.
- Sand top/bottom/sides with 150 grit sandpaper.
- Condition, stain, and top coat the wood. Follow instructions on the cans, but generally it’s condition, wait 2 hours, stain, wait 6-8 hours, top coat, wait 6-8 hours. Do NOT skip the pre-stain conditioner (Amazon), just stir well, then use a rag to apply it and rub it in. Next is stain, I used one coat of this color: Amazon, STIR IT WELL with a stir stick AND a paint brush but do not shake the can, then apply with paintbrush, rub it in with one rag, then wipe off the excess with another rag. Finally the top coat, just apply it with a paint brush (make sure you get a matte one like this: Amazon).
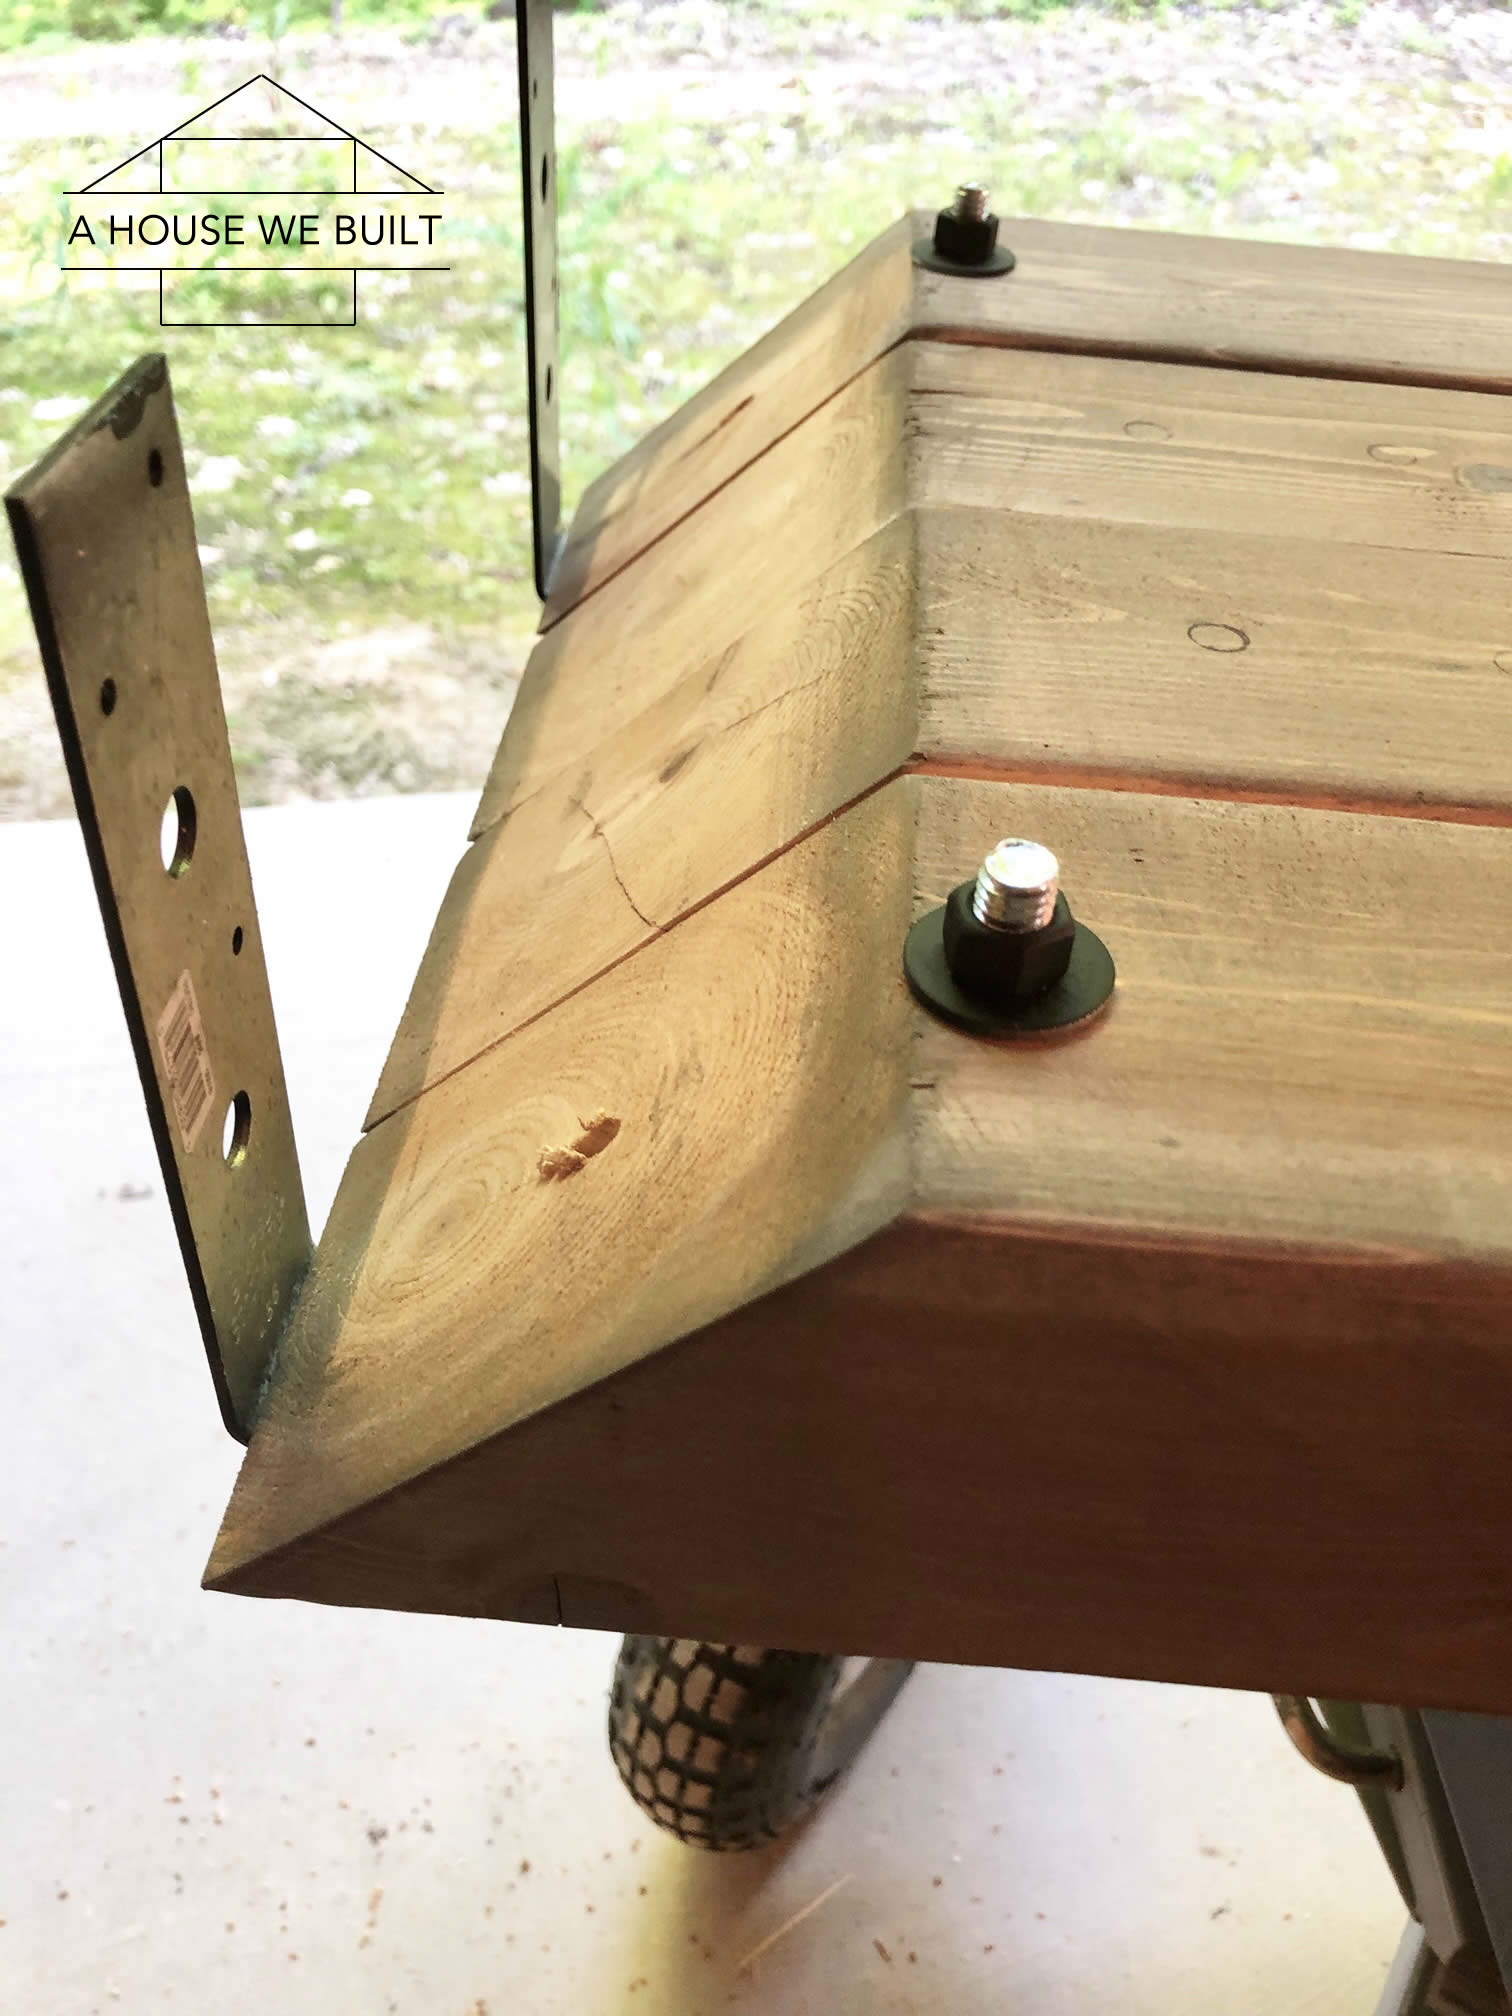
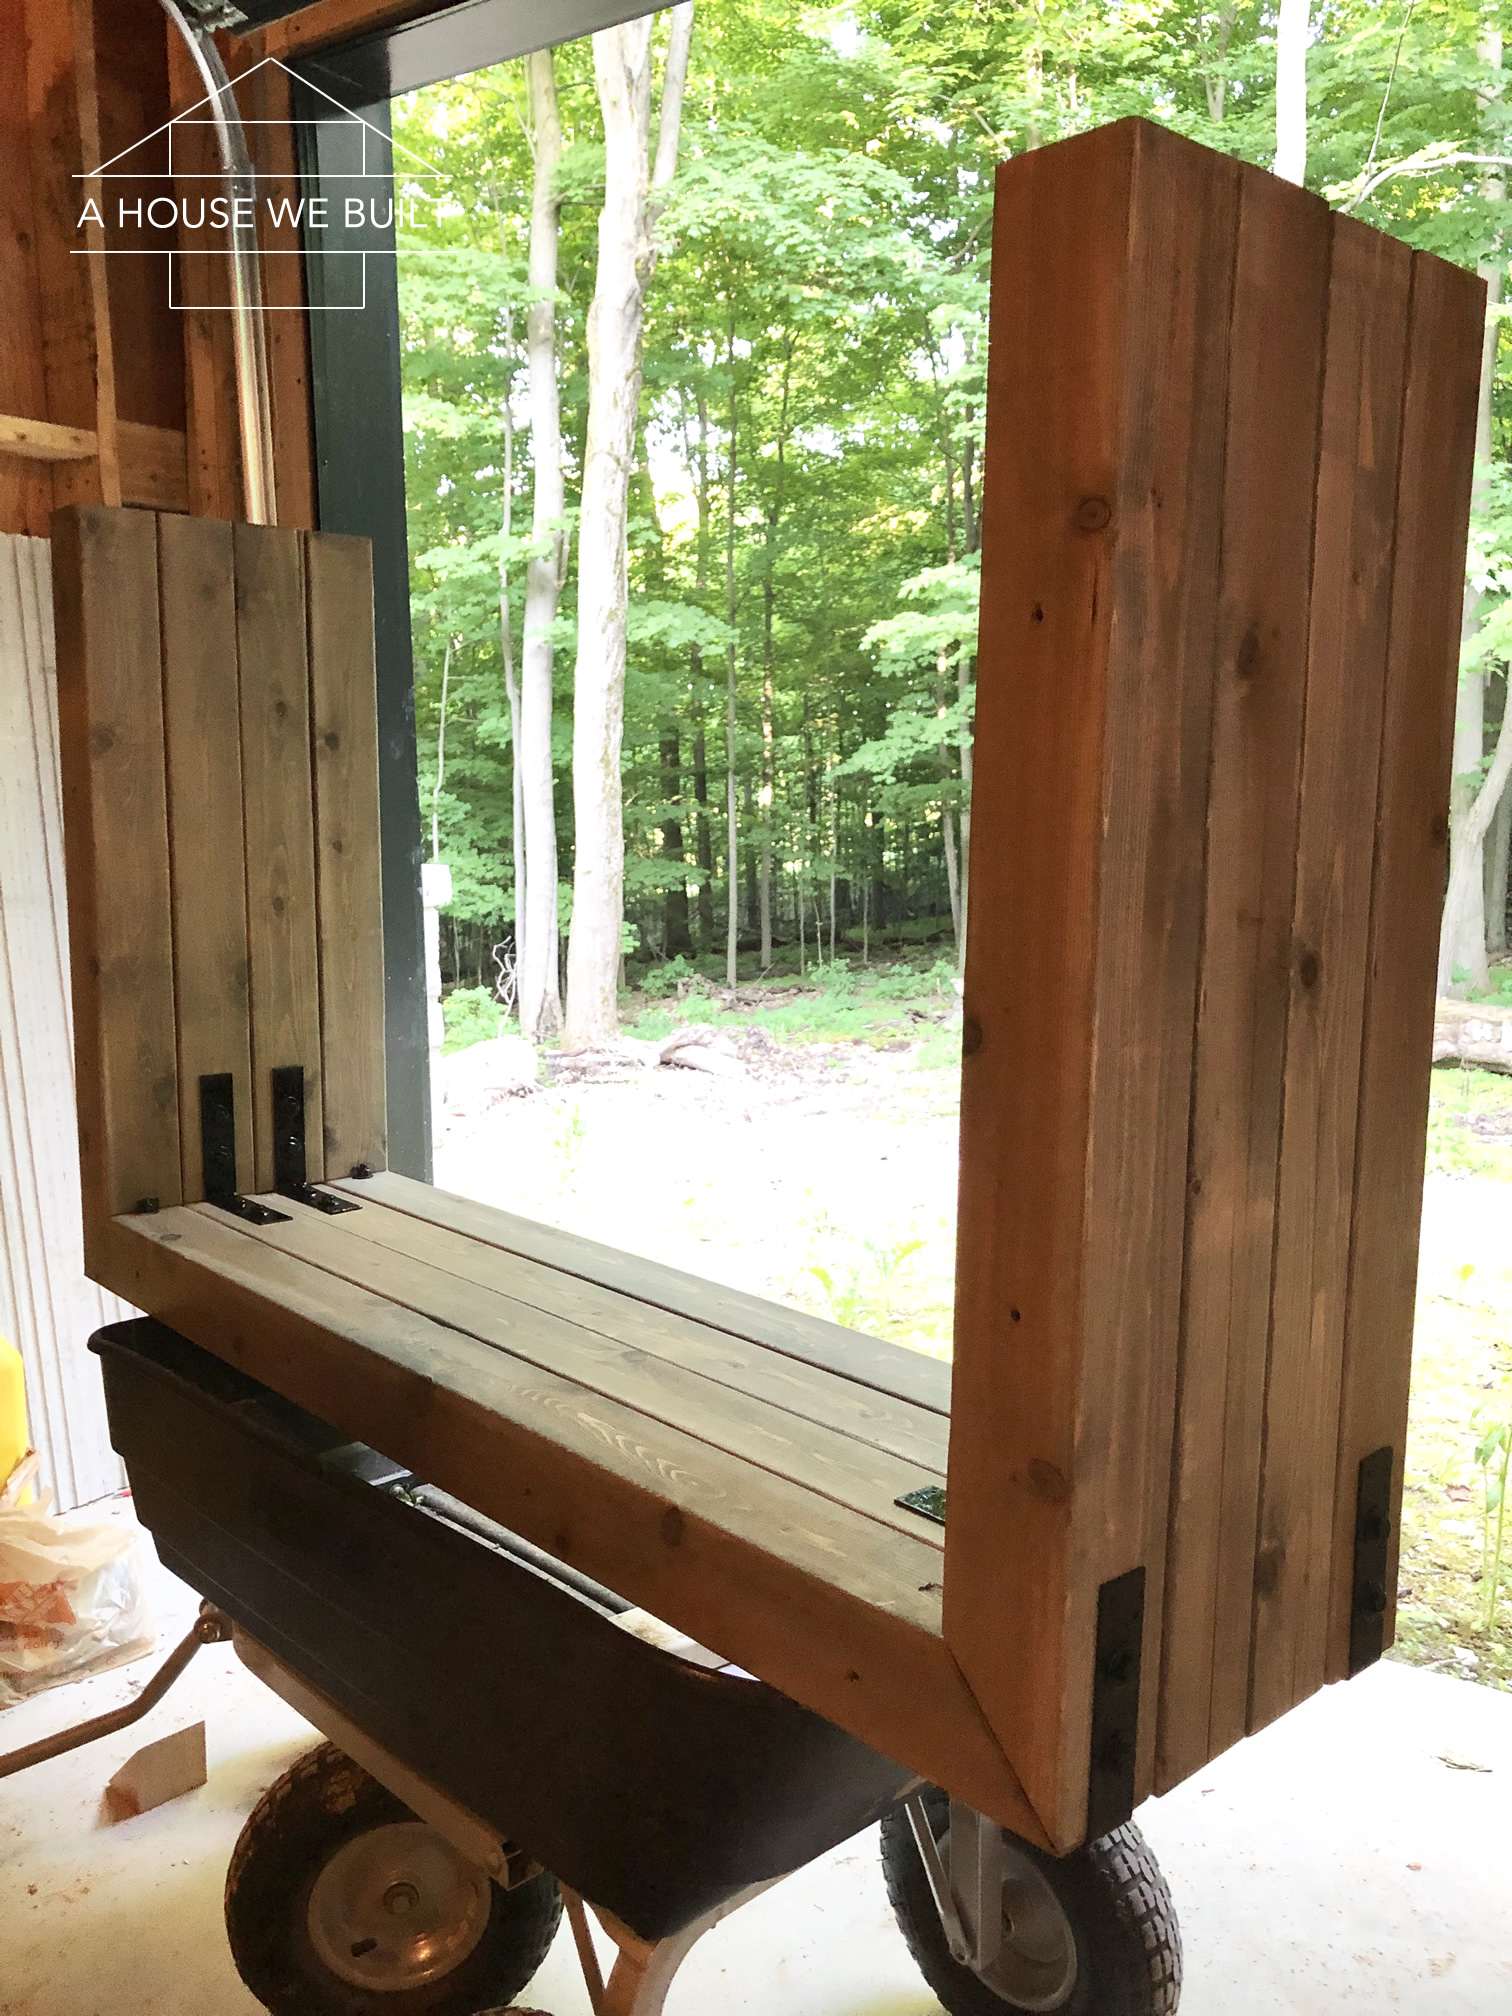
- Pre-drill everything and bolt it all together as shown in the diagram. As you can see in the pics, we did ours upside down on a raised platform (i.e. a wagon lol) just because it was easier.
- I used a small paint brush to touch up all the black metal paint (this type of paint: Home Depot) but this is optional. I just think it makes it look better.
If all of this seems like way too much work to you, then again you can also check out all of these ready-made tables that are similar to the style we built and require a zillion percent less effort to acquire 😛 : West Elm | Pottery Barn | Wayfair | Crate & Barrel | McGee & Co.
As always, please be super careful using any tools and take all appropriate safety measures! And a further disclaimer: we’re not pro furniture builders, we just figured this out as we went so we’re only sharing our experience, nothing more!
For sources and similar items from our entryway/foyer go here: Entryway/Foyer Sources Page
Jason says
How are the 4 pieces screwed together?
admin says
Not sure I understand the question. I believe it’s answered in the post + diagram above.
Jason says
I guess I am not understanding. These are 4”x4” wood posts. And I am assuming you are using the 3.5” wood screws with glue to fasten the 4 units together. So are you drilling a recessed hole in each piece of wood in order for the 3.5 “ screws to reach through? If so how deep are you recessing each hole?
admin says
Maybe I’m not understanding but it’s explained in the post. Step 4.
Crystal says
Based on the screwing diagram I’m assuming that the back side of the table has visible screws. I had a similar question when reading it the first two times…
admin says
Correct. So it’s not reversible.
Lindsey says
Hi I’m struggling with the stain. The natural cedar orange is coming through. I’m using all products listed. How long did you leave the grey stain on for?
admin says
Did you use the pre-stain conditioner? That step is crucial. I just left the stain for a couple minutes then wiped it off. You kinda have to play it by feel. Make sure it’s well mixed though otherwise it will be watery.
Sarah says
Love this! We’re building one of these two and just realized the brackets we built don’t accommodate the 3/8 bolts purchased based on your supply list. Could you tell me where you found brackets that do work with that size of a large bolt? Thanks in advance!
admin says
We just went to a local hardware store 🙂
Freddy Assell says
Hi! Love yalls work. I actually built your farm house table off your designs this past summer and now want to build this console table for our front door. My plan is to make a little shoe bench for people to sit on. I’m gonna make the dimensions shorter for obvious reasons but my question is, is yours super sturdy with the l brackets and bolts to withstand someone sitting on it? I know mine only being say 2.5 ft tall would make it sturdier but wanted to get your opinion on yours first.
admin says
hmm honestly I don’t know. I mean yes it’s quite sturdy but I don’t think I’d feel comfortable confirming for sure that it could take someone’s weight. You could probably math out if it was good based on the loads each bolt can handle though I suppose.
Jamie Smith says
Hello! We are currently building this. The link to the hardware touch up paint isn’t working could you please re-list that ? Thank you so much !!!
admin says
Updated 🙂
Nhi Diep Alt says
Hello! Thank you for the tutorial! Super helpful! Did you use the kreg jig tool to connect the 4 pieces together for the top and the sides? Thanks again!
admin says
Hi 🙂 No, we did not use the KJ at all for this project. I don’t think it would be as good to use with posts rather than boards. We screwed it together with wood screws in the middle of each post as per my diagram.
Nhi Diep Alt says
Thank you. I re-read the diagram multiple times but I am still not sure how you can screw the 4 inch posts together with a 3.5 inch screw… do you mind elaborating on it? Thanks a bunch!!!
admin says
You have to pre-drill the holes and countersink the screws (extra far) as per our diagram showing the screw locations with the arrows halfway through the posts. But you can also use longer screws if you prefer – it really doesn’t matter as long as the posts get attached together. 🙂
Nhi Diep Alt says
That makes a lot of sense now. Thank you so much again!!! Really appreciate it! Hope you and your family have a safe holiday!
Vanessa says
I love it! Do you know roughly how much this project cost?
admin says
Thank you 🙂 It would be the cost of all the materials I used (listed in the post) totalled up. In my case, I had the stain, top coat, and tools so those didn’t factor into my direct costs.
Traci says
Hi! Is the stain the same as your side table?
admin says
Do you mean sideboard? If so, yes.