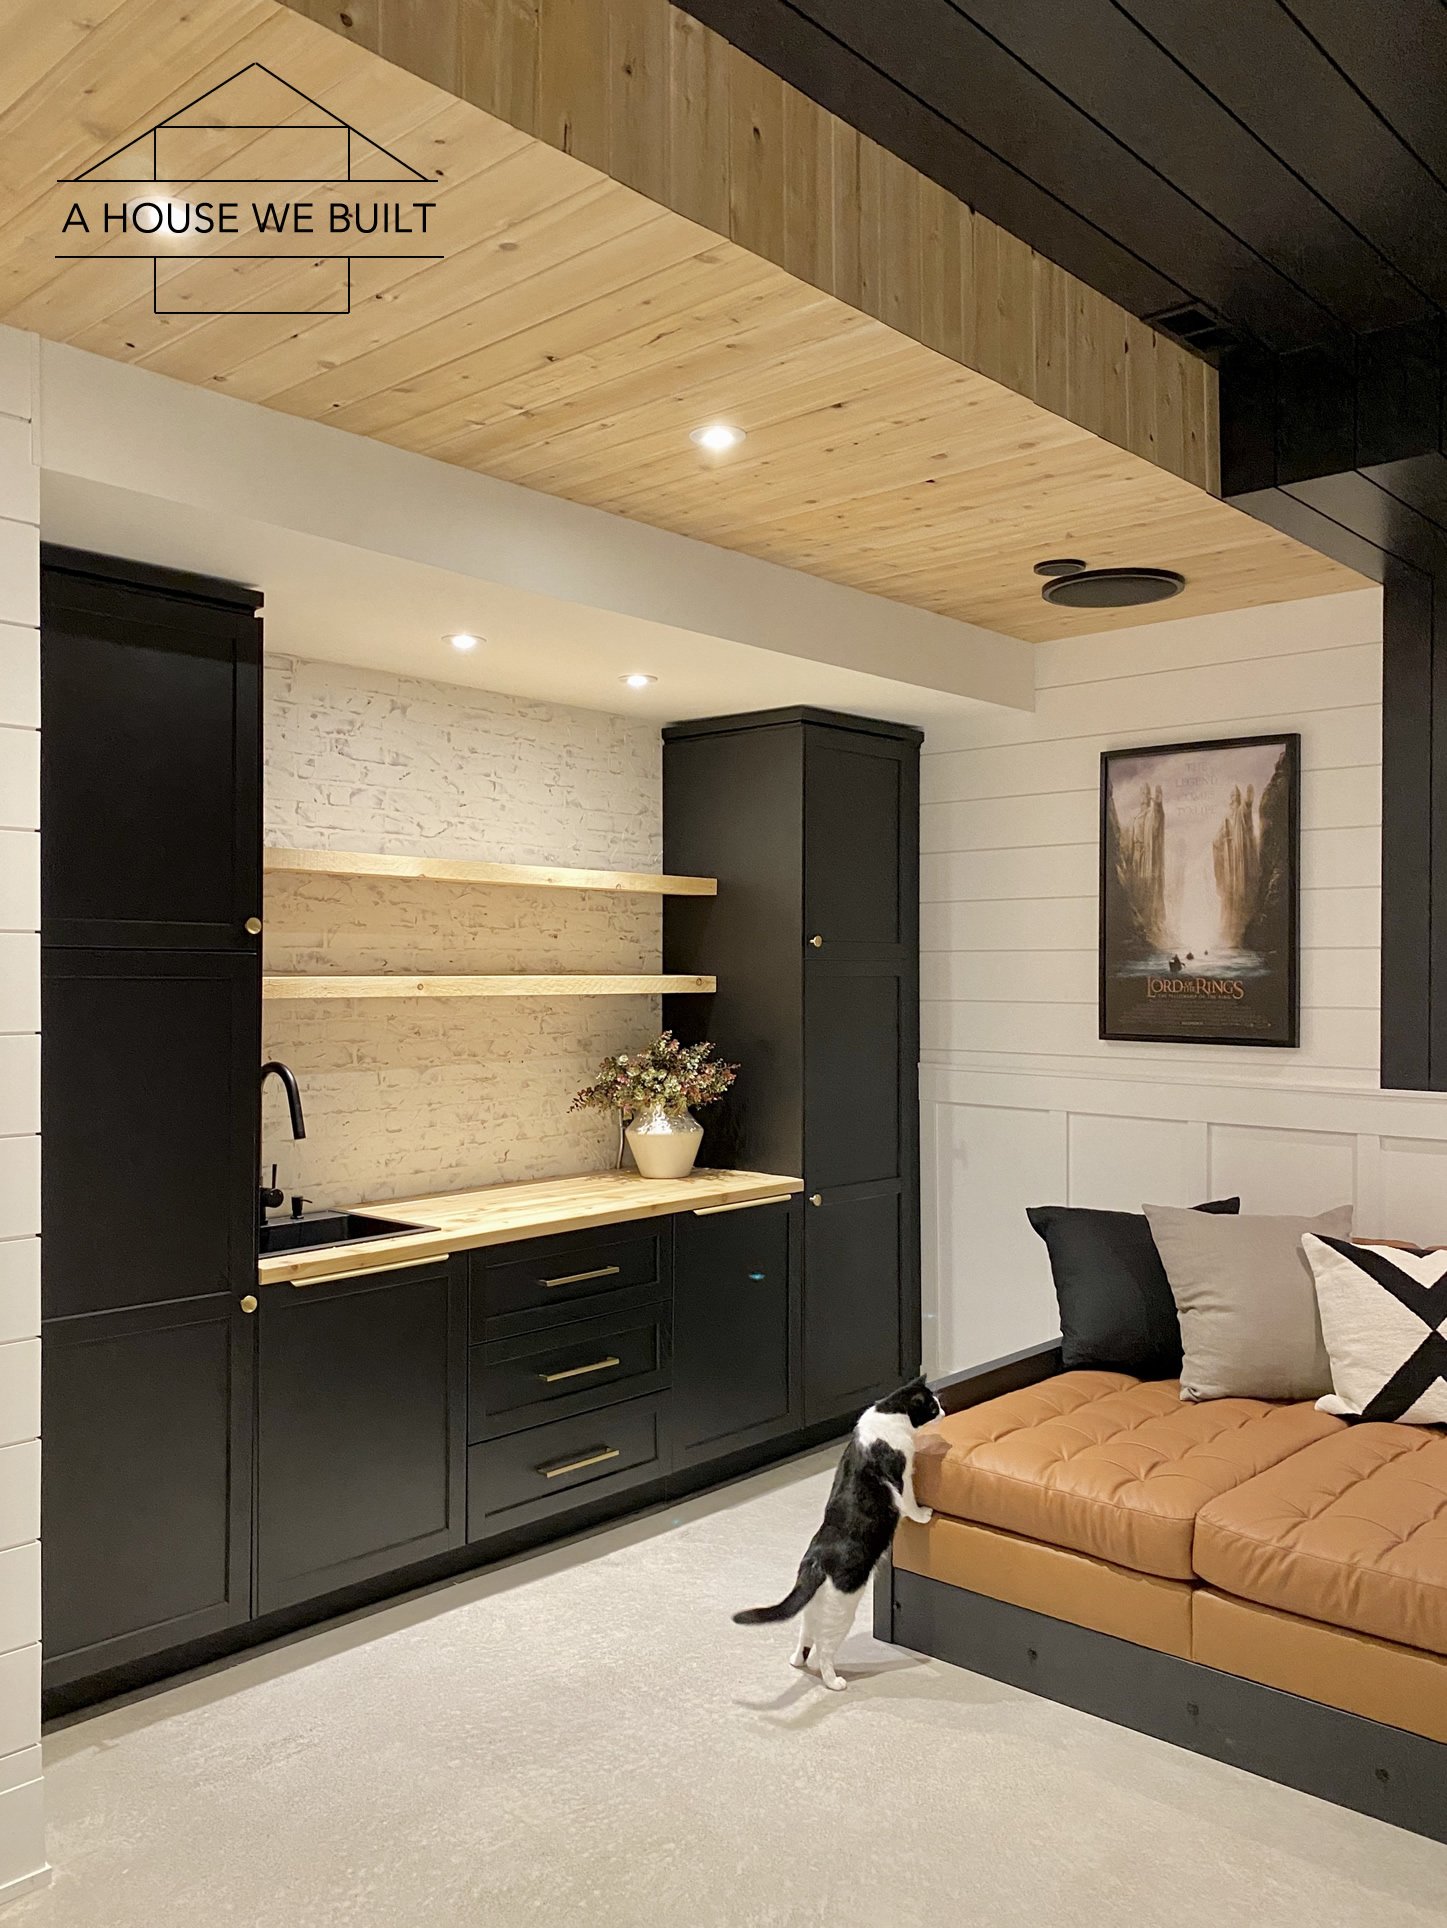
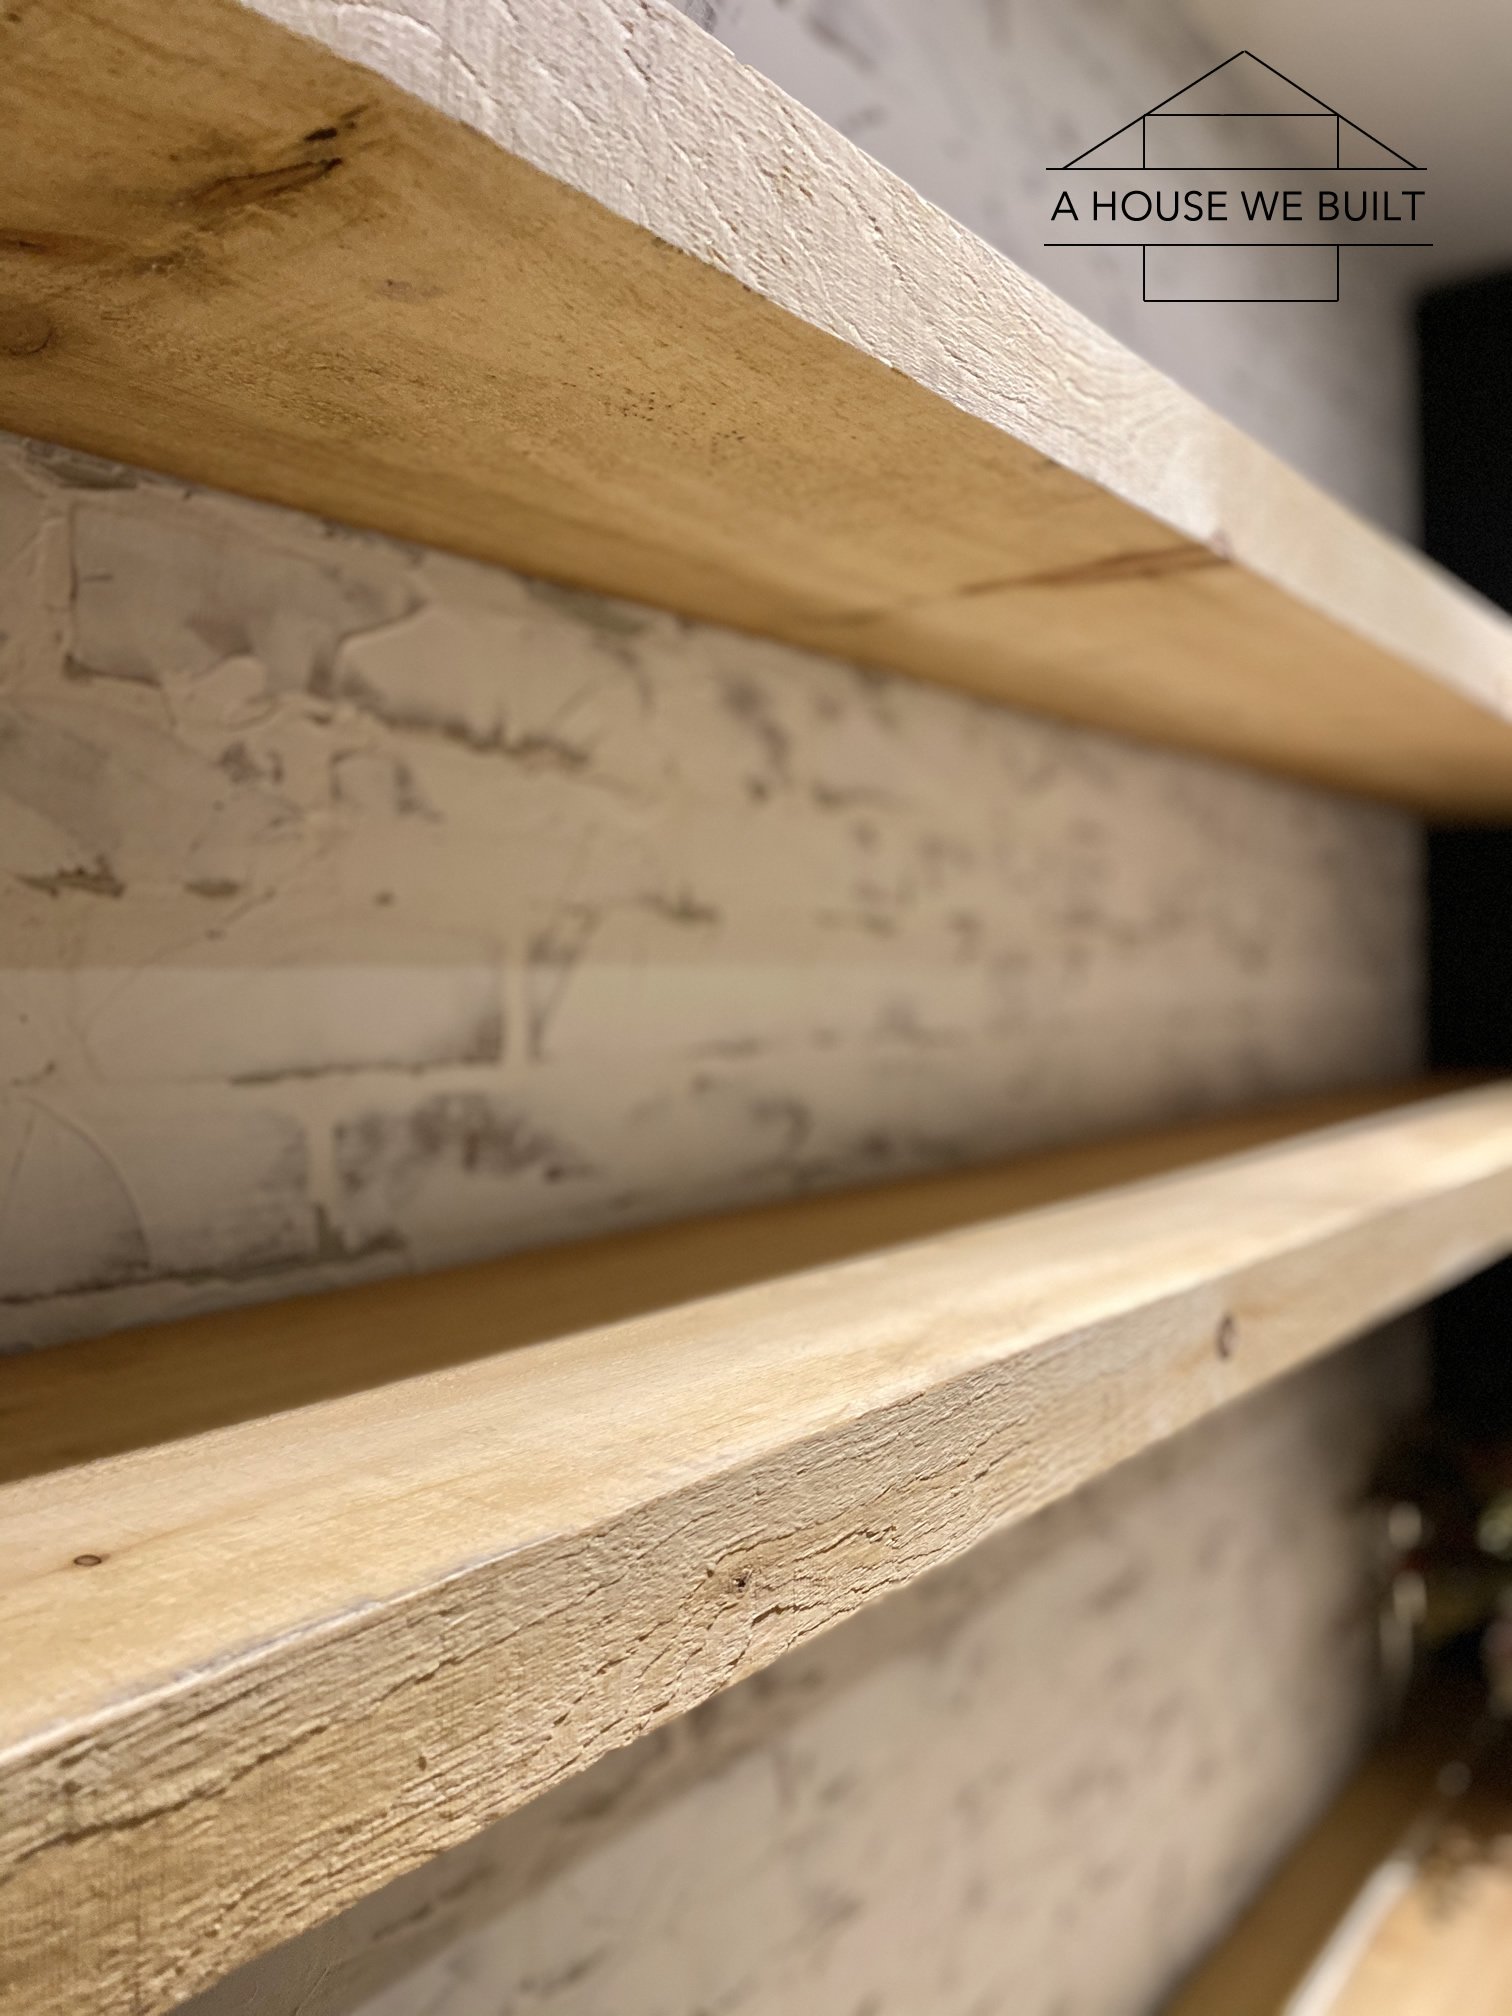
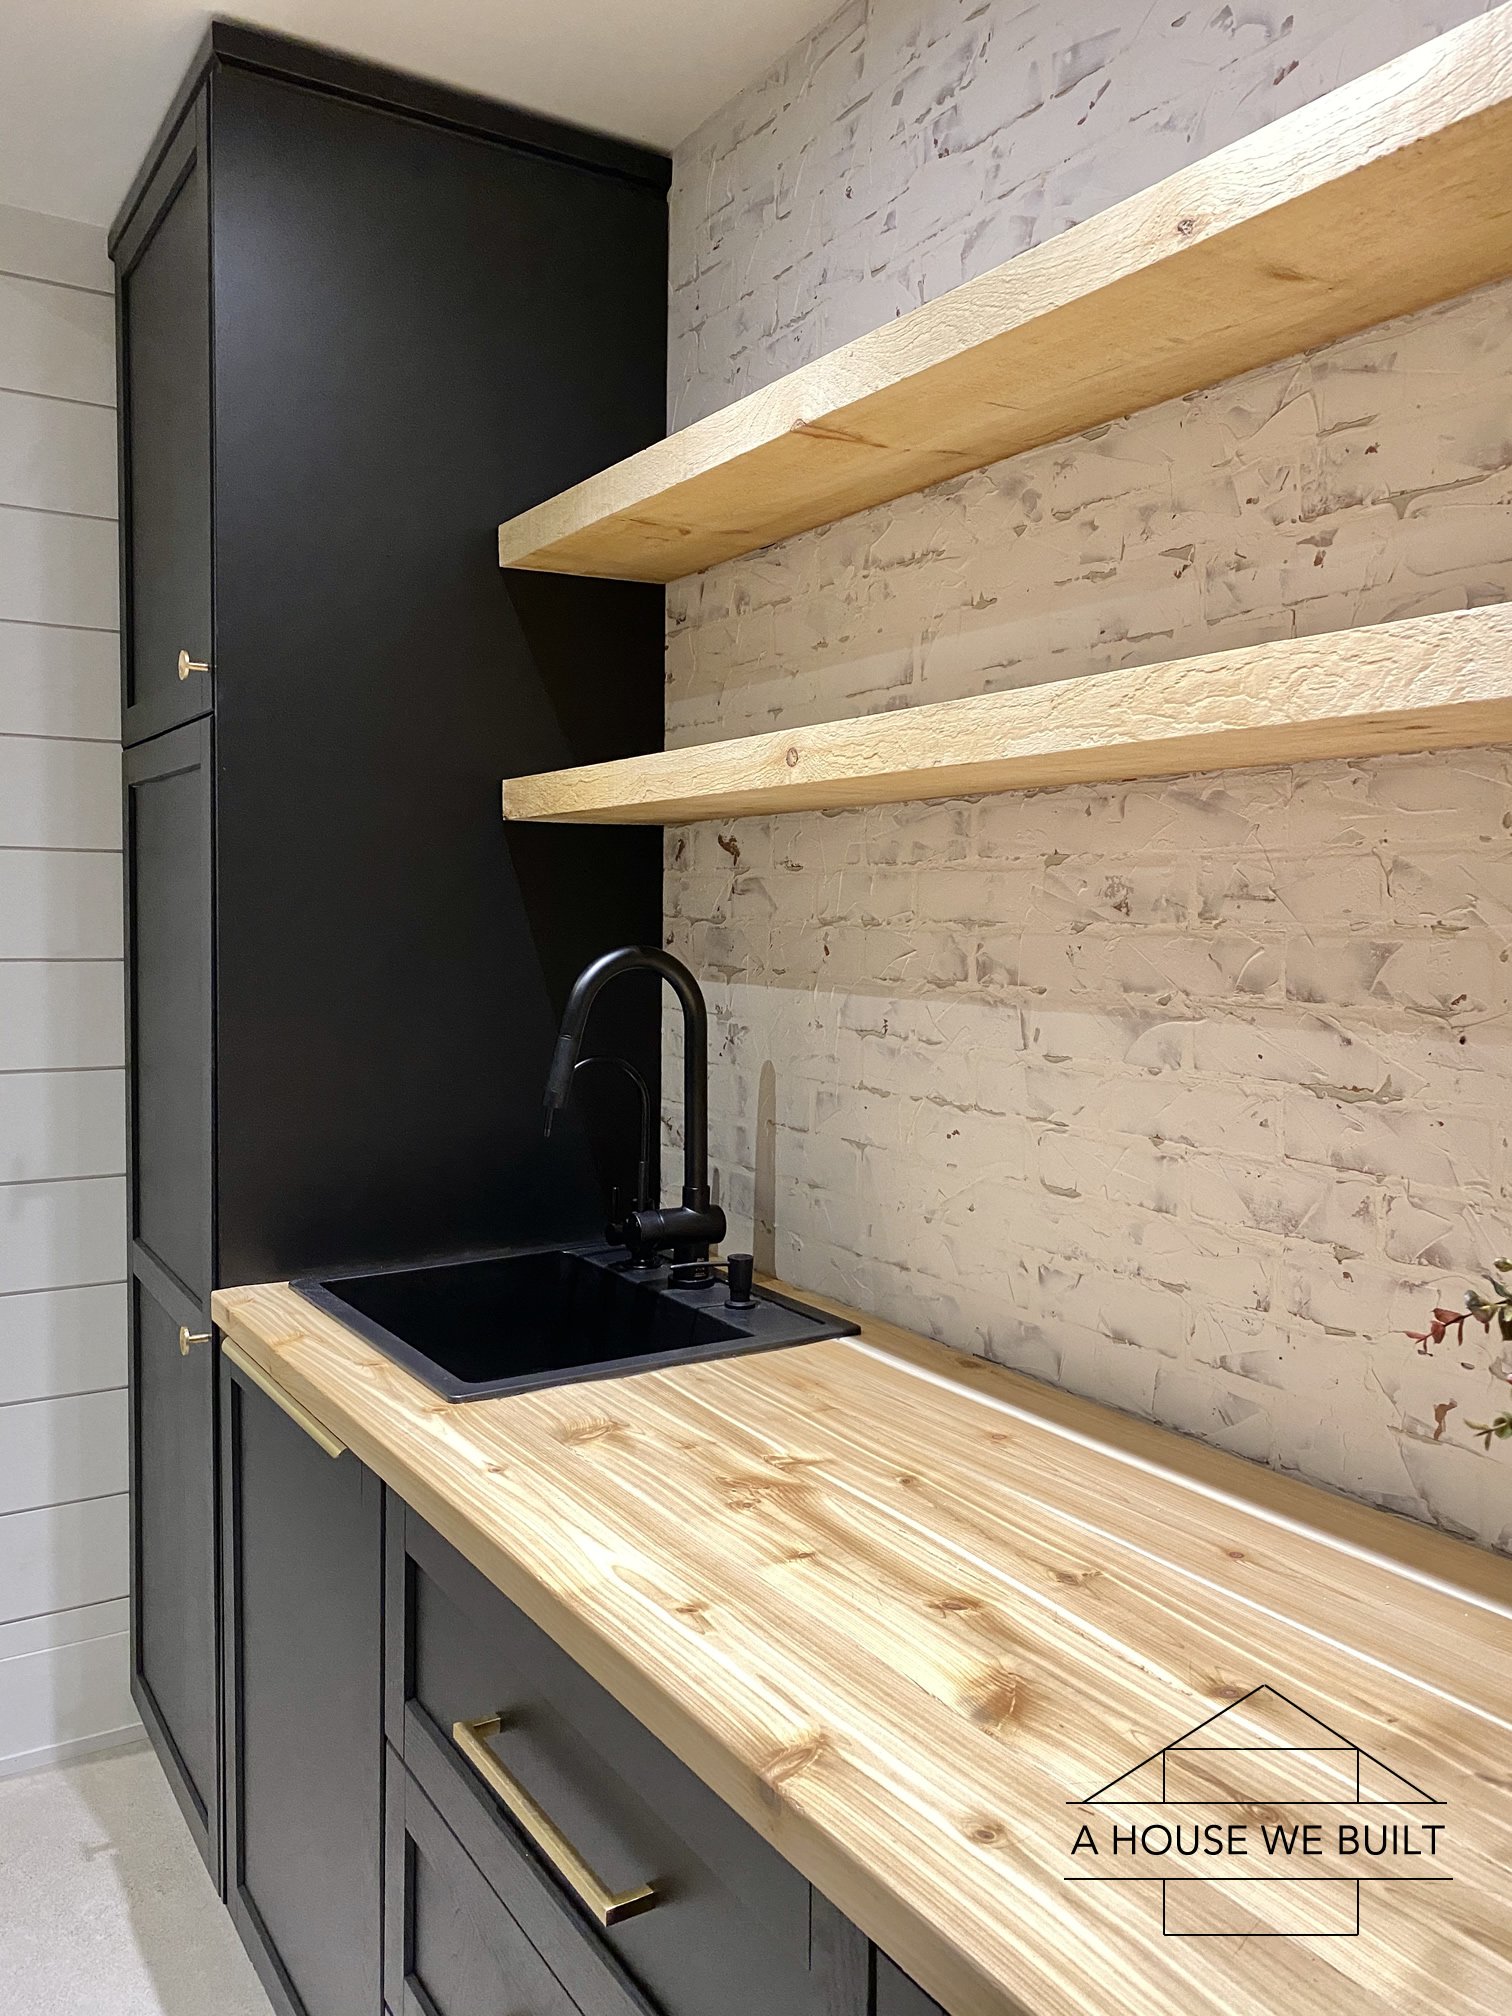
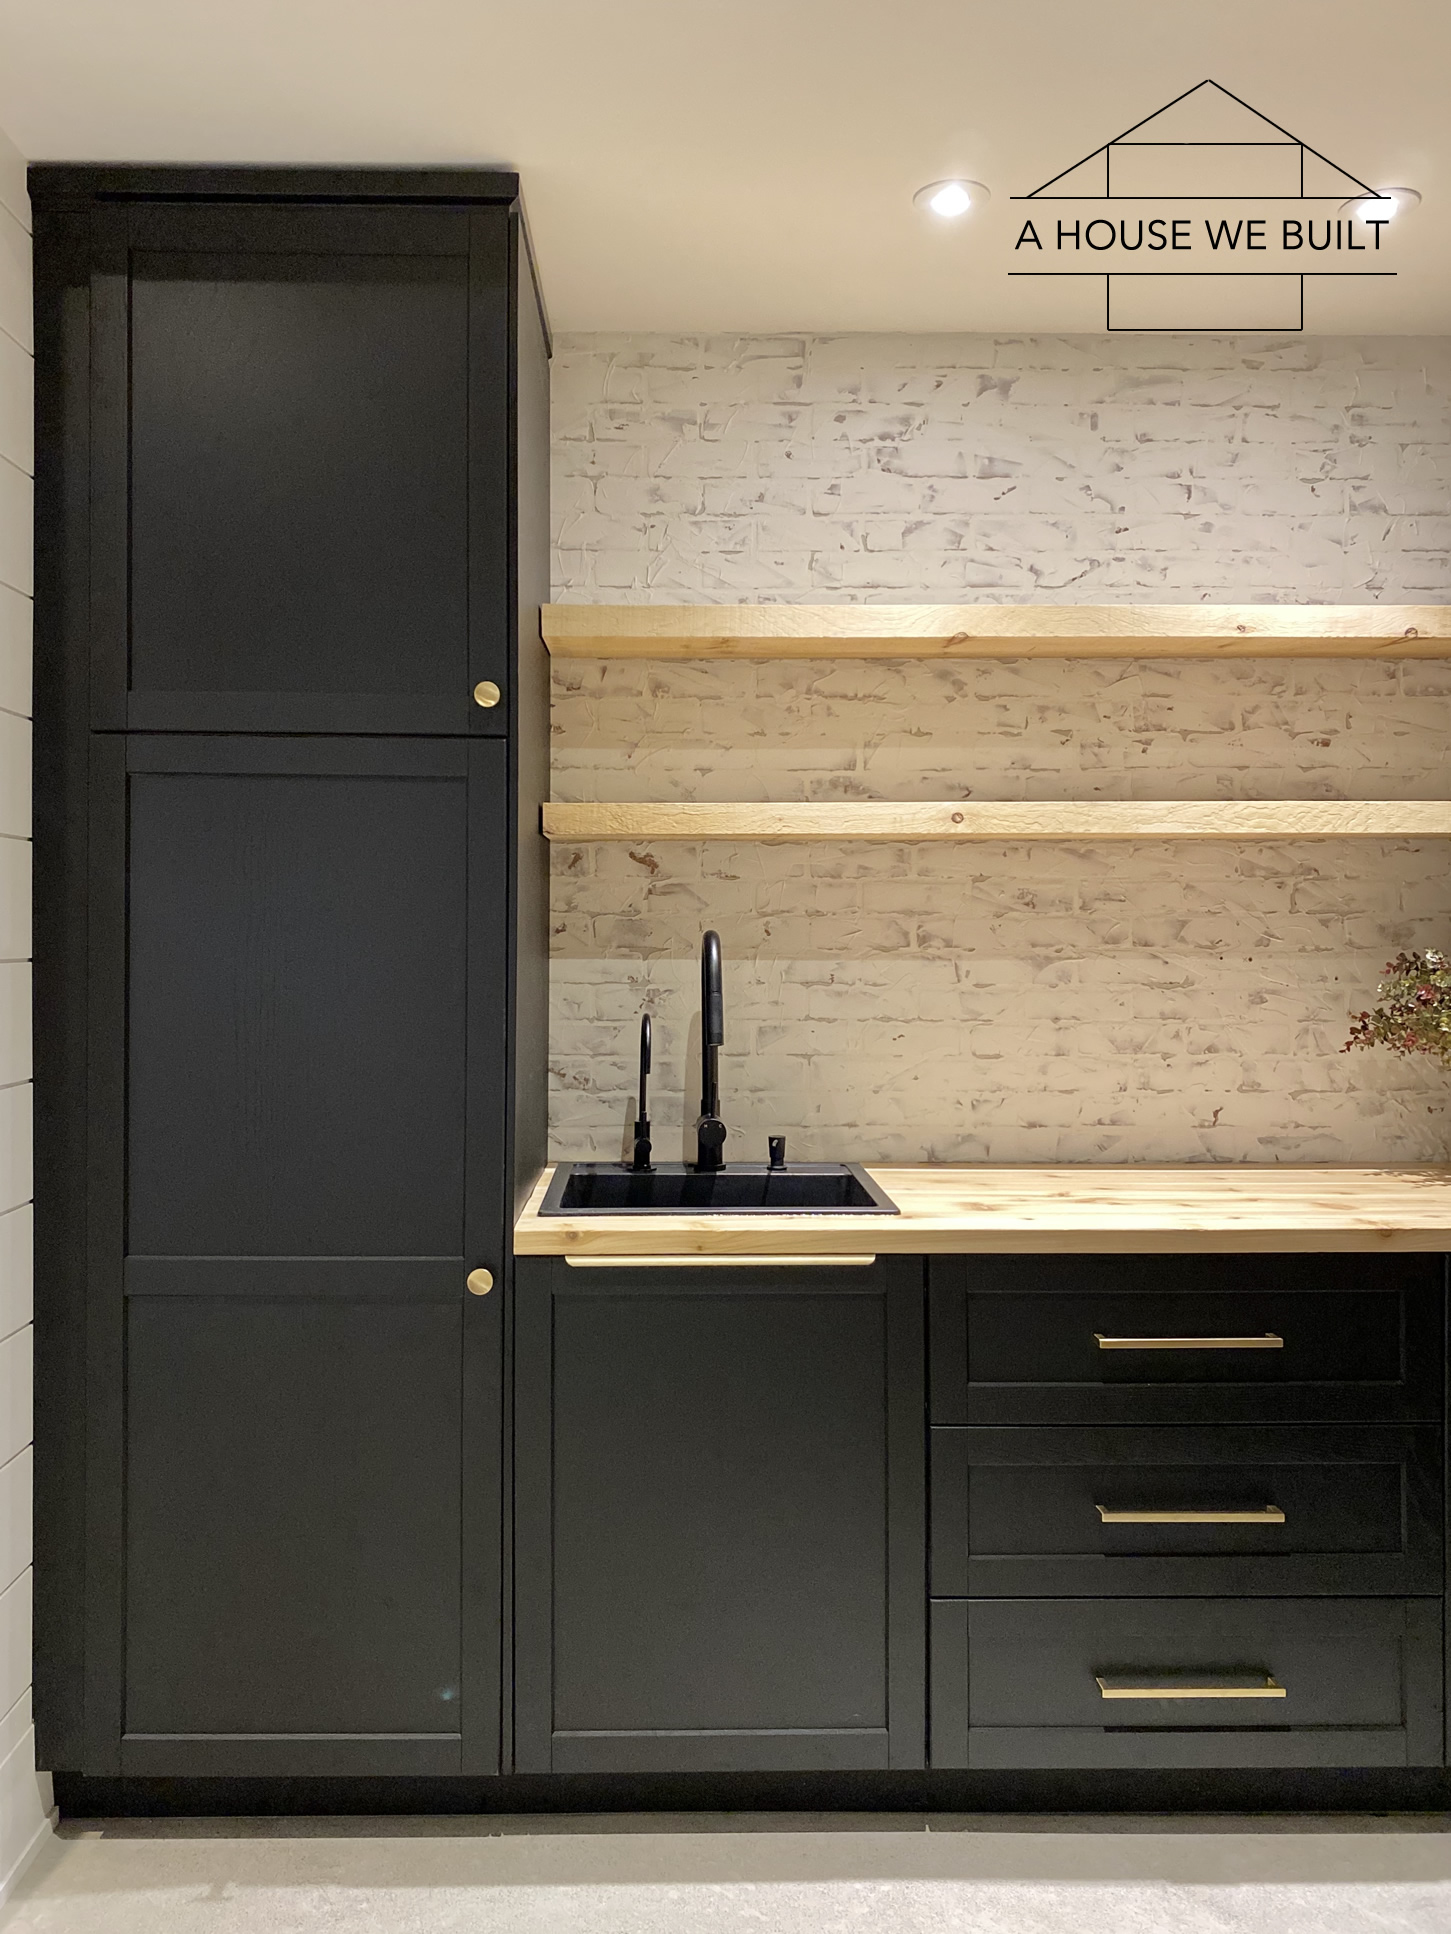
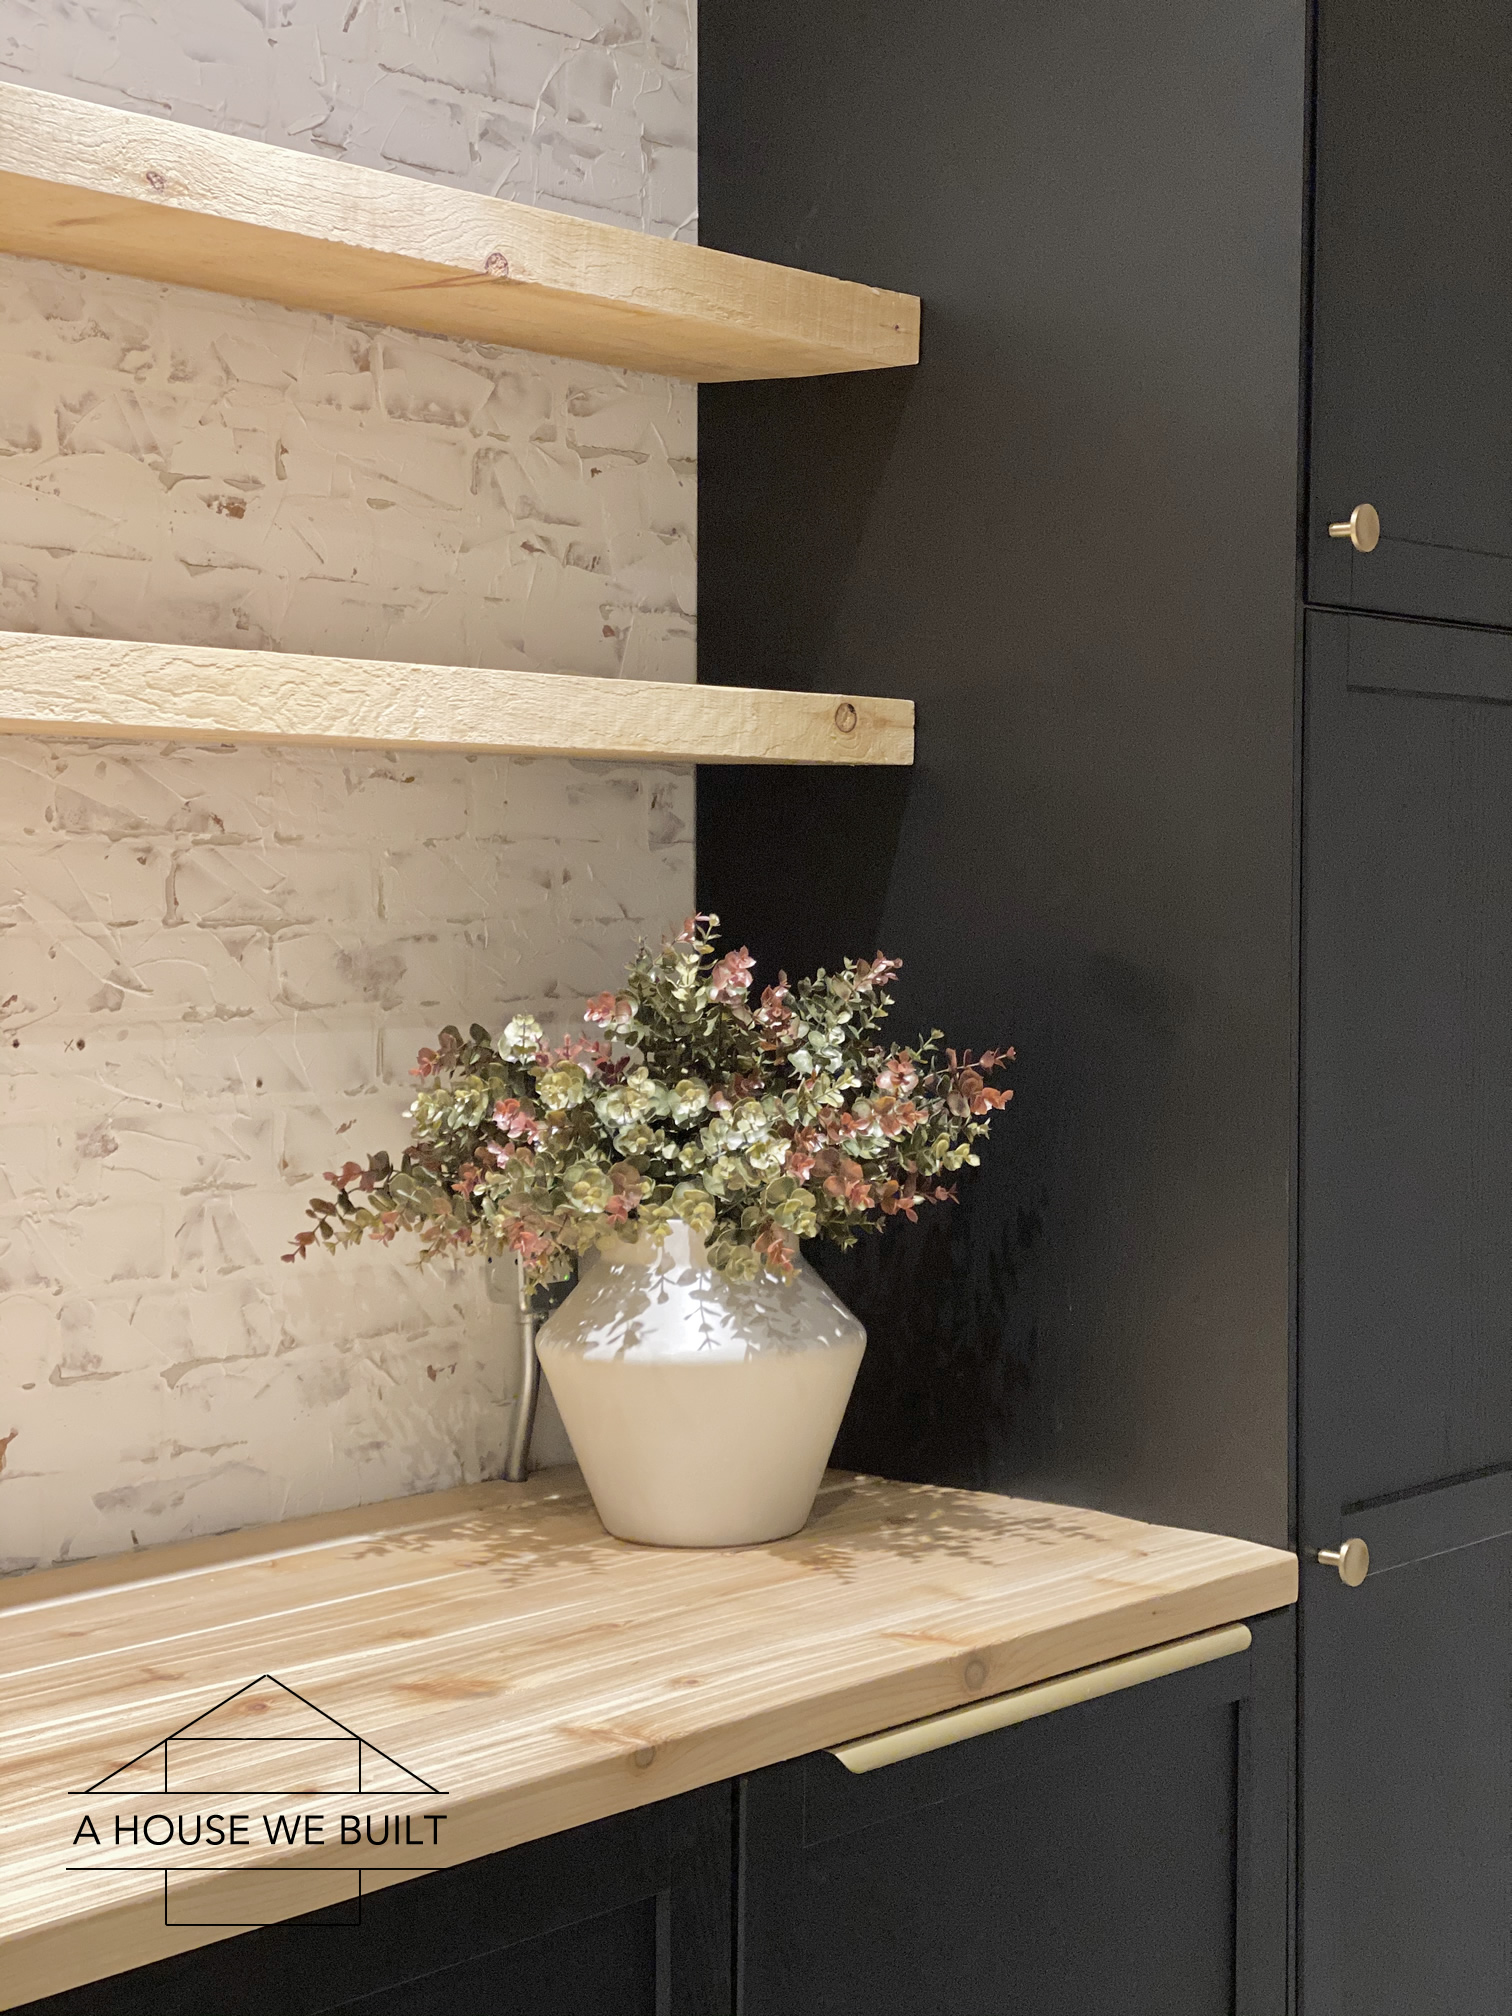
We installed floating open shelves over the snack bar in our Home Theater Room in our Basement so we thought we’d share how we did it here! There are many great ways to do floating shelves and each of them have their own advantages. The method we used not only seemed the easiest to us but also using genuinely solid wood planks achieved the thick, chunky, rustic look we were going for very authentically.
We also did these shelves in our Game Room and the little nook in our Basement Hallway.
We use real solid wood boards as our shelves, so they’re not specifically “shelving”, they’re just planks of the right size and shape that we then turn into shelves.
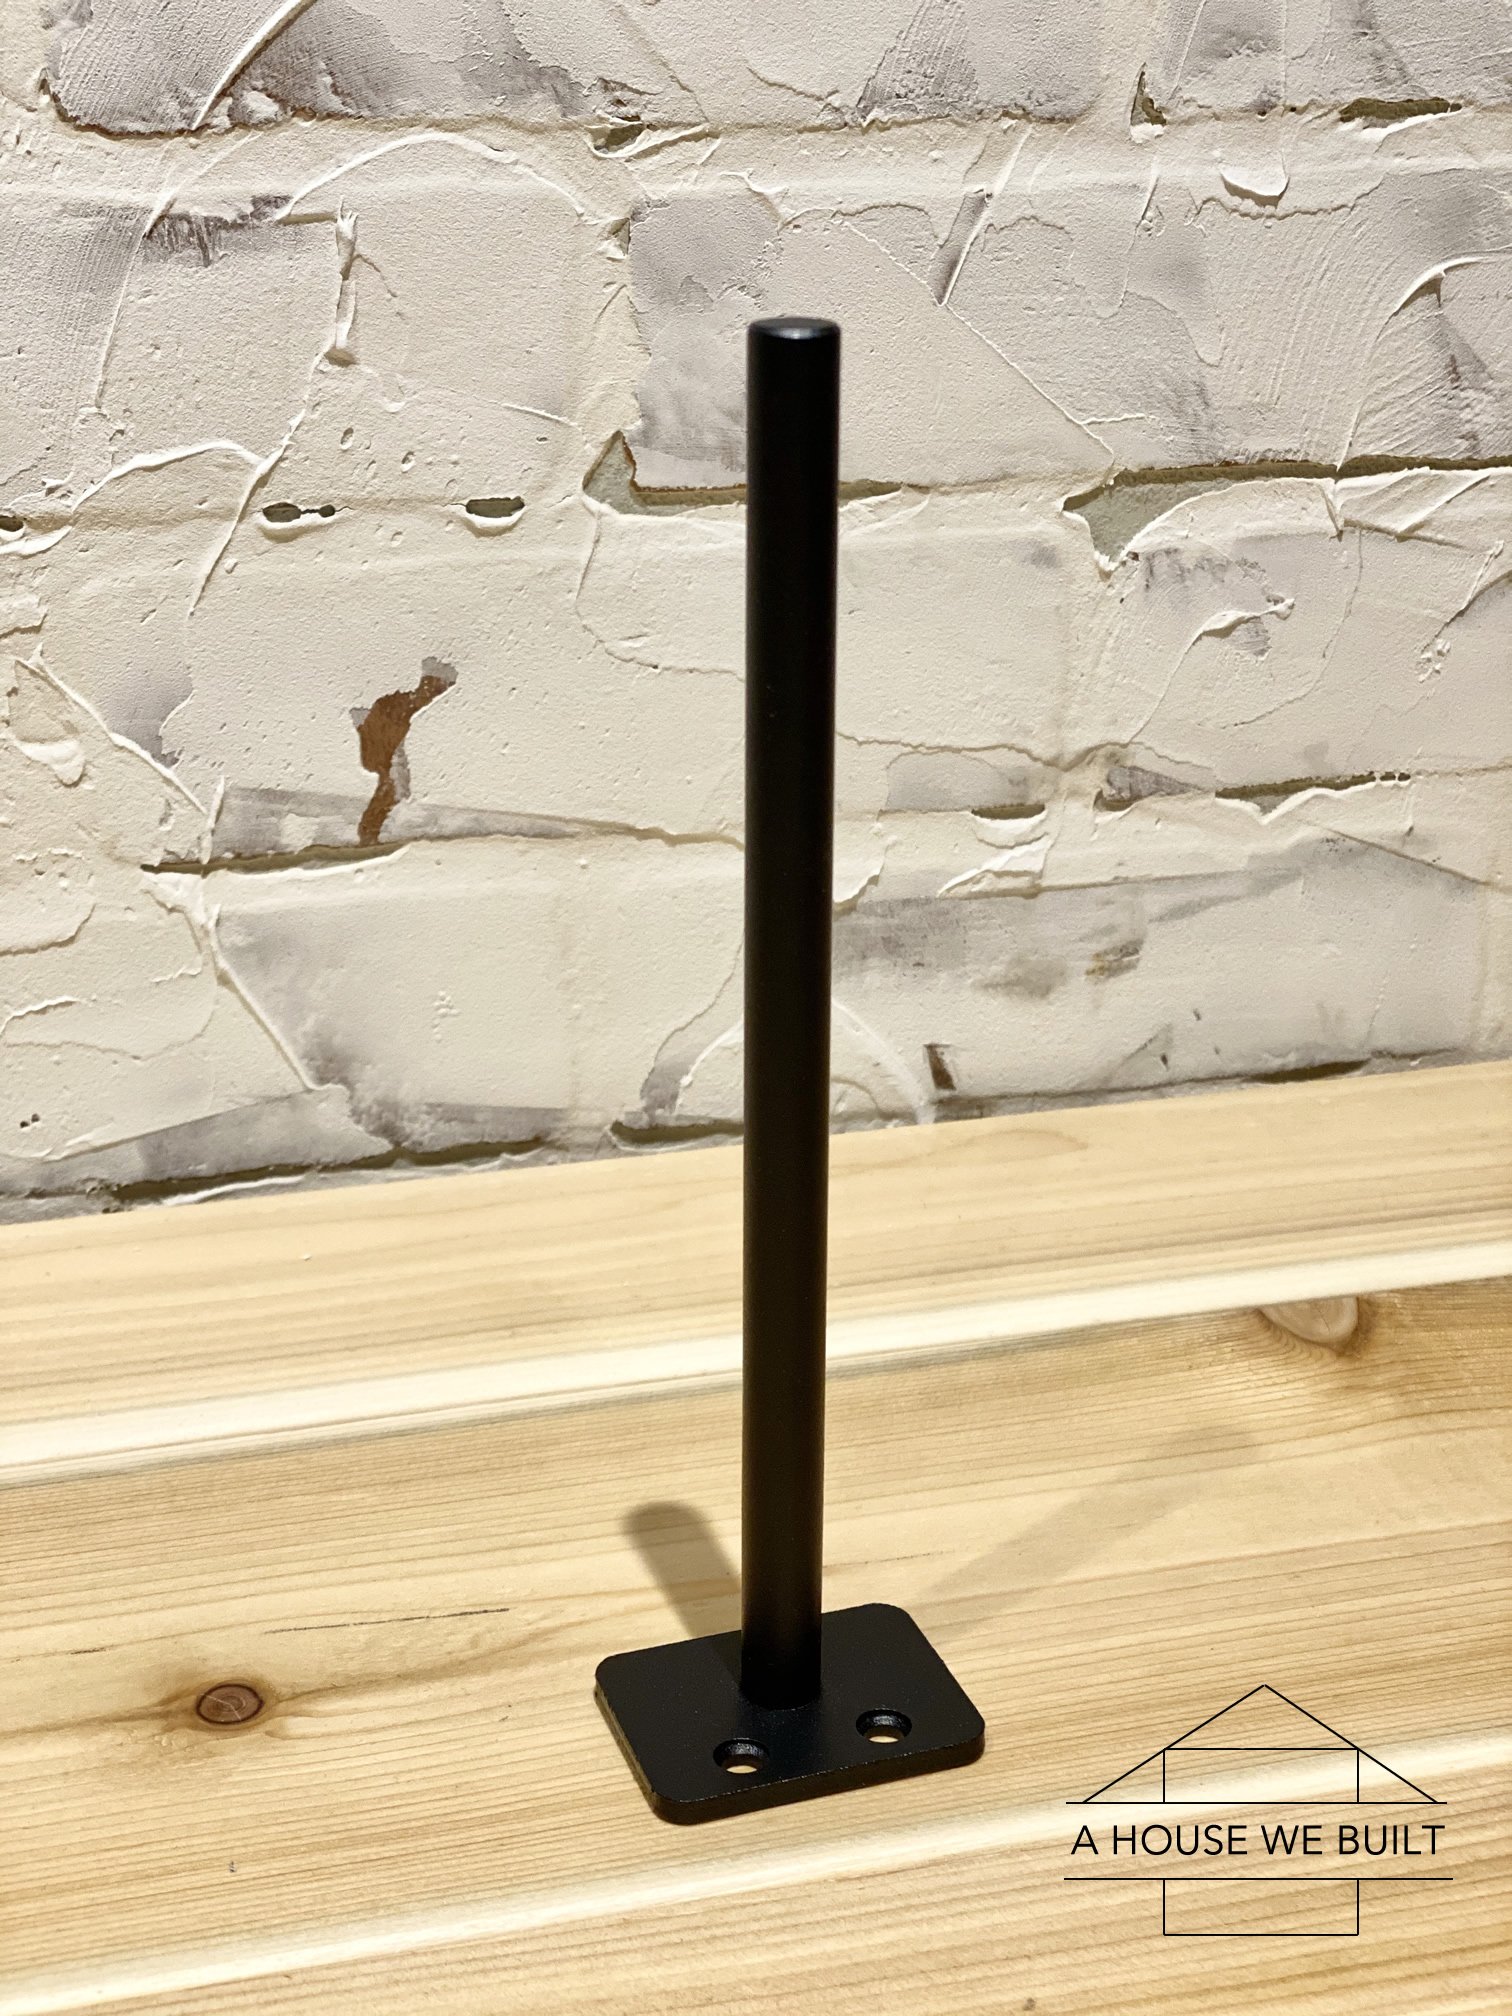
The process for installing floating shelves is simple. You just screw the rod brackets (Amazon) to studs, drill holes for them in the wood, and slide the board onto the rods. But I’ll go into more detail below:
MATERIALS & TOOLS LIST:
- Floating shelf brackets: Amazon
- Wood boards: ours are 2″ solid planks (you can use any type of wood)
- Extra long spade drill bit (+ drill): Home Depot (to drill for brackets)
- Miter saw: Home Depot | Amazon (to cut boards to size)
- Matte top coat: Home Depot | Amazon
- Sandpaper: Home Depot | Amazon
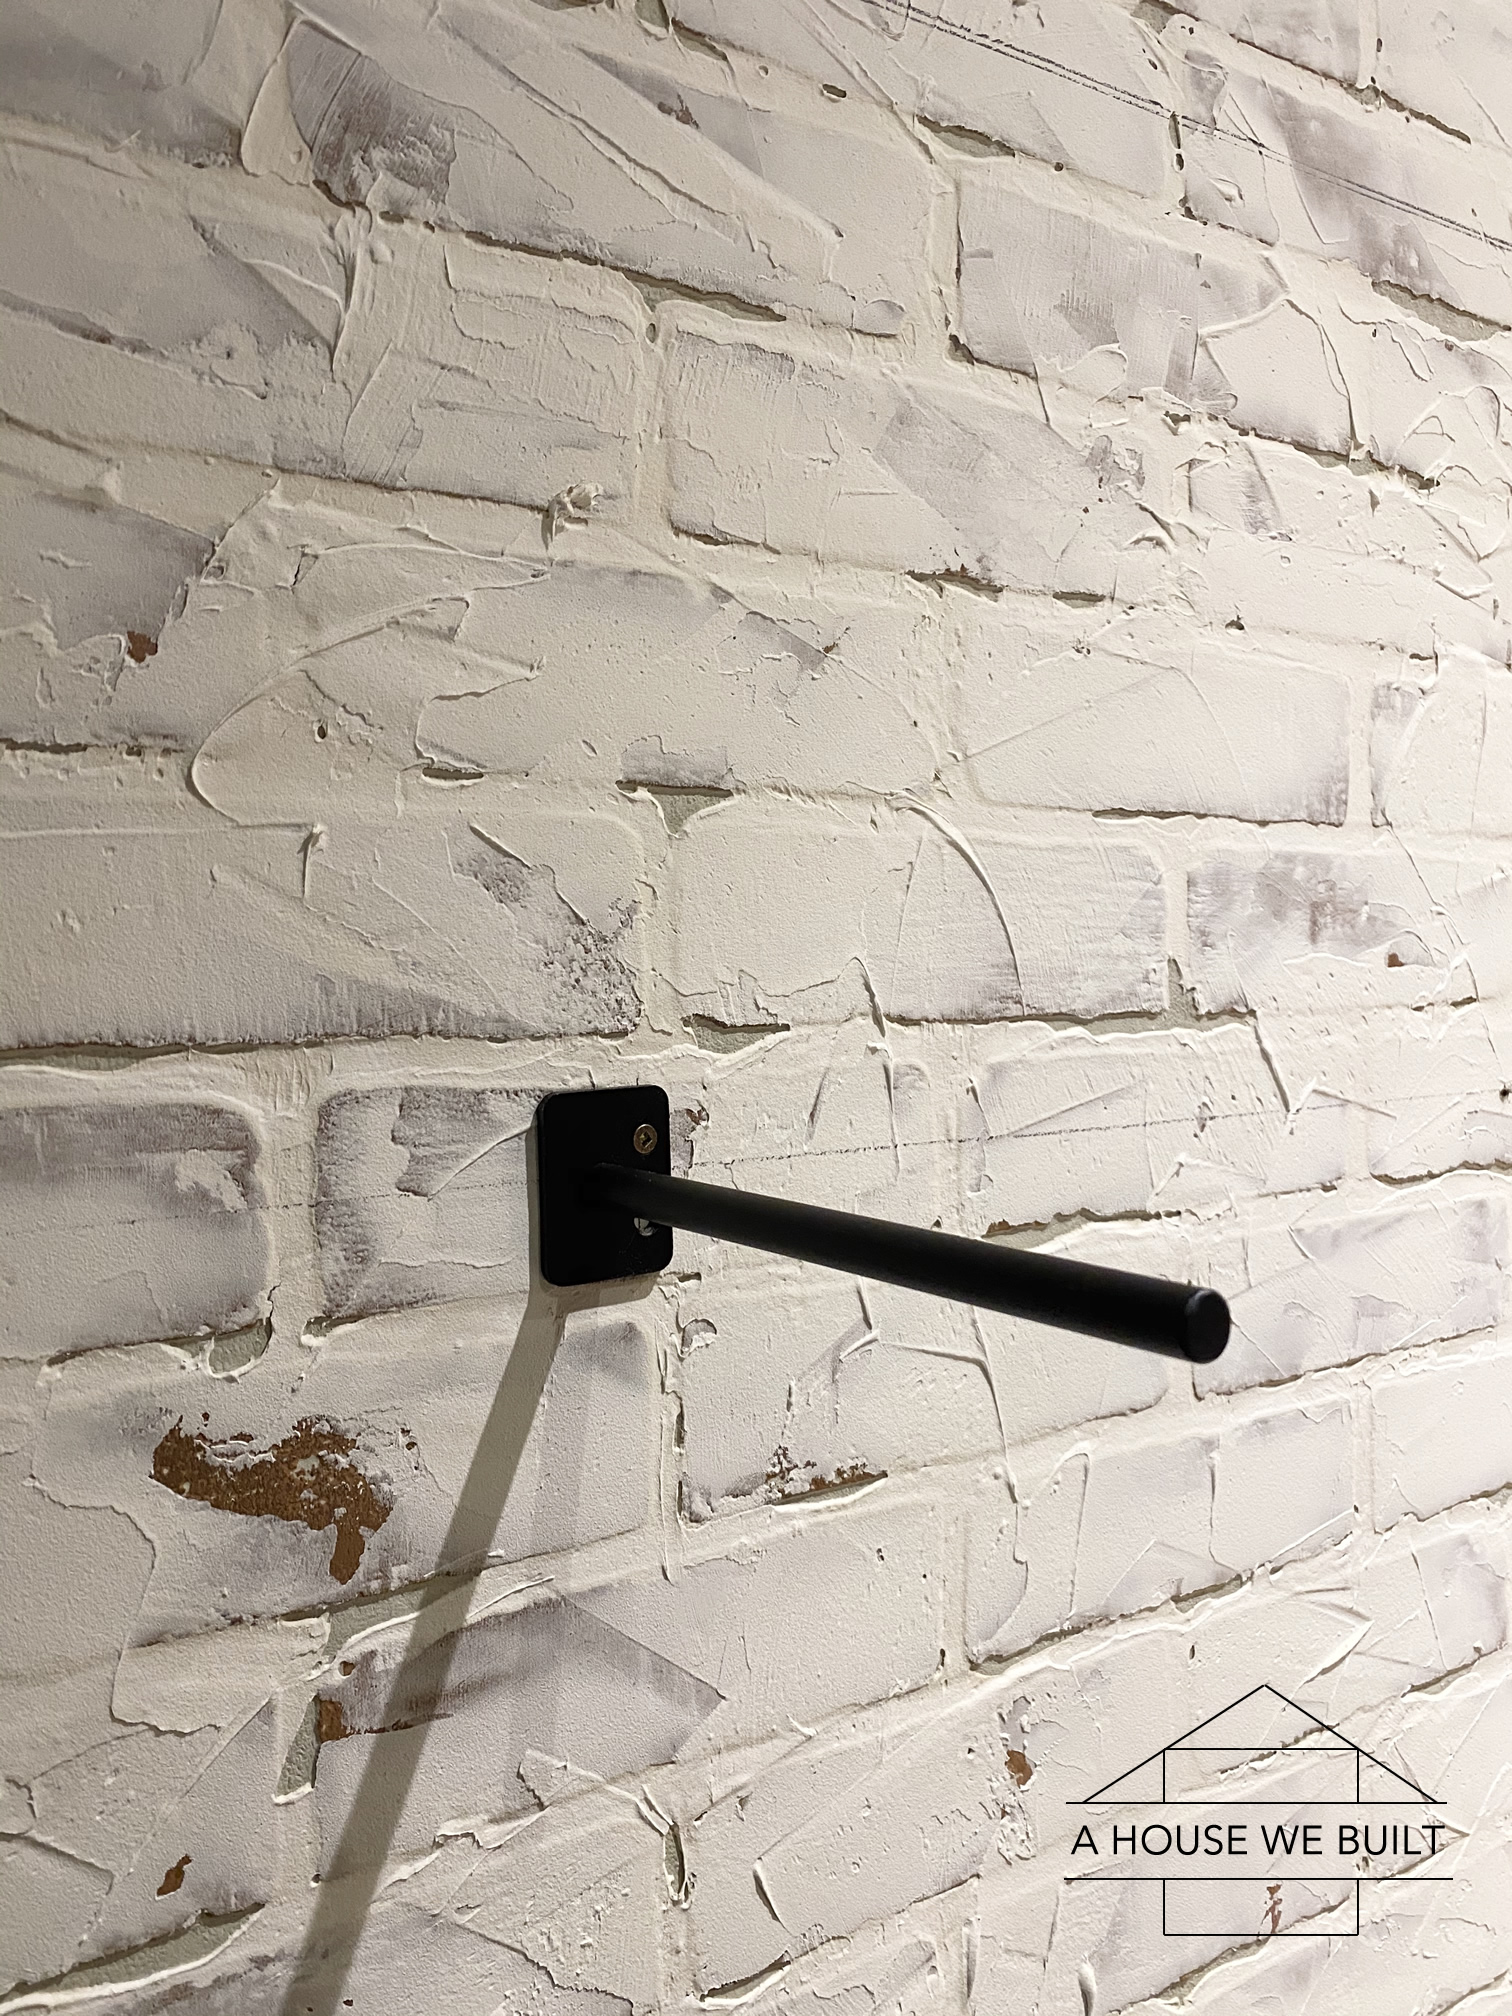
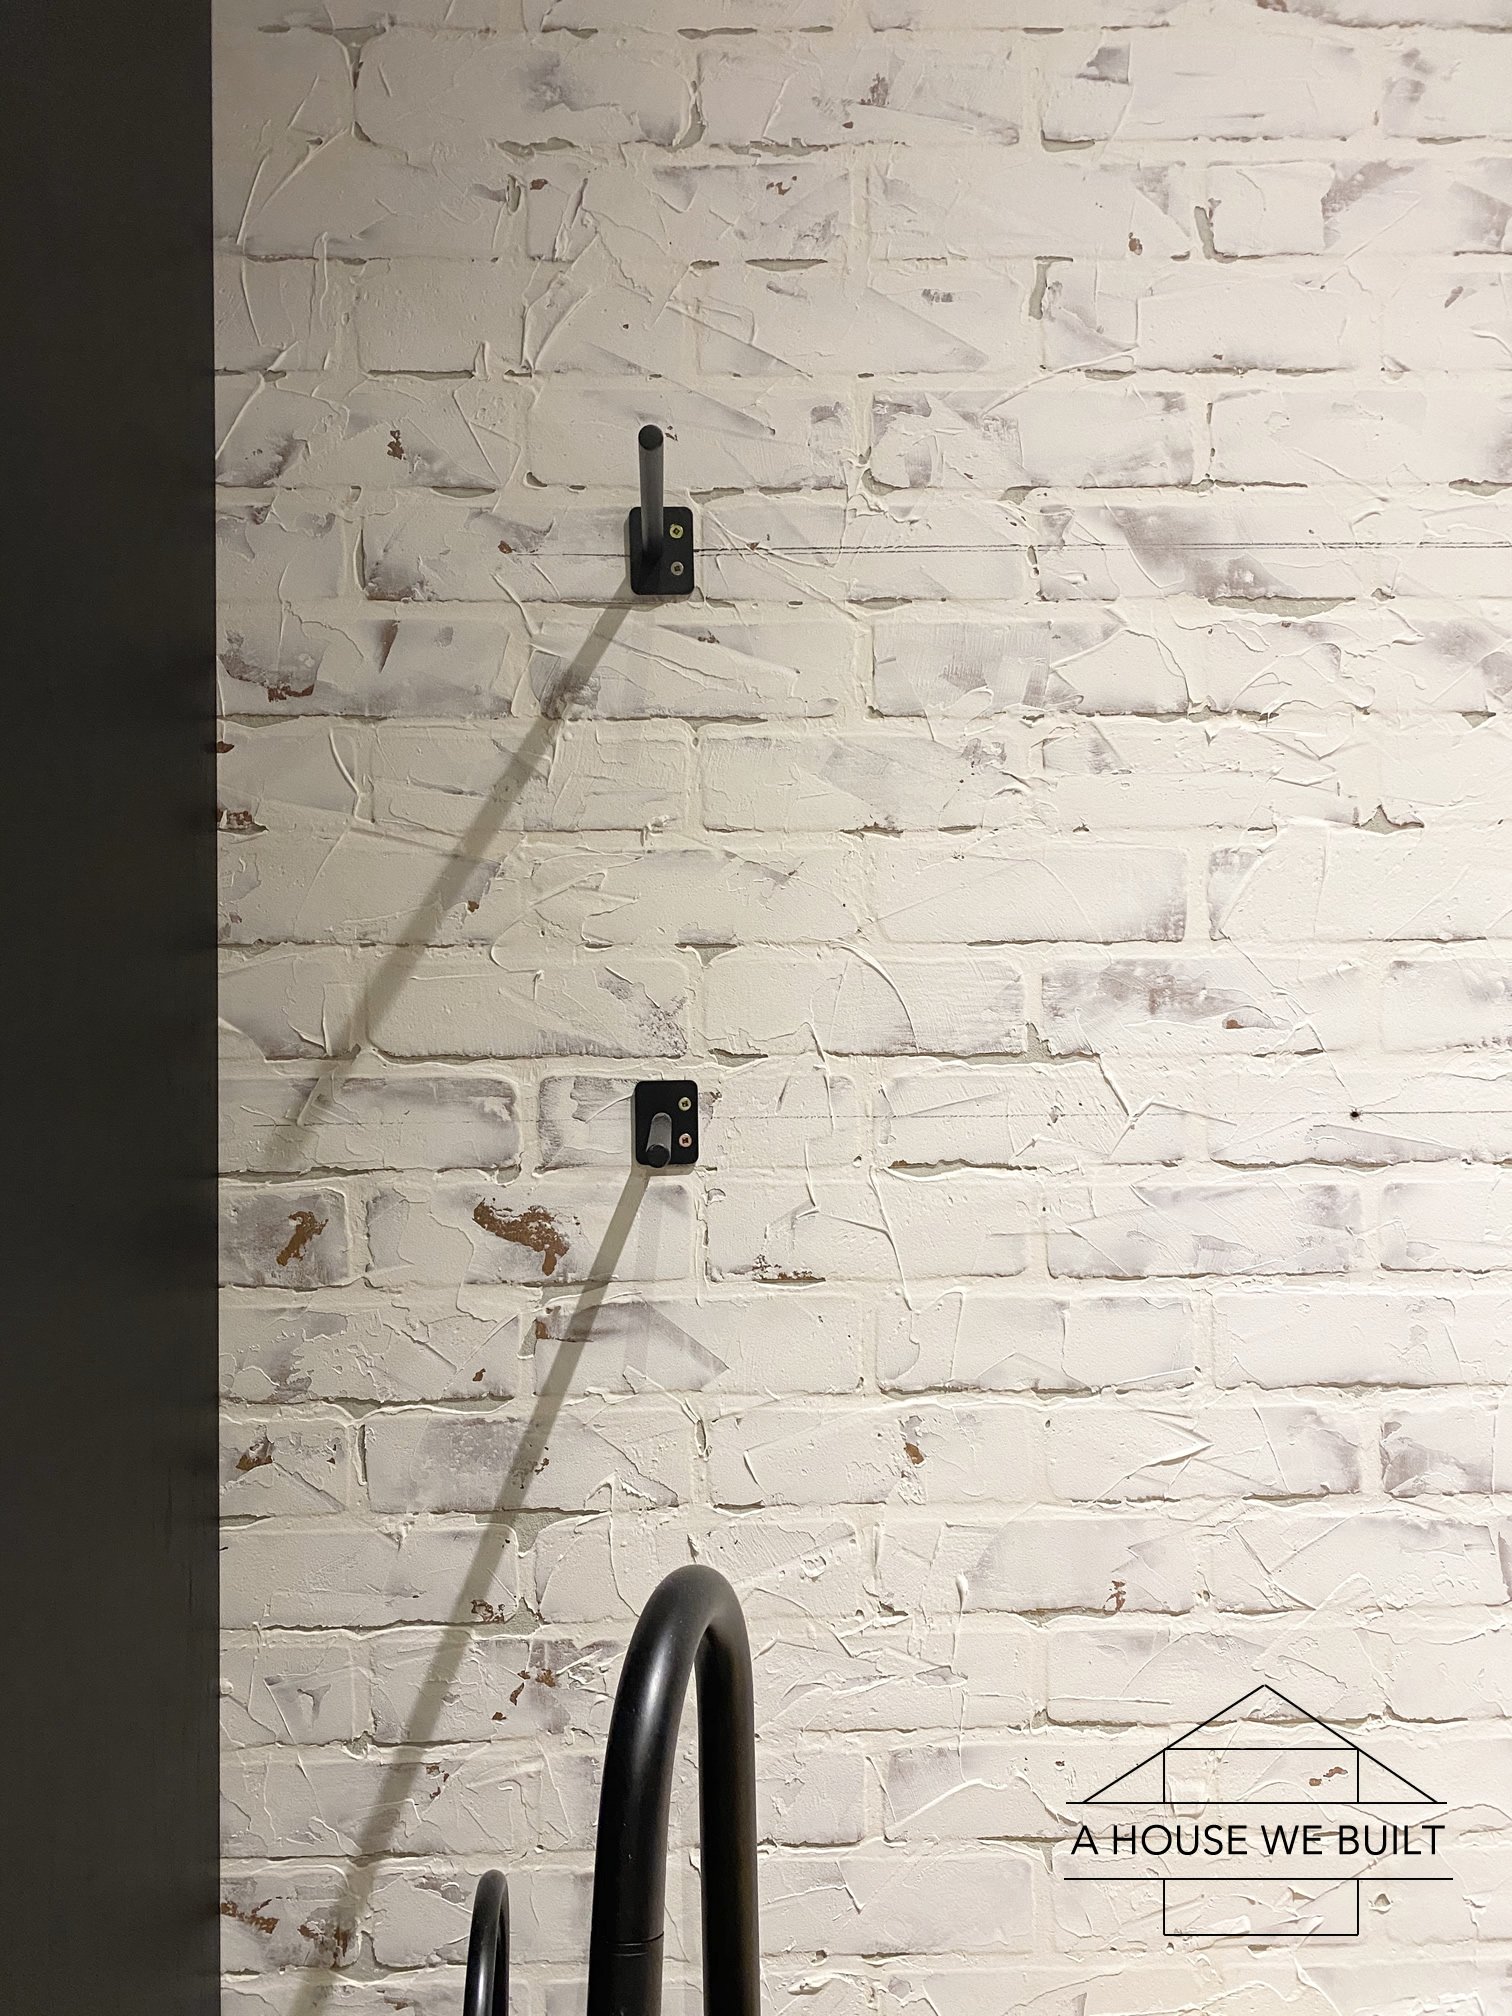
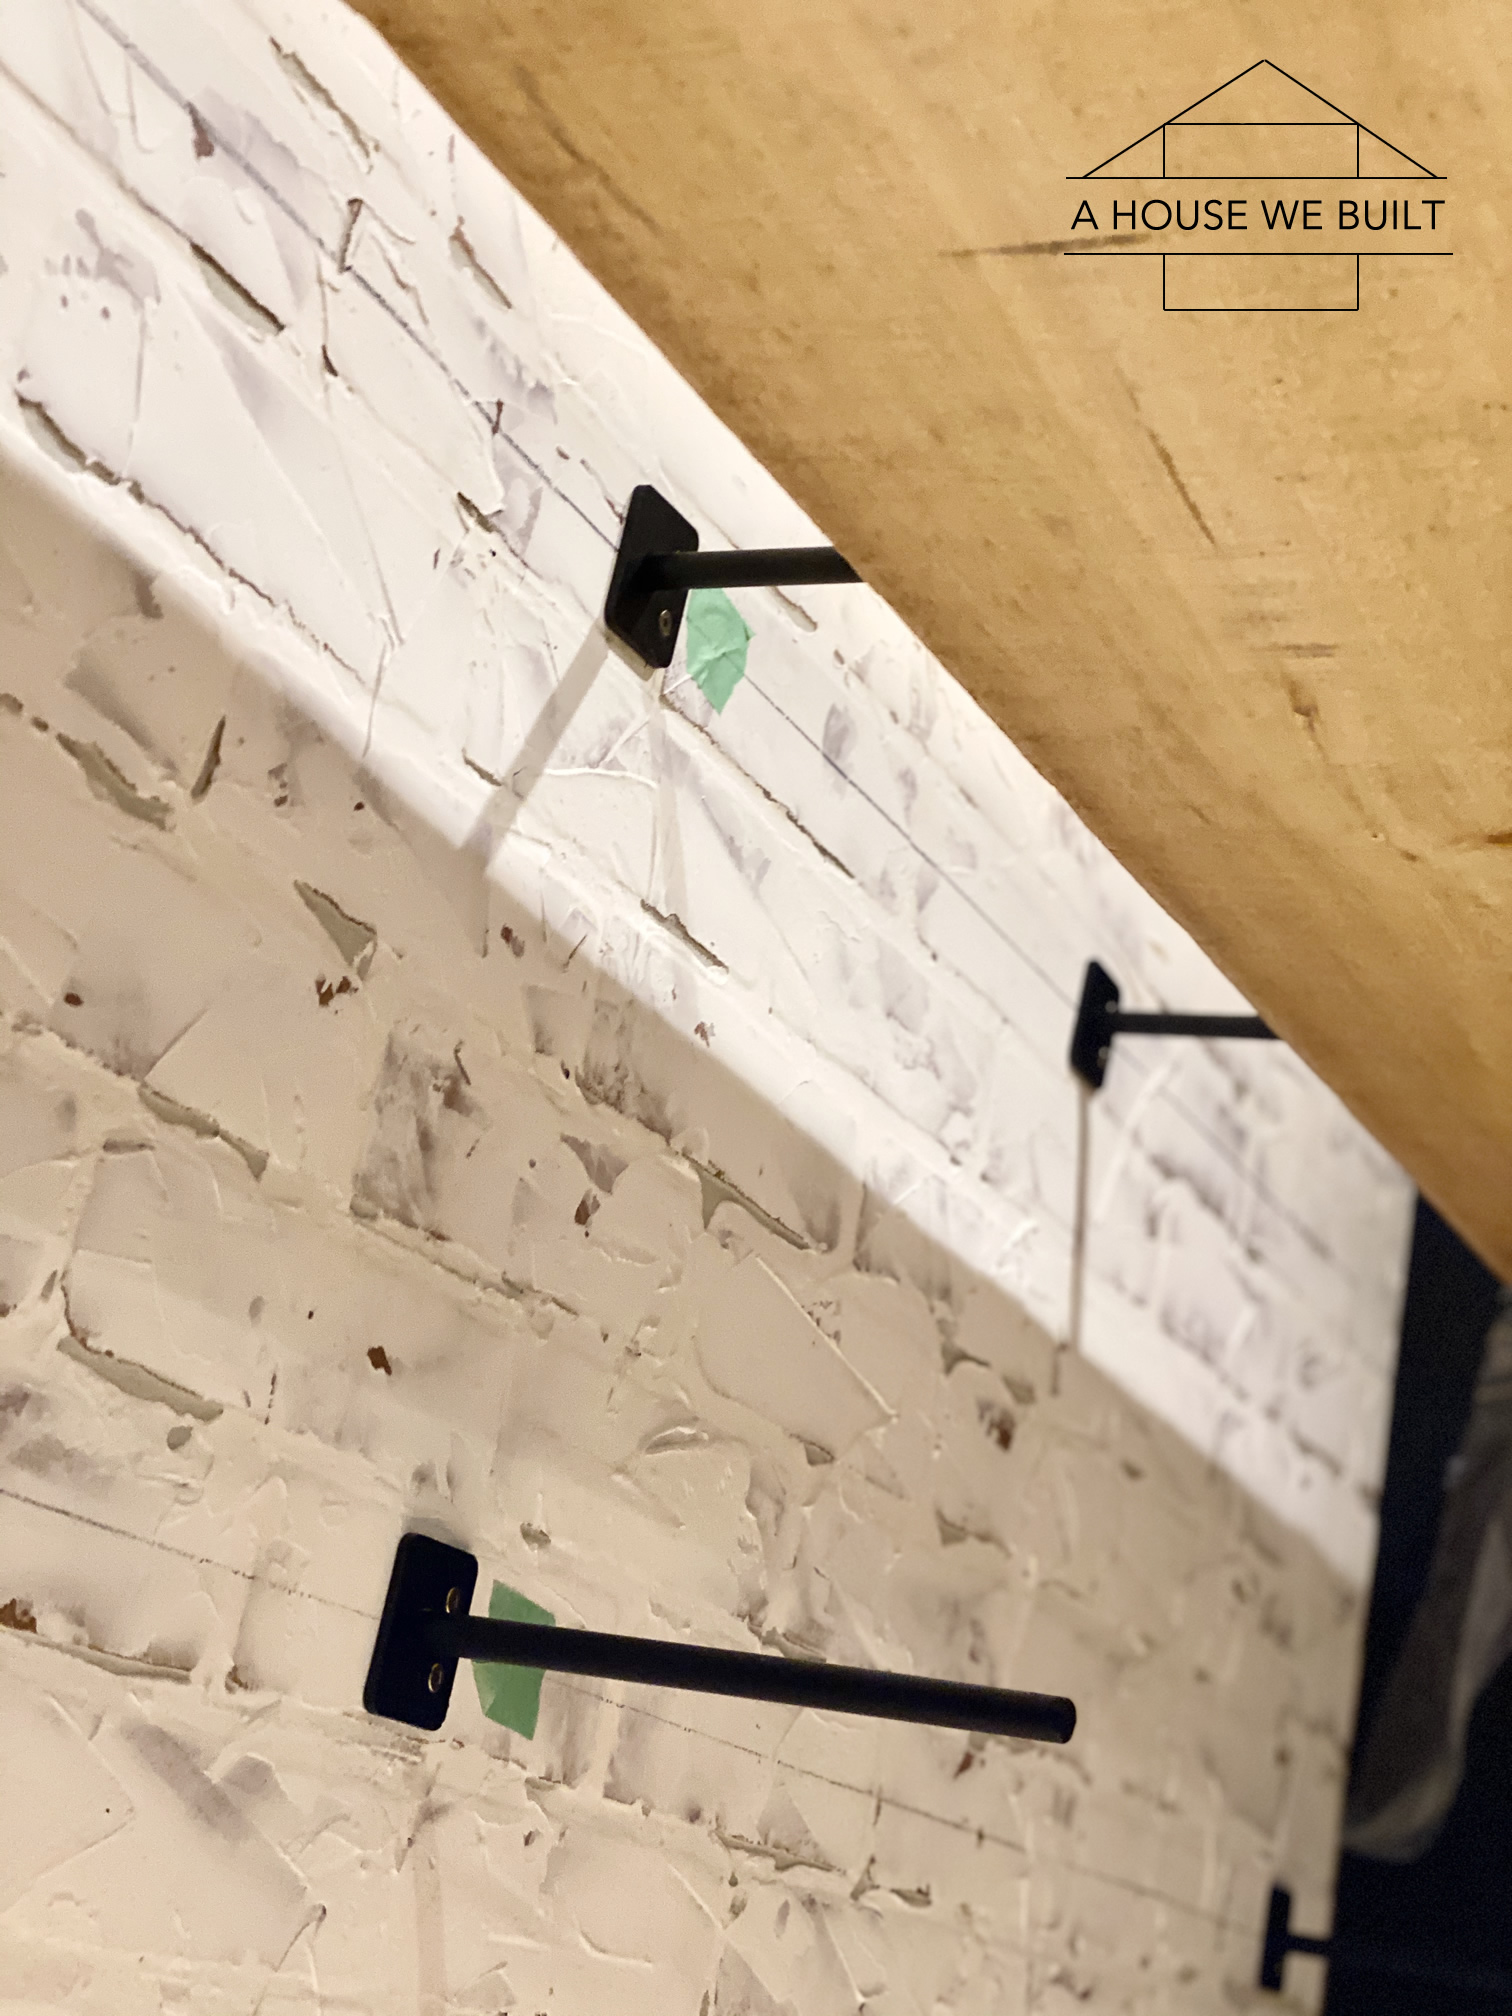
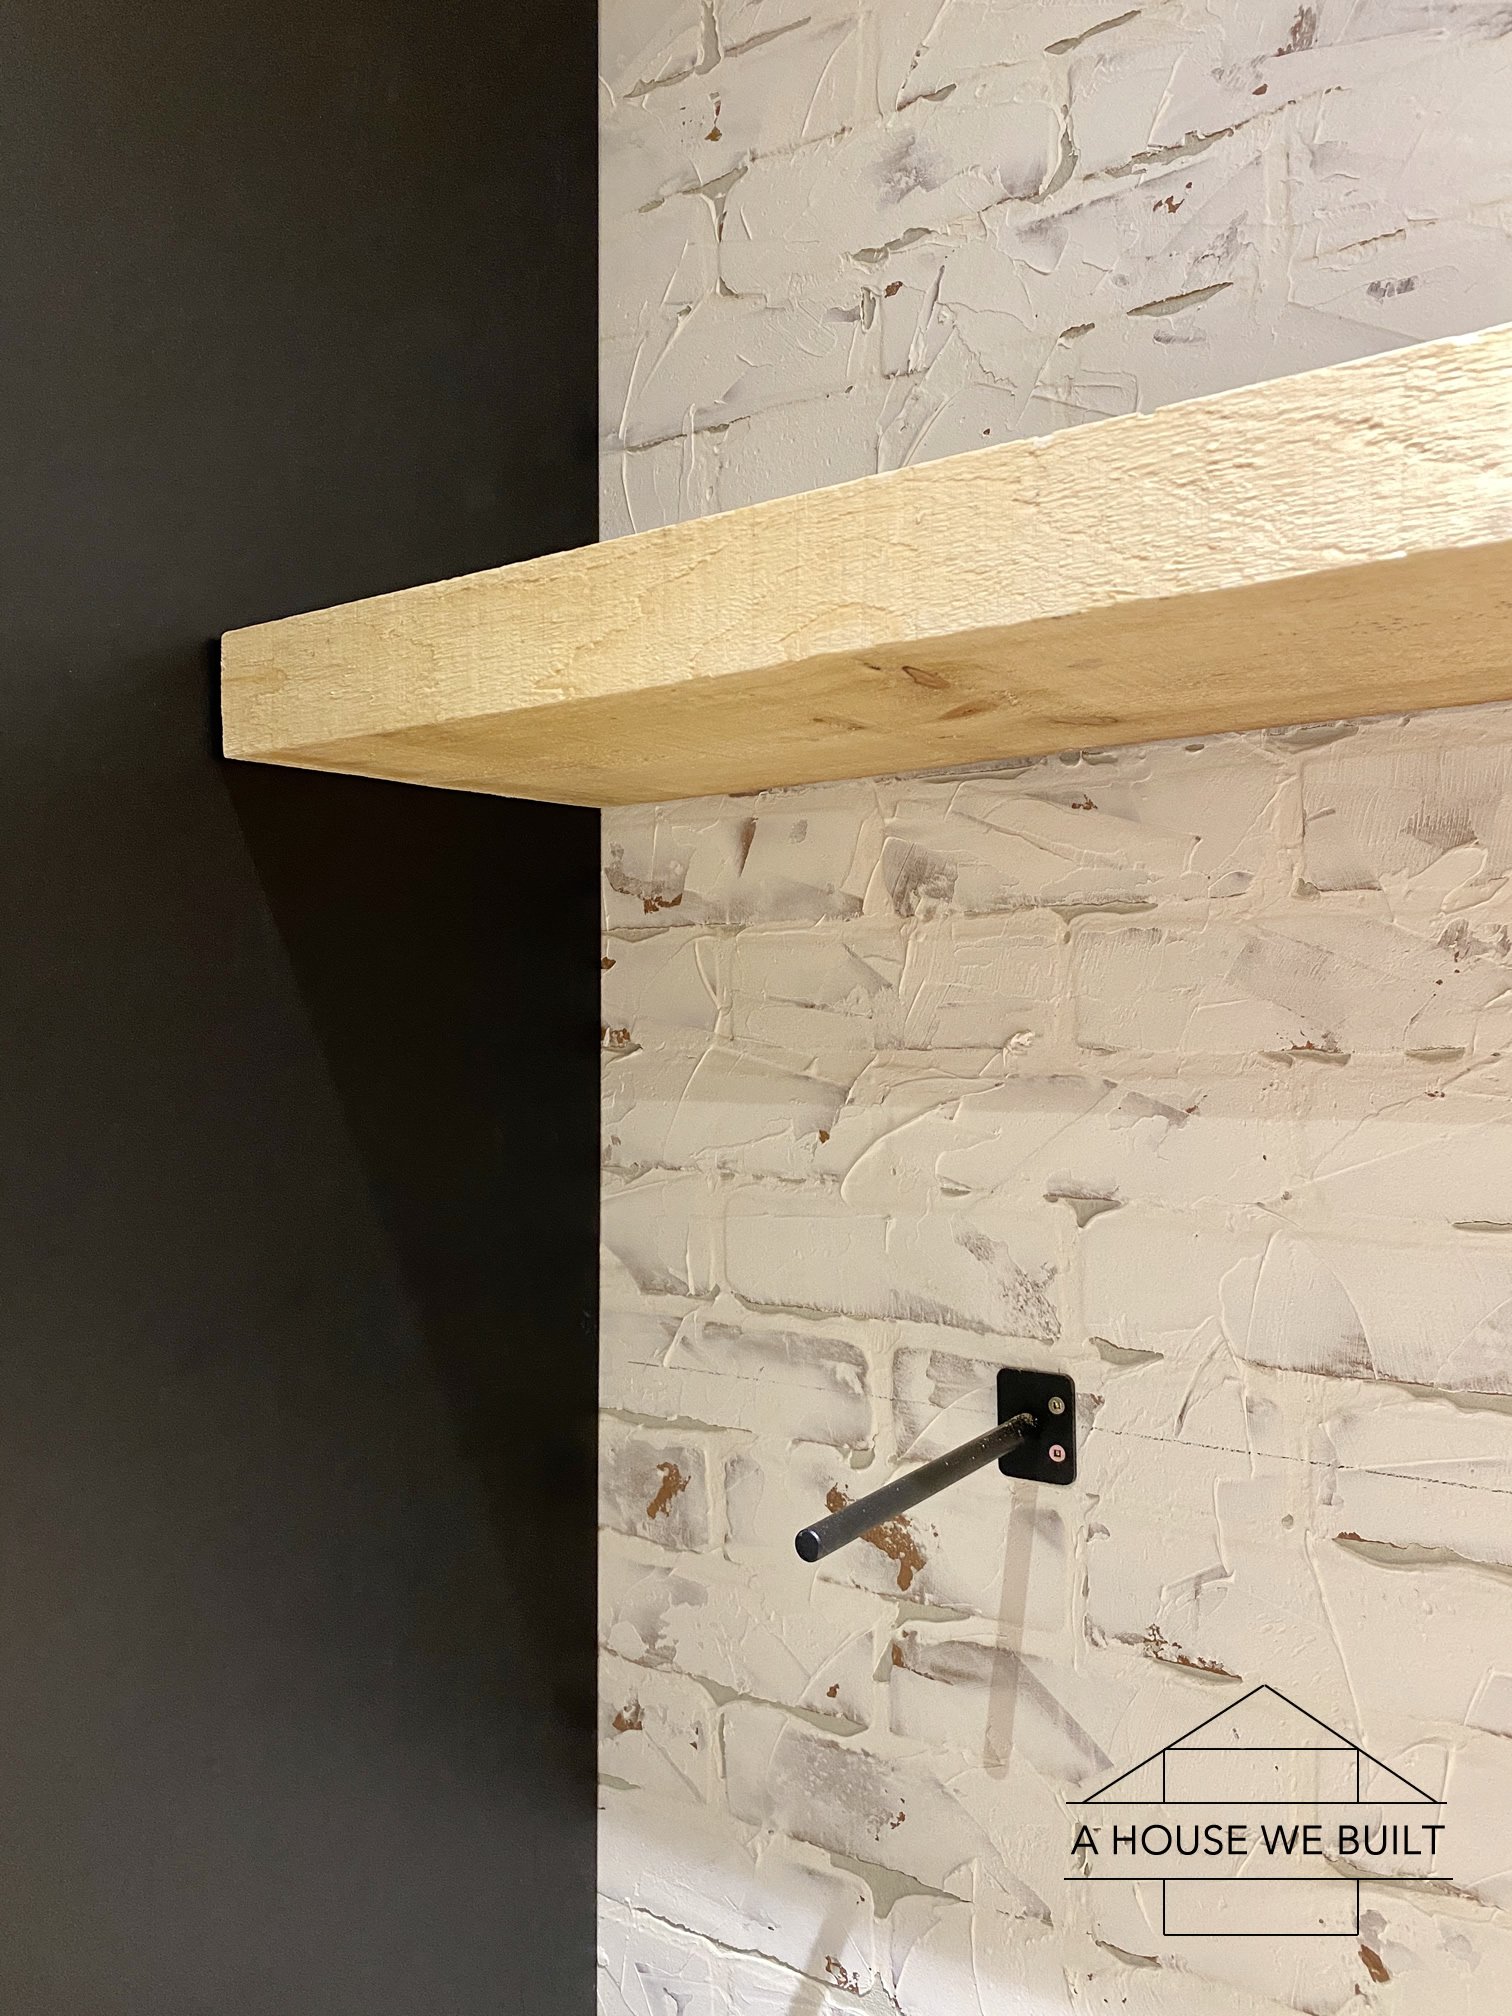
1. INSTALL SHELF BRACKETS:
The style of floating shelf bracket we used is this: Amazon. We chose this style because we wanted the brackets to be completely hidden once the shelving was in place to give the “floating” look. When your brackets arrive, we recommend checking them all for straightness. A tiny bit off is ok, but they should be generally all welded straight. We used 3 brackets per shelf and each of our shelves was ~ 6 feet long.
To install them:
- Decide where your shelf should go and draw a level line across the space.
- Mark the studs and pre-drill holes for your brackets.
- Screw them into the studs.
2. PREPARE WOOD BOARDS:
Our shelves are solid wood planks: 2″ thick x 10″ wide (true measurements) x 6′ long.
First, cut them to the length you need. A little tip if your shelving is going between two walls or two cabinets (as ours were) is to leave about 1/16″ of space on either side when calculating your board/shelf length. This ensures that the board doesn’t scrape against anything as you slide it into place.
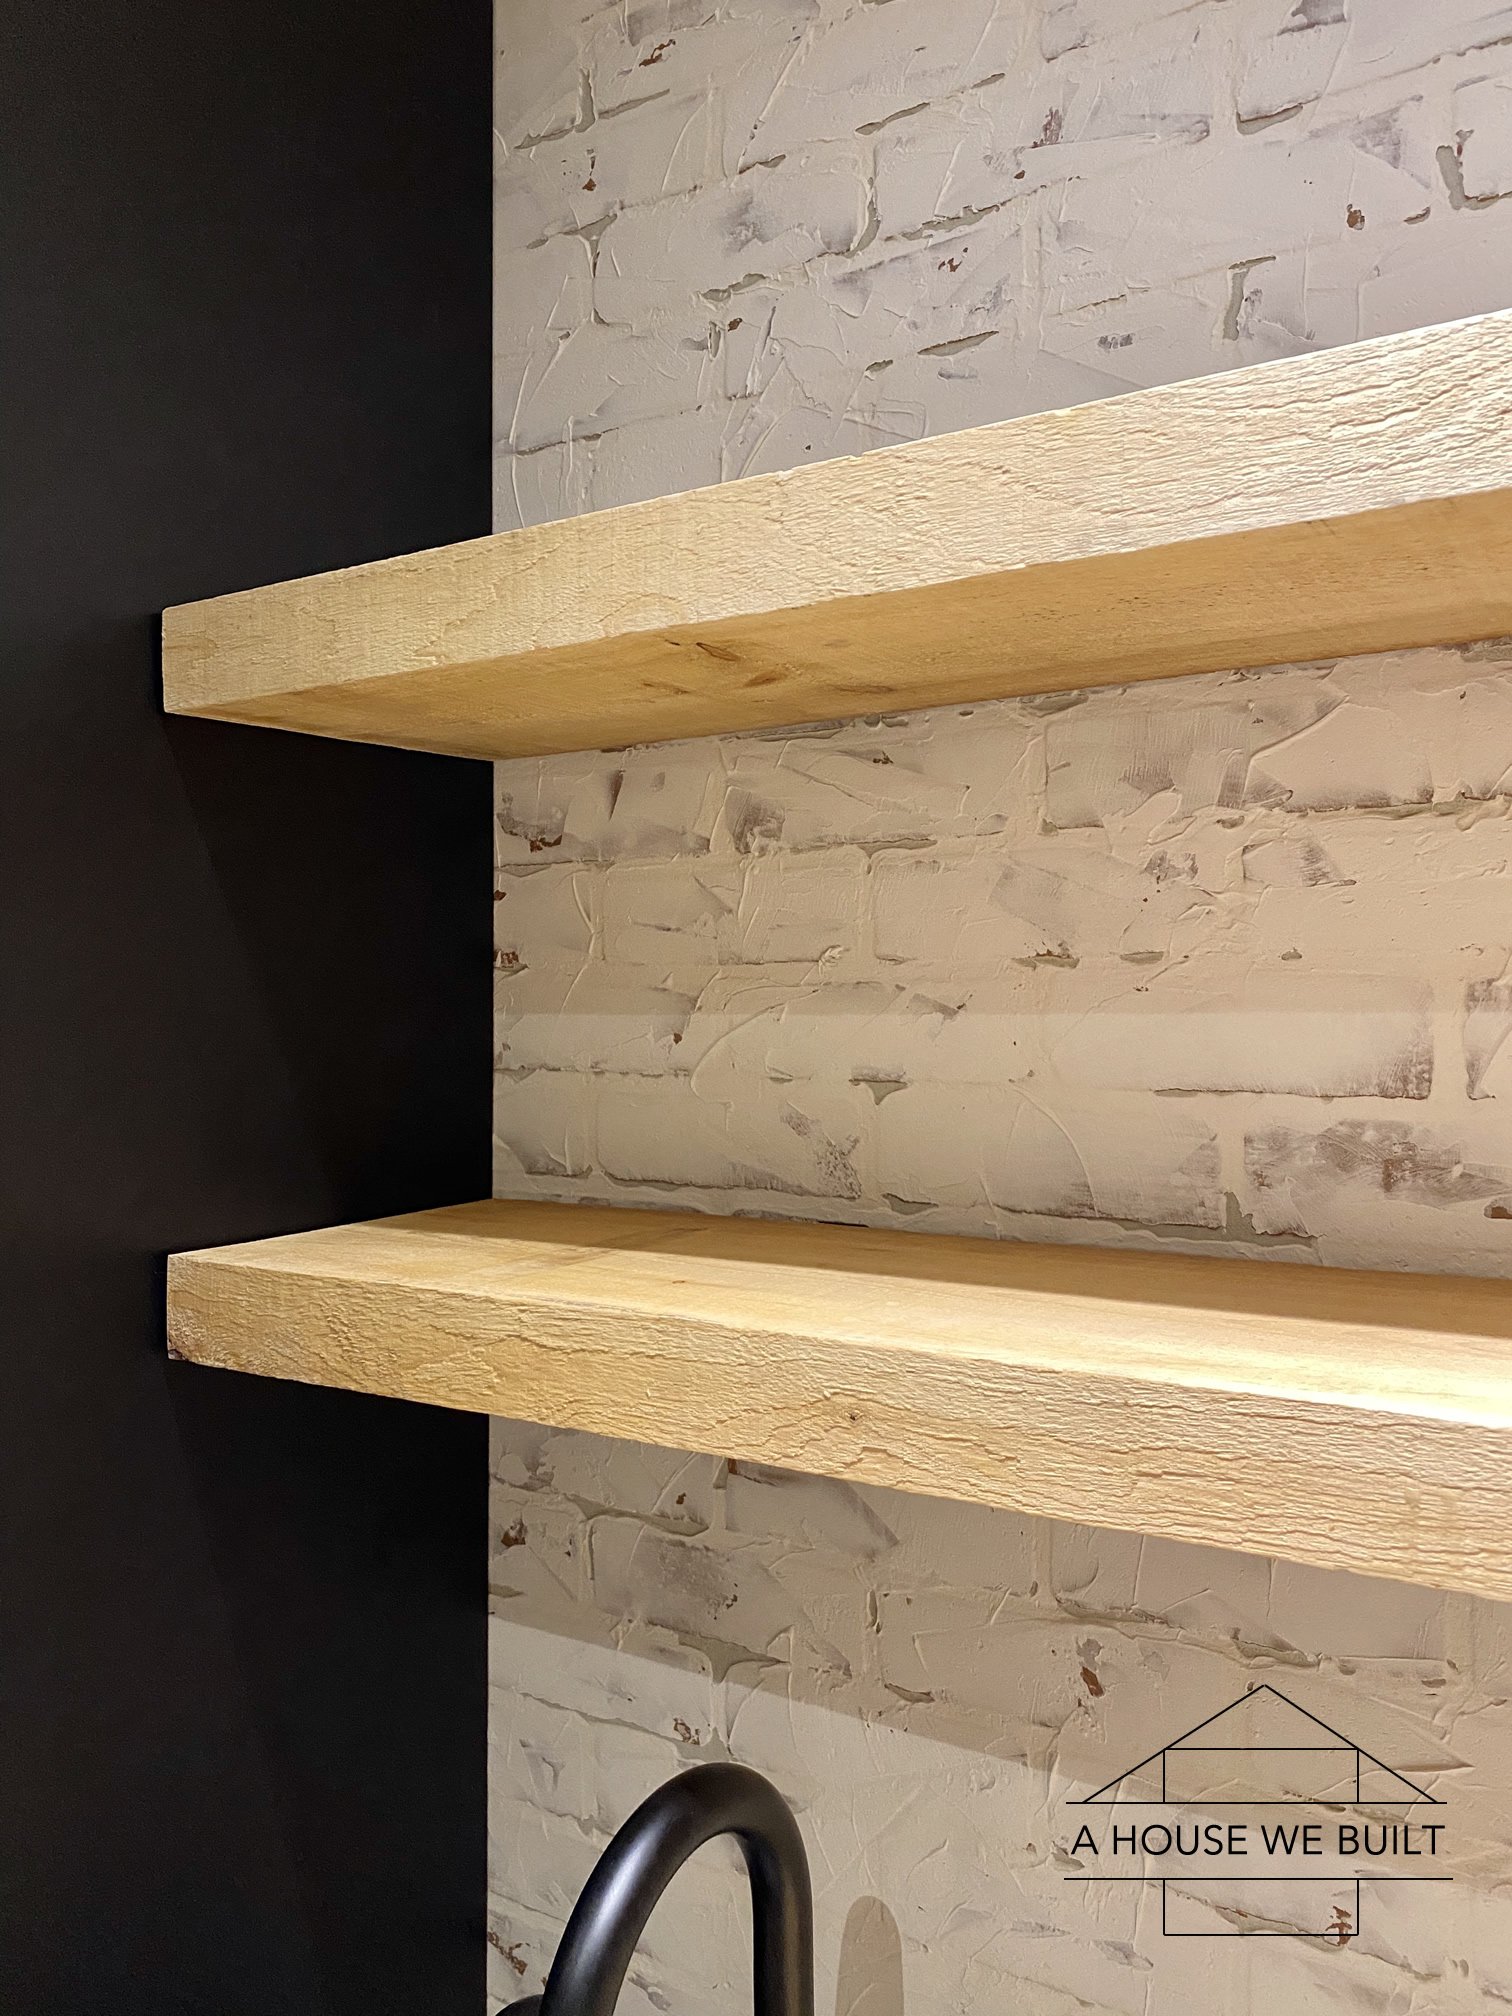
Next, finish them. We chose rough planks since we were going for a bit of a rustic look. The shelves needed to be easy to clean, but we also wanted to retain their warm natural color tone so we didn’t want to just sand them down to smoothness (which would have lightened them and lost their color). So we finished them in a way that kept their rustic/rough look while making them smooth enough to wipe down.
This is how we finished them:
- Apply a clear matte top coat (source: Home Depot | Amazon) to your rough board with a paint brush and allow it to fully dry. Very important that you do NOT sand before applying the top coat!
- Once the top coat is dry, lightly sand (by hand, do NOT use an orbital sander) with 150 grit until the immediate roughness is gone. You have to run your hand over it to determine the smoothness.
- Repeat applying another layer of top coat, wait for it to dry, then lightly sand it. This was all our boards needed, but depending on how rough yours is, you may need to repeat this several times.
- Do this same process to the other side (all sides of the board should be finished in the same way).
The goal with this process is that you’re filling the board’s roughness with the top coat layers and you’re lightly sanding the top coat, not the actually board (or at least, not much of it) to retain its color.
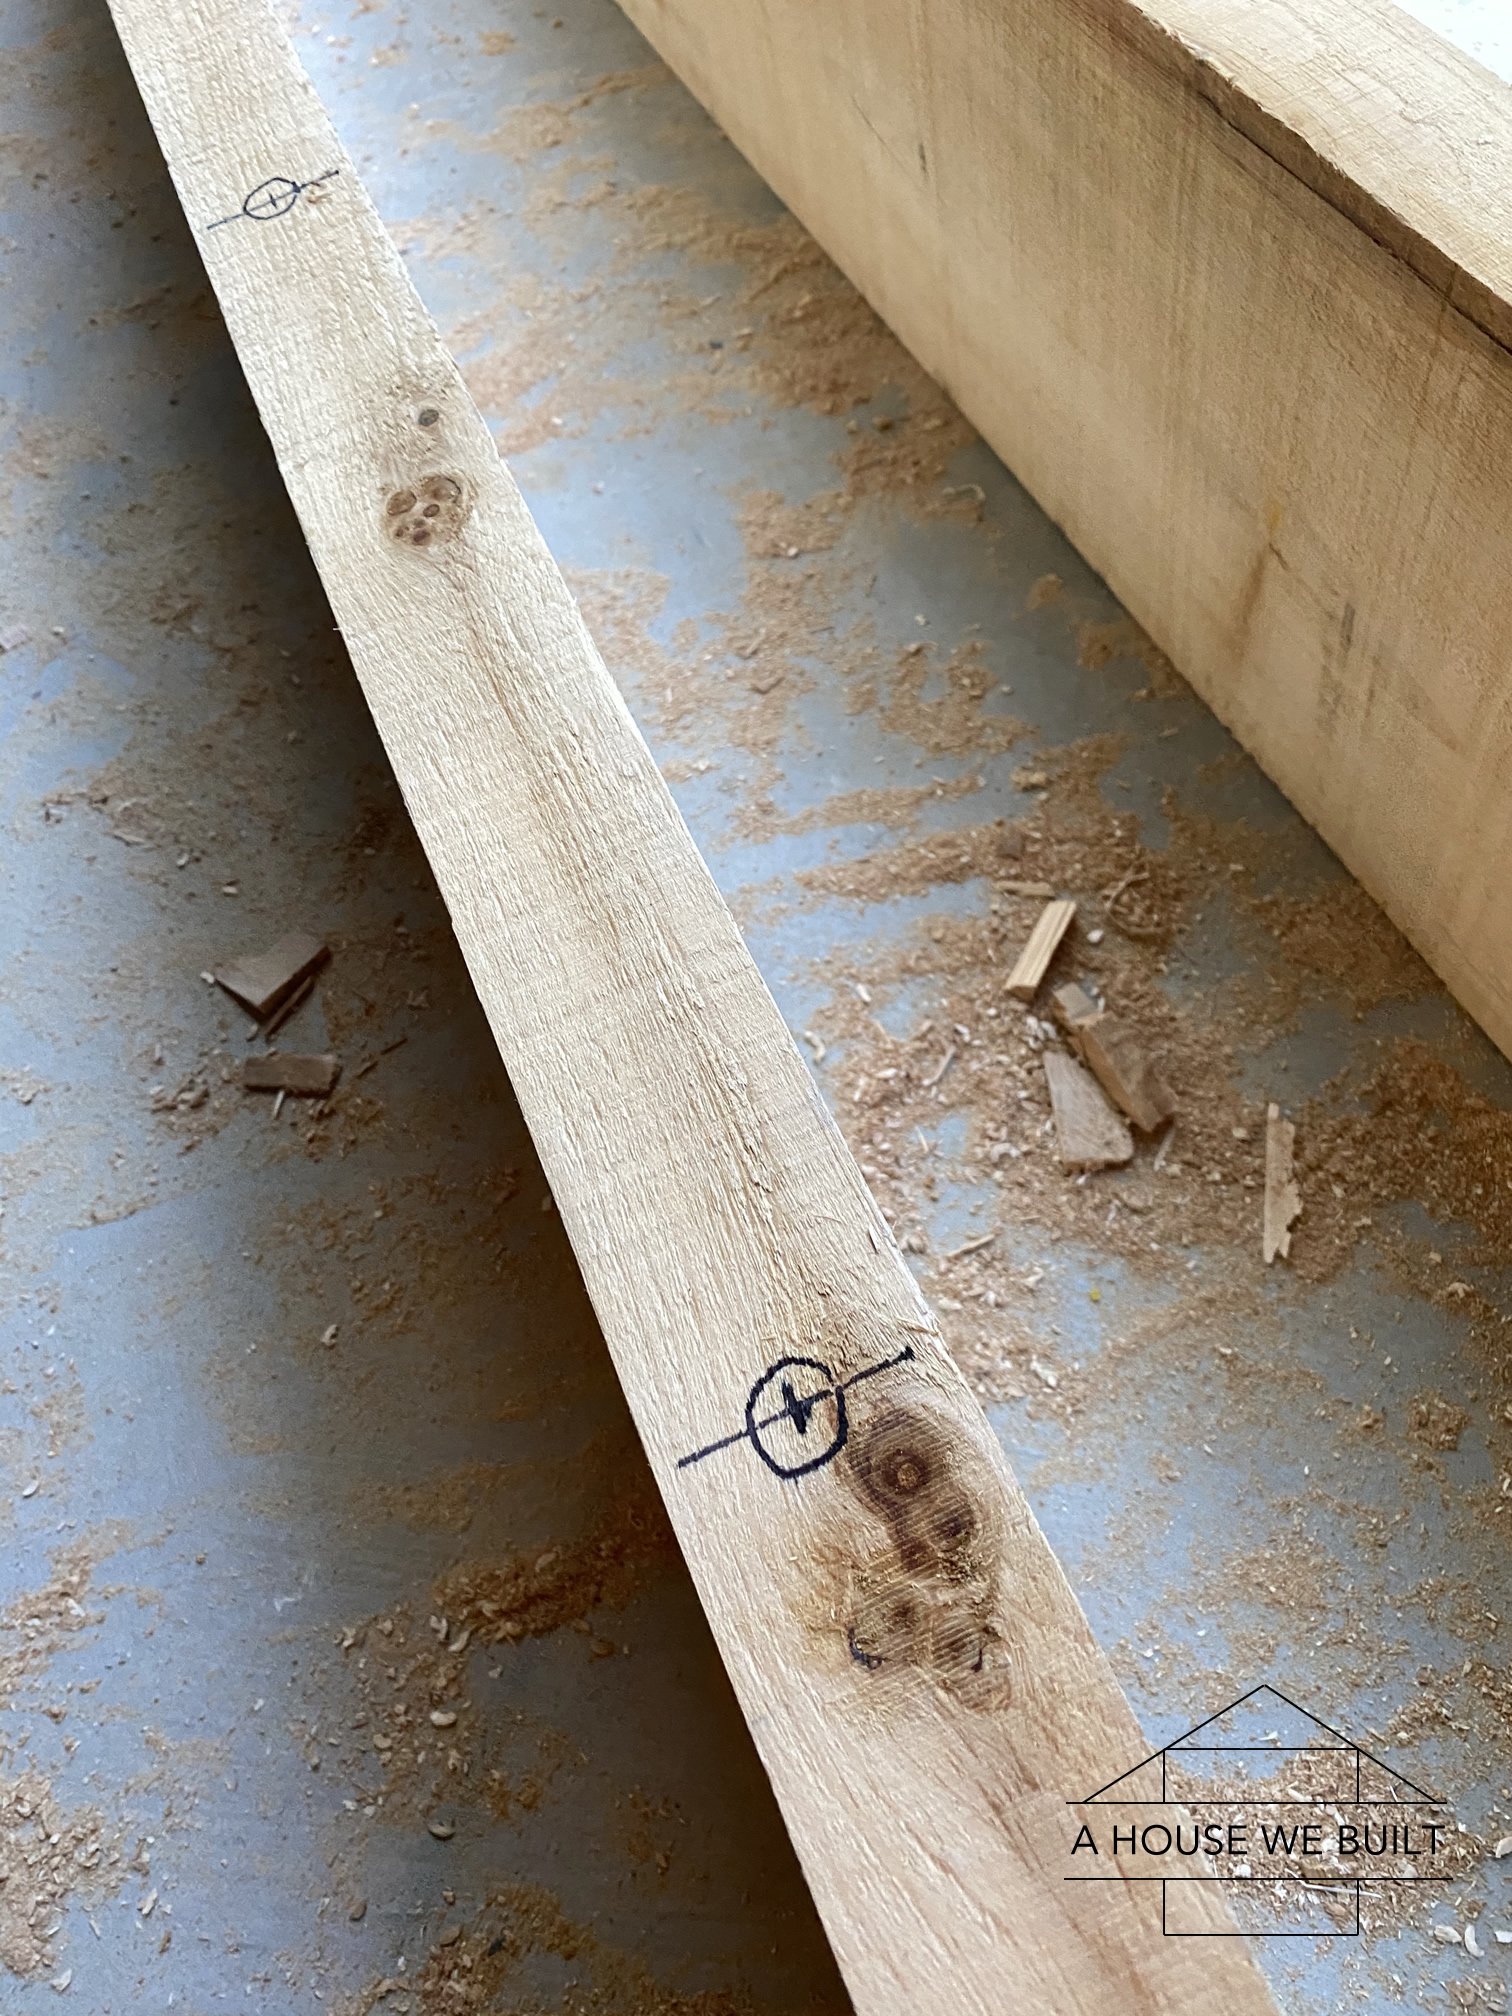
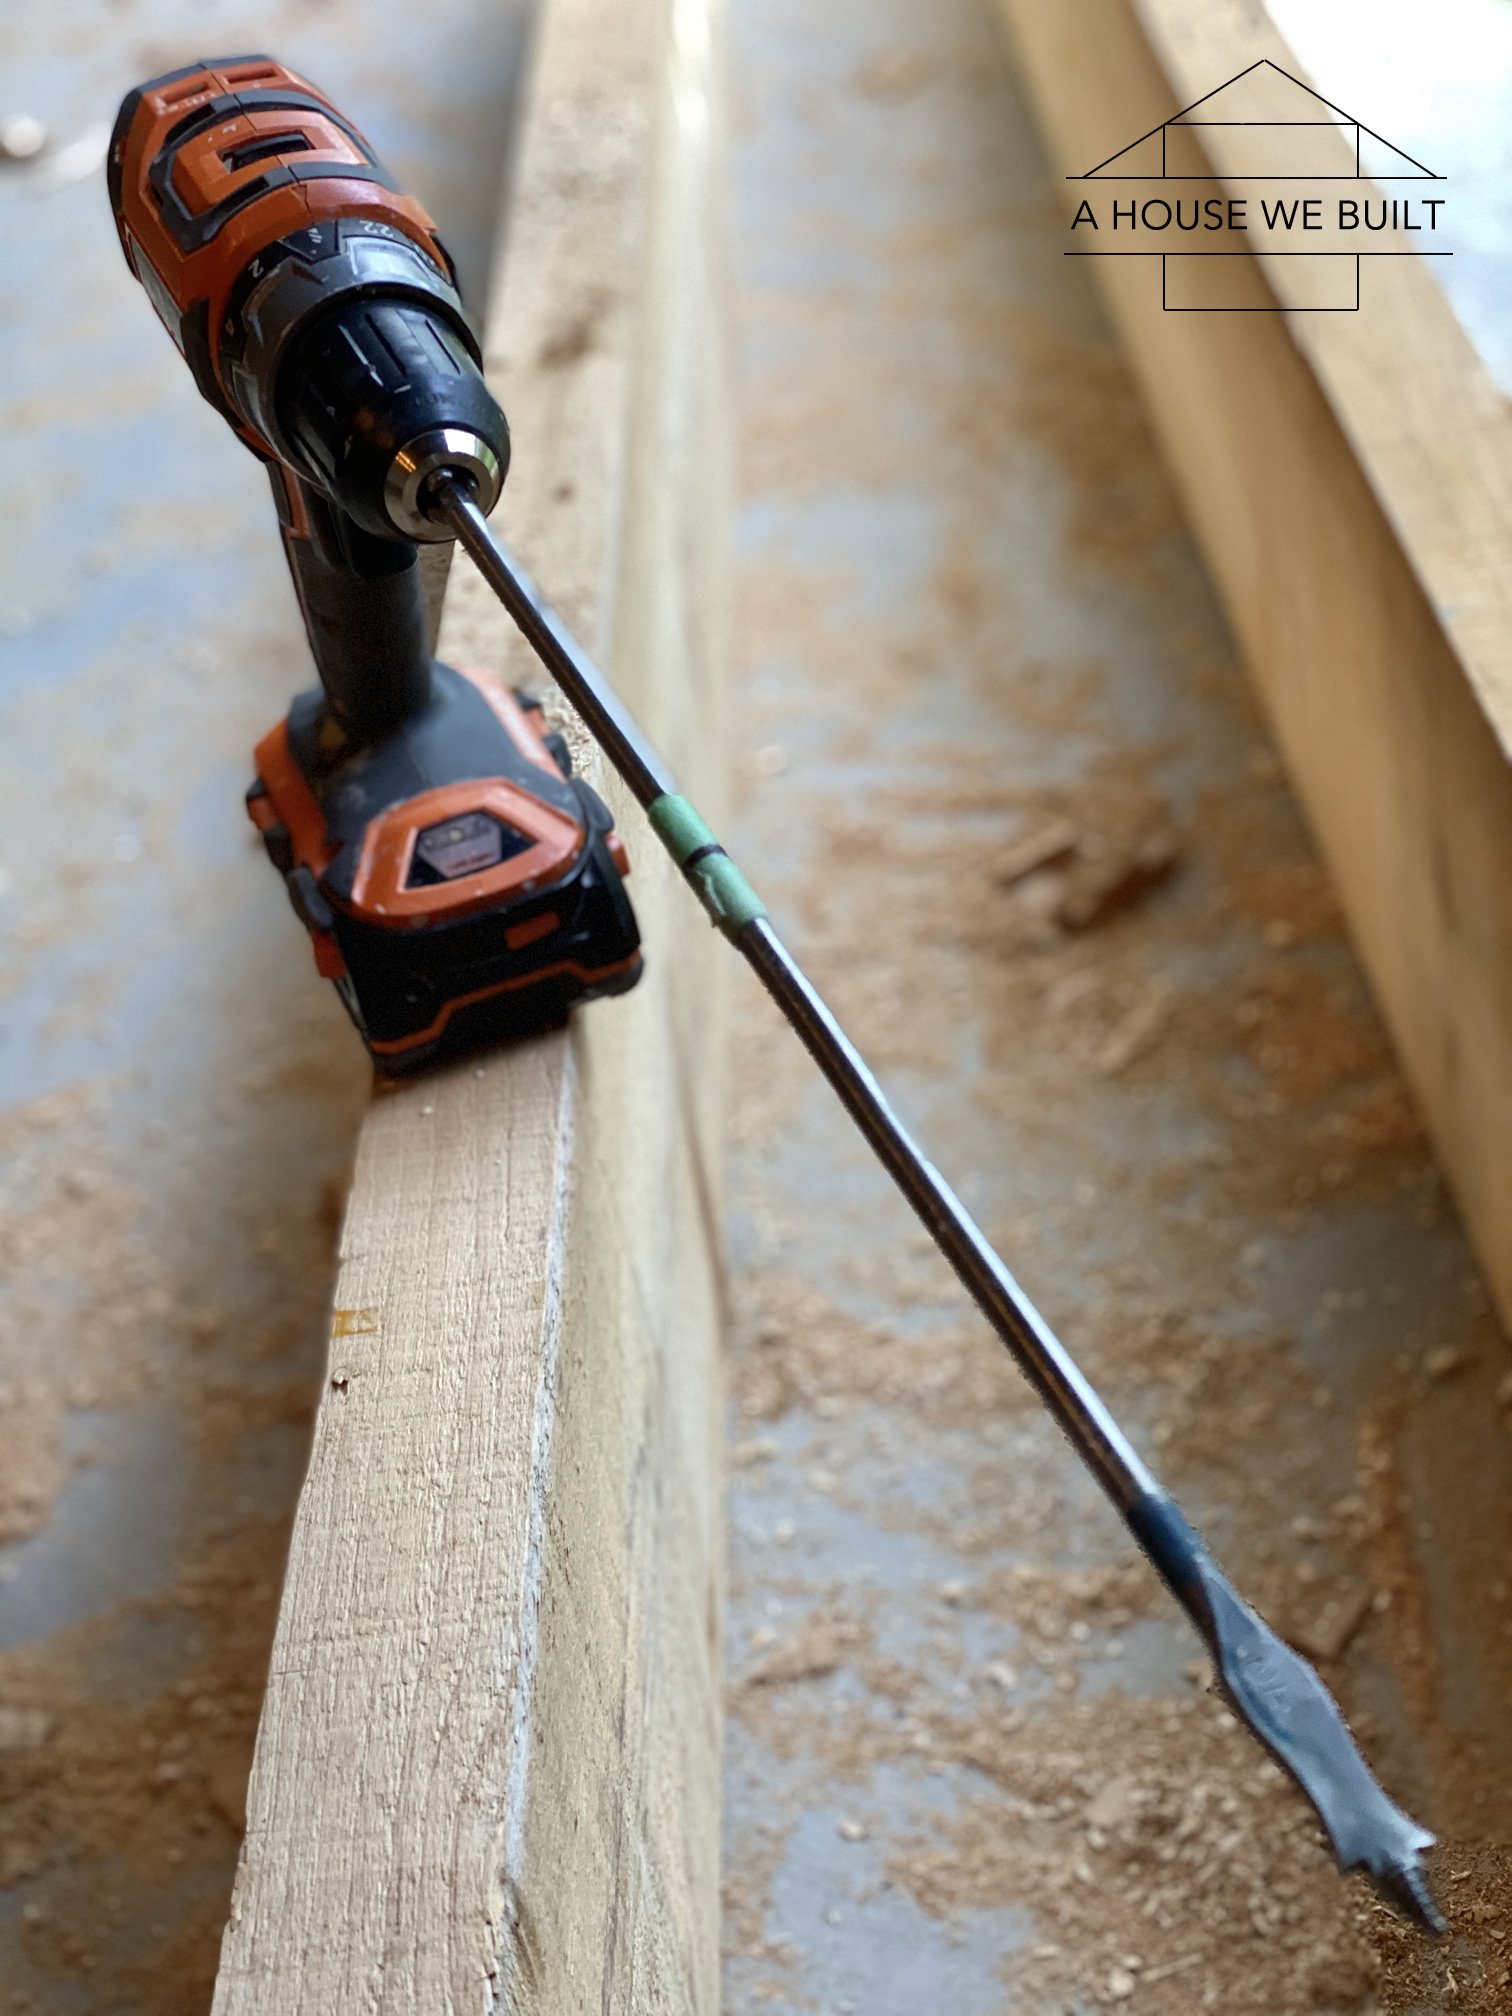
Lastly, drill holes for your brackets. You will need an extra long drill bit (ours: Home Depot) for this. Make sure your drill bit is either the same size as or only slightly bigger than the rod/bracket. Our rods were 1/2″ and we had a 1/2″ drill bit so we just enlarged the hole a bit by moving the drill about a little since the brackets were mostly straight, but not perfectly straight. A 5/8″ drill bit would have been great too, but no bigger than that. We calculated the exact placement of the holes based on the brackets’ locations on our wall (don’t forget to account for the 1/16″ gap between the board + wall if you did one), then we just eyeballed the straightness of the drill bit.
3. INSTALL SHELVES:
Once your brackets are in place and your boards are finished, simply lift the board up to your brackets and slide them onto the rods. If you’ve calculated the placement and drilled the holes correctly, they should just slide into place. A couple notes:
- It’s helpful to have a rubber mallet on hand if you need to give it an extra push.
- We used painters tape to cover the two sides of the shelf before we lifted them into place. This just ensured that if it made contact with the cabinets, it wouldn’t cause any damage.
- The brackets likely have a tiny bit of play back and forth so you can kinda pull them into position if needed – it’s just a tiny fraction of an inch of play but it was enough for us.
- You can fill the holes with a little bit of construction adhesive before installing the shelving if you feel it’s necessary or if you feel the fit is too loose. We didn’t need to do this (and we liked having the option of easily removing the shelving if needed) but the adhesive is an option to consider.
- We used 8″ brackets with 10″ boards so our bracket rods span most of the depth of each shelf. If you have a smaller bracket-to-shelf depth ratio, then I definitely recommend using an adhesive so that they don’t slide off if you place something heavier on them.
Other sources:
- Sofa pit: How to Make a Sofa Pit Tutorial
- Black linen pillows: We made ours | Similar: Pottery Barn | CB2 | West Elm
- Gray linen pillows: We made ours | Similar: Pottery Barn | West Elm
- Black & white X-block pillows: CB2 | Similar: West Elm
- Poster frames (same size): Overstock (4-pack) | Overstock (single) | West Elm
- Lord of the Rings movie poster: Amazon
- Faucet: Wayfair | Home Depot
- Drinking water faucet: Amazon | Overstock
- Soap pump: Wayfair | Home Depot
- Gold cabinet knobs: CB2
- Gold drawer pulls: Amazon | Similar: Home Depot | Schoolhouse
- Vase (similar): Crate & Barrel | Pottery Barn | McGee & Co
- Eucalyptus greenery: Michaels
- Wood countertop: How to Build a Wood Countertop Tutorial
- Shiplap: Tutorial & Info
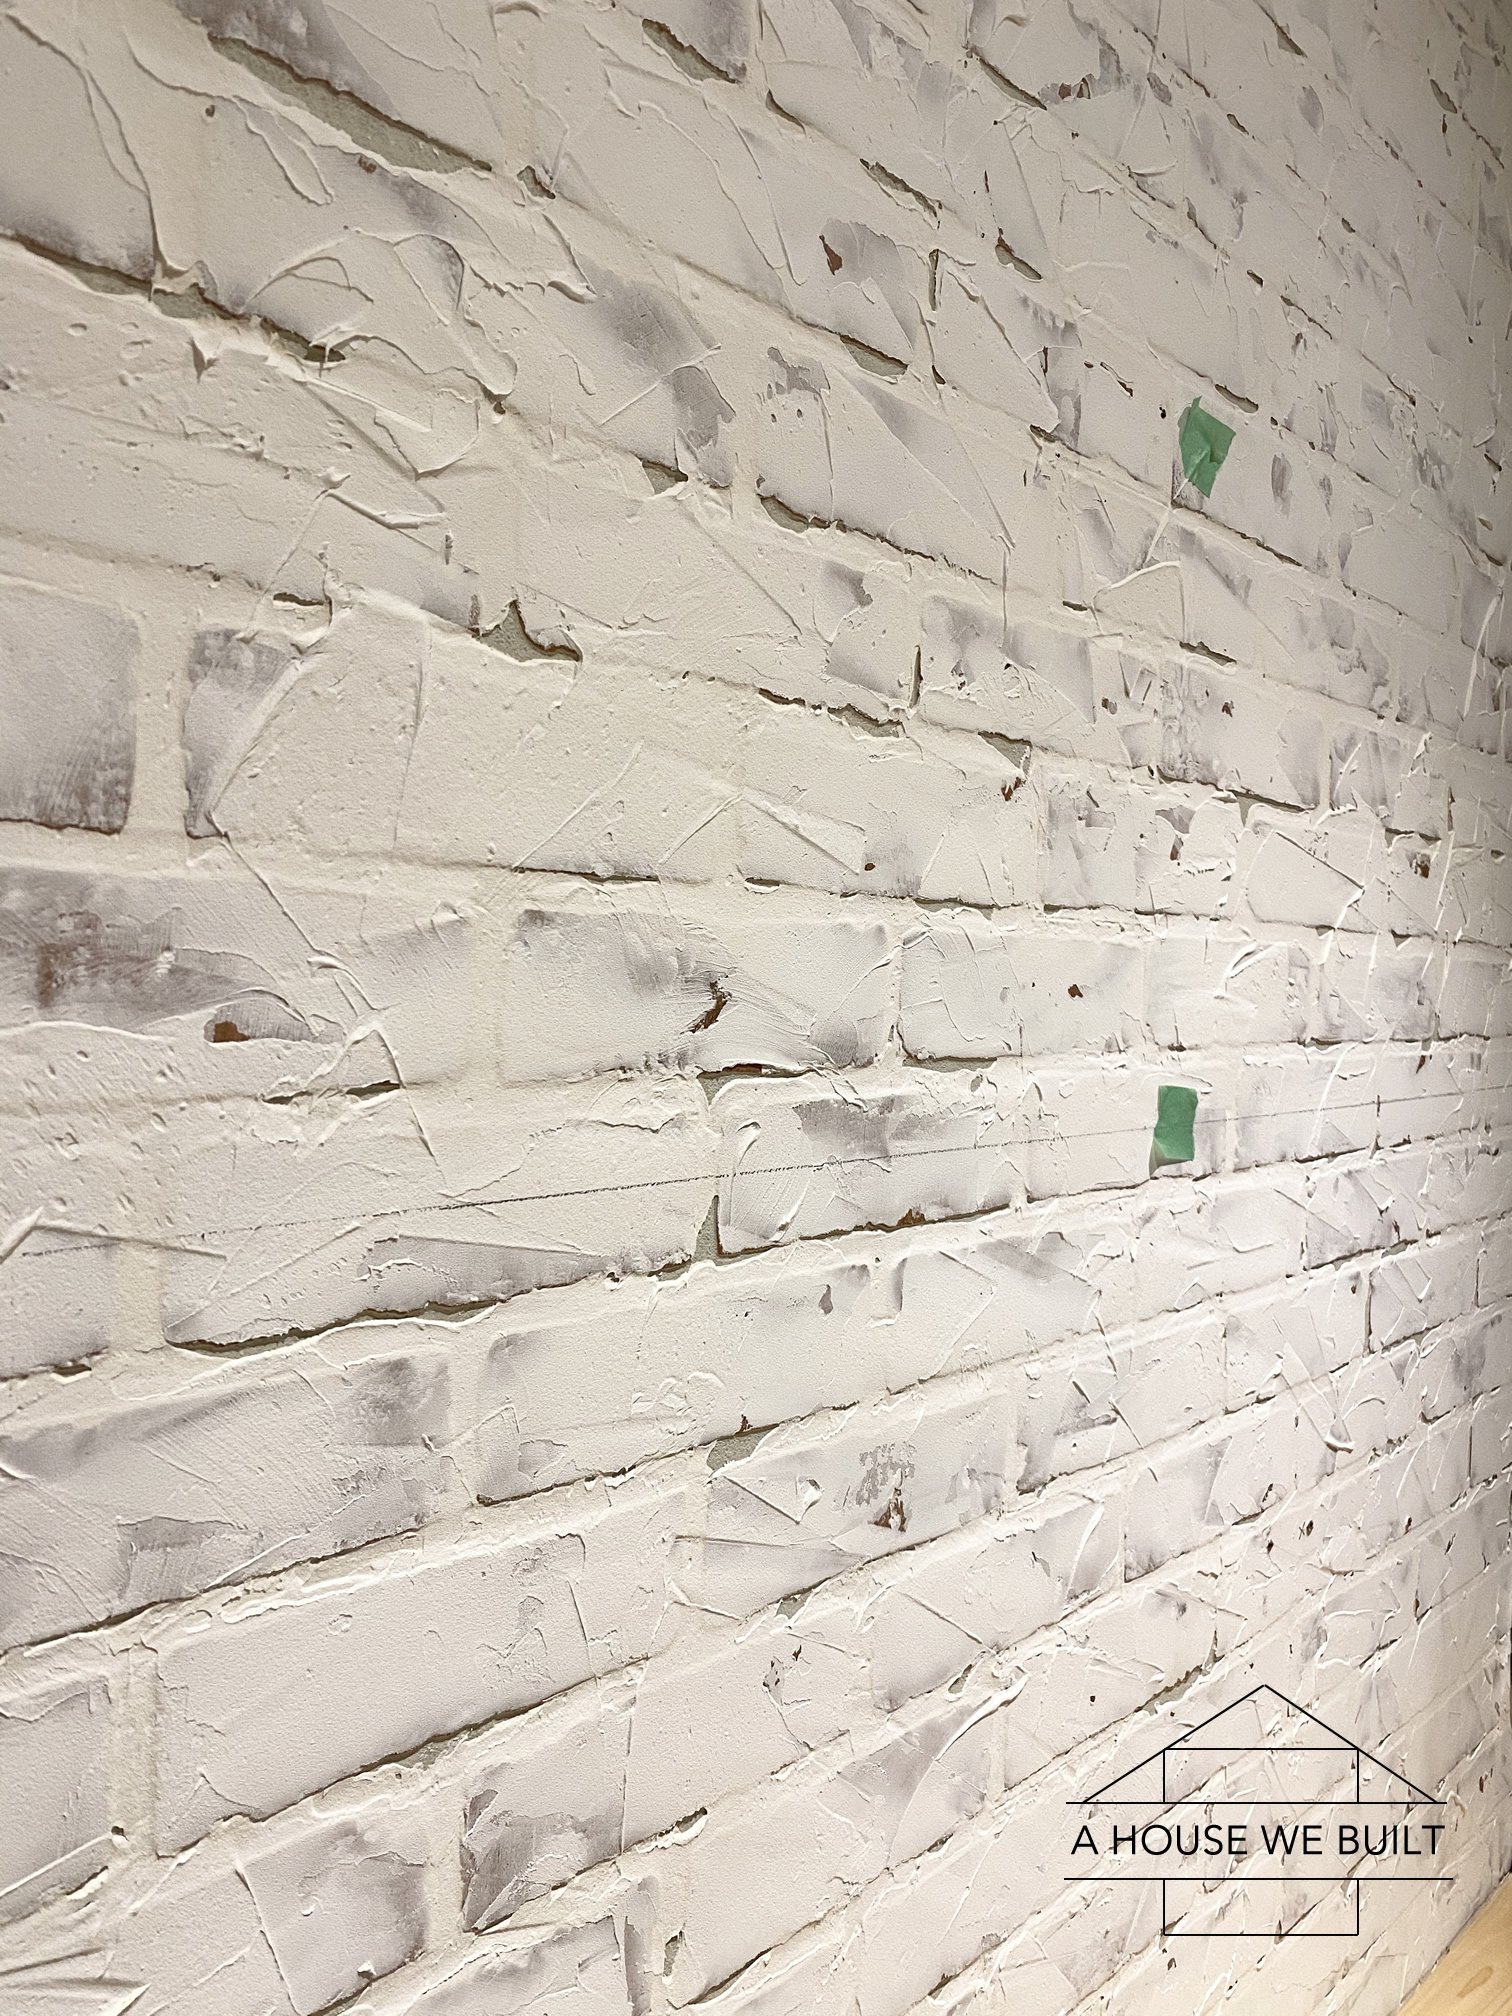
- Brick wall: How to DIY a Faux Brick Wall Tutorial
- Brick panels: Home Depot
- Paint colors & more details on the Theater Room Sources Page
For more sources from our Theater Room, click here.
For more sources from our Basement, click here.
For more of our DIY tutorials, click here.
To explore the other rooms in our house, click here.
Mariah says
Is the wood rough sawn pine or what type of wood? Love it.
admin says
Yes it’s rough sawn 🙂
Mariah says
Thank you ☺️ I’m in love with the whole house! It’s so beautiful
Anne Loyd says
Where do you buy your wood? I haven’t looked in store yet but I couldn’t seem to find it online. Thank you!
admin says
In stores or local wood shops. To my knowledge, this is not the kind of thing you can order online.