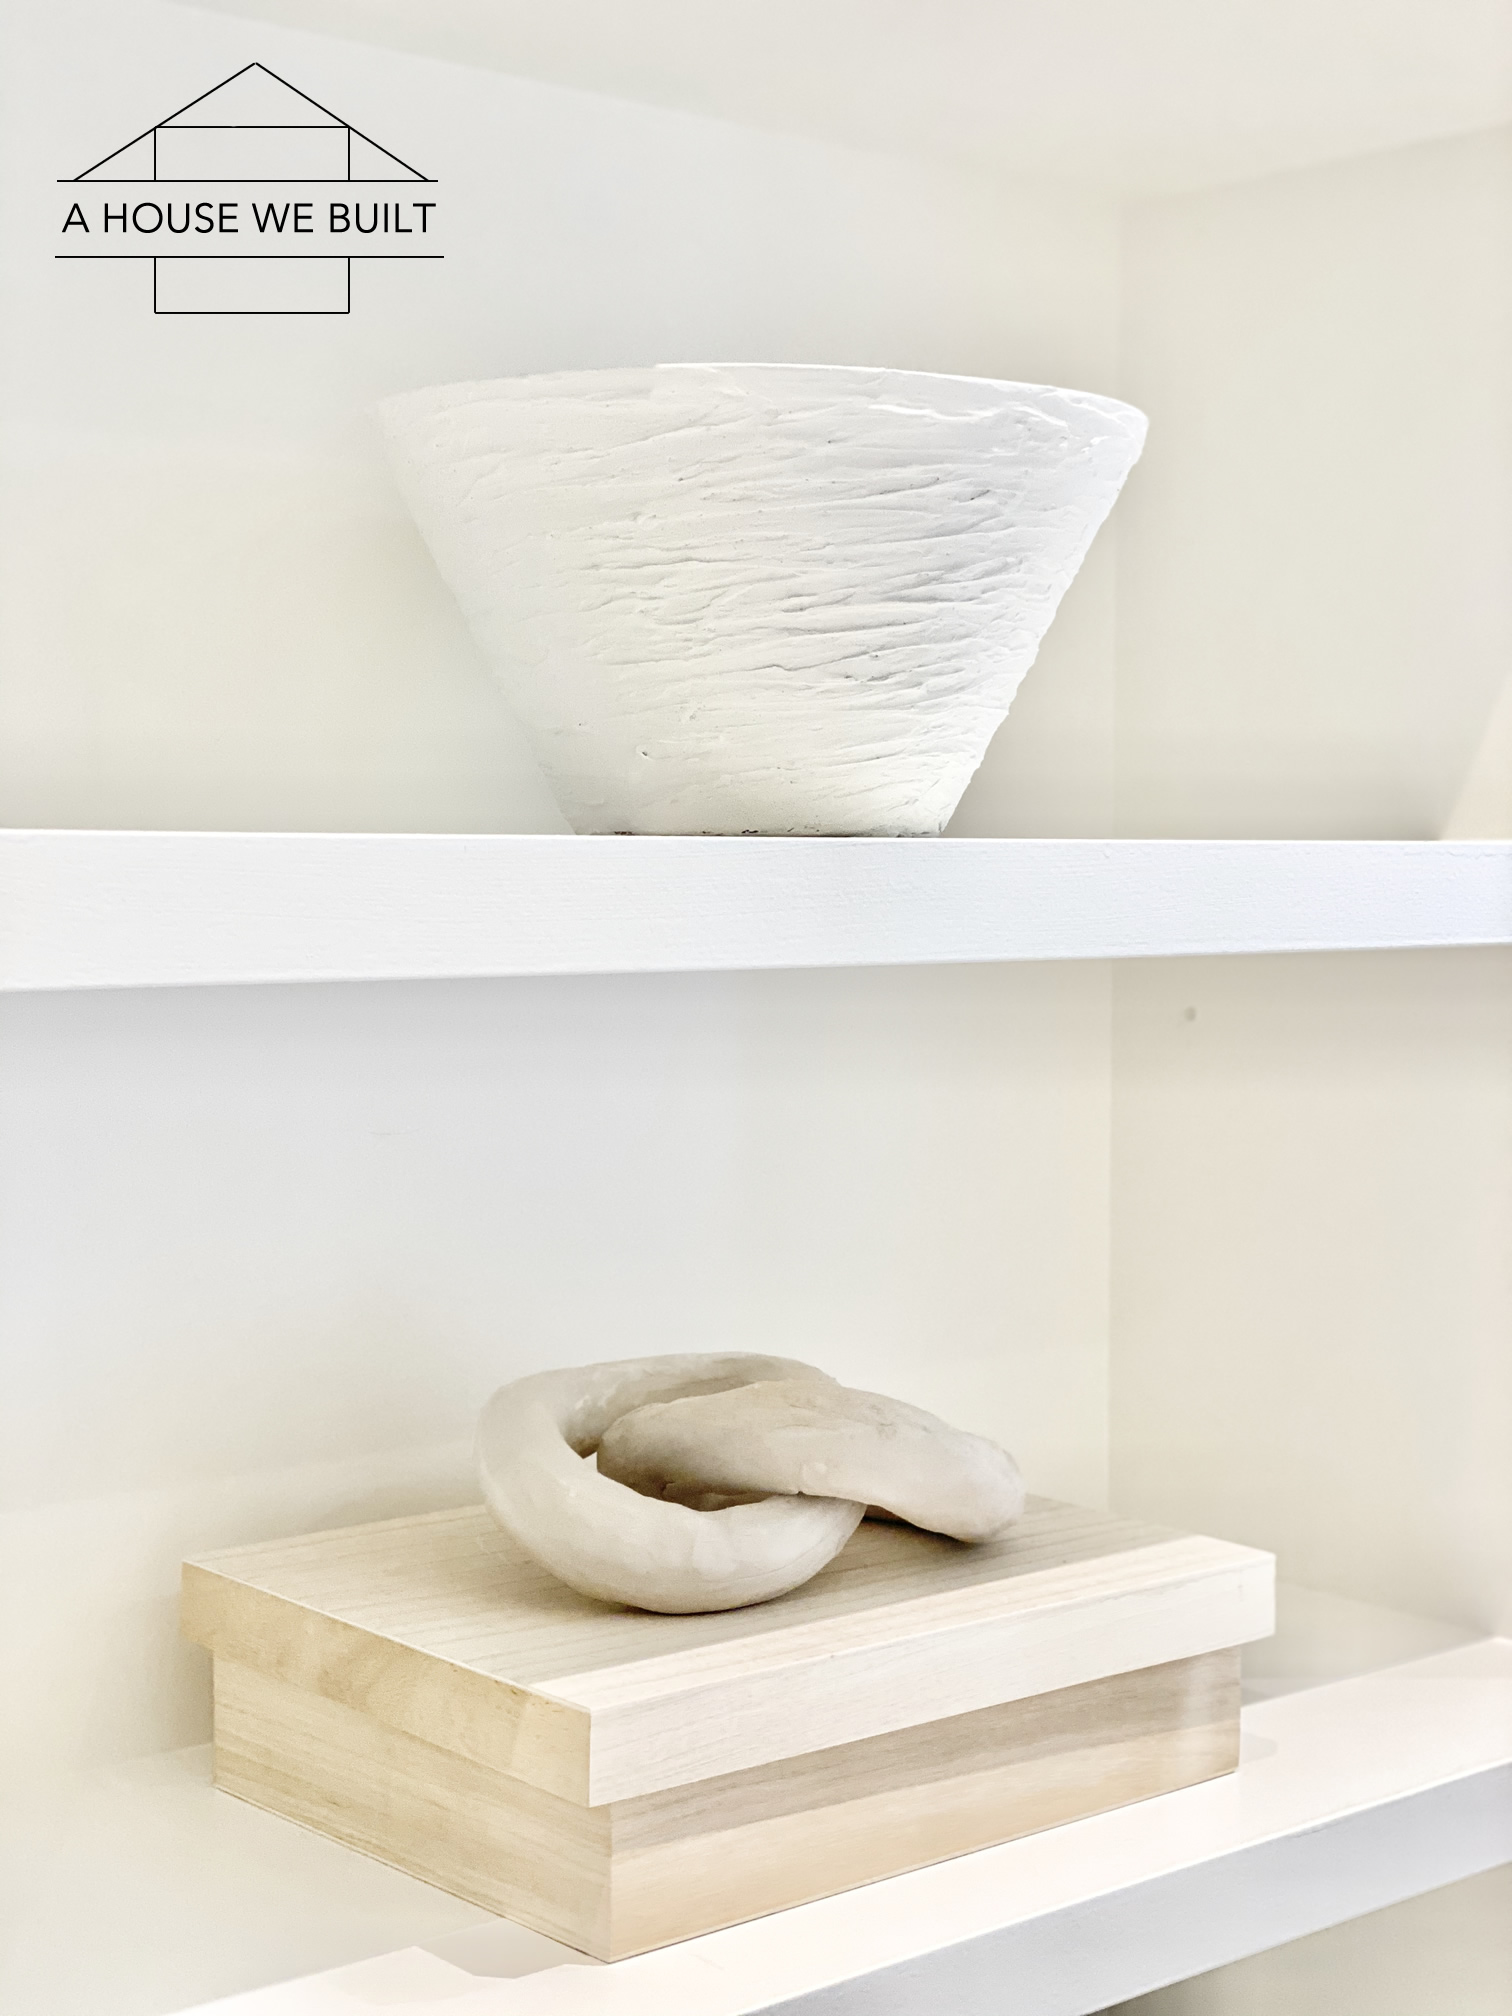
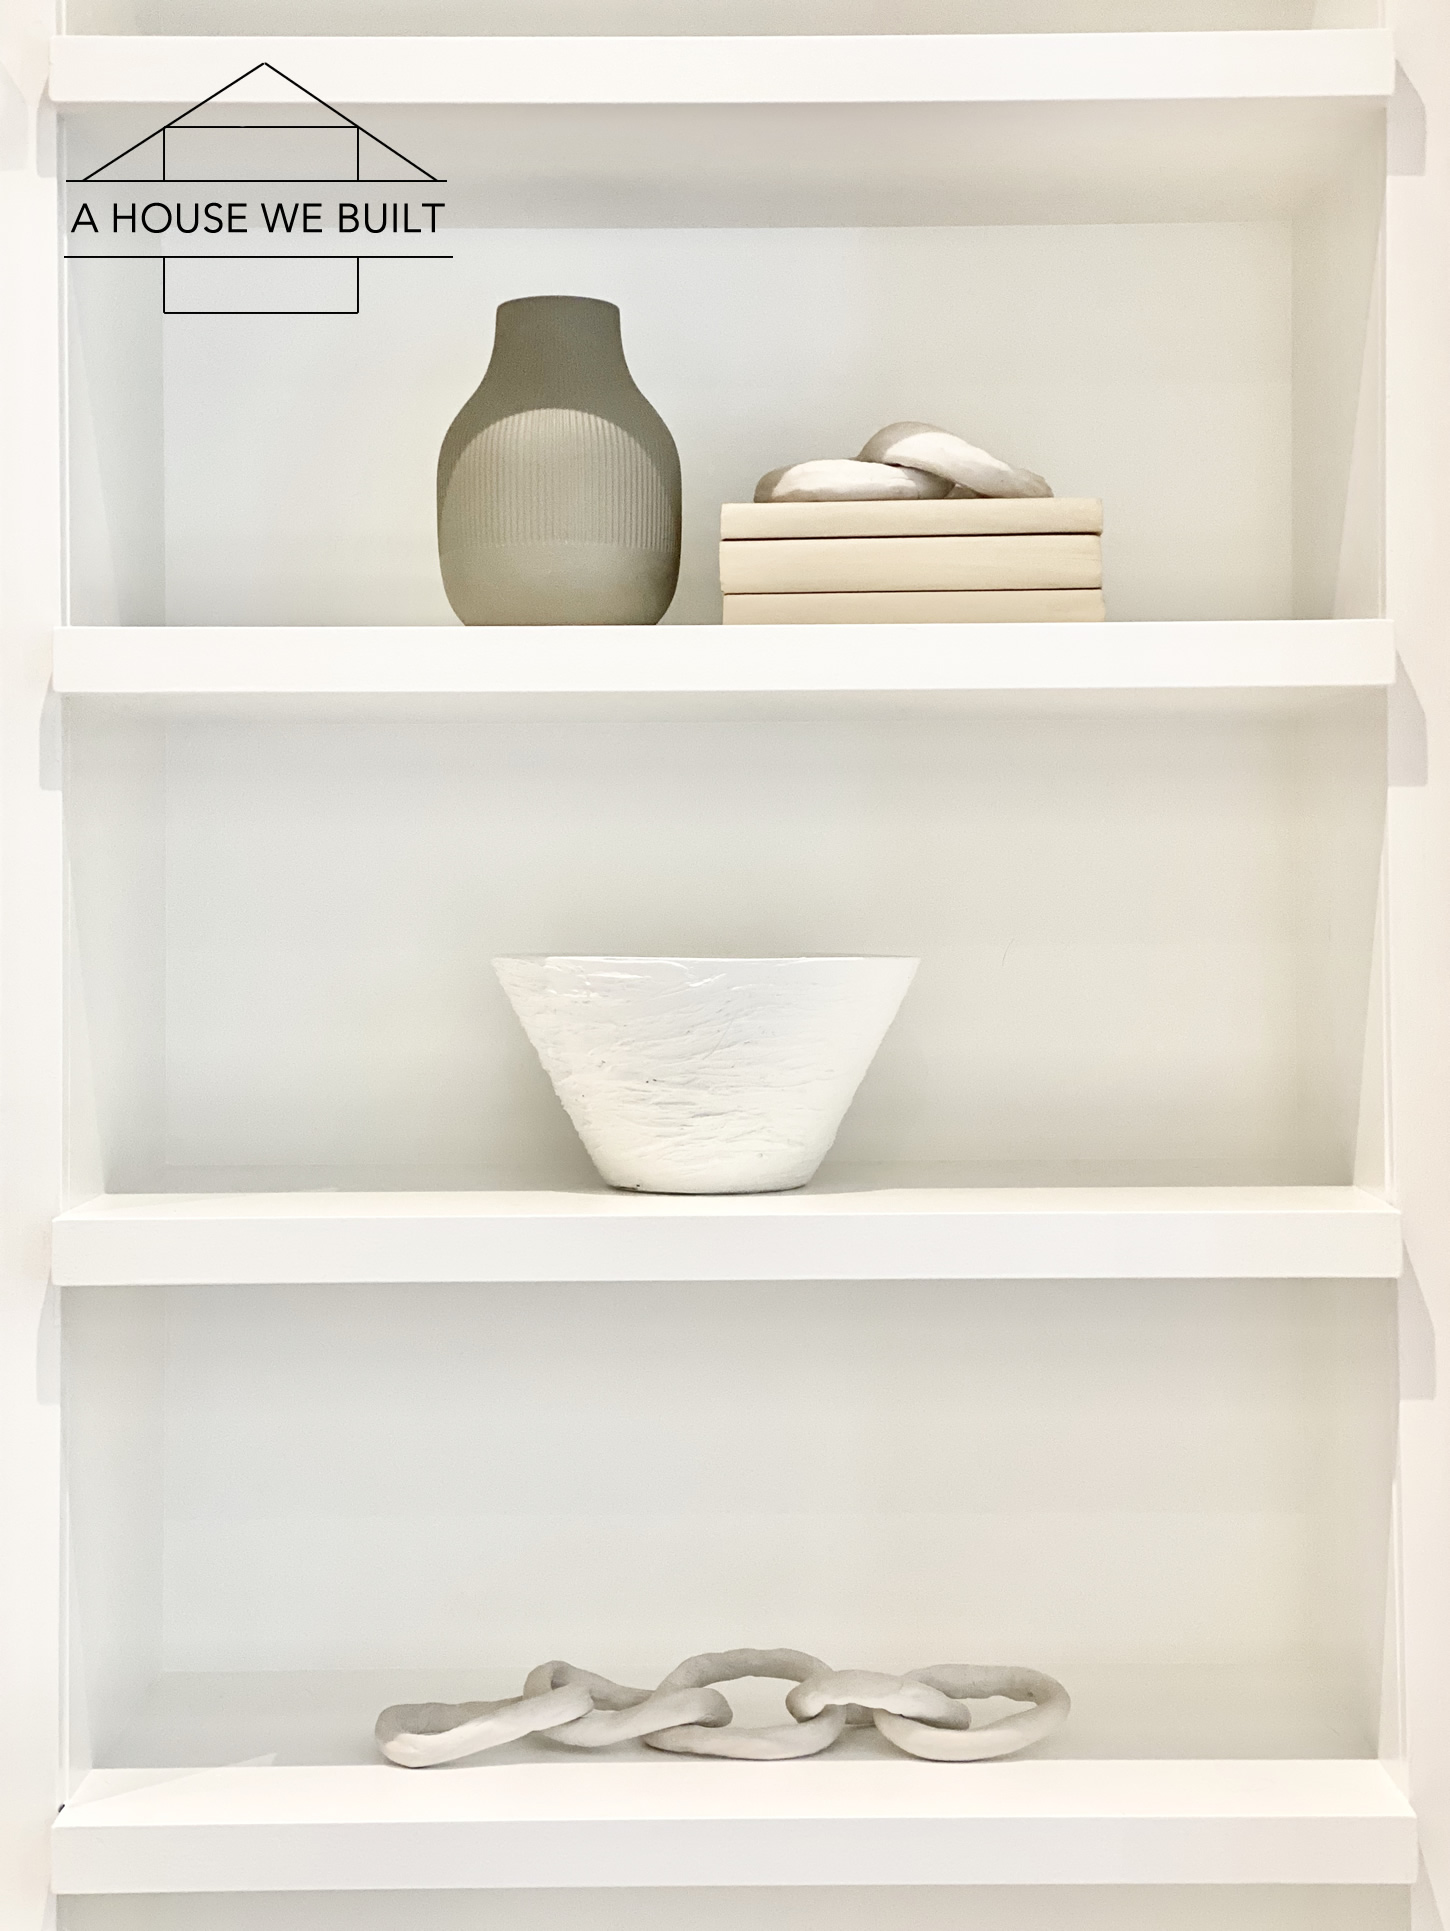
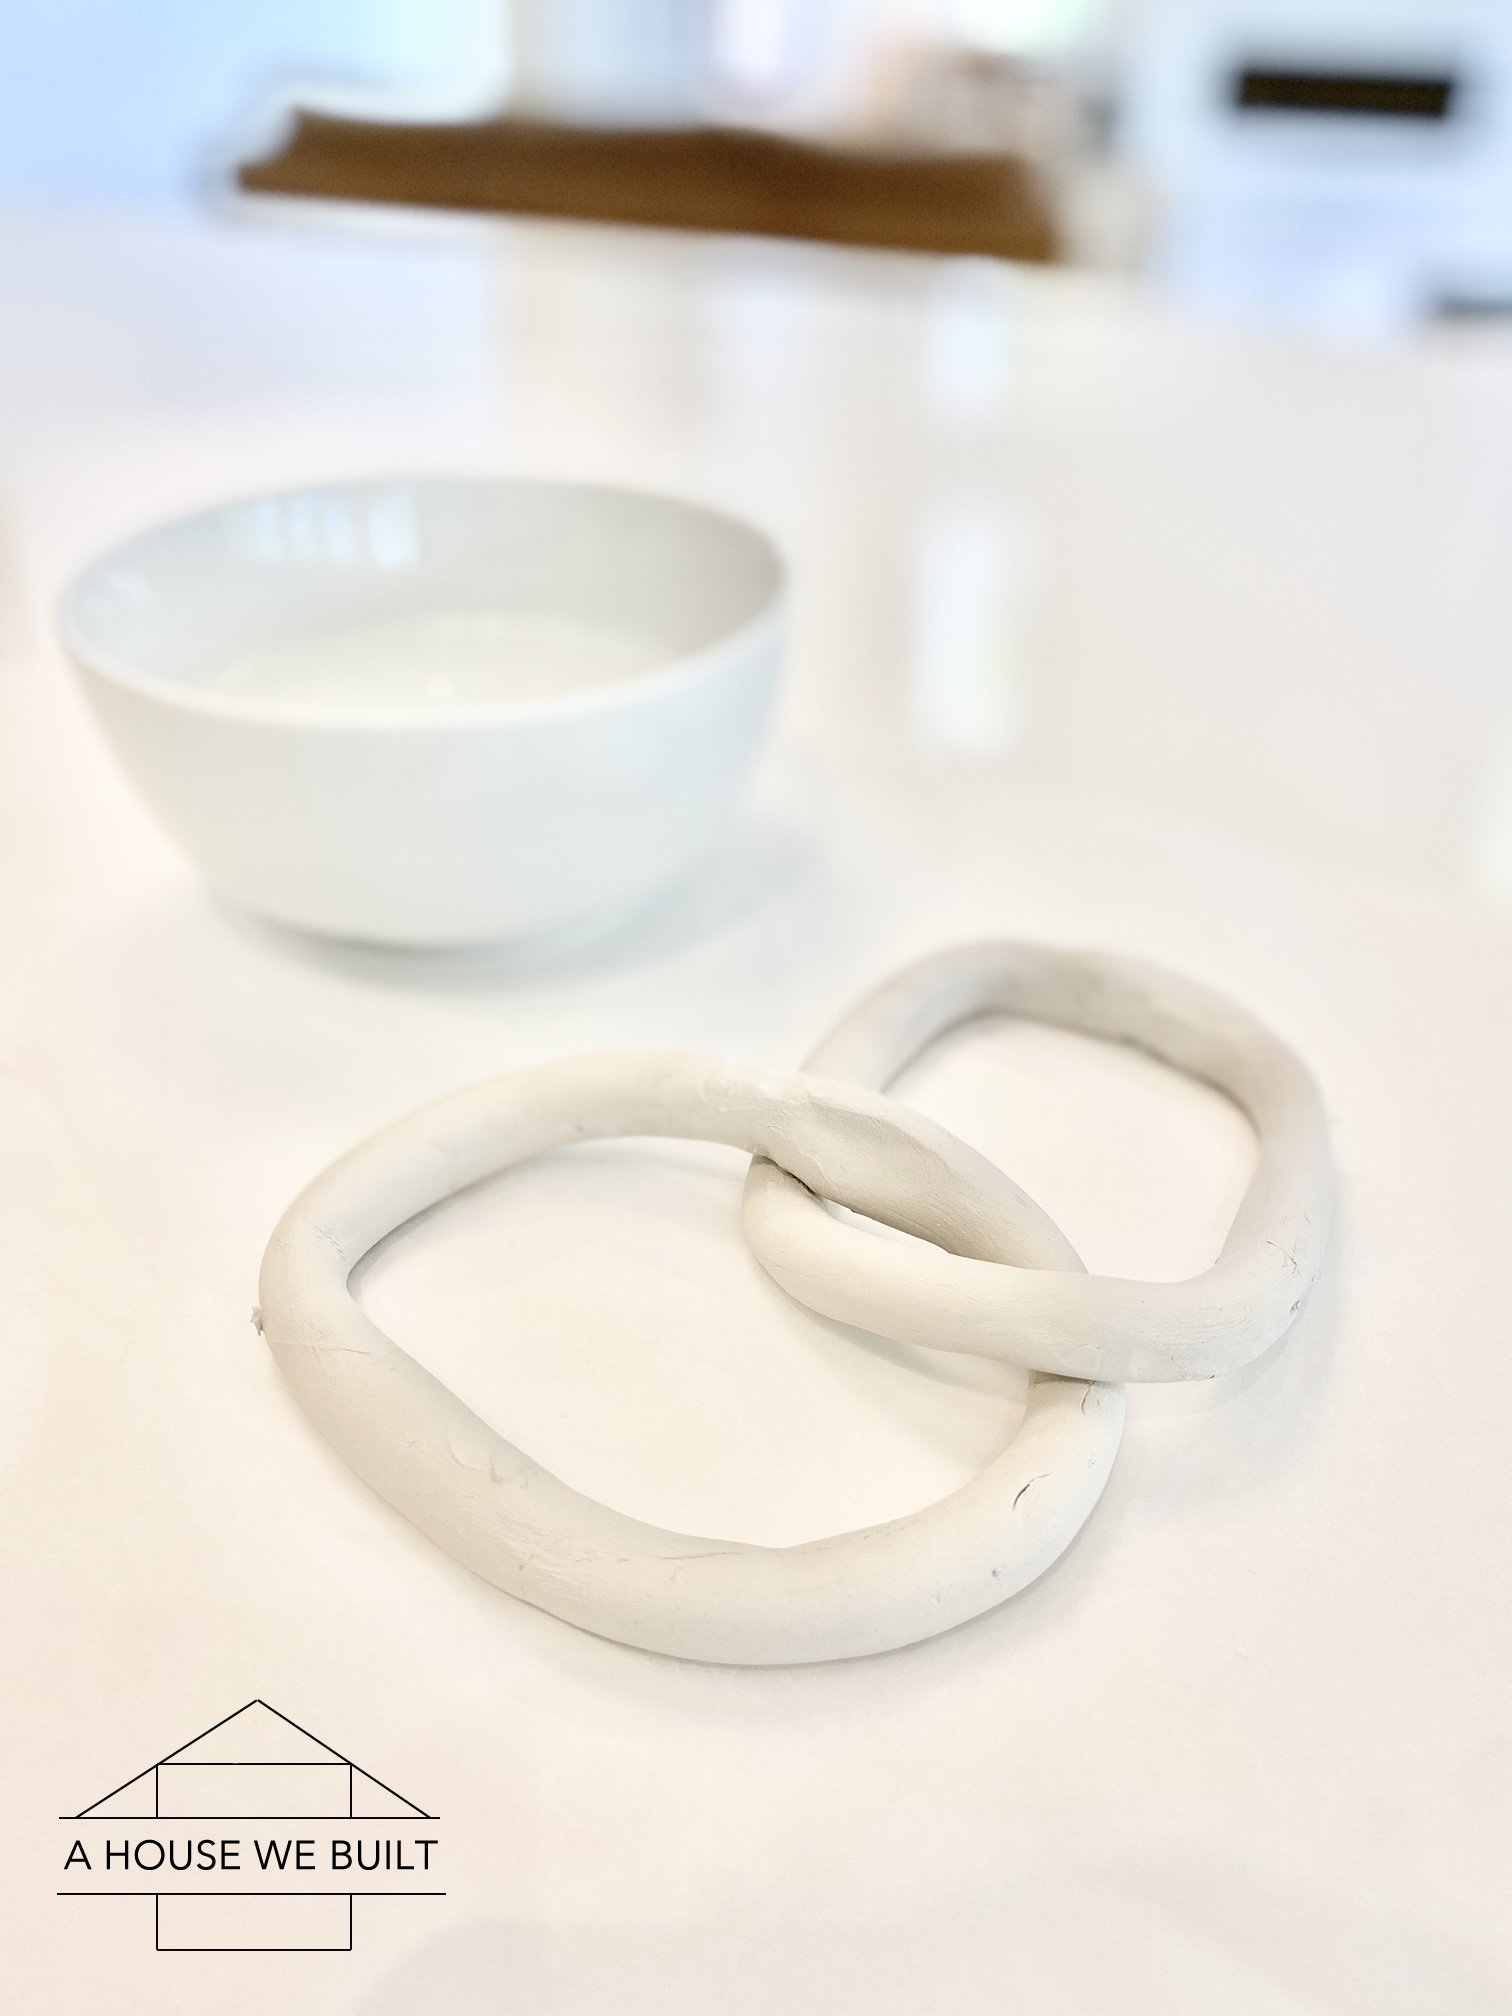
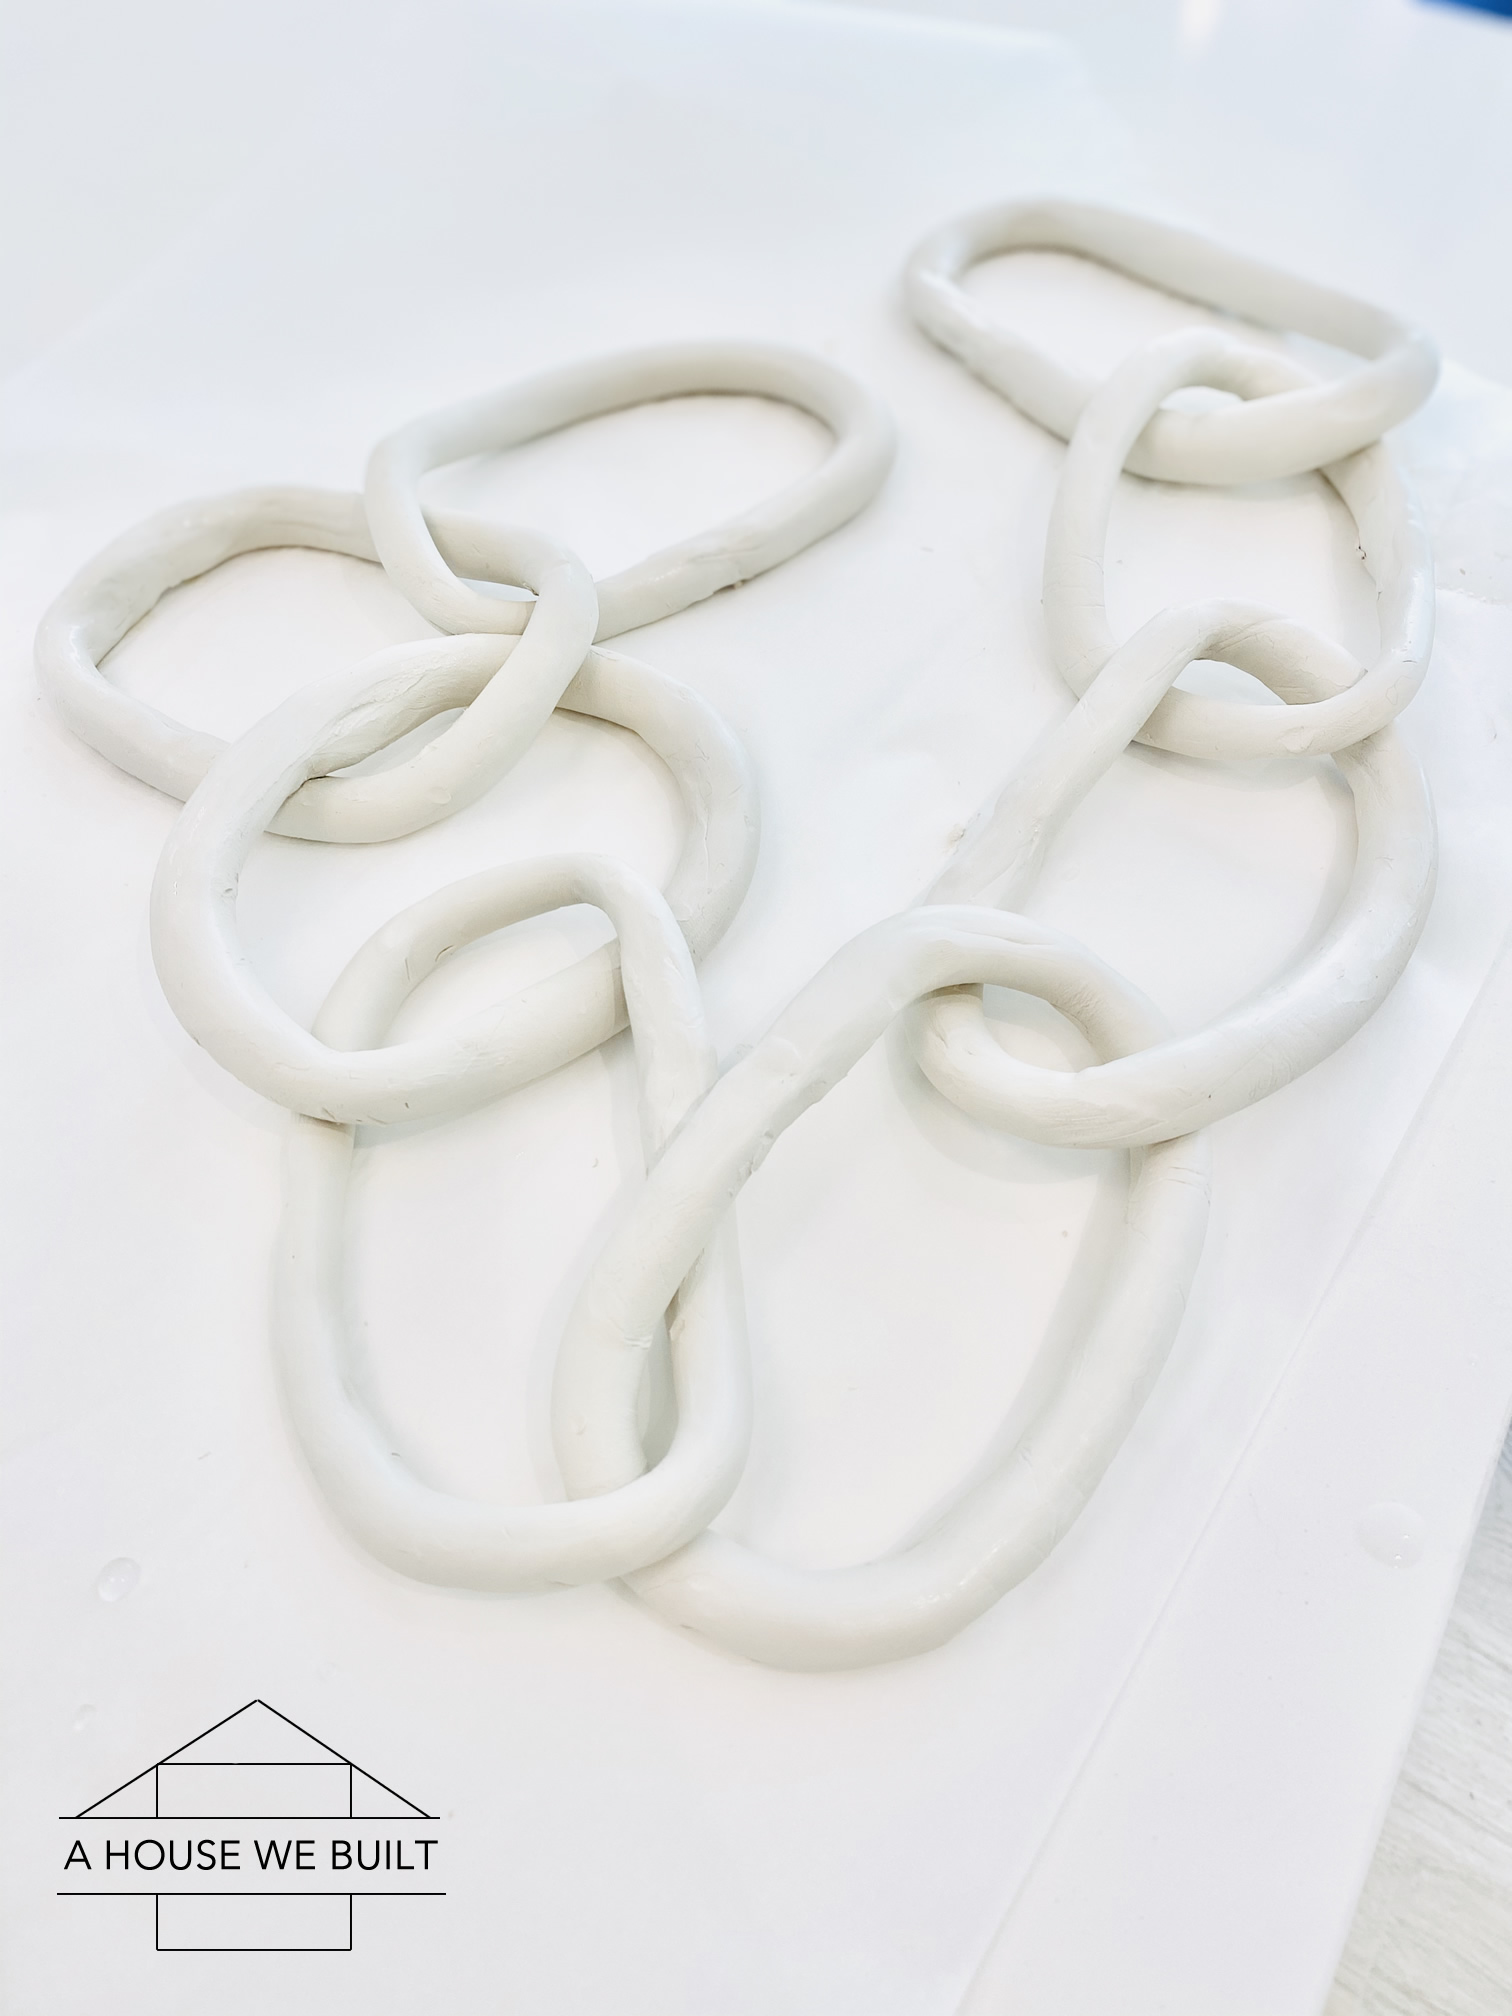
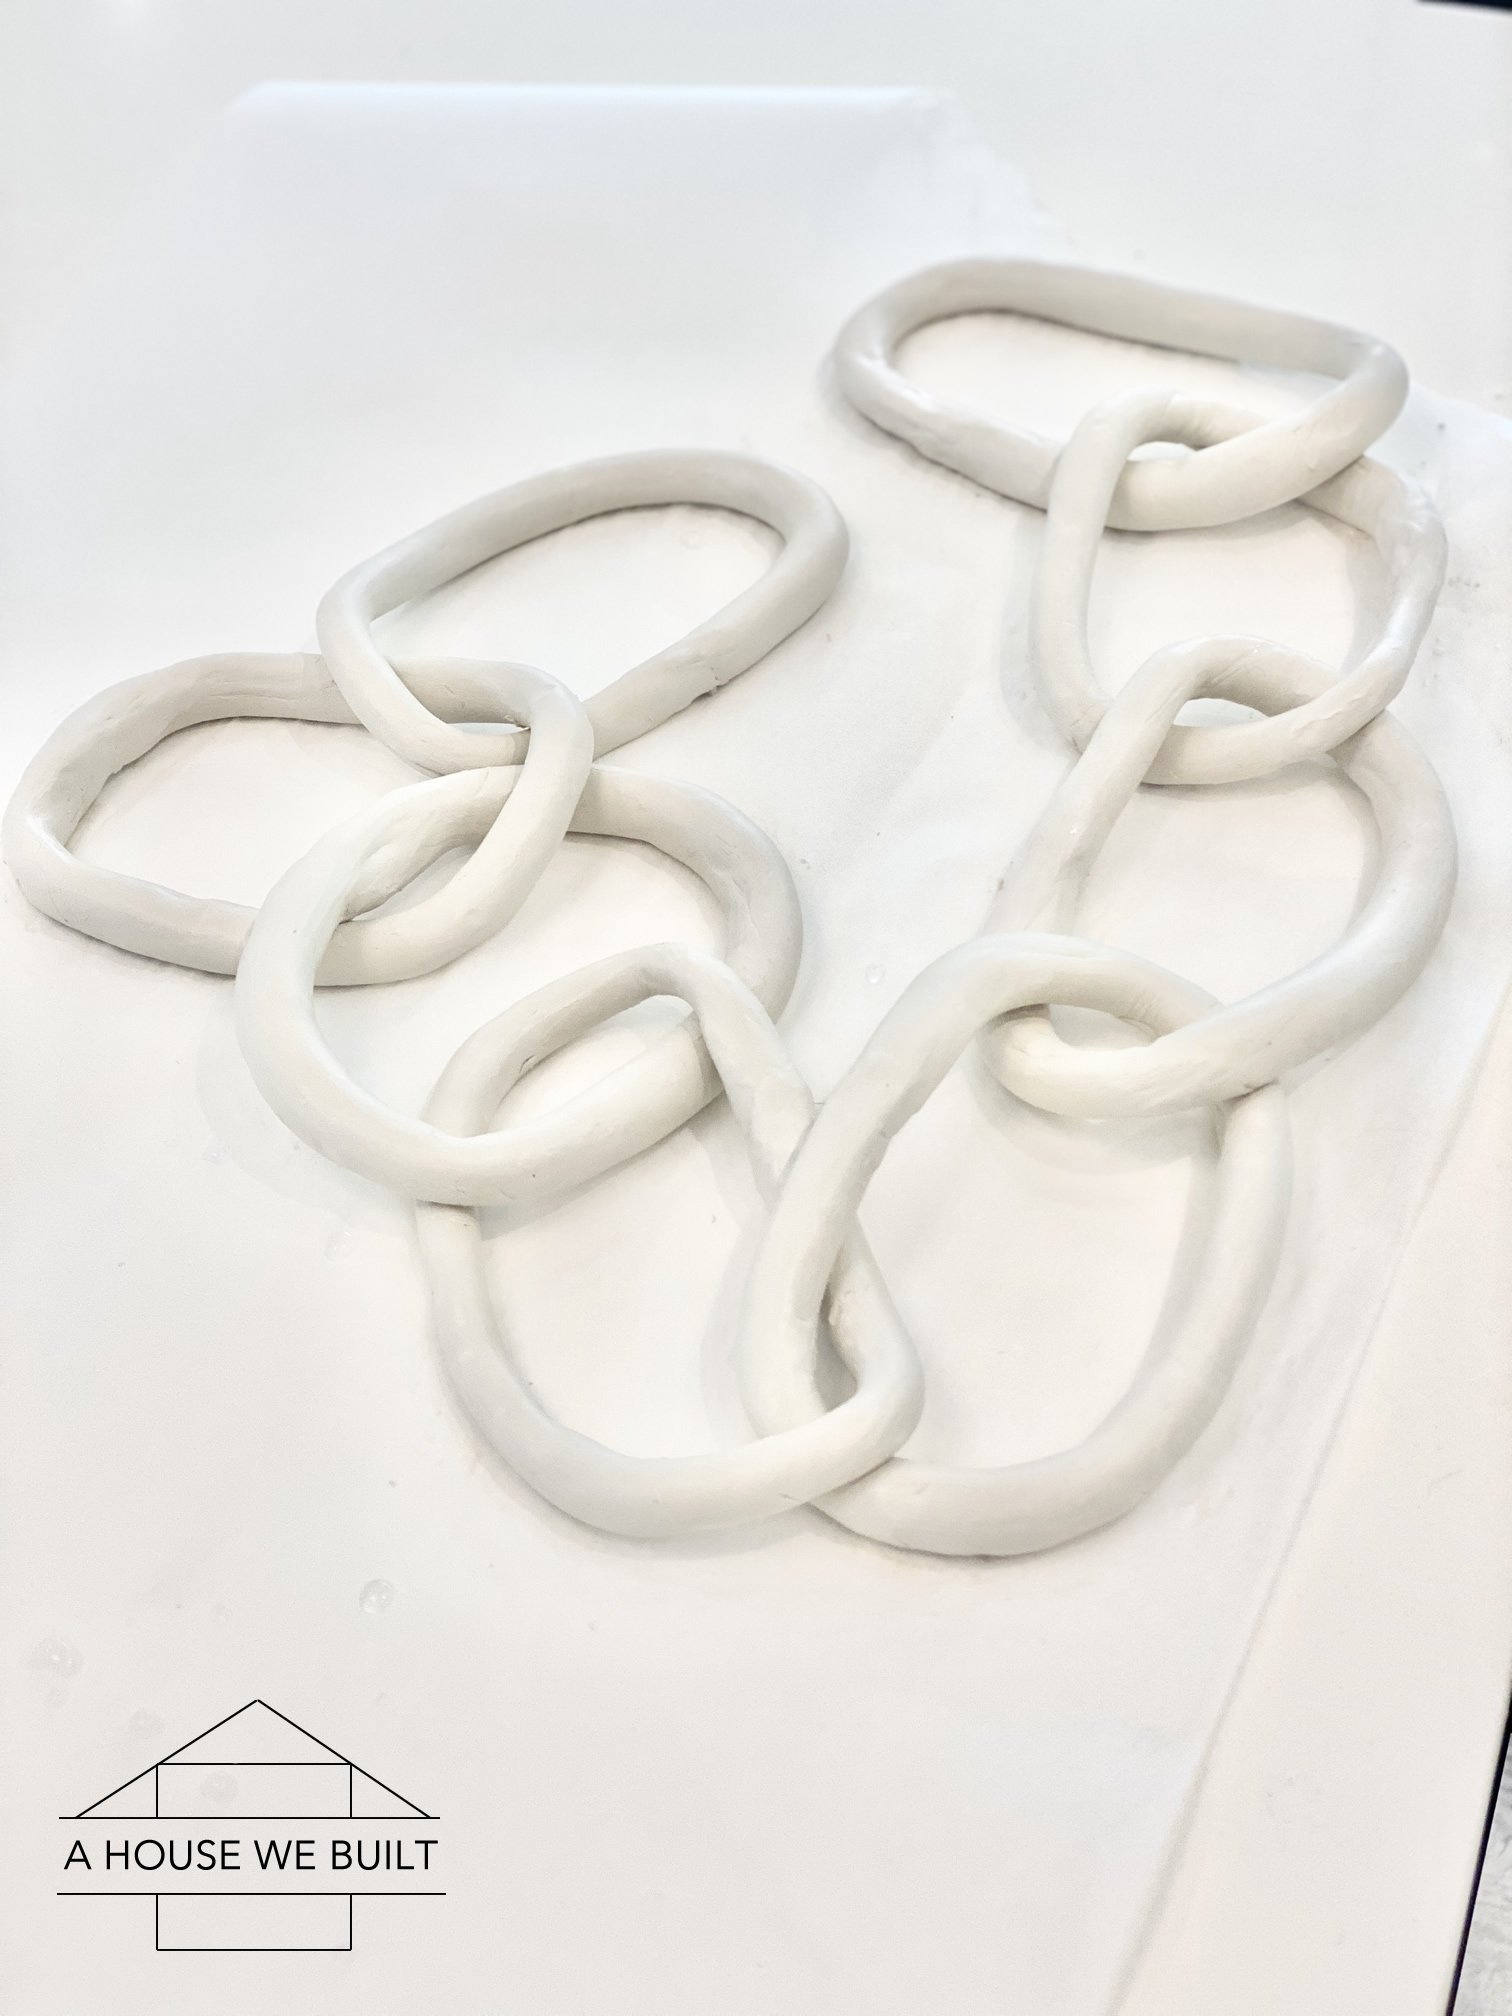
I made these easy decor links out of natural, air-drying clay and they were not only an easy DIY but also such a fun item to add to any styling moment so I thought I’d share how I made mine here.
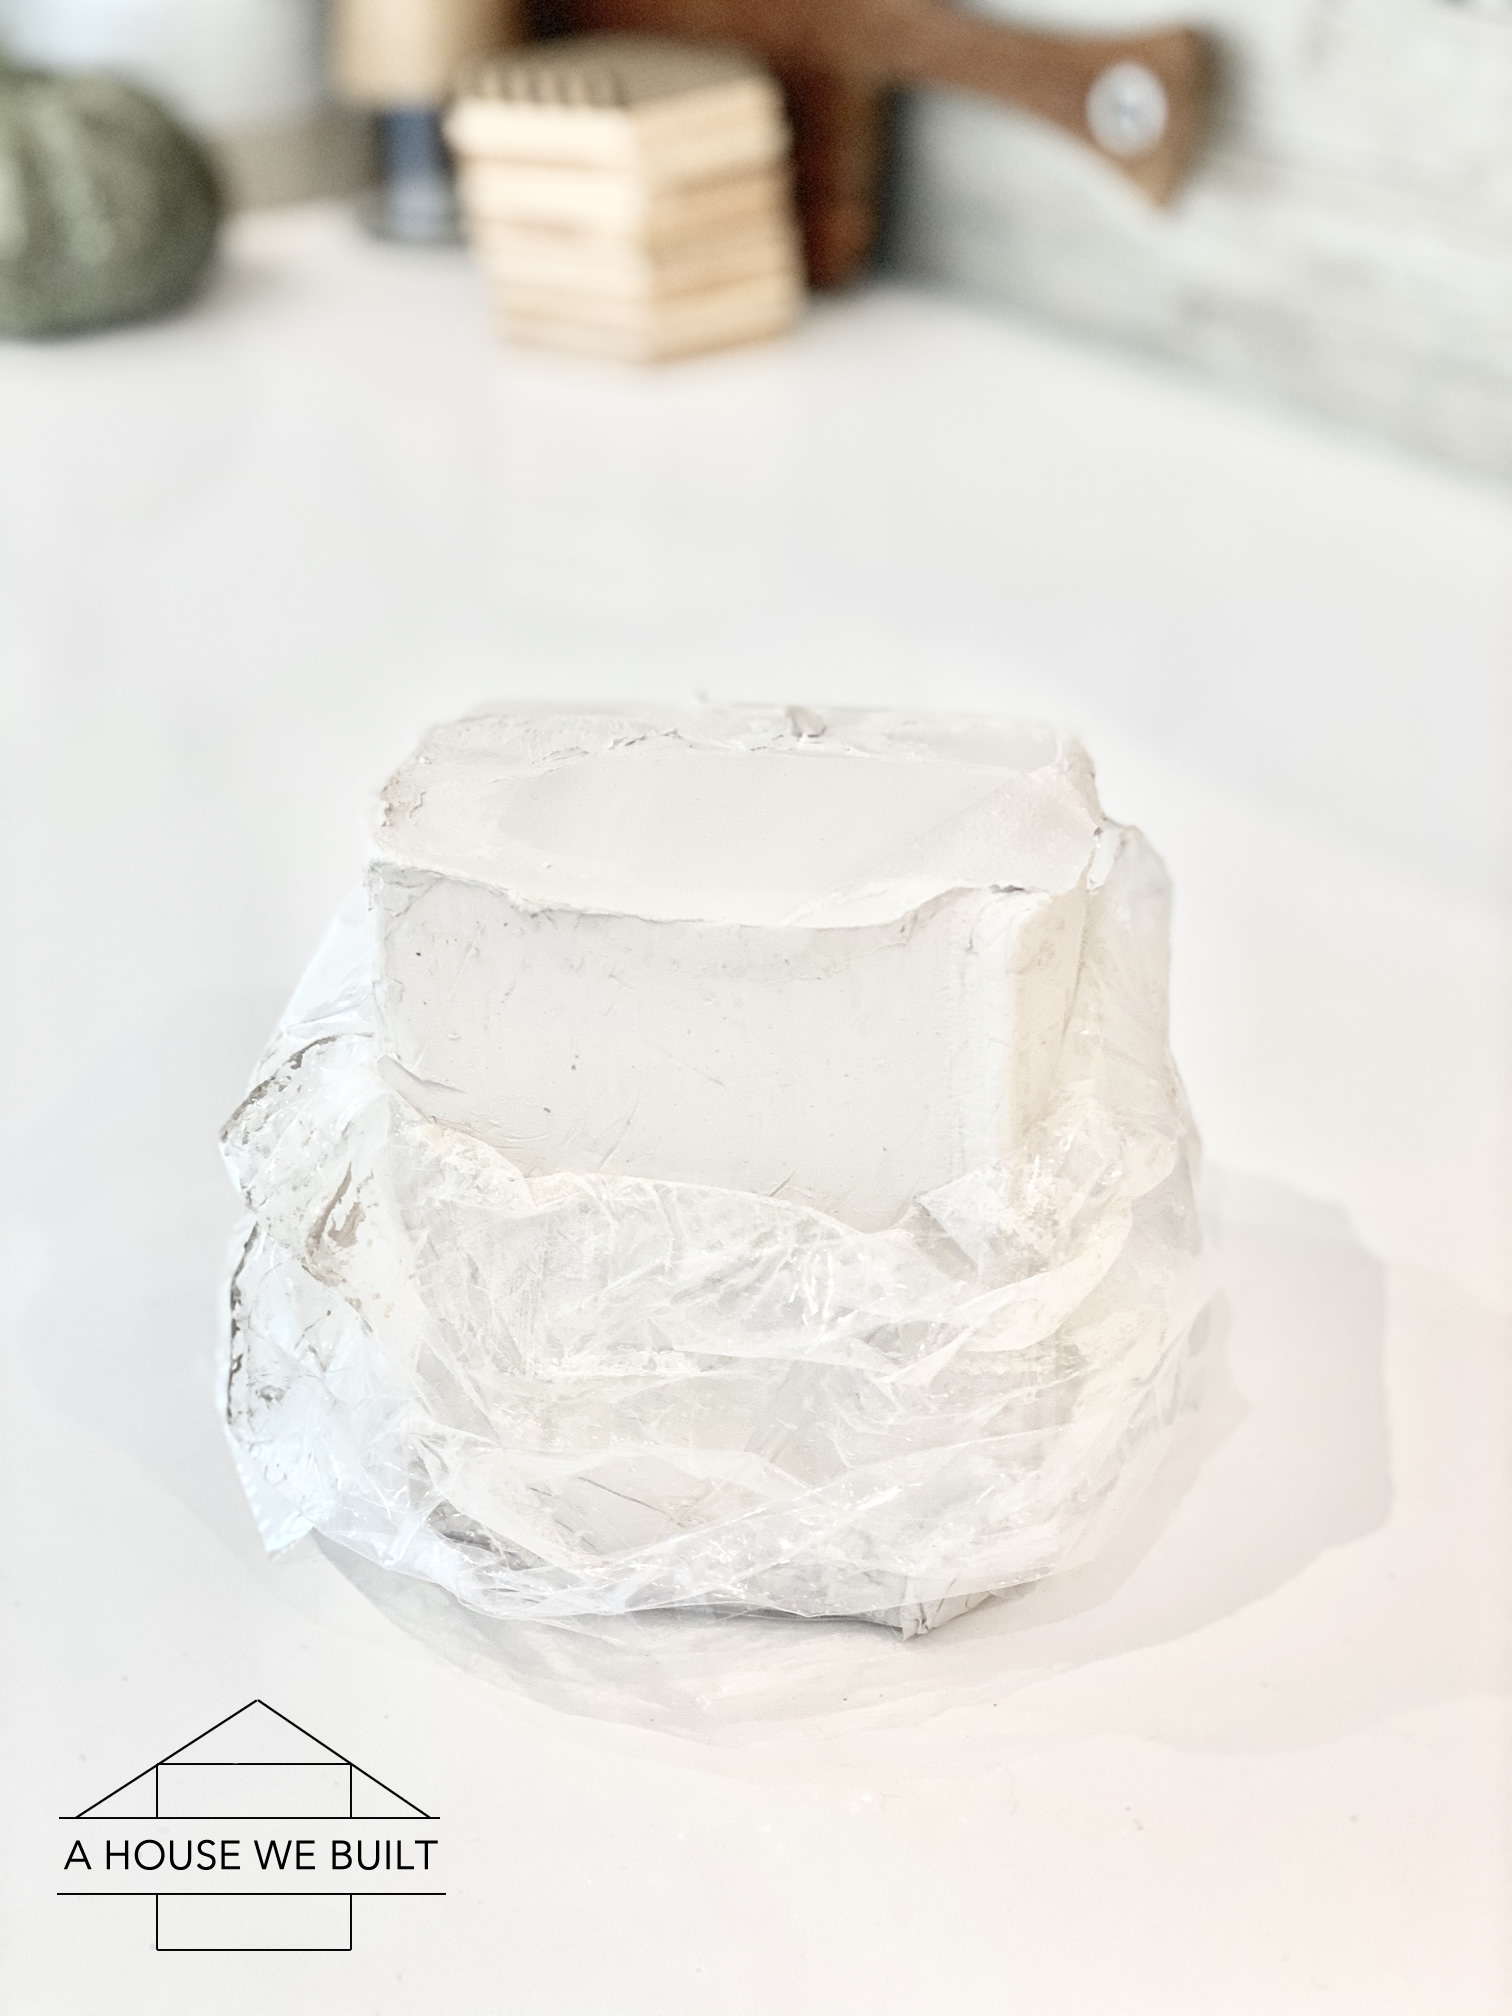
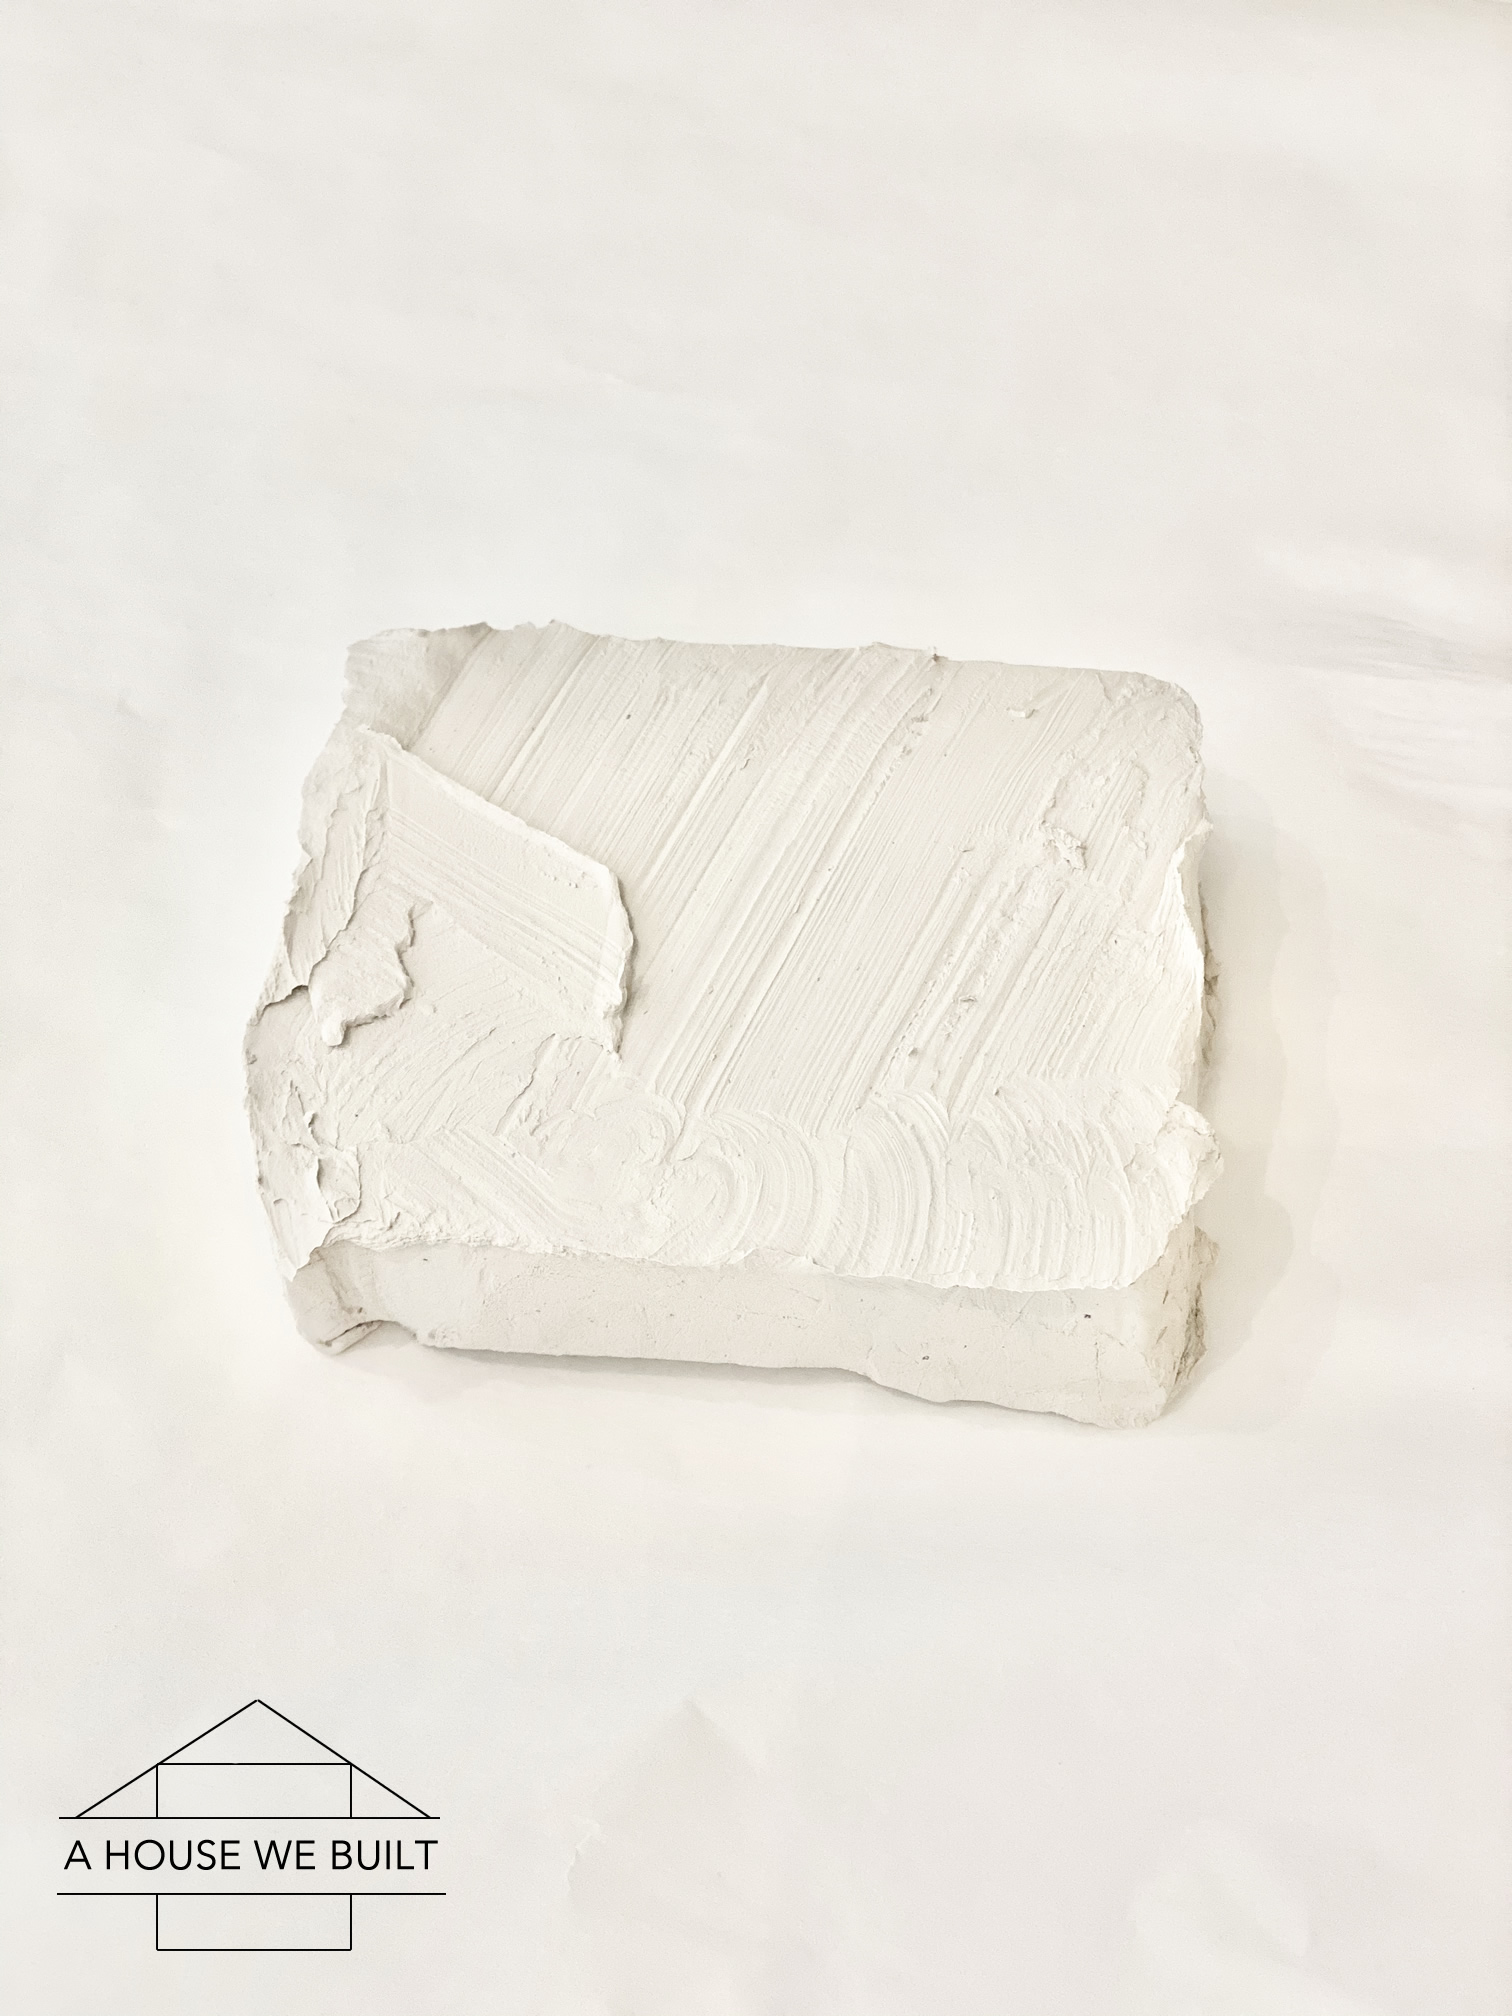
The only material you need is natural clay: Amazon | Amazon | Michaels. I linked a few different options so you can shop the best price. 10lbs might seem like a lot, but I went through the whole box I bought.
Here are some ready-made examples of chain links and I have a longer list at the bottom of this post: Bloomist (pale wood) | Bloomist (dark wood) | Bloomist (extra large) | CB2 (marble)| McGee & Co (stone)
There are no specific rules to this DIY and these are extremely general instructions. I made 4 link sets with 4 different shapes and sizes of links so this is just an overview on to how to make them. You can use as much or as little clay as you’d like and you can make your rings as thick or thin as your heart desires.
Instructions:
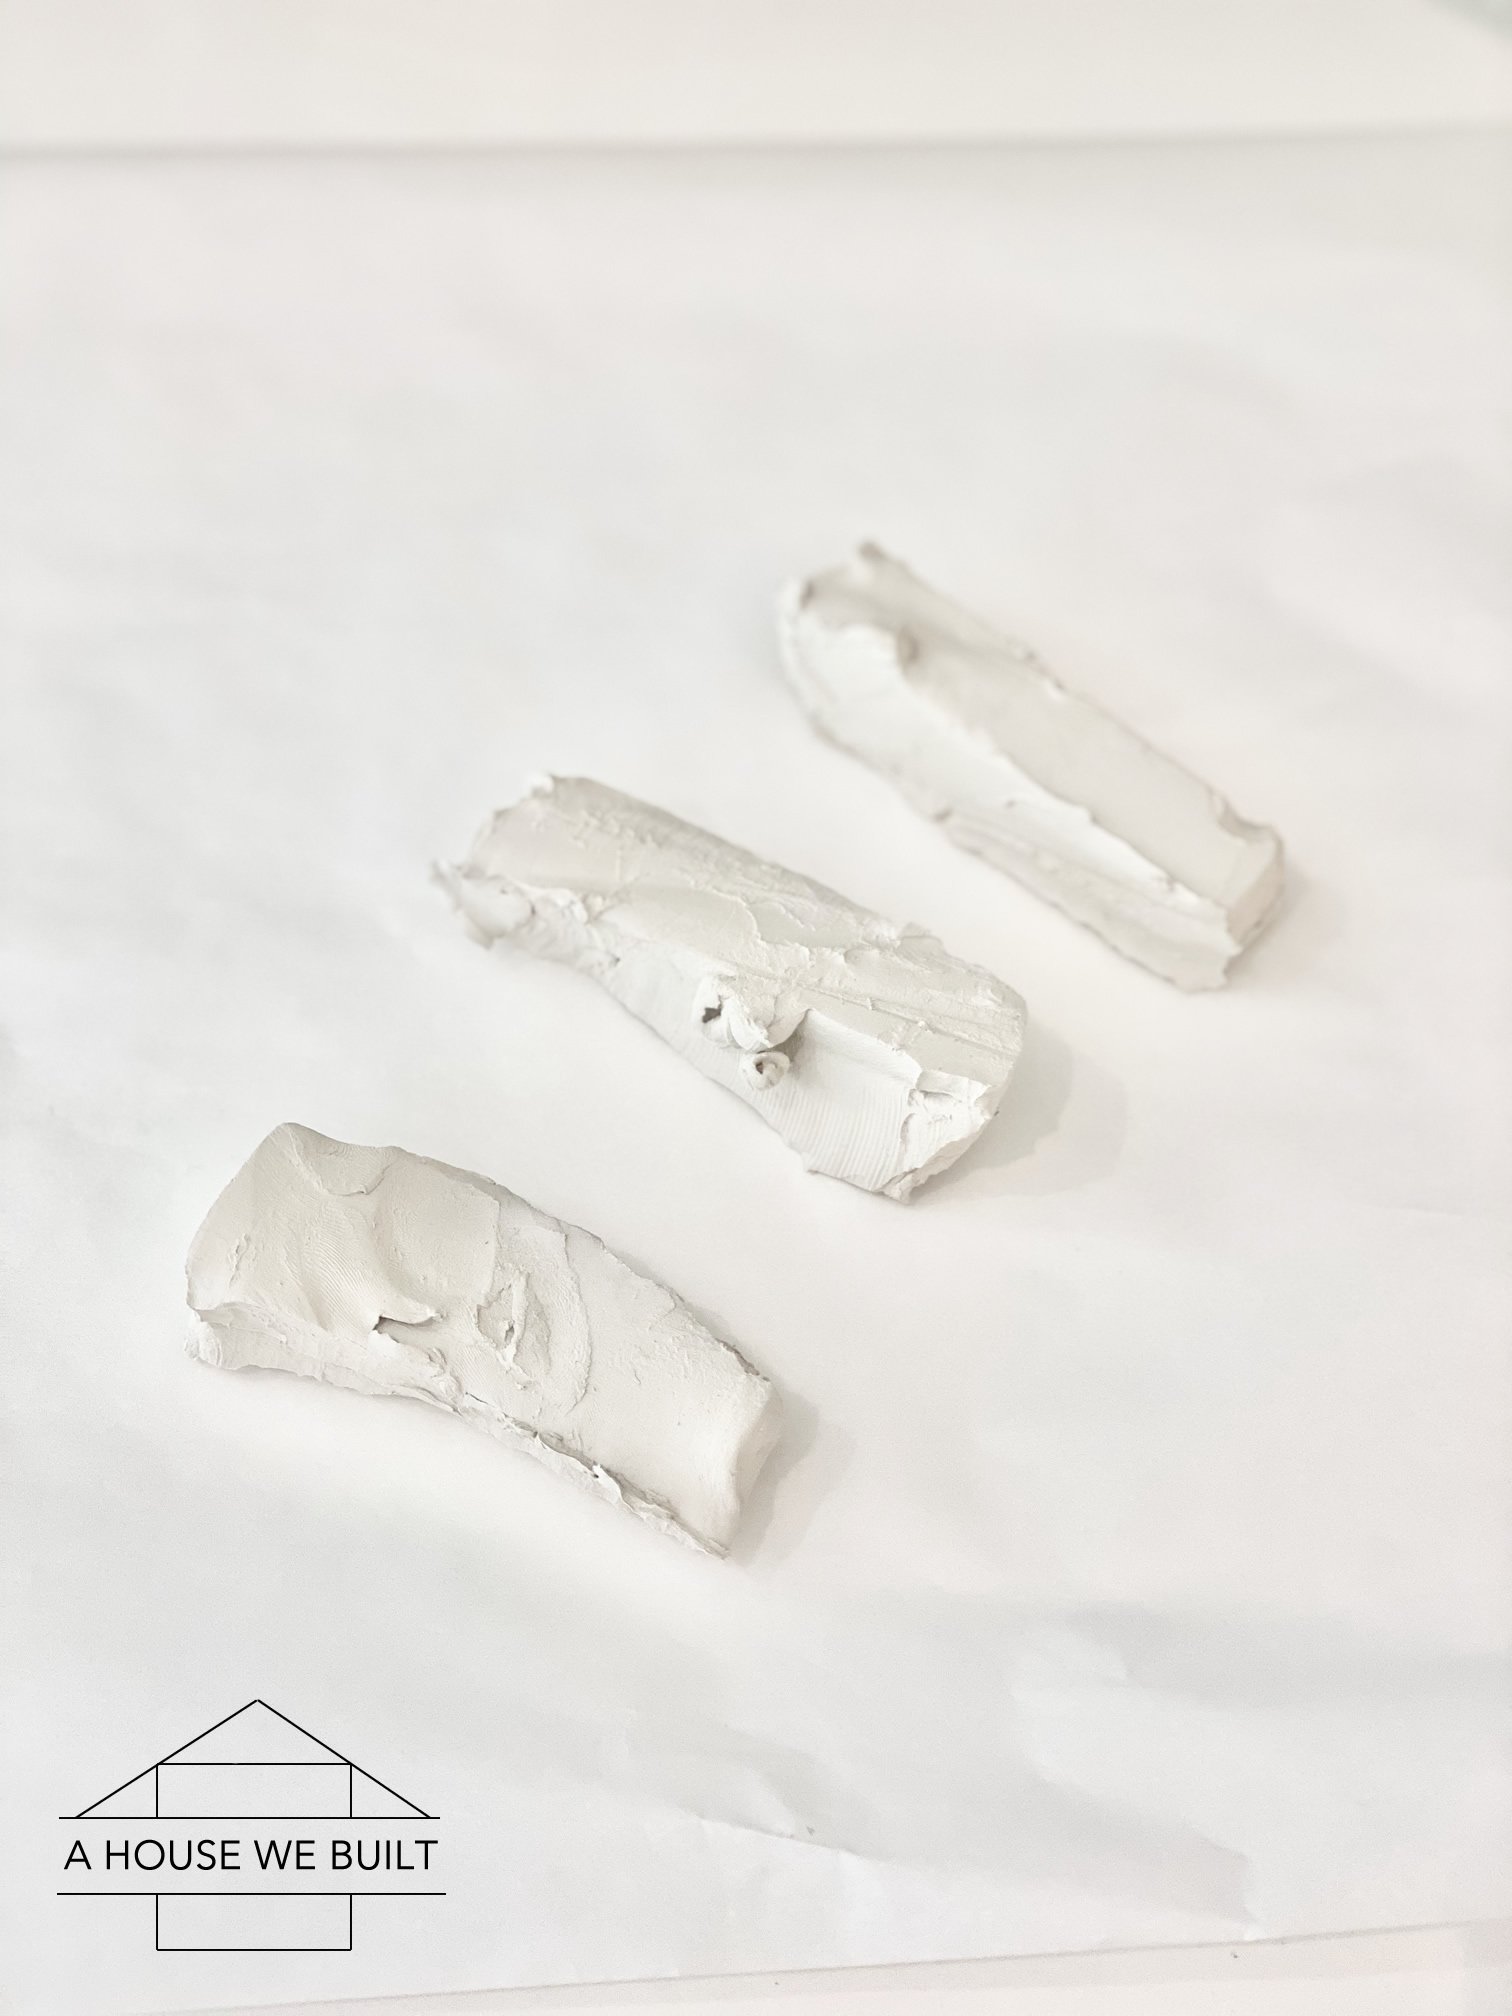
- Start with a chunk of clay. I cut a slab about an inch thick off my whole block of clay, then divided that up into sticks. You can just use any kitchen knife to cut the clay.
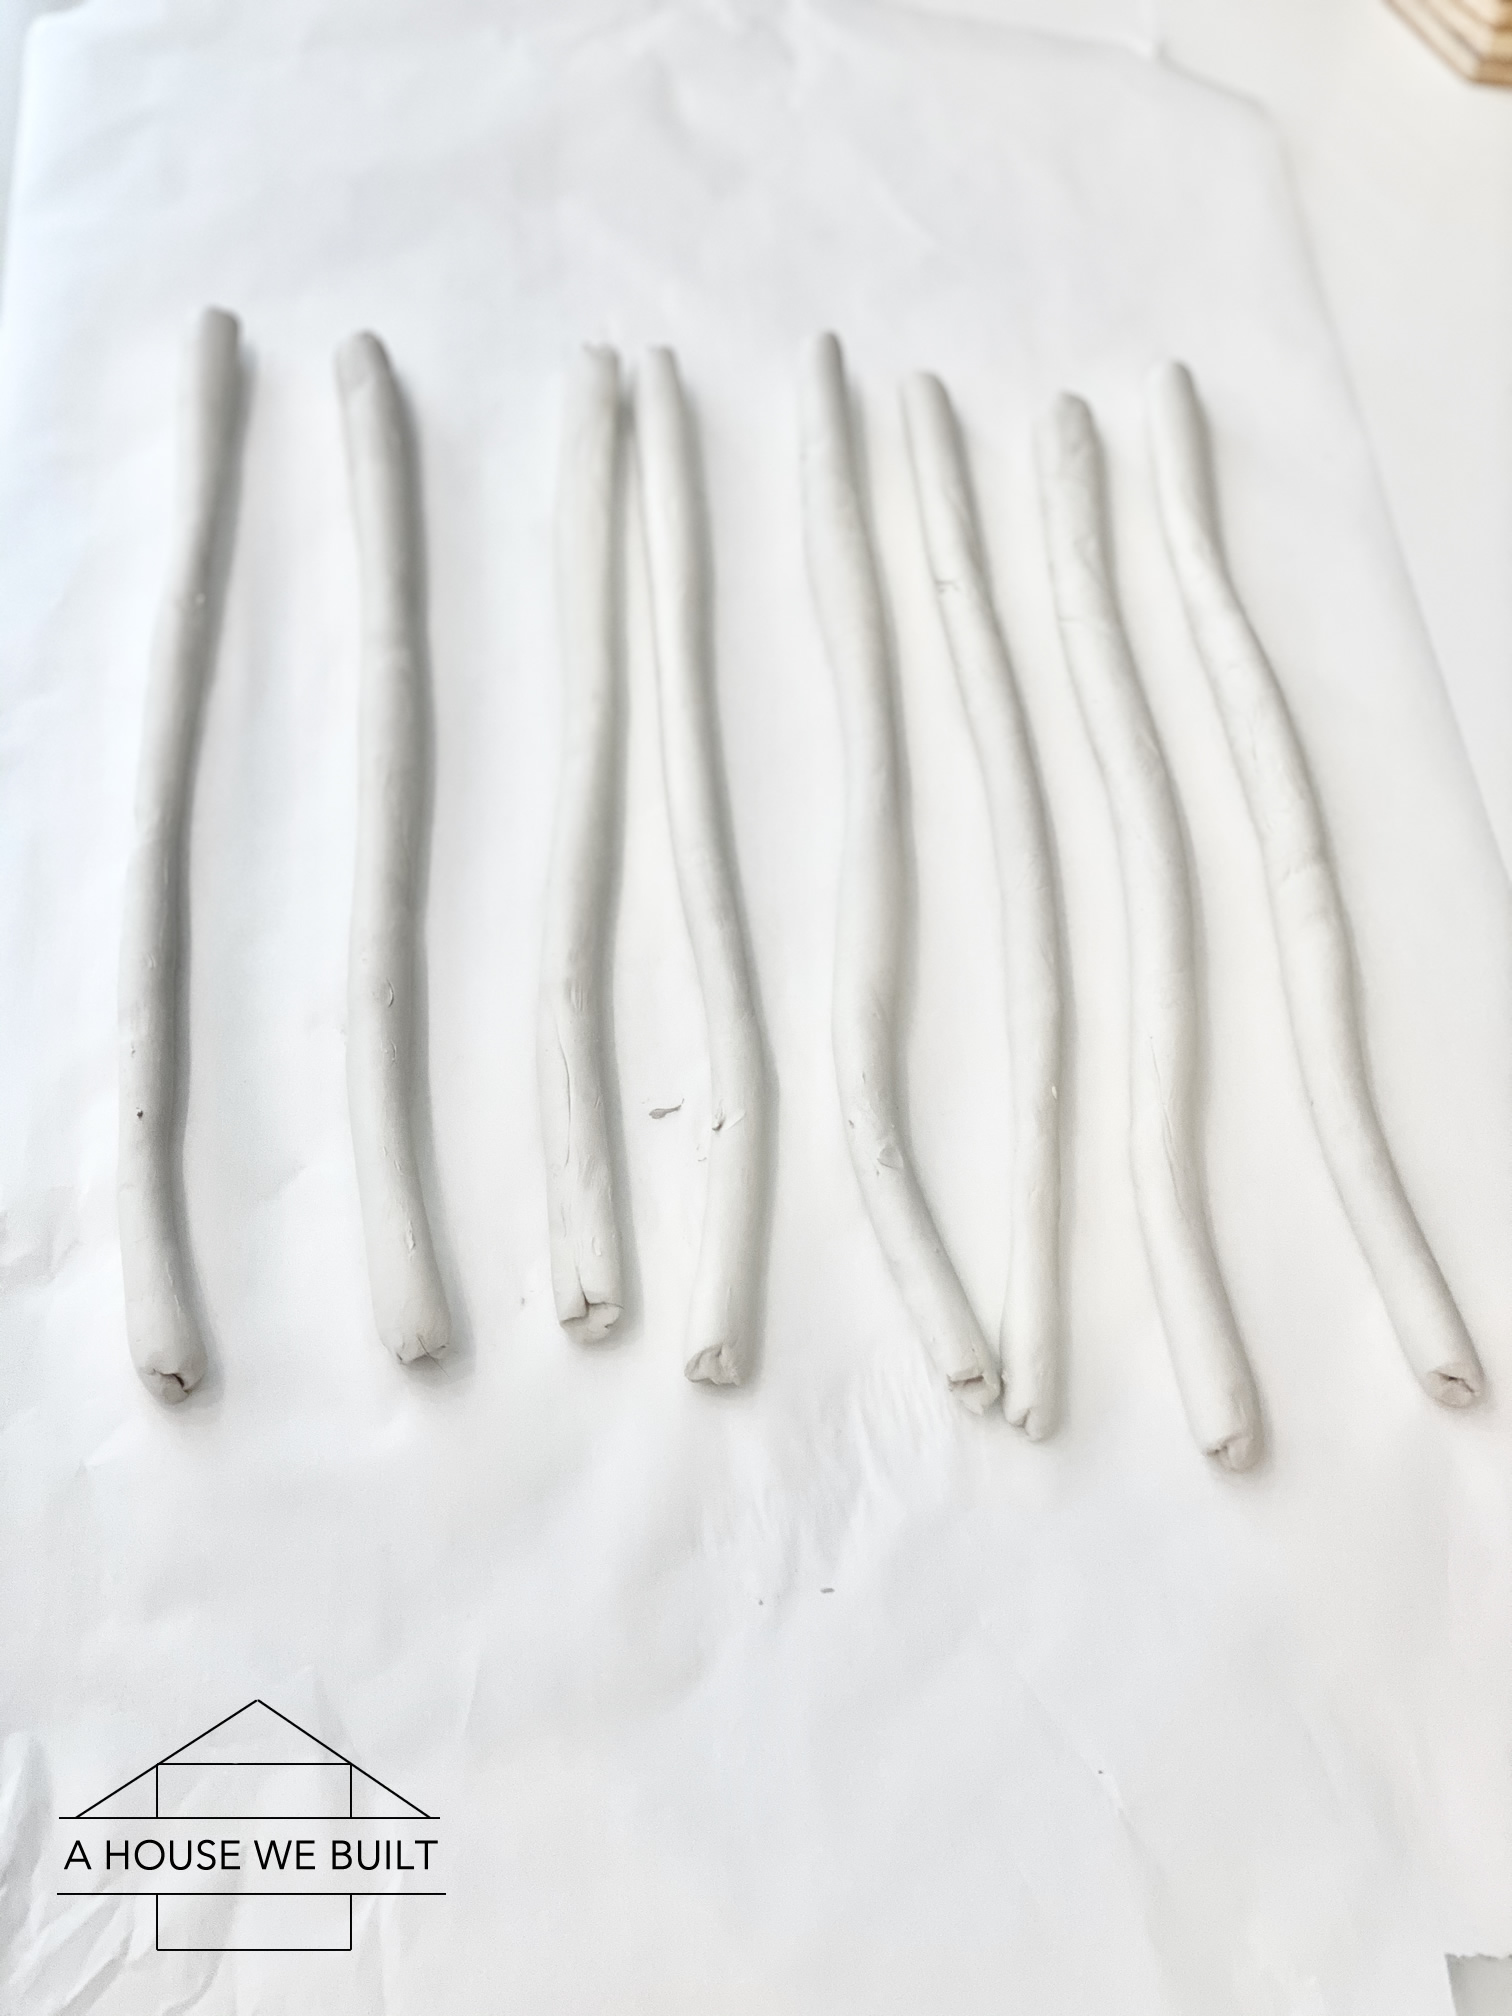
- Roll out two pieces of clay to start (same rolling technique as play dough) until it’s the thickness of link you like. Since I made 4 link chains in total, mine ranged from about 1/2″ to 1 1/2″ of thickness.
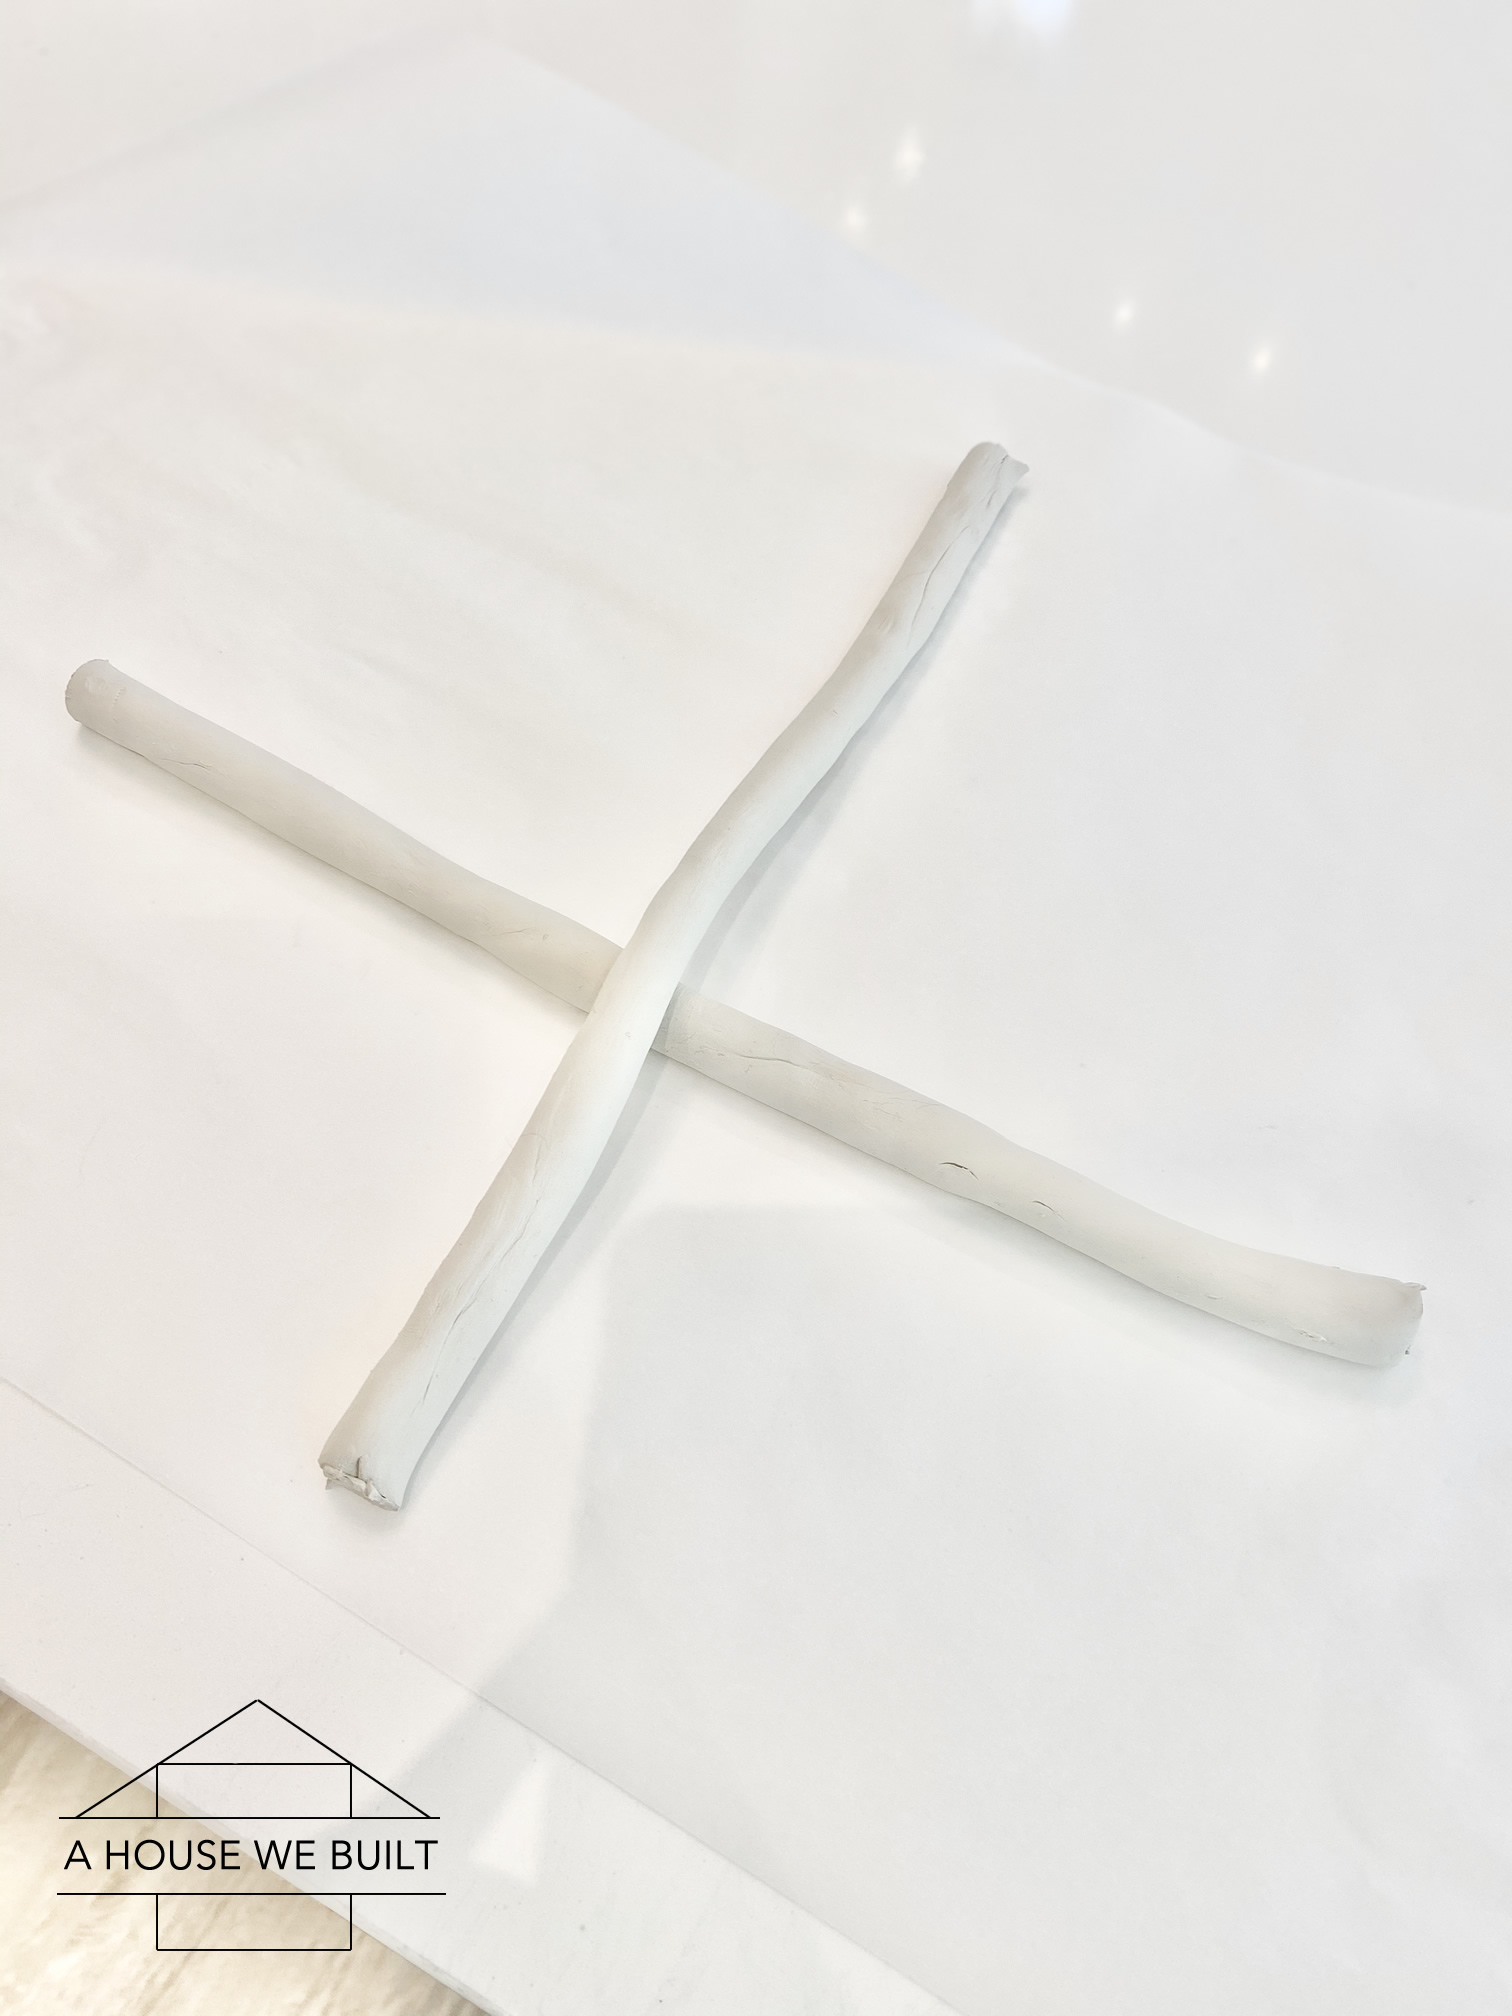
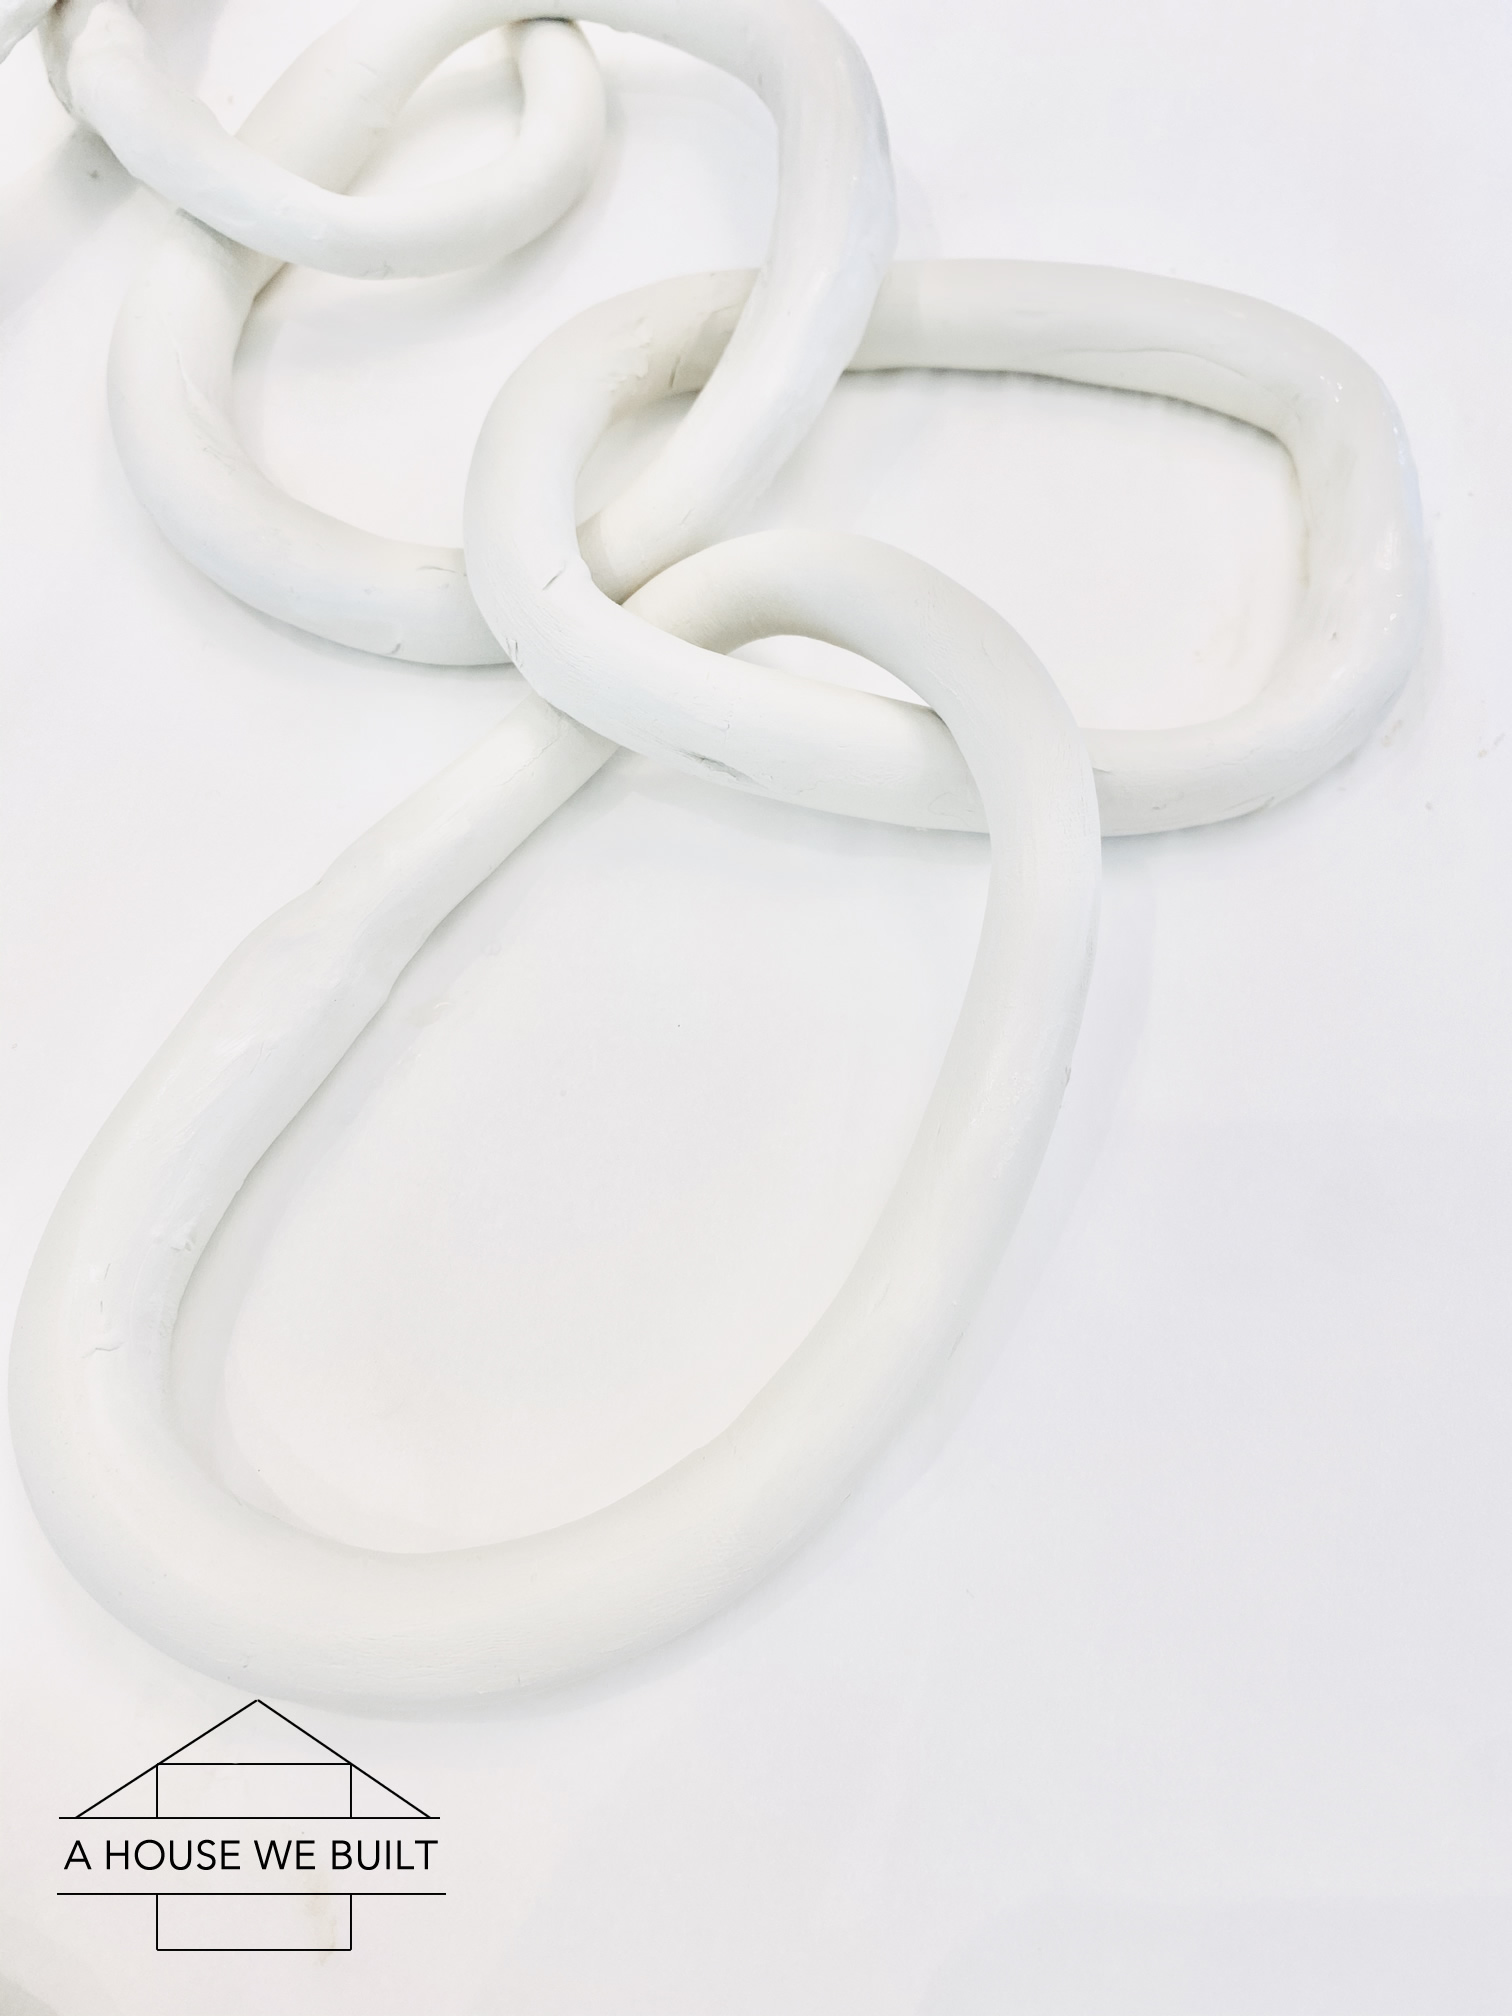
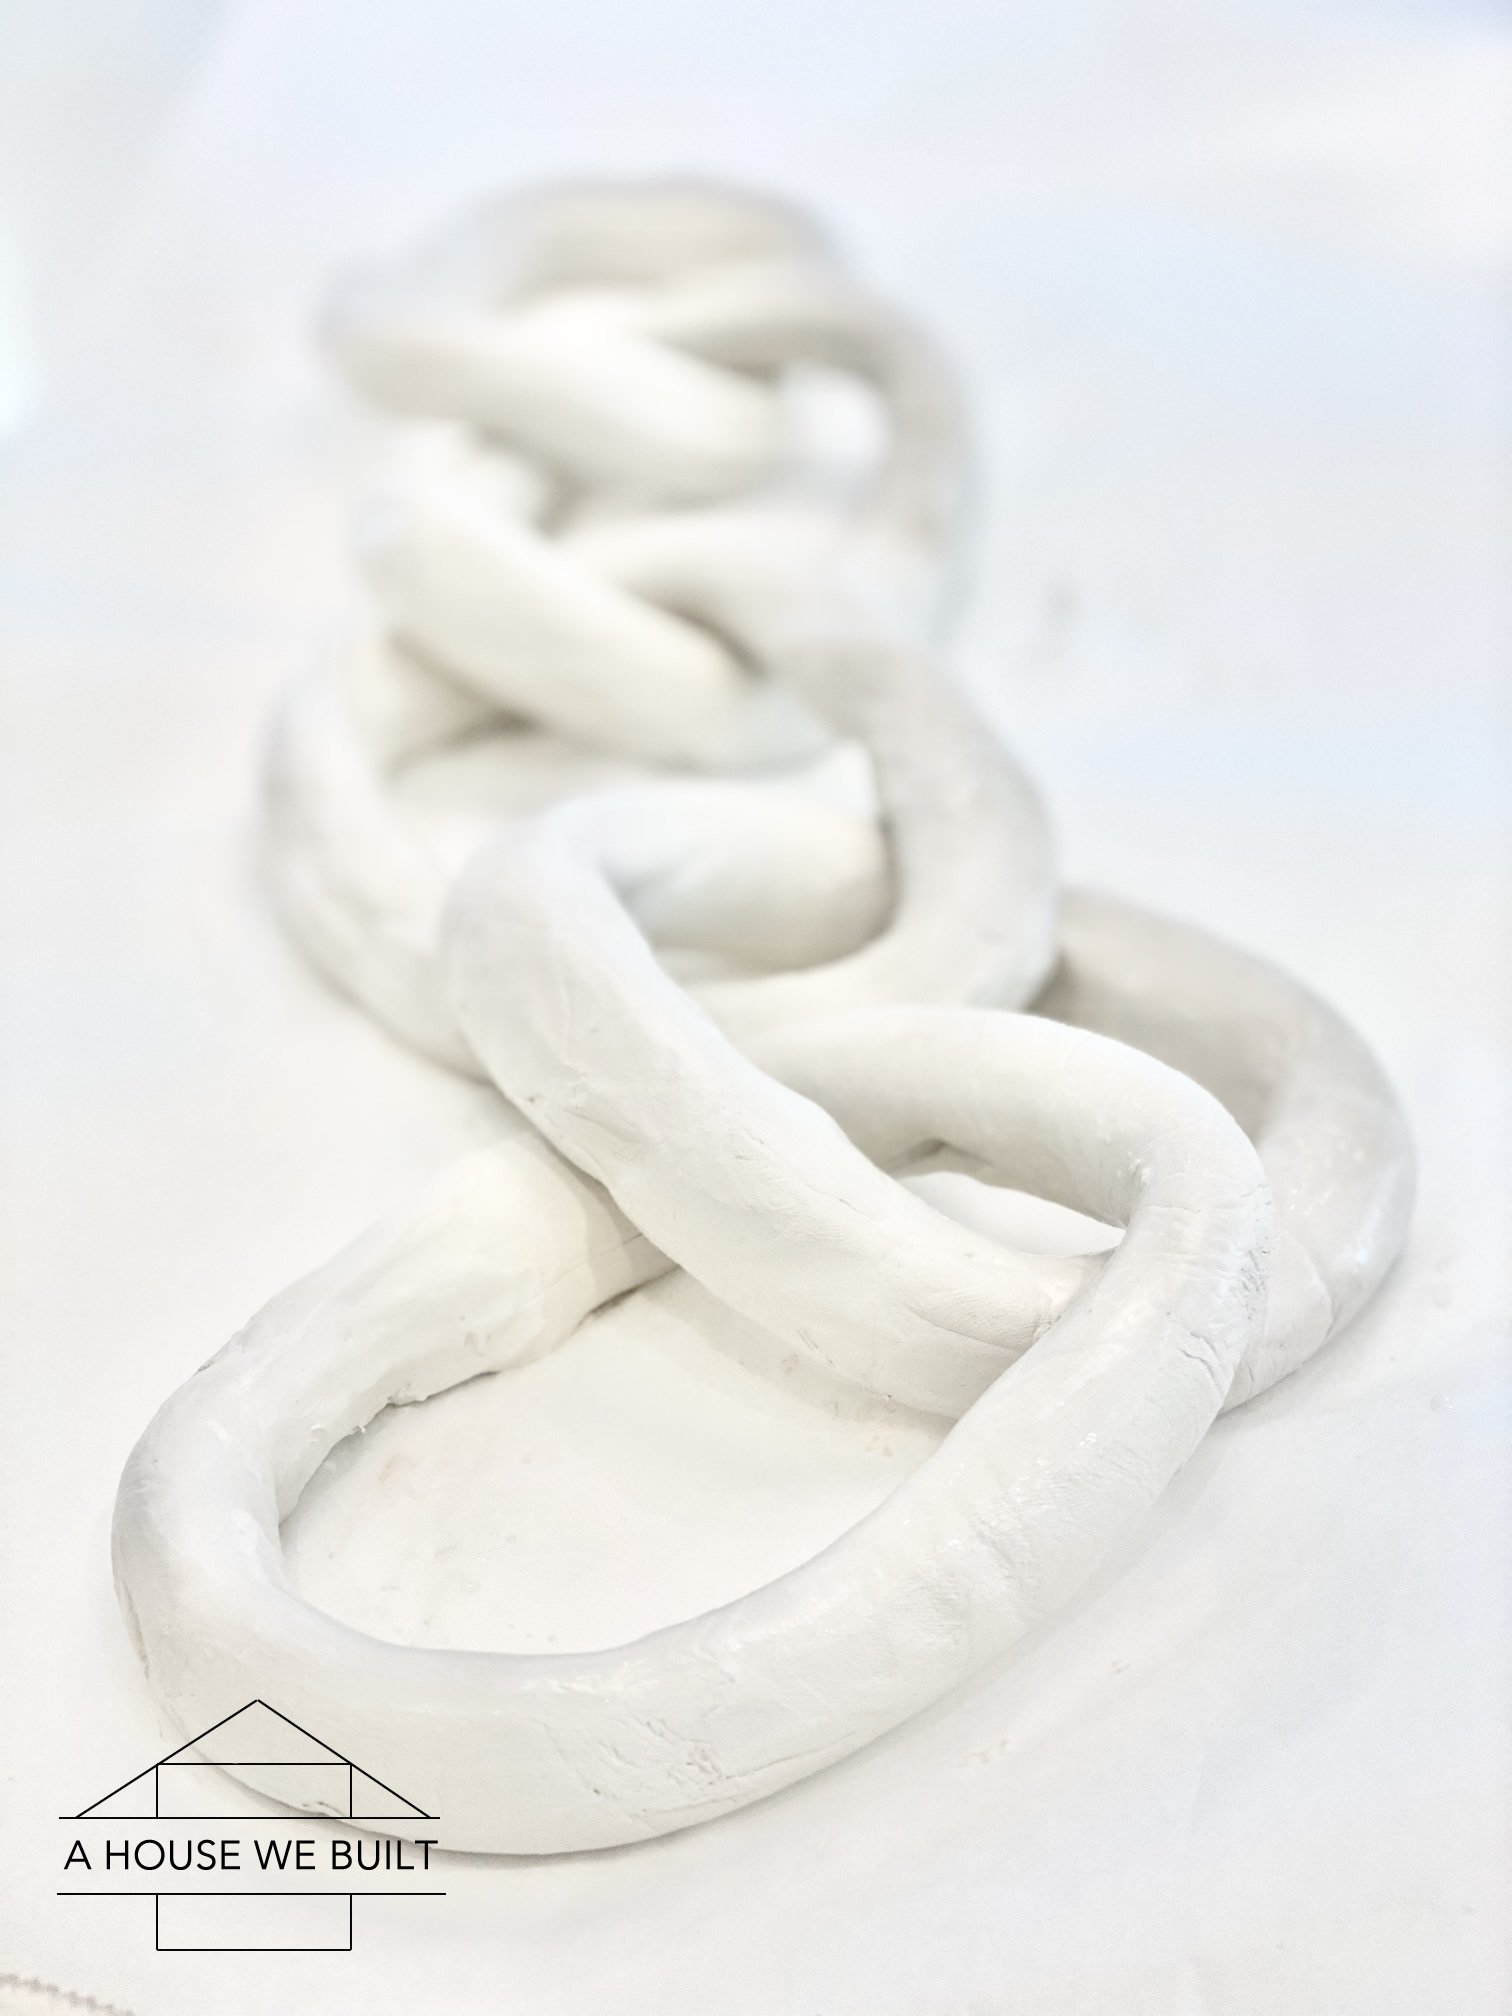
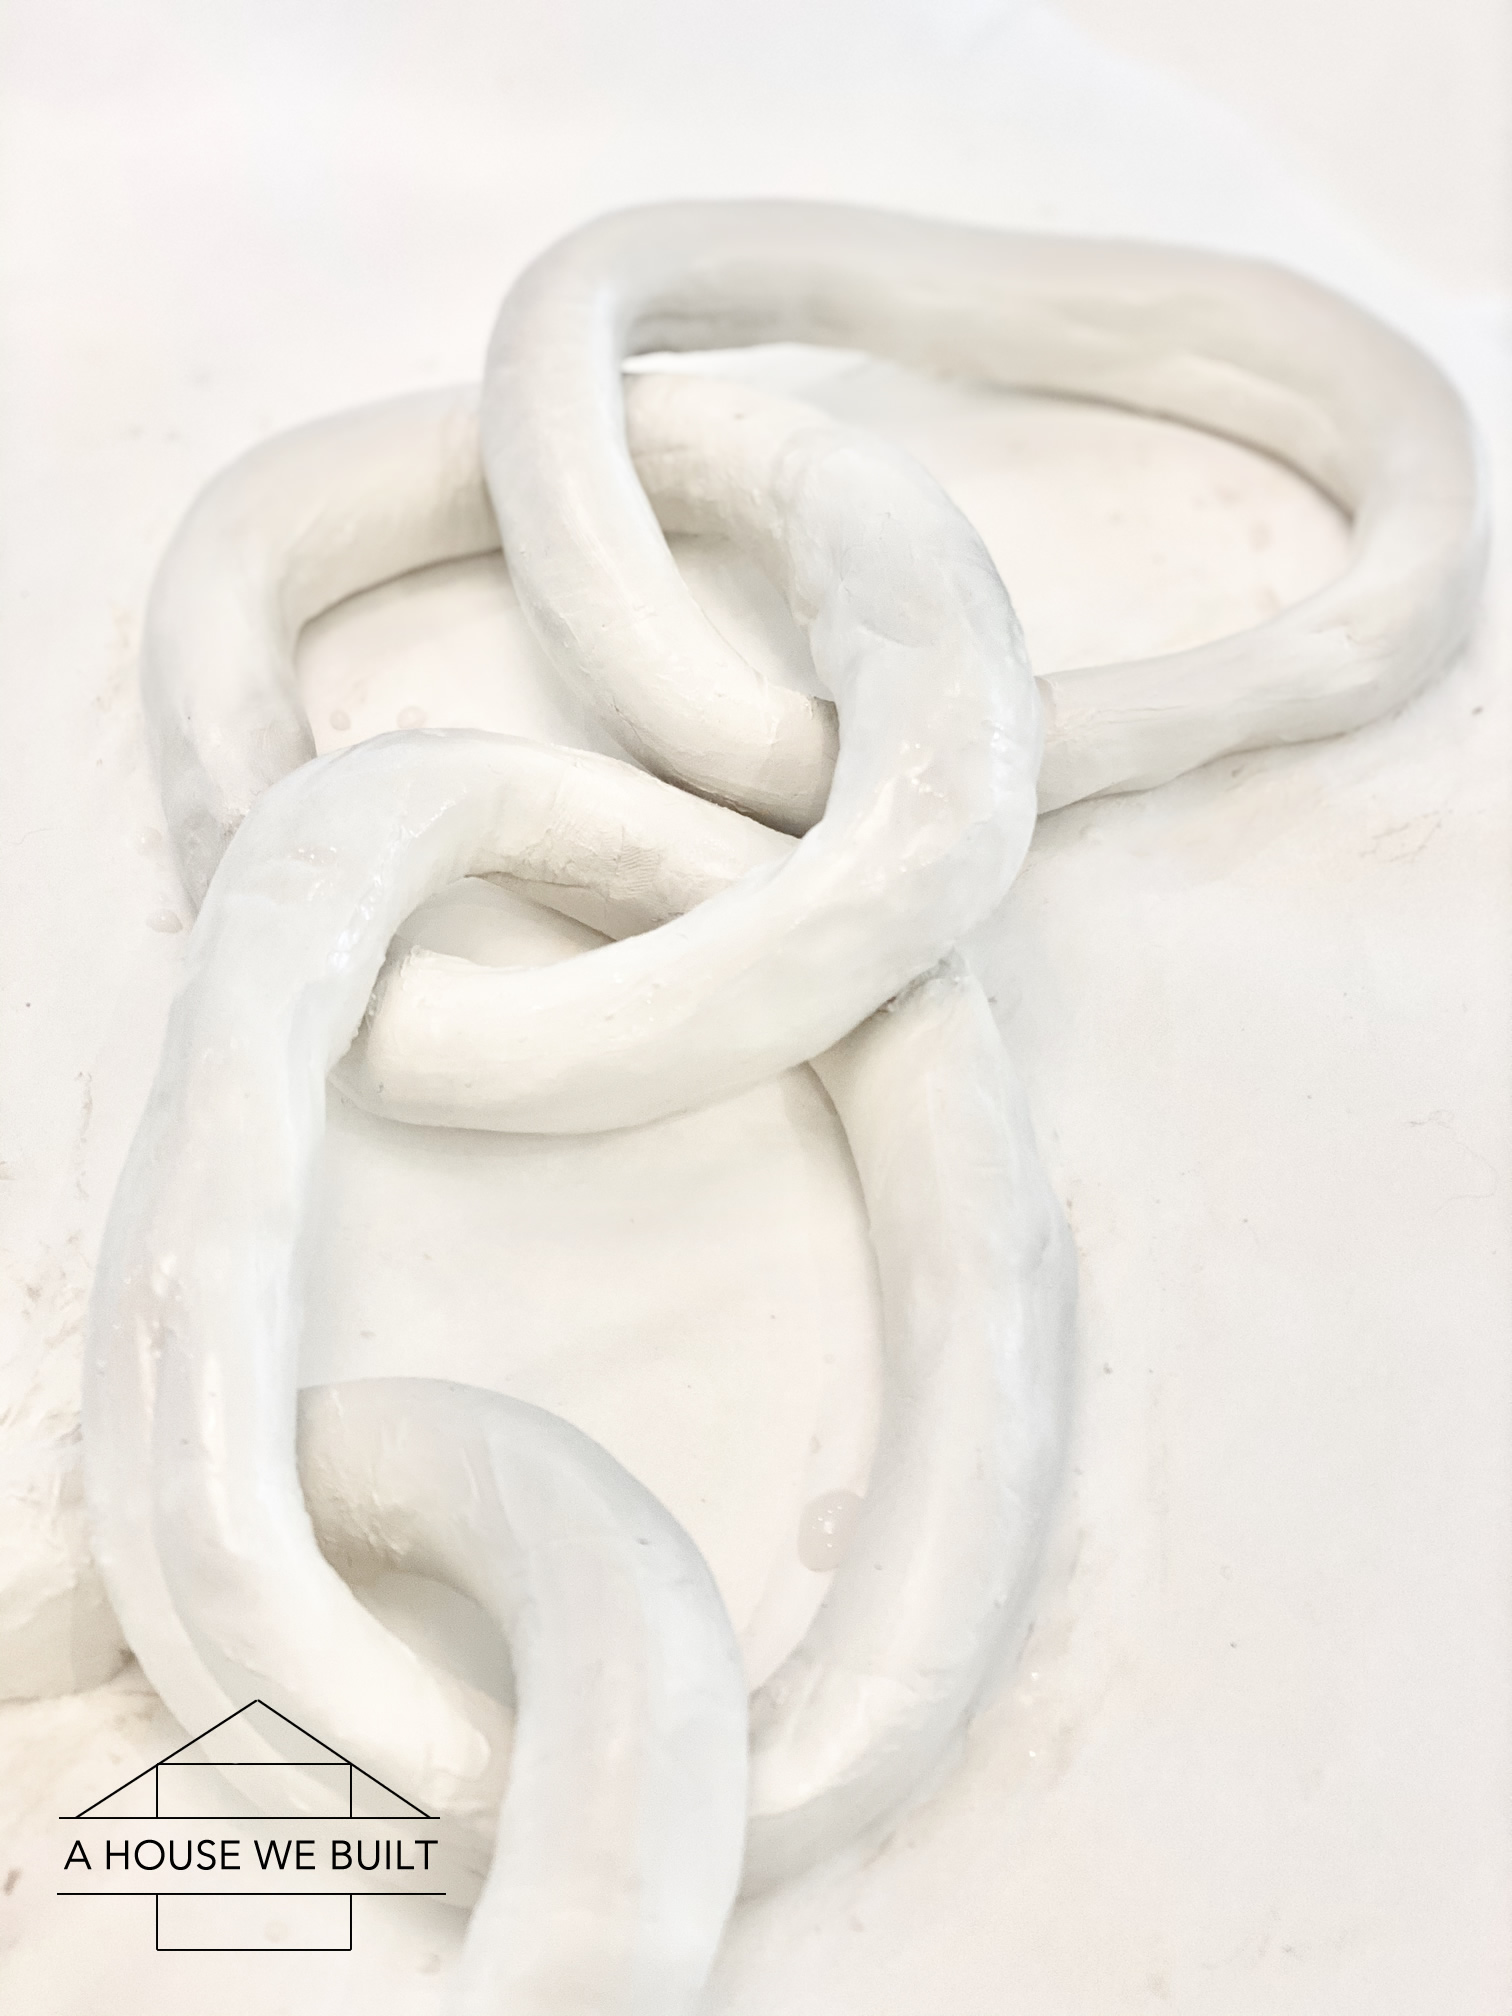
- To interlock the chain links, lay them over each other crosswise, then close up the links using a little water to help seal the join between the clay ends.
- Continue adding links to your chain, making sure you interlock them as you go. You can make as many or as few links as you want – I think the most I did in one chain was 8 links, and the fewest was 2 (much thicker).
- This is optional but you can use a finger that has been dipped in water to gently smooth over any imperfections in the links. Don’t use too much water, but just a little allows you to ‘erase’ lines or bumps.
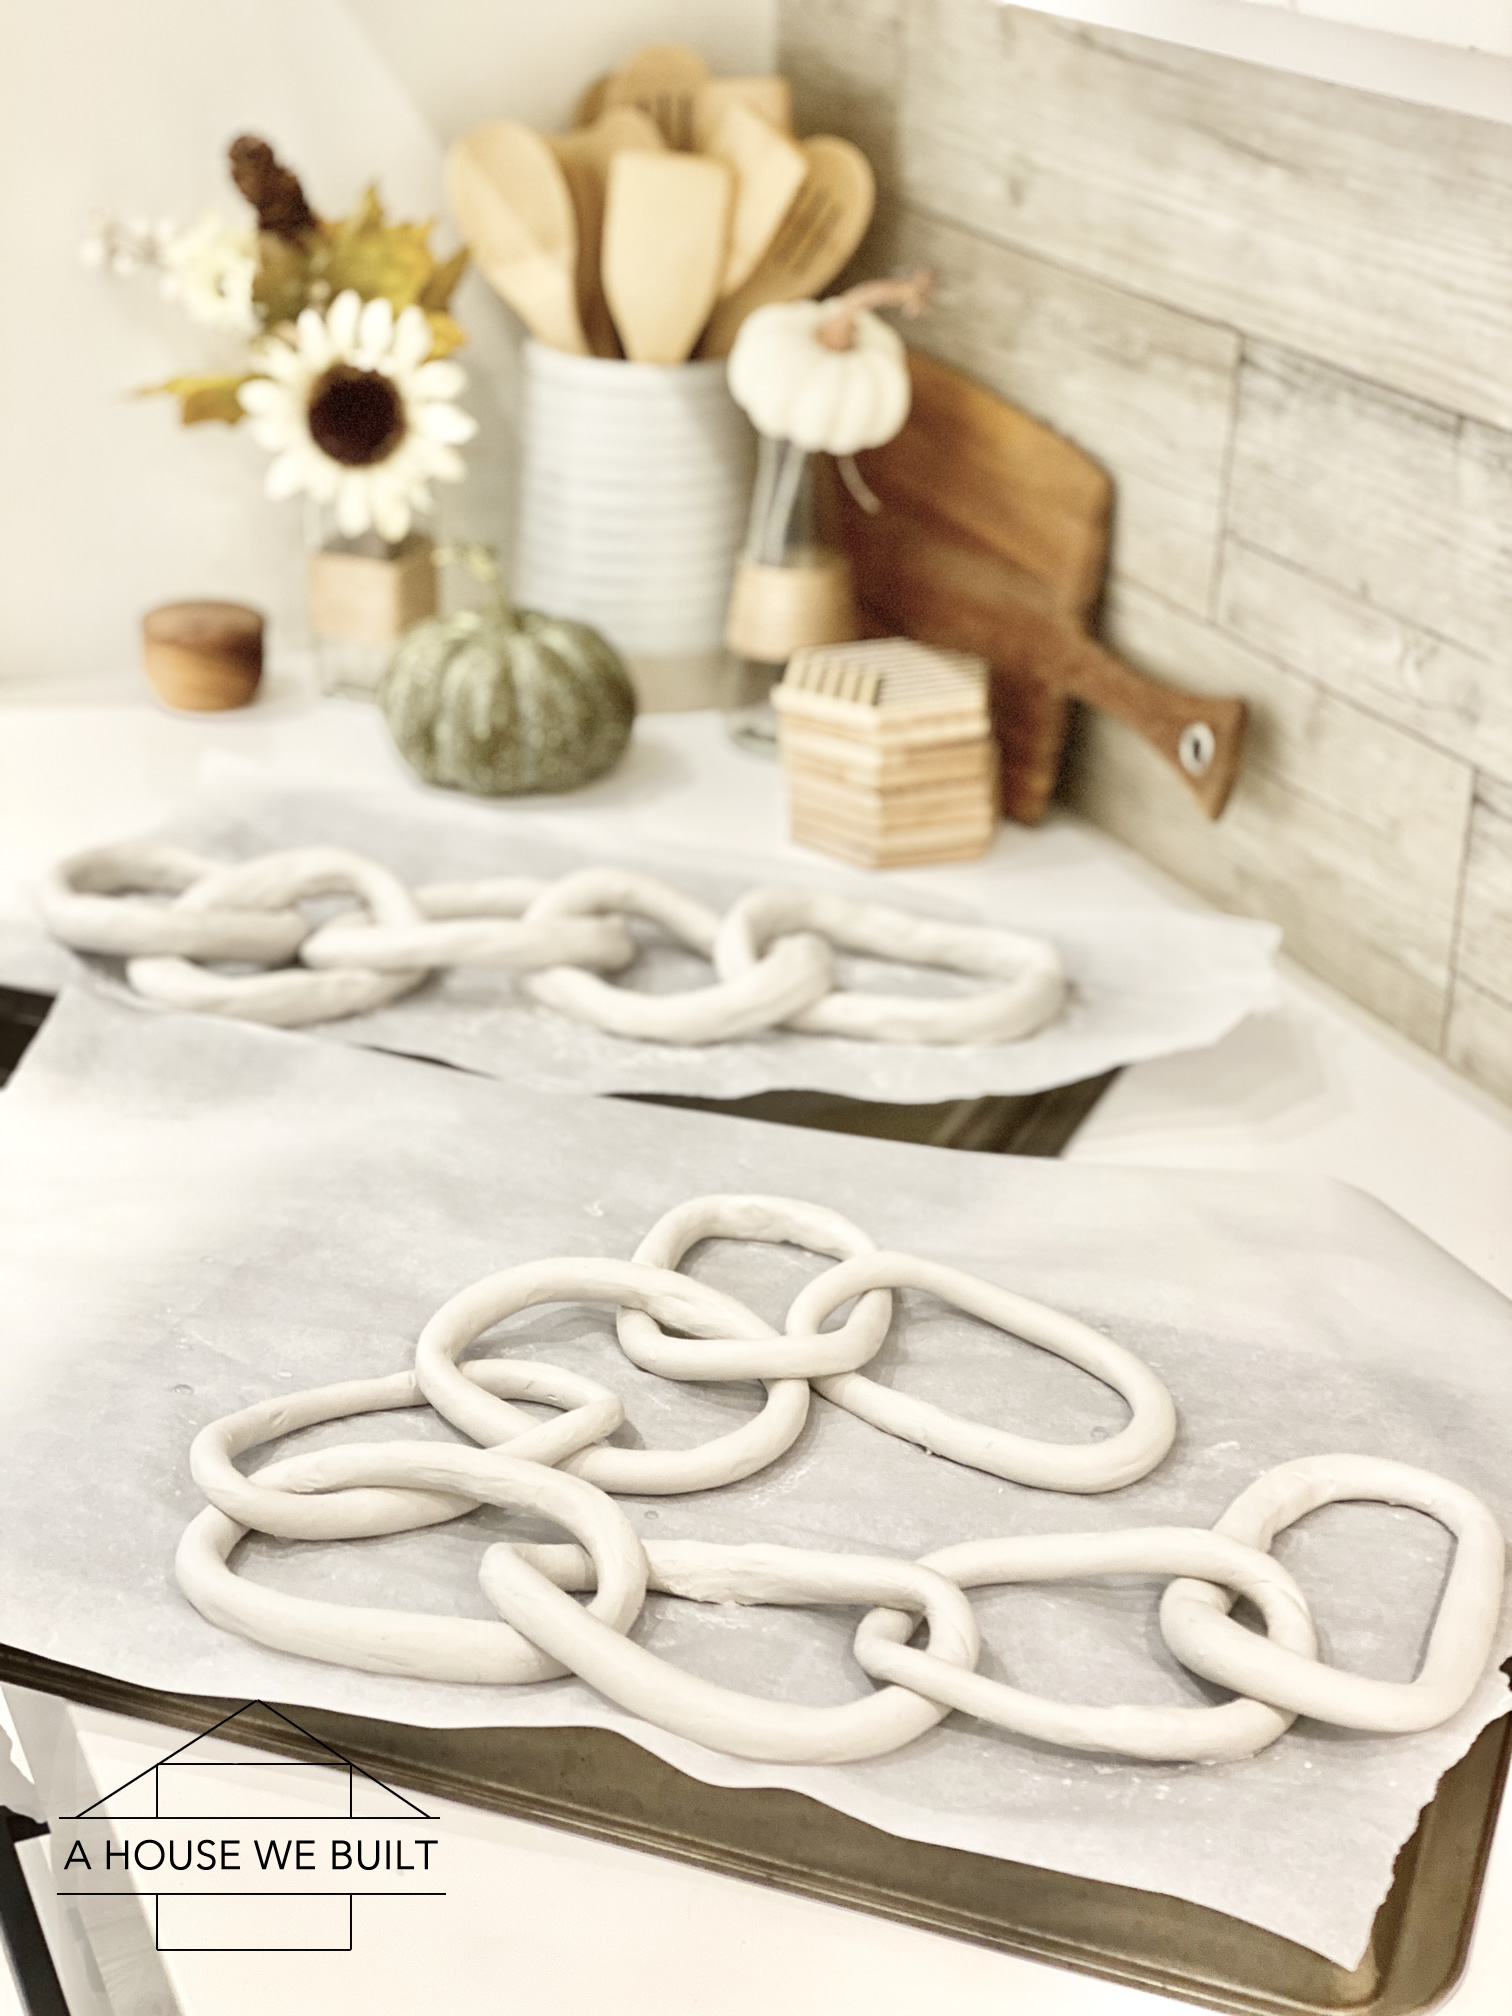
- Allow to air-dry on the counter for several days. I recommend placing small pieces of parchment paper in the places where two pieces of clay are resting against each other so that they don’t fuse together as they dry. They’ll take about 4-8 days to fully dry depending on the thickness of the links.
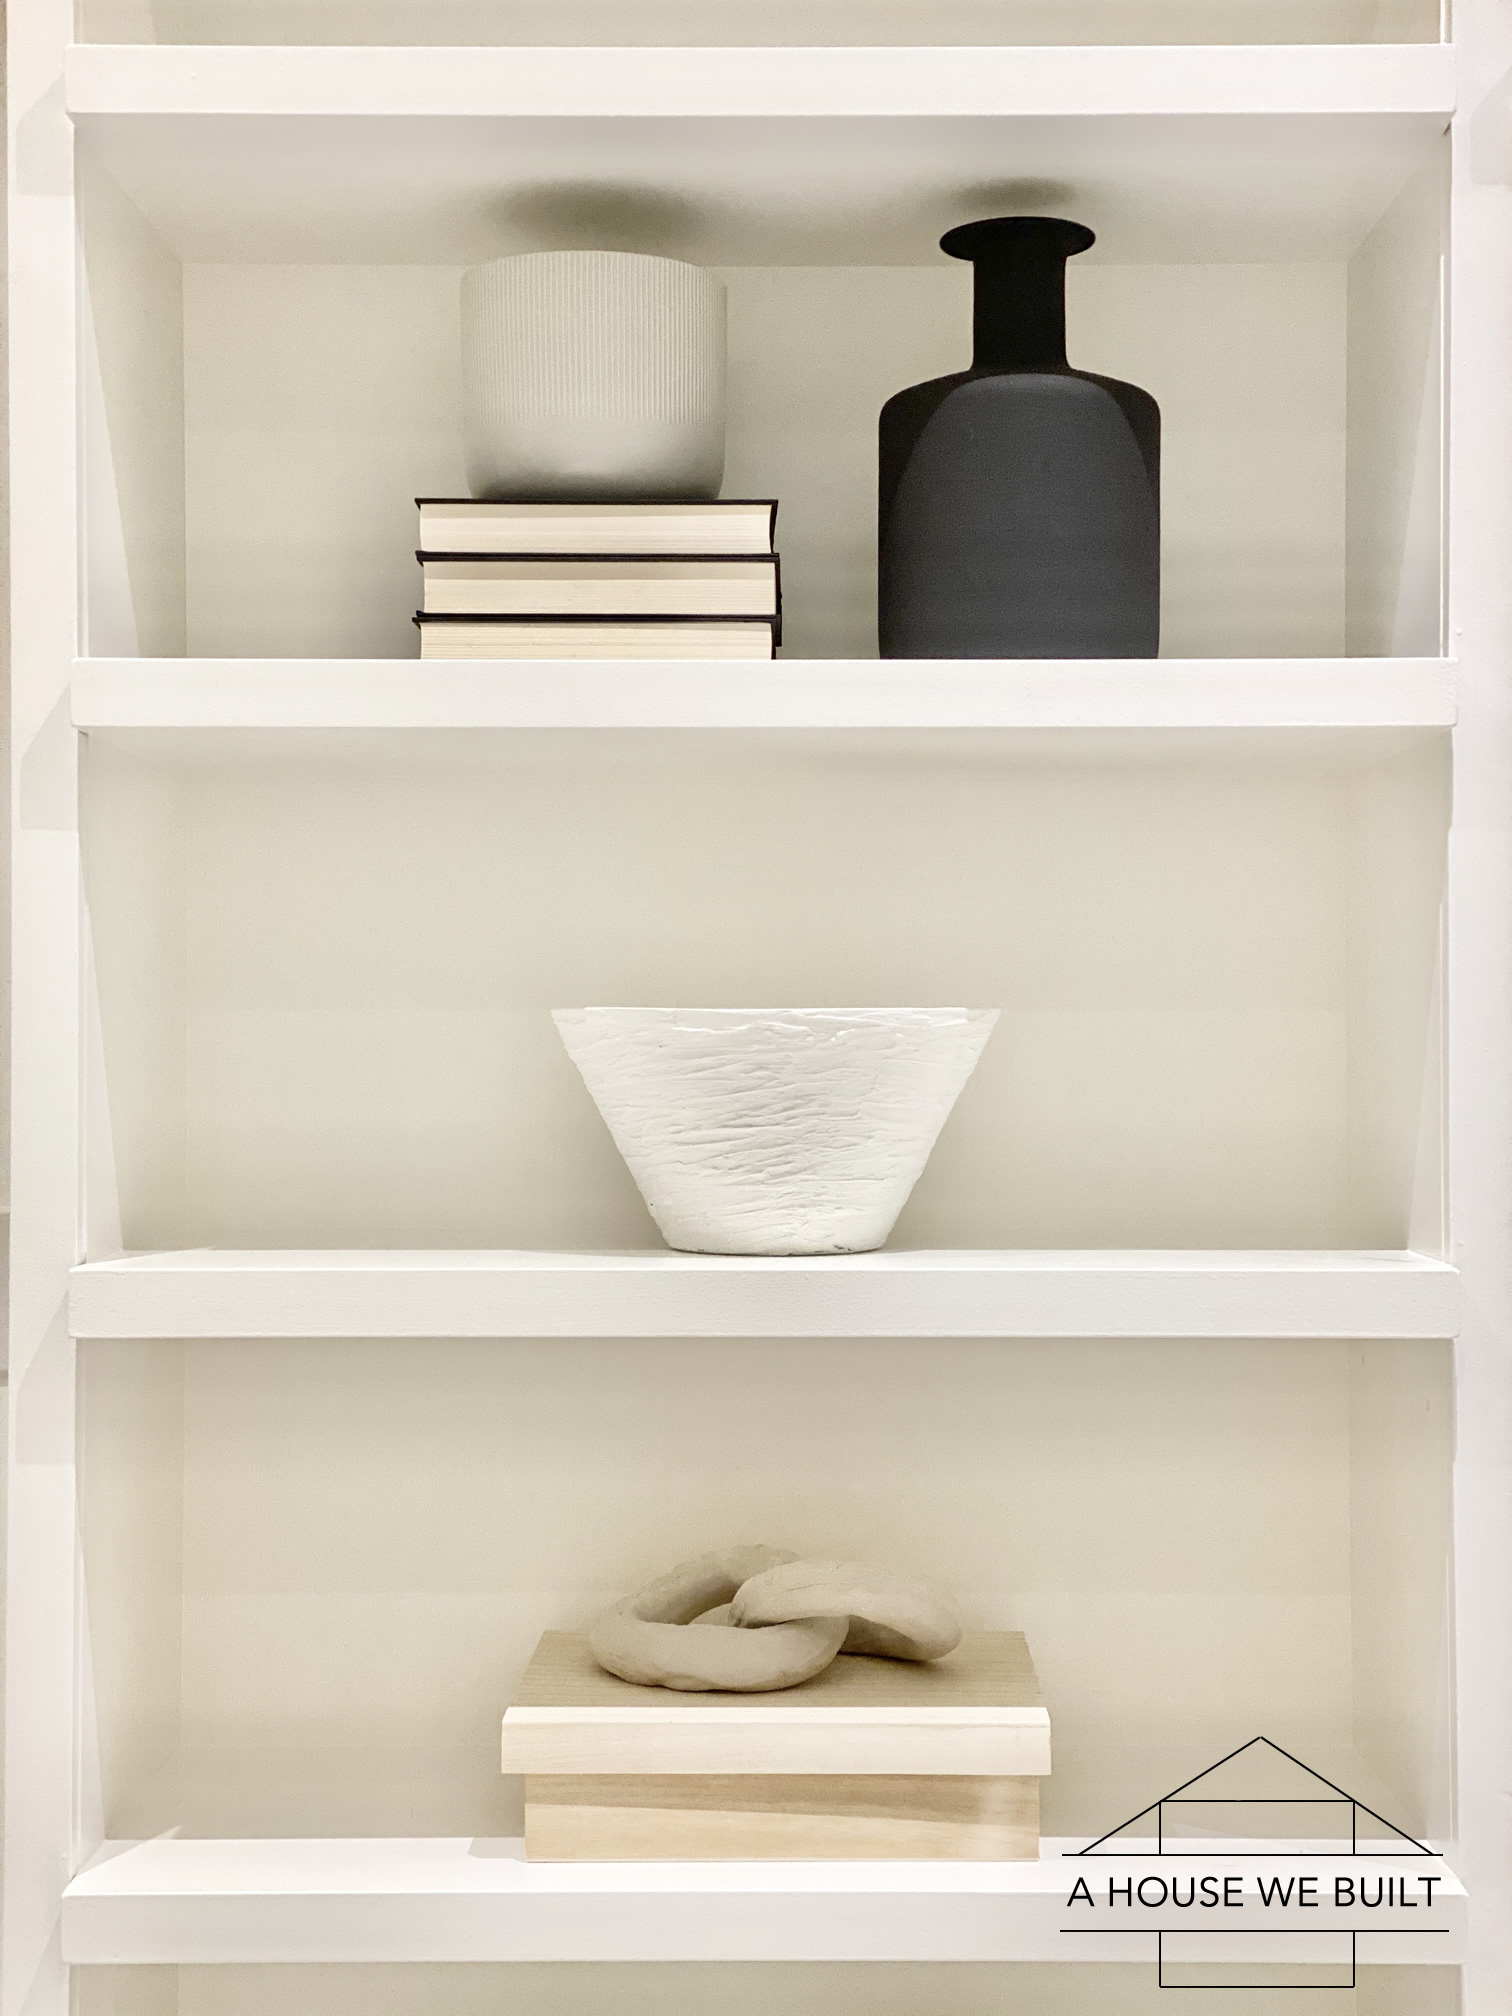
- Once they’re dry, you can paint them any color you want, or leave them natural. So far, I’ve left all of mine their natural color but that’s just personal preference – you can do whatever looks best to you.


Here are ready-made links if you love this look but don’t feel up to making them:
- Pale wood chain: Bloomist (regular – 5 links)
- Pale wood chain: Bloomist (large – 3 links)
- Pale wood chain: Bloomist (large – 5 links)
- Dark wood chain: Bloomist (regular – 5 links)
- Dark wood chain: Bloomist (large – 3 links)
- Dark wood chain: Bloomist (large – 5 links)
- White marble chain: Bloomist (regular – 3 links)
- White marble chain: Bloomist (regular – 5 links)
- White marble chain: Bloomist (large – 3 links)
- Dark marble chain: Bloomist (regular – 3 links)
- Marble chain: CB2 (3 links – squared)
- Marble chain: CB2 (7 links – rounded)
- Dark soapstone chain: McGee & Co (3 links – rounded)
- Natural wood chain: McGee & Co (6 links – organic)
Other sources from the pics:
- Geometric/totem vases: West Elm (neutrals) | Similar: Crate & Barrel (colors)
- Textured white bowl: Tutorial | Similar: CB2
- Paper mache bowls: Tutorial | Similar: McGee & Co | Bloomist
- White vase (similar): CB2 | West Elm
- Black vase: DIY | Similar: West Elm | McGee & Co | Crate & Barrel
- Gray pot/vase: DIY | Similar: McGee & Co
- Decorative books: DIY | Similar: McGee & Co | Target
- Wood box: Michaels
For more of our DIY Tutorials, click here.
To follow us on Instagram, click here.
Laure says
Is there anything you can’t do? I think I’m gonna have to try this too, since the chain links I wanted sold out.
admin says
Haha well honestly I think I’ve learned that many things are less complicated than they might initially seem to make – plus they can be fun projects! Best of luck with this one 🙂