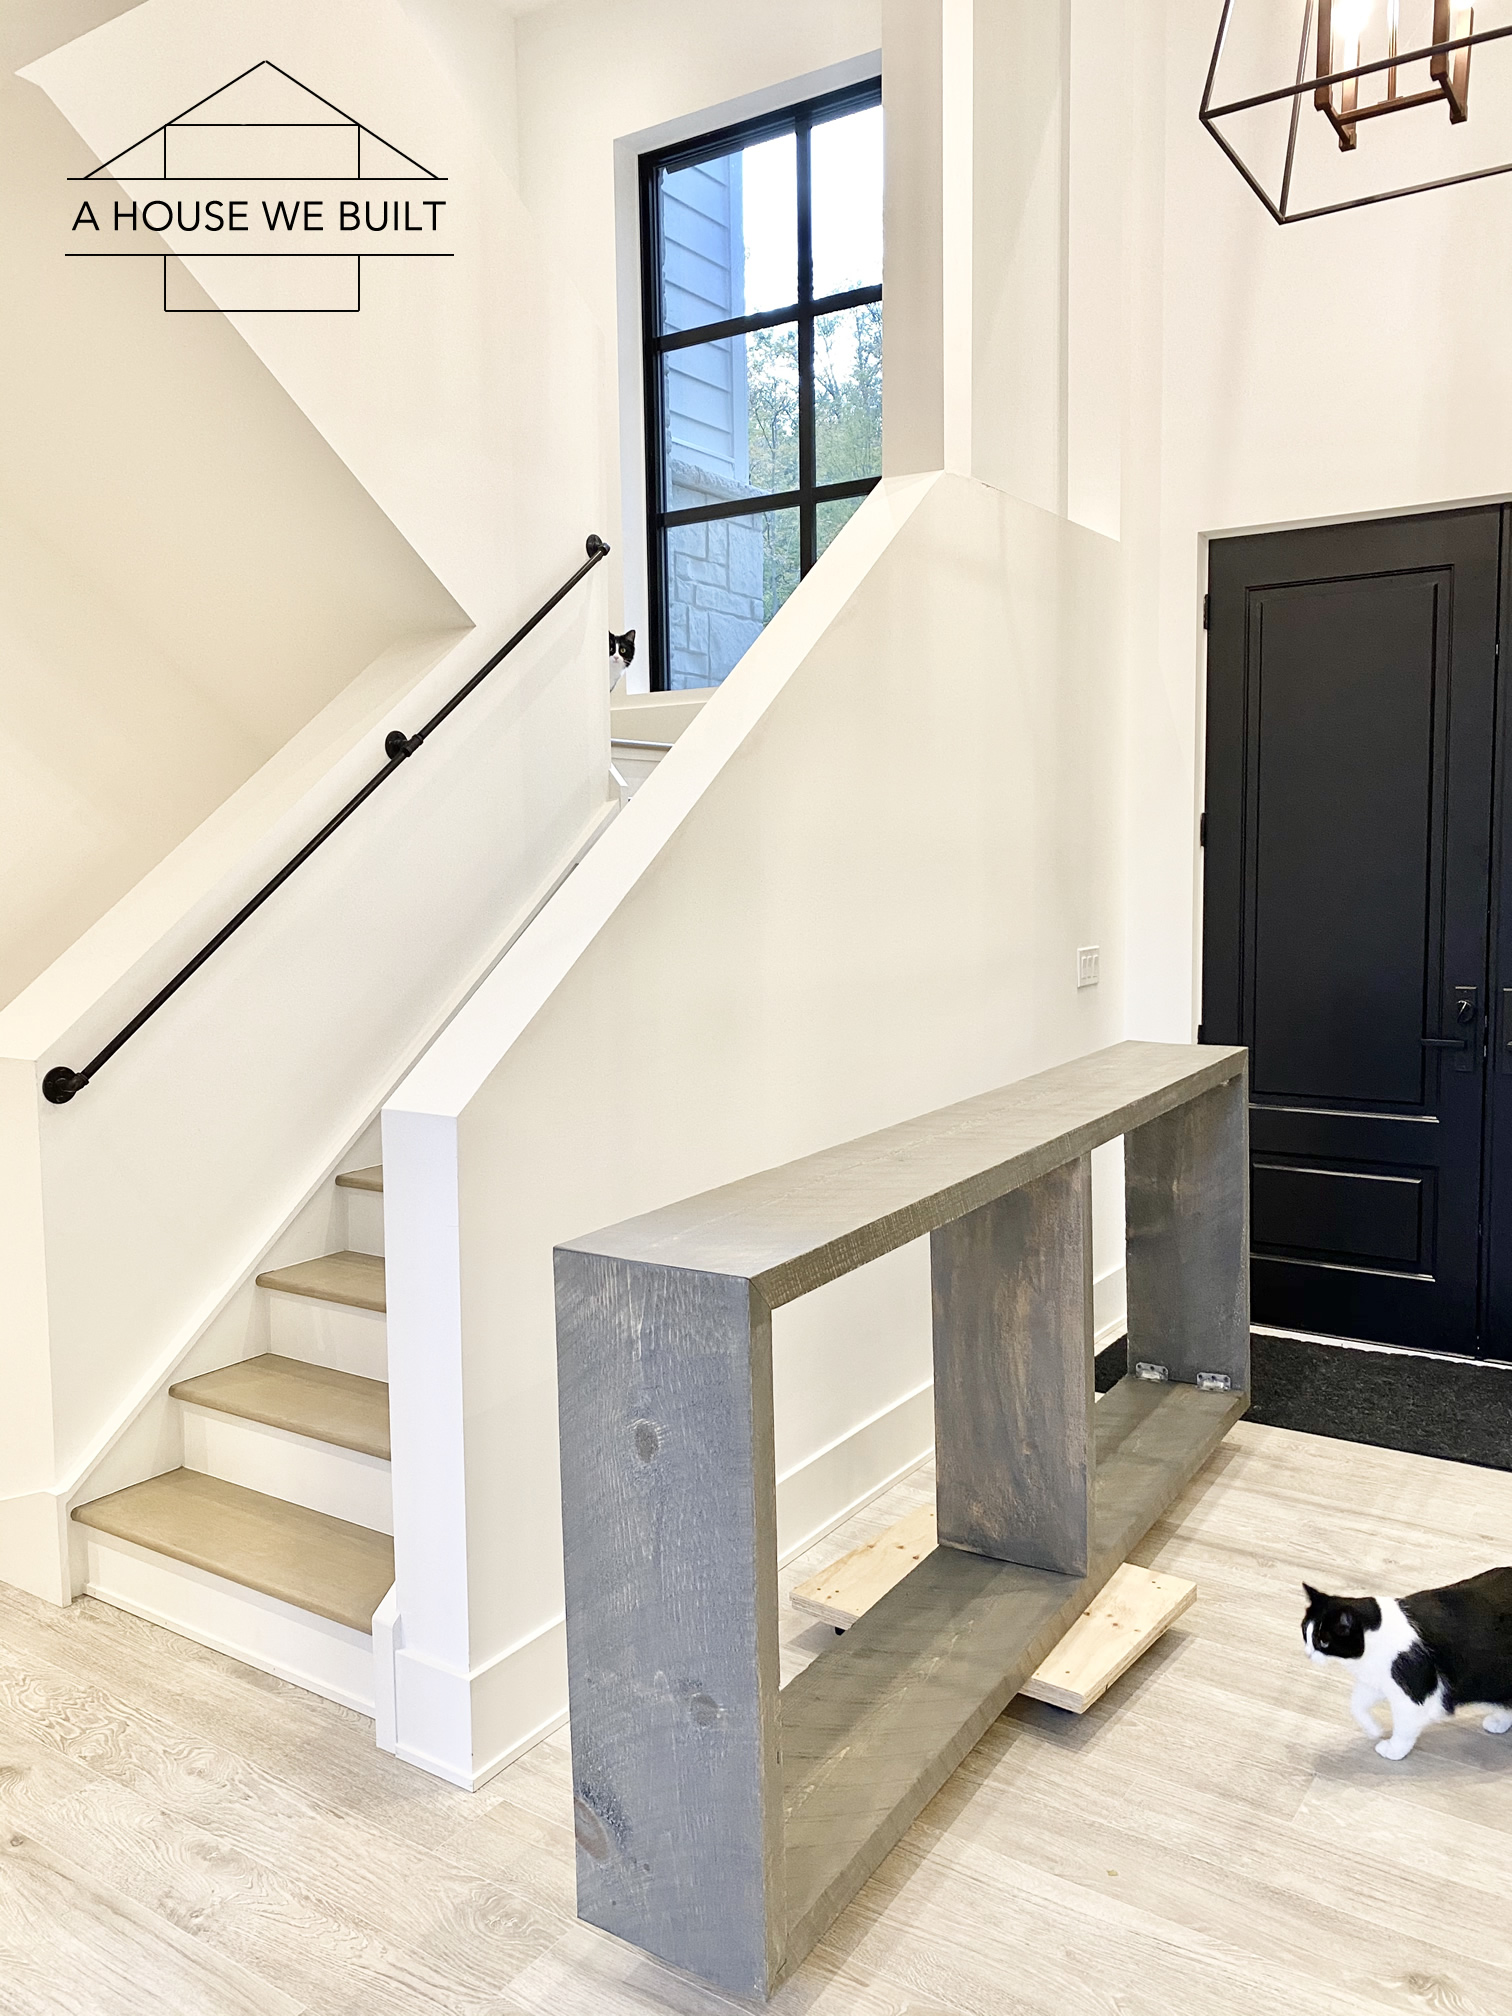
We built a sideboard for our Dining Room for less than $200 and I’m going to share how we did it here!
I’ll be honest, we originally didn’t set out to build a sideboard from scratch. Even though we’ve done a ton of construction work at this point and even built furniture before (see our large farmhouse dining table and console table and round game table), for whatever reason a sideboard just seemed soooo much more complicated to me so we didn’t really even consider making one at first. But I kept coming back to this Restoration Hardware sideboard and I just loved the style, but it didn’t come in the width we needed so I took a closer look at it and was like hey… I bet we could build something like that. And so we did.
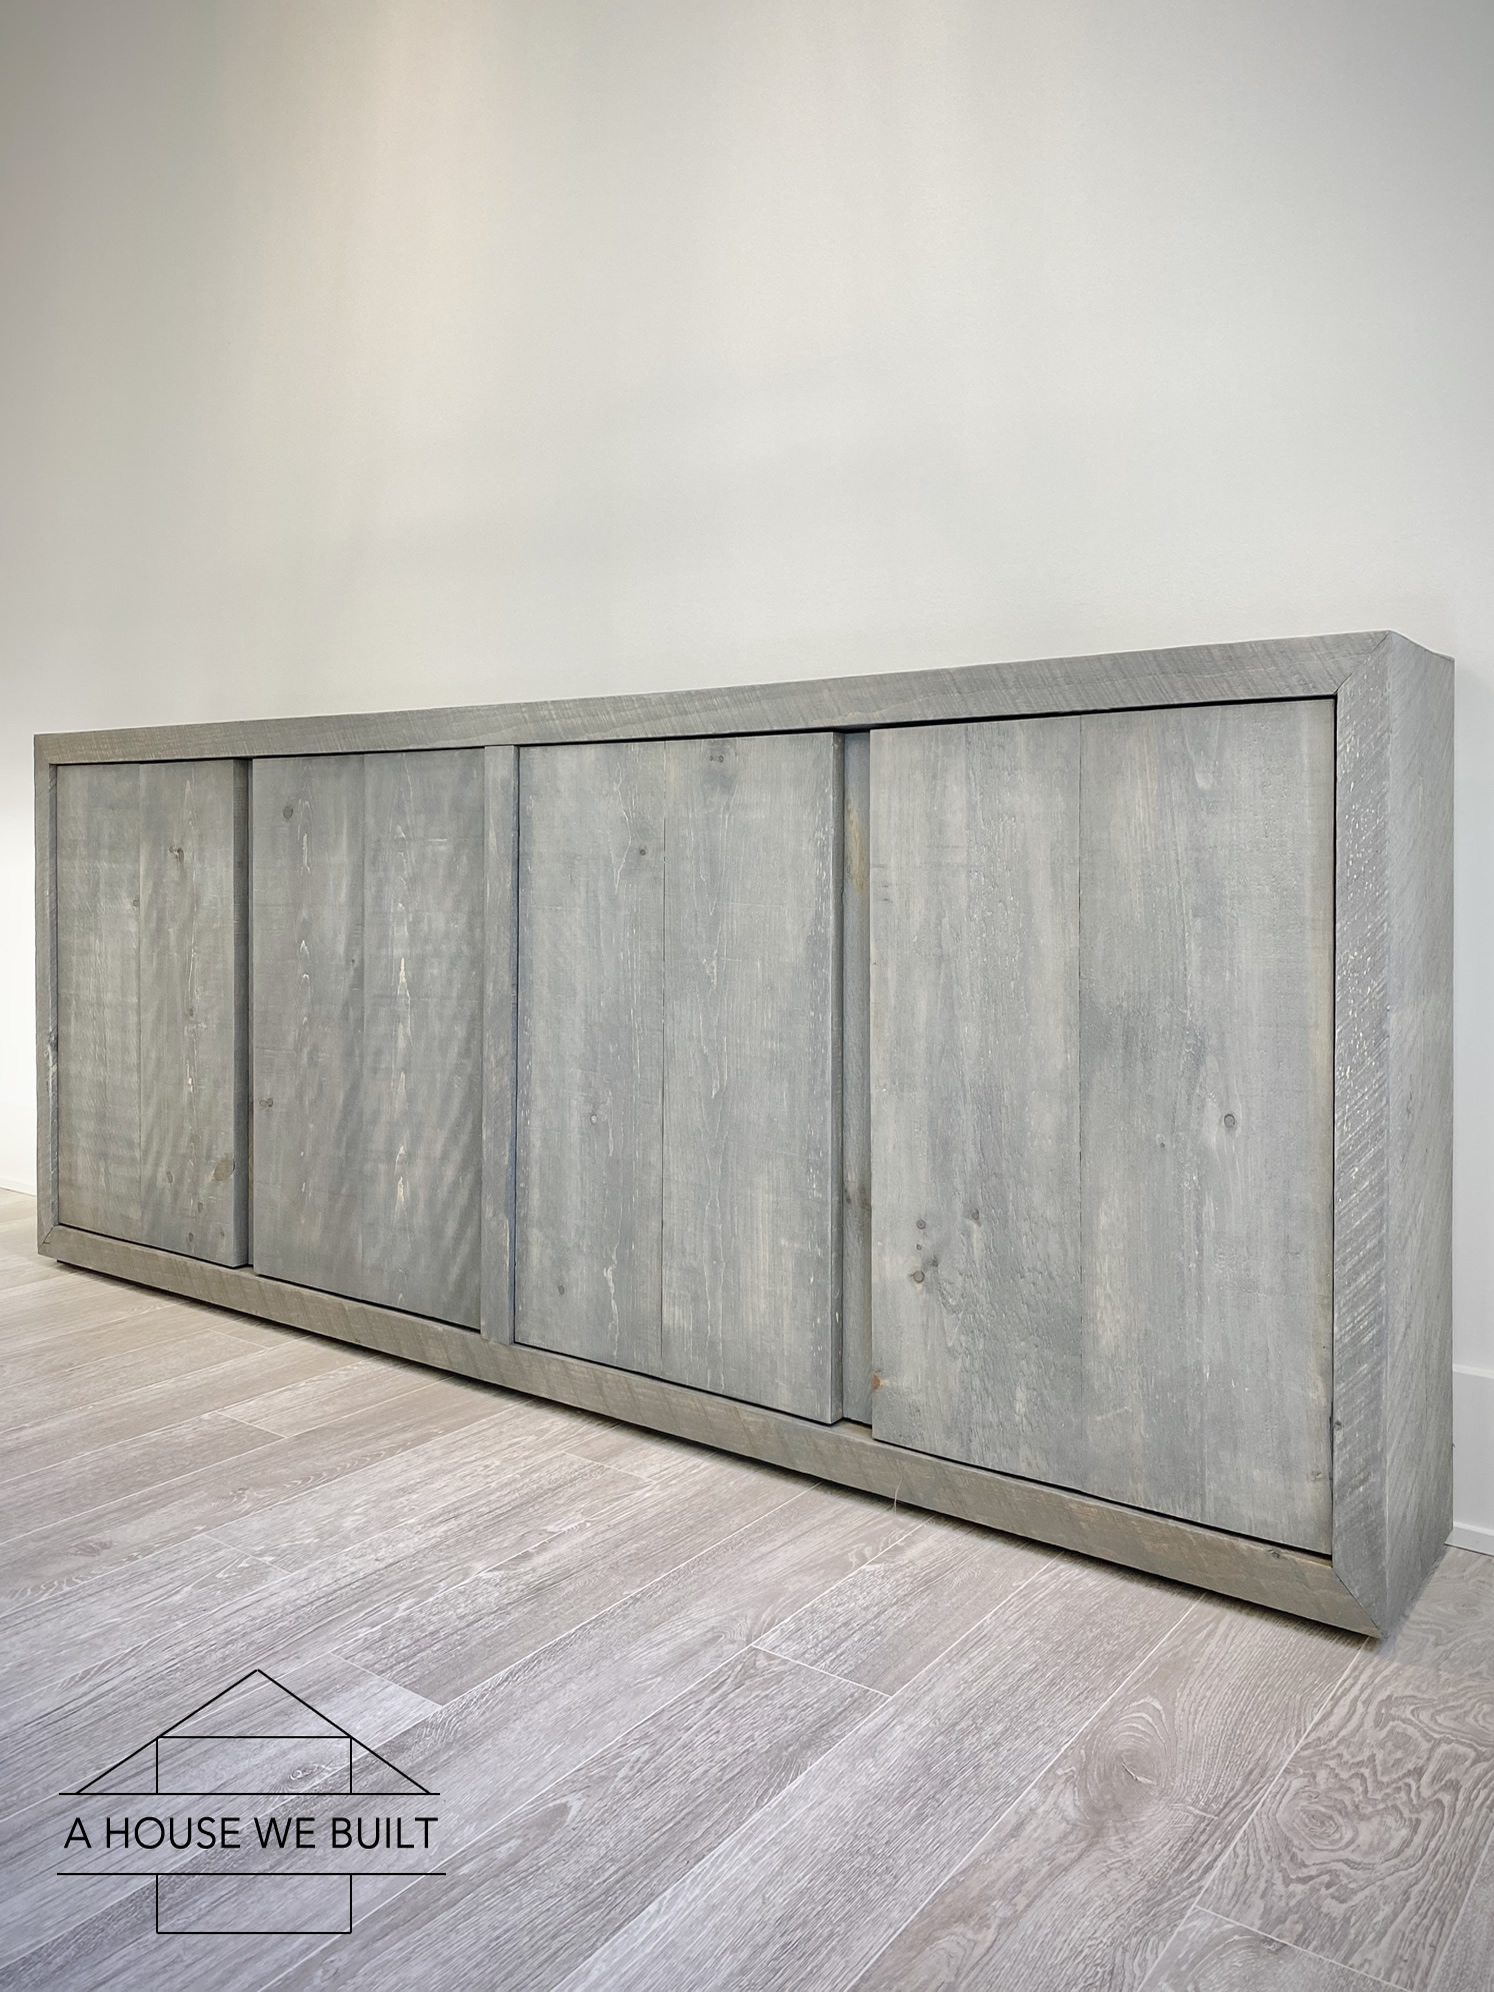
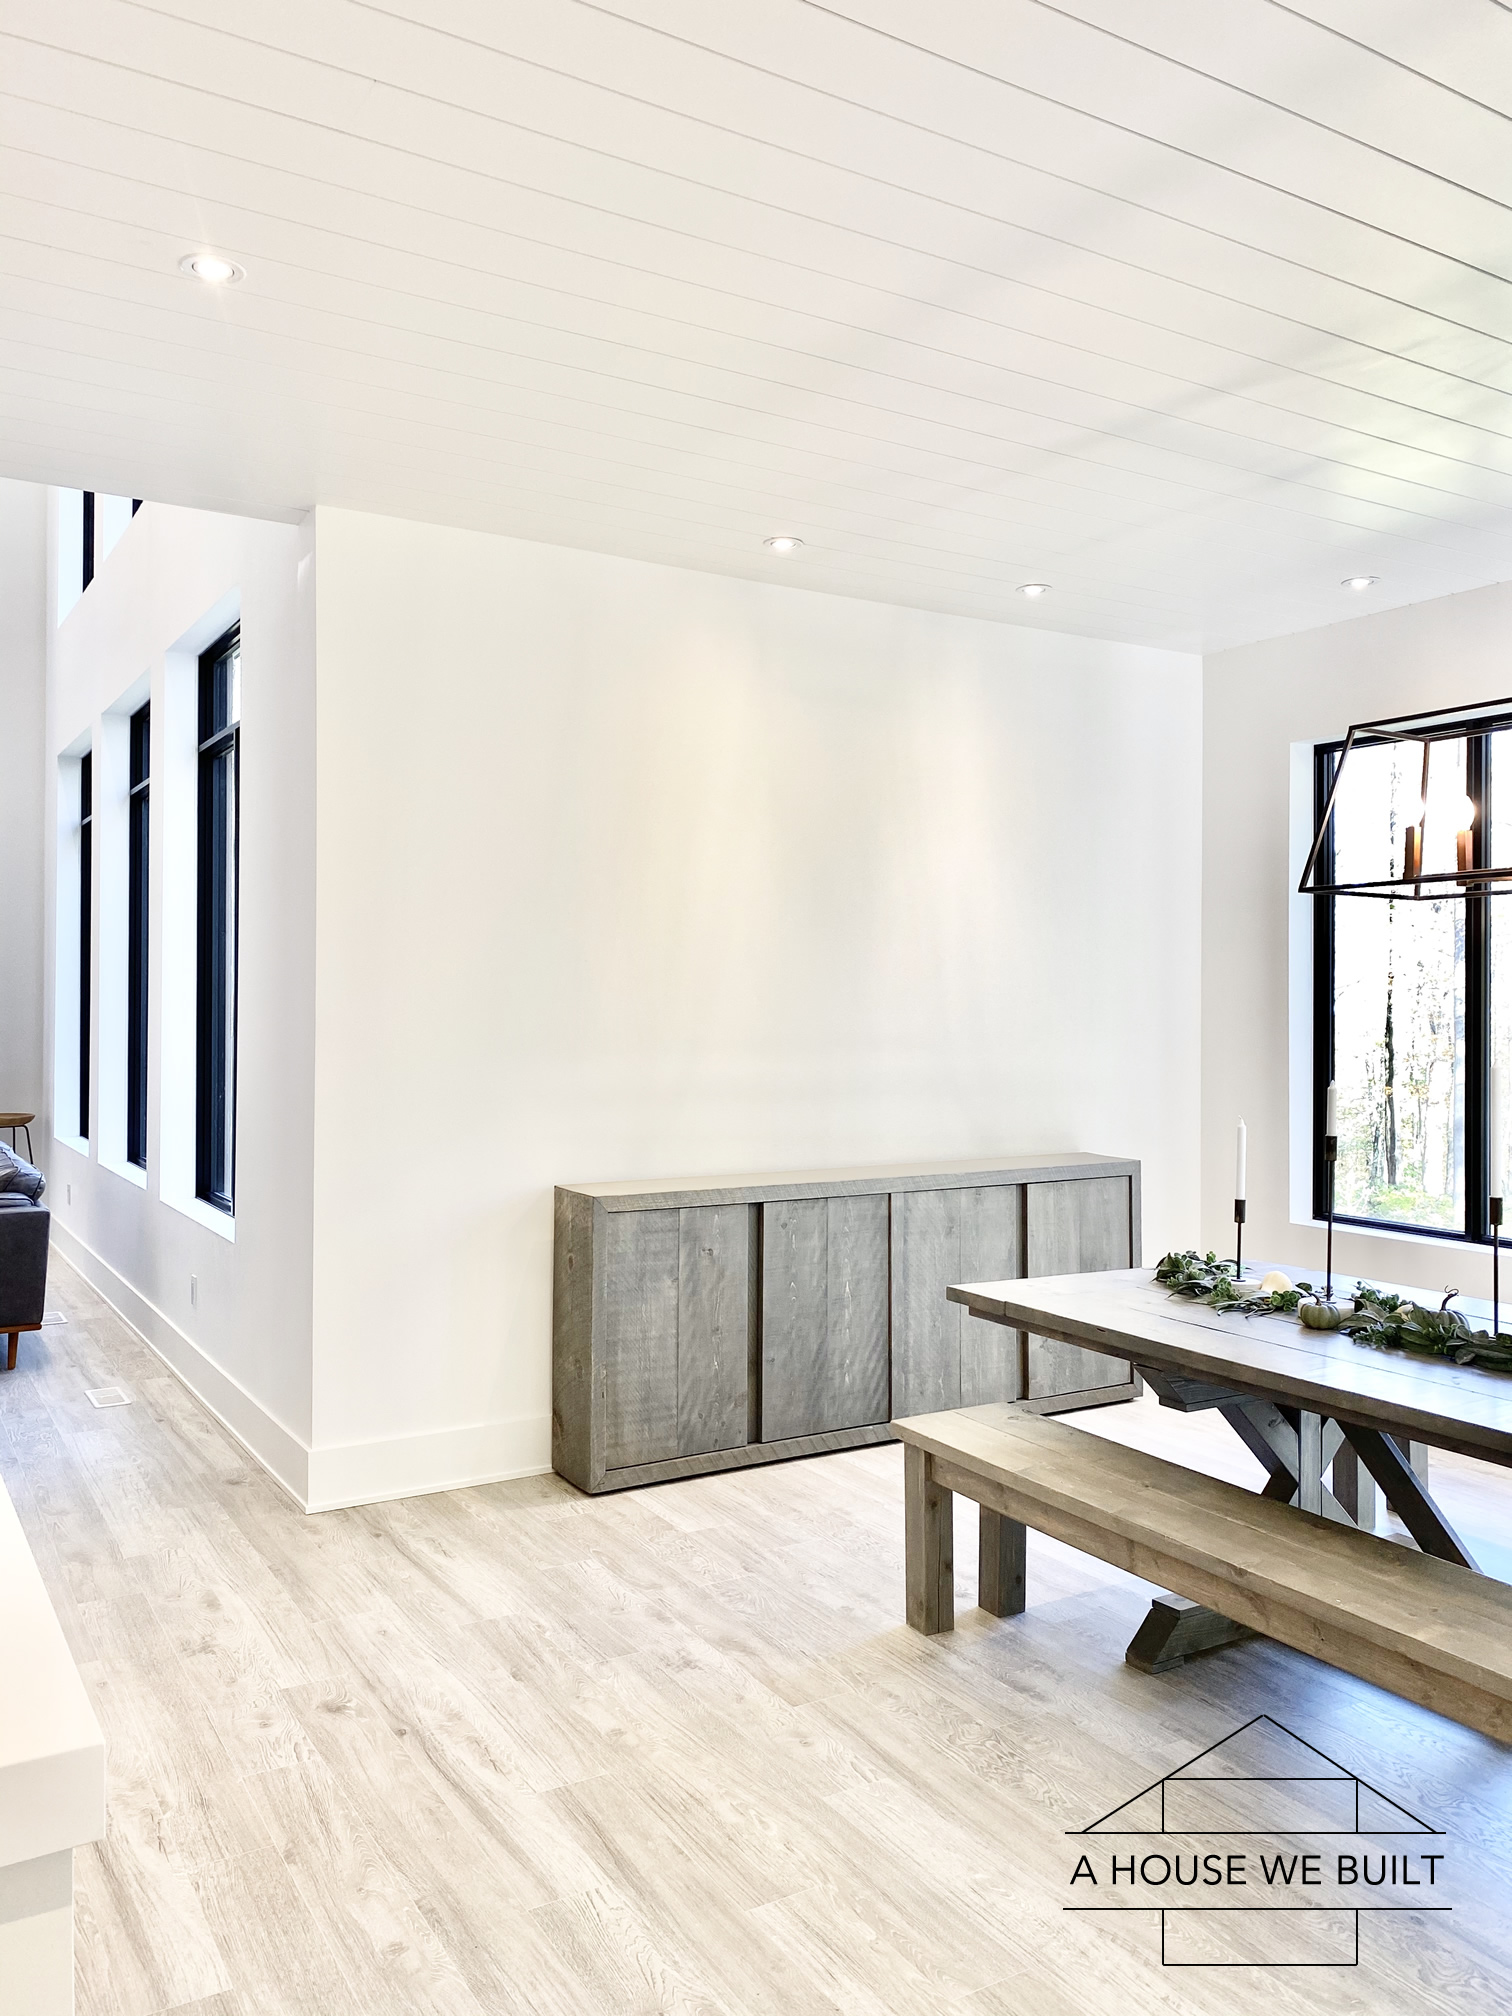
Our sideboard’s depth is just under 12″ deep which is very shallow by traditional sideboard standards and it’s almost half the depth of the RH piece we were inspired by (whose depth is almost 20″). In our dining room, we wanted to keep our furniture minimal so a shallow depth was key but we made ours longer as we had a lot of width to work with and wanted to make this a statement piece. I’ve also never seen the RH sideboard in person and I couldn’t find pic of the inside so ours is just ‘inspired’ by it.
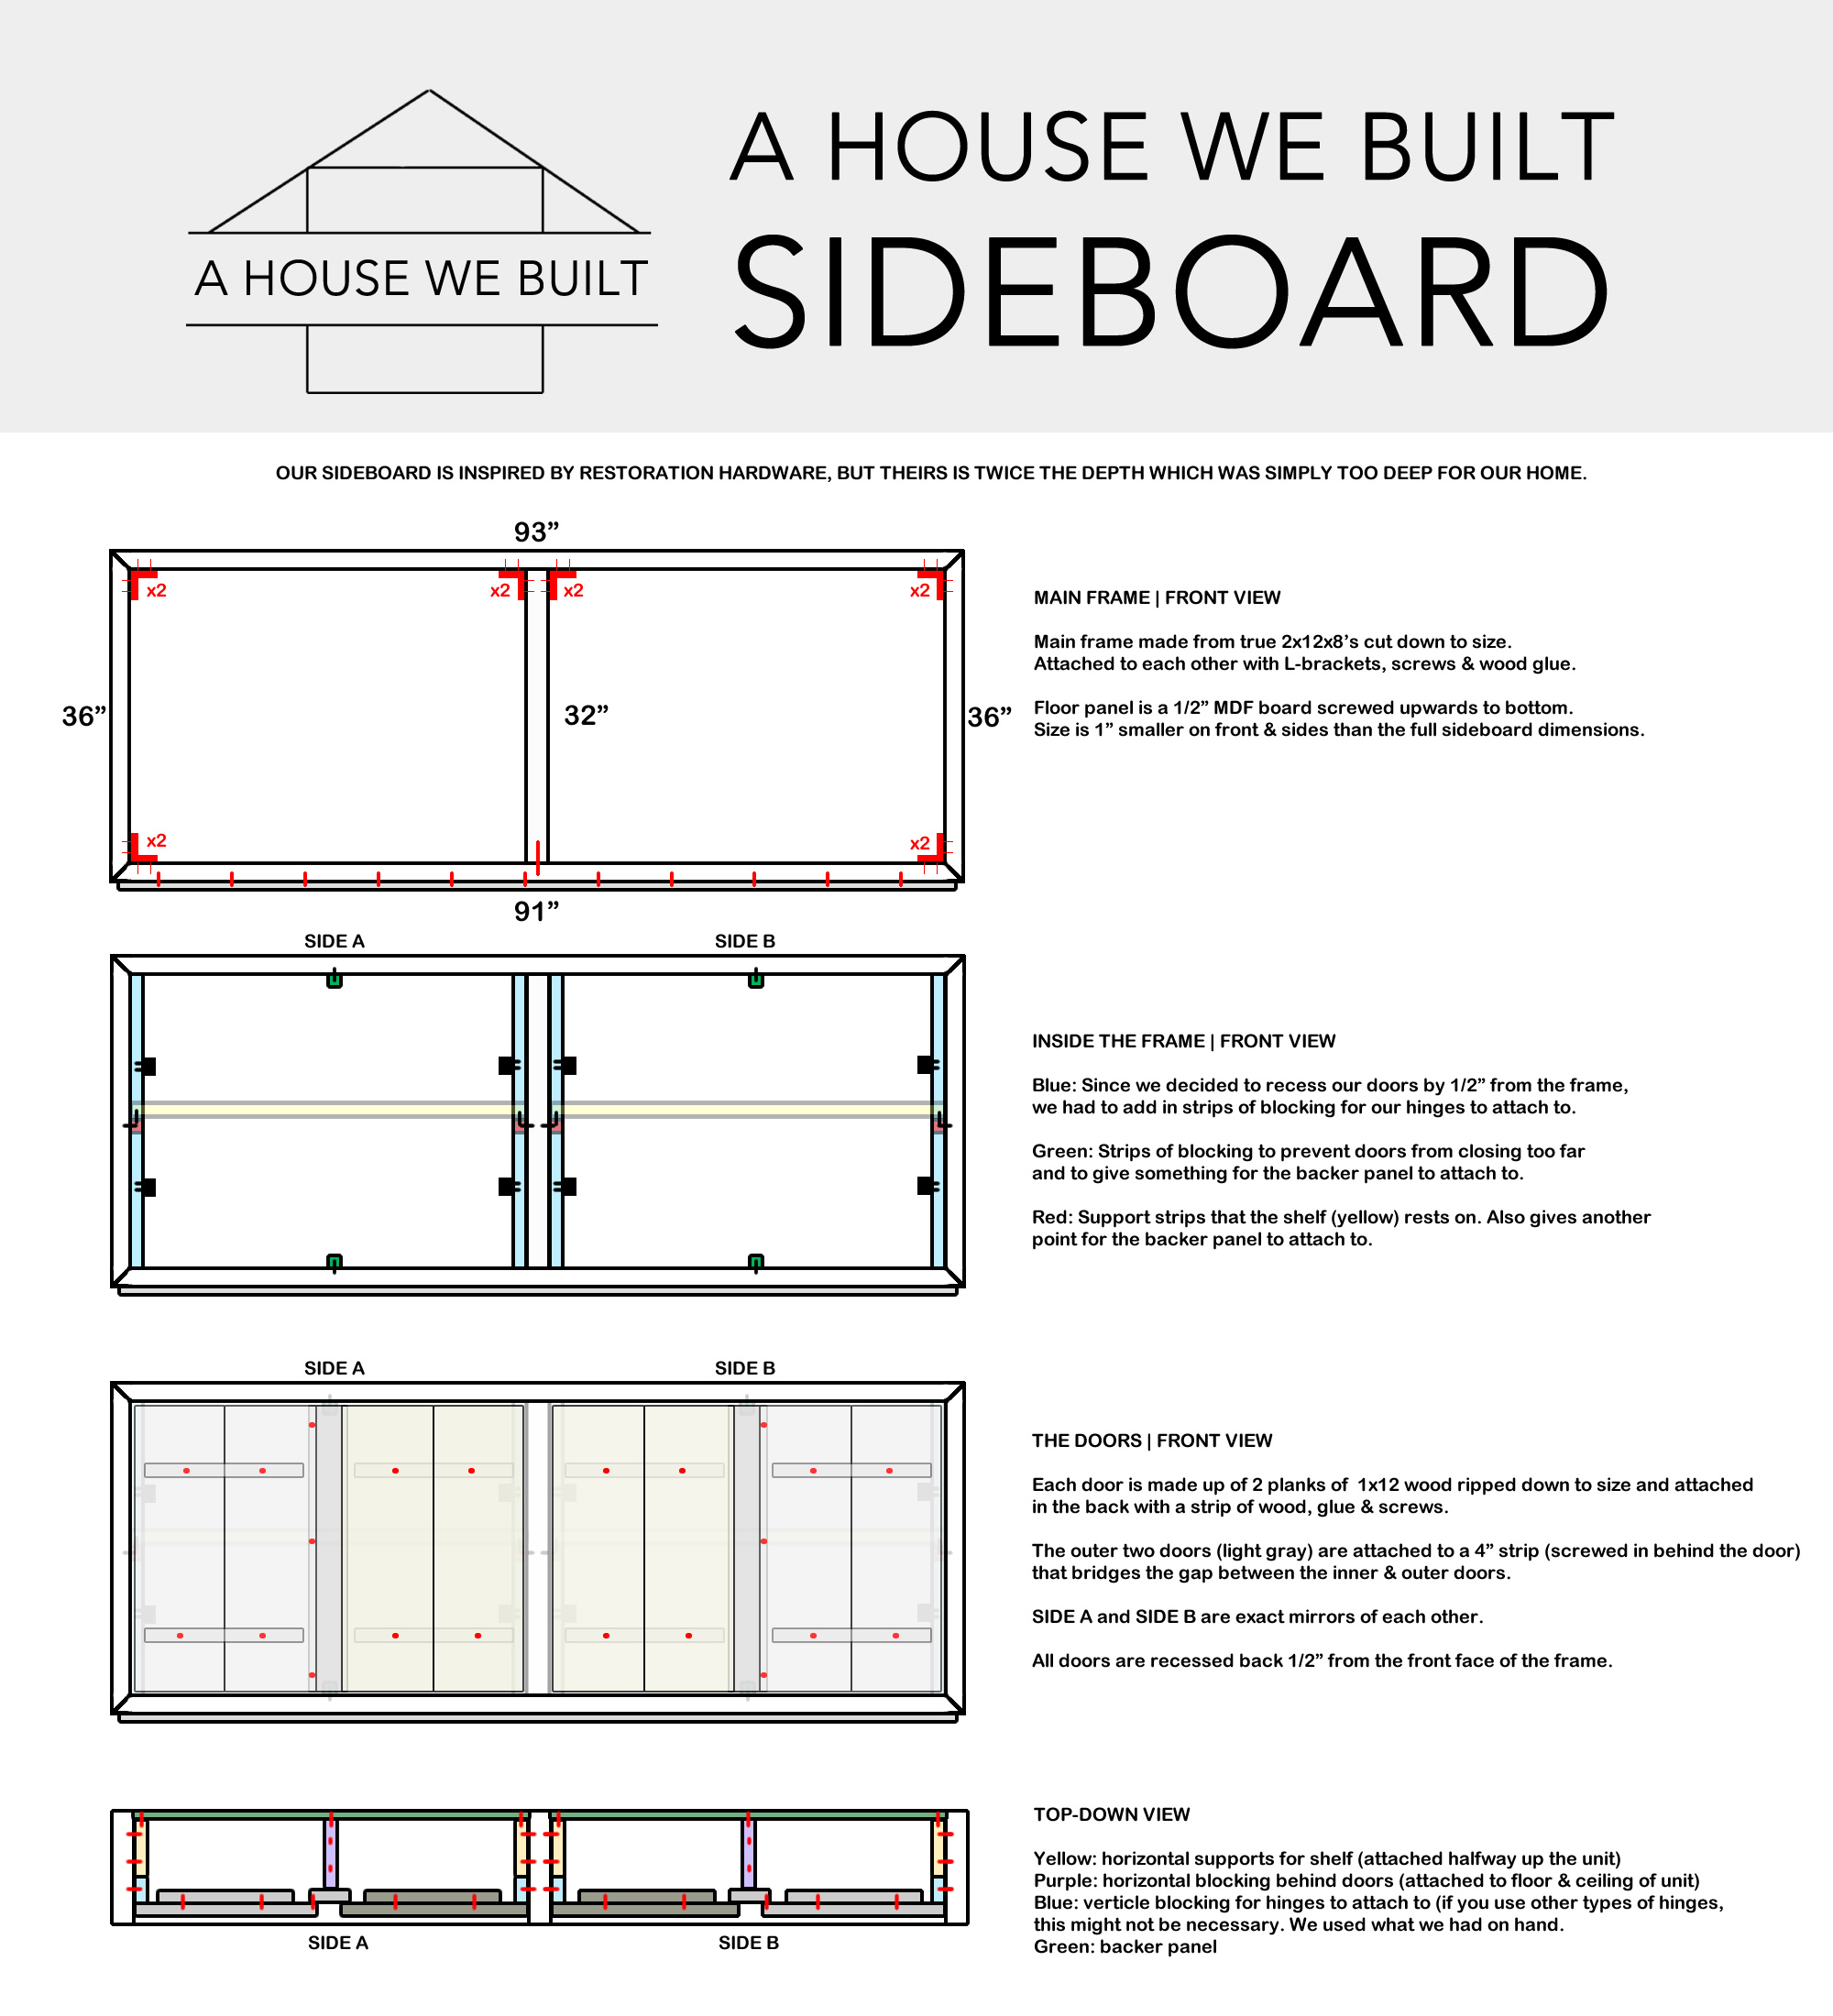
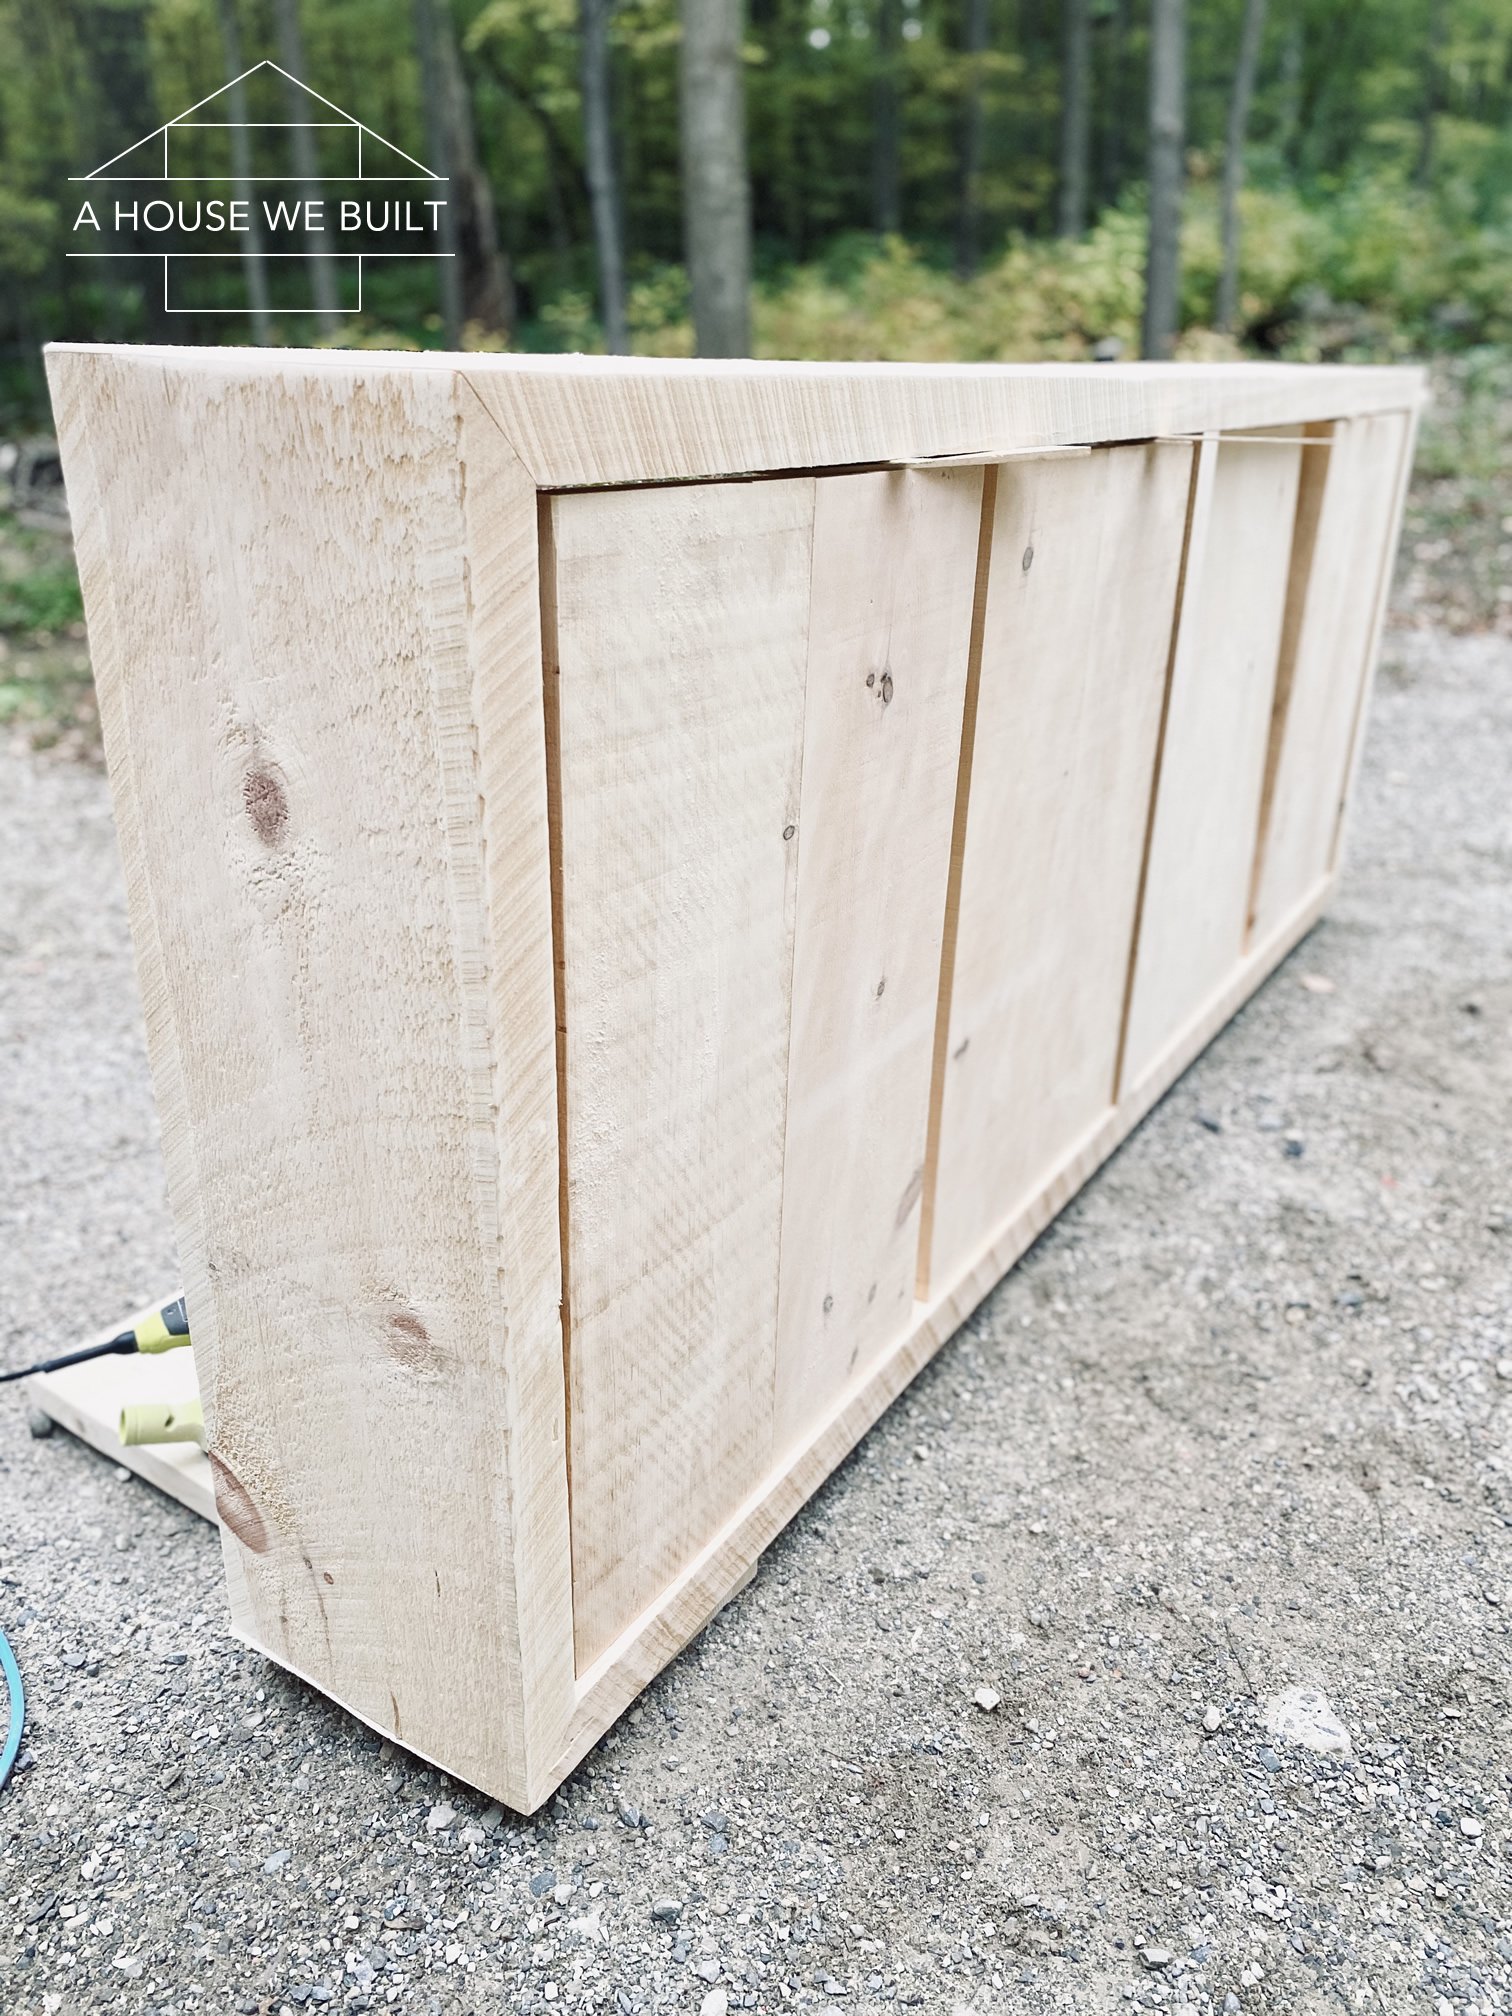
So it’s actually a simple piece of furniture when you break it down: It’s a 4-sided frame (mitered corners optional) with a middle support piece, 4 doors, one shelf, a backer panel, and a floor board. That’s it!
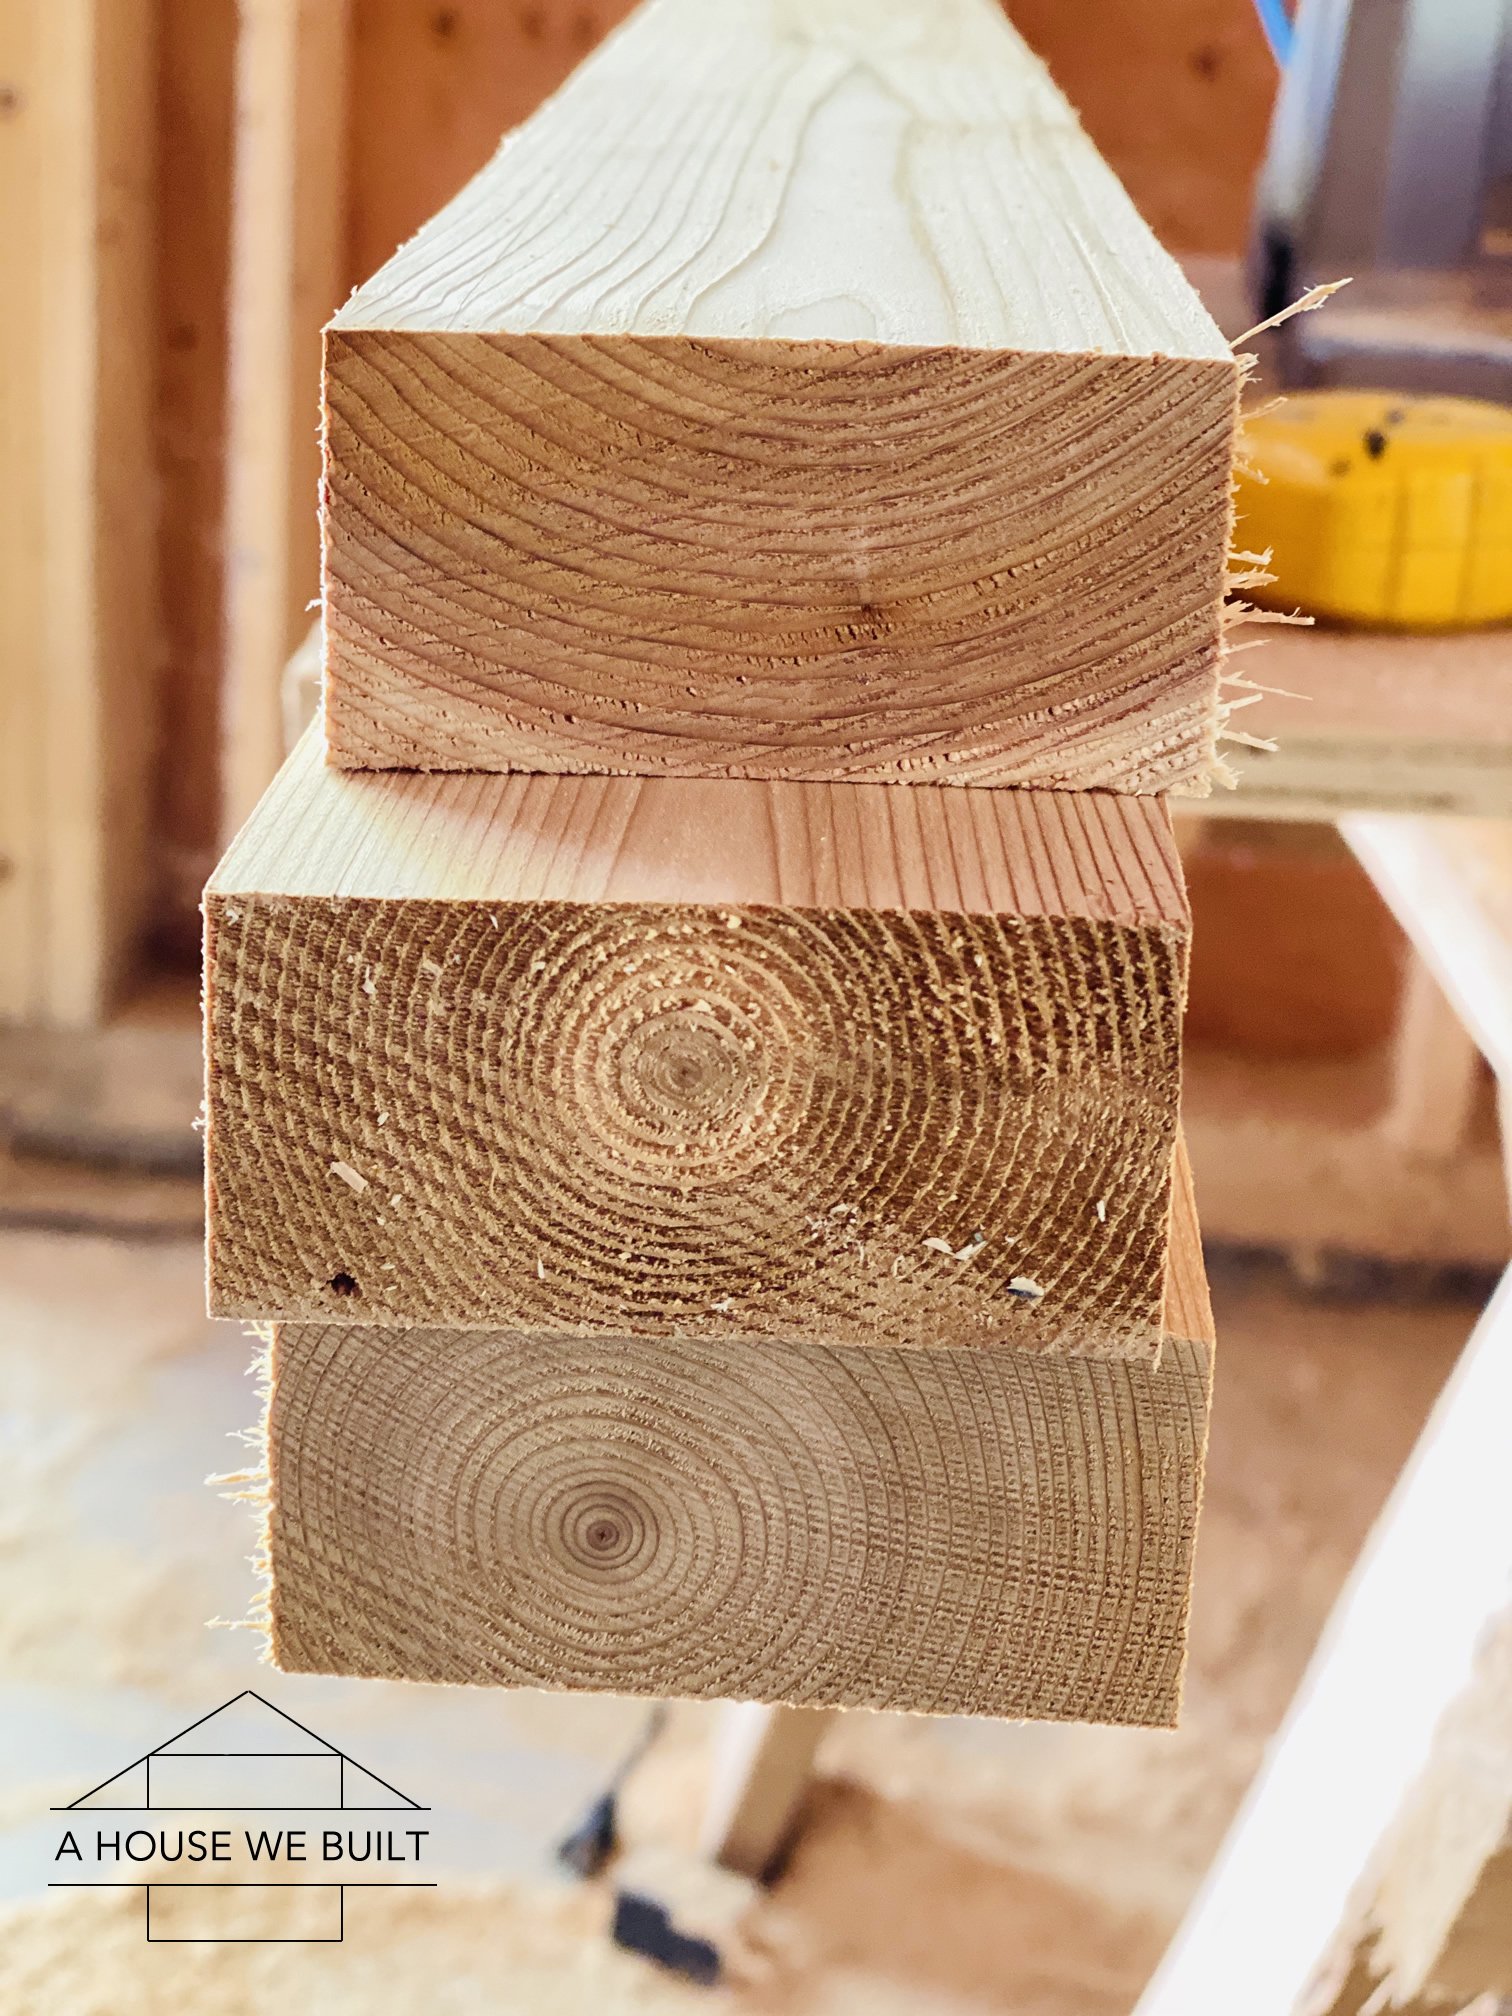
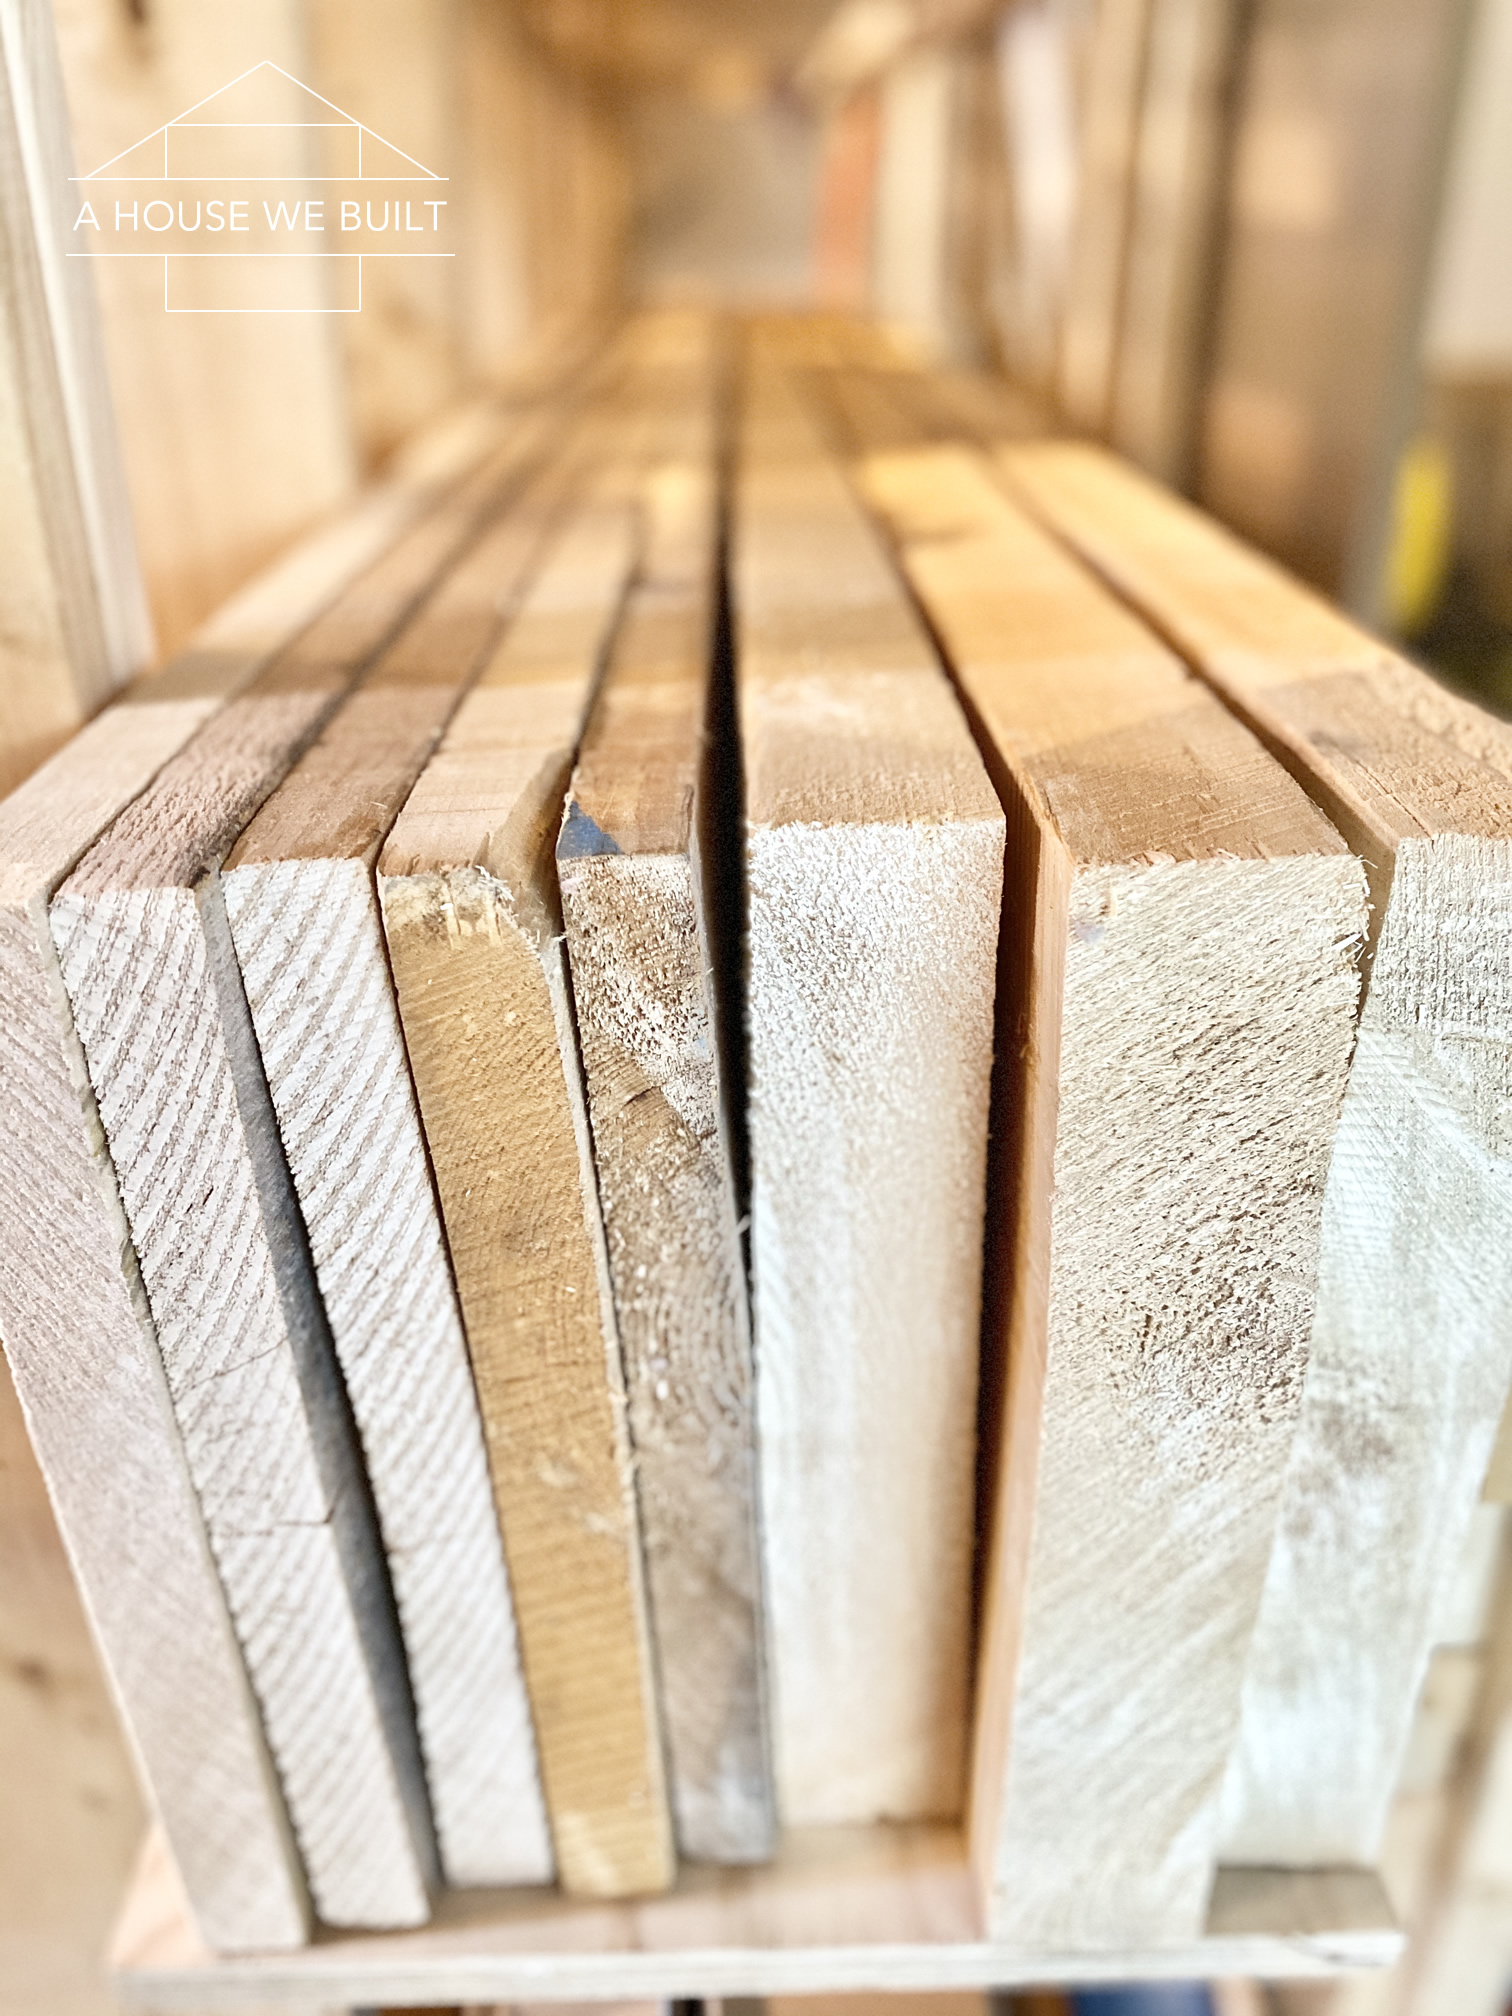
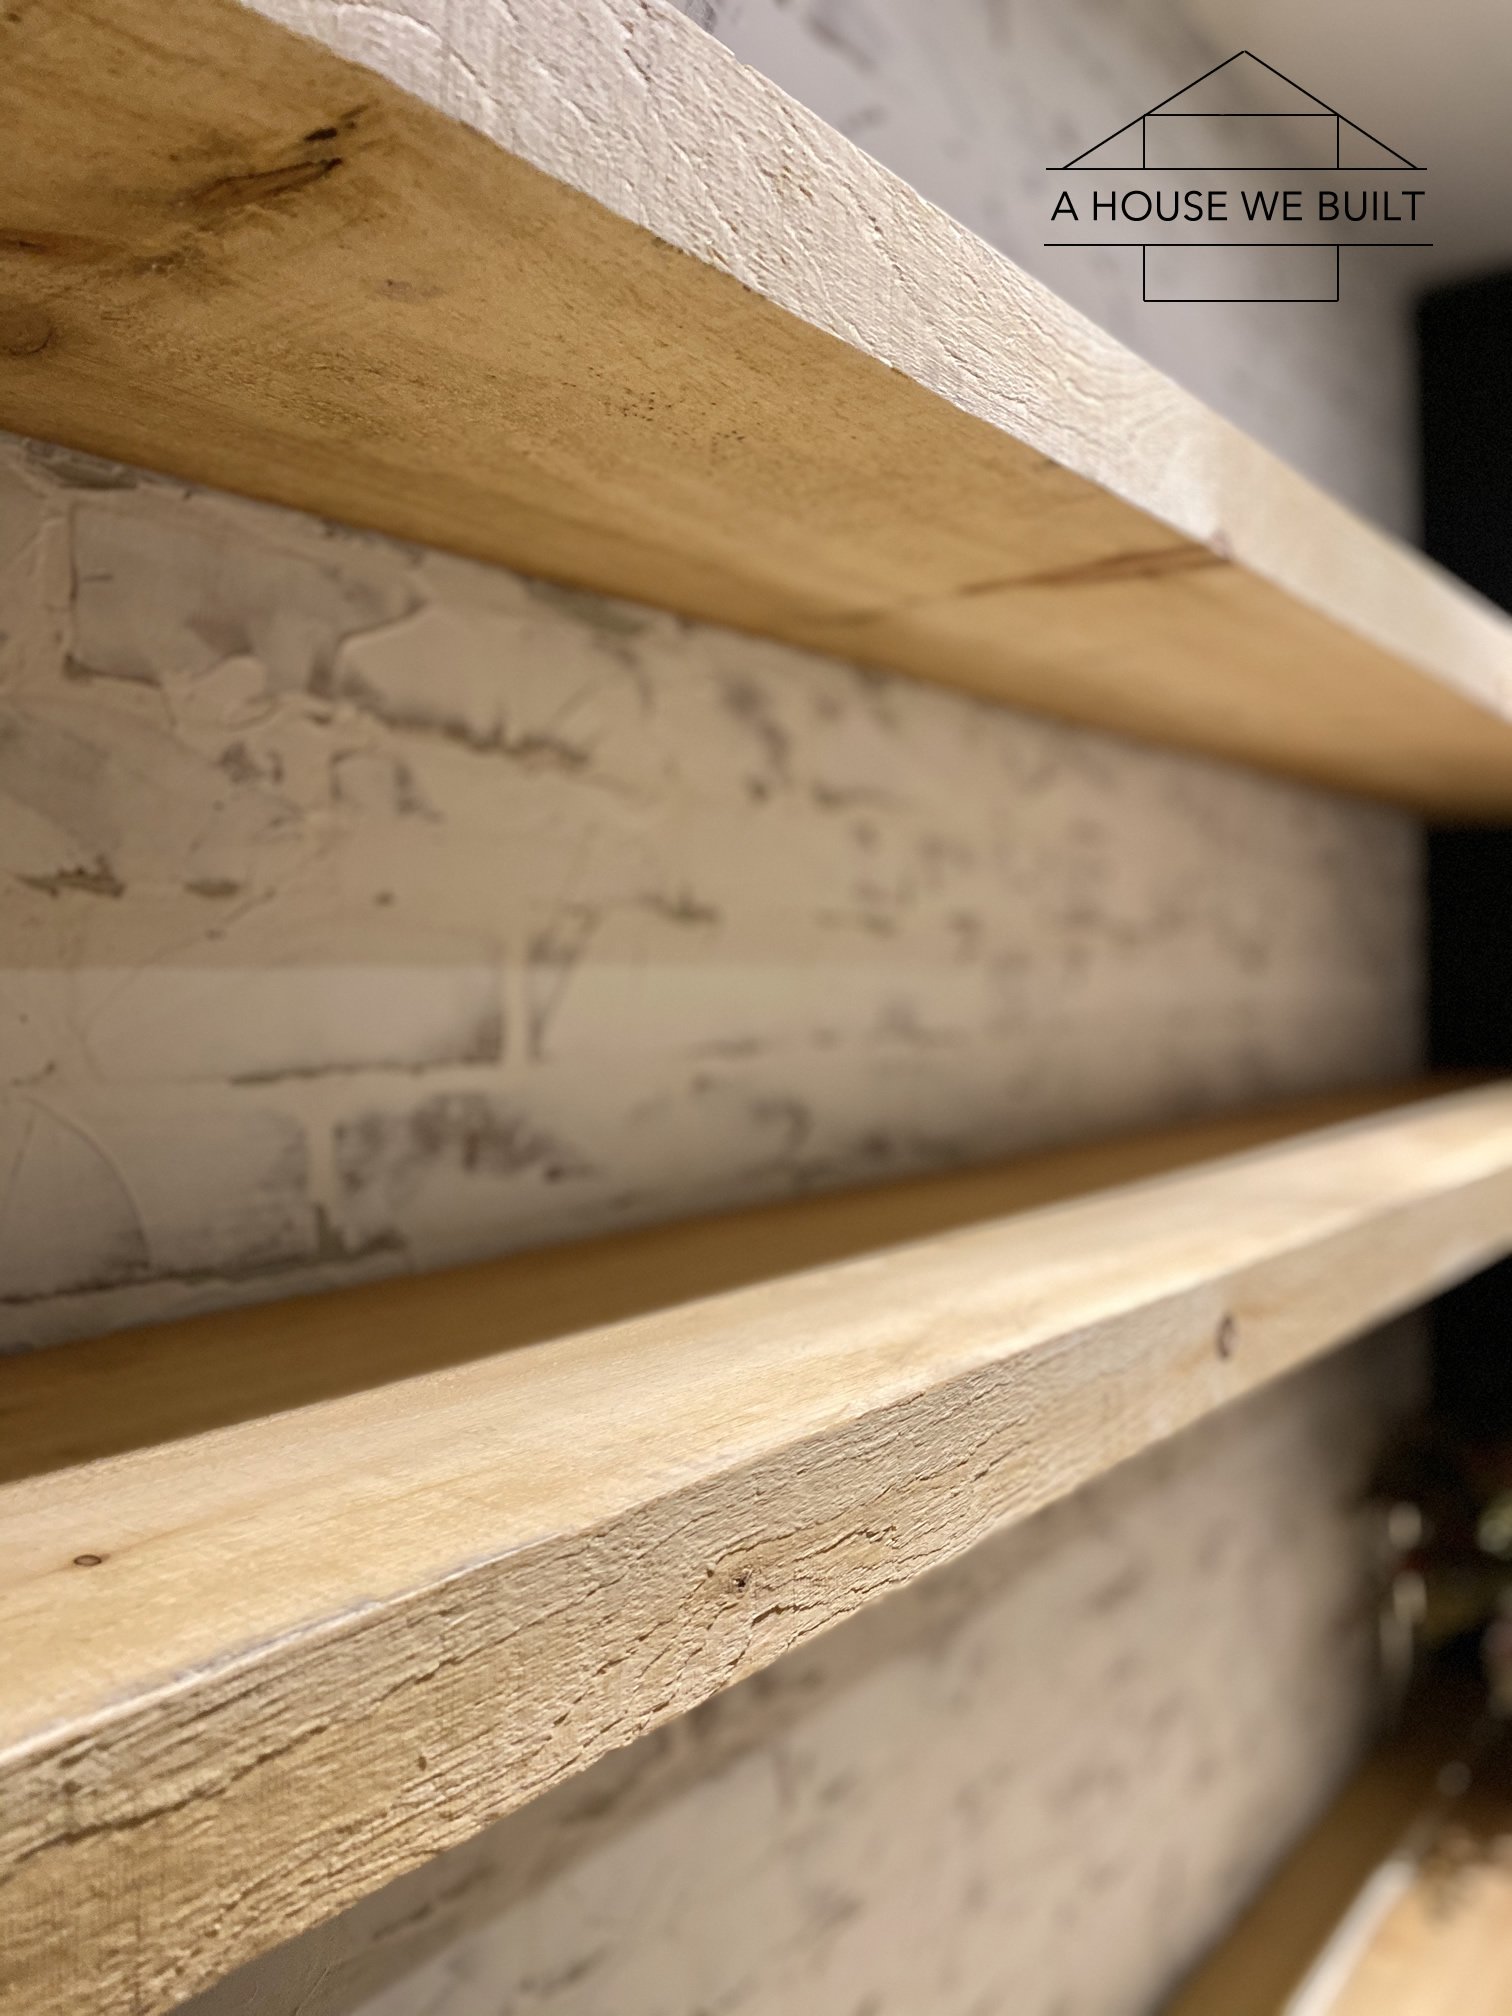
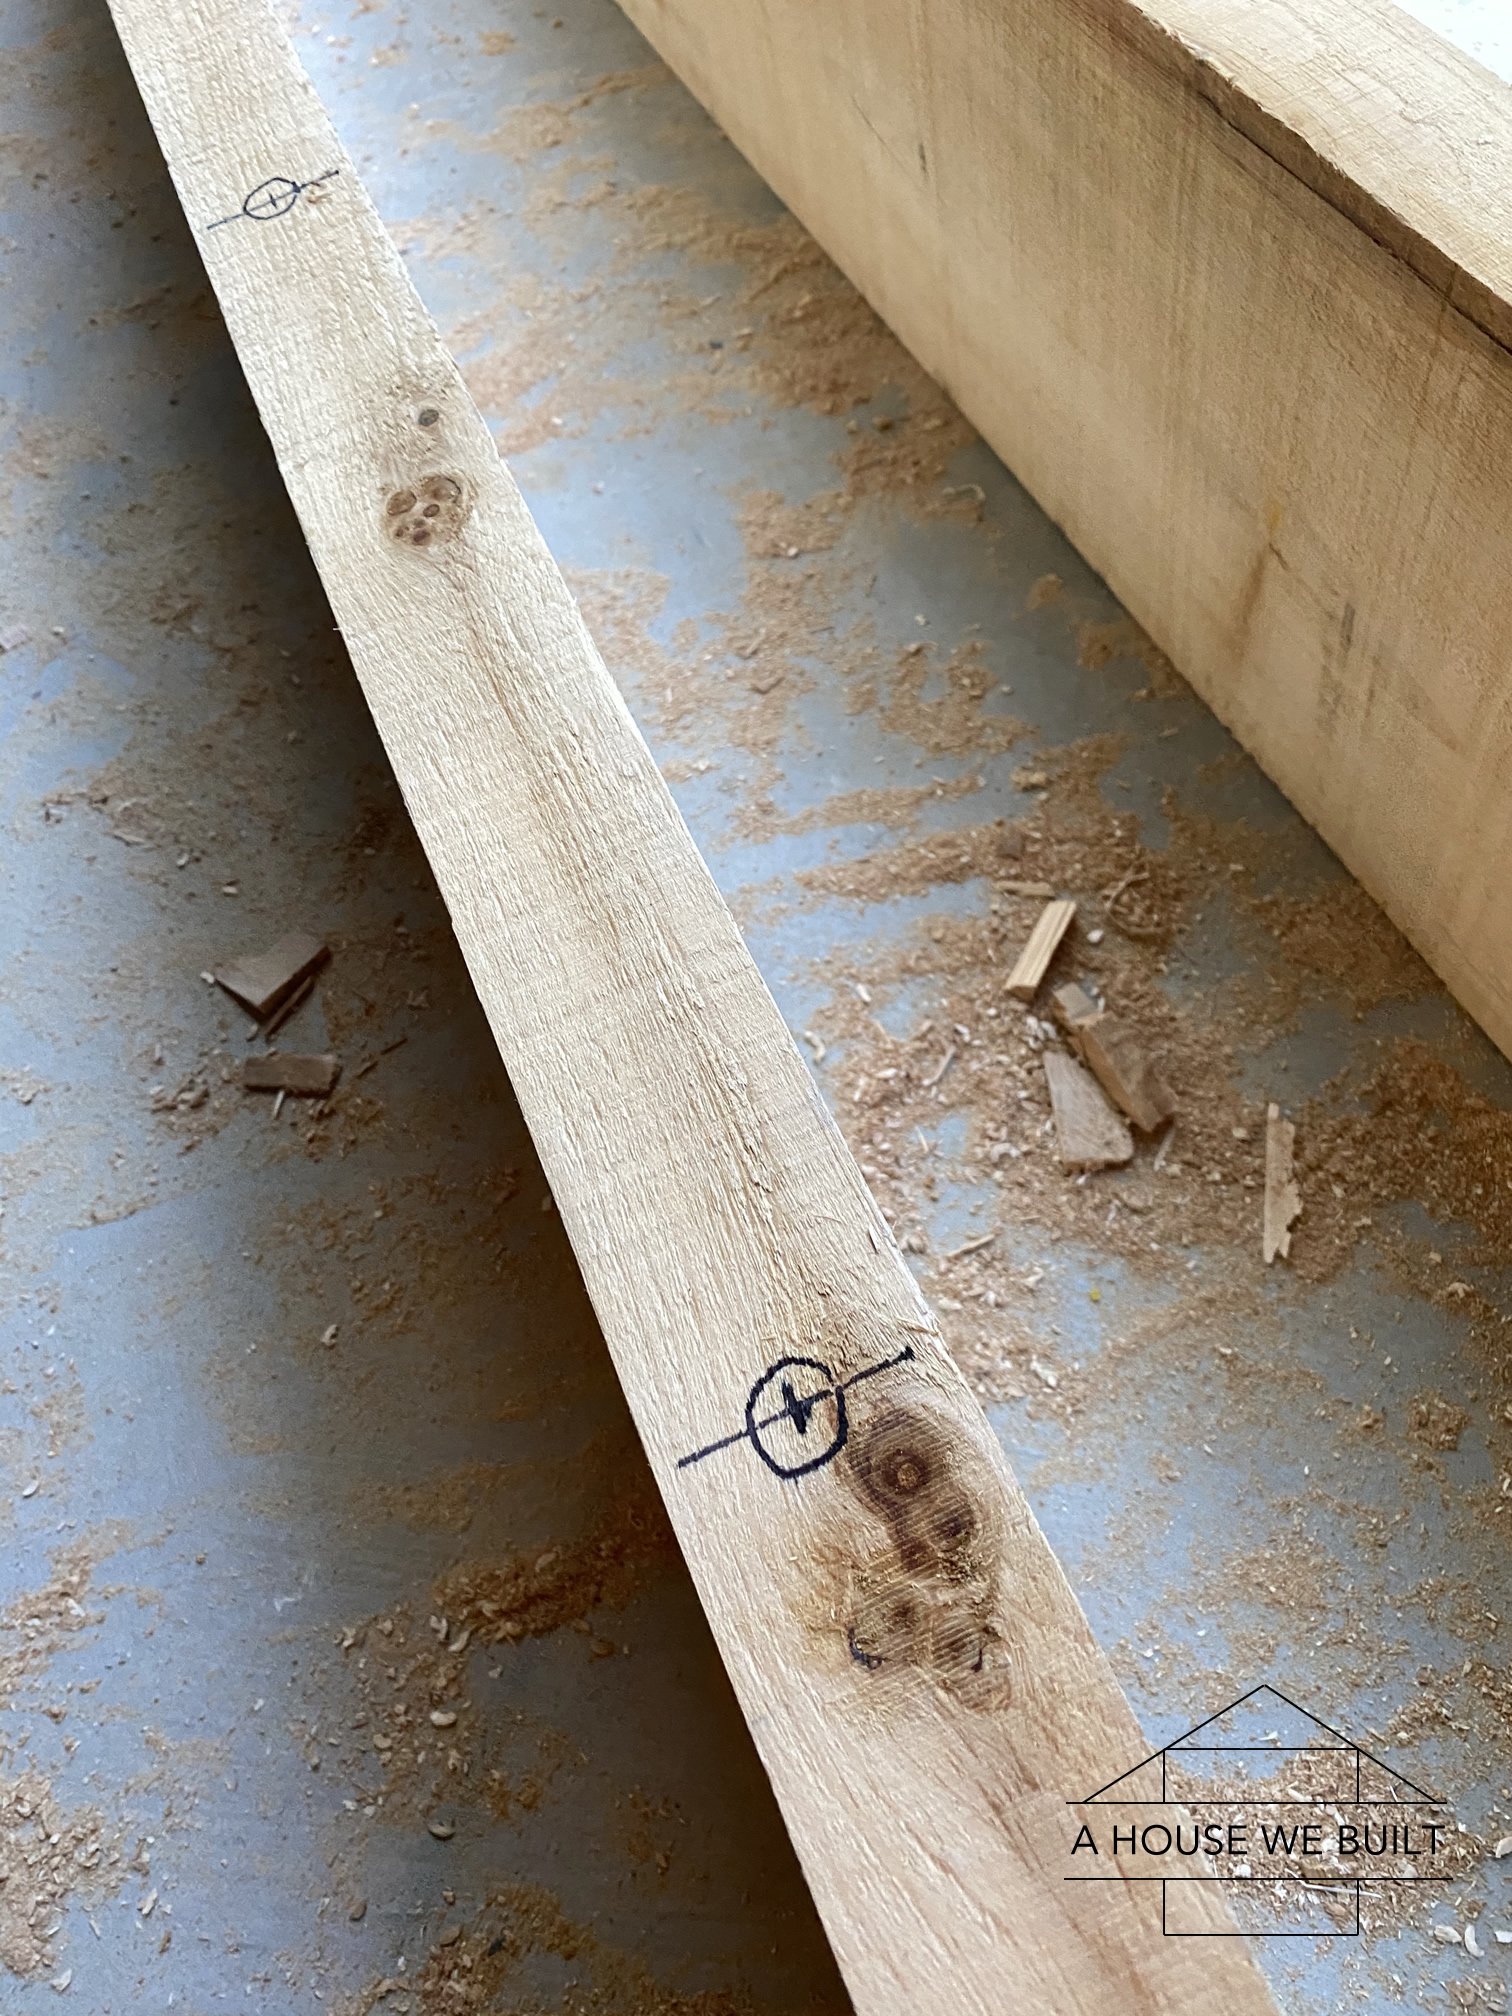
For the frame, we used the same thick rough sawn solid pine boards that we recently used for all the open shelving we built in our basement so they’re an actual true 2″ thickness (not 1 1/2″) by 12″ widths in 8′ lengths. For the doors and shelving inside, we used the same type of wood boards but in 1″ thickness (true measurement) instead of 2″. For the floor and backer panels, we used 1/2″ MDF sheets.
So here’s how to build it. Bear in mind that you don’t have to fasten it all together the same way we did. We used what we had on hand but other ways of fastening pieces would also be fine.
Building materials:
- 2 x 2x12x8 rough sawn boards (true dimensions, not like framing lumber)
- 1 x 2x12x10 rough sawn boards (true dimensions, not like framing lumber) *
- 4 x 1x12x8 rough sawn boards (3 for the doors, 1 for shelf)
- 1 x 1/2x4x8 sheet of MDF
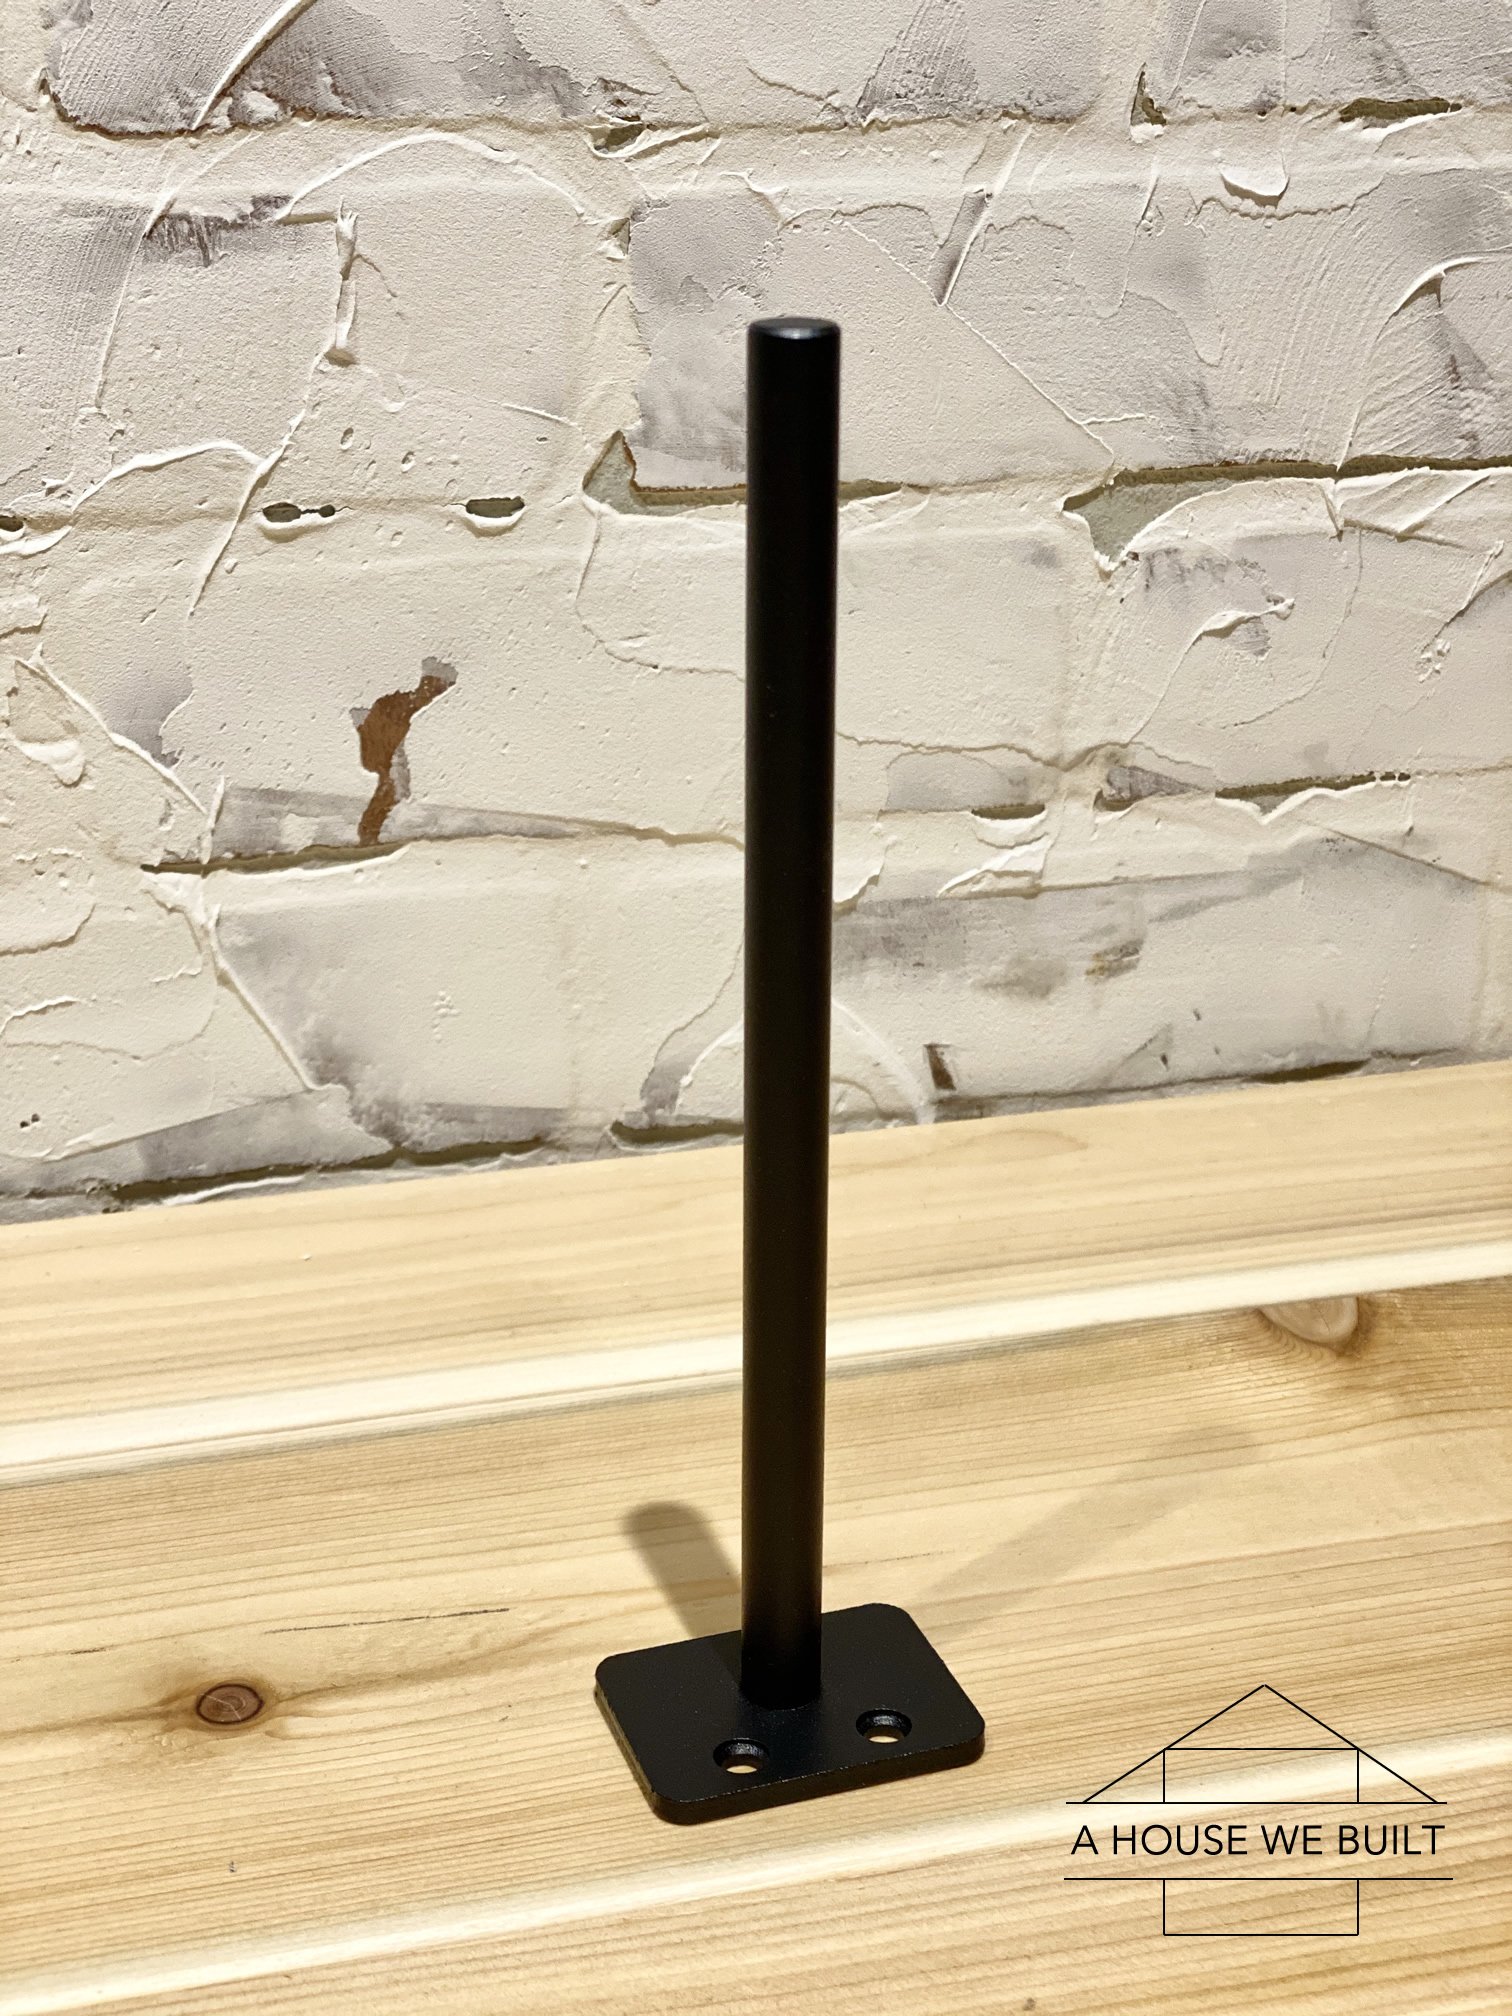
- 10 x small L-brackets (Home Depot) + screws
- 8 x door hinges (we used these: Amazon)
- Some longer screws (about 1 3/4″ – 2″)
- Some shorter screws (about 1 1/4″)
*for this piece you actually only need 105 inches so if you can source a piece that’s 9′ that would work.
Finishing materials:
- Pre-stain conditioner: Amazon | Home Depot
- Gray stain: Amazon | Home Depot
- Matte top coat: Amazon | Home Depot
Tools:
- Miter saw: Home Depot | Amazon (for all regular cuts)
- Table saw: Home Depot | Amazon
- Jig saw: Home Depot | Amazon
- Orbital Sander: Home Depot | Amazon + 150 grit sanding pads
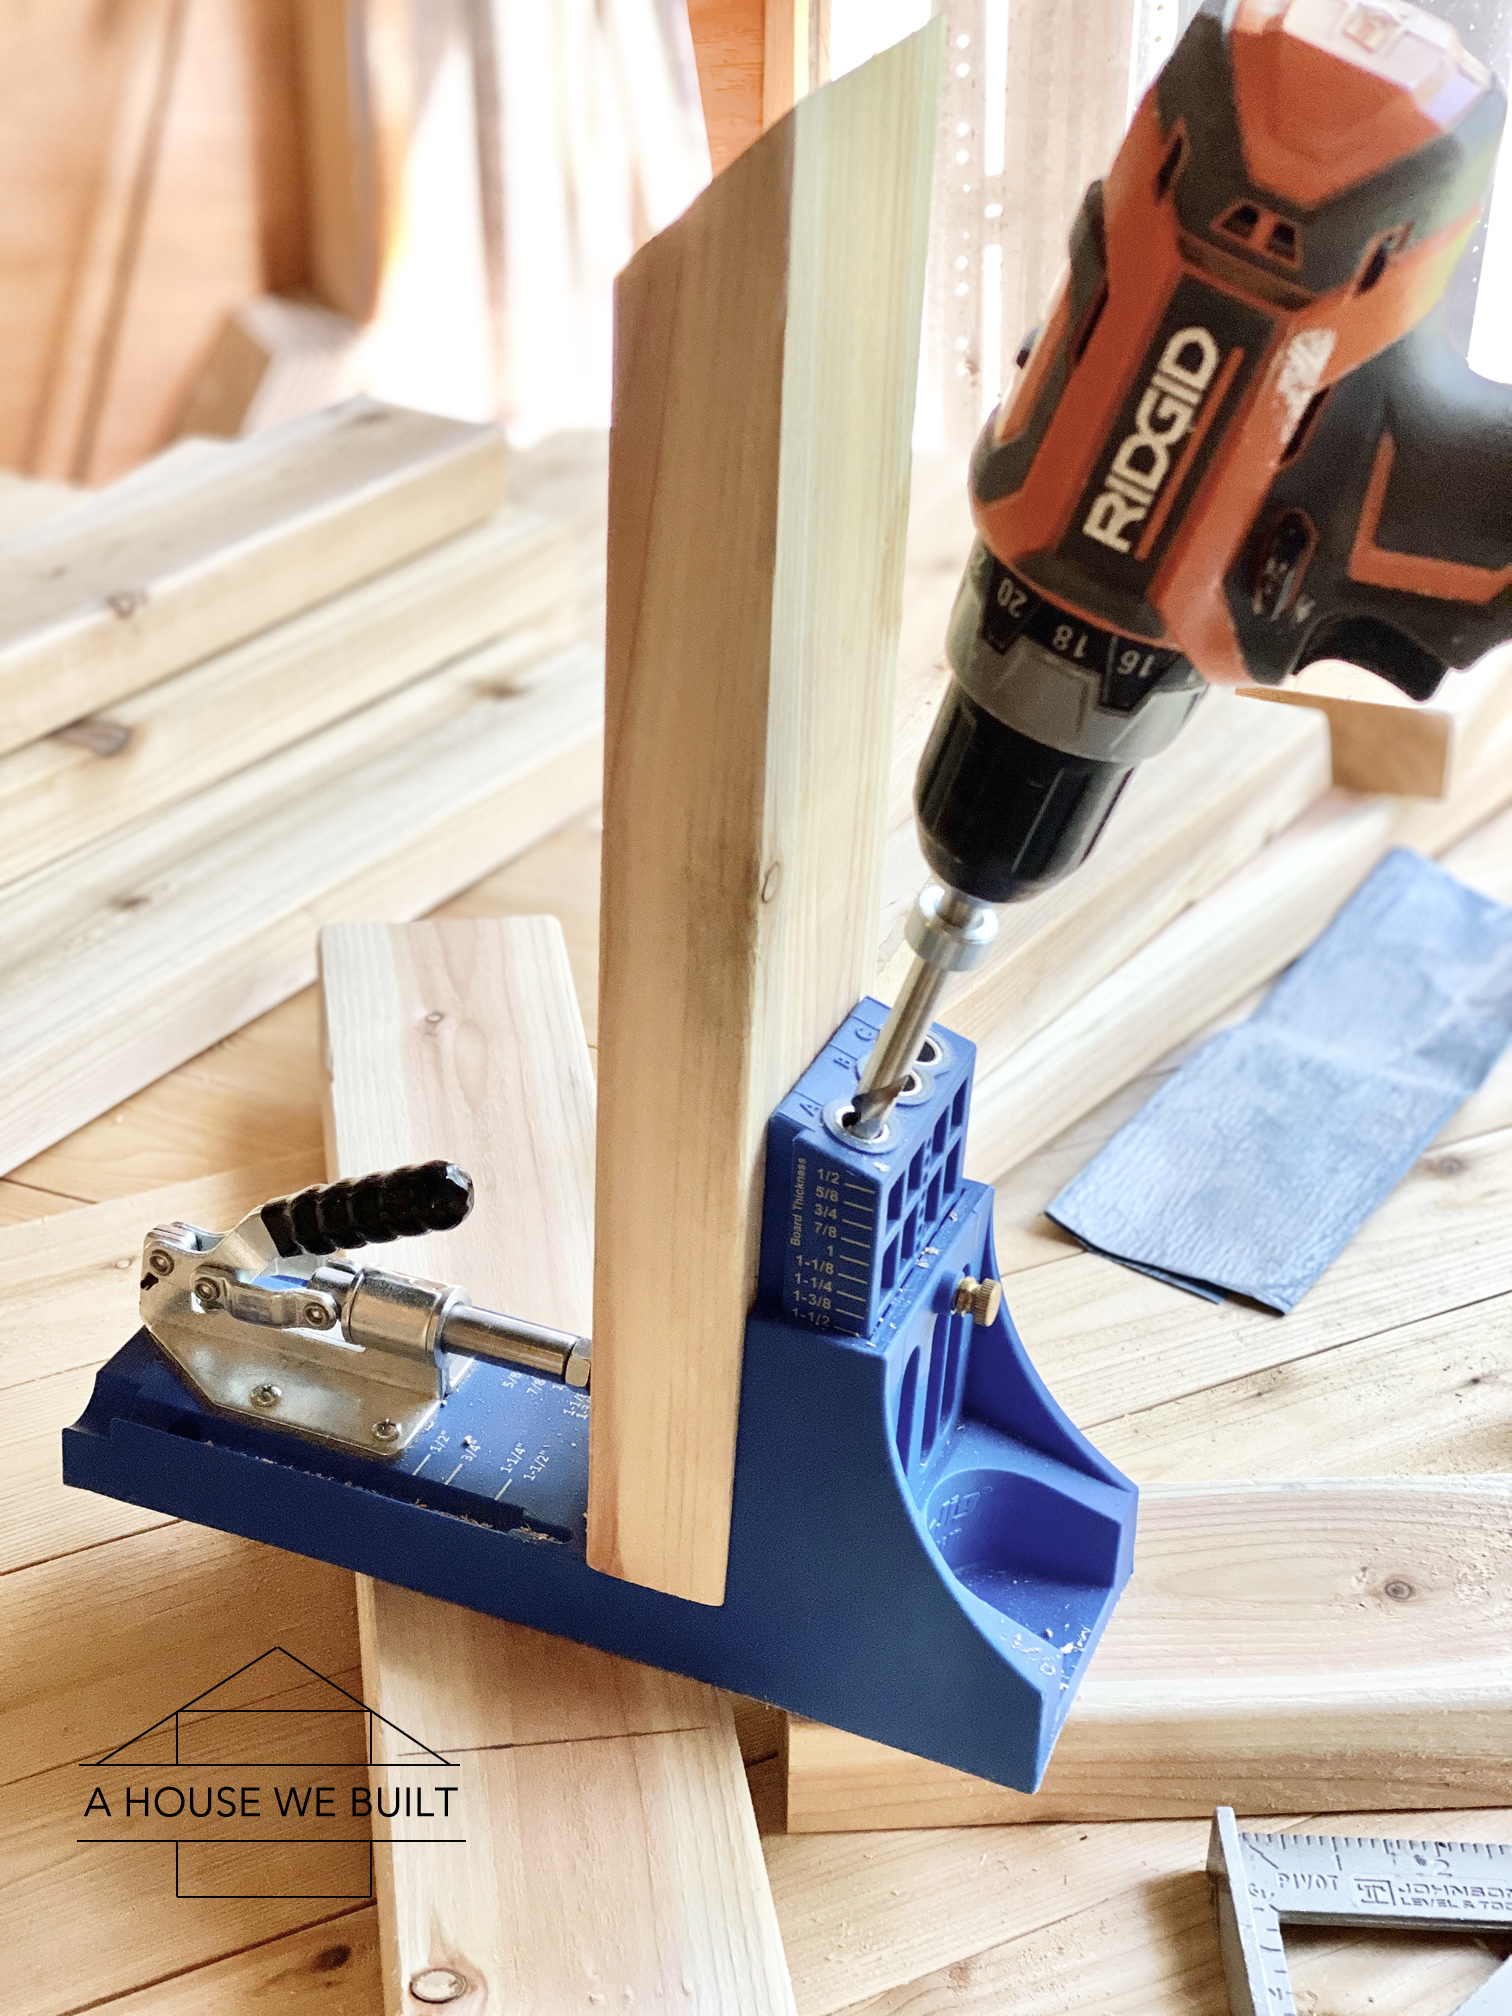
- Concealed Hinge Jig: Home Depot | Amazon
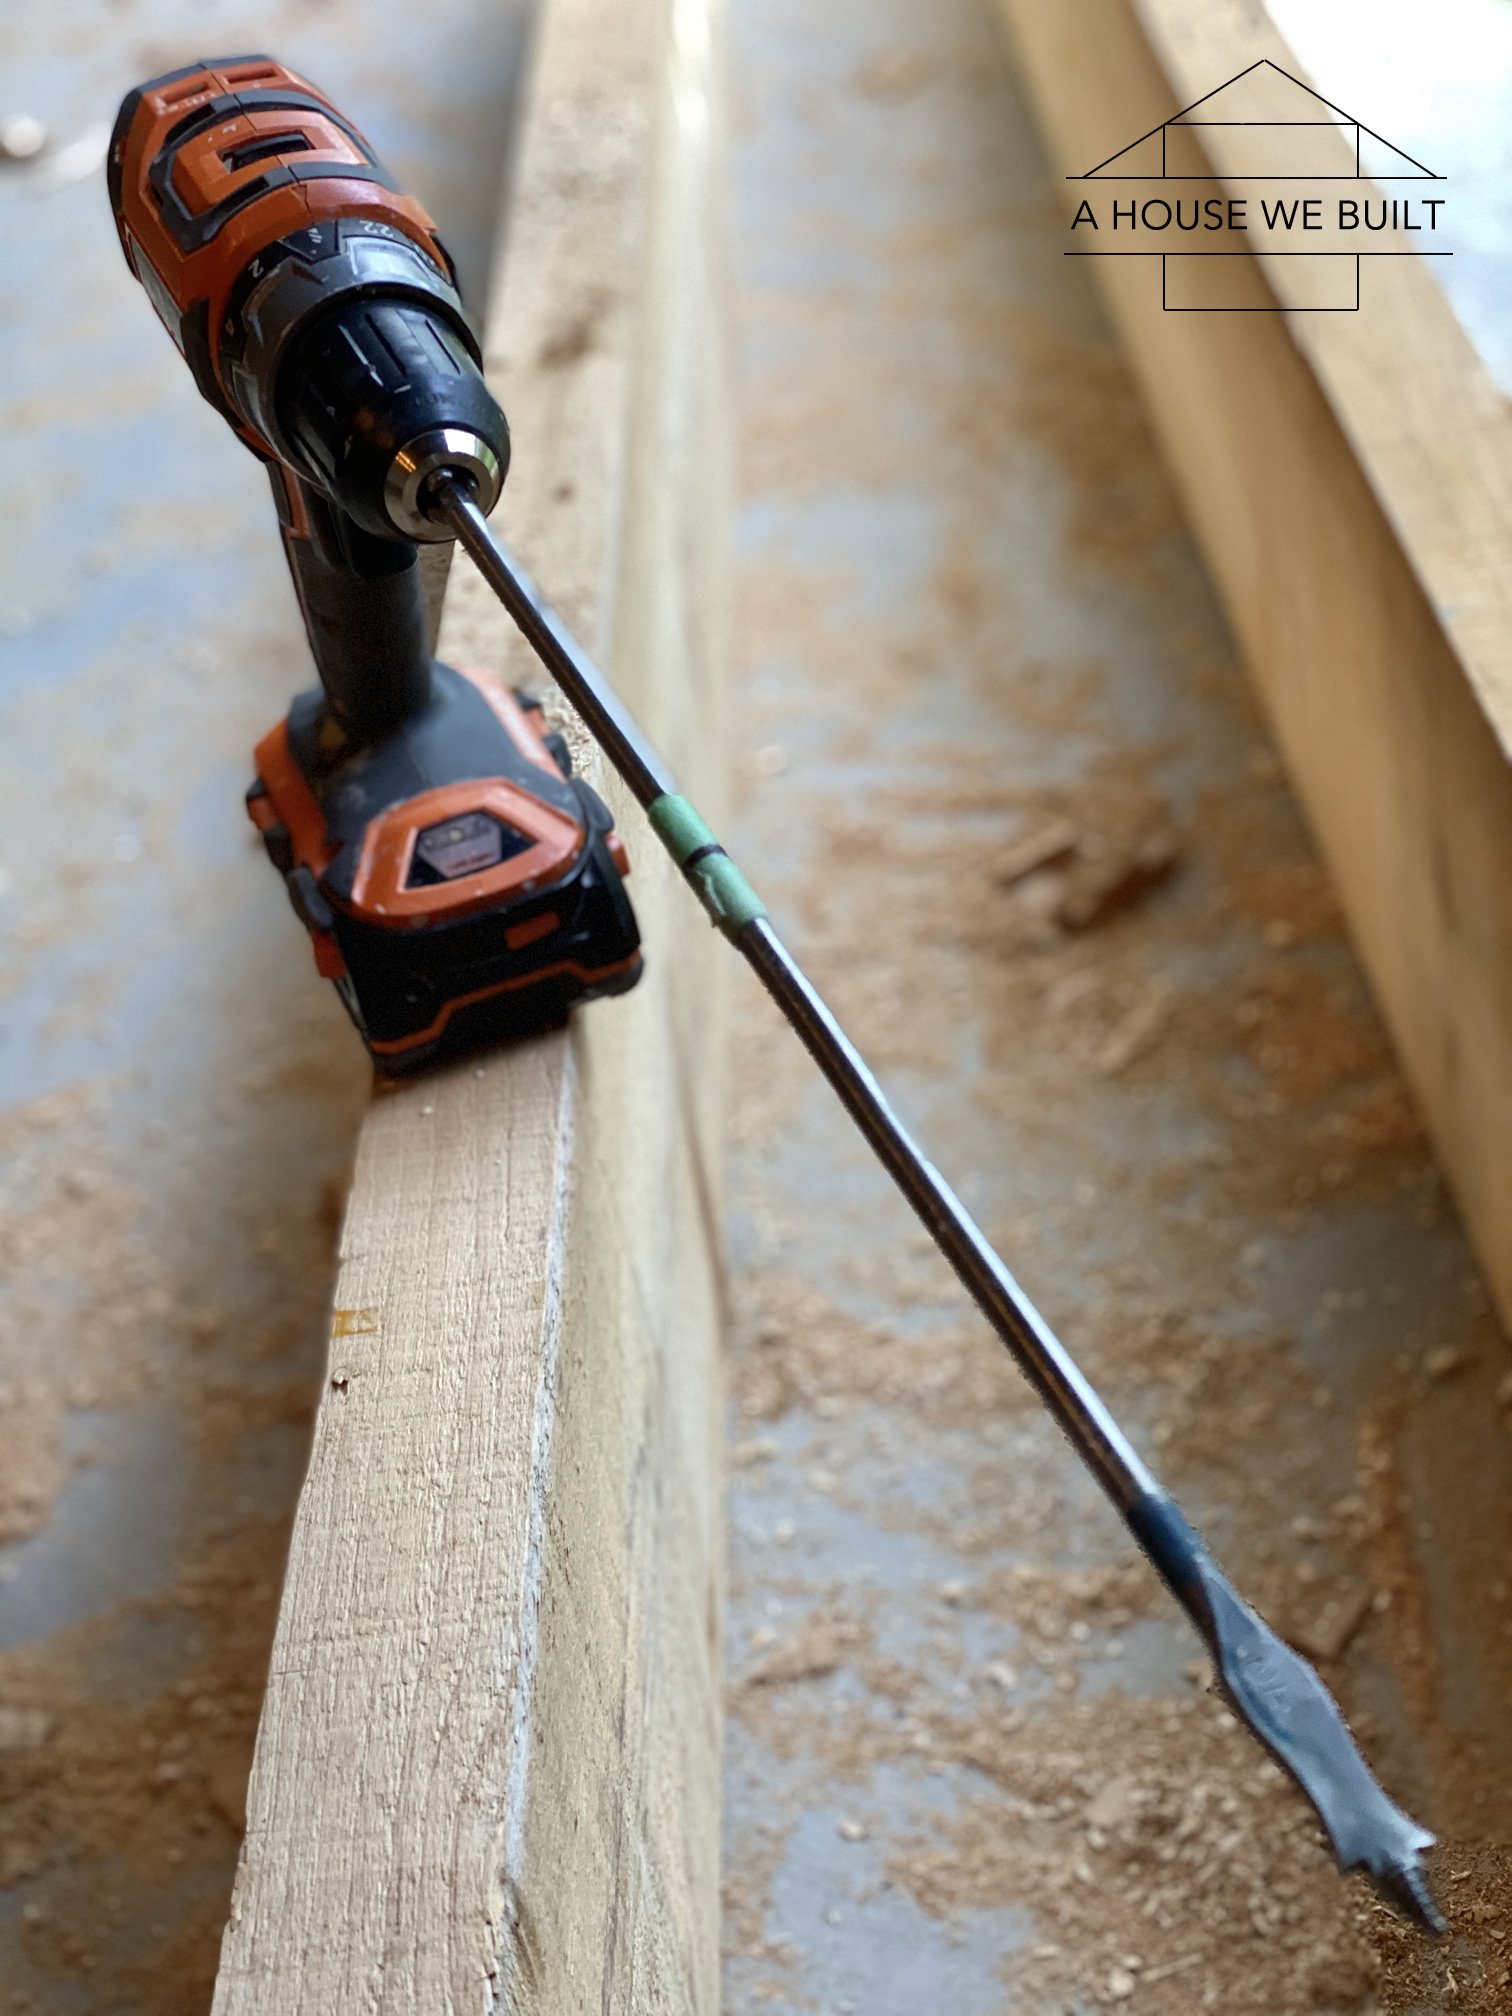
- Drill: Home Depot | Amazon
- Impact driver: Home Depot | Amazon
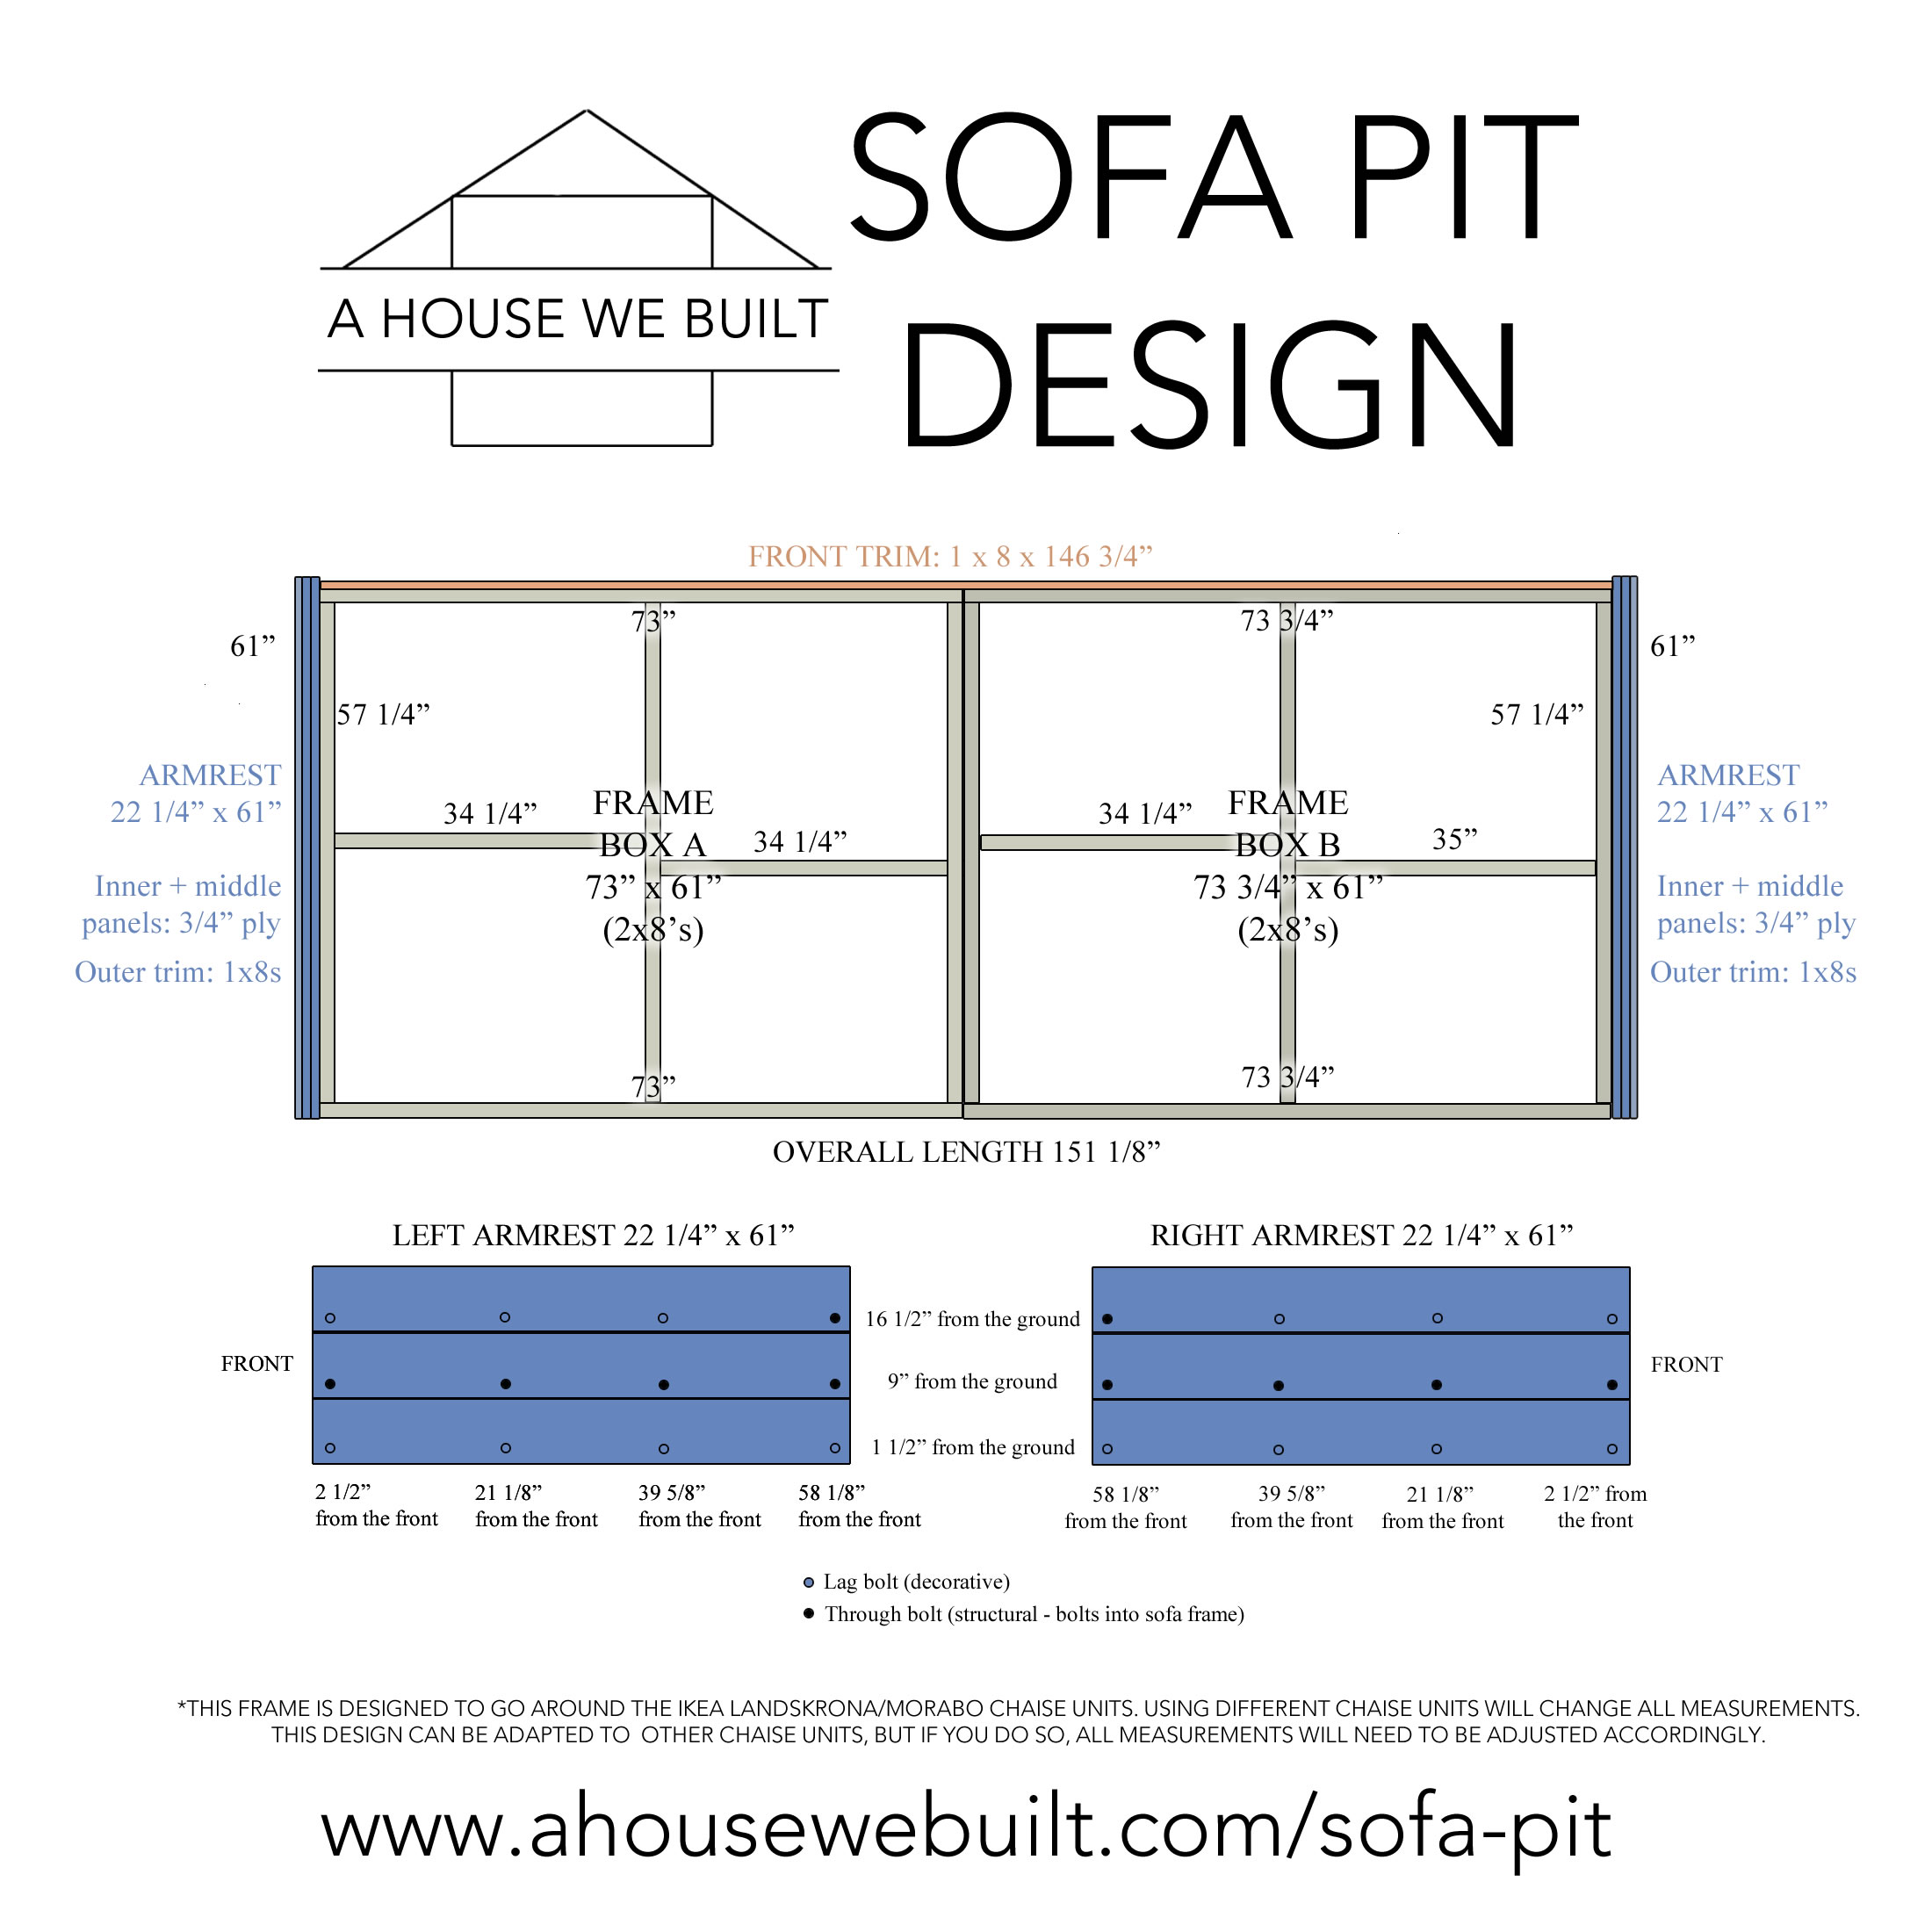
Plans:
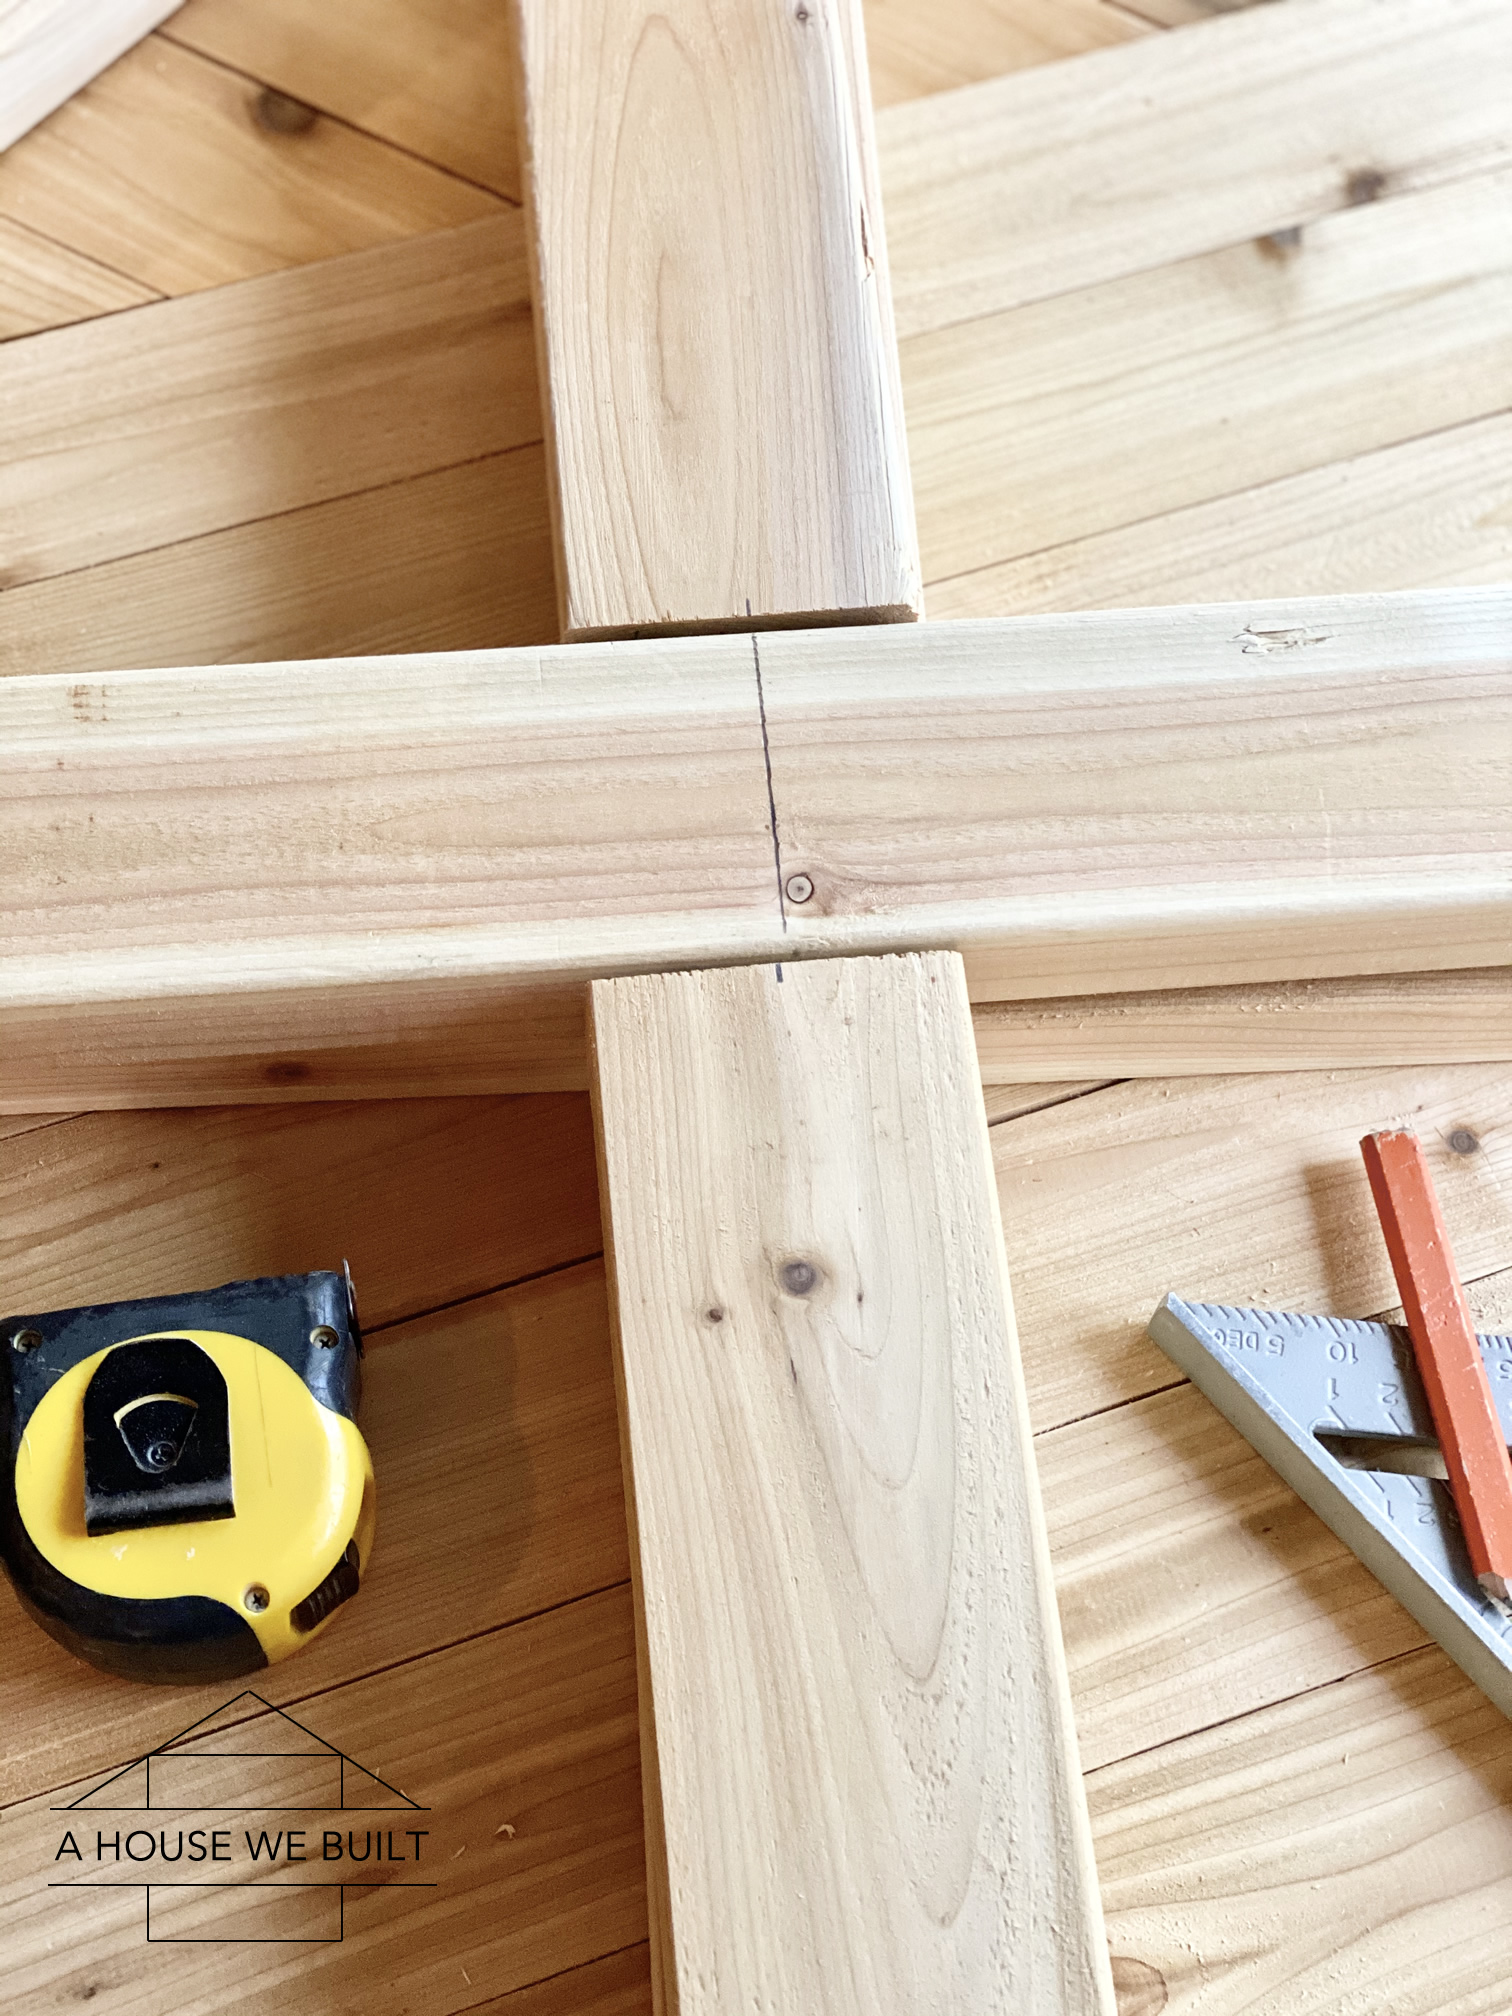
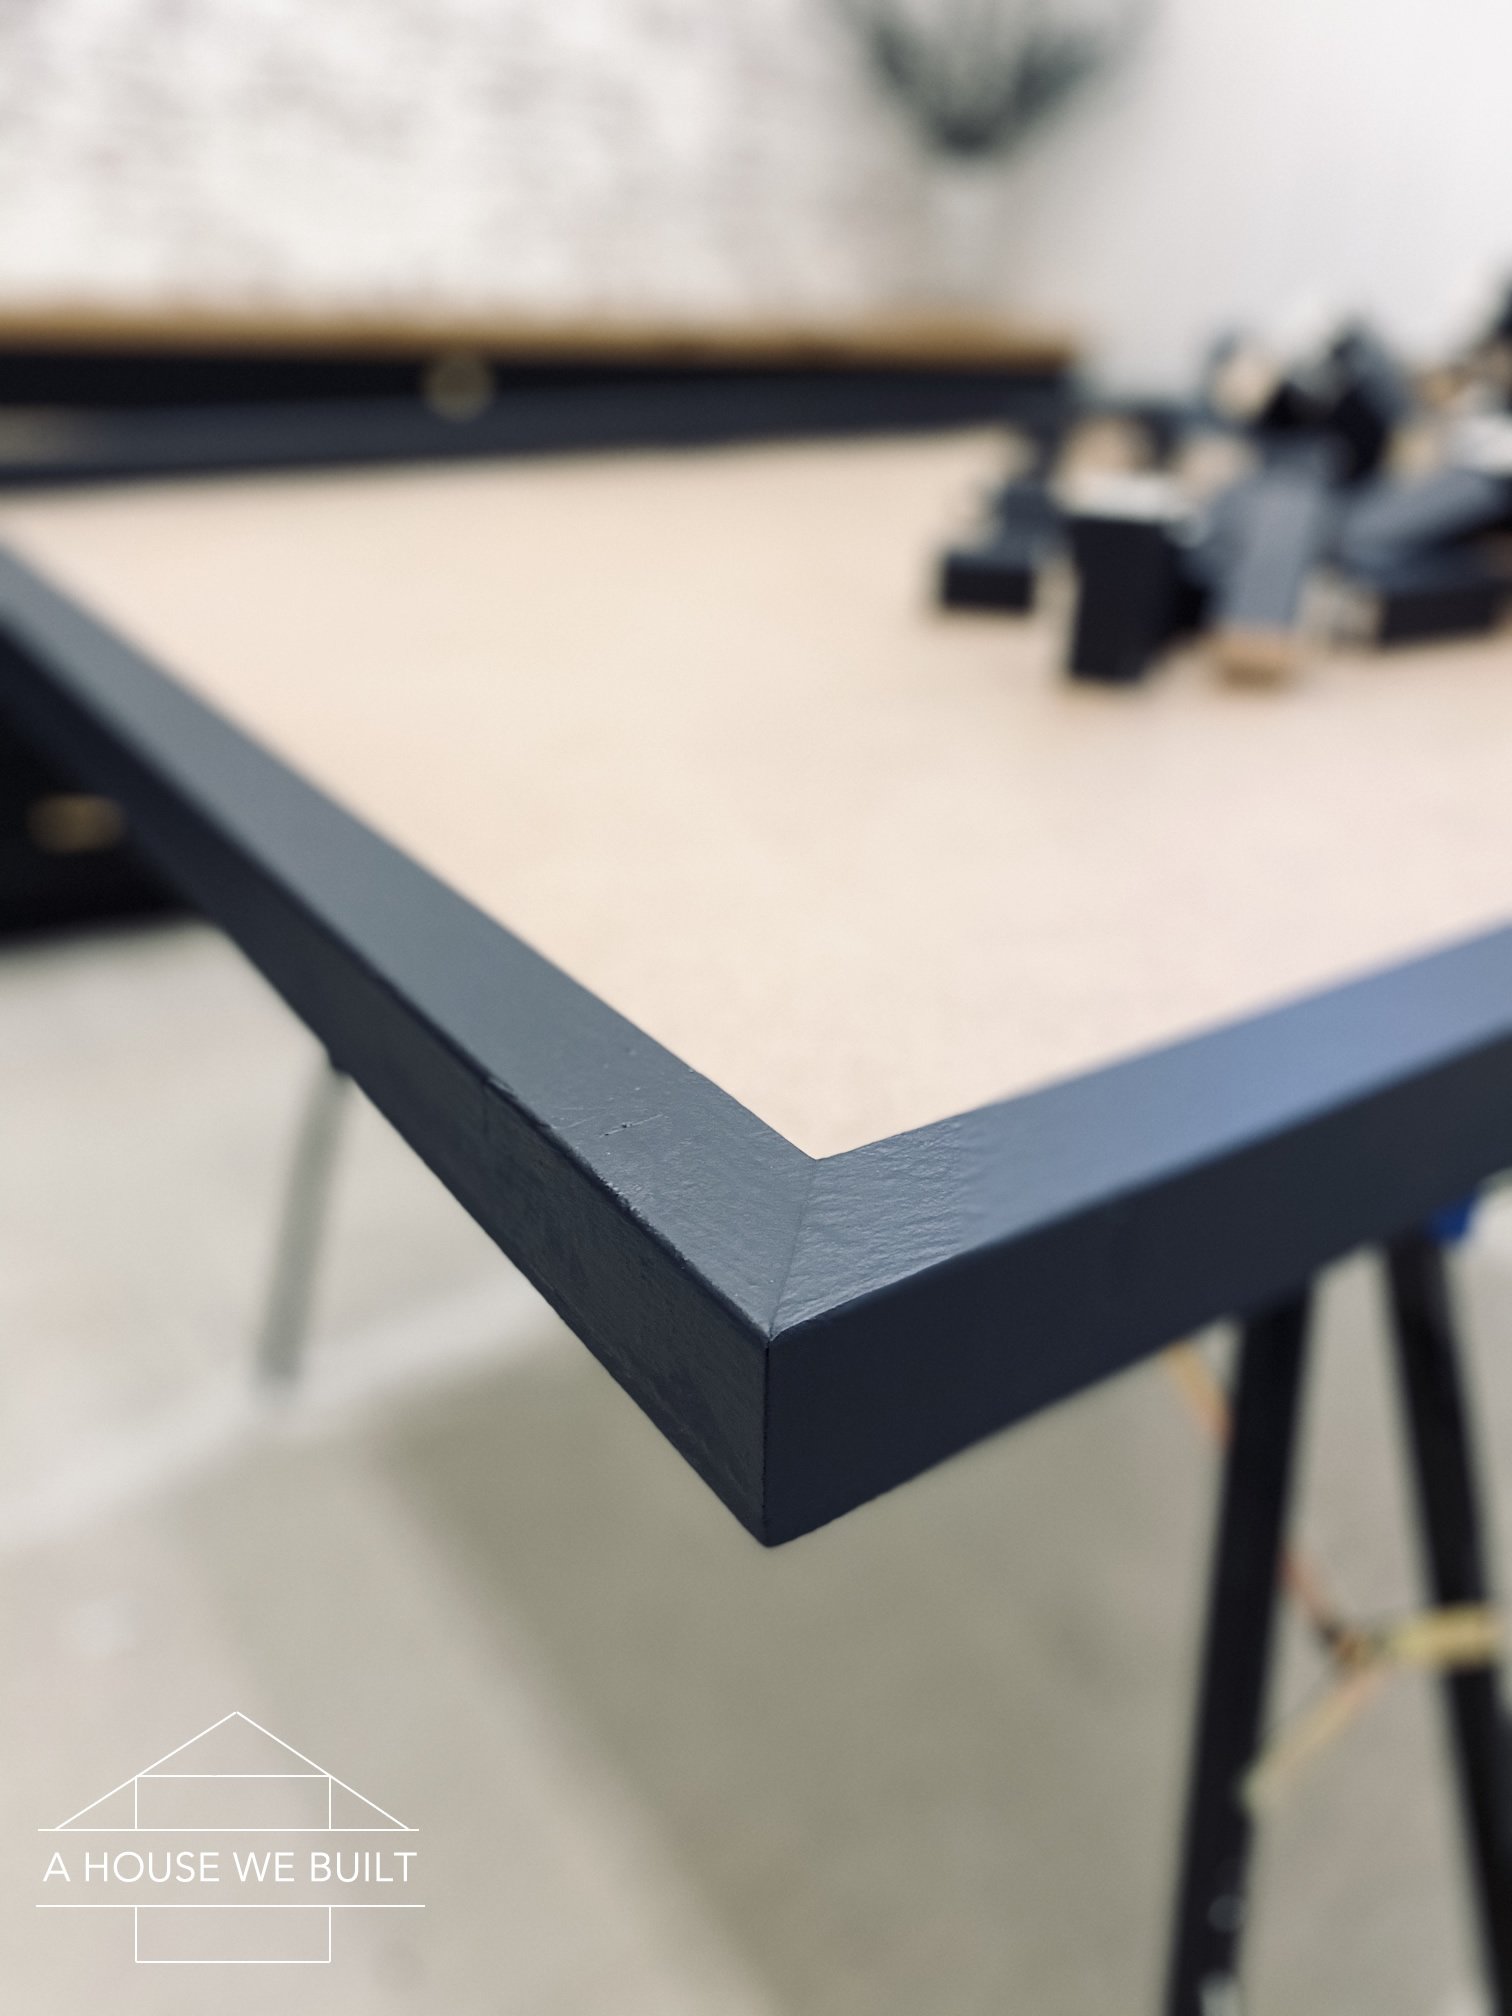
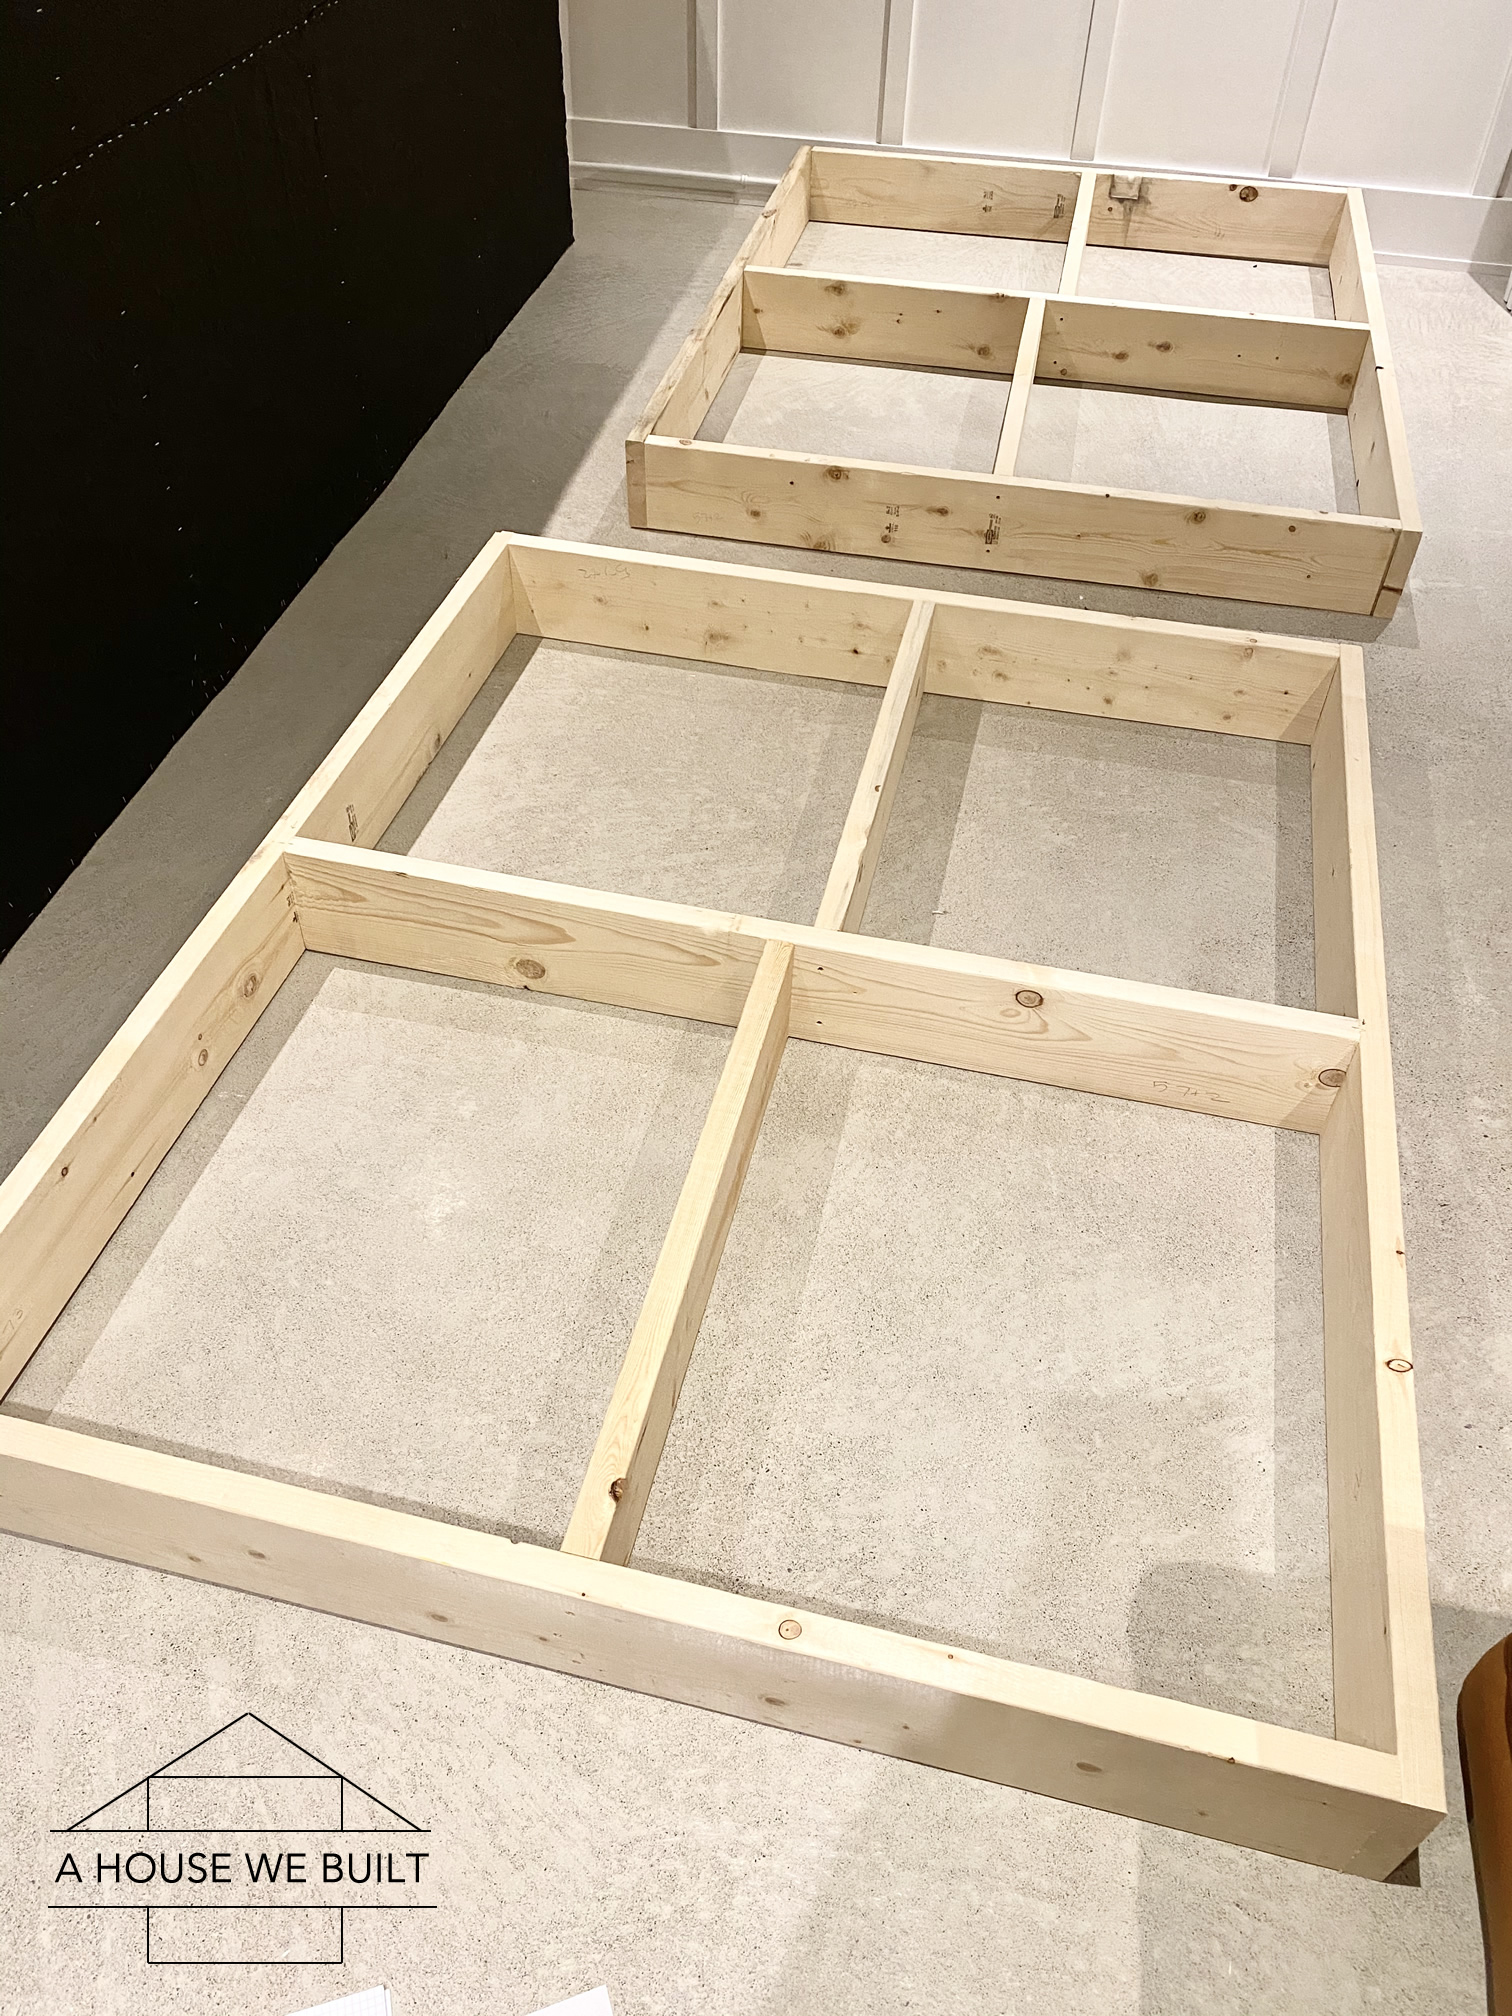
Instructions: Creating the frame
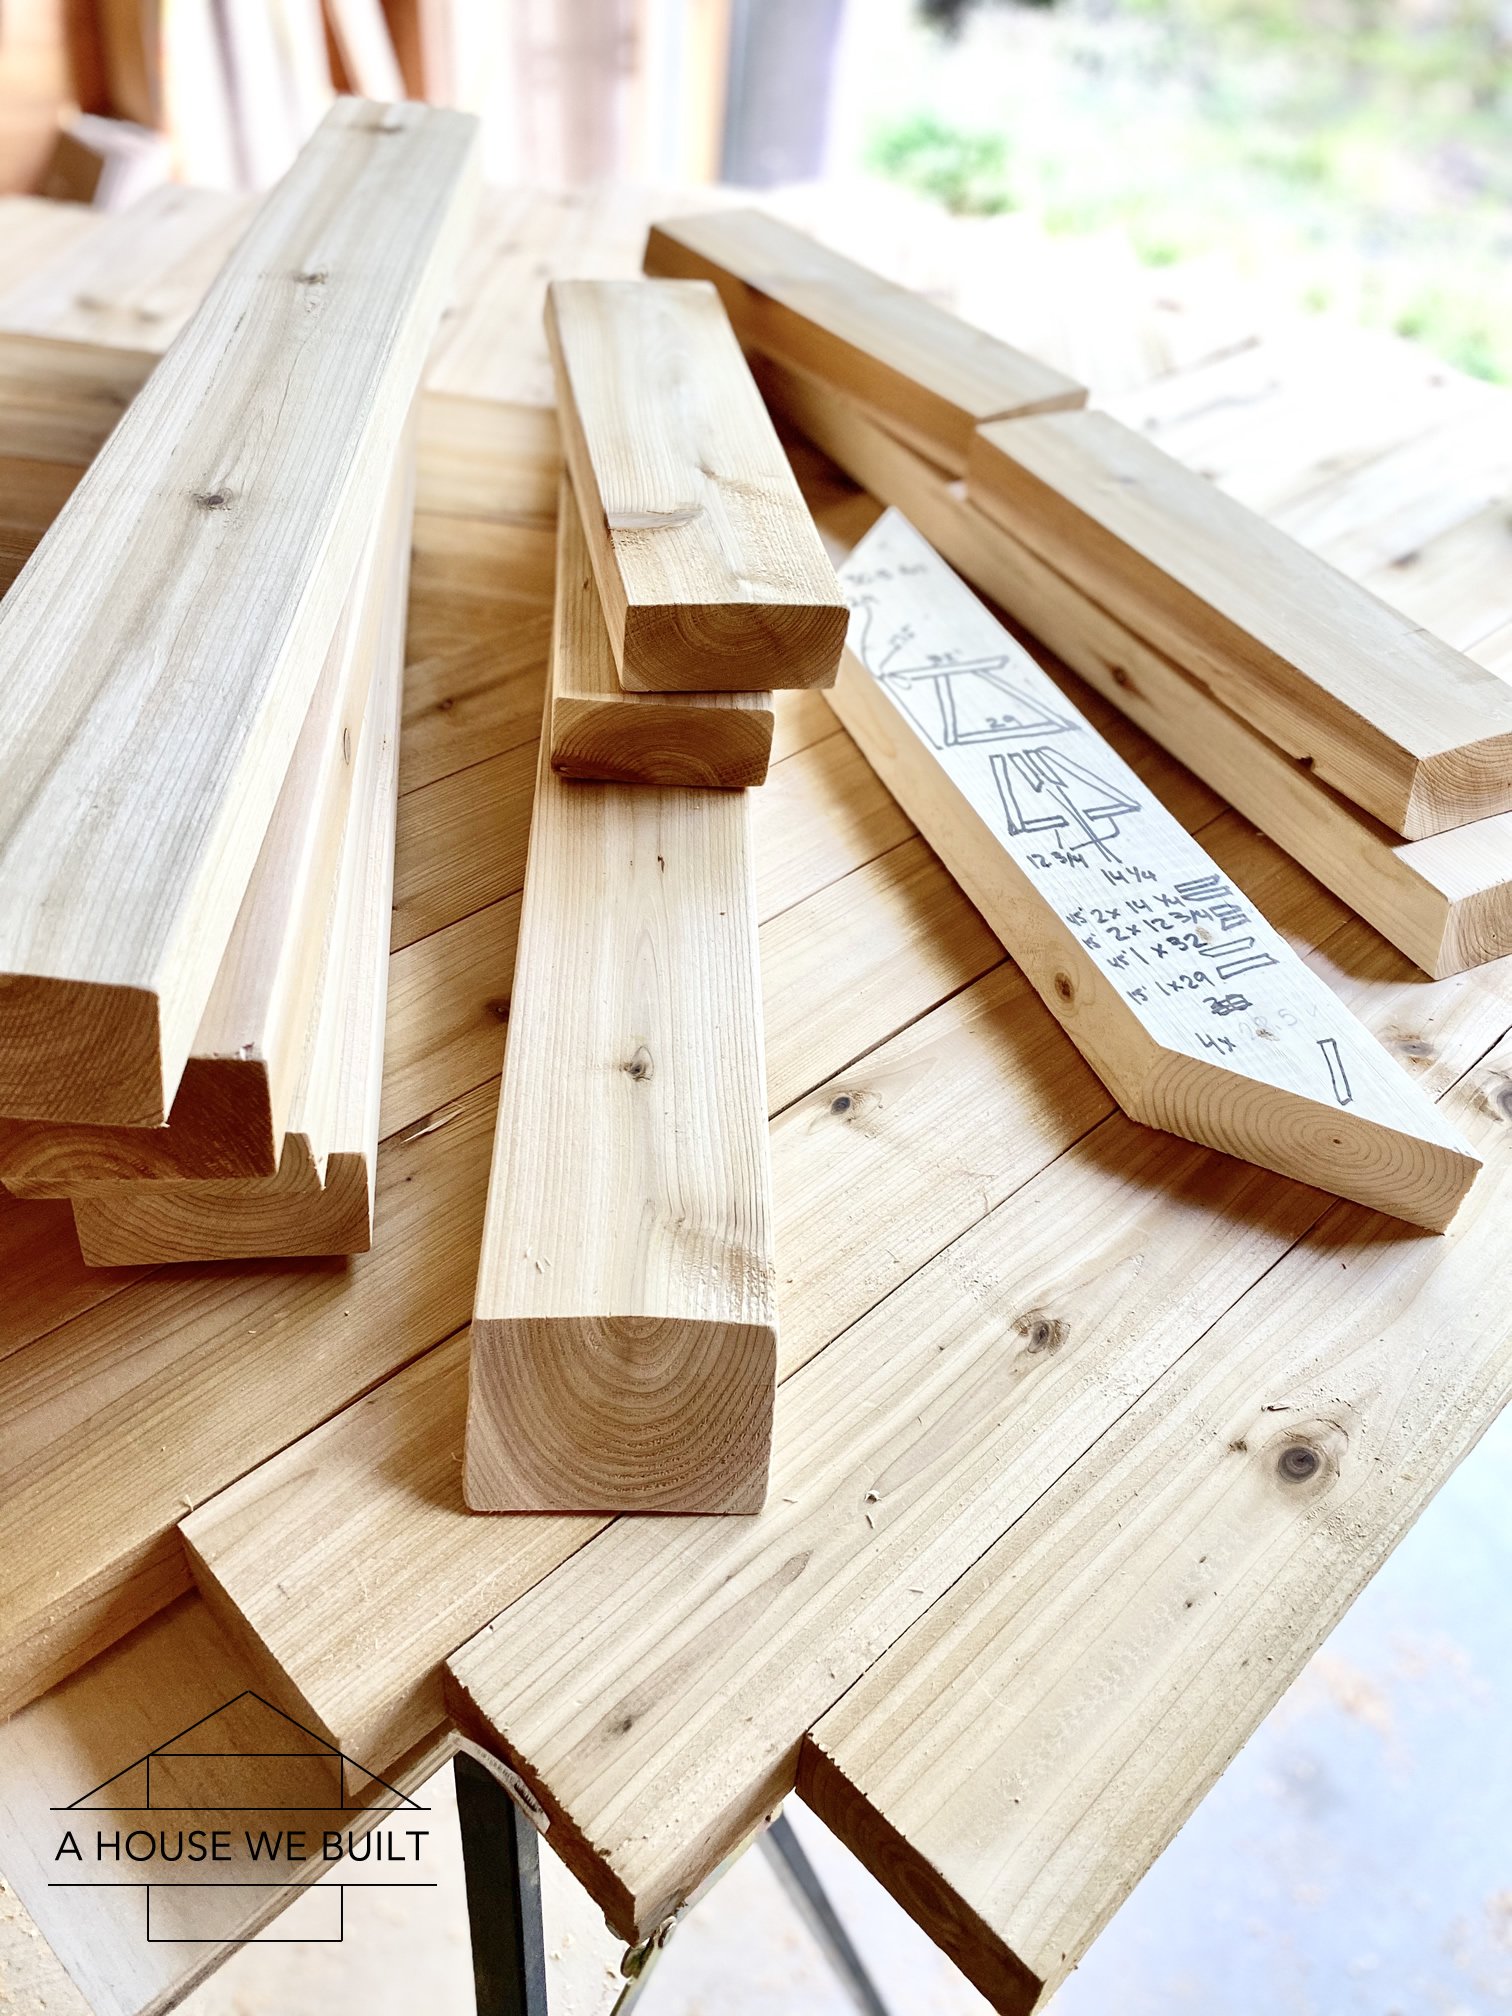
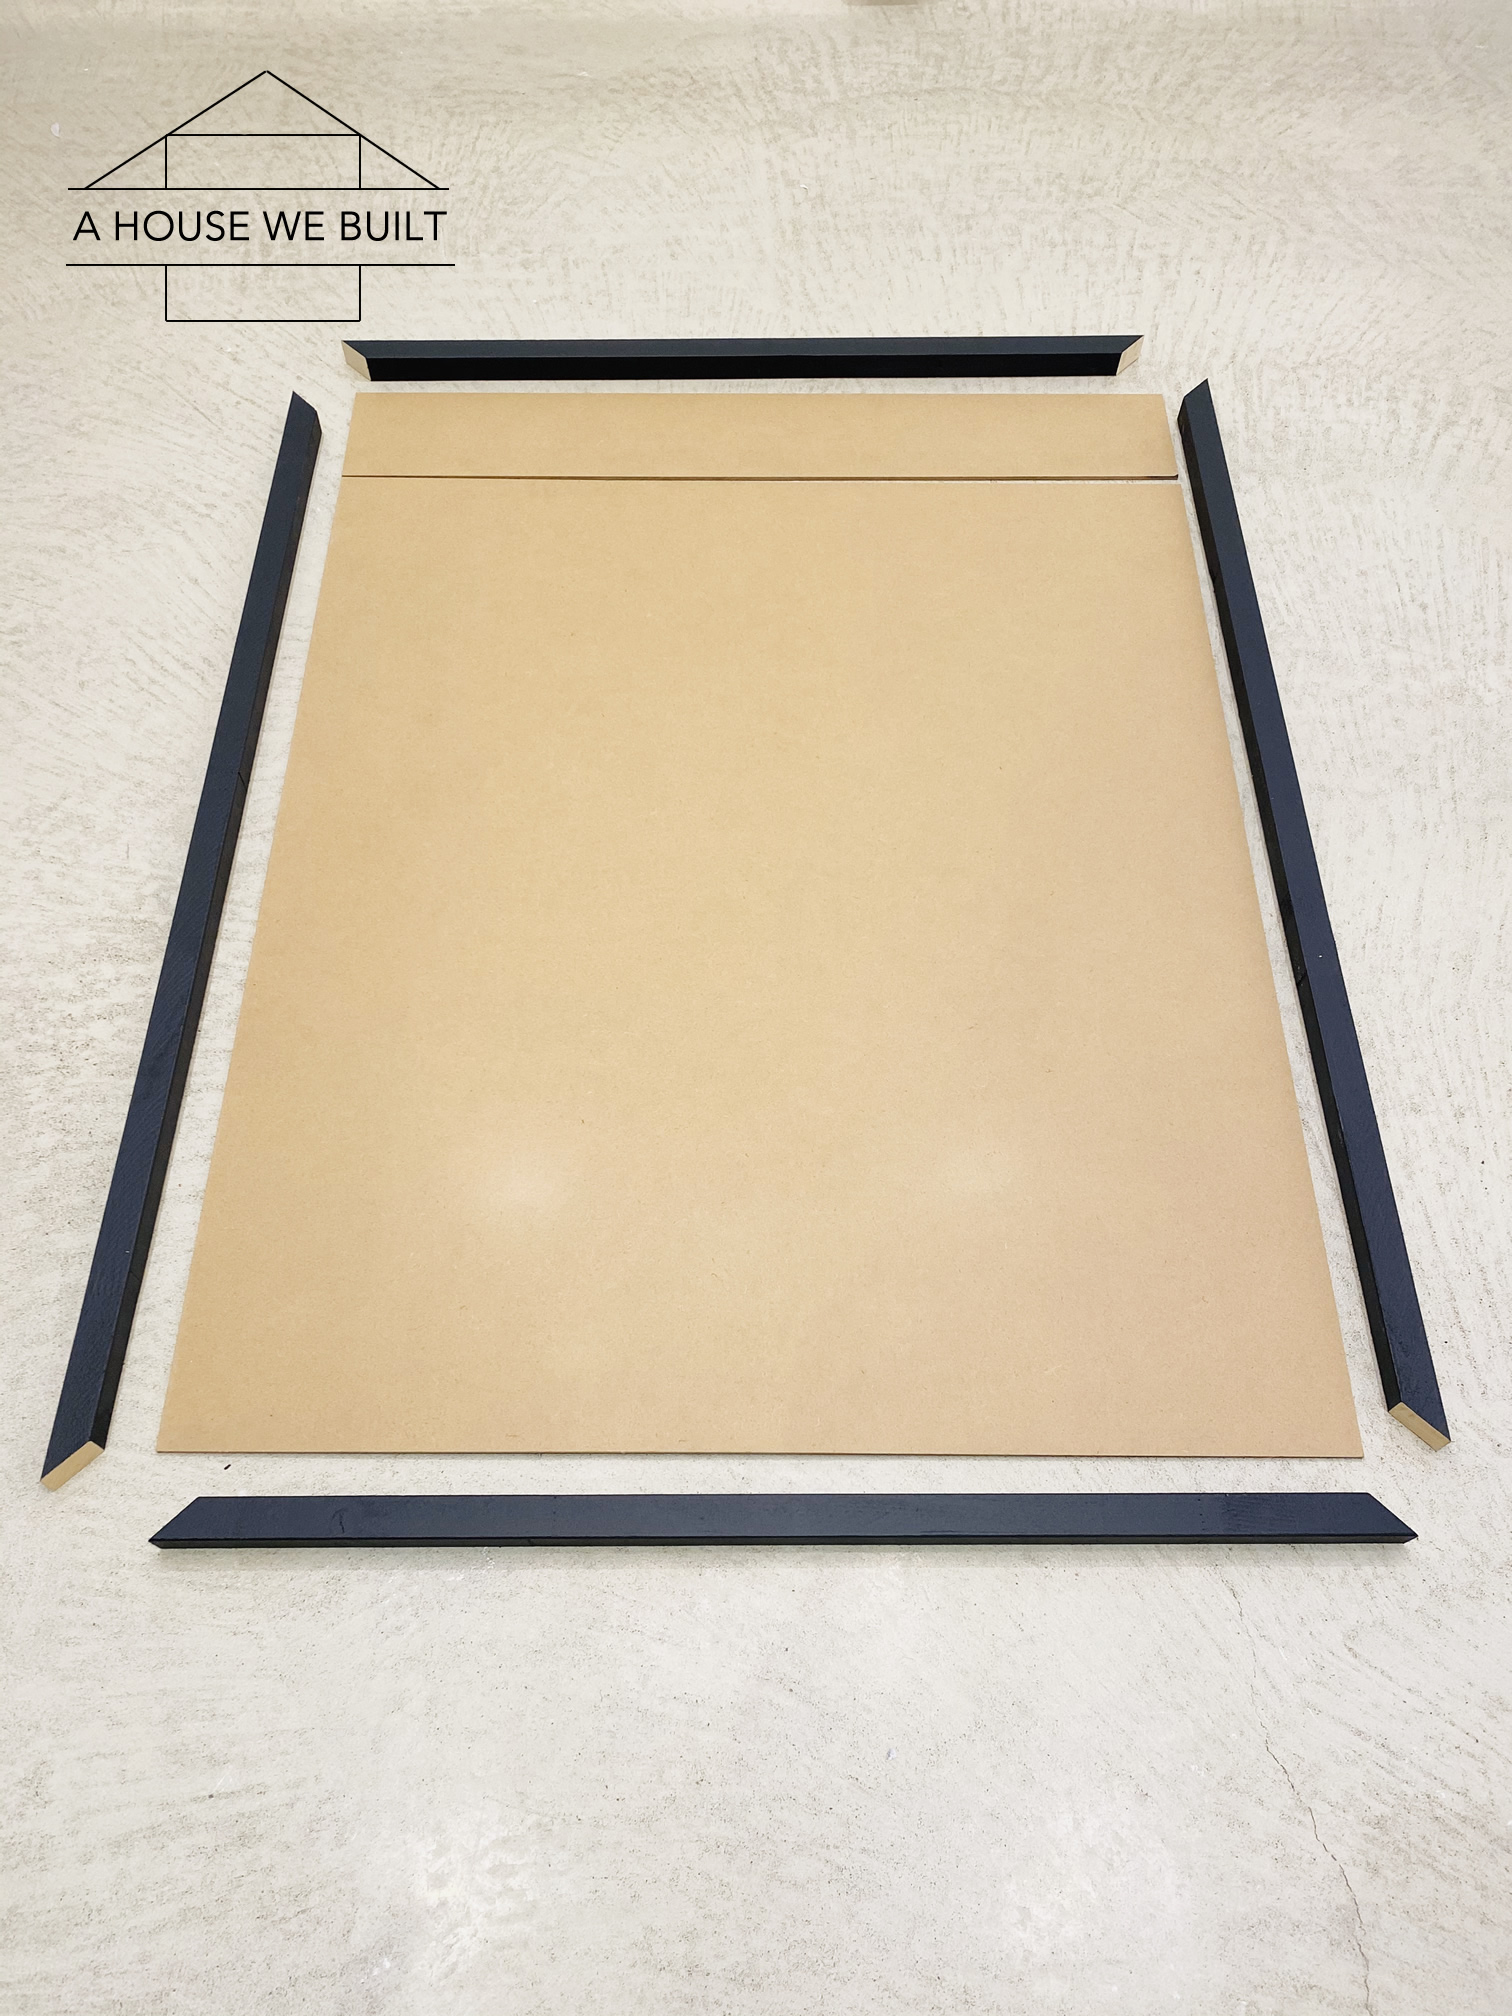
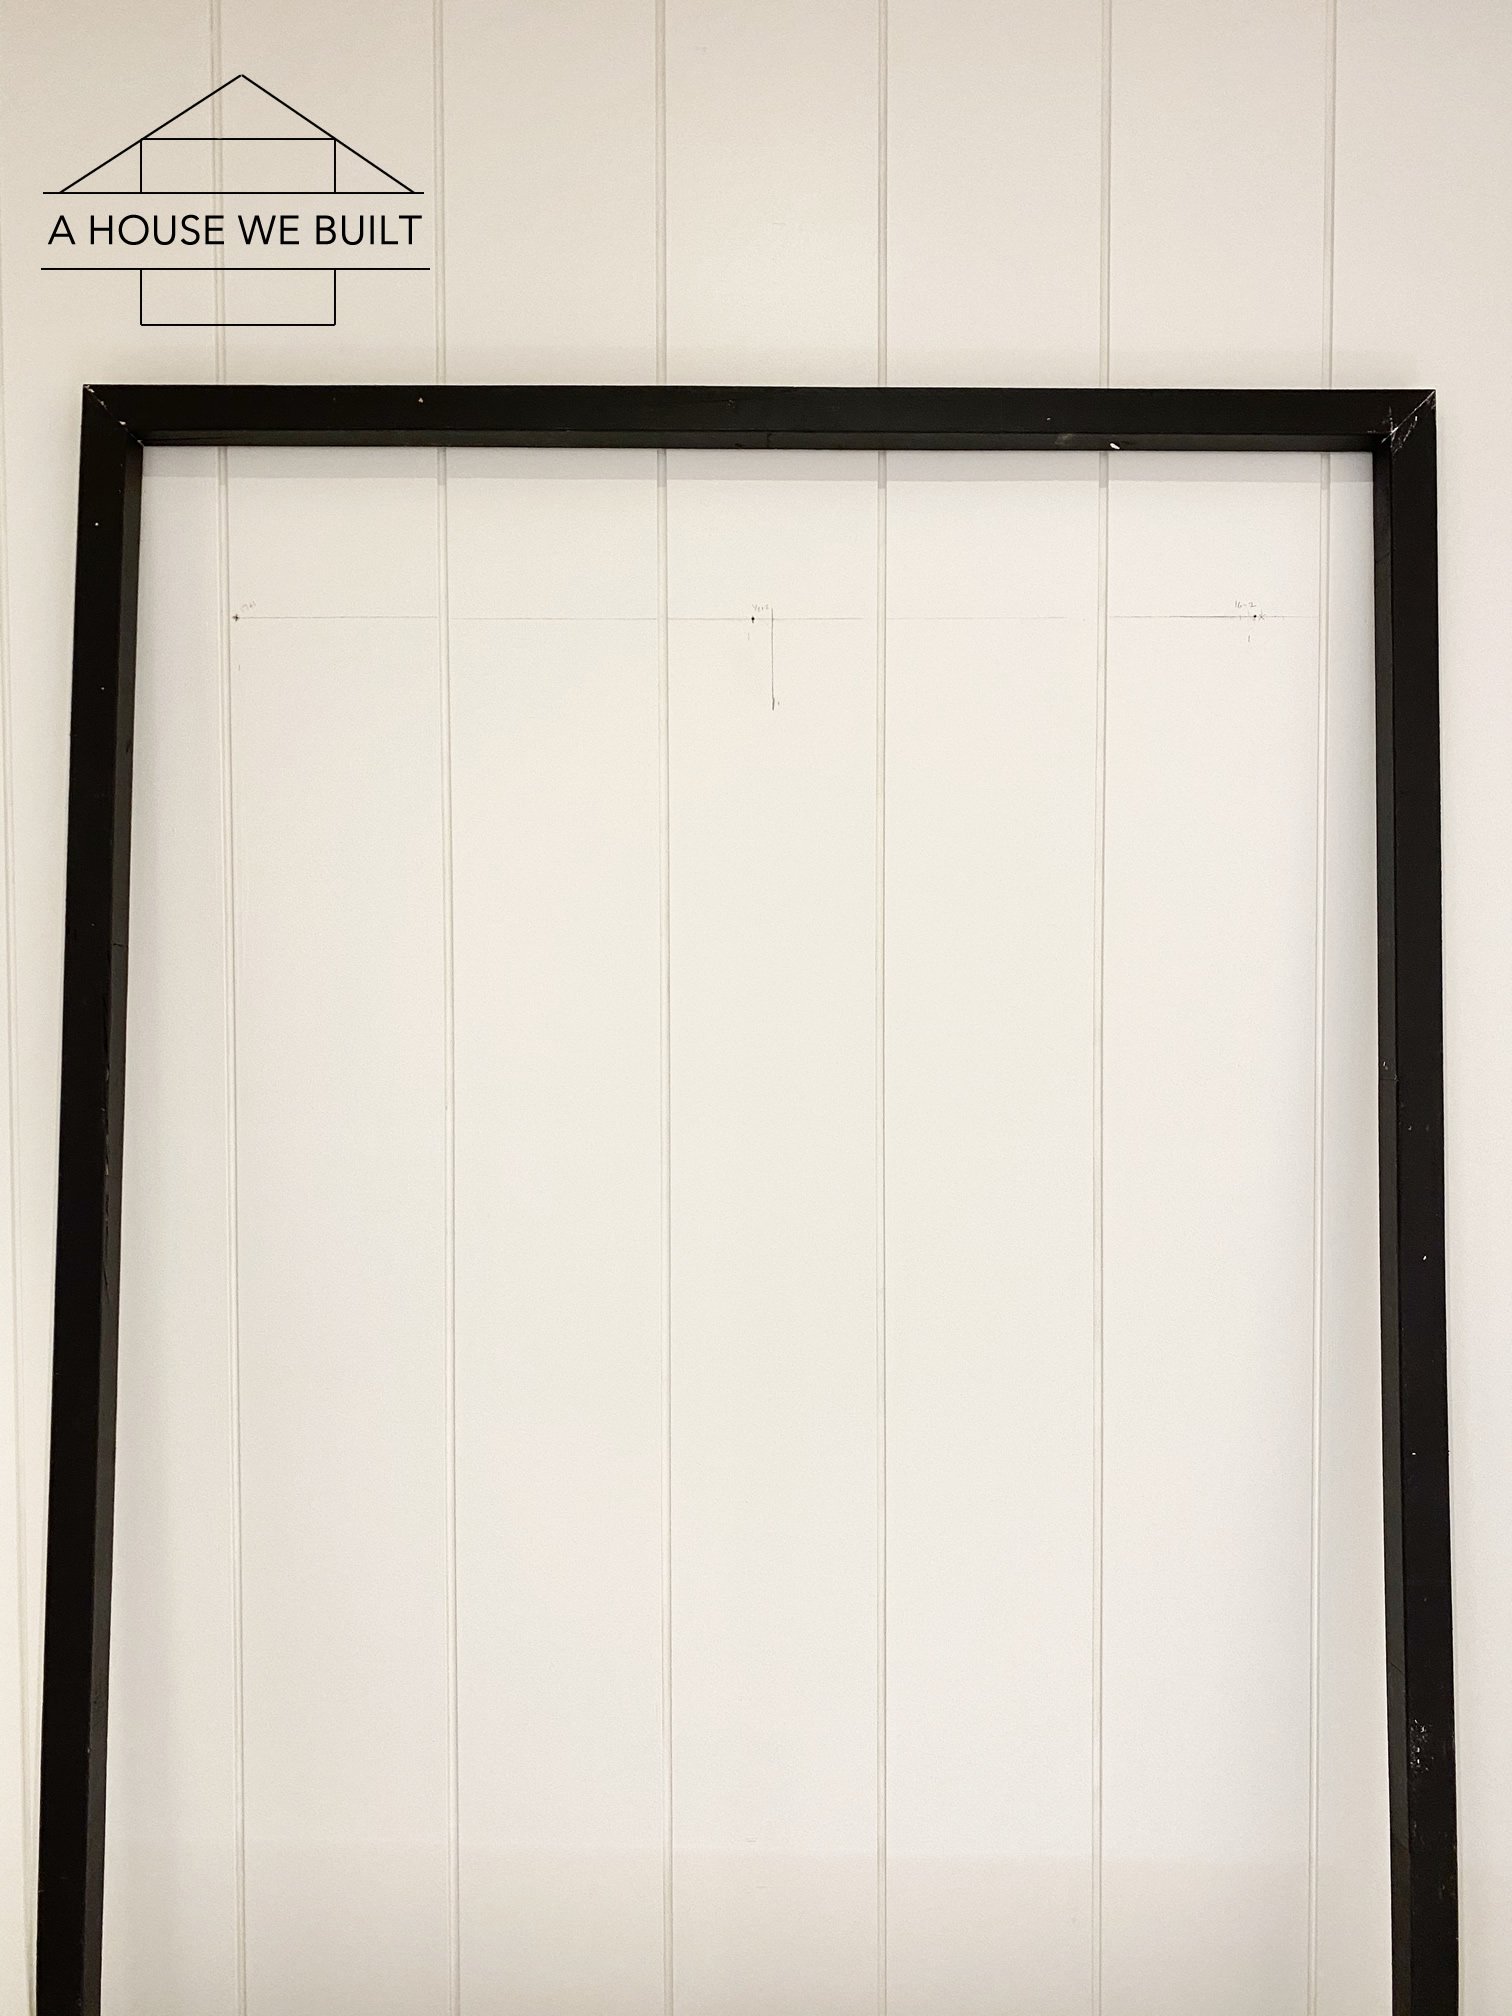
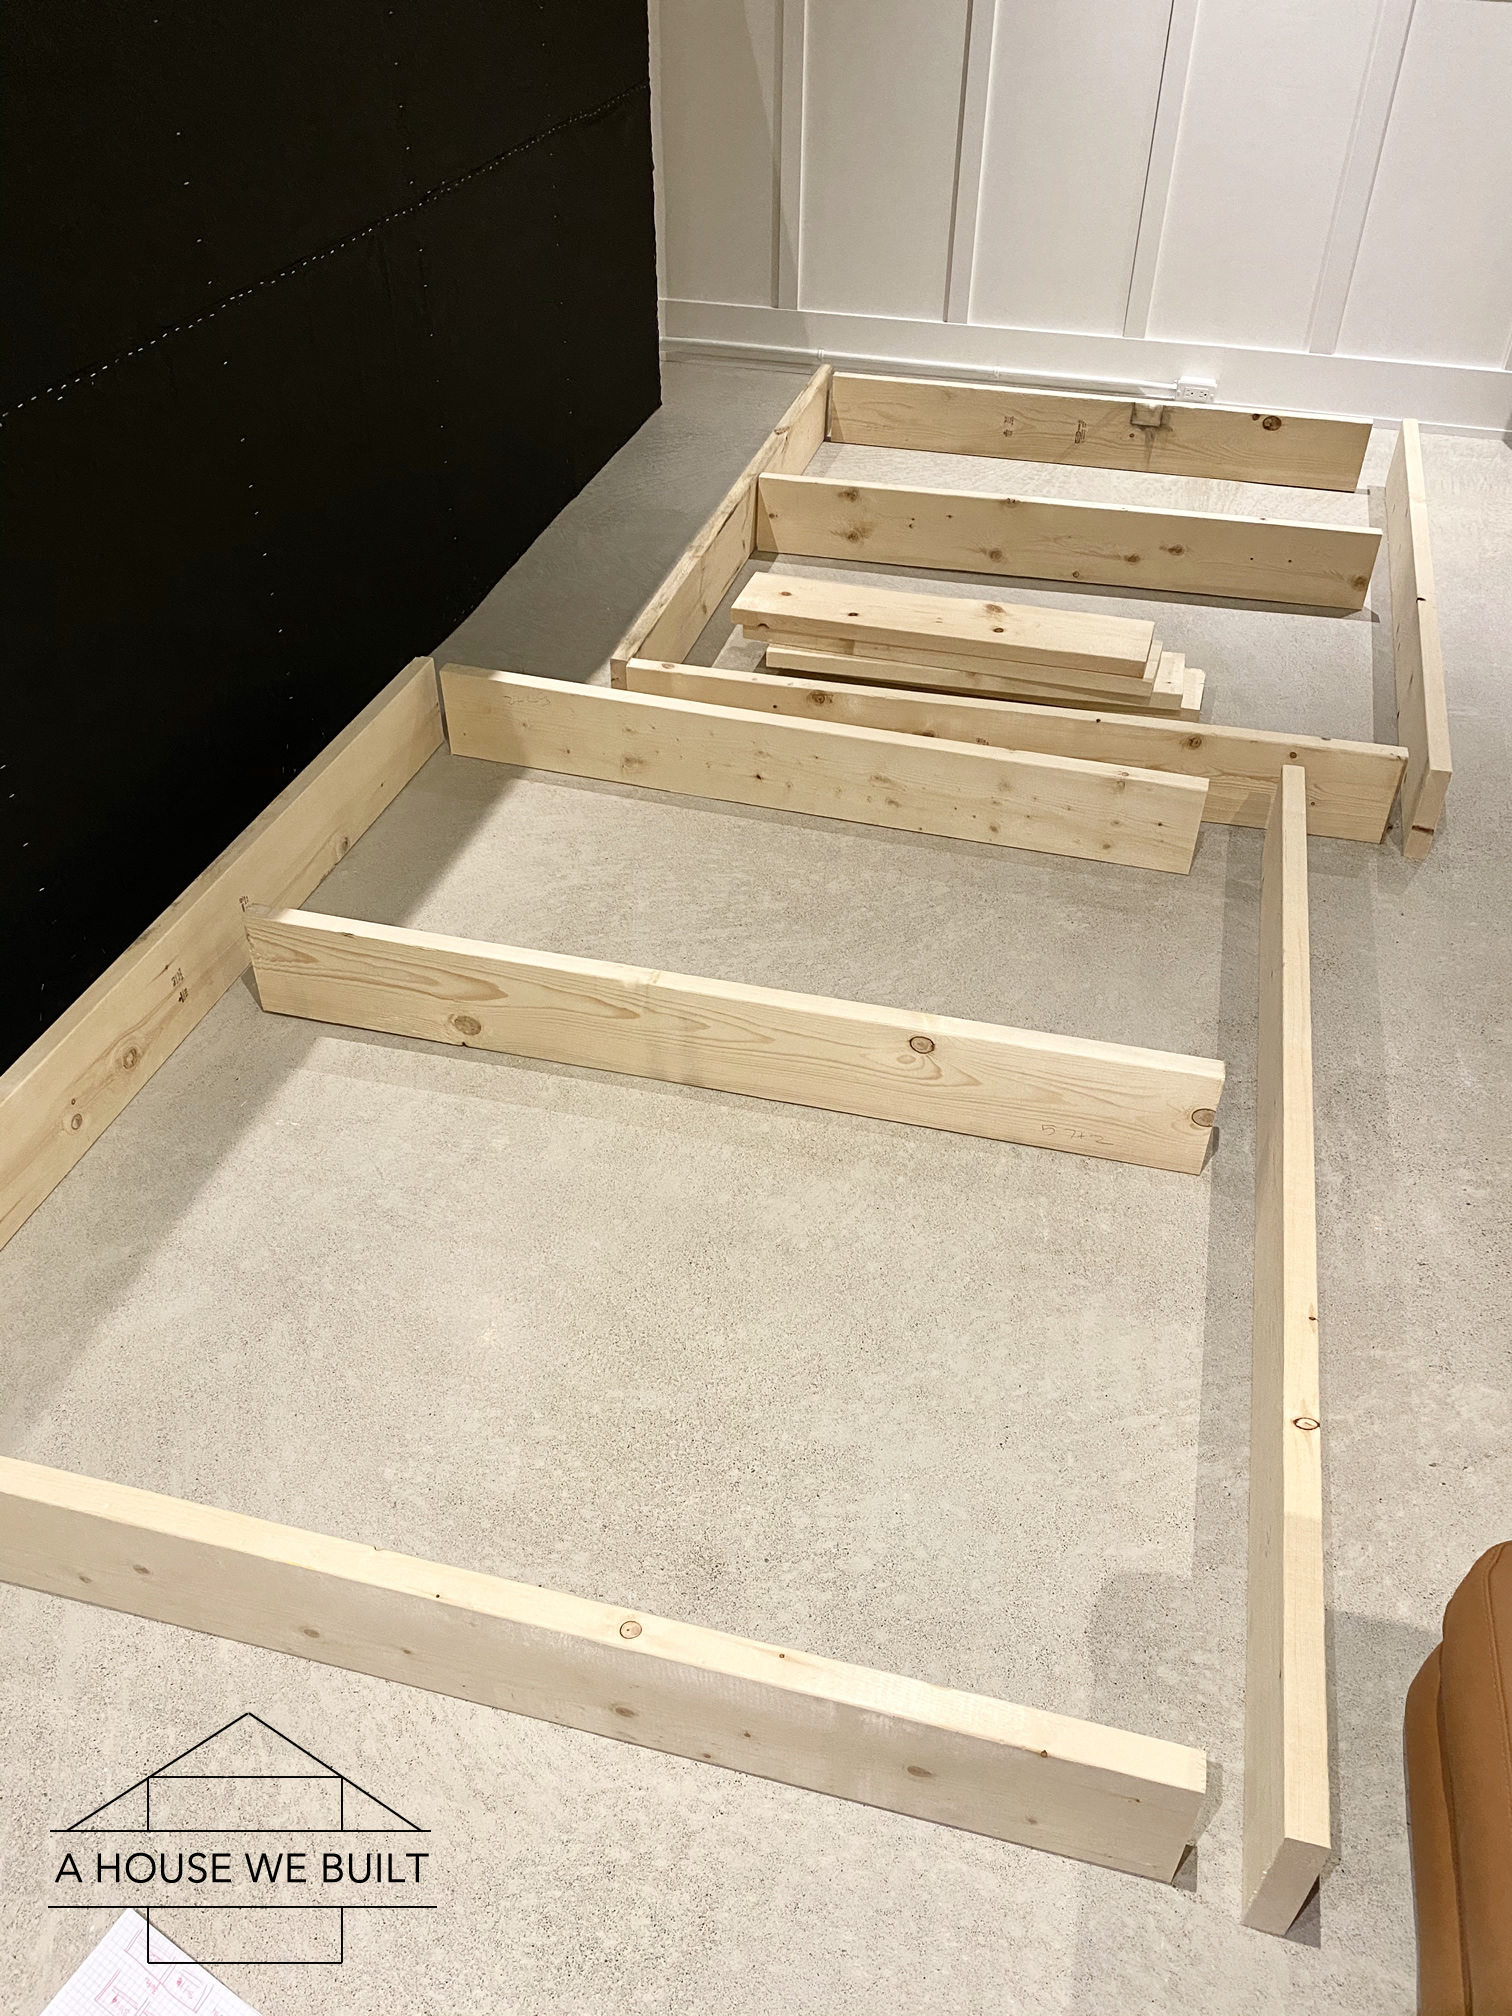
- Cut your 2x12x8 to length for your frame. You will need:
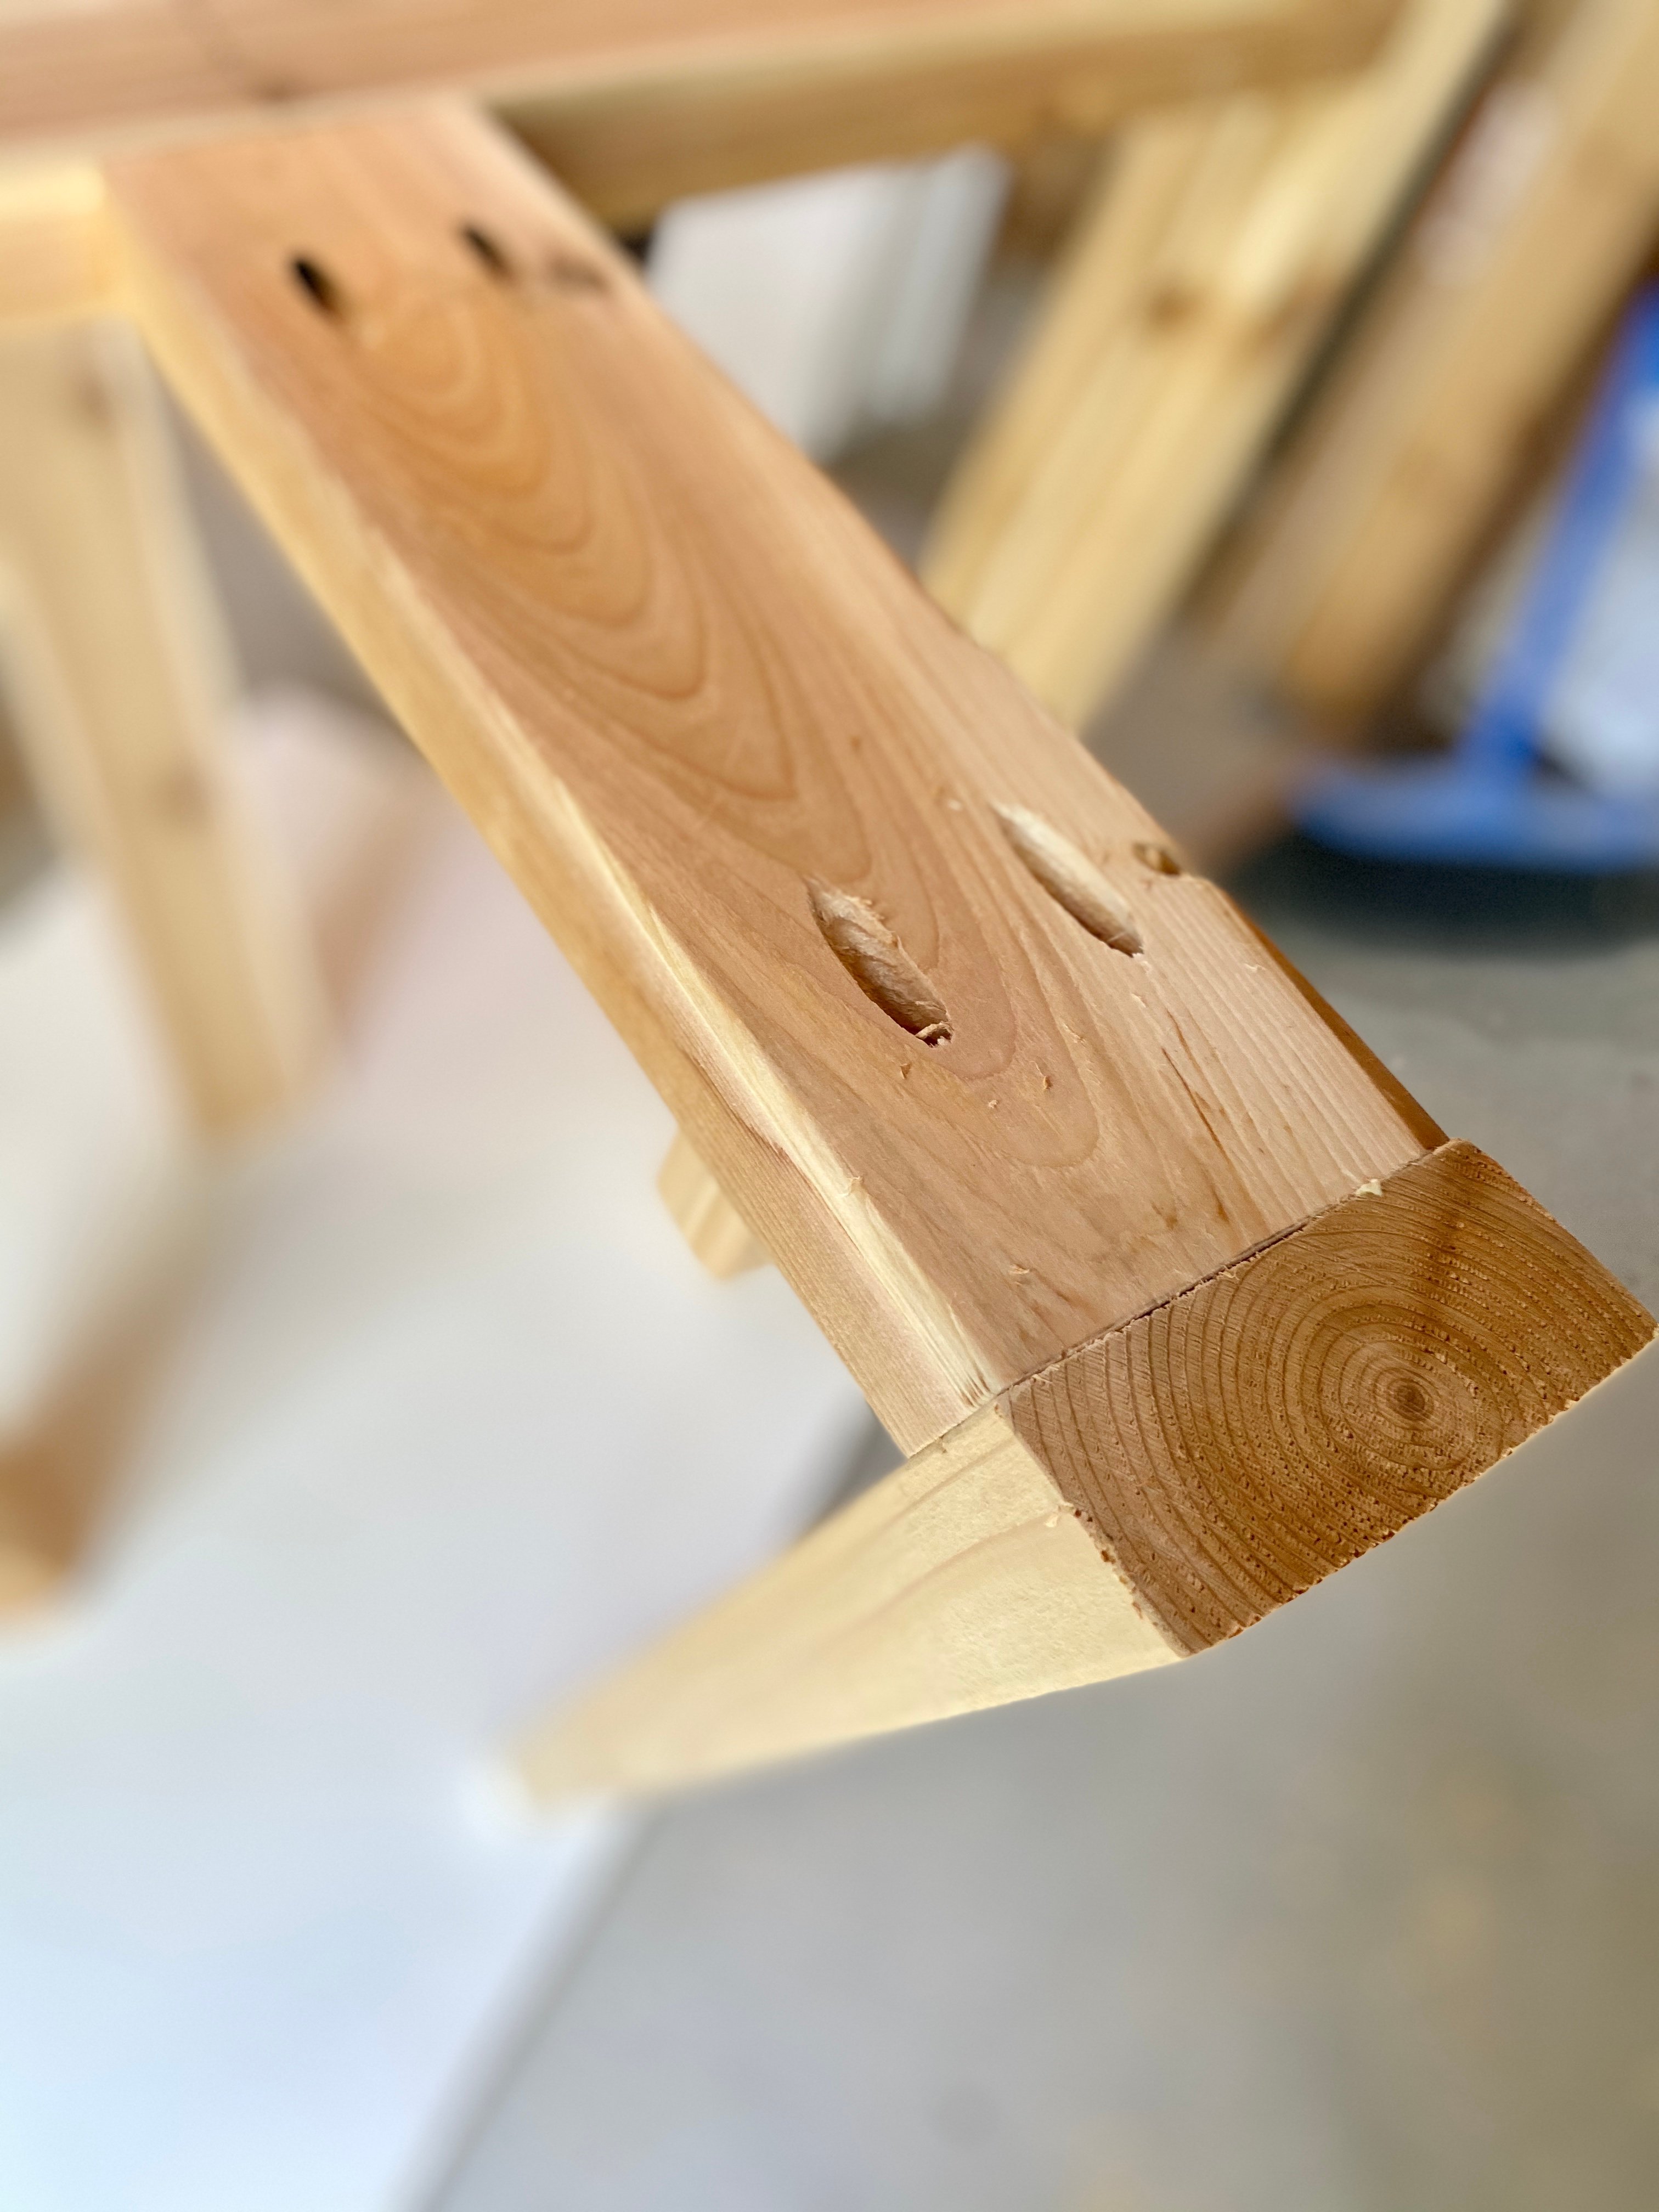
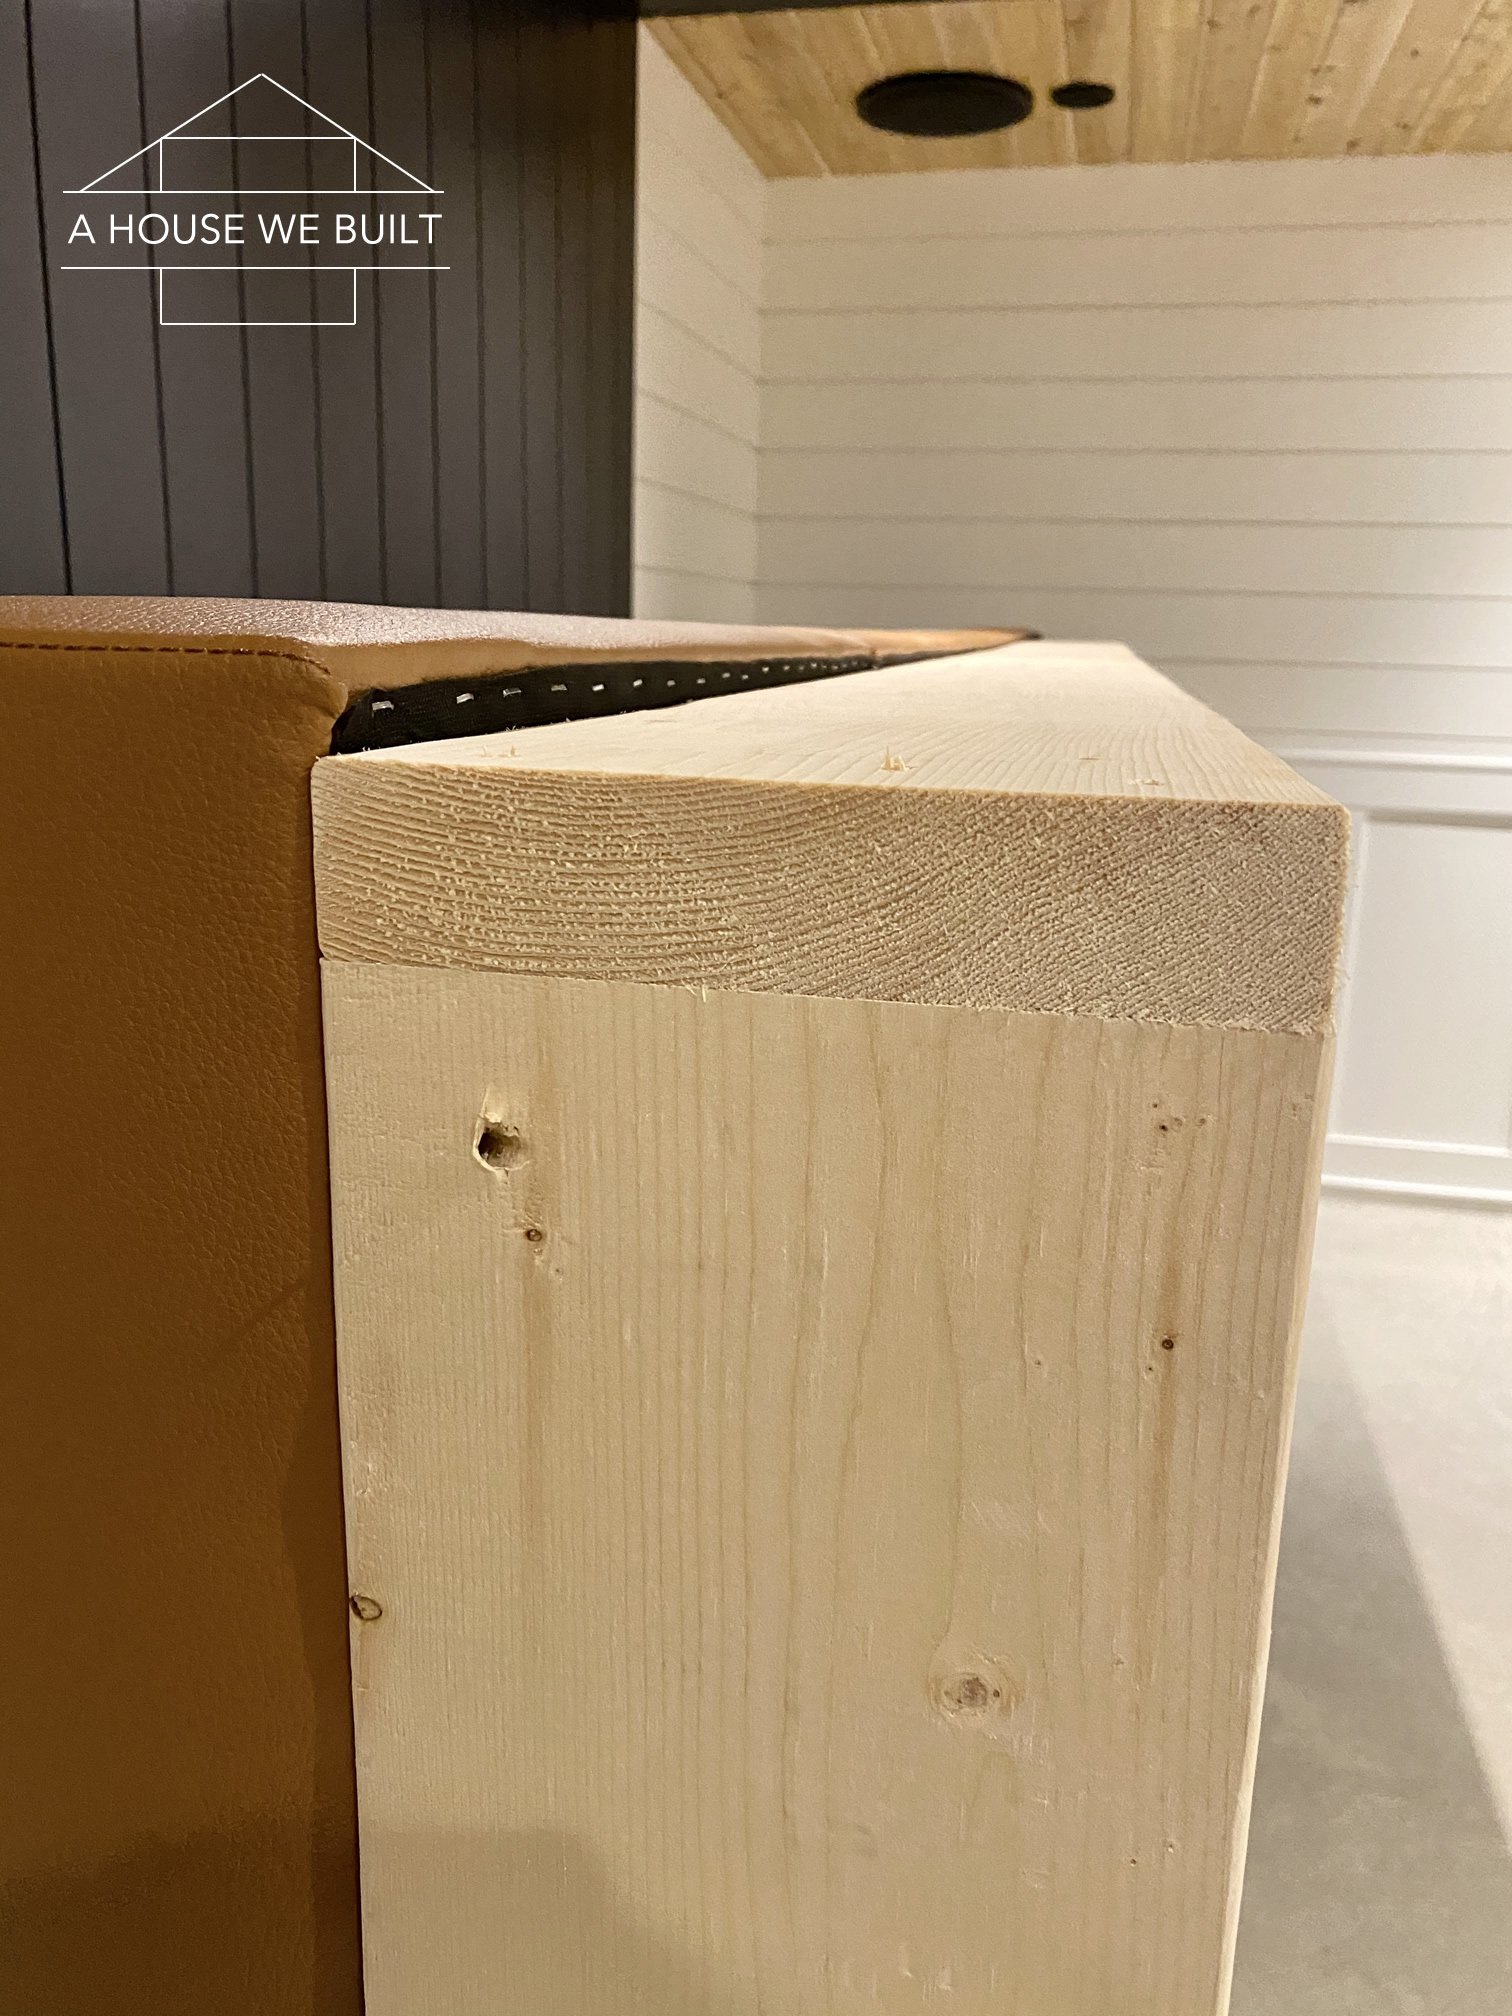
– 2 pieces at the length you want (we did 93″), with back-cut mitered edges
– 2 pieces at the height you want (we did 36″), with back-cut mitered edges
– 1 middle support piece at the height of the middle of your frame (ours was 32″). This one is shorter because it goes in between the top and bottom boards. - Dry-fit all your frame pieces to make sure they all fit.
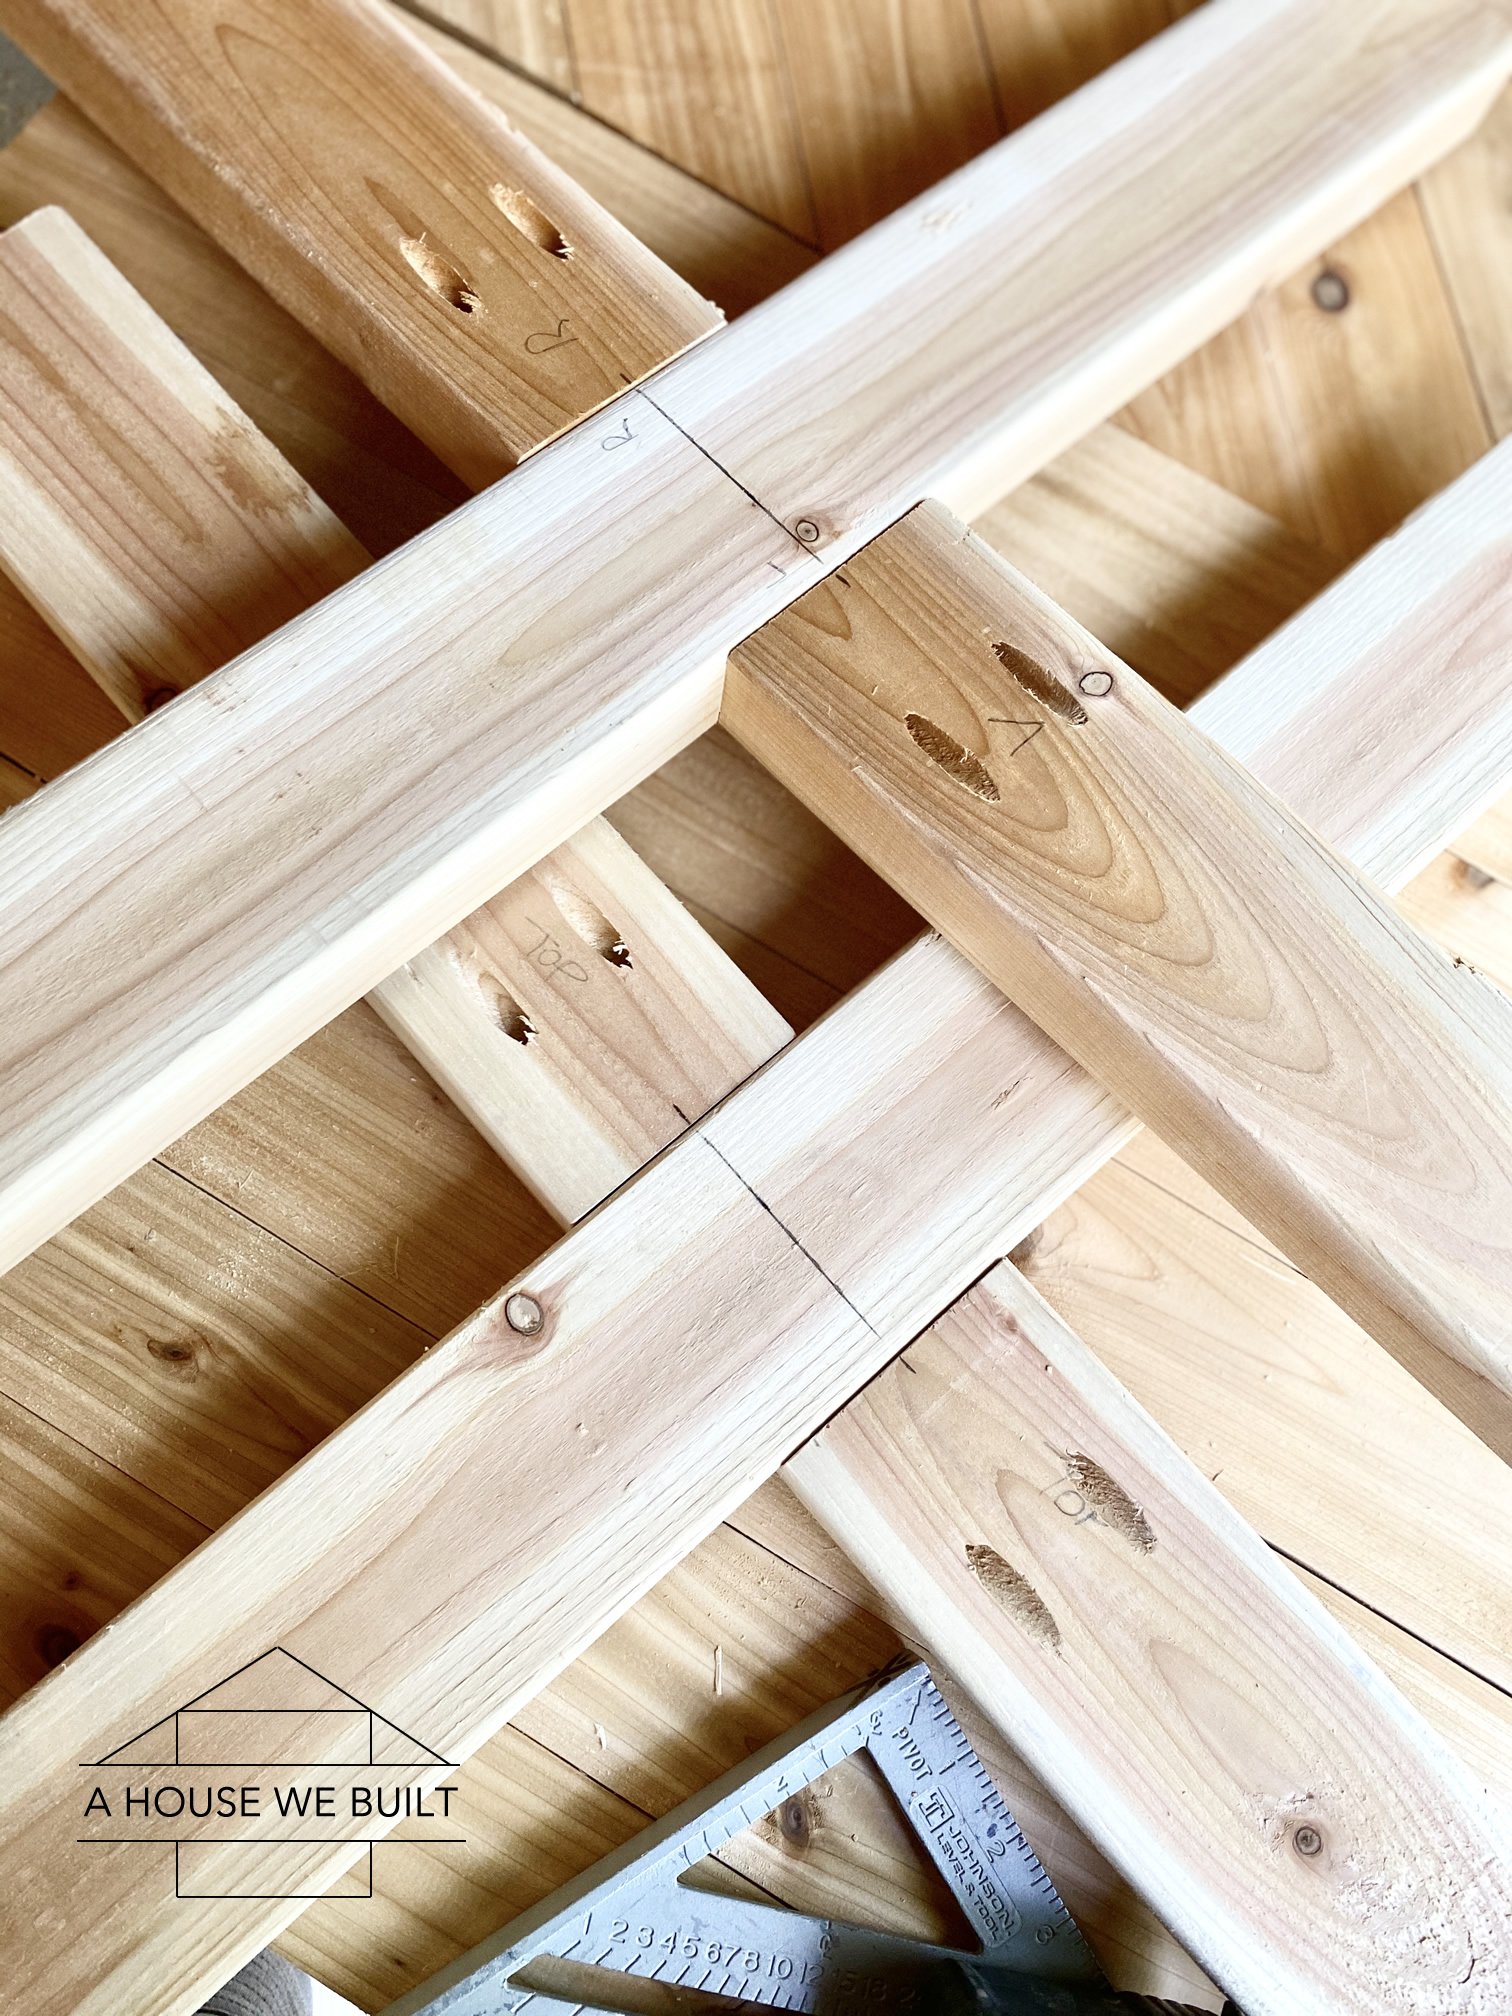
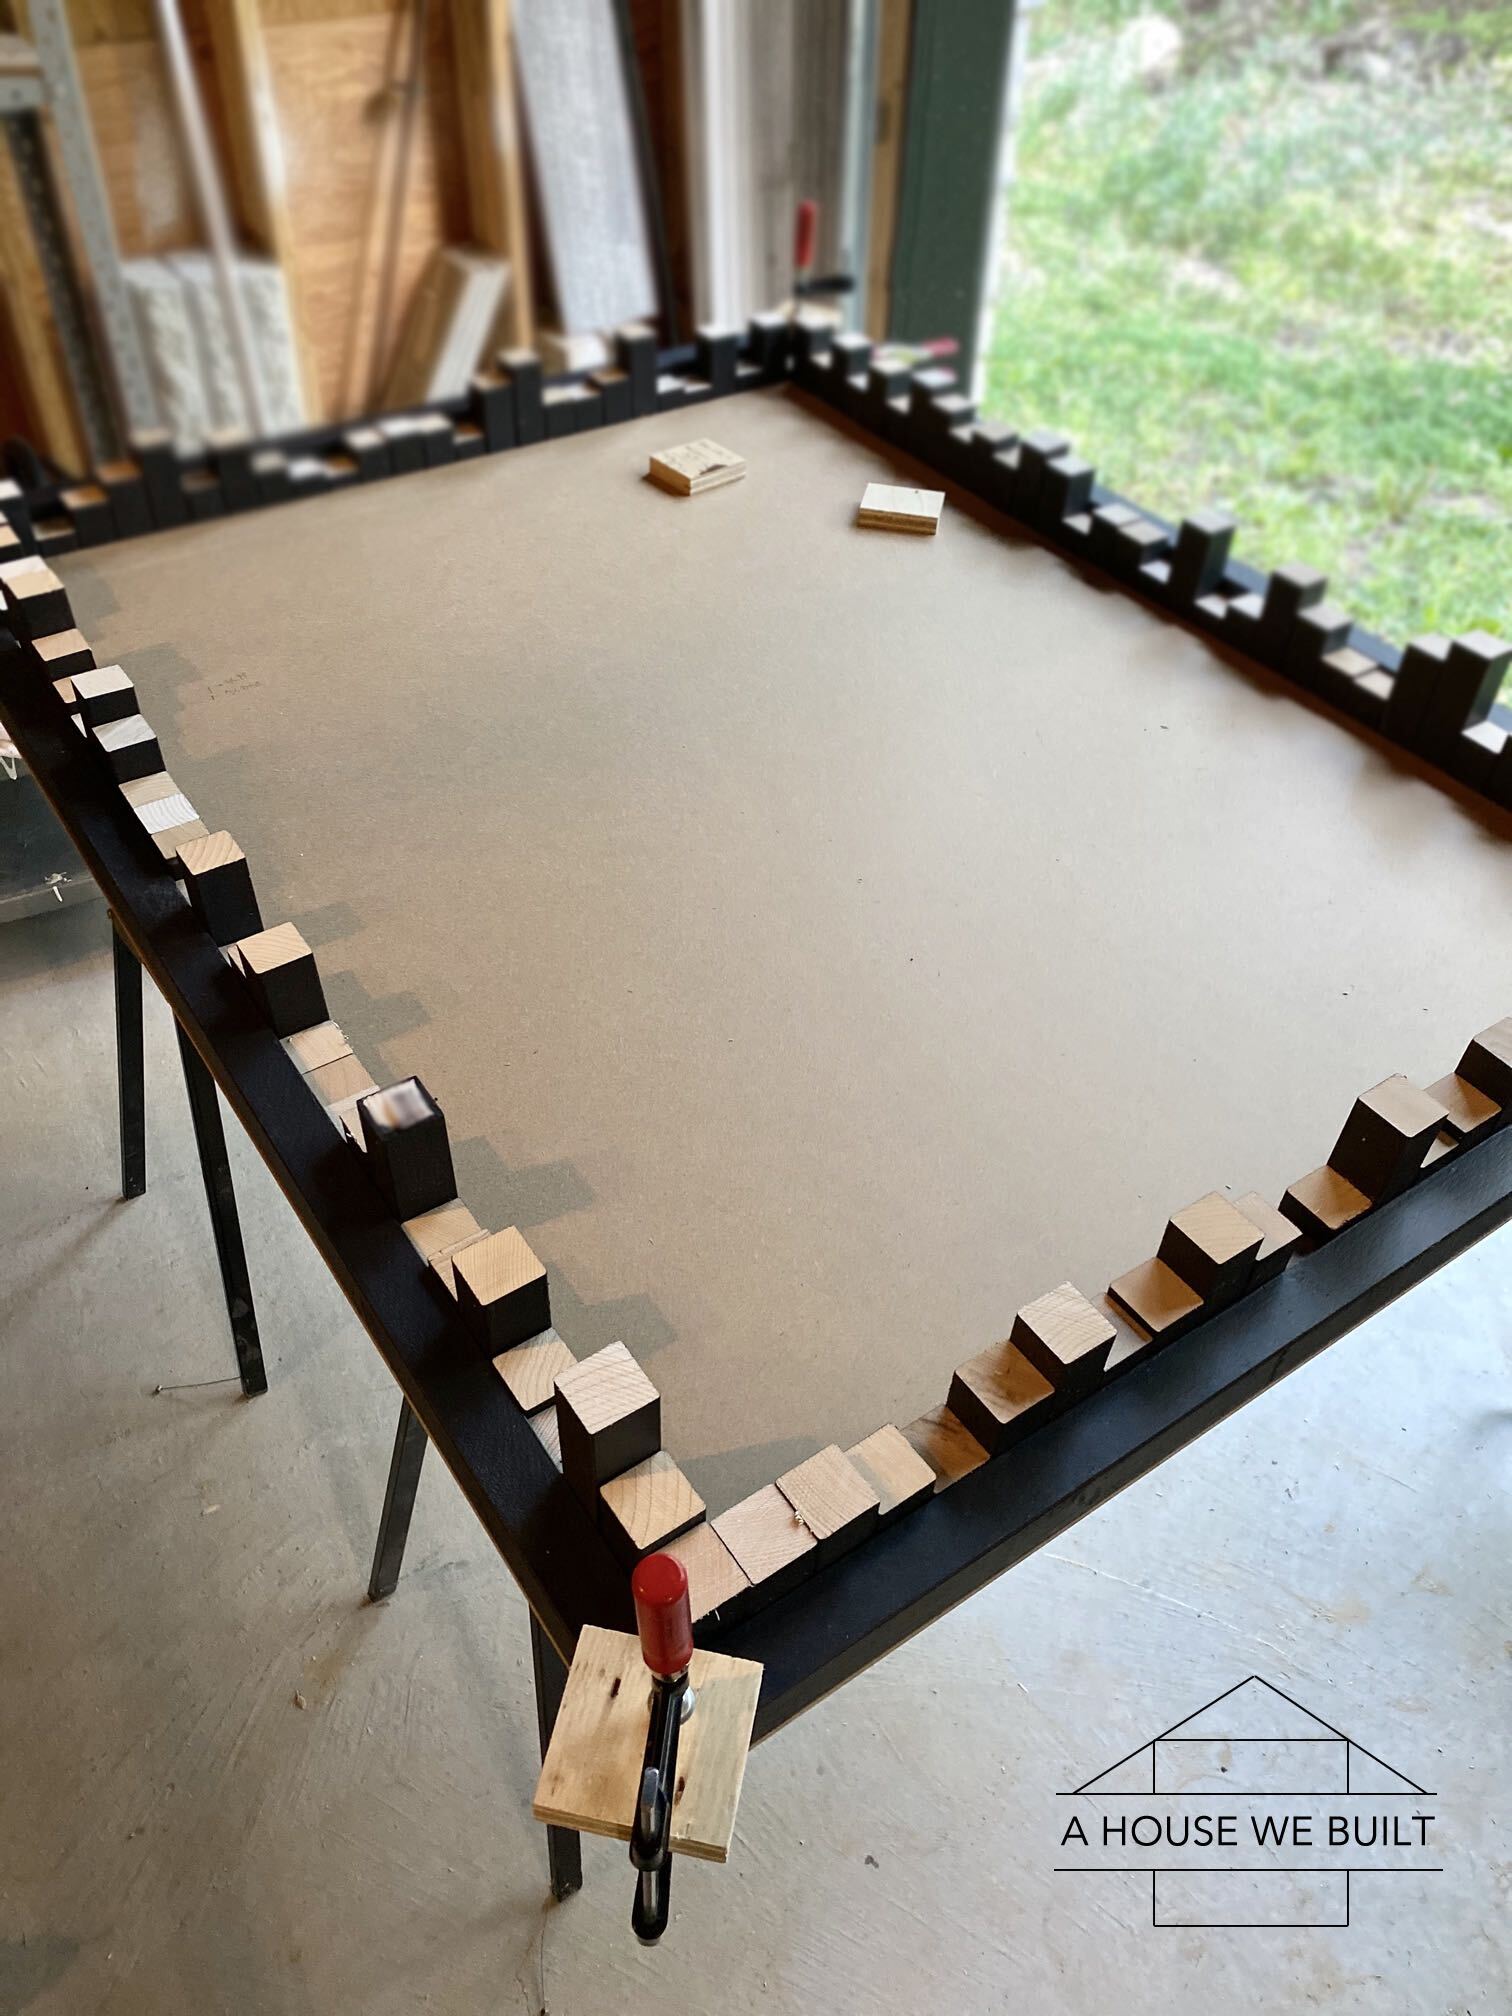
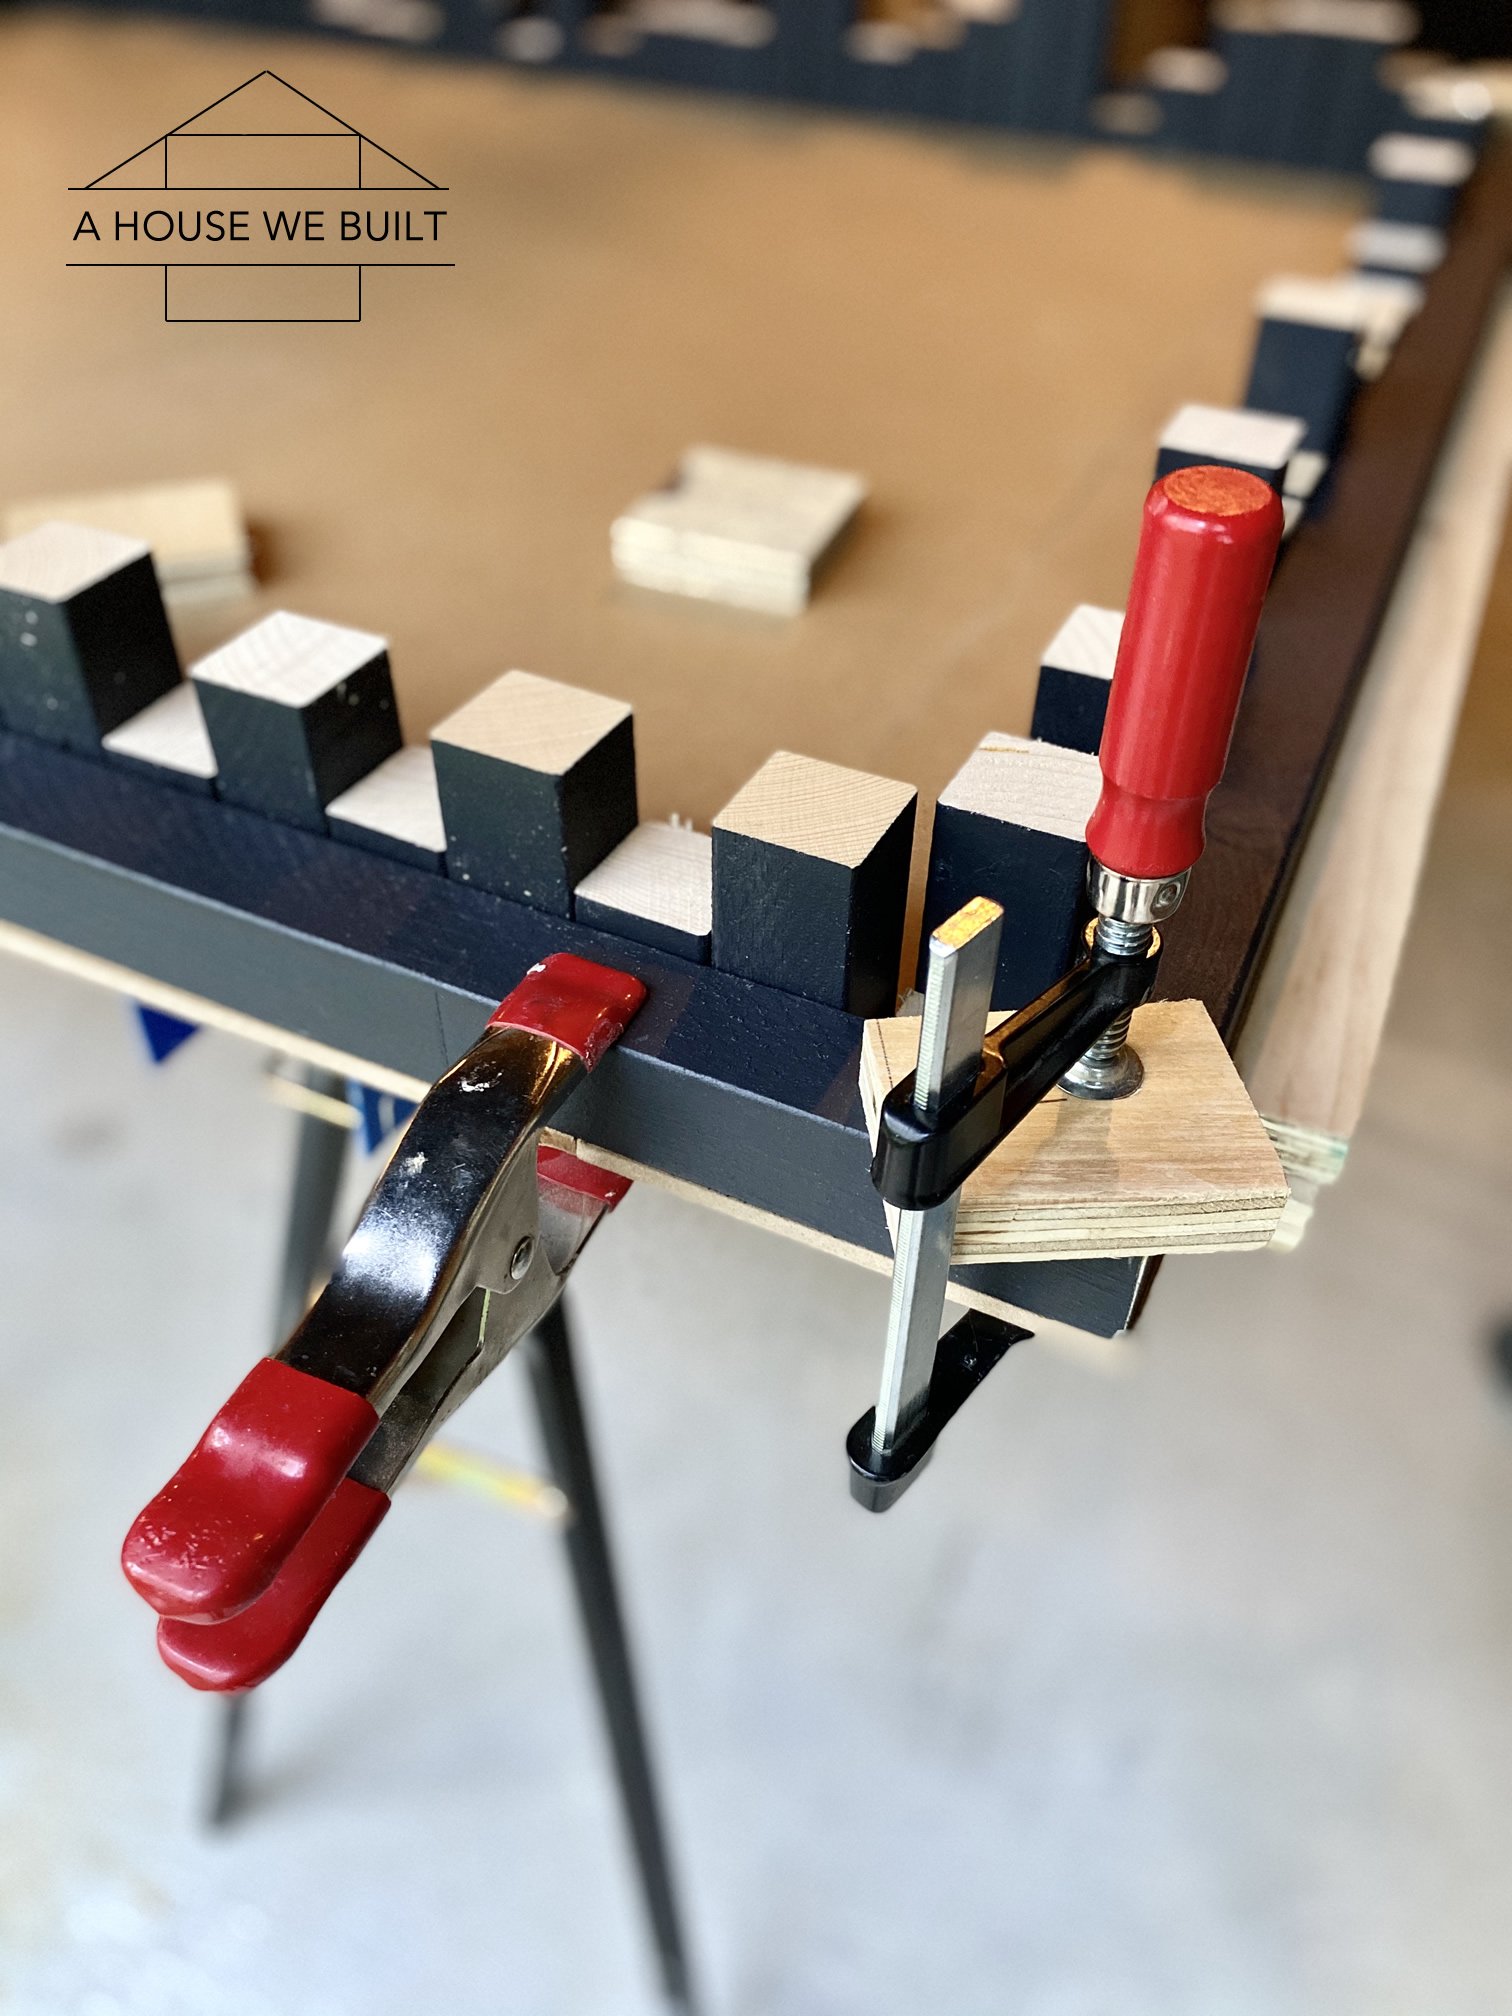
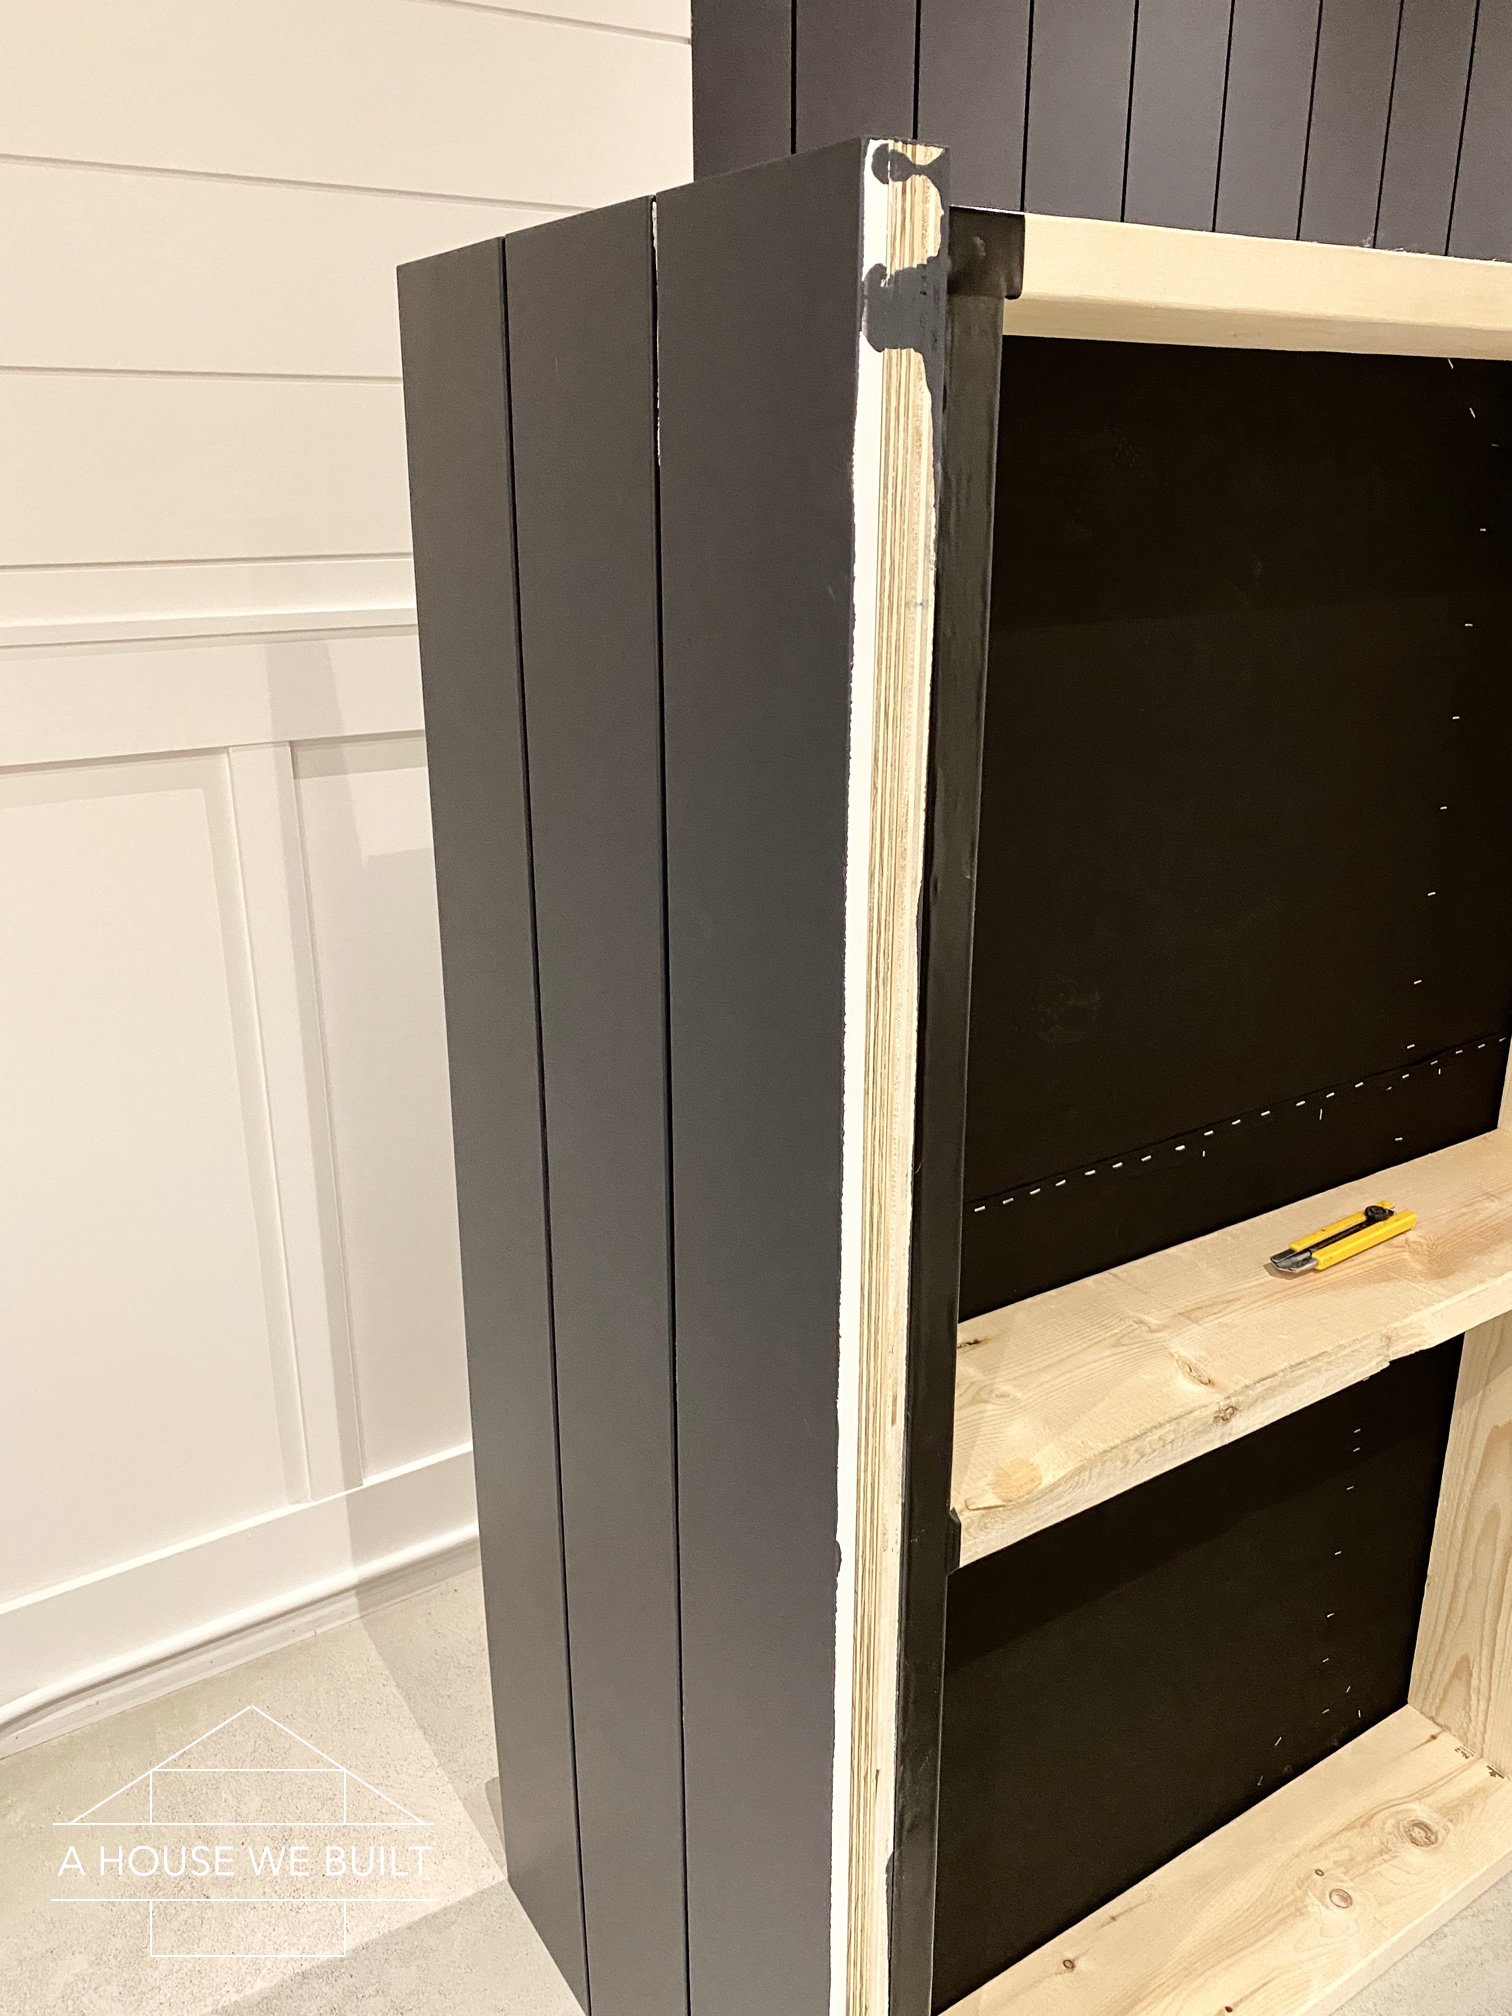
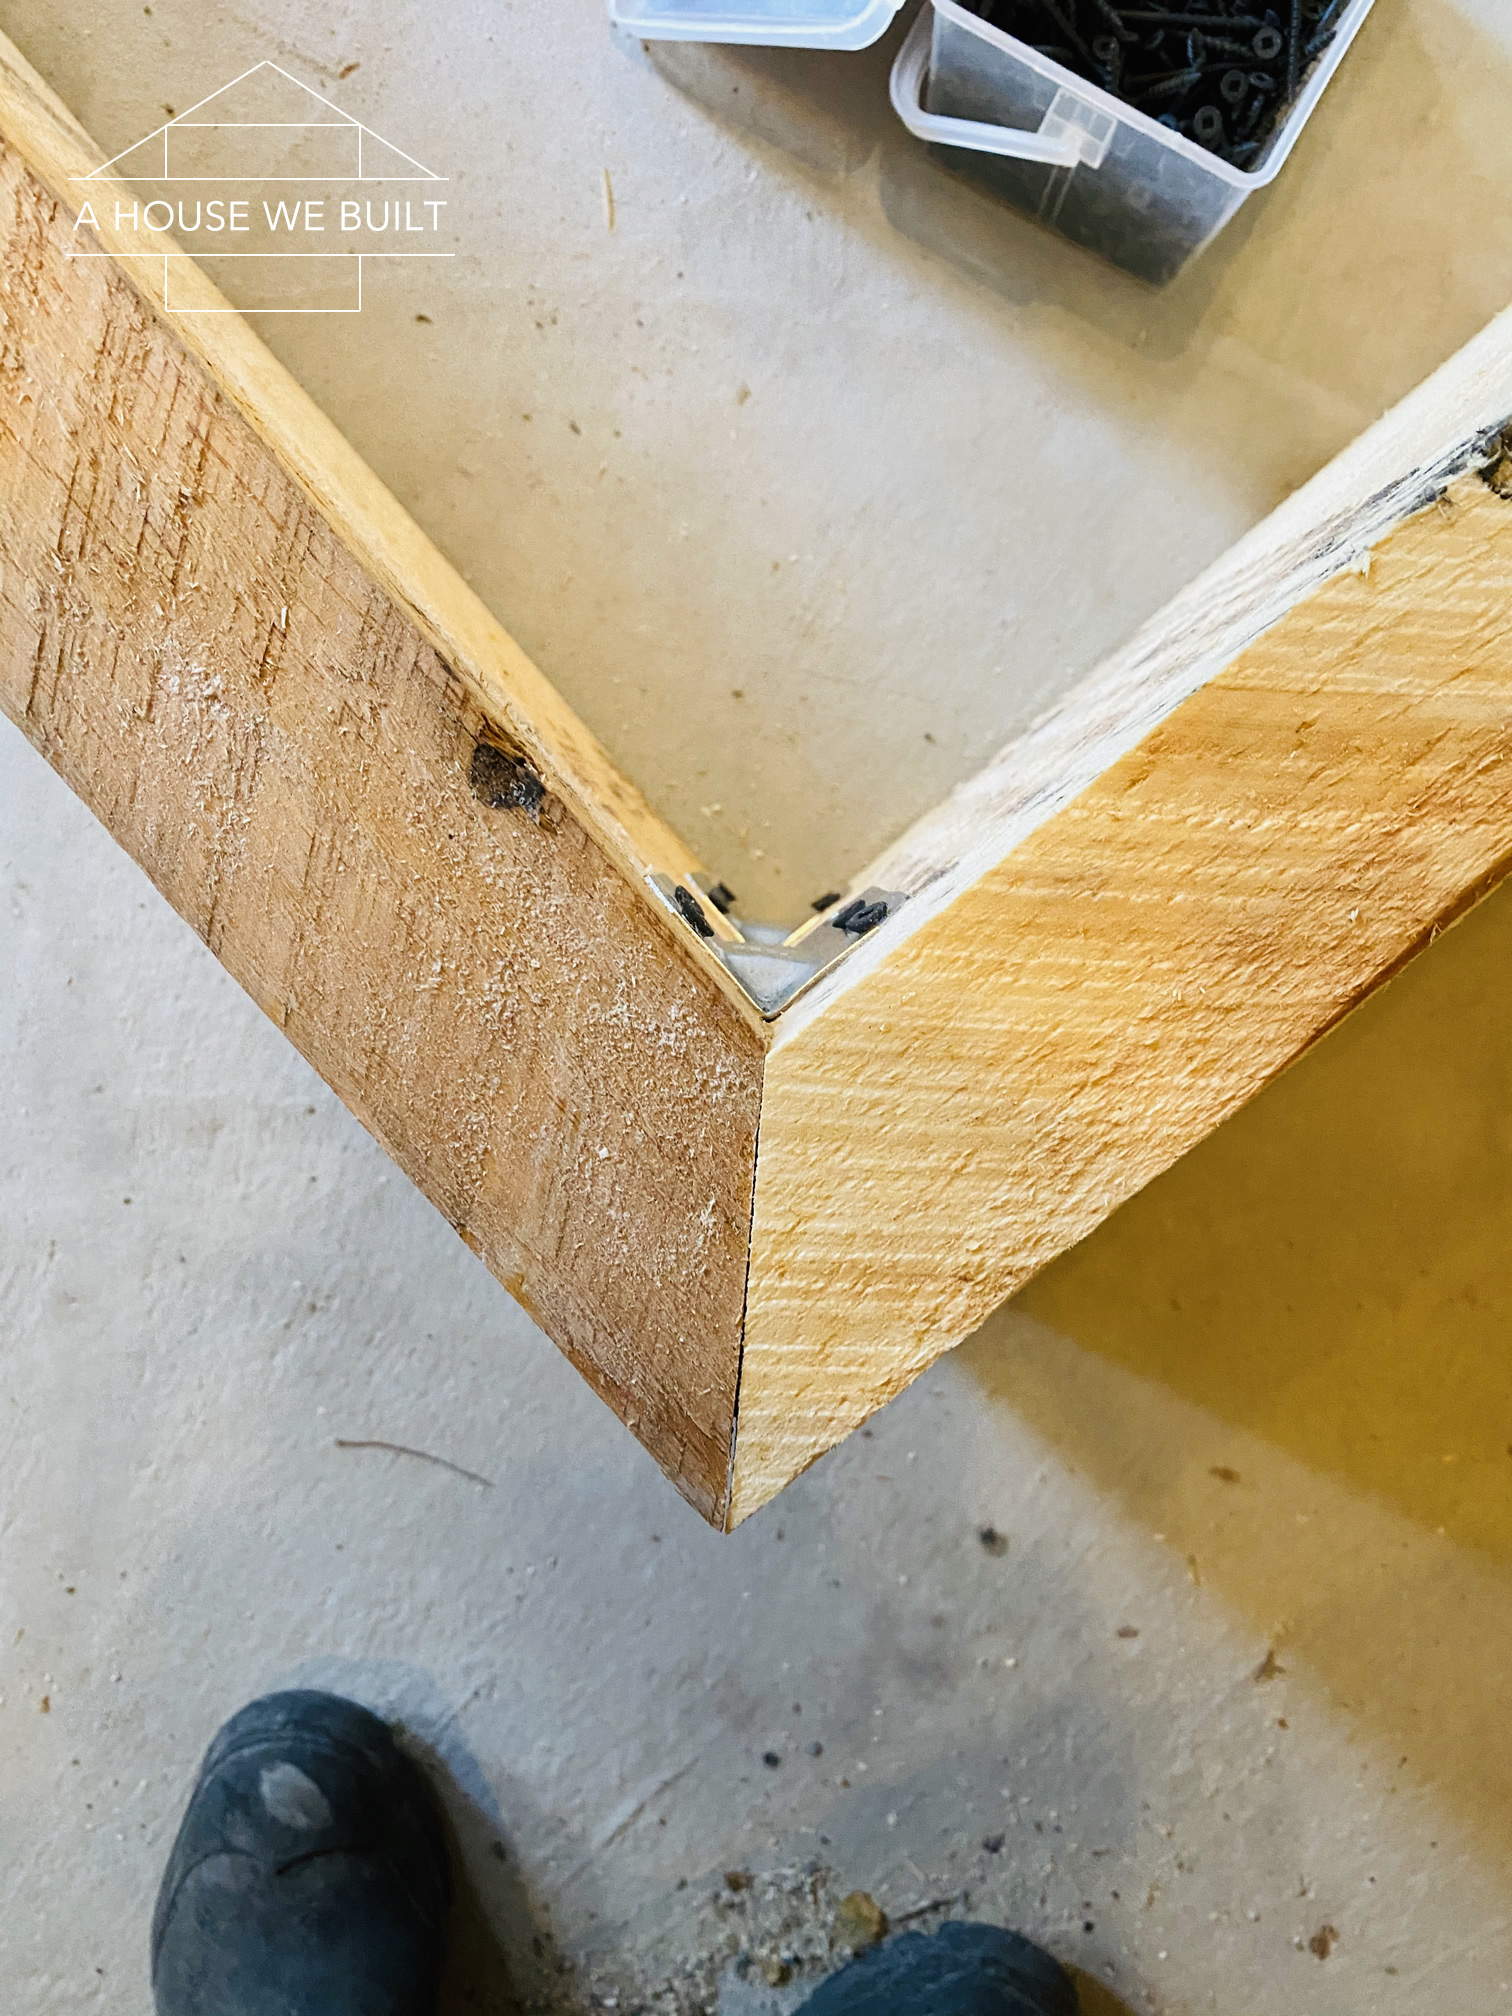
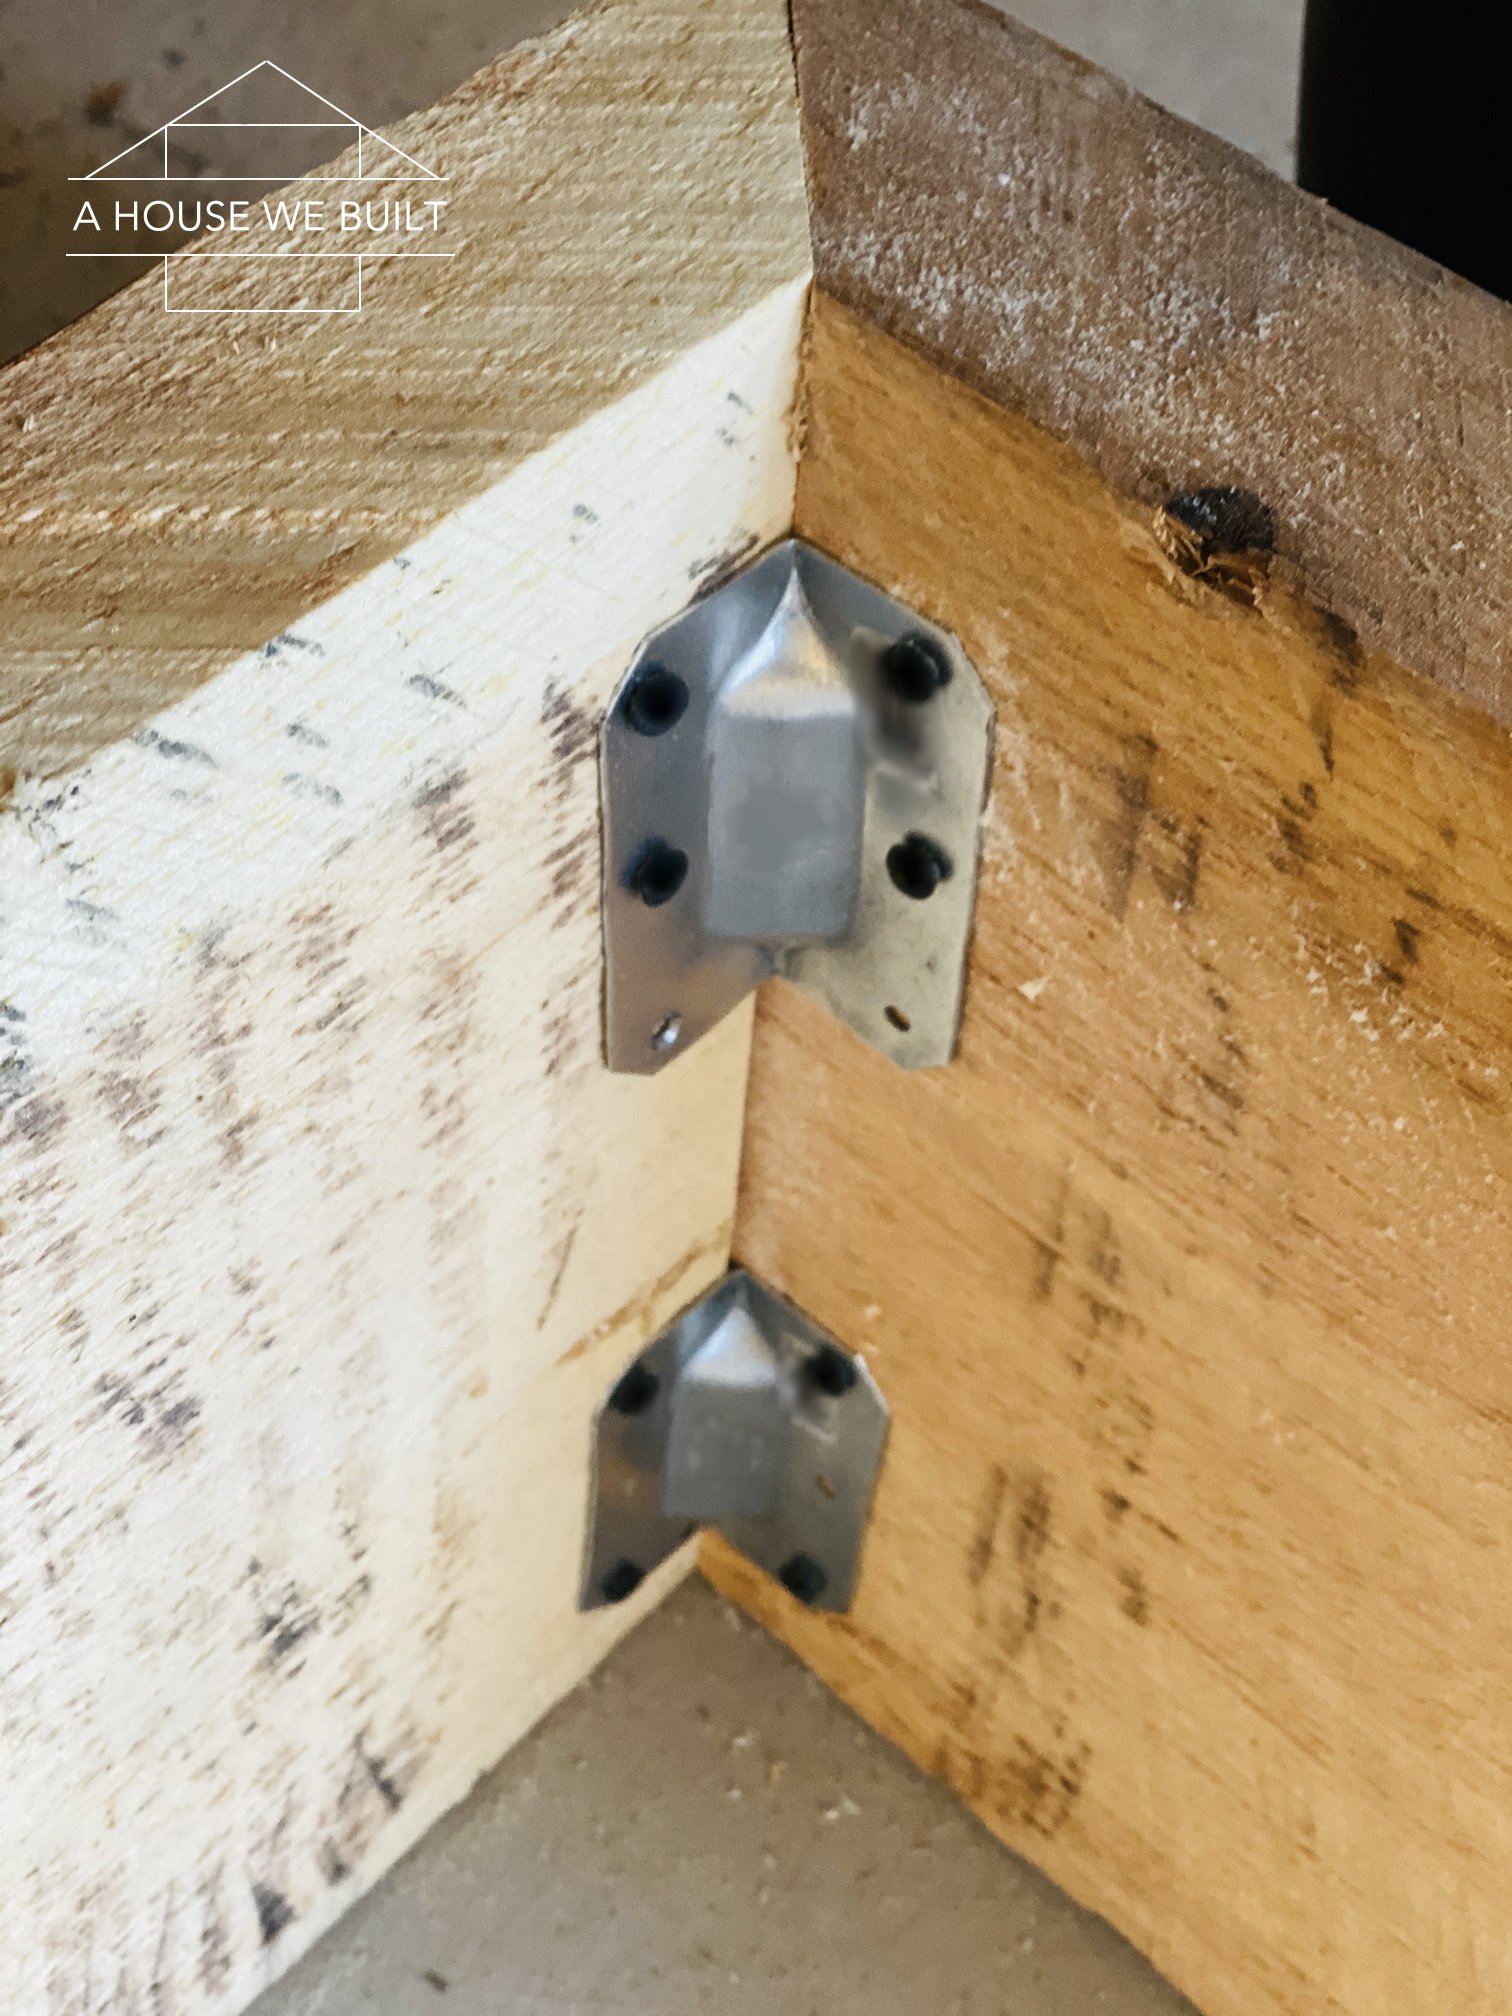
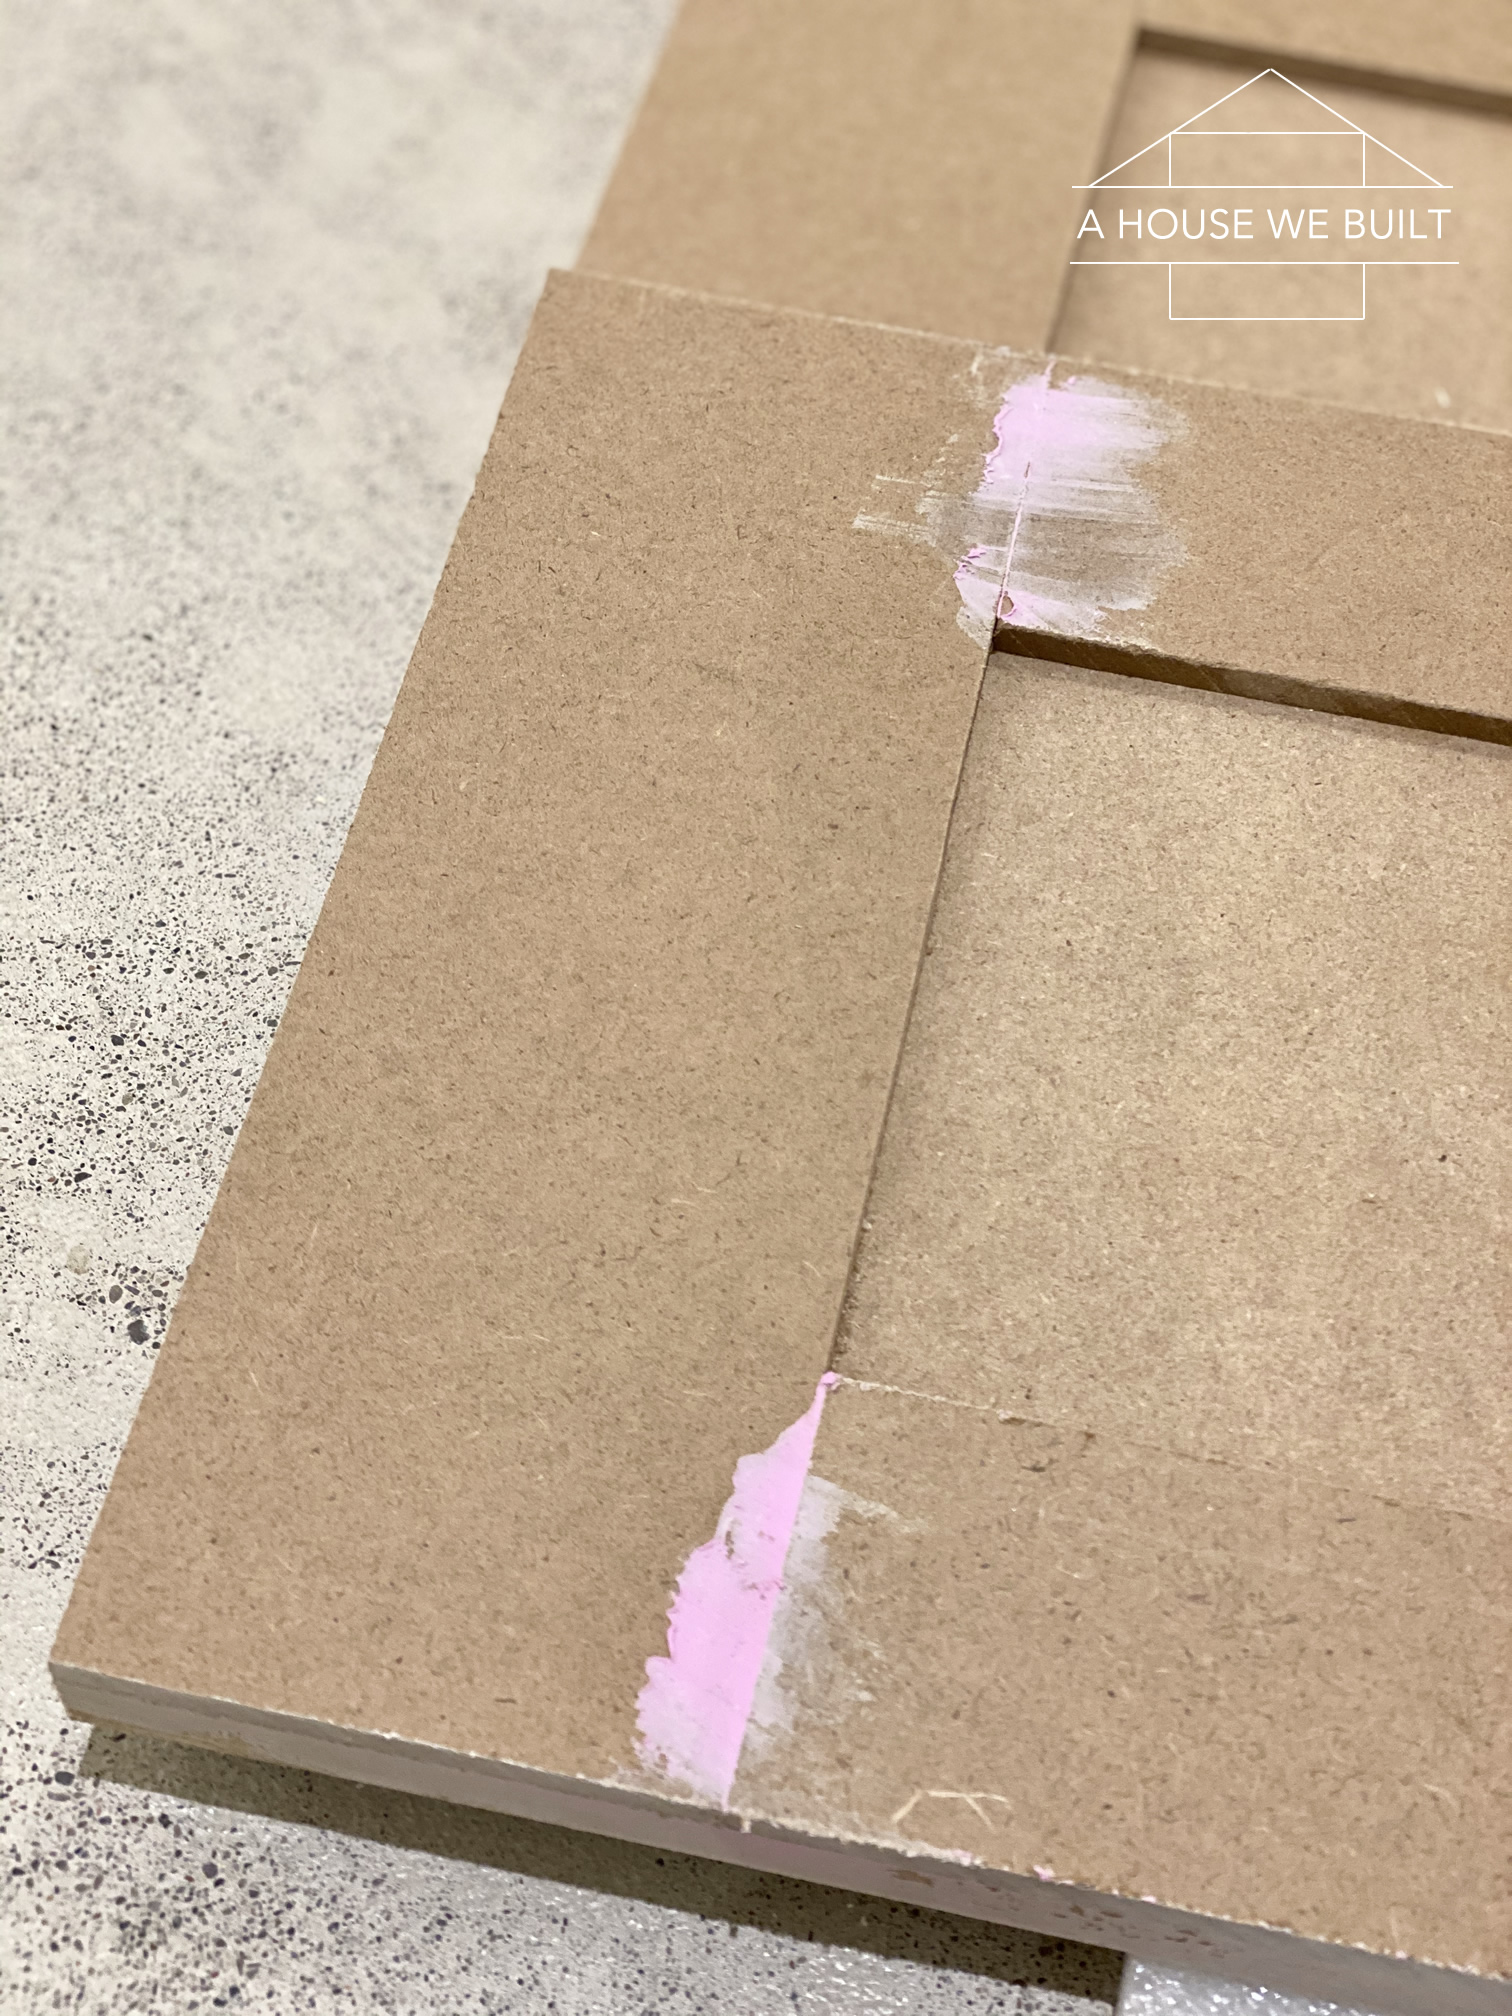
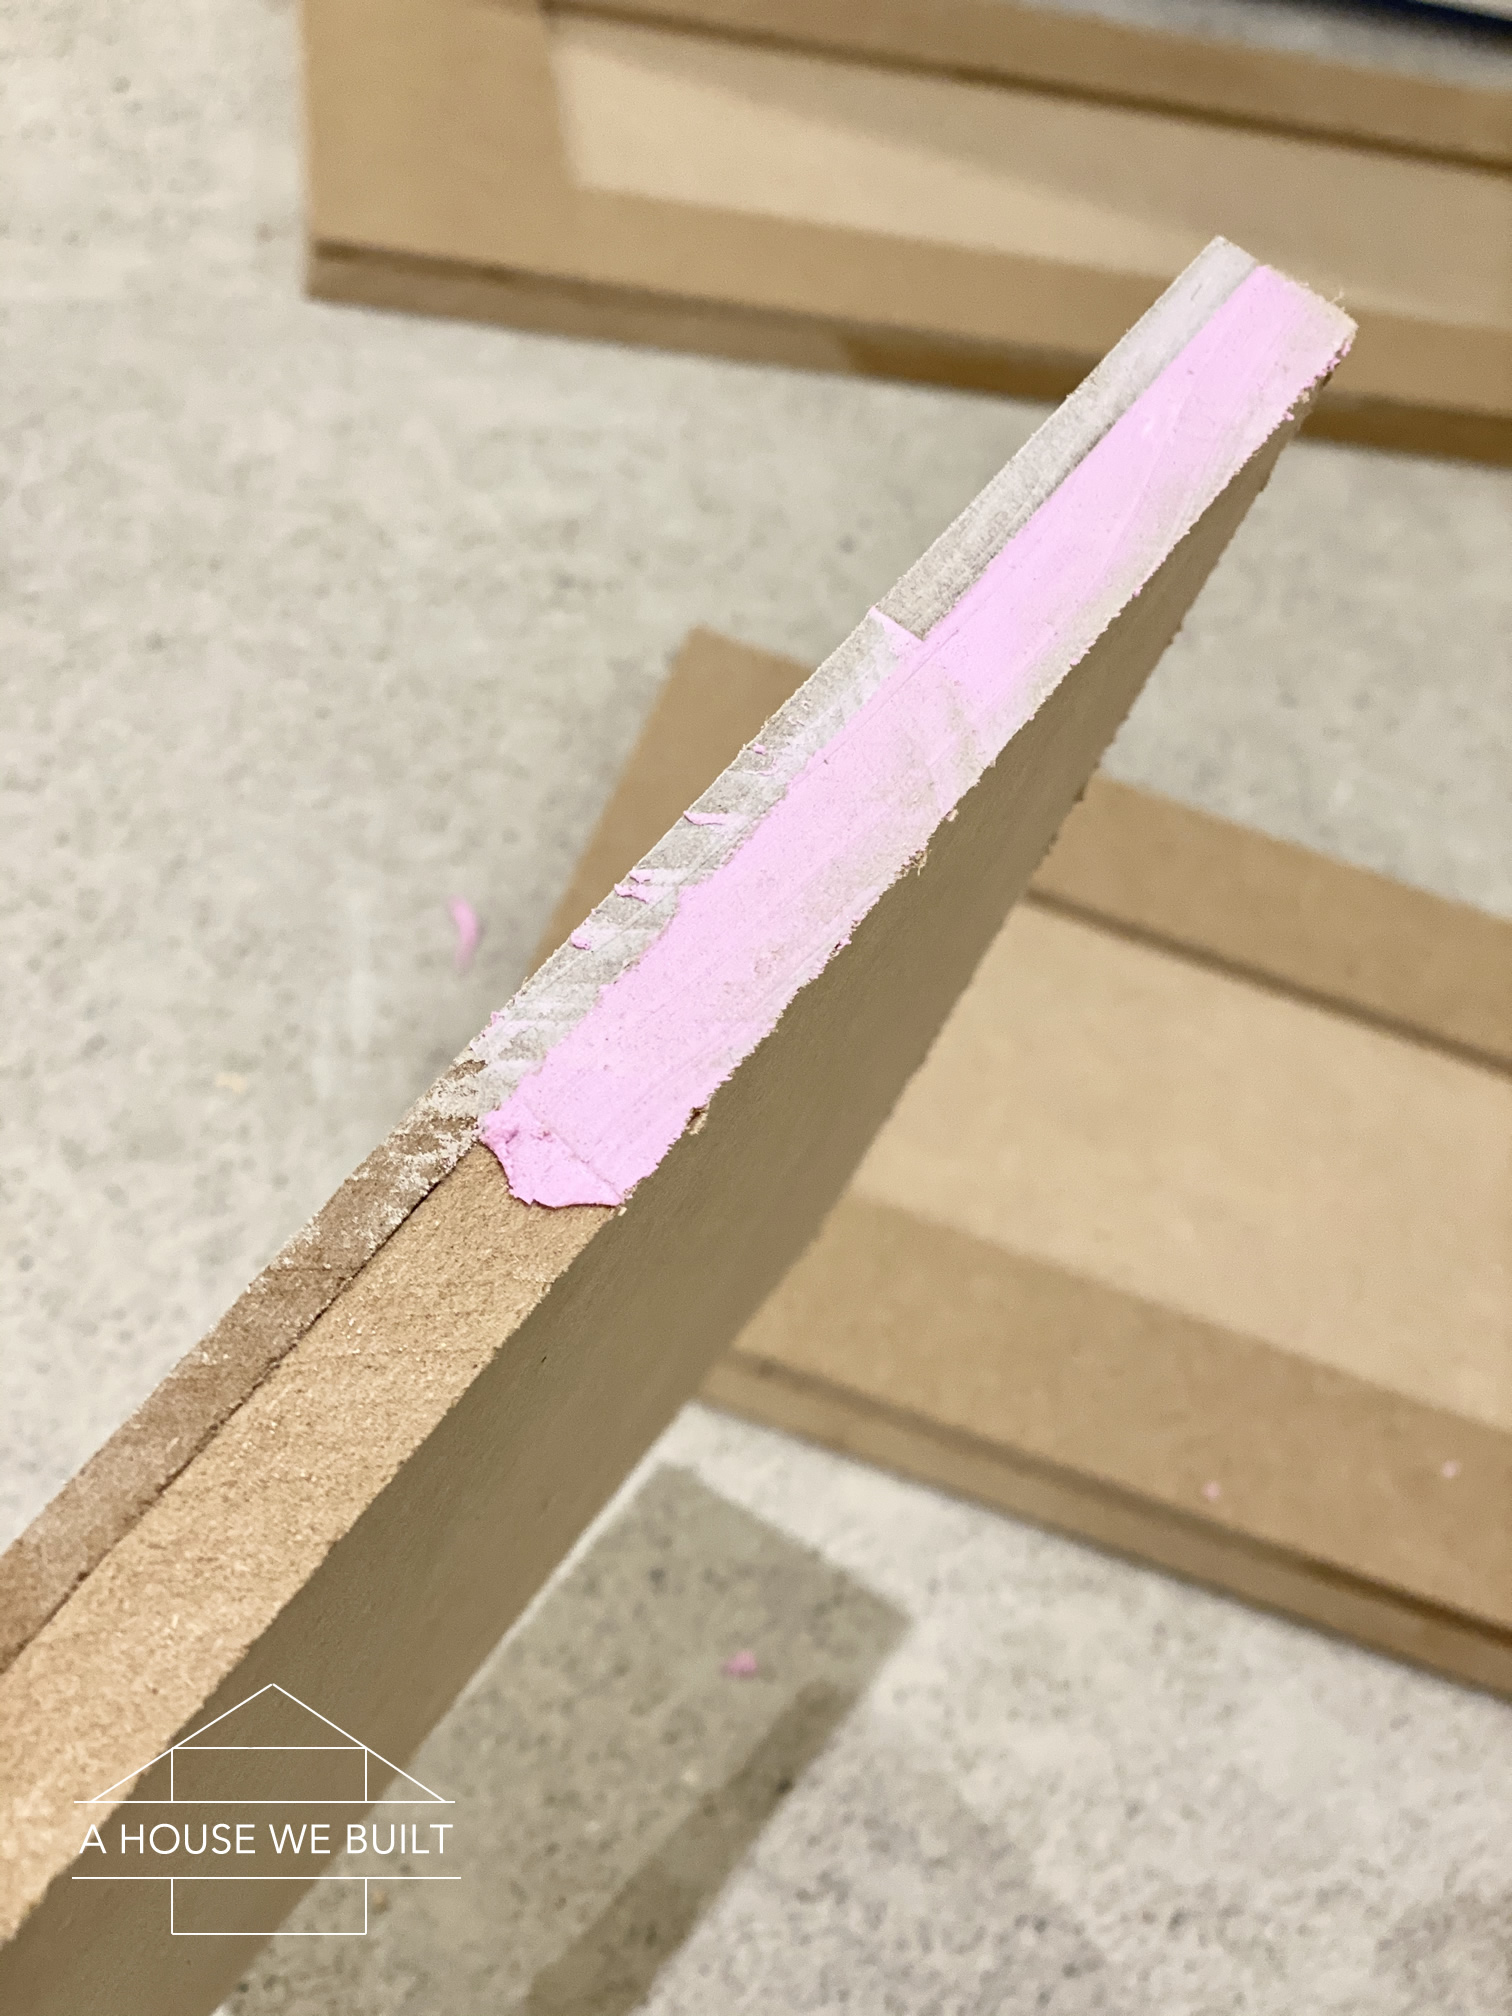
- Attach your frame pieces together using wood glue in the joints and L-brackets on the inside.
- Attach the middle support piece in the exact middle of your frame using L-brackets at the top, but you can use a really long screw to screw up from the bottom of the unit to secure the base since that won’t show.

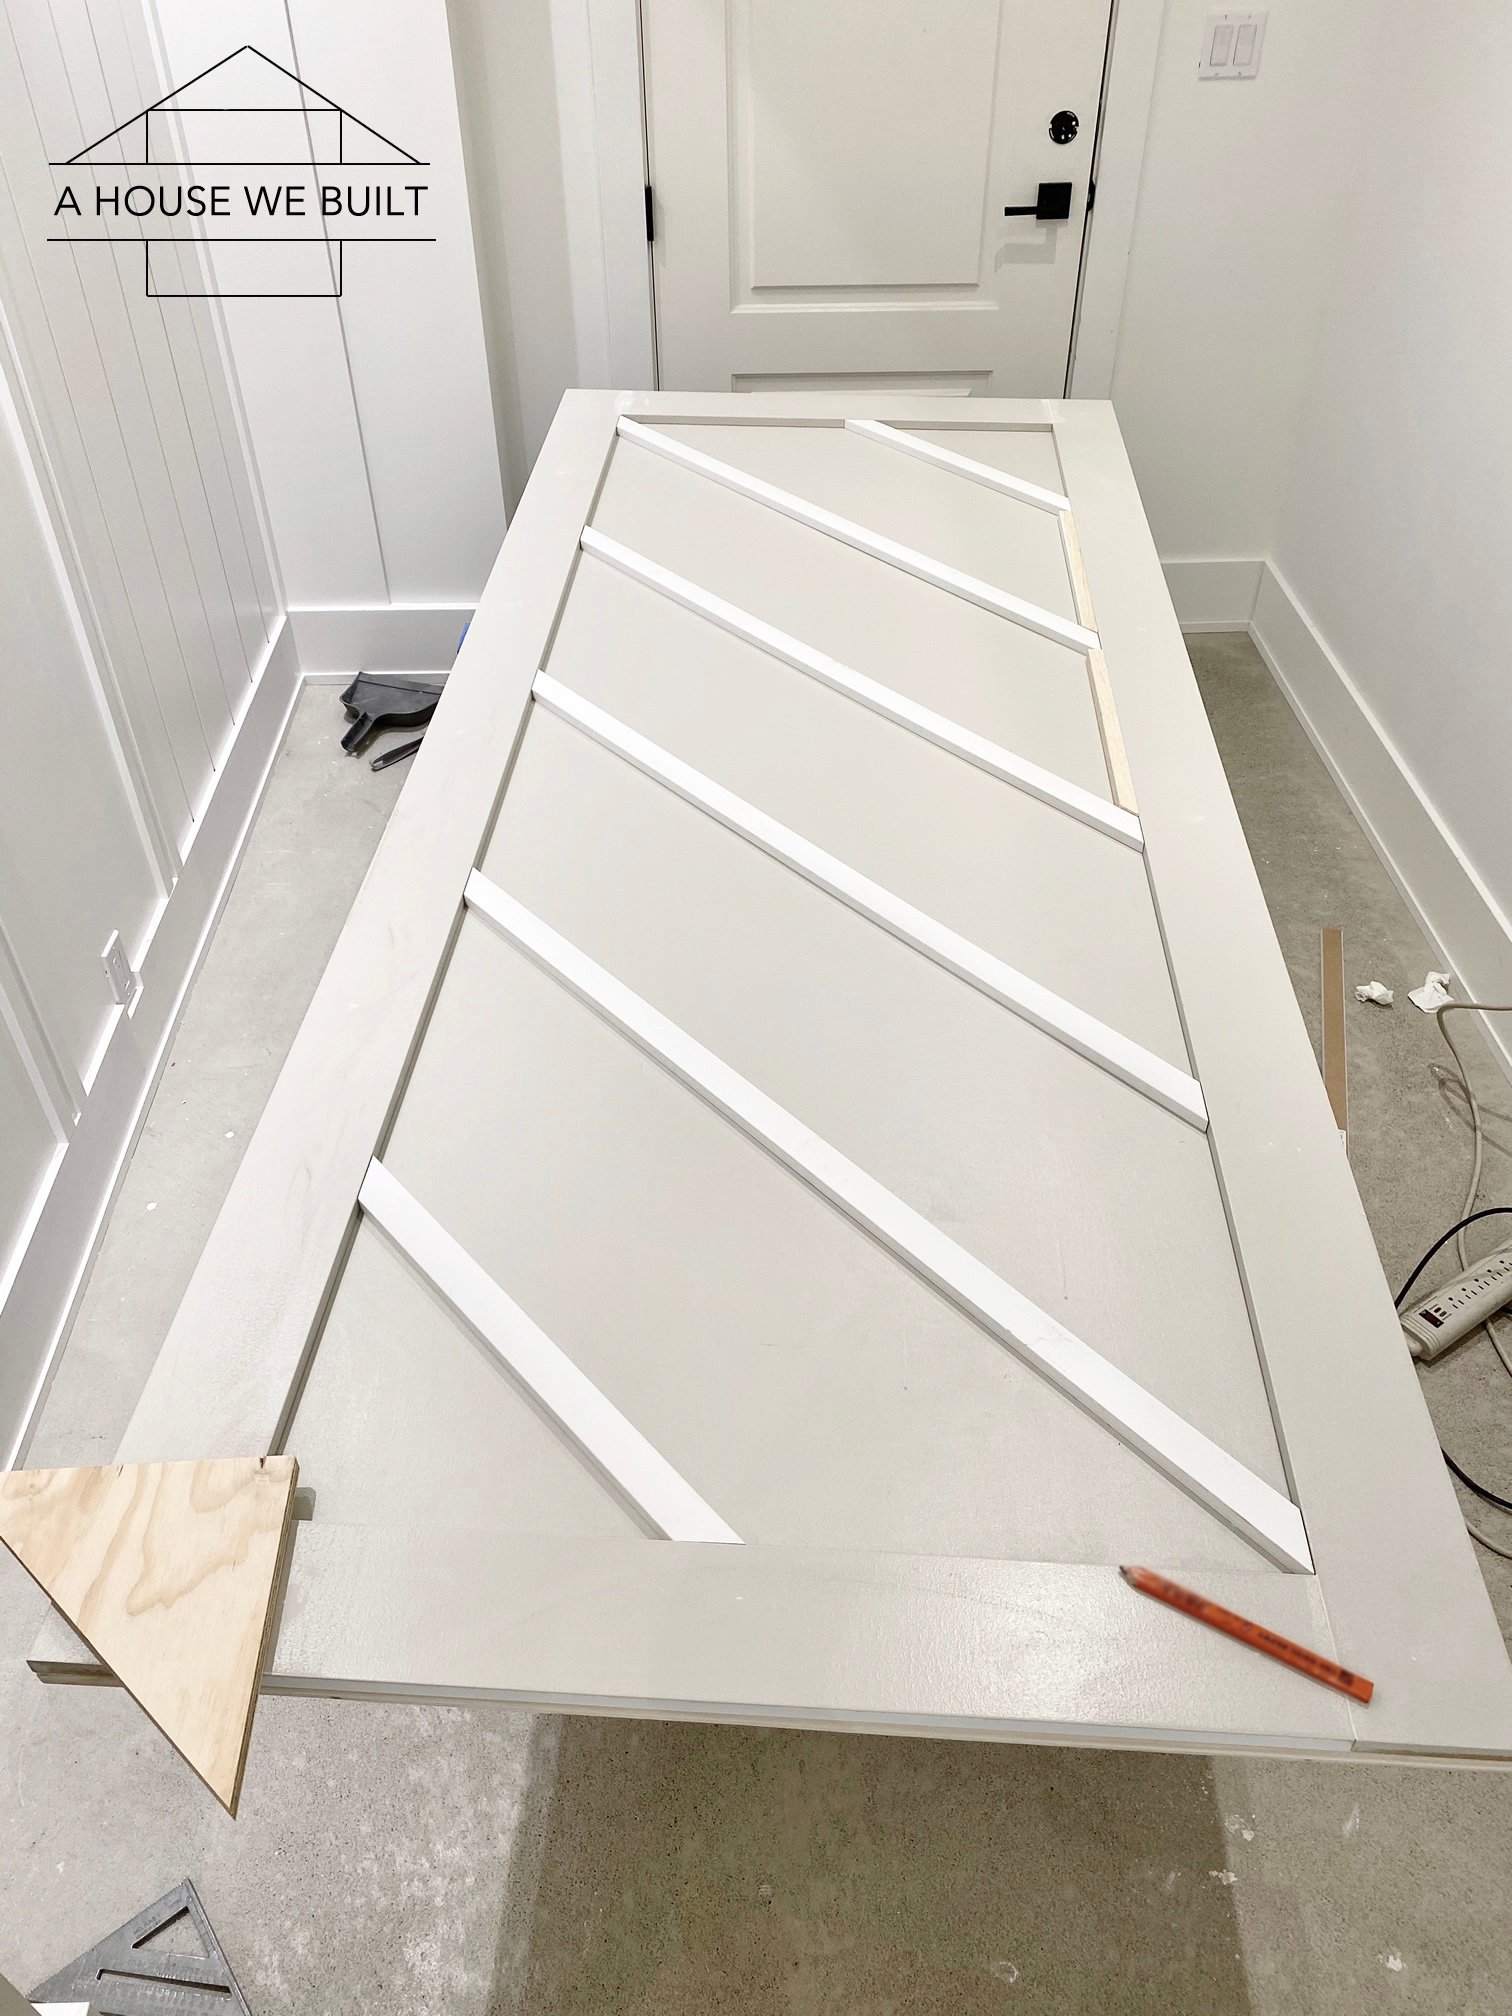
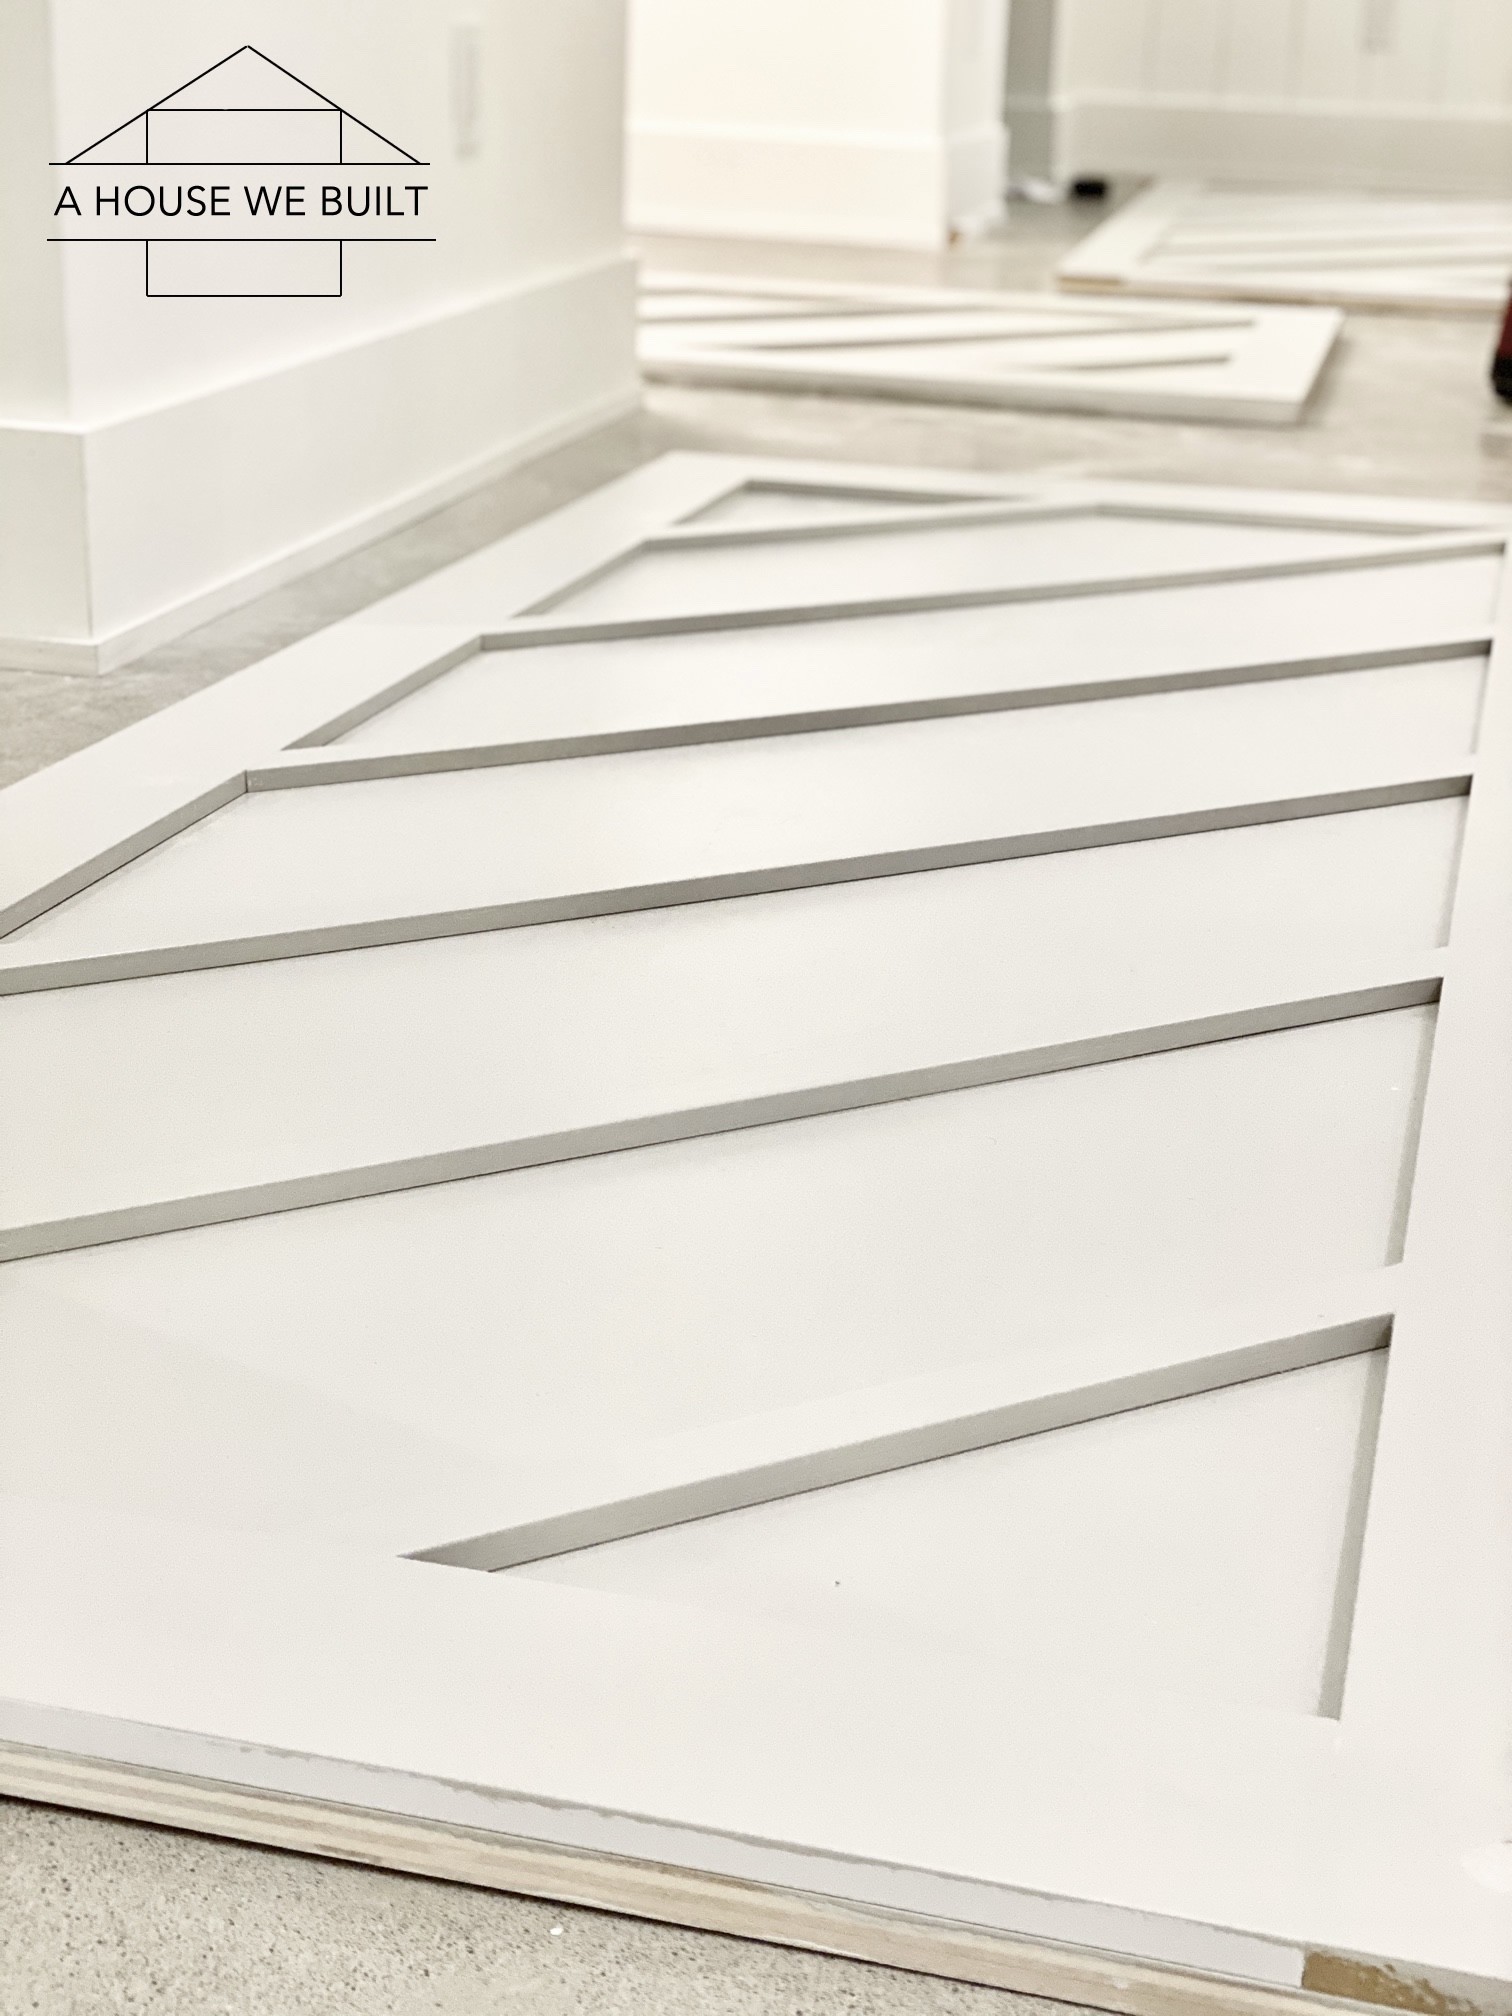
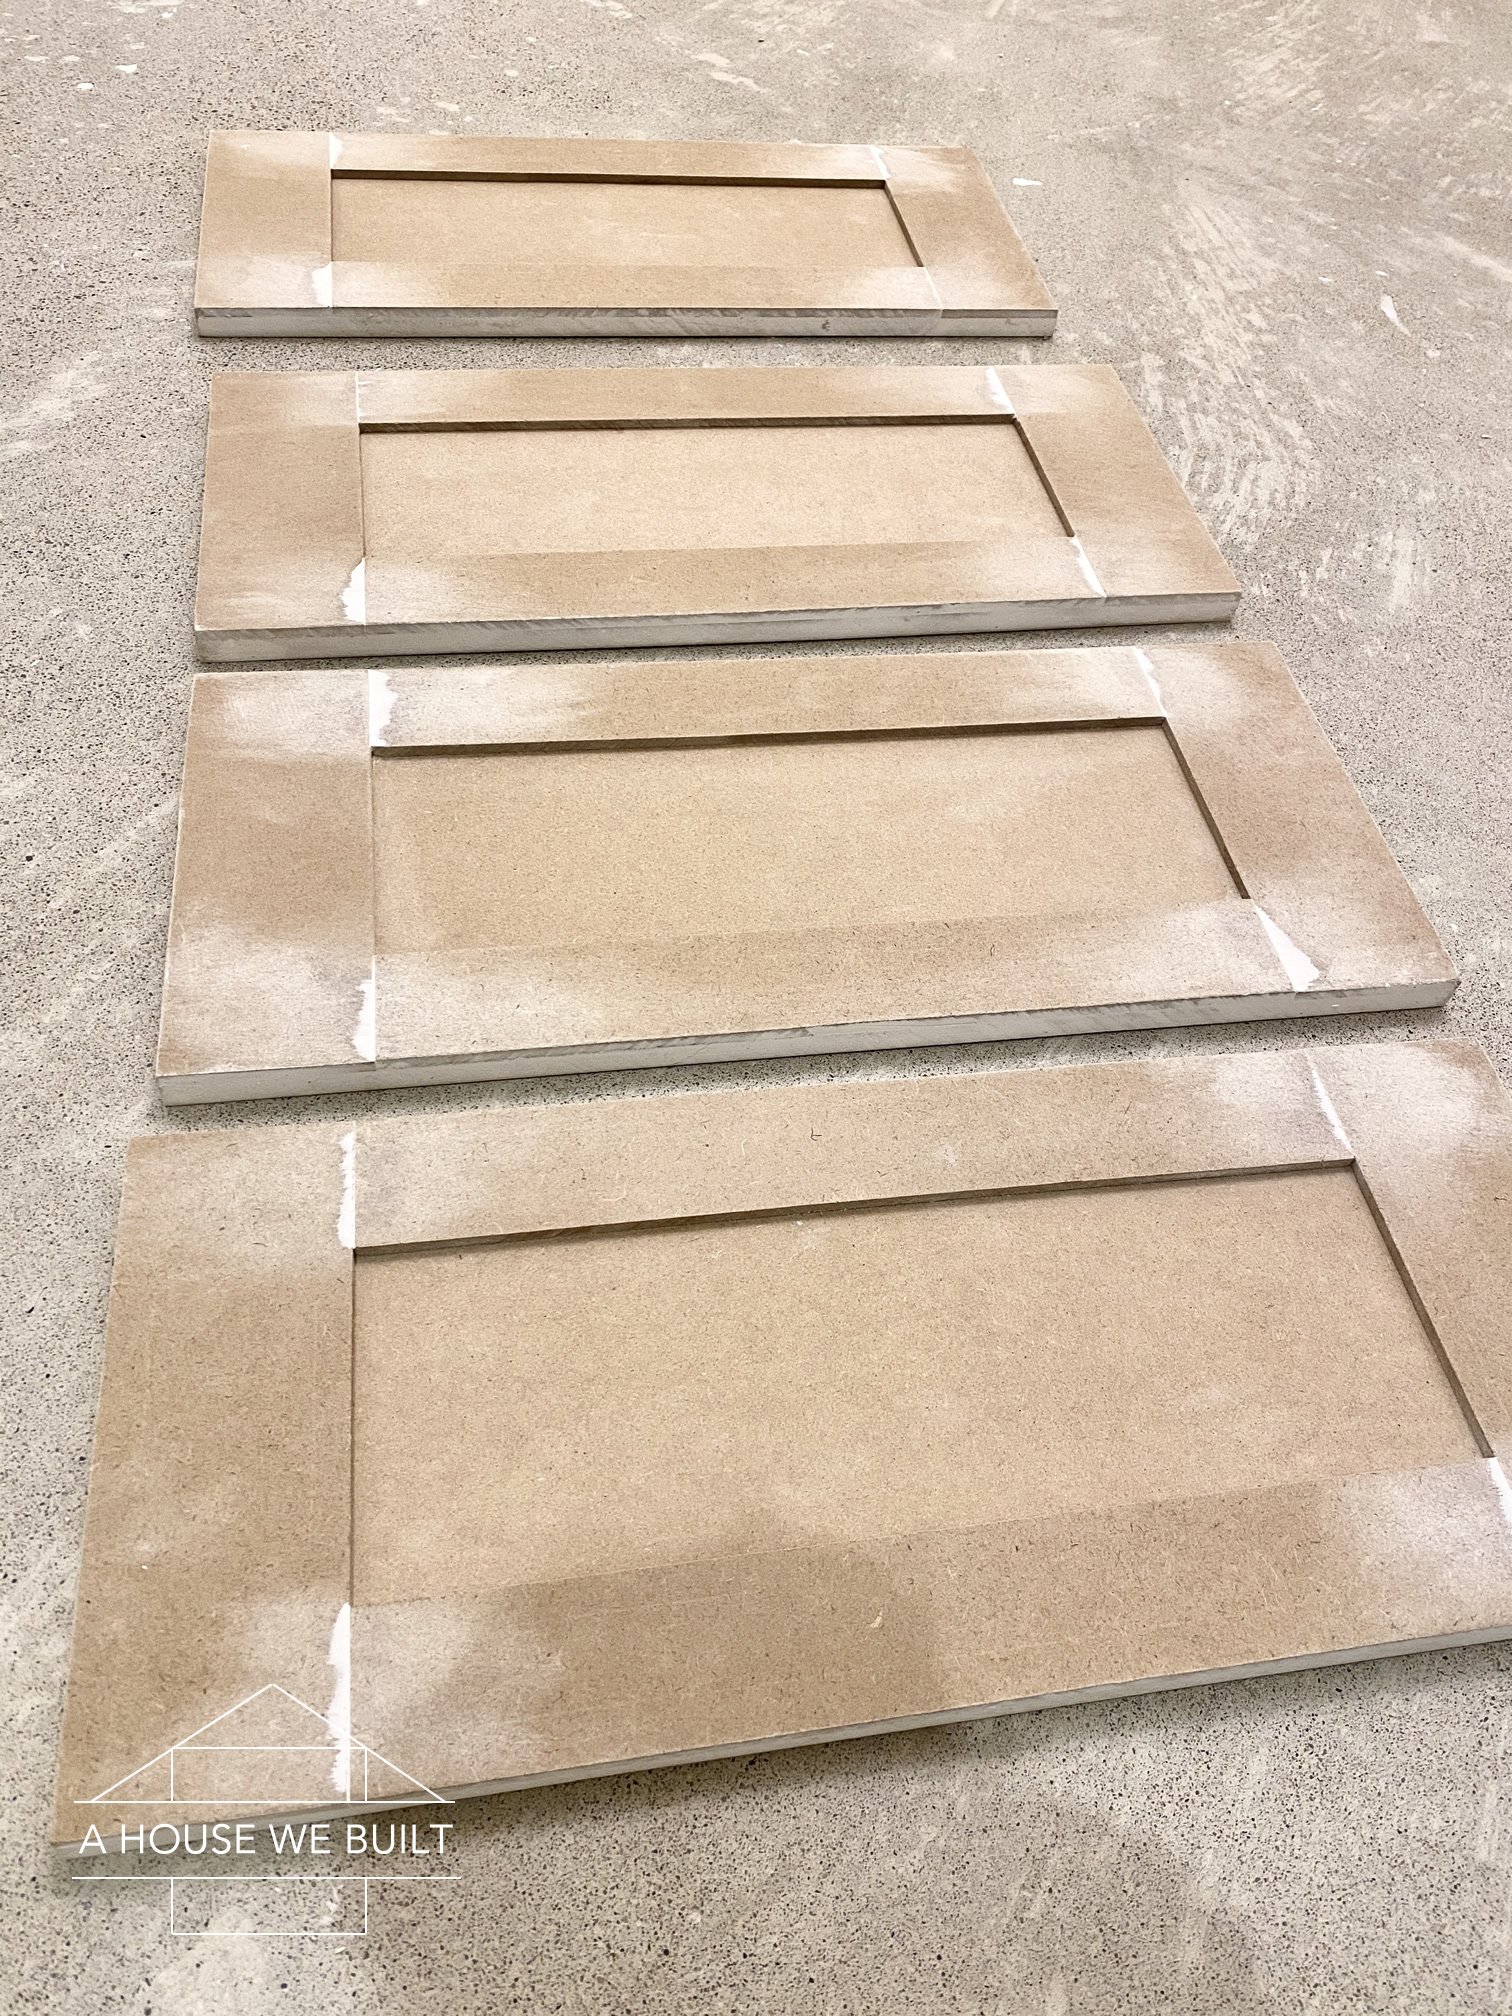
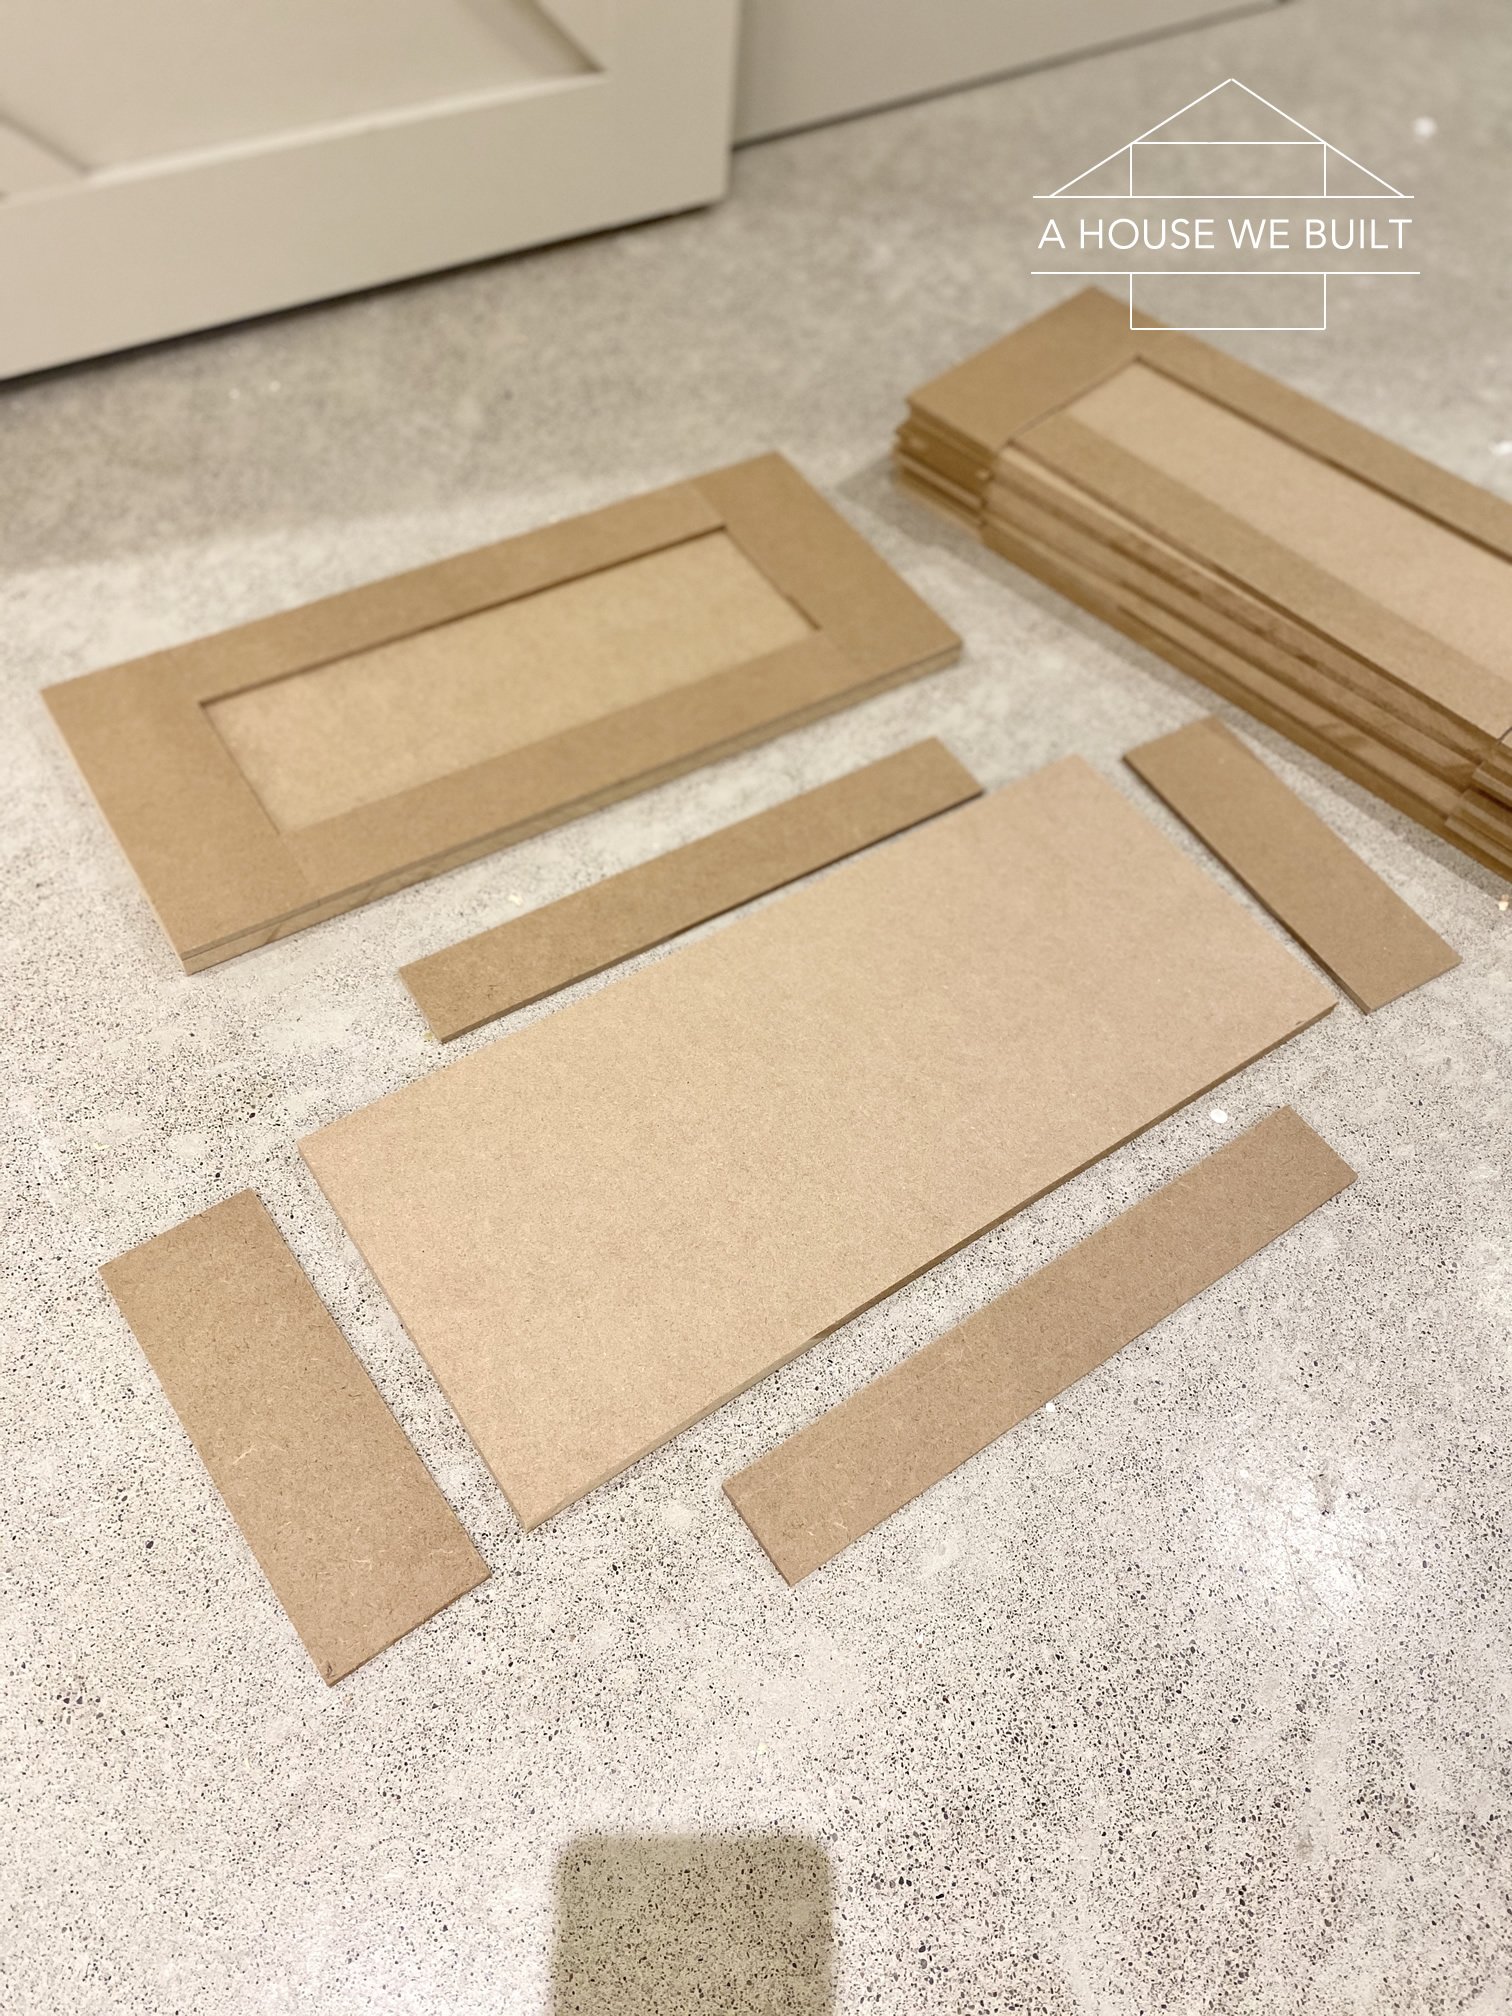
Instructions: Creating the doors
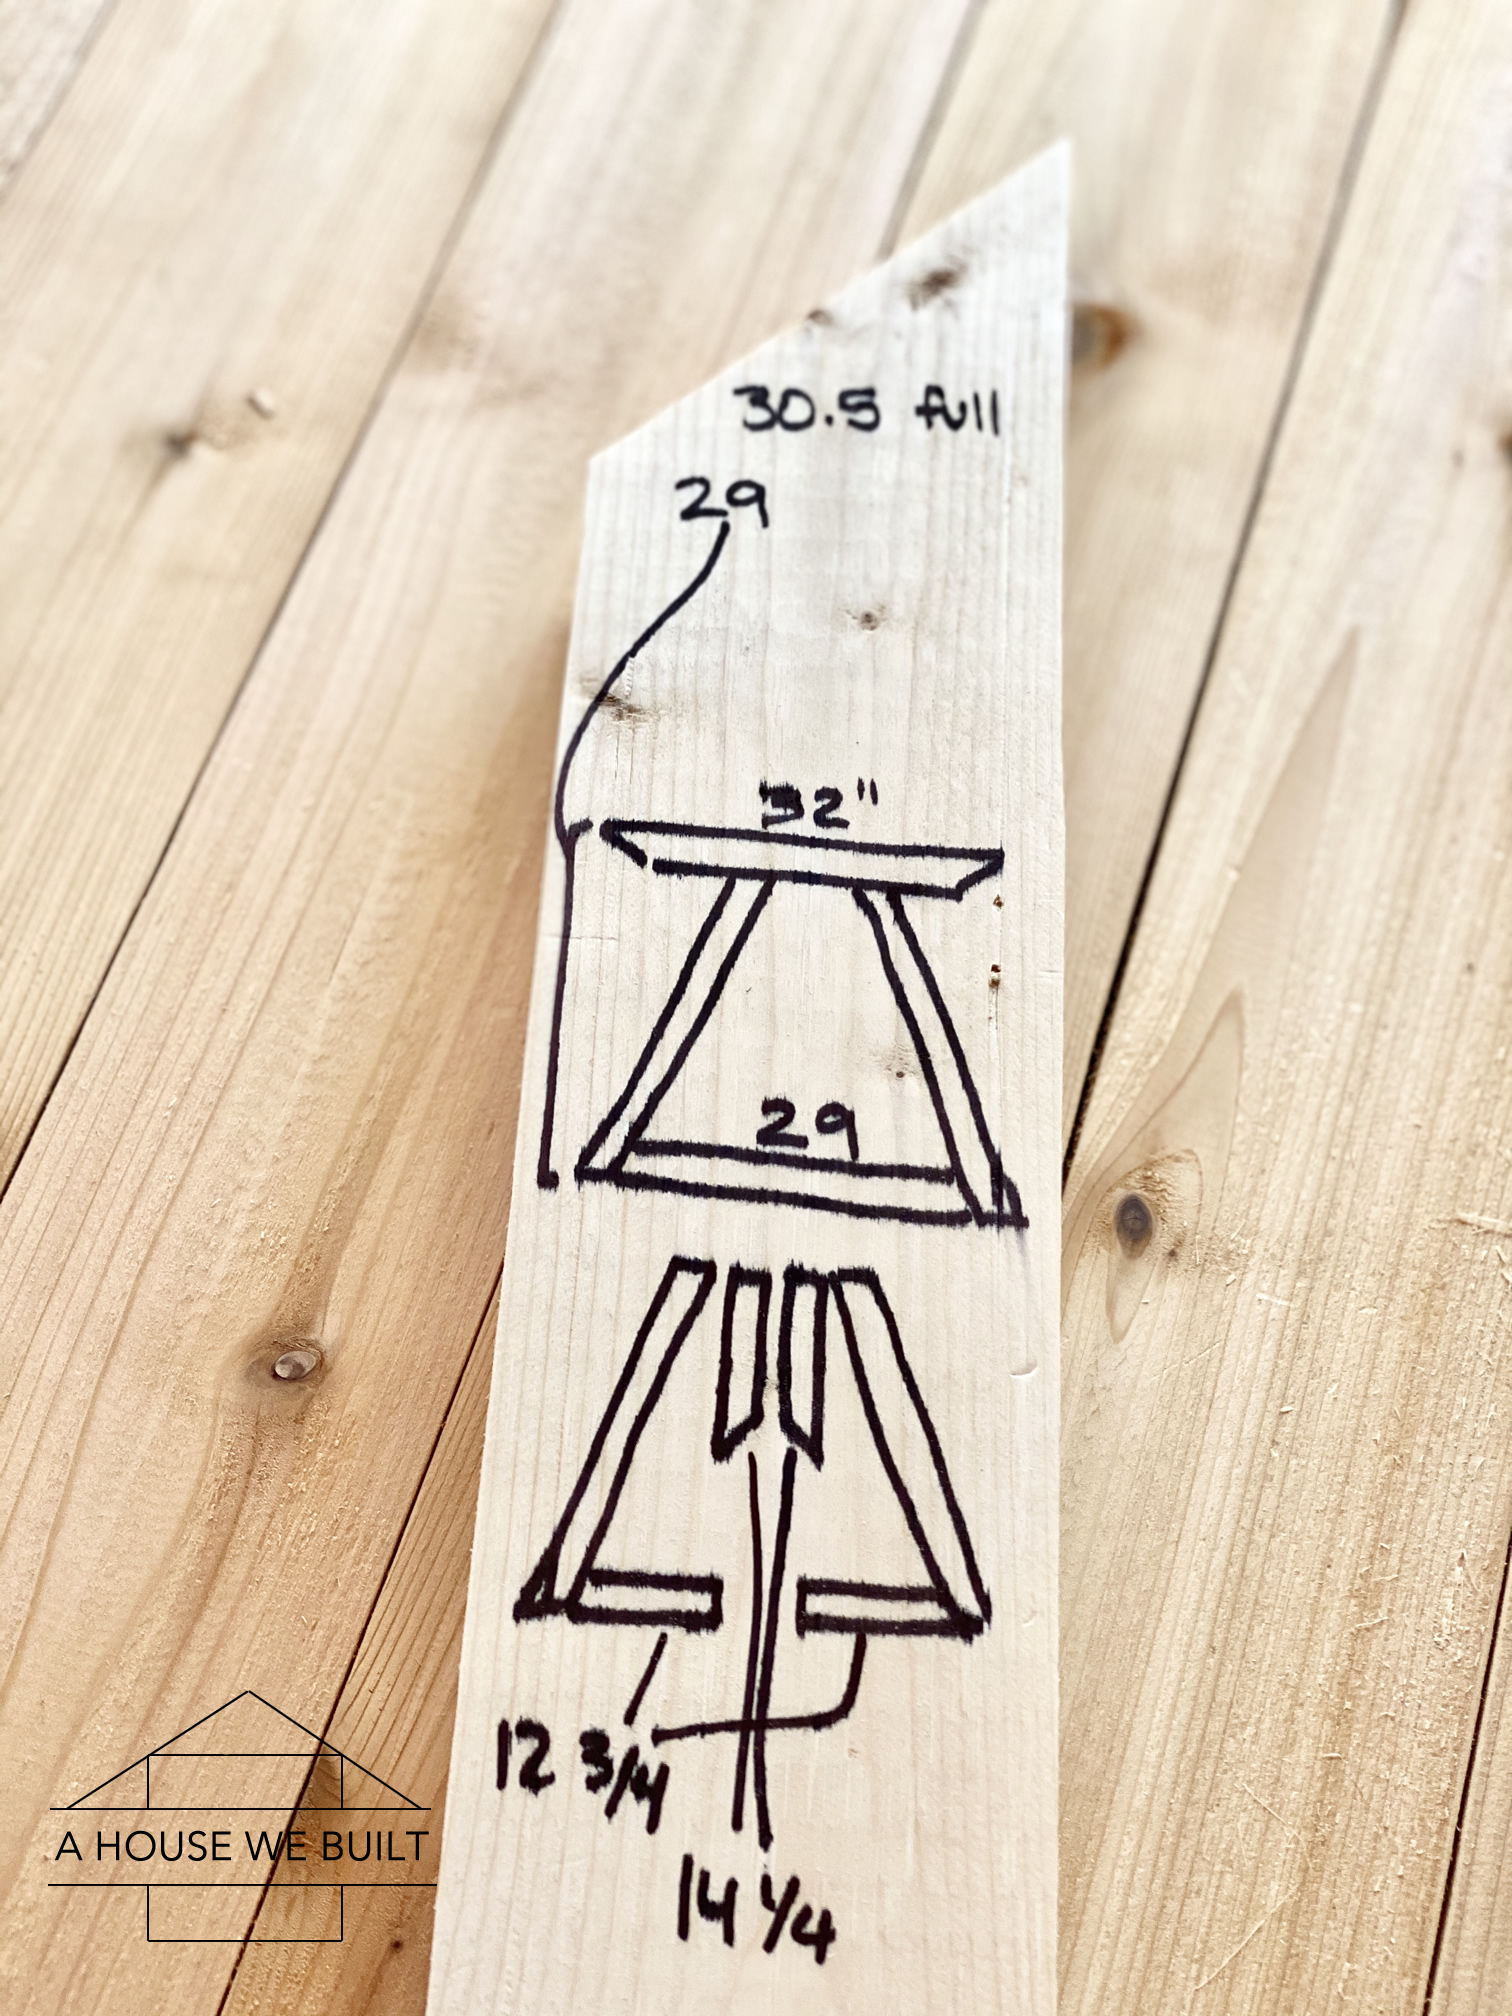
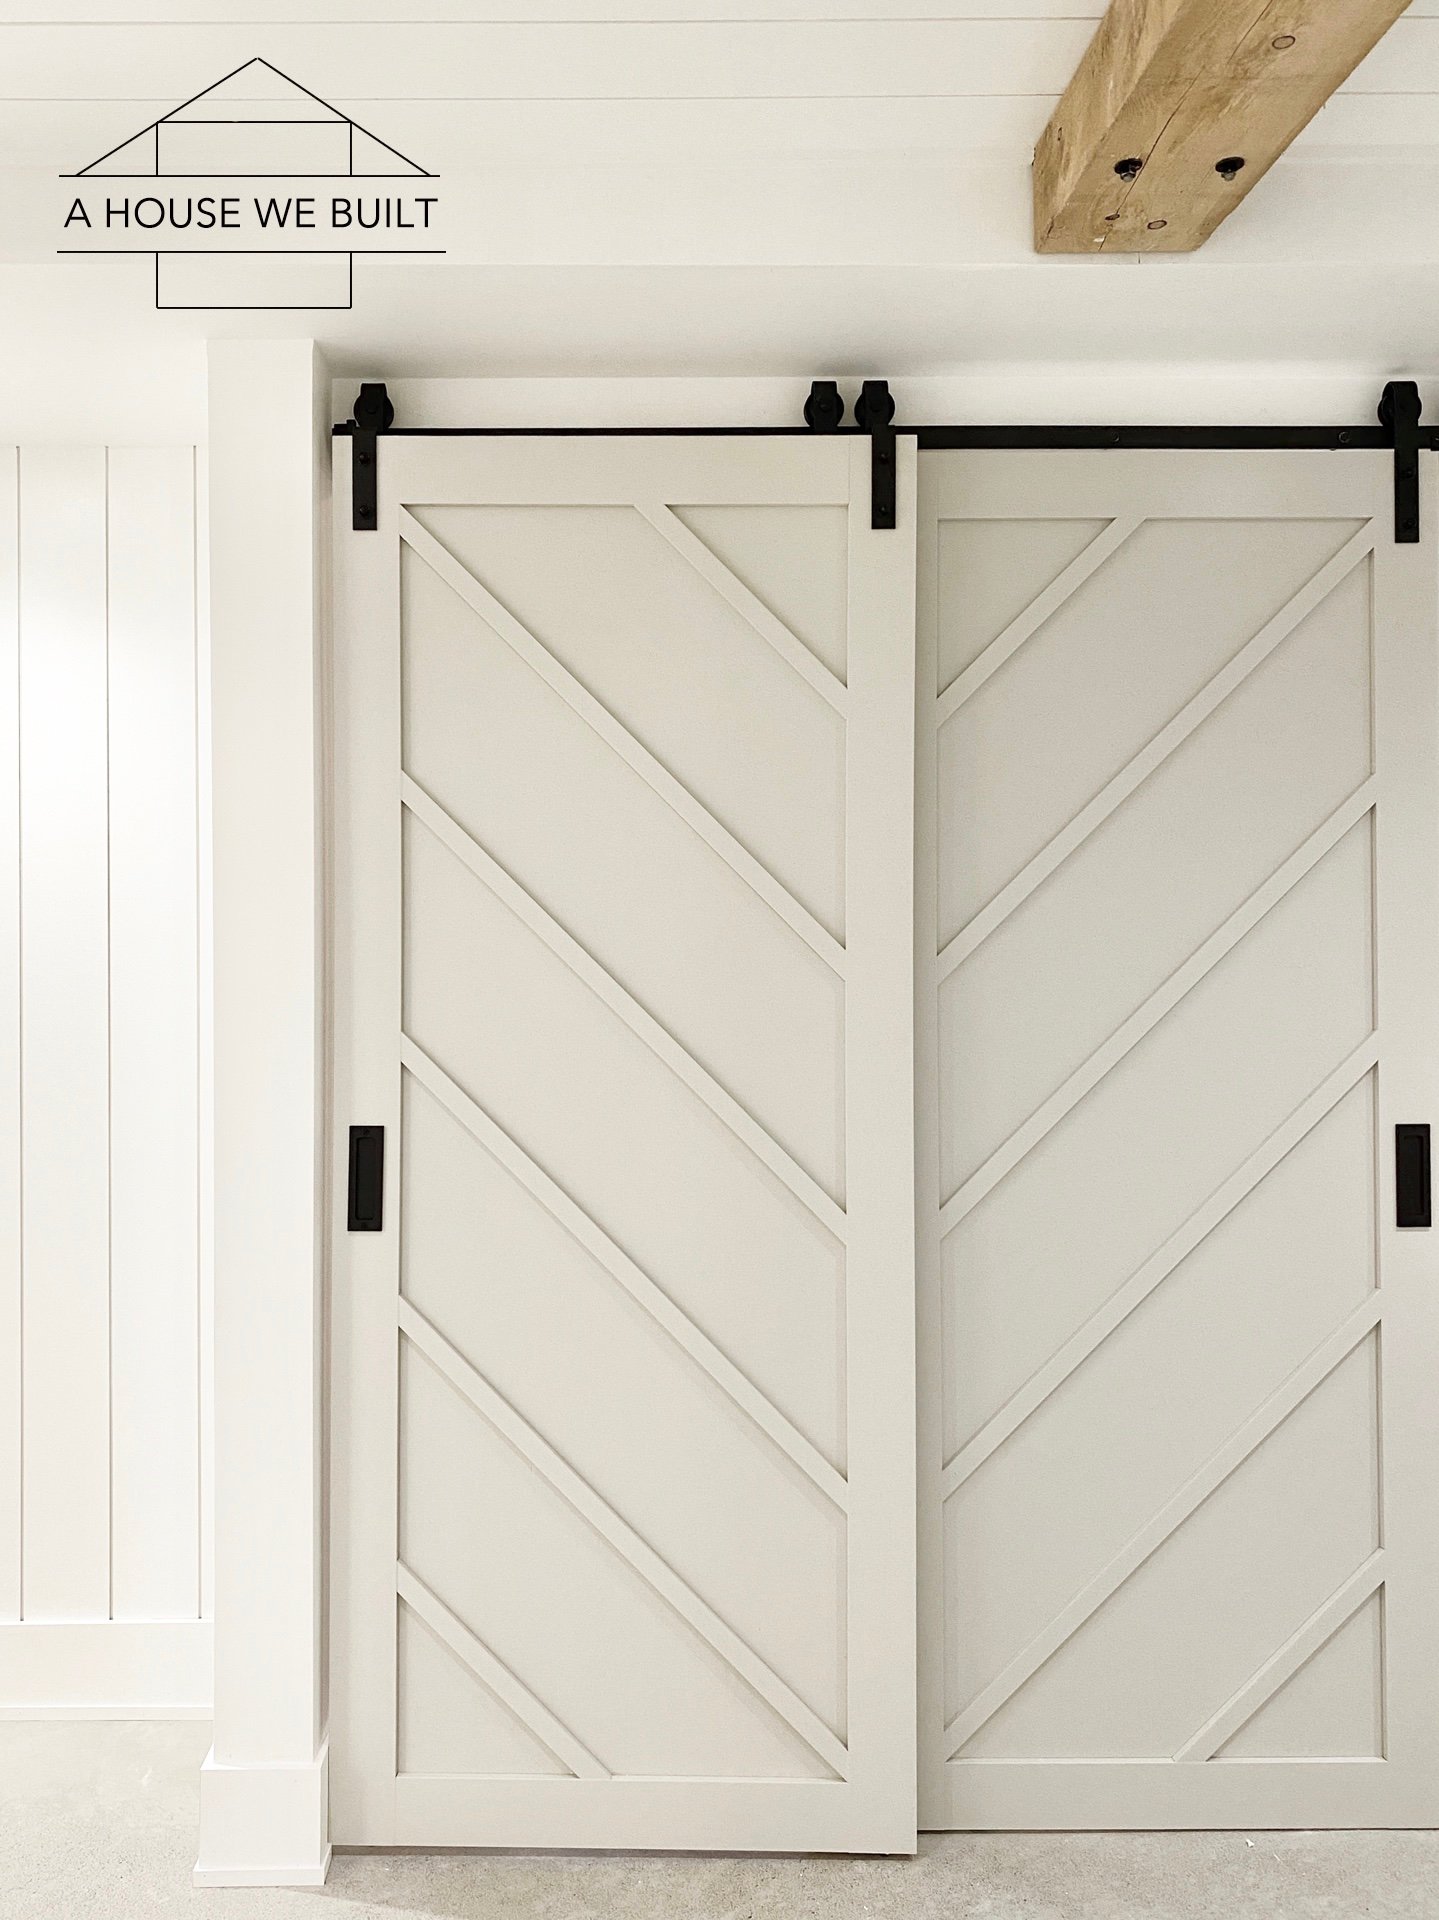
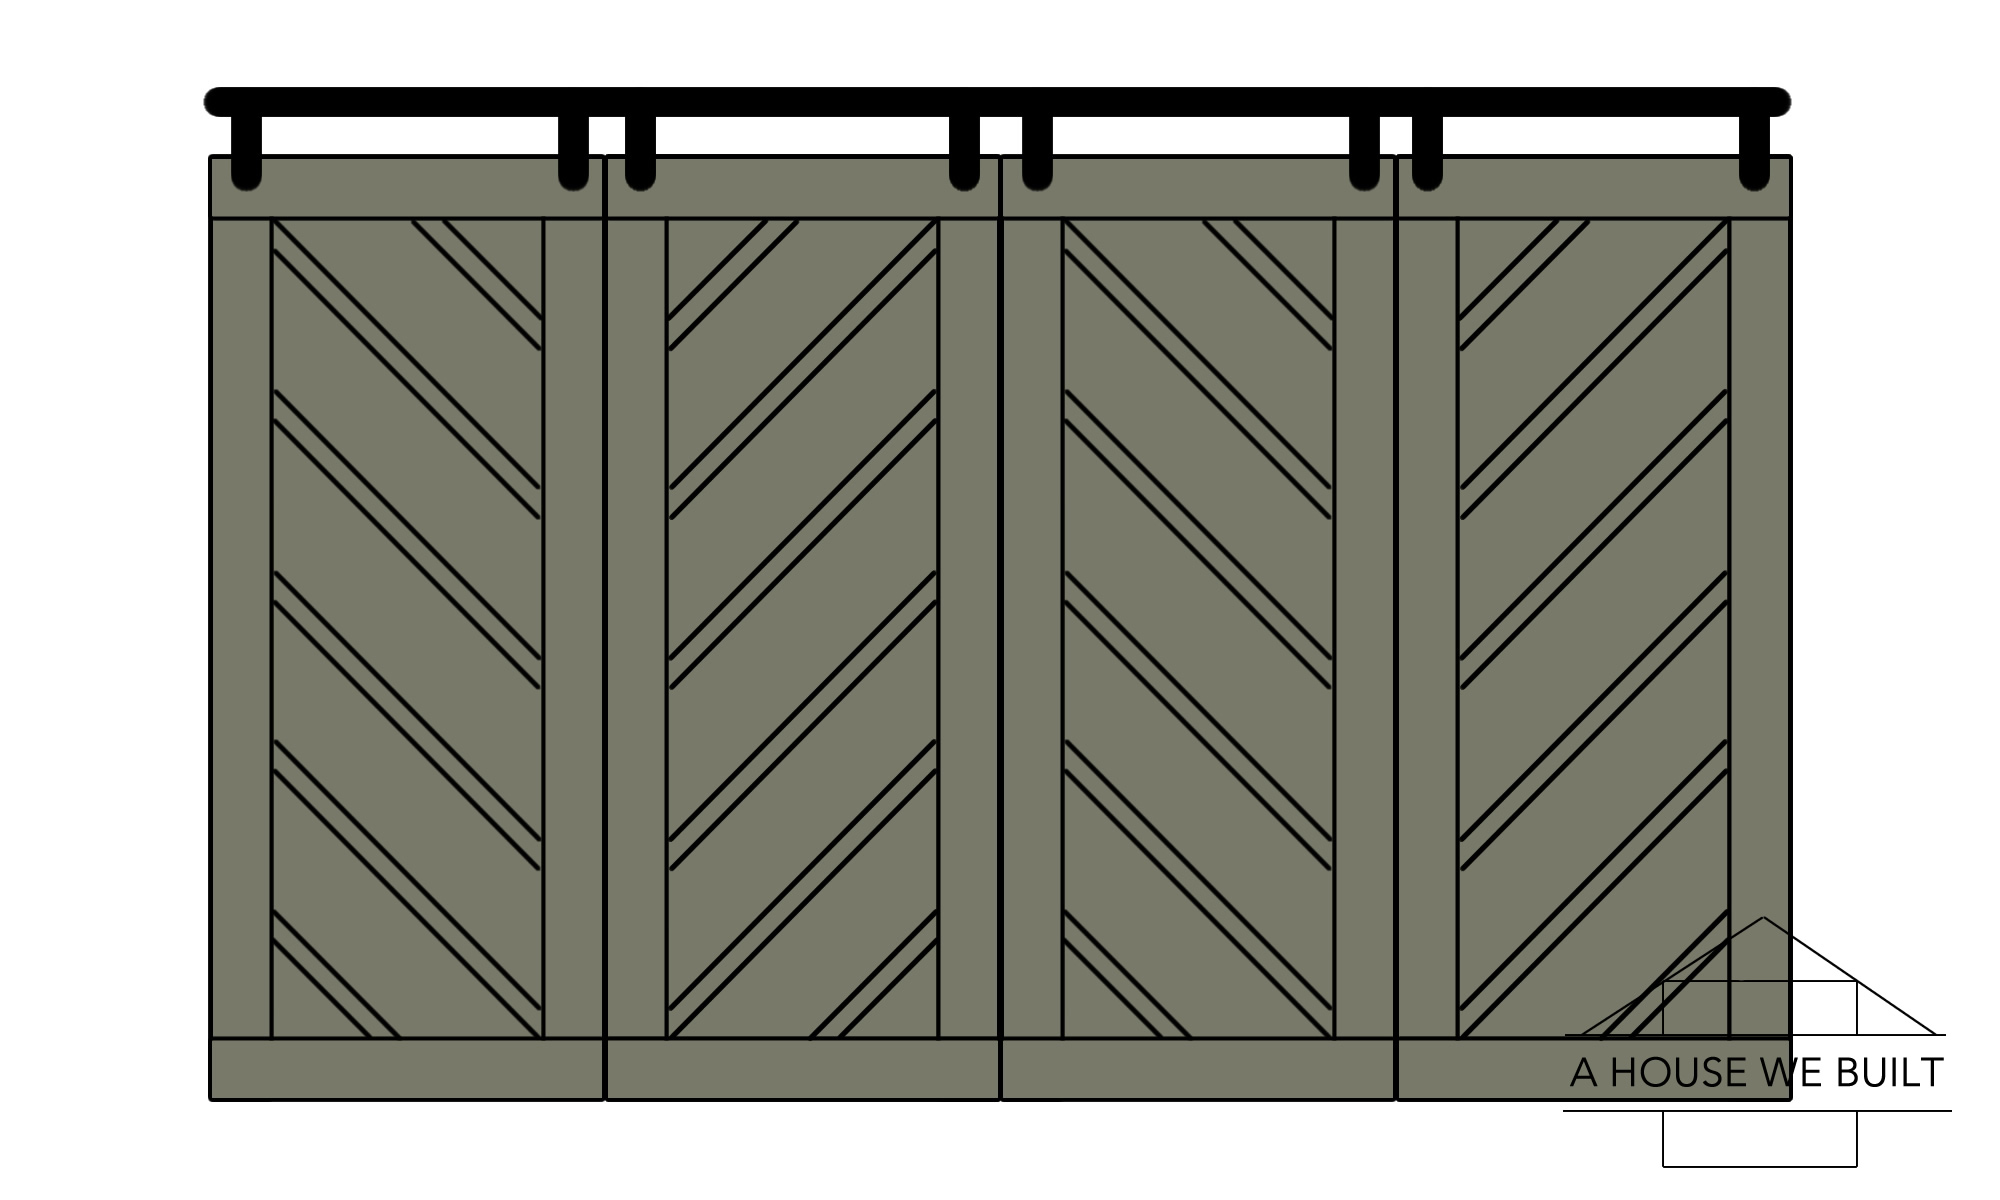
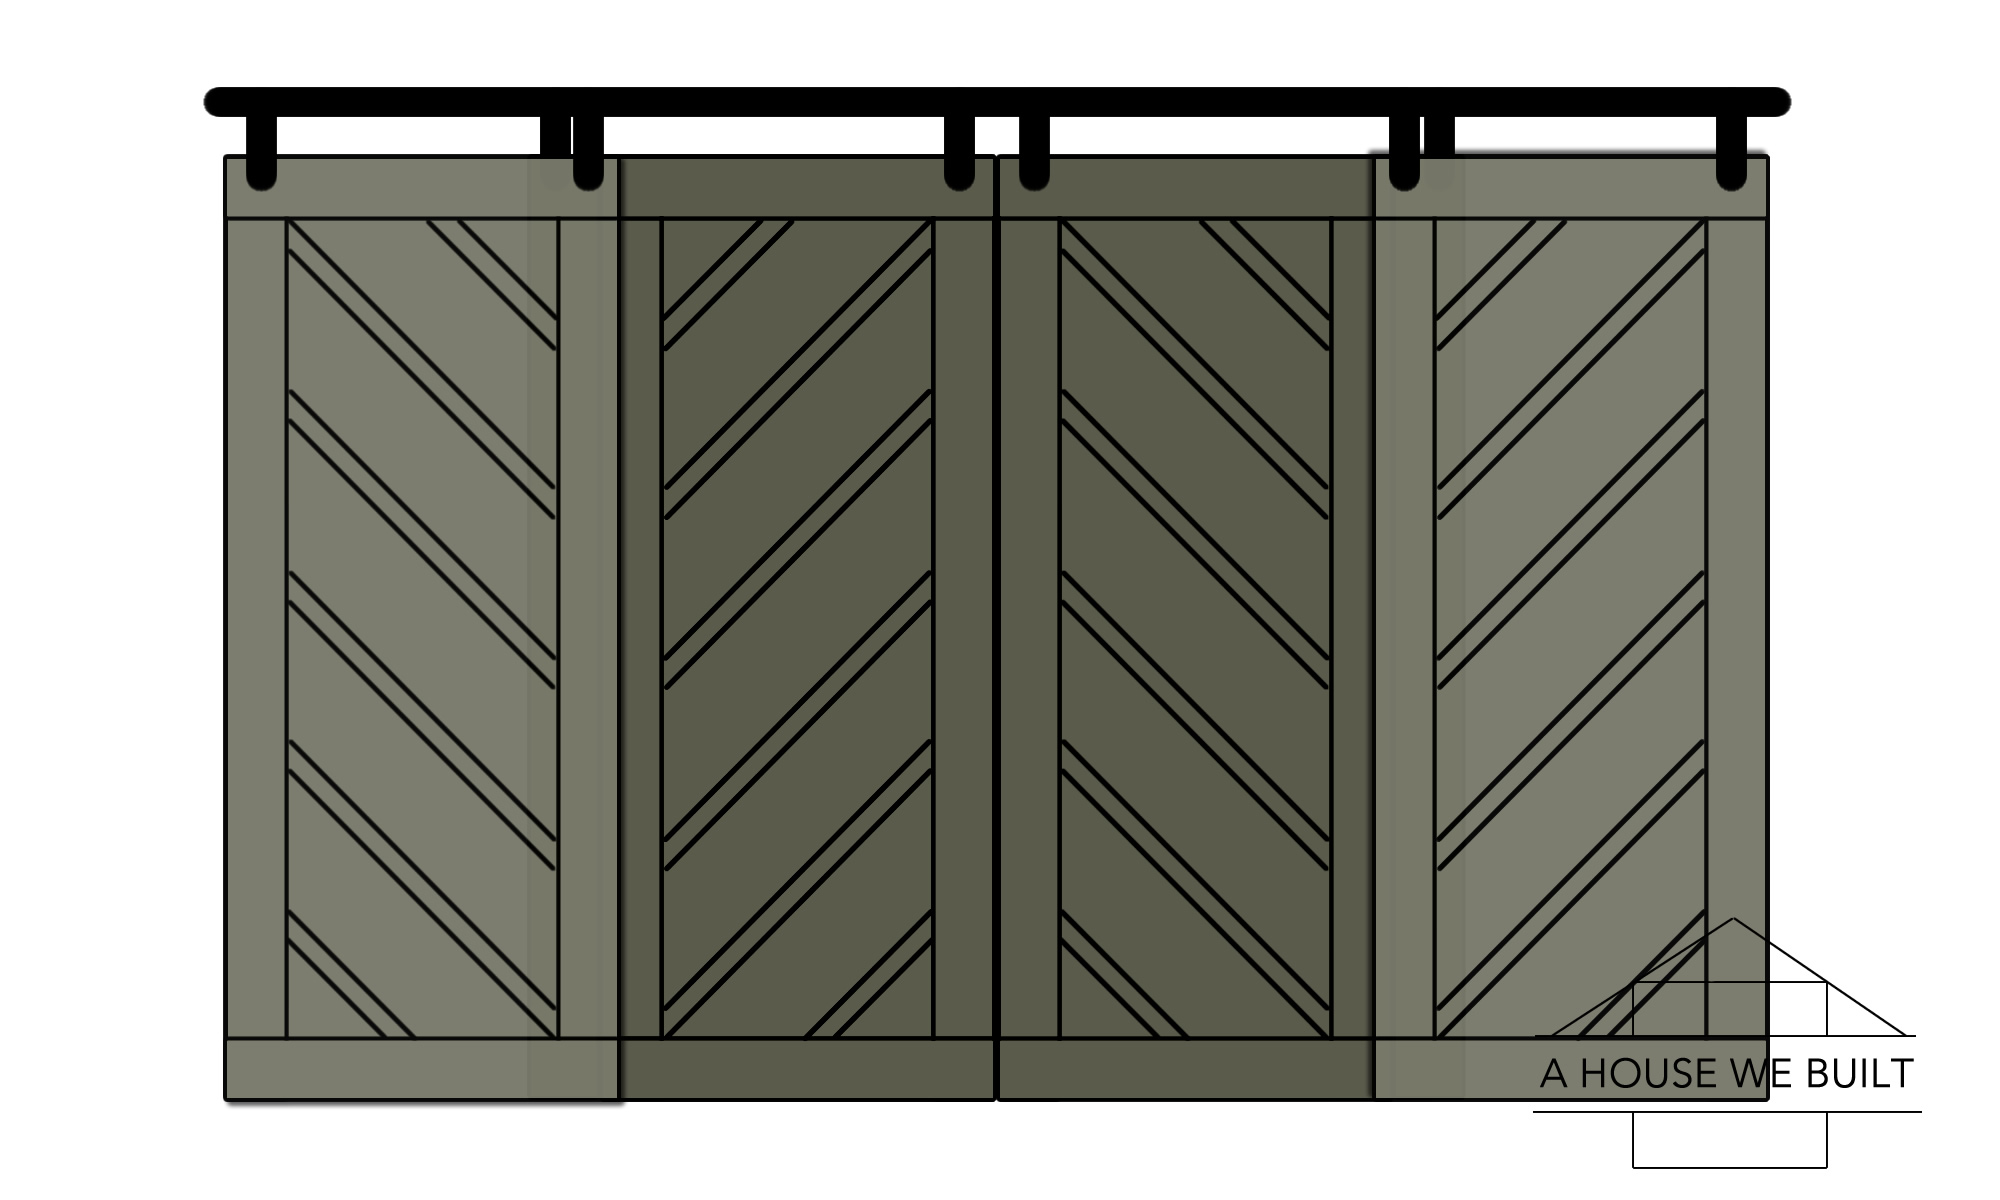
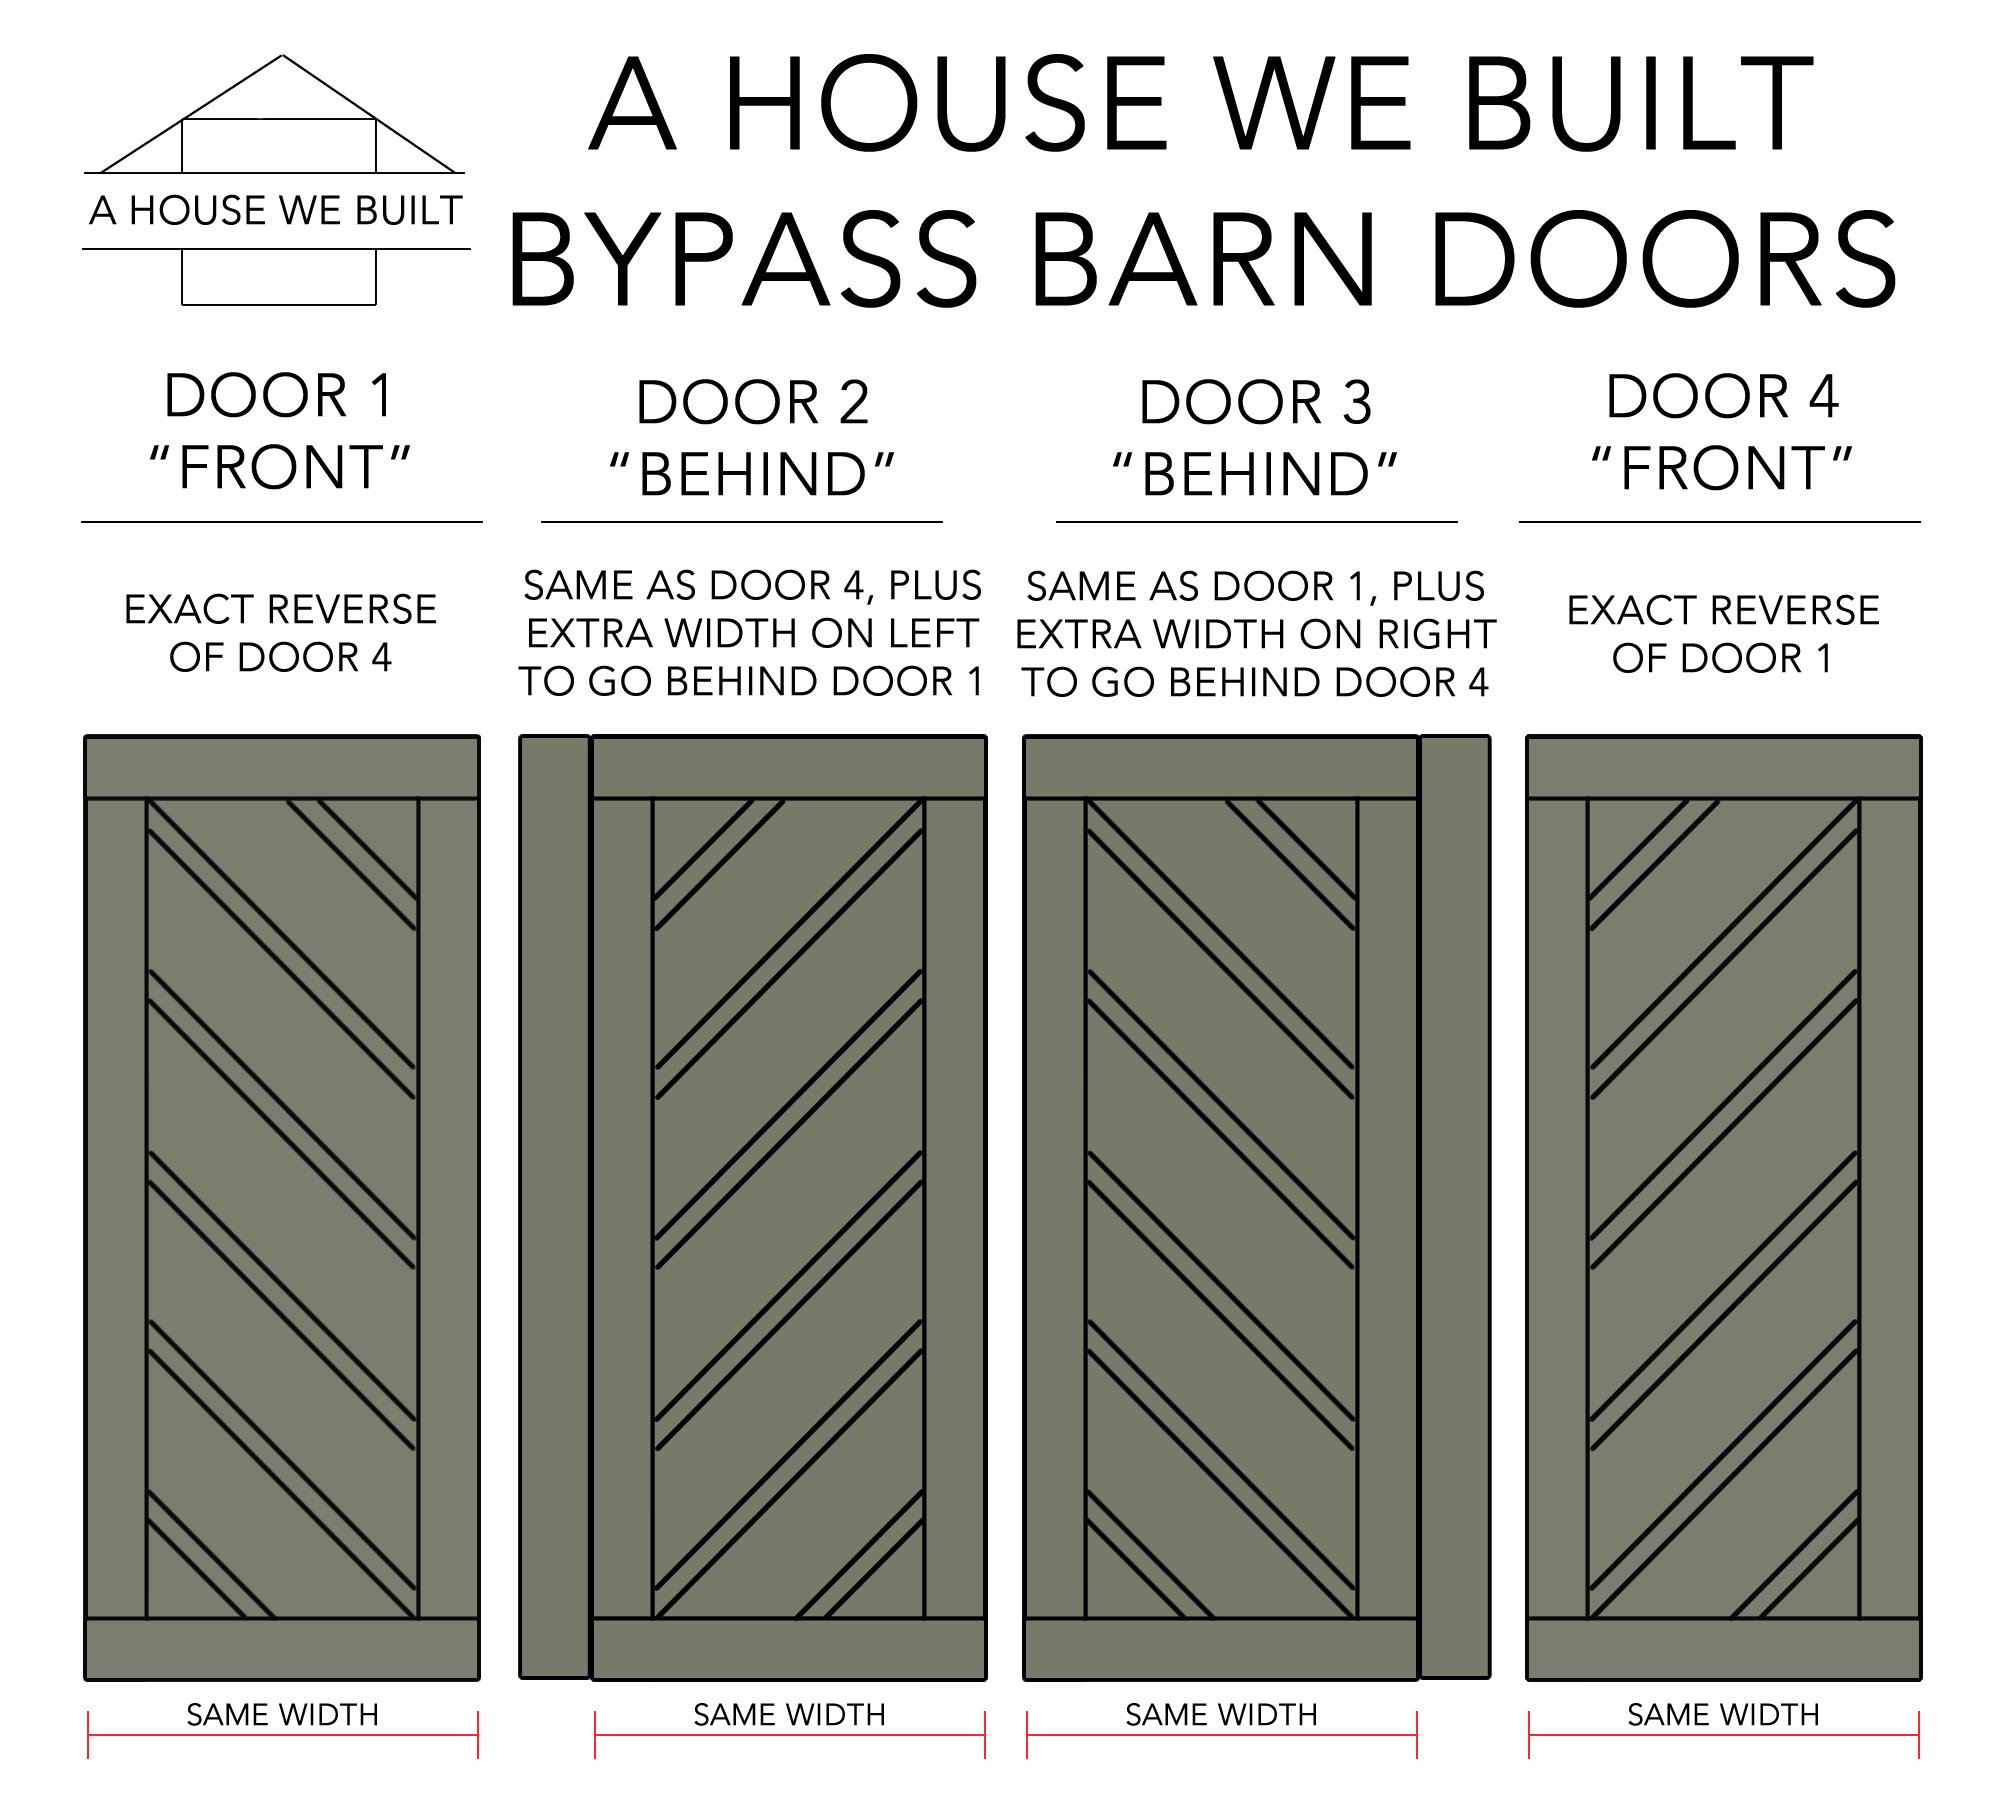
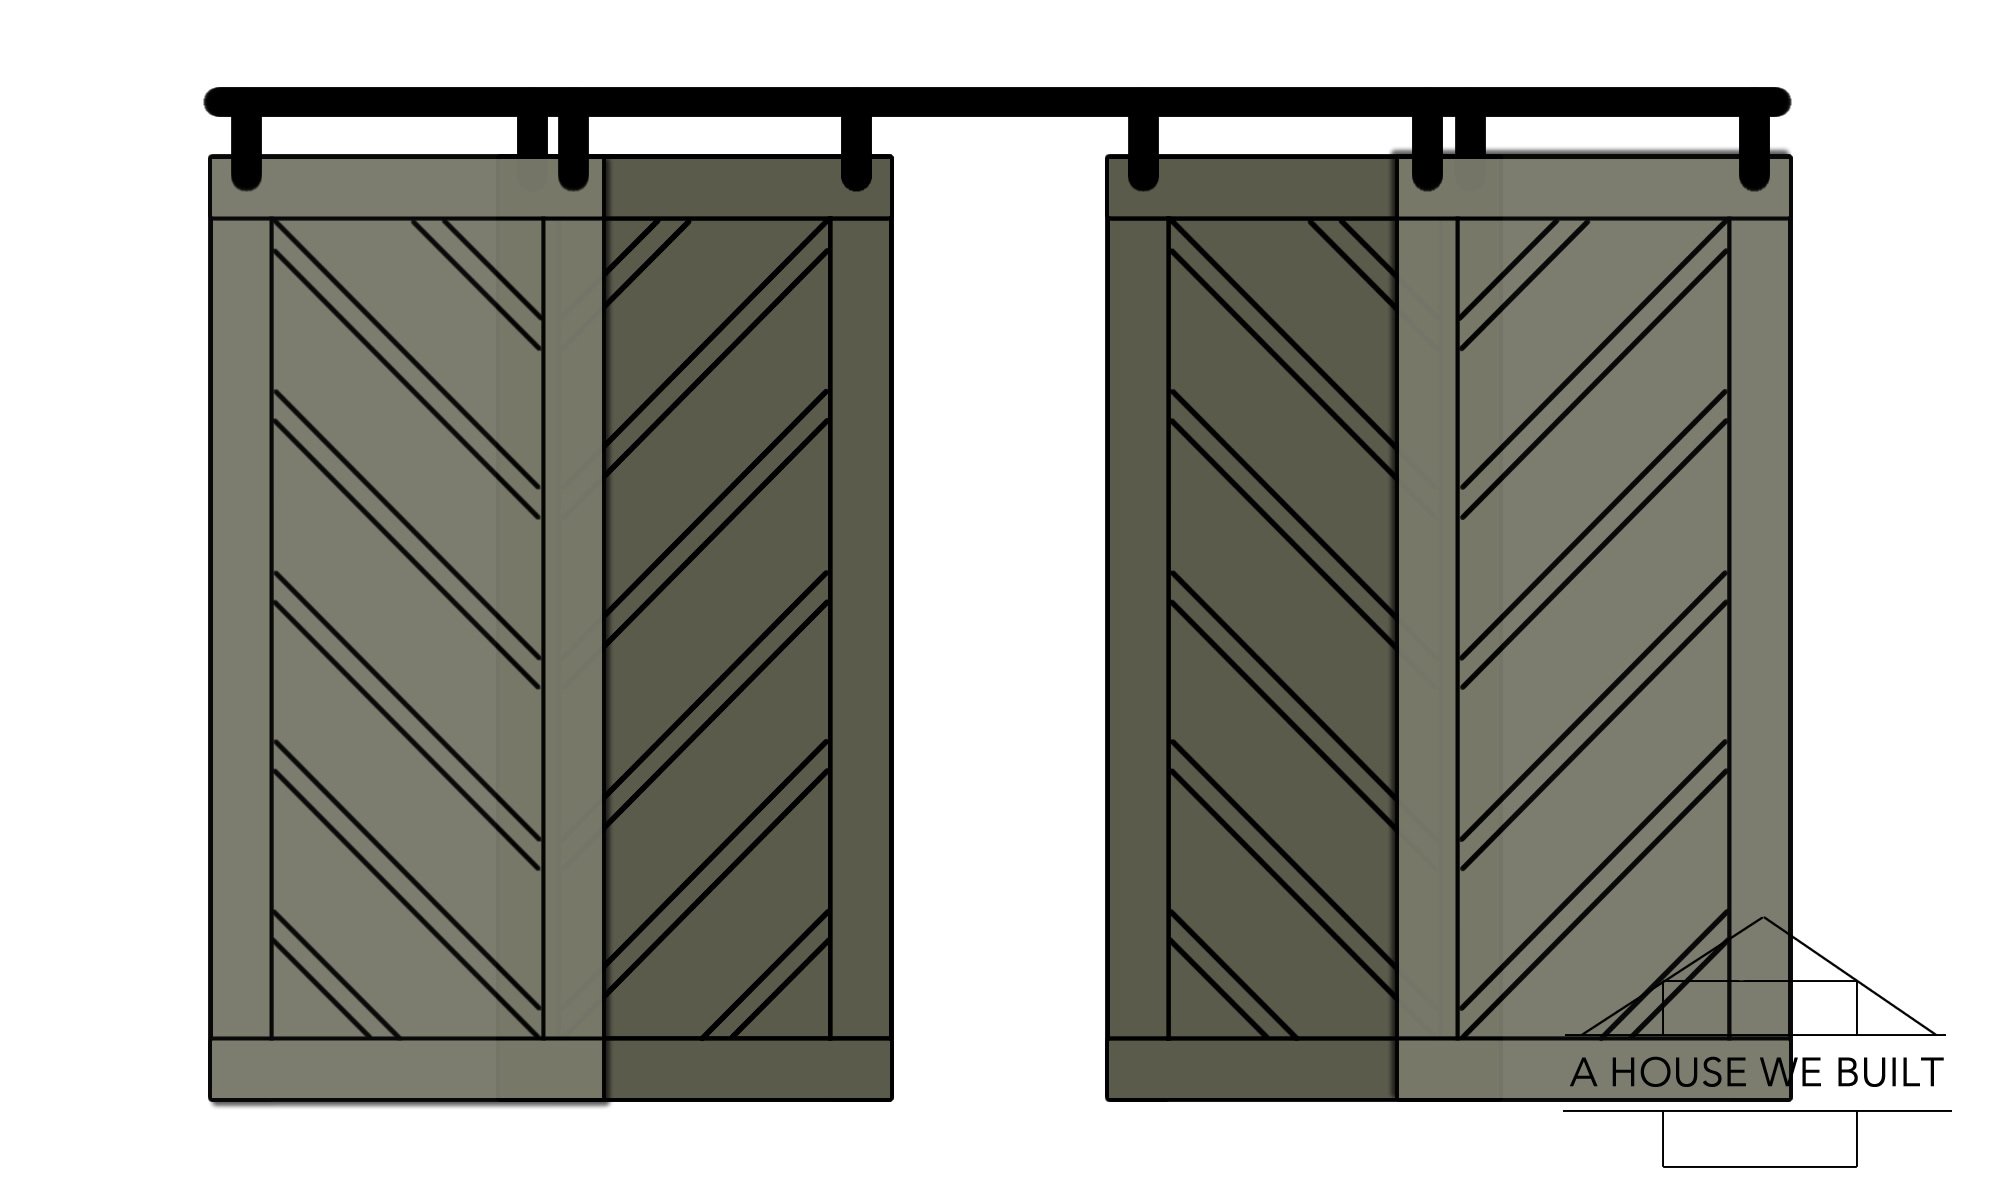
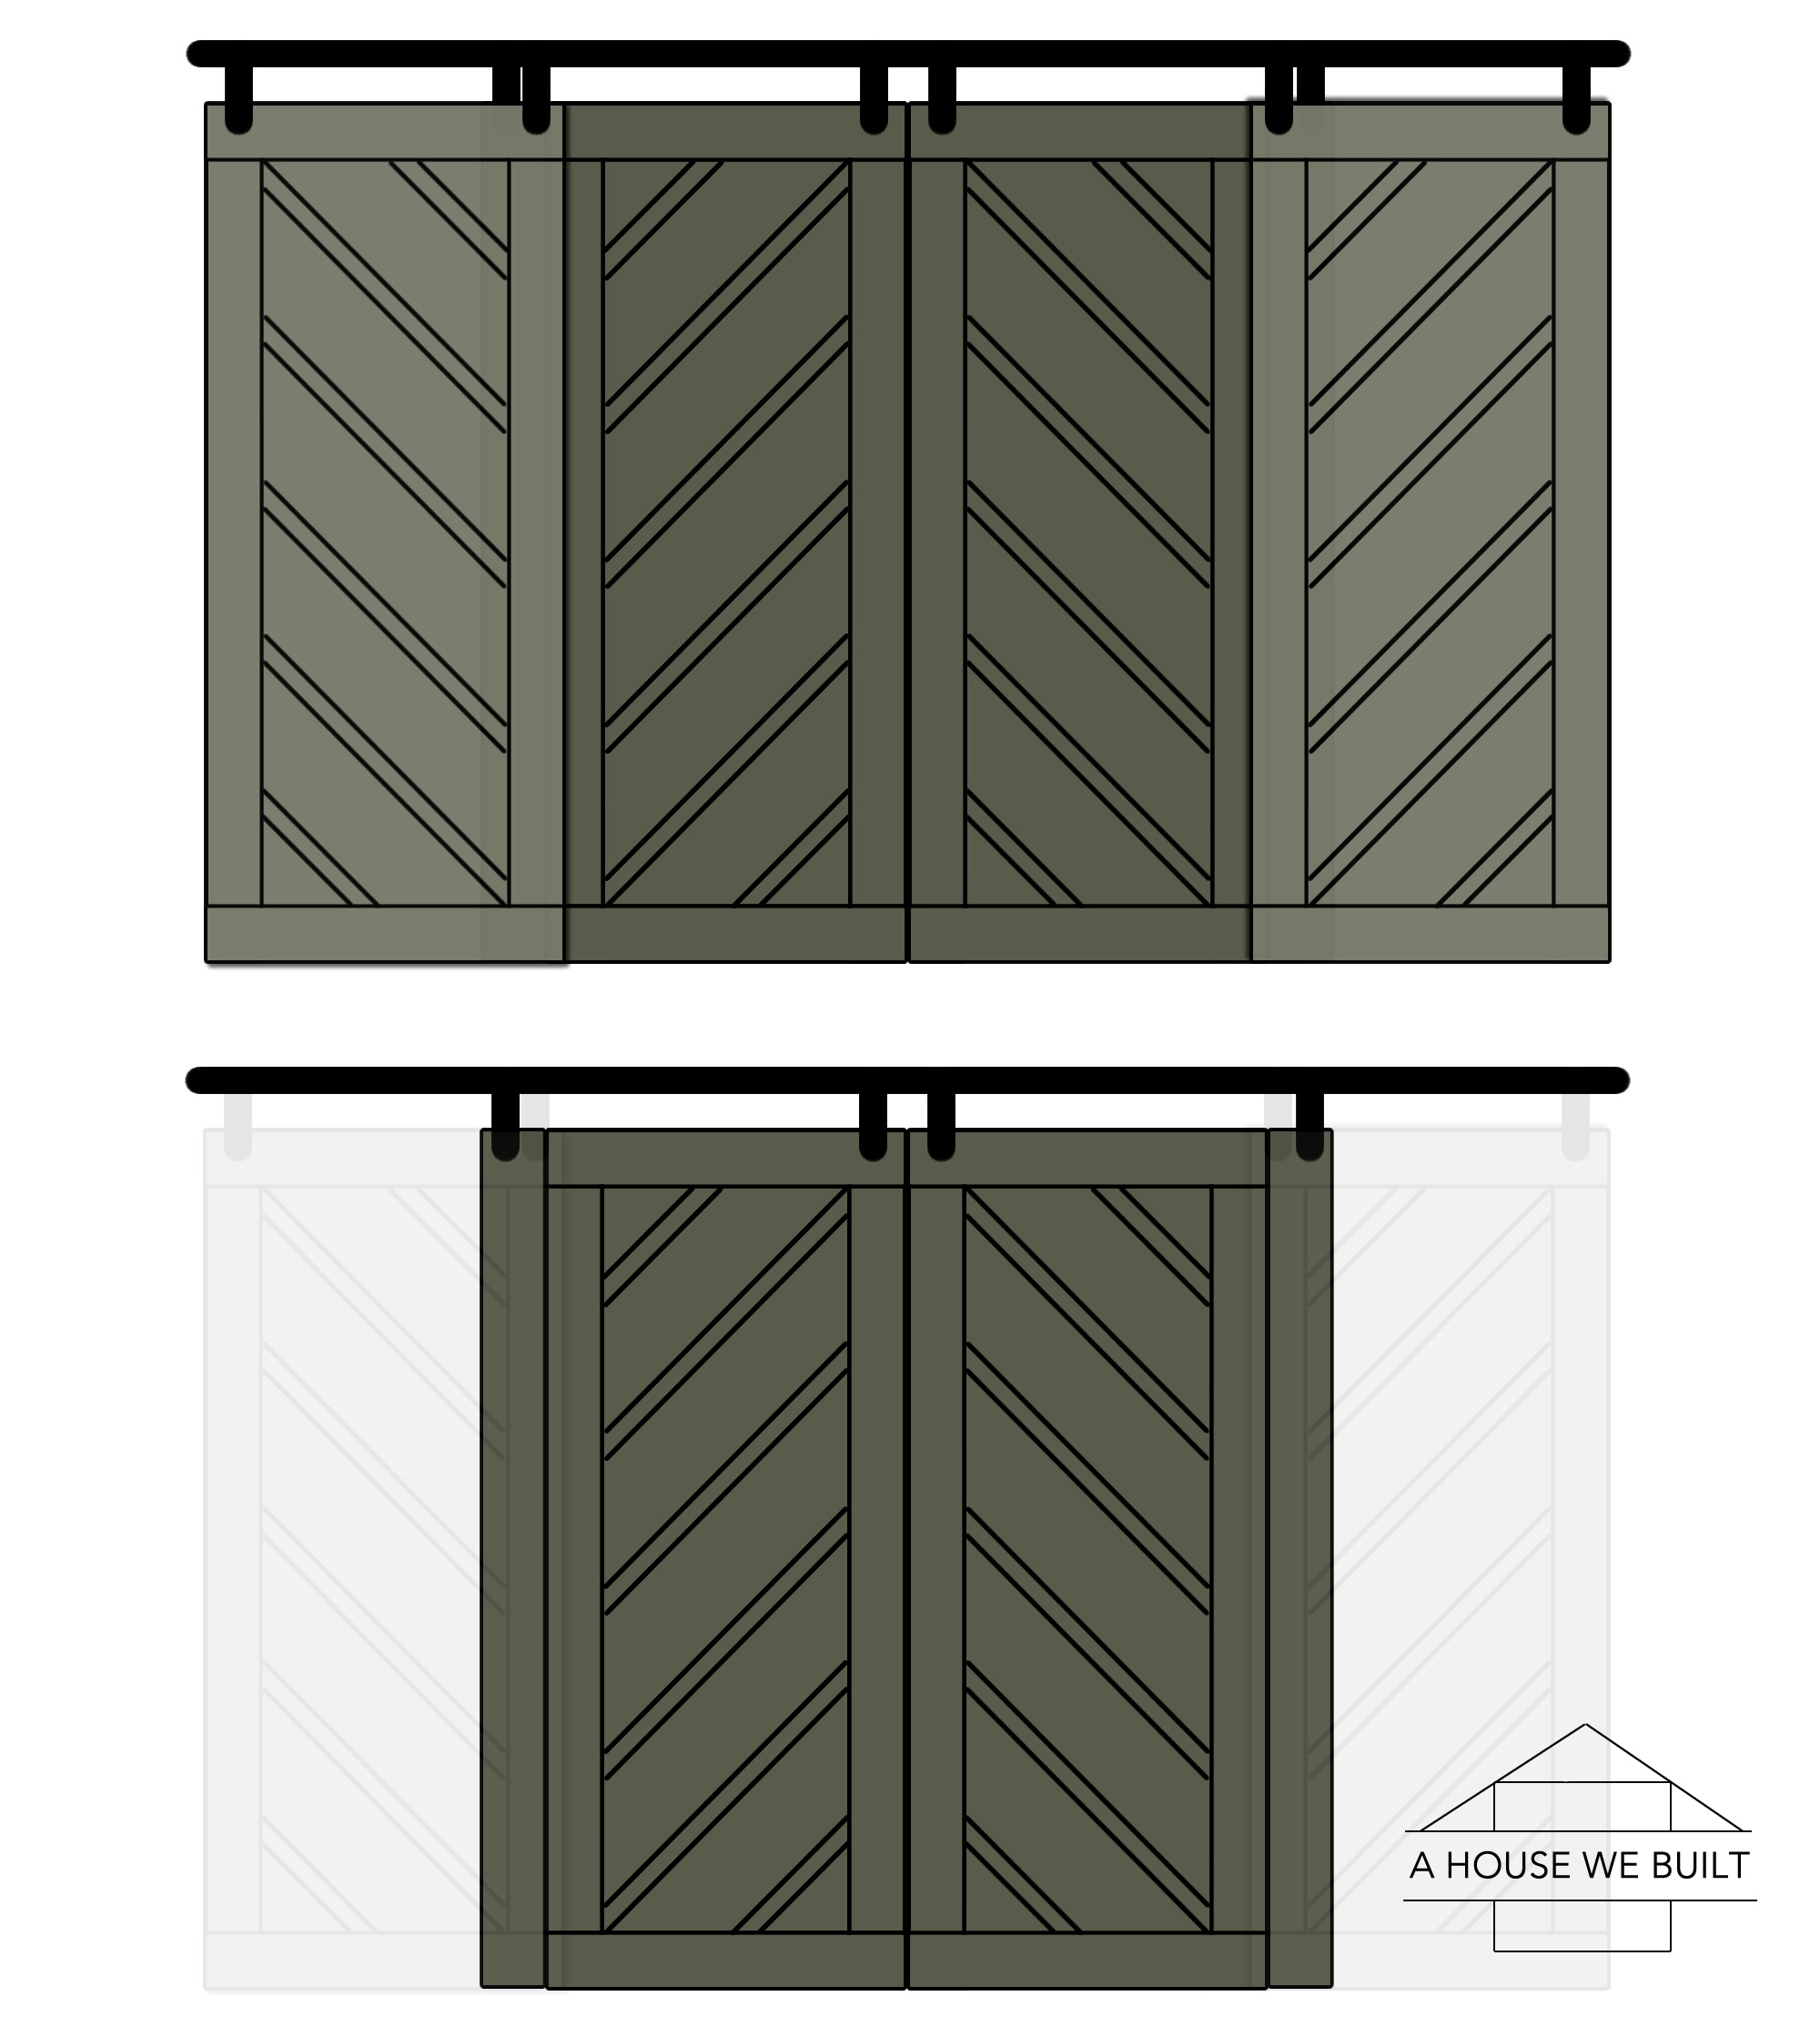
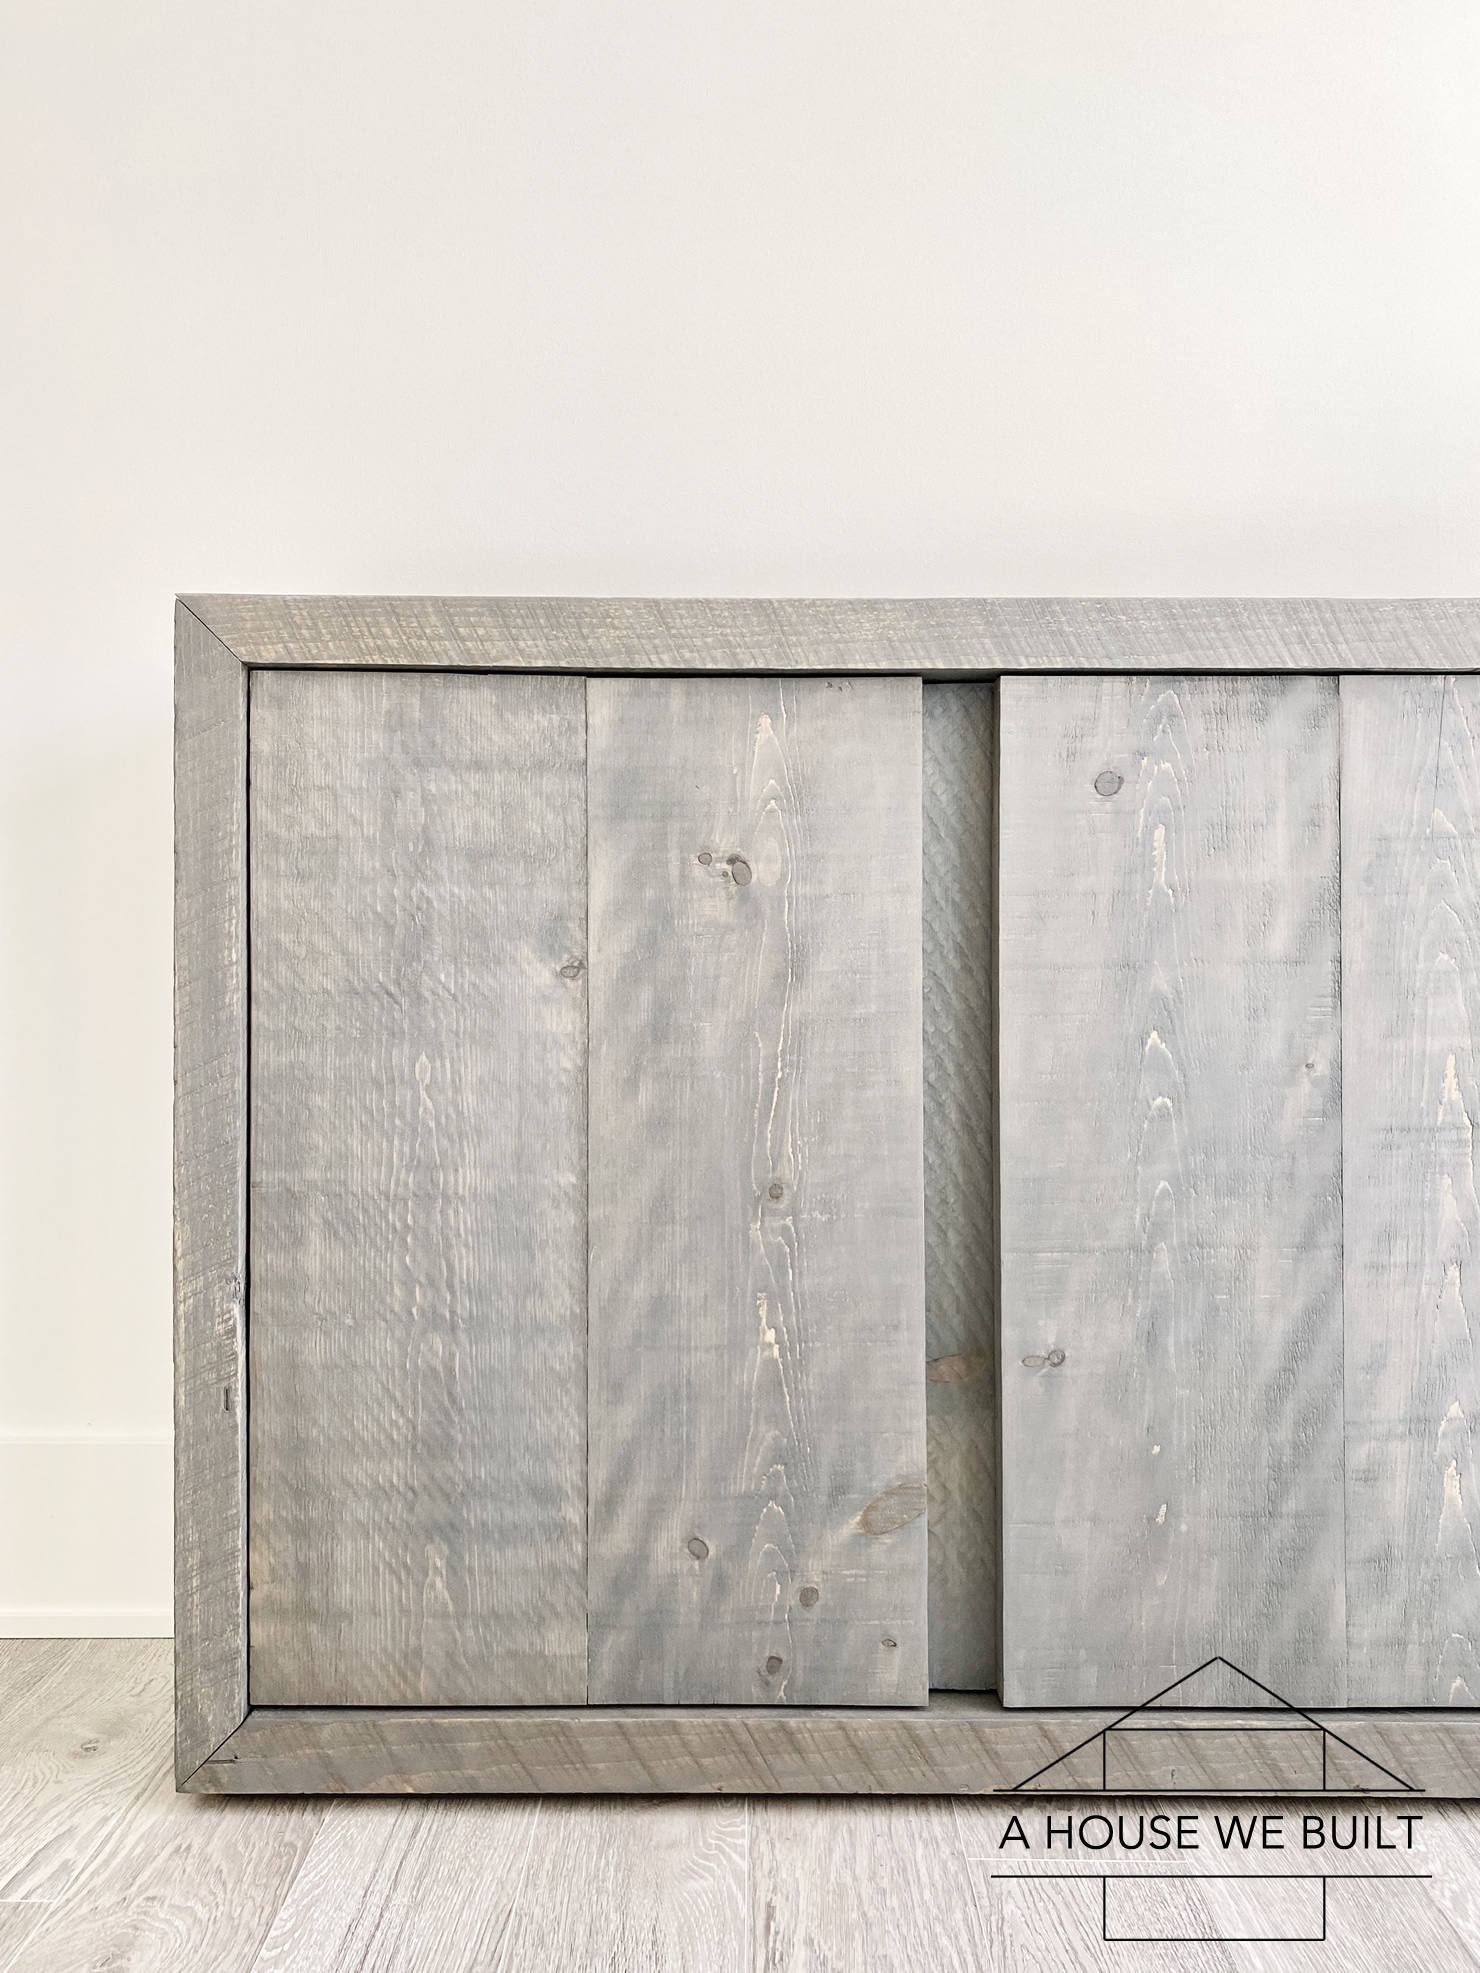
- This involves some math, but I’ll tell you what you need to calculate. Each door is made up of 2 boards with 2 bar-support pieces holding them together in the back. The idea is that we need to create 2 doors on Side A and 2 doors on Side B. Each set of doors spaced about ~ 1/8″ away from the frame. In between each set of 2 doors, we’re going to leave a gap of the same width as the support piece (ours was 2″). See my diagram for additional clarity. So, for each side (A and B), you need to calculate:
– the total width of available space
– then find the middle and mark it with a pencil
– then mark 1″ on either side of the middle point to create a 2″ space (or however big you want your gap to be) directly in the middle of each side and mark your frame with a pencil
– then find the width of your doors: measure the distance from your 2″ gap-mark to the frame, deduct ~ 1/8″ (clearance for your door) and that’s your full door width. Then divide that by 2 to find the width of the two planks that make up your door. Write this down.
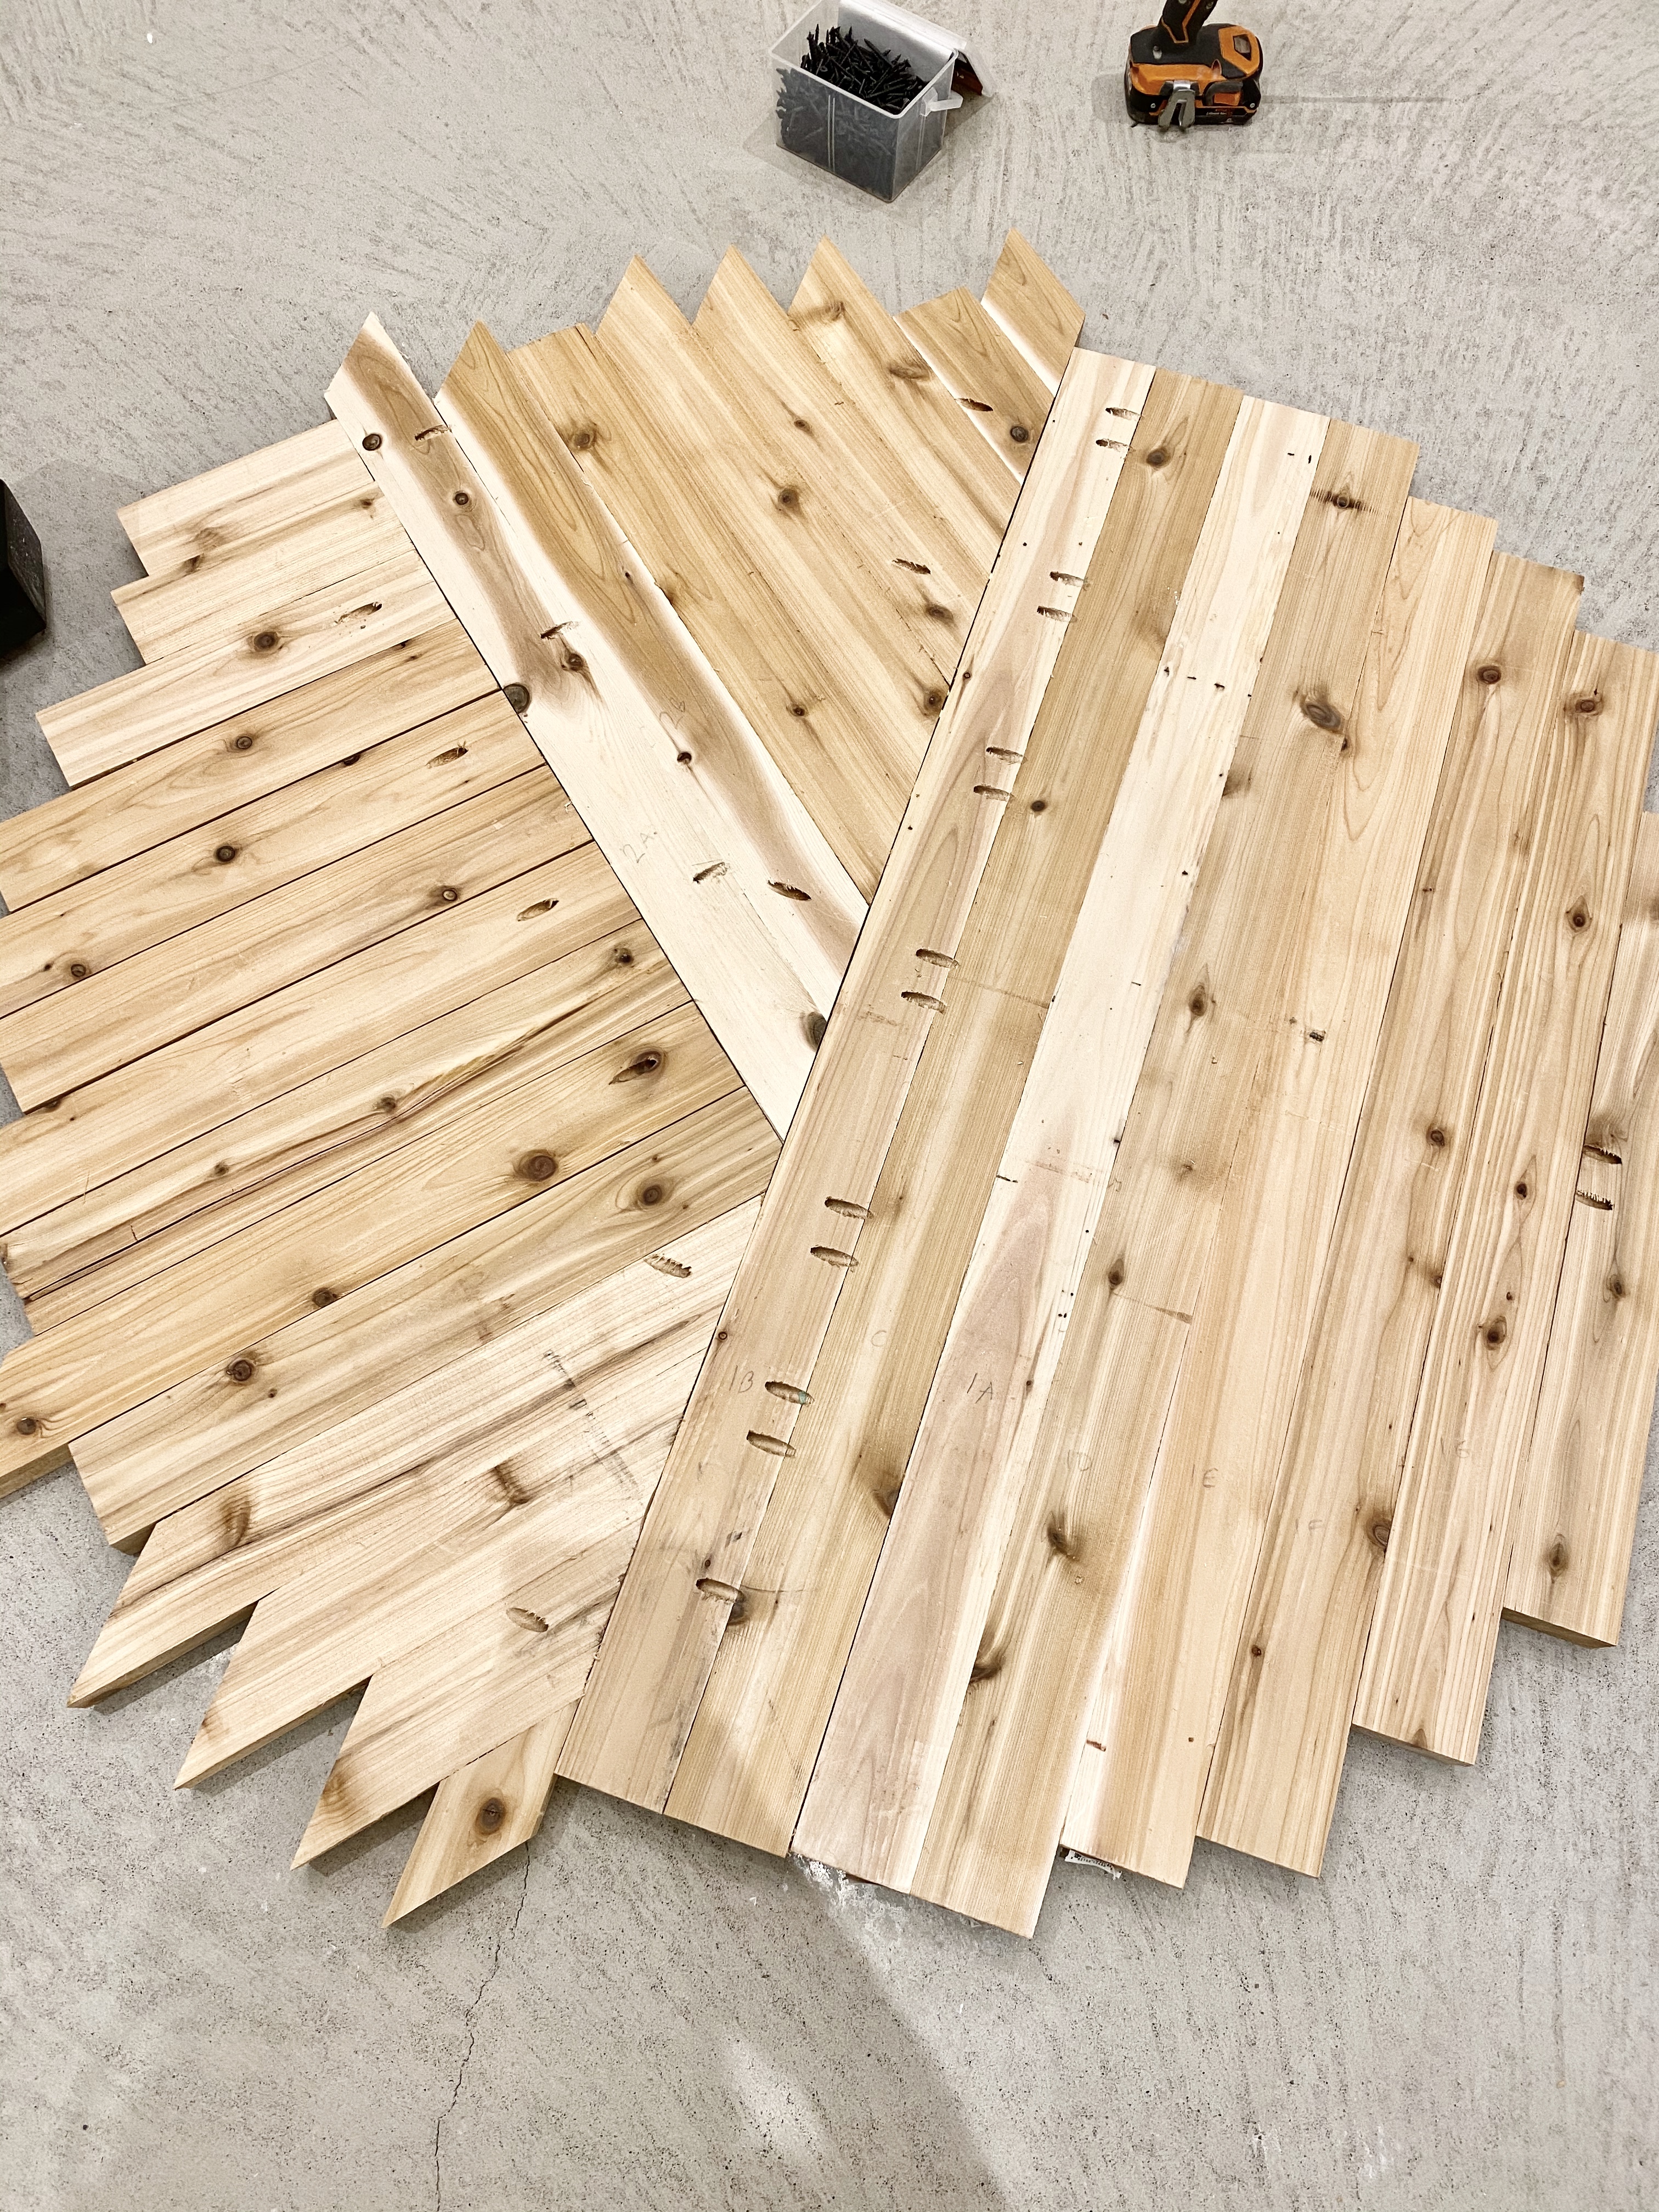
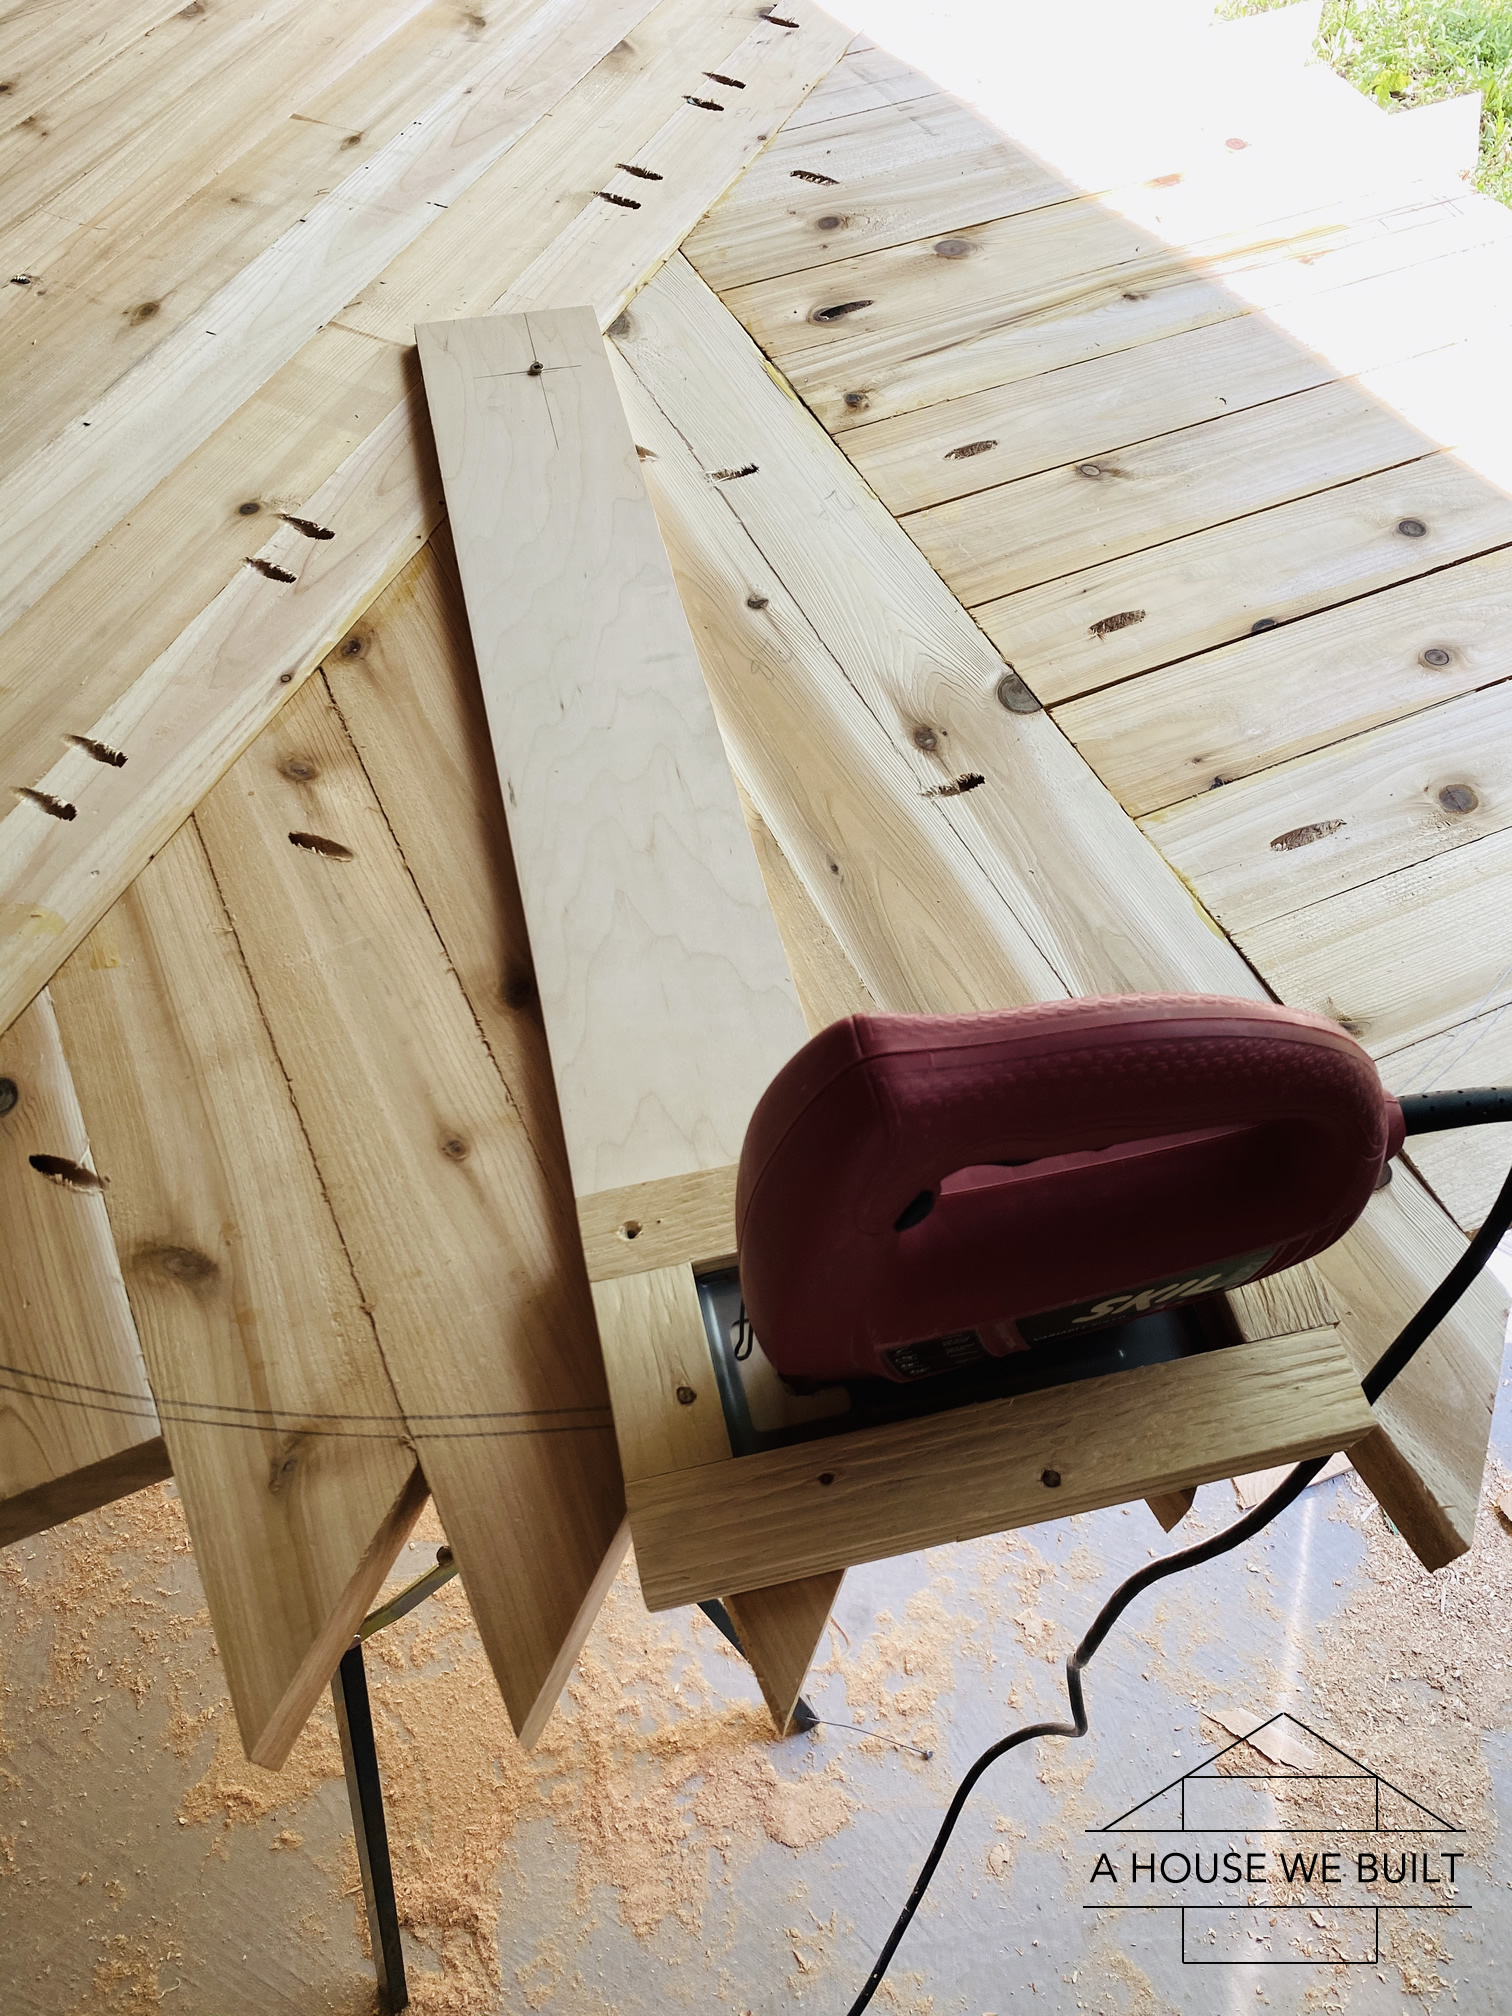
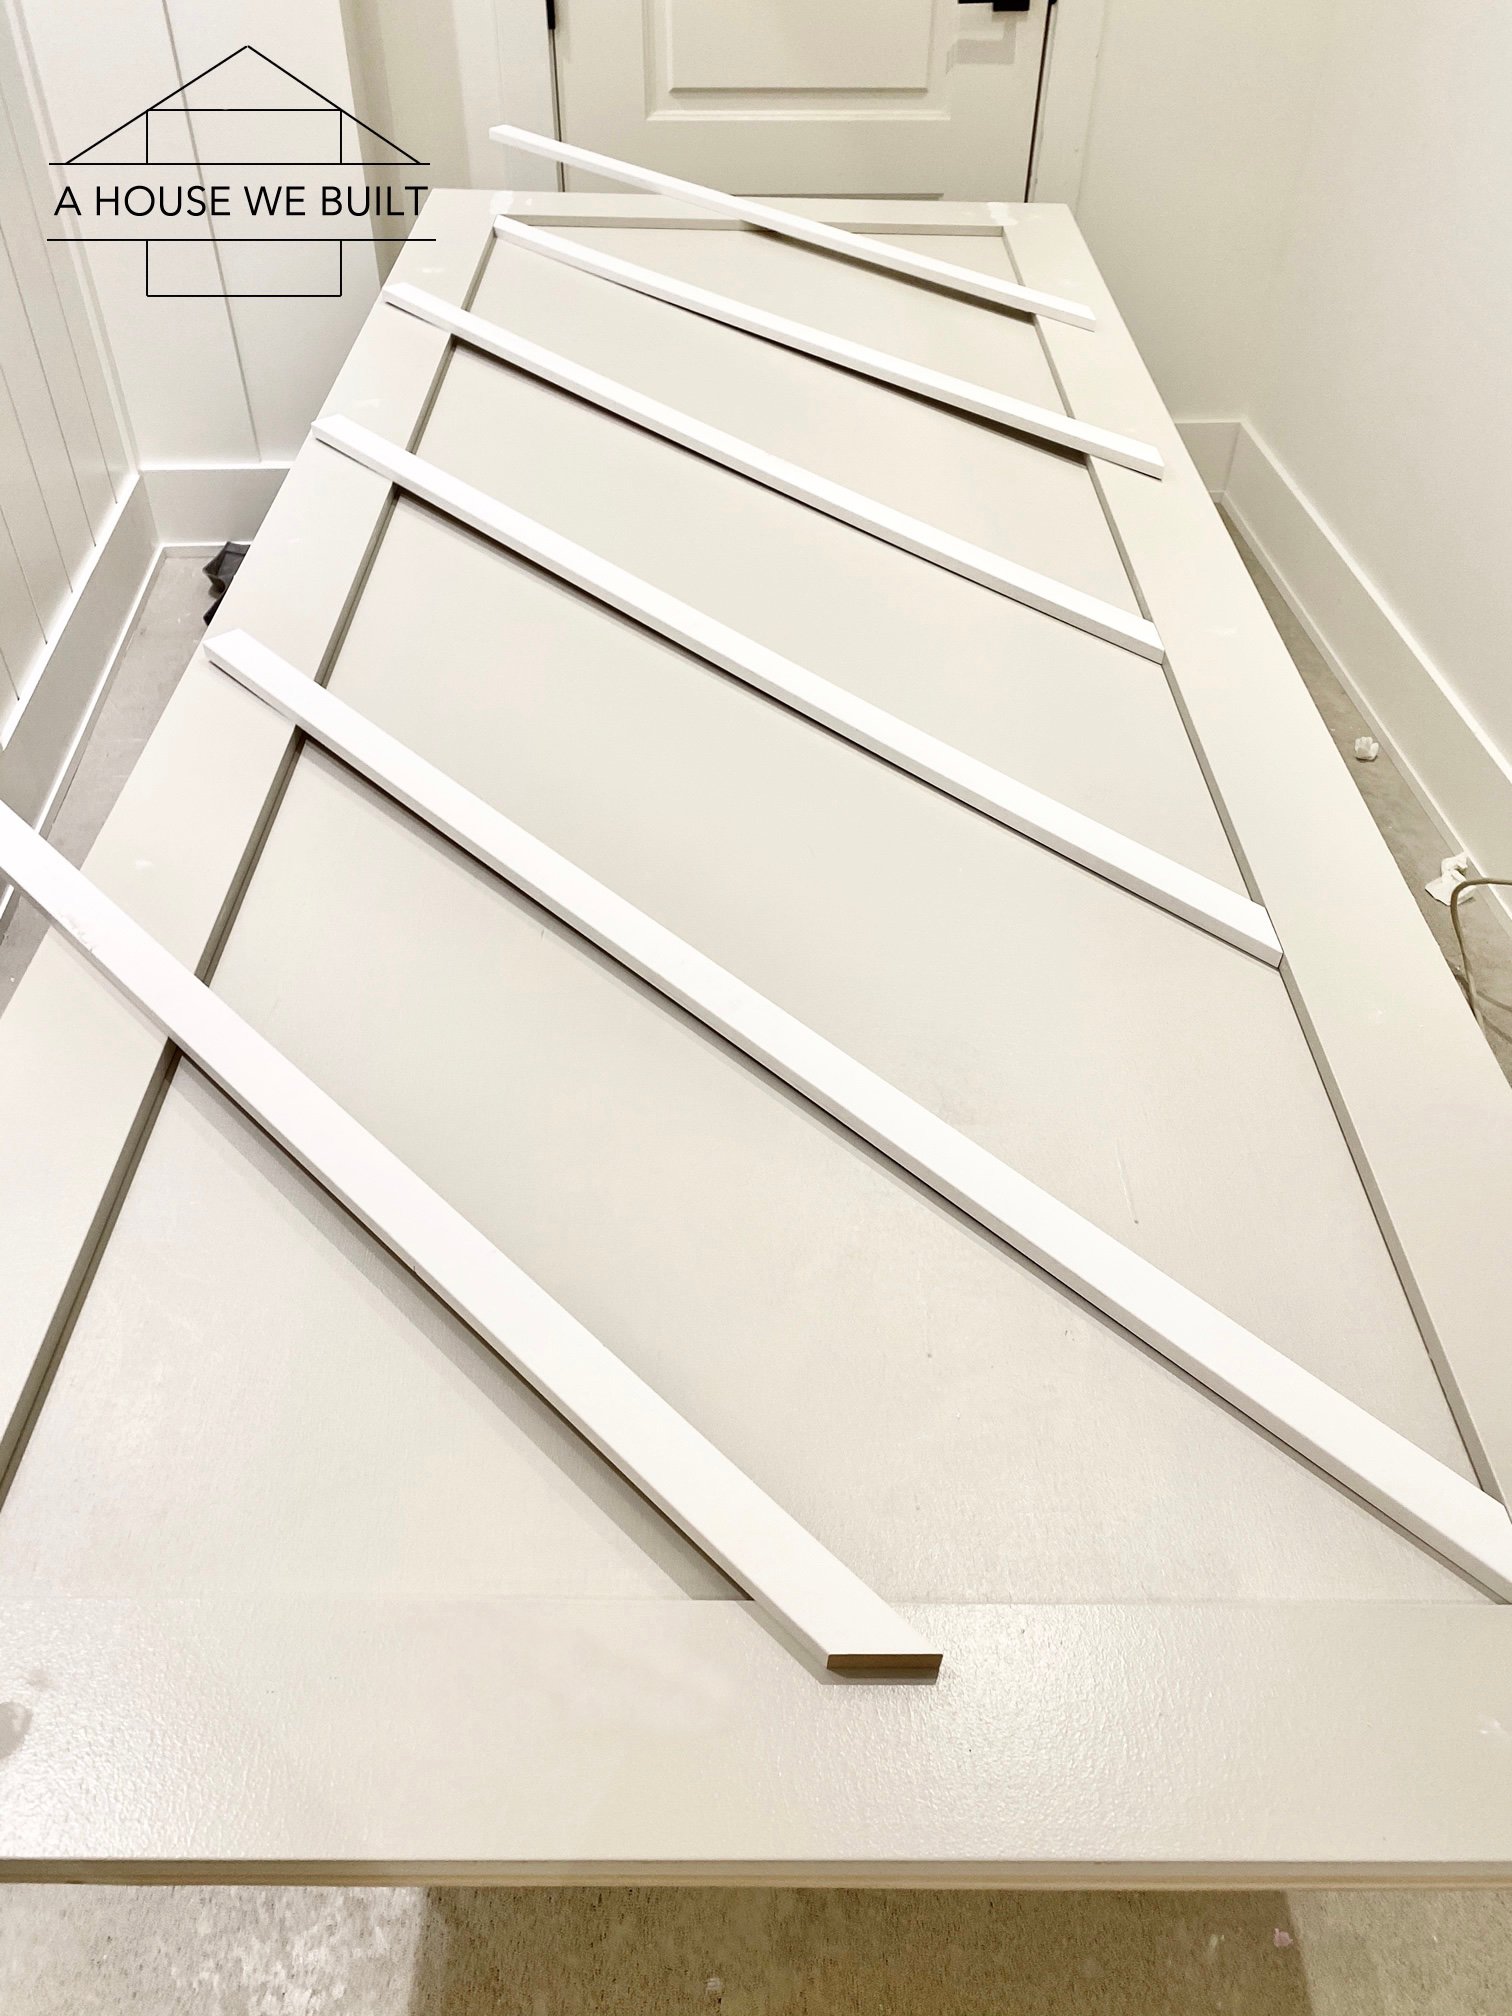
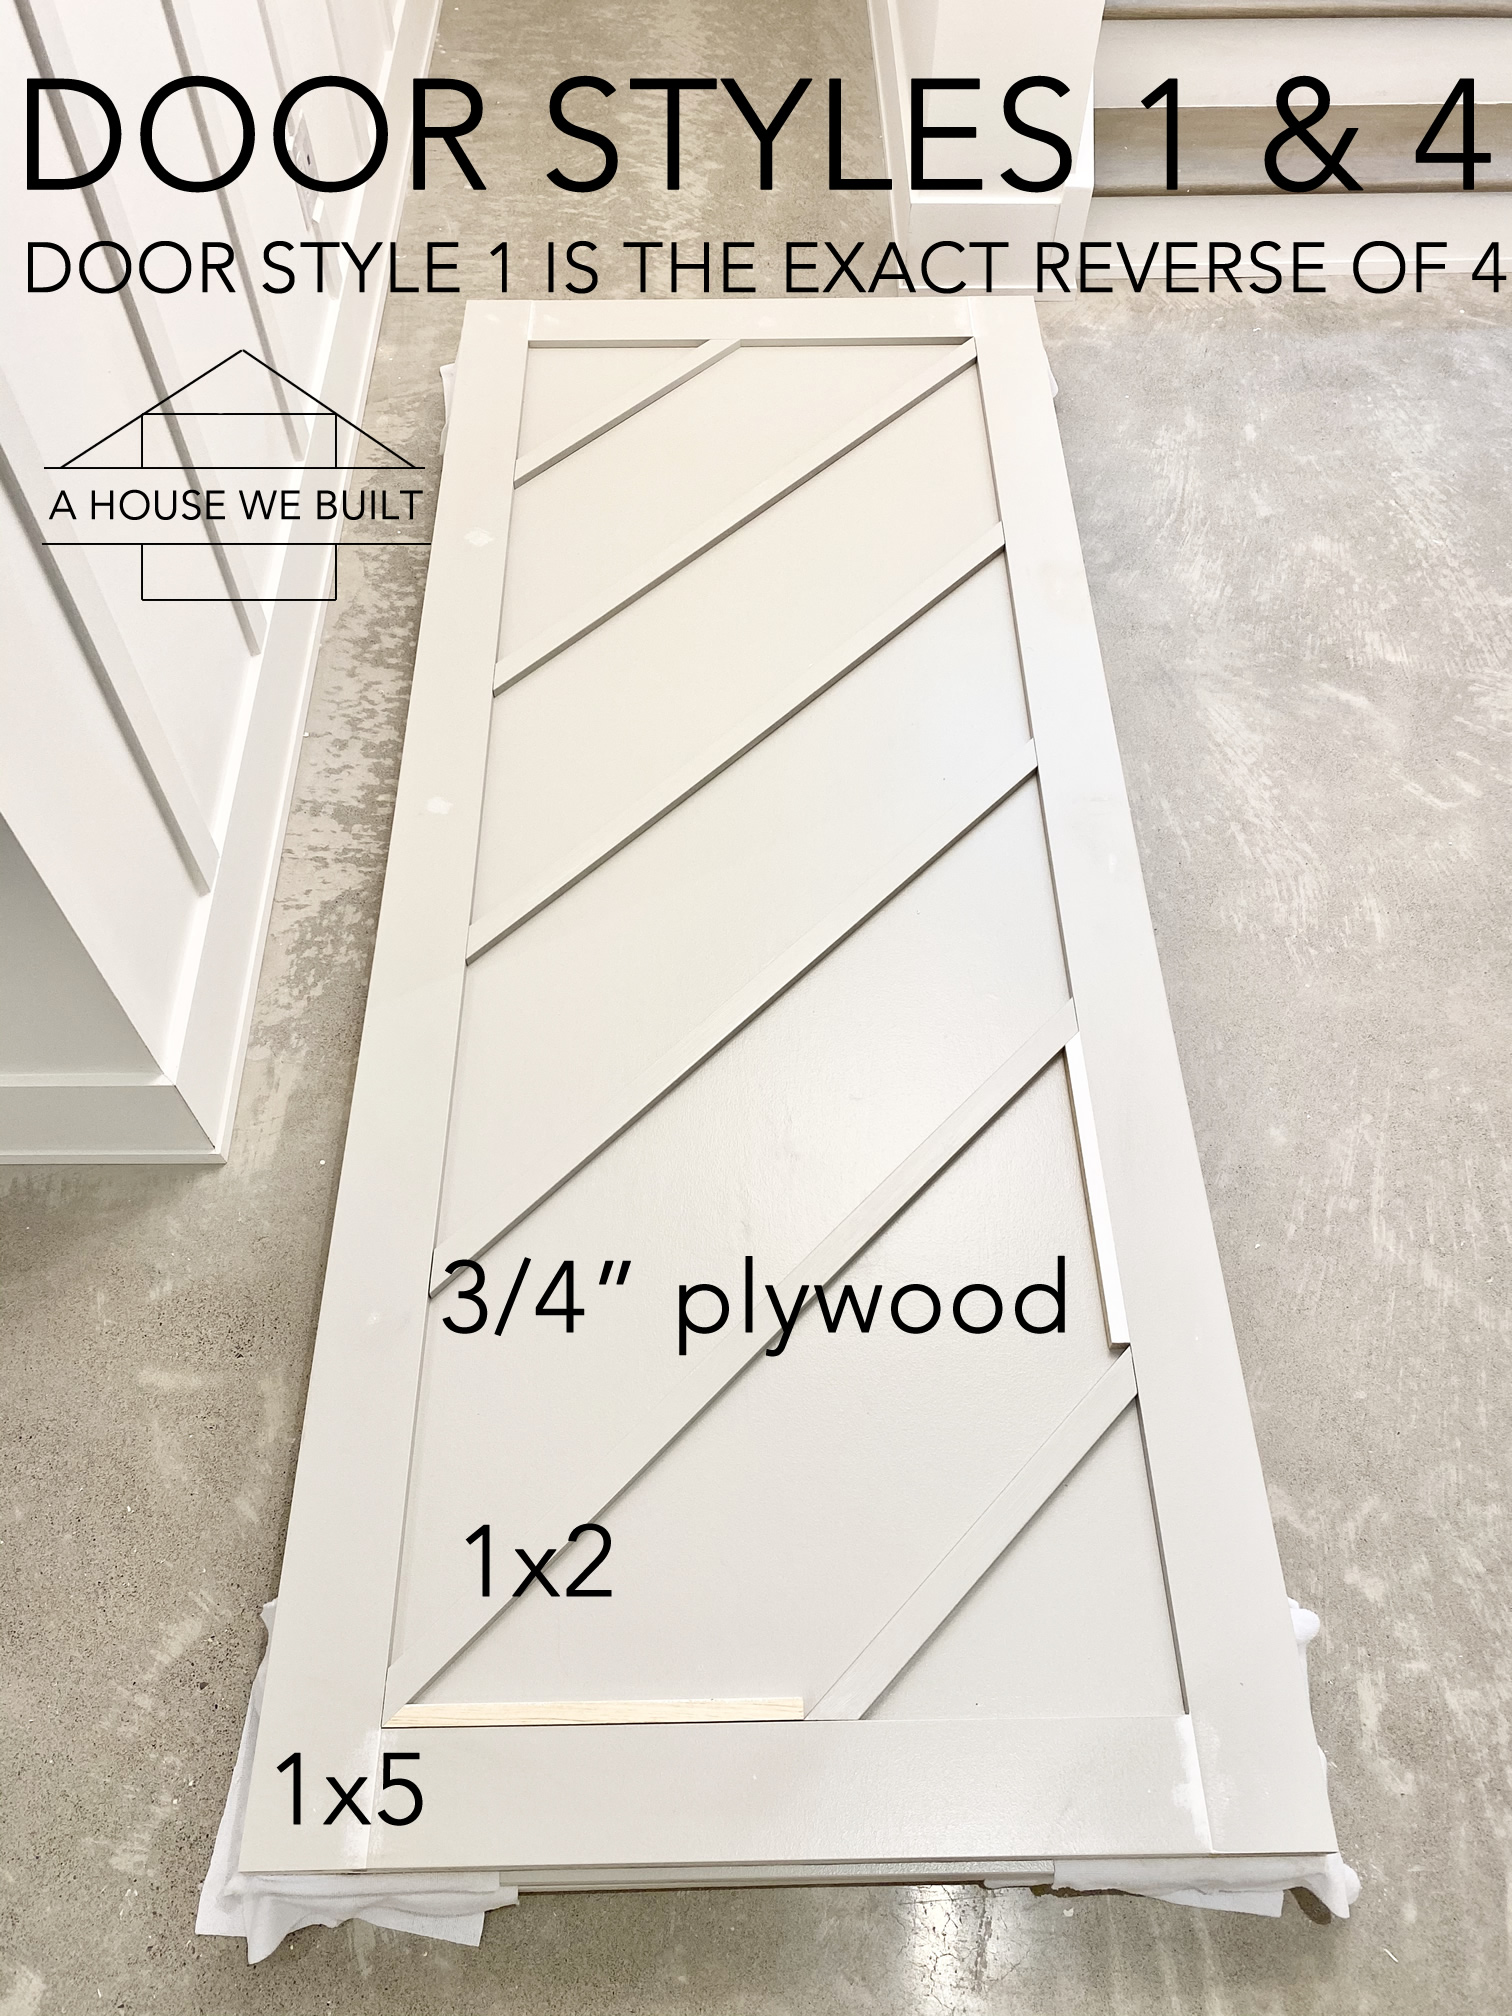
– then find the height of your doors: measure the distance between the top and bottom frame, deduct 1/4″ (1/8″ clearance x 2), and that’s your door height. Write this down. Note: if your wood is warped, the heights may vary along the length of the frame. Each of our door heights varied by about 1/8″ to 1/16″ but you can’t tell in the end because we fit them well to the space and your eye accepts it as straight. - Cut and rip your 1x12x8 planks to size for your doors. We found it was easier to first use the miter saw (Home Depot | Amazon) to cut the full boards into the heights of the doors (marking them on the sides 1,2,3,4,5,6,7,8 so we could identify each door), then use the table saw (Home Depot | Amazon) rip them down to the widths you need.
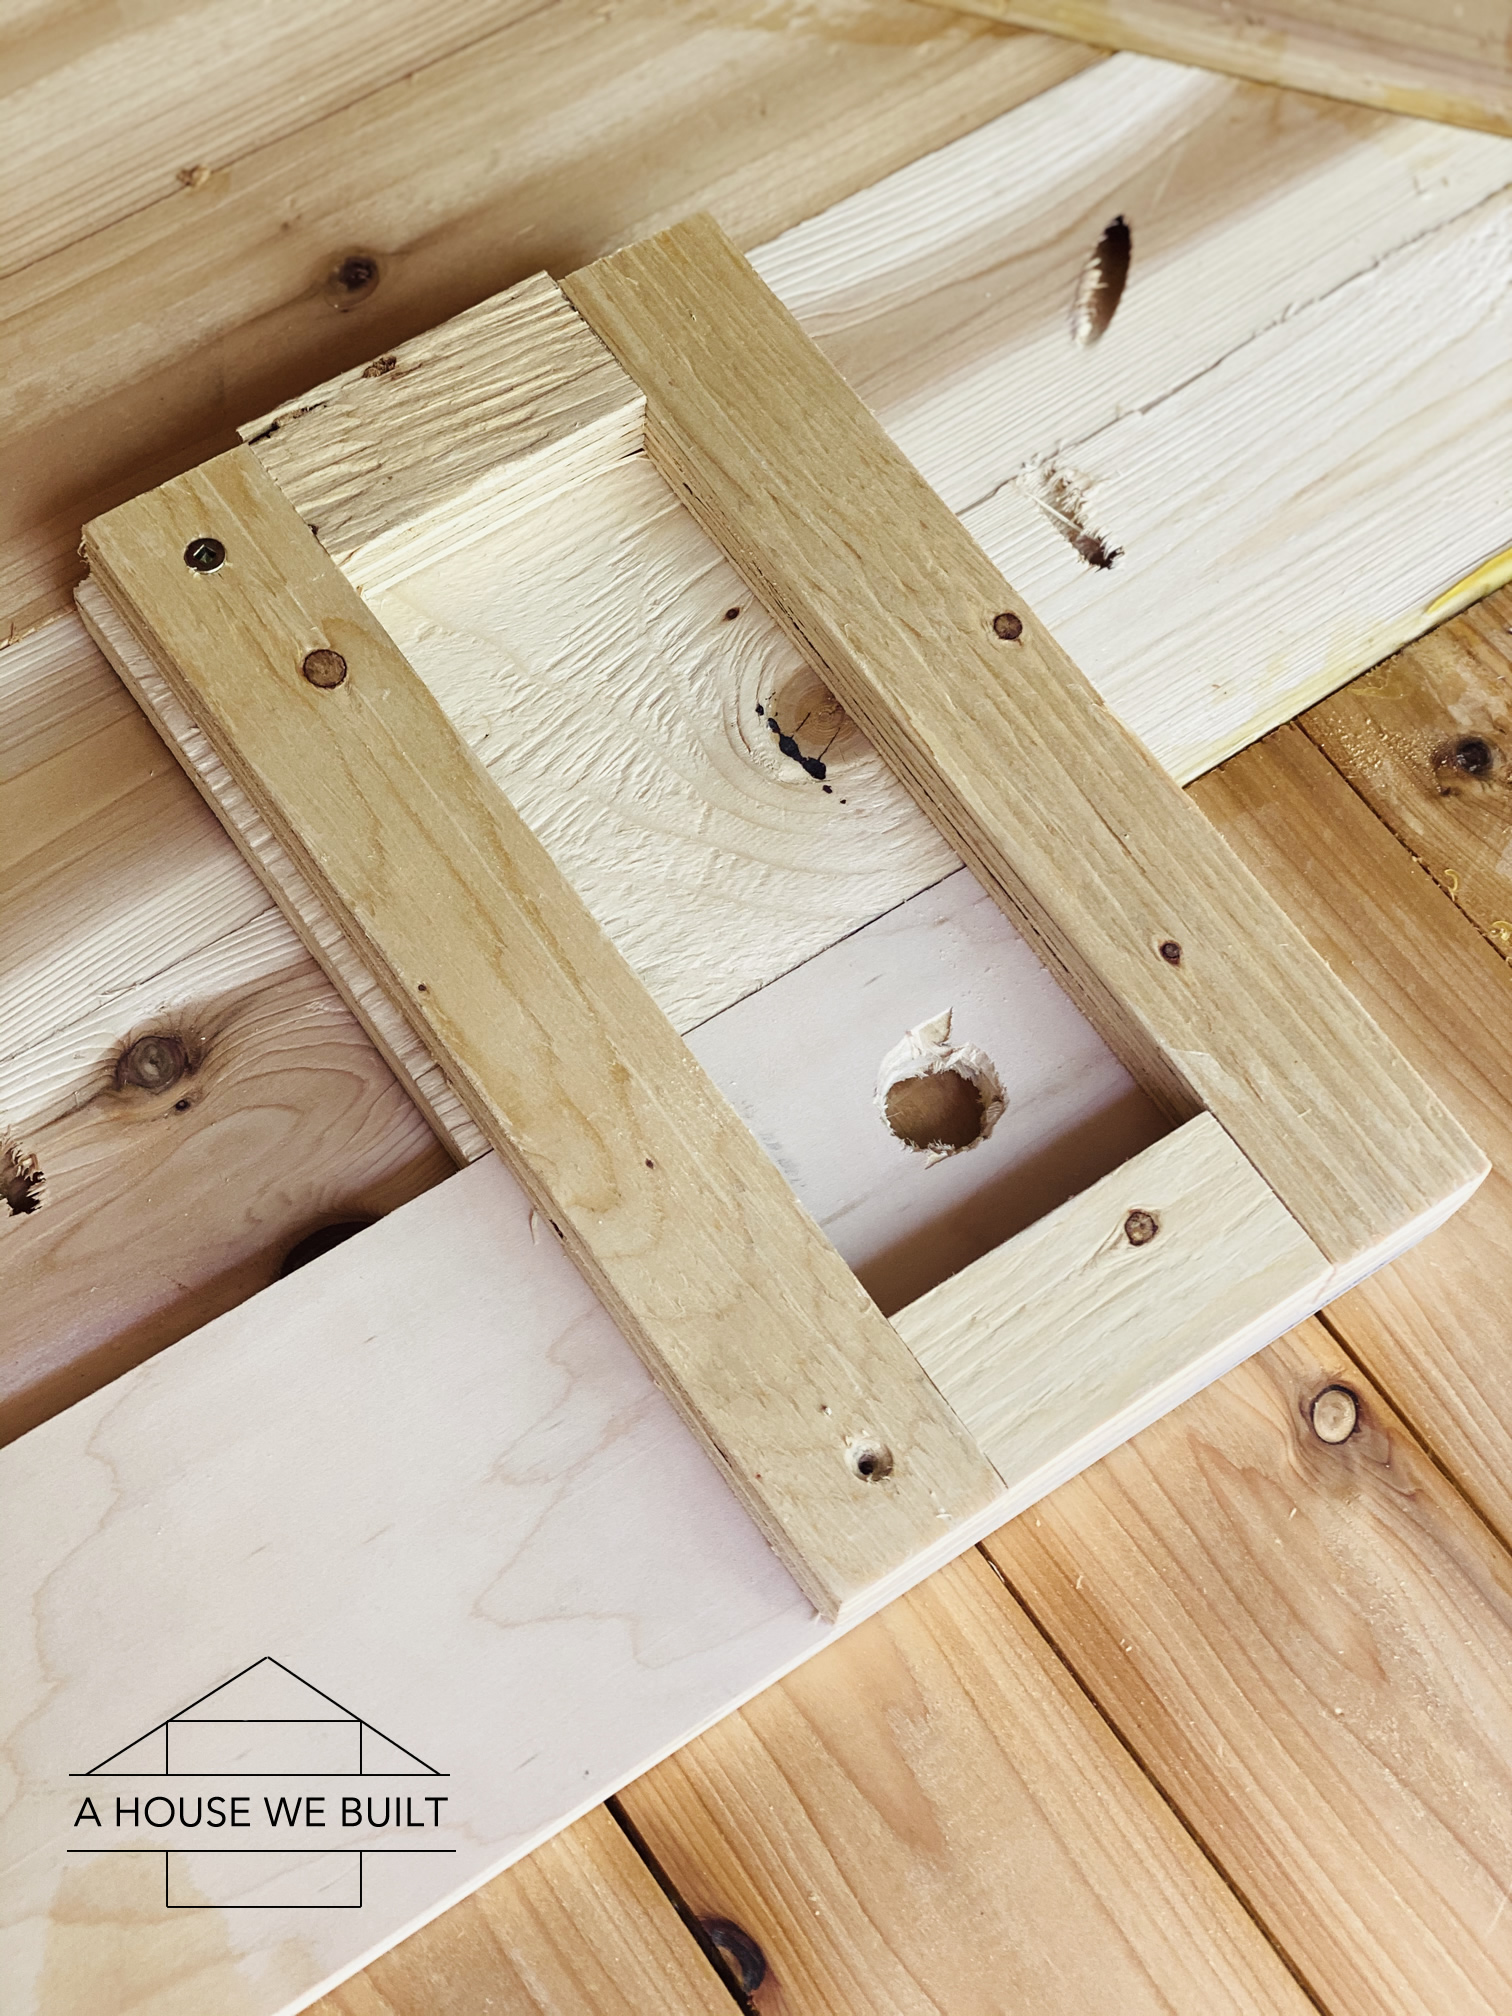
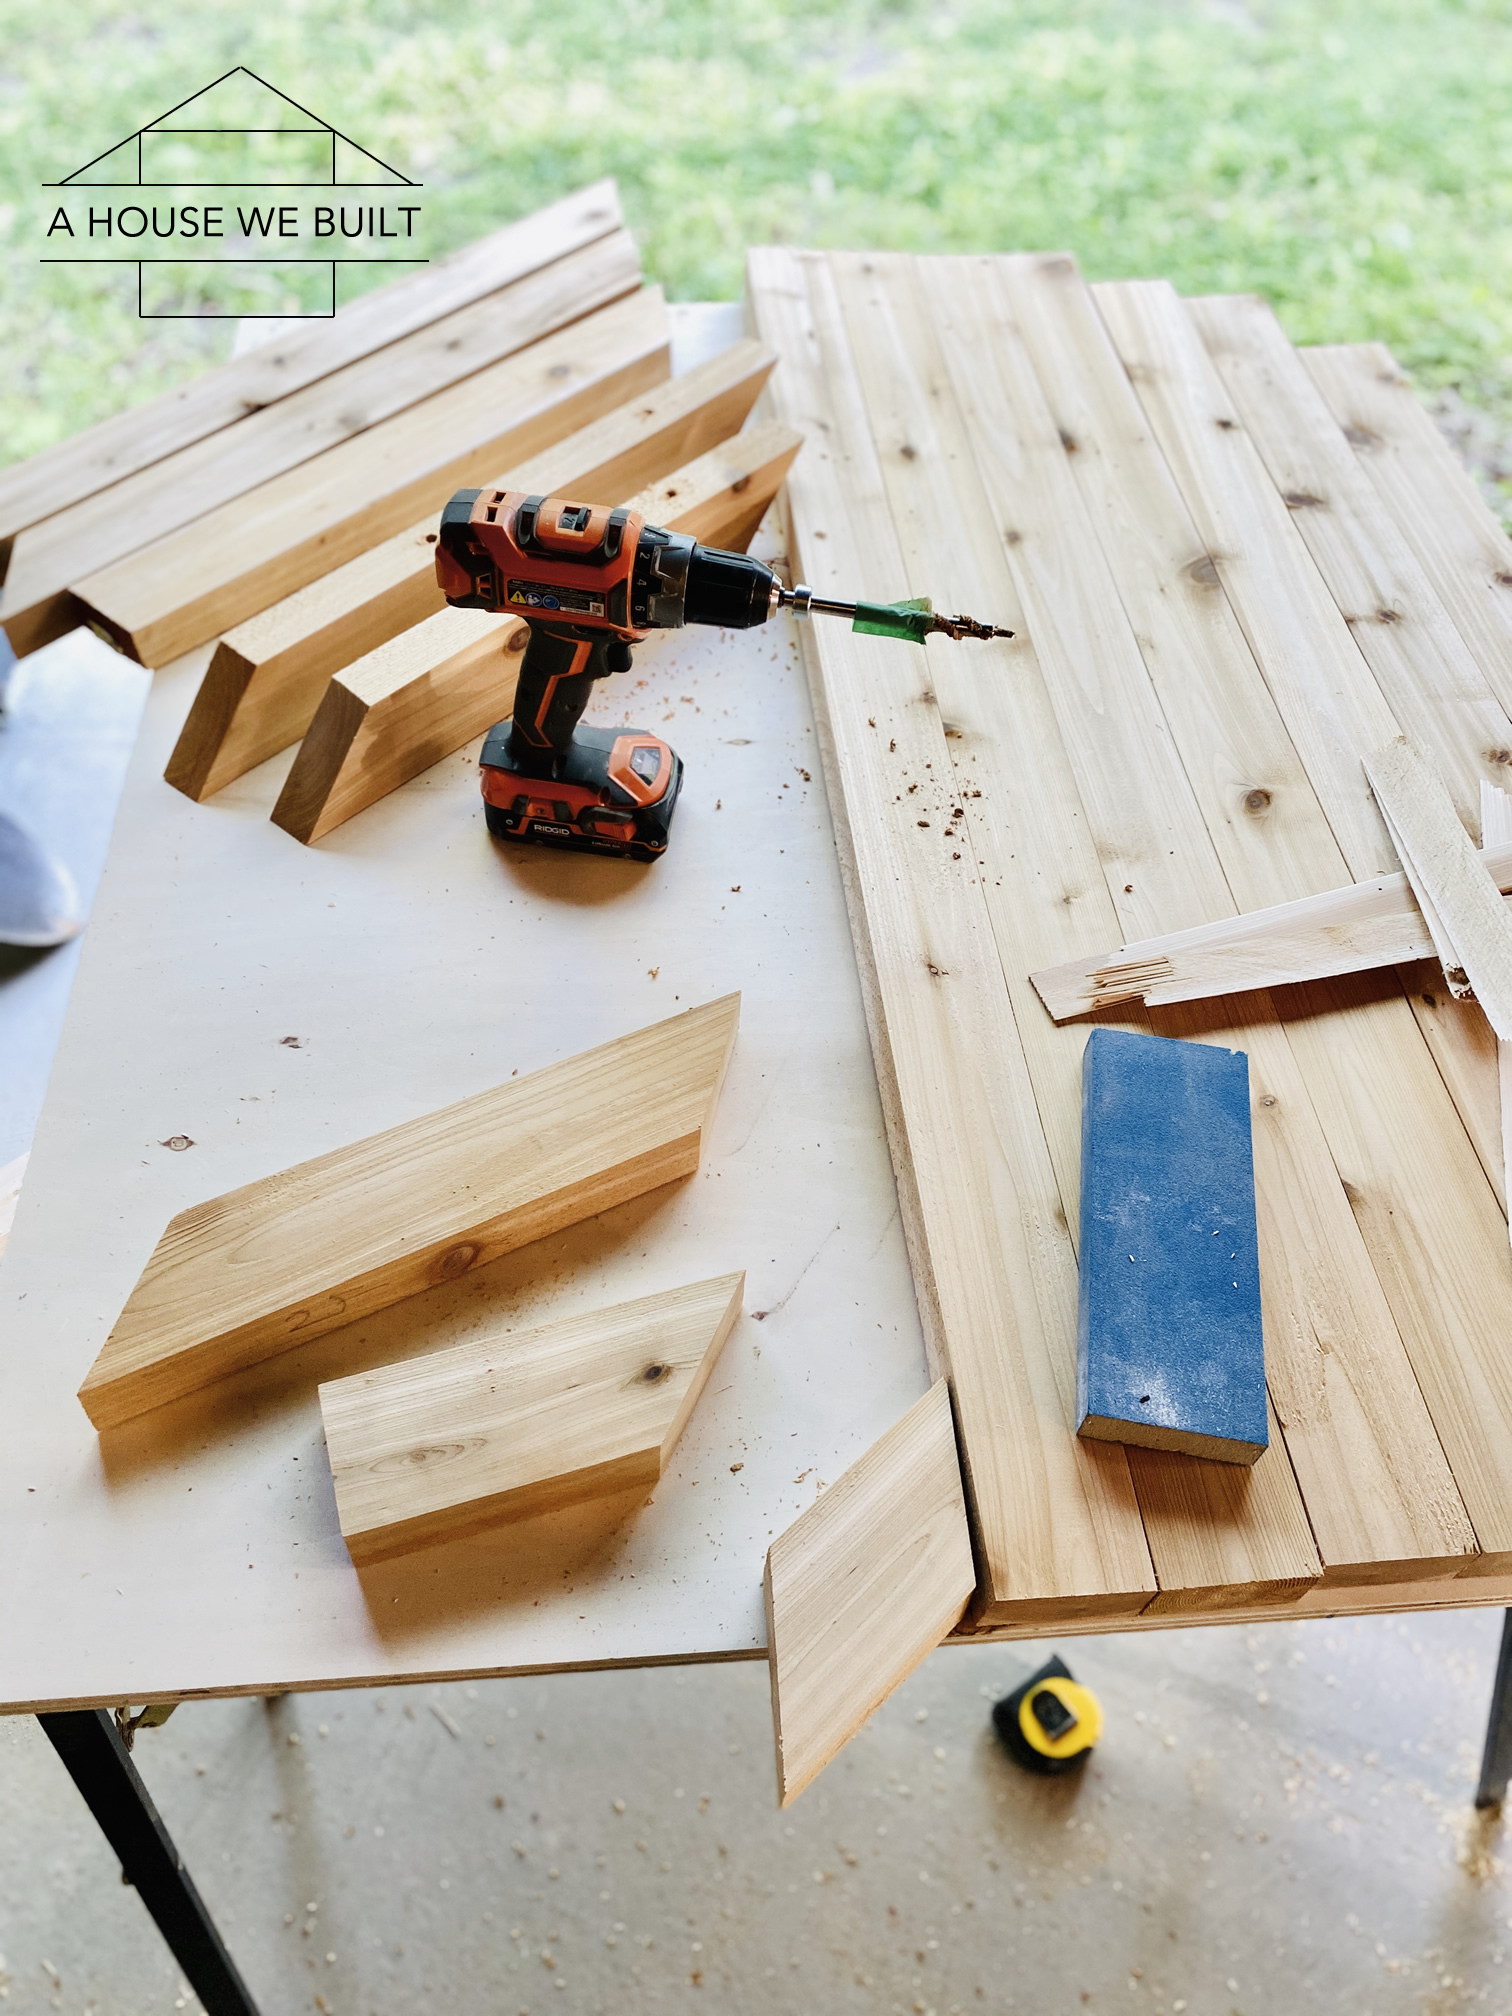
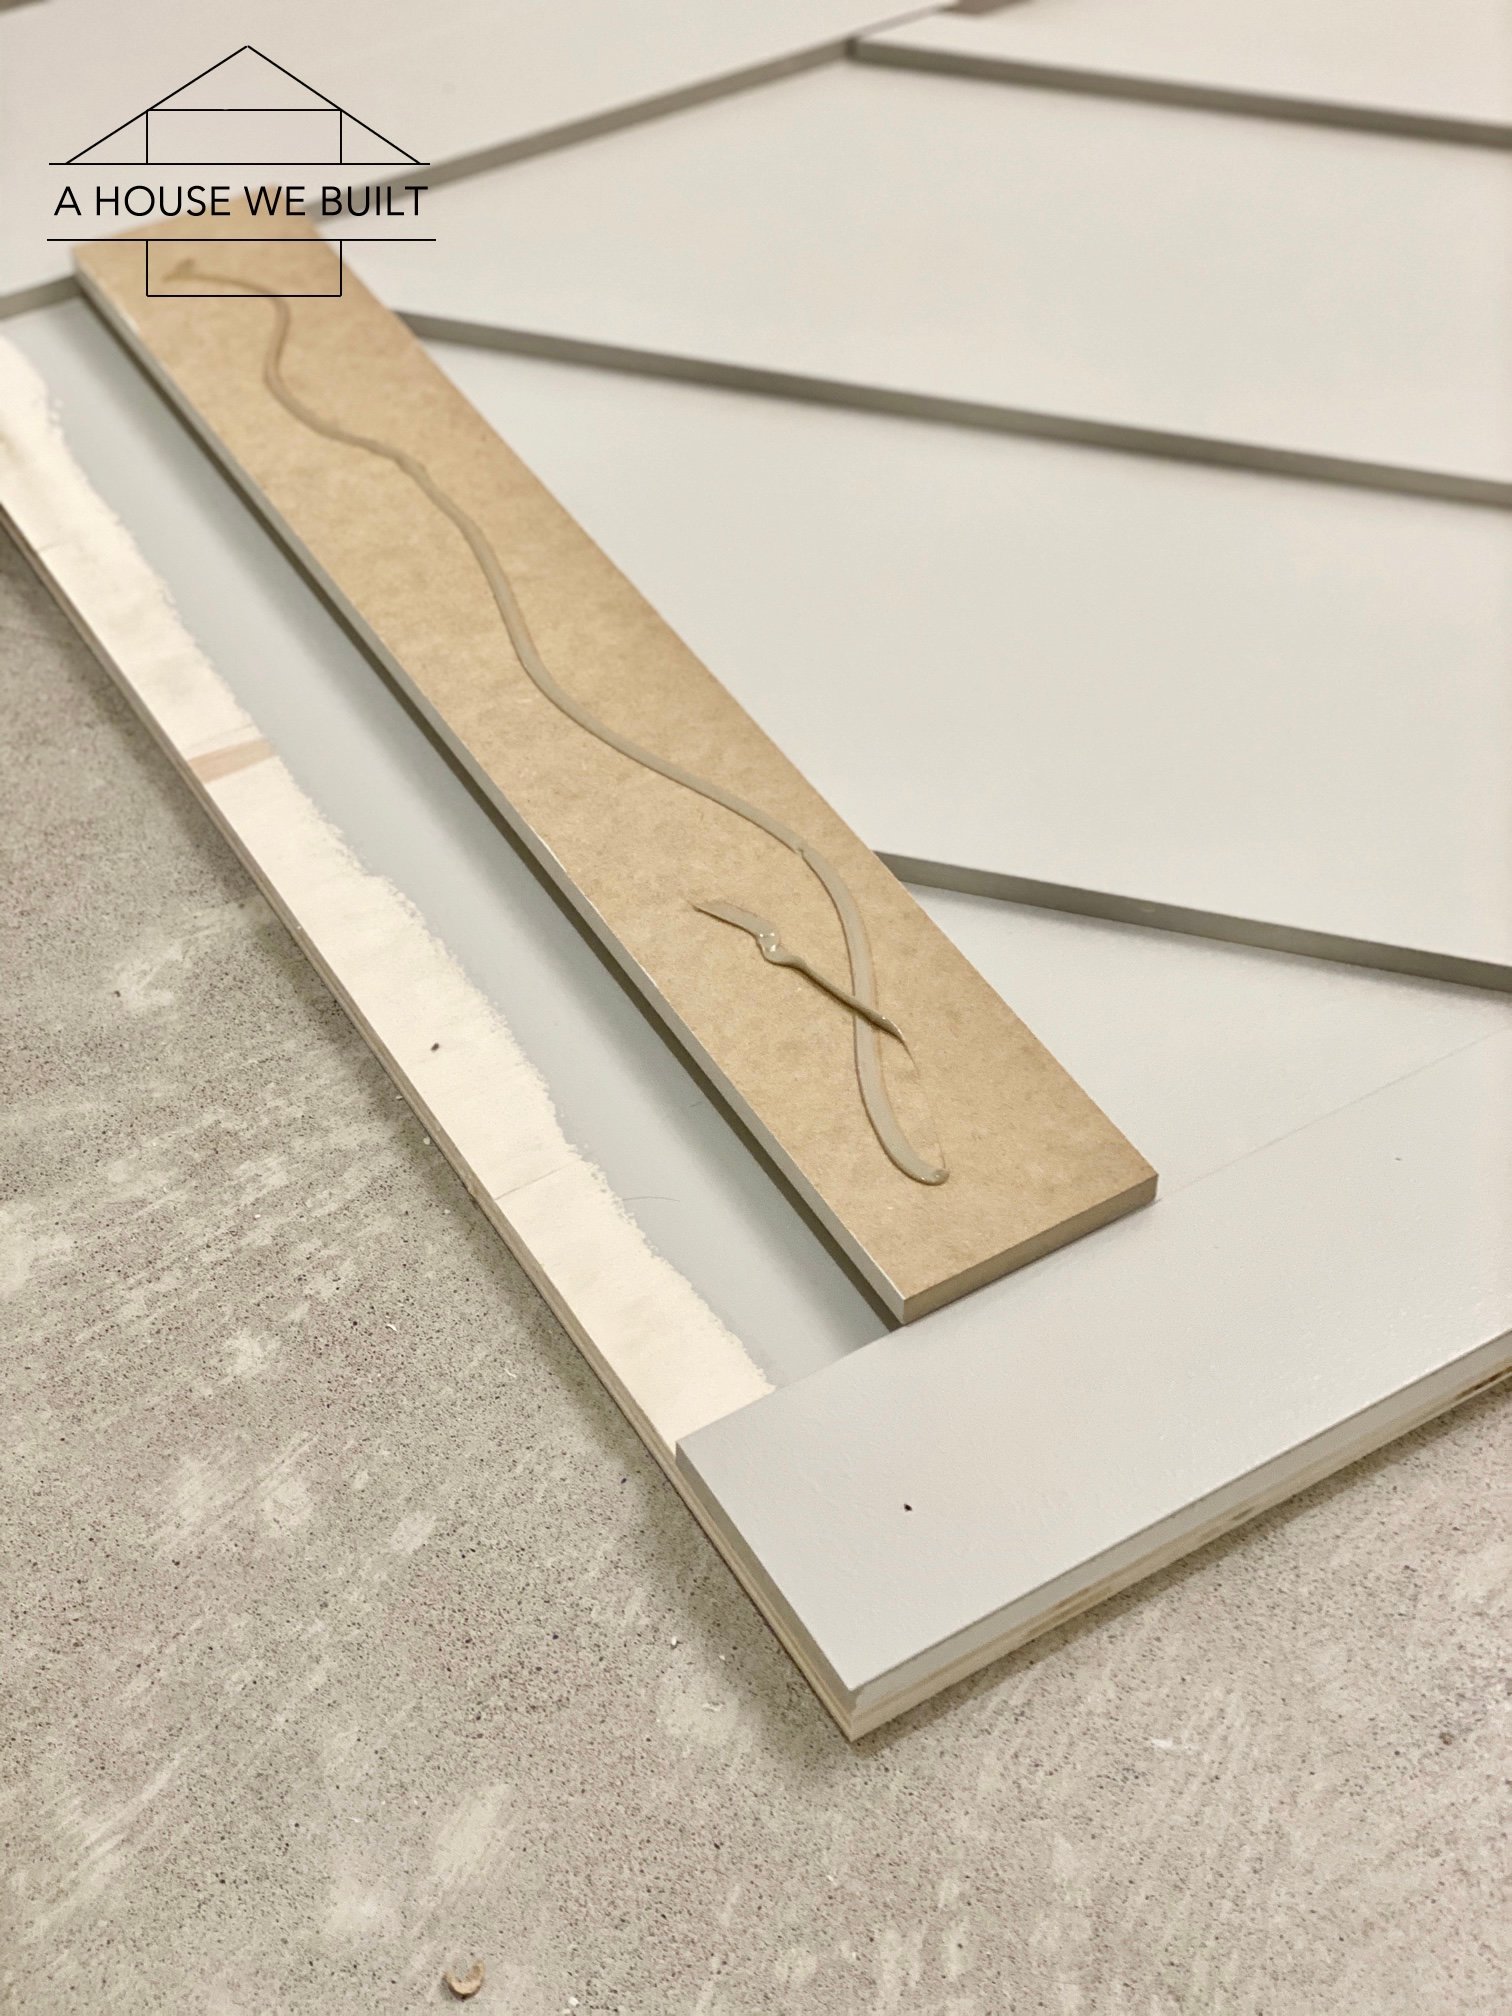
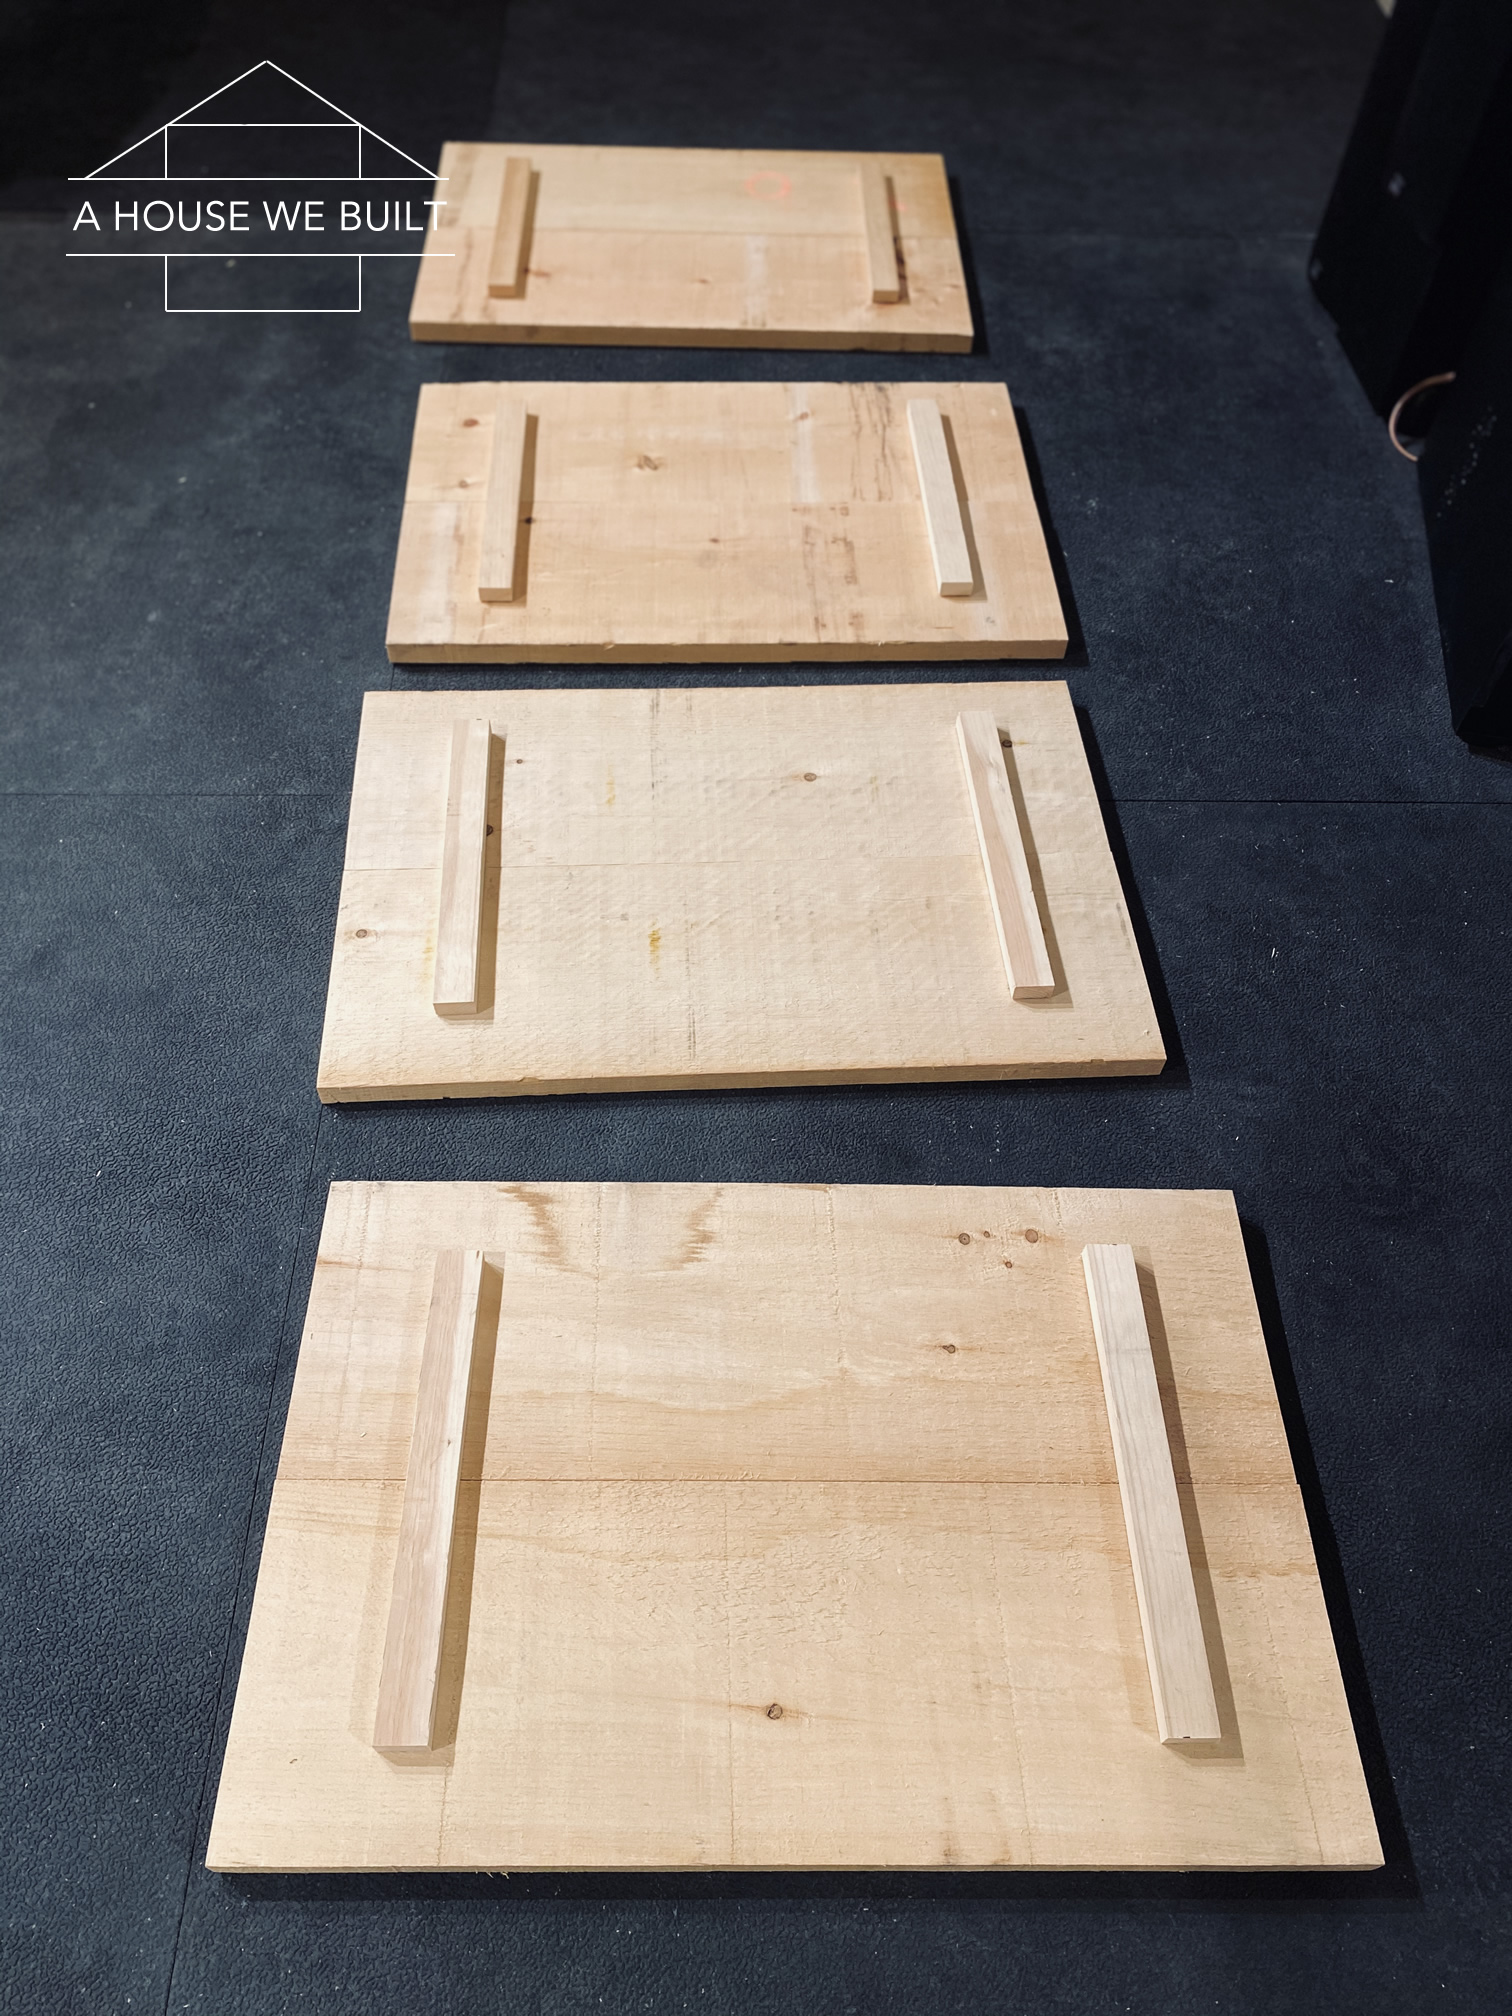
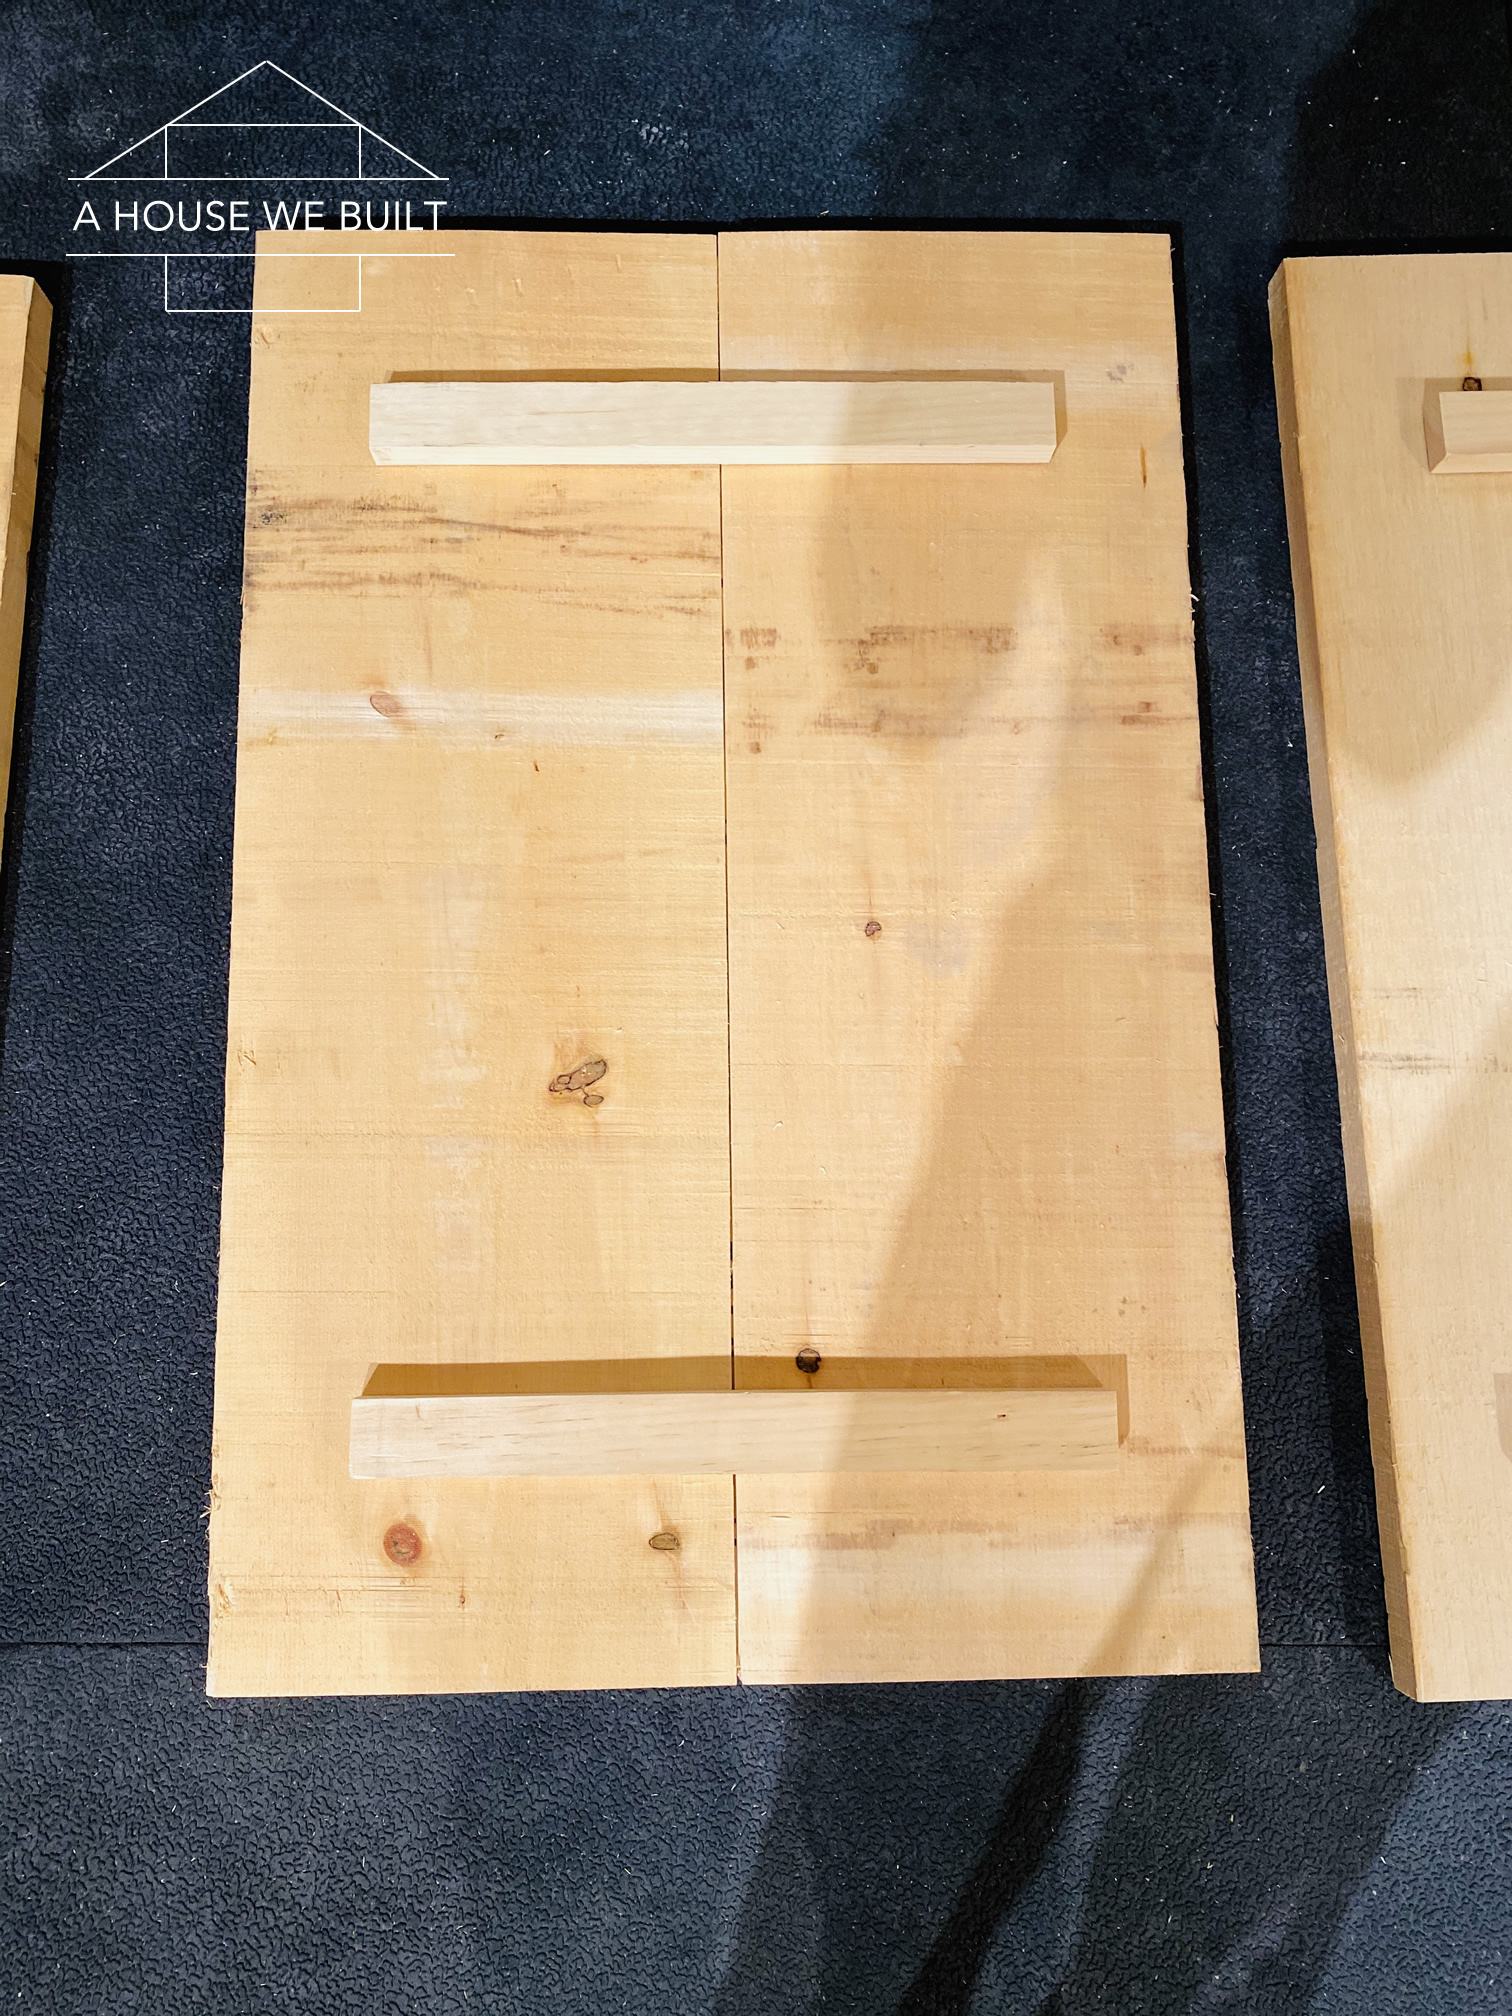
- Cut 8 backer support pieces out of any straight material you may have (you can even use cutoffs from the boards you just ripped down. Make them roughly 1.5″ wide x 3/4″ thick x 12″ long.
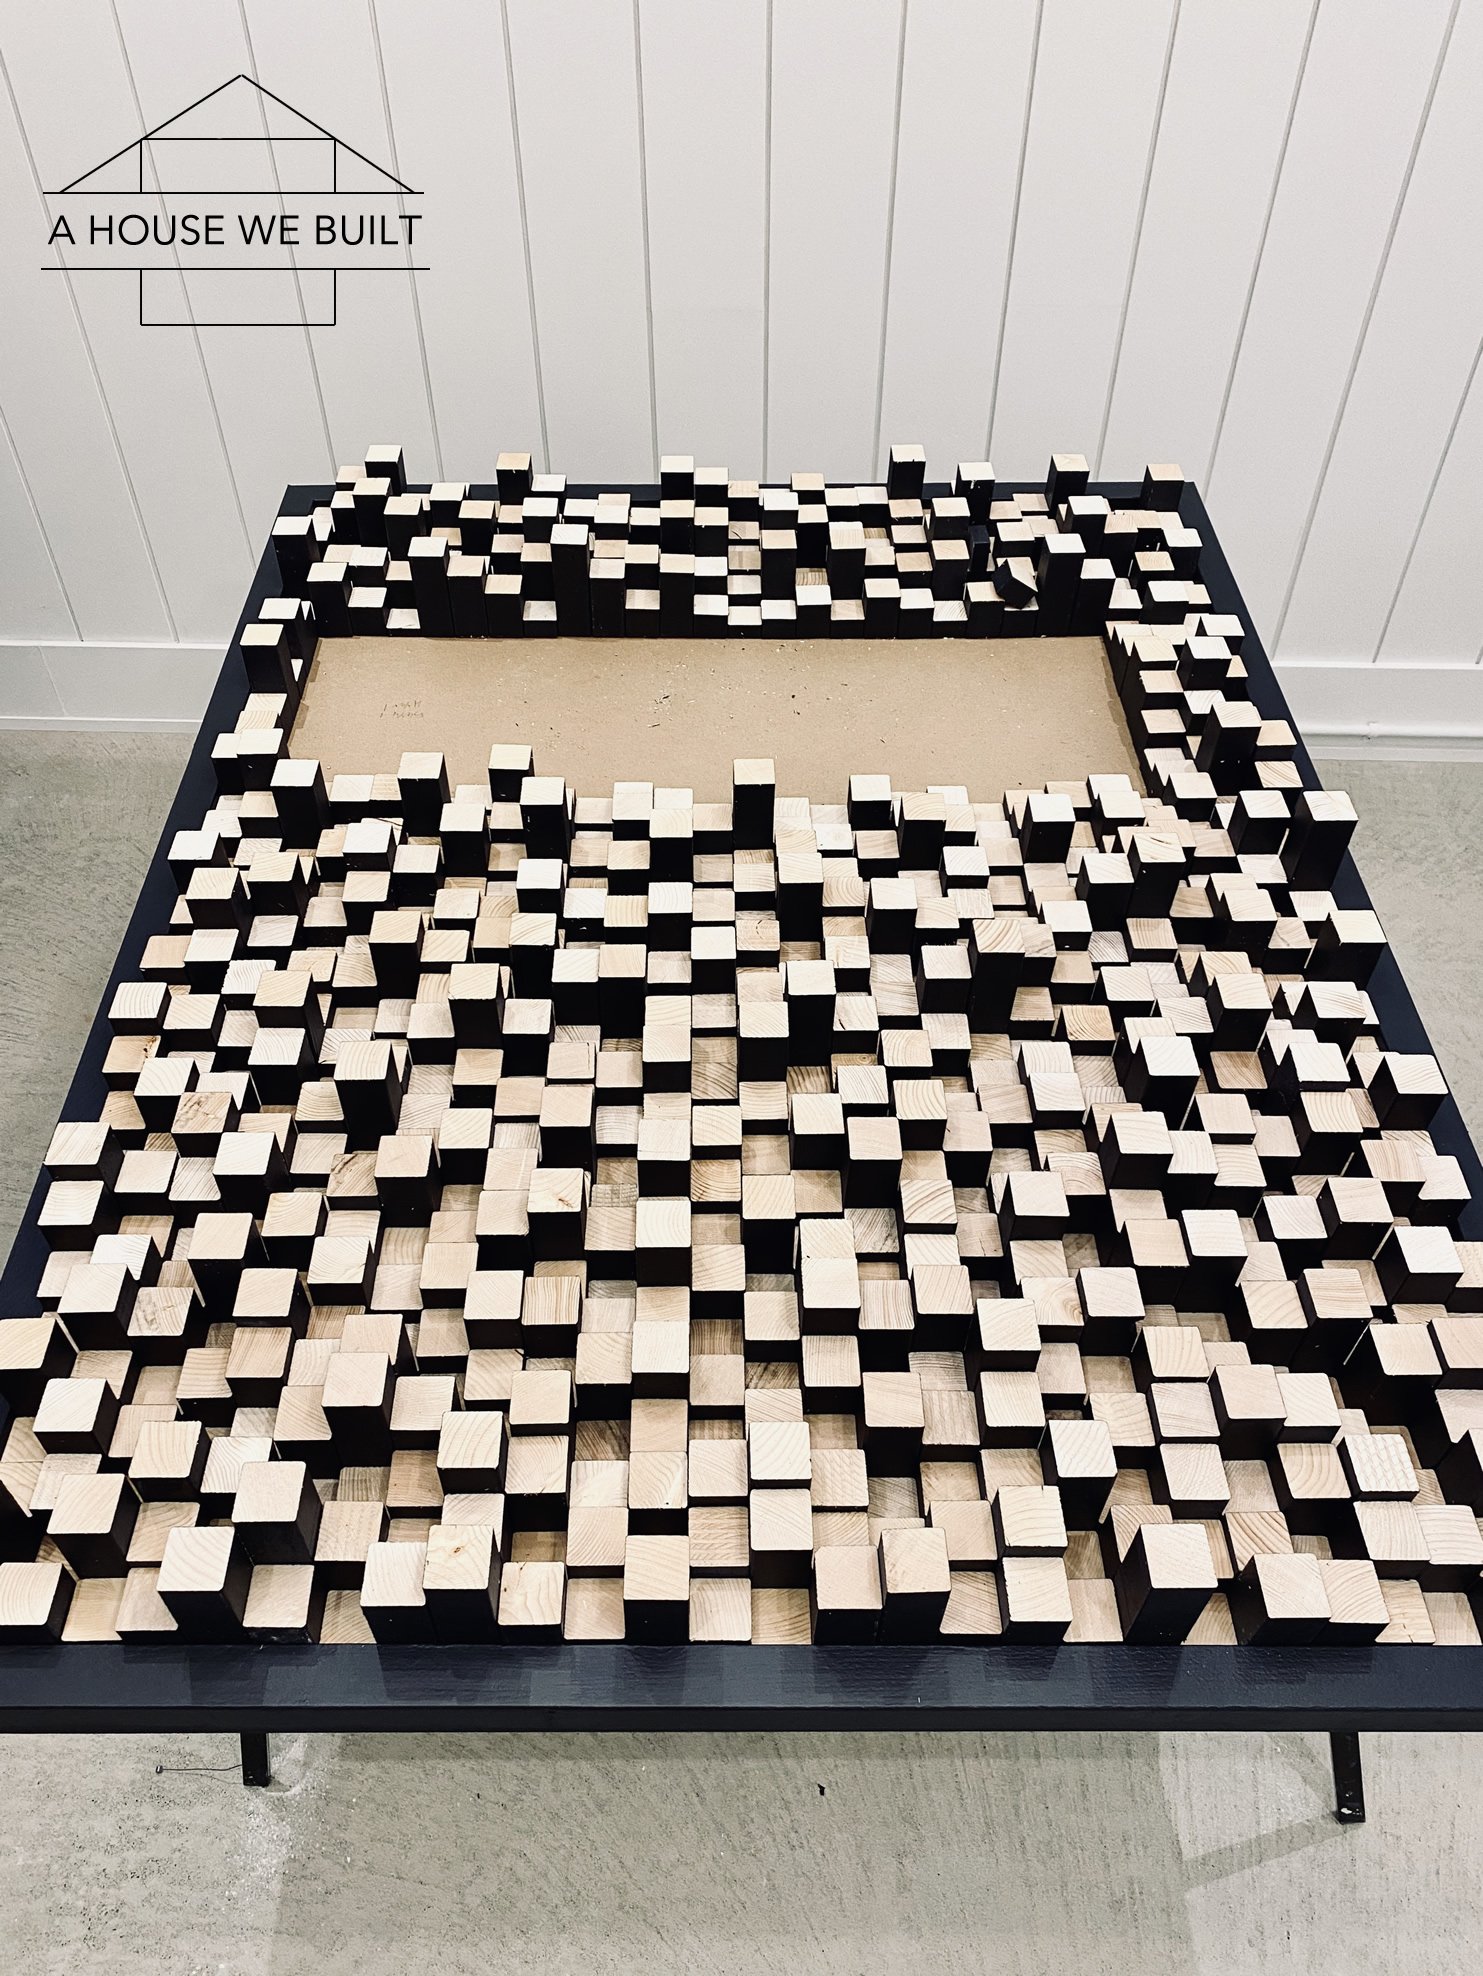
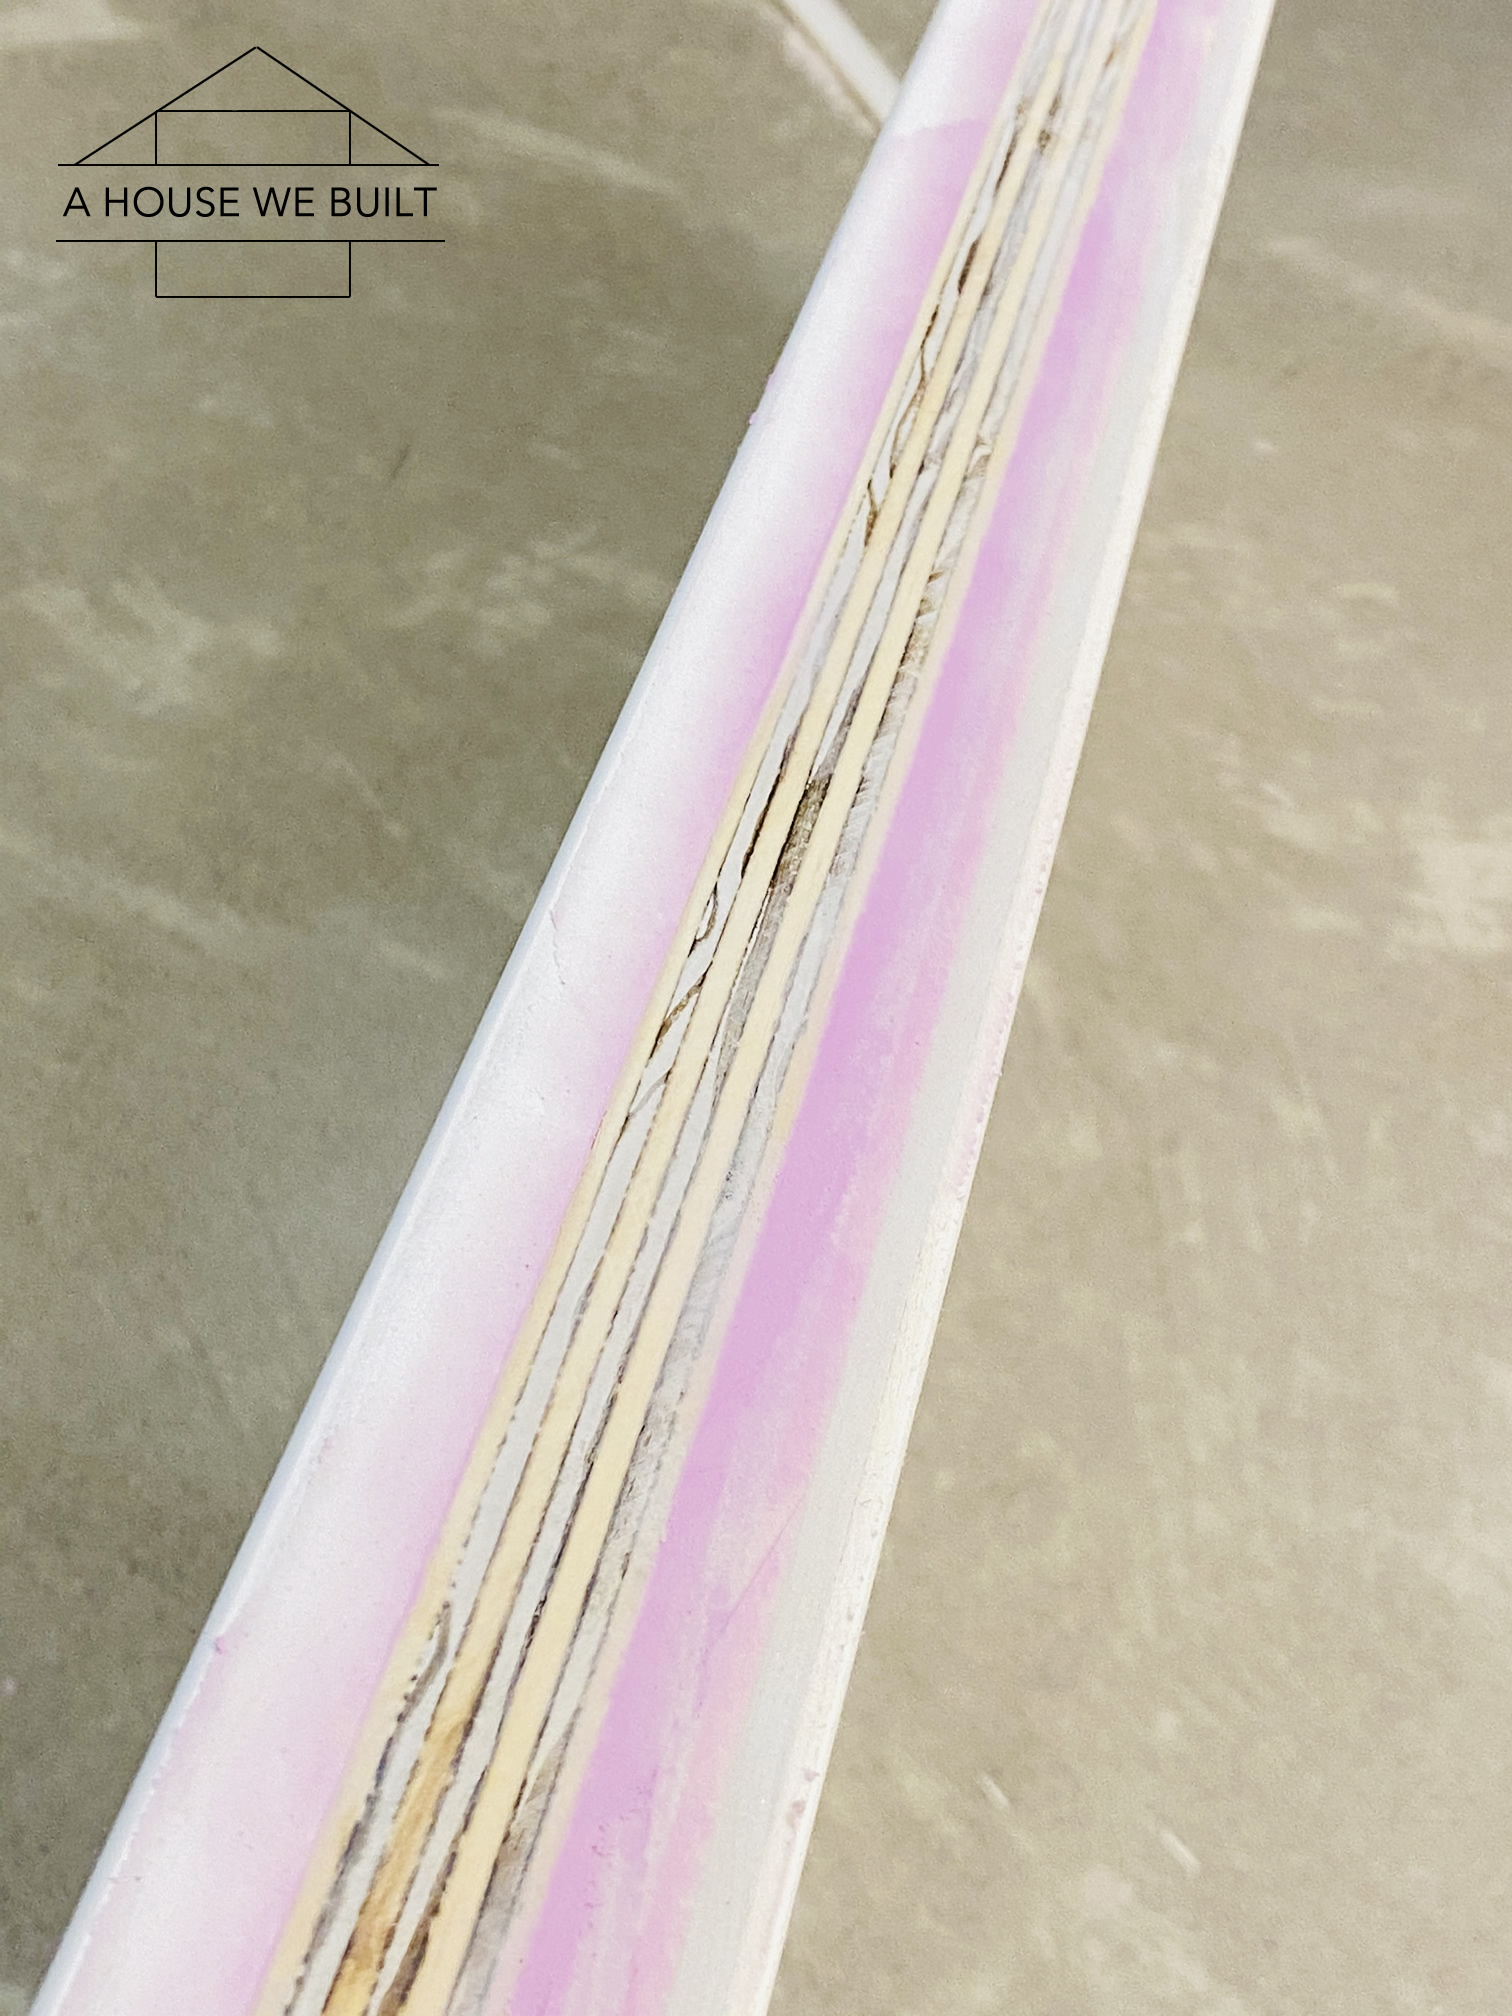
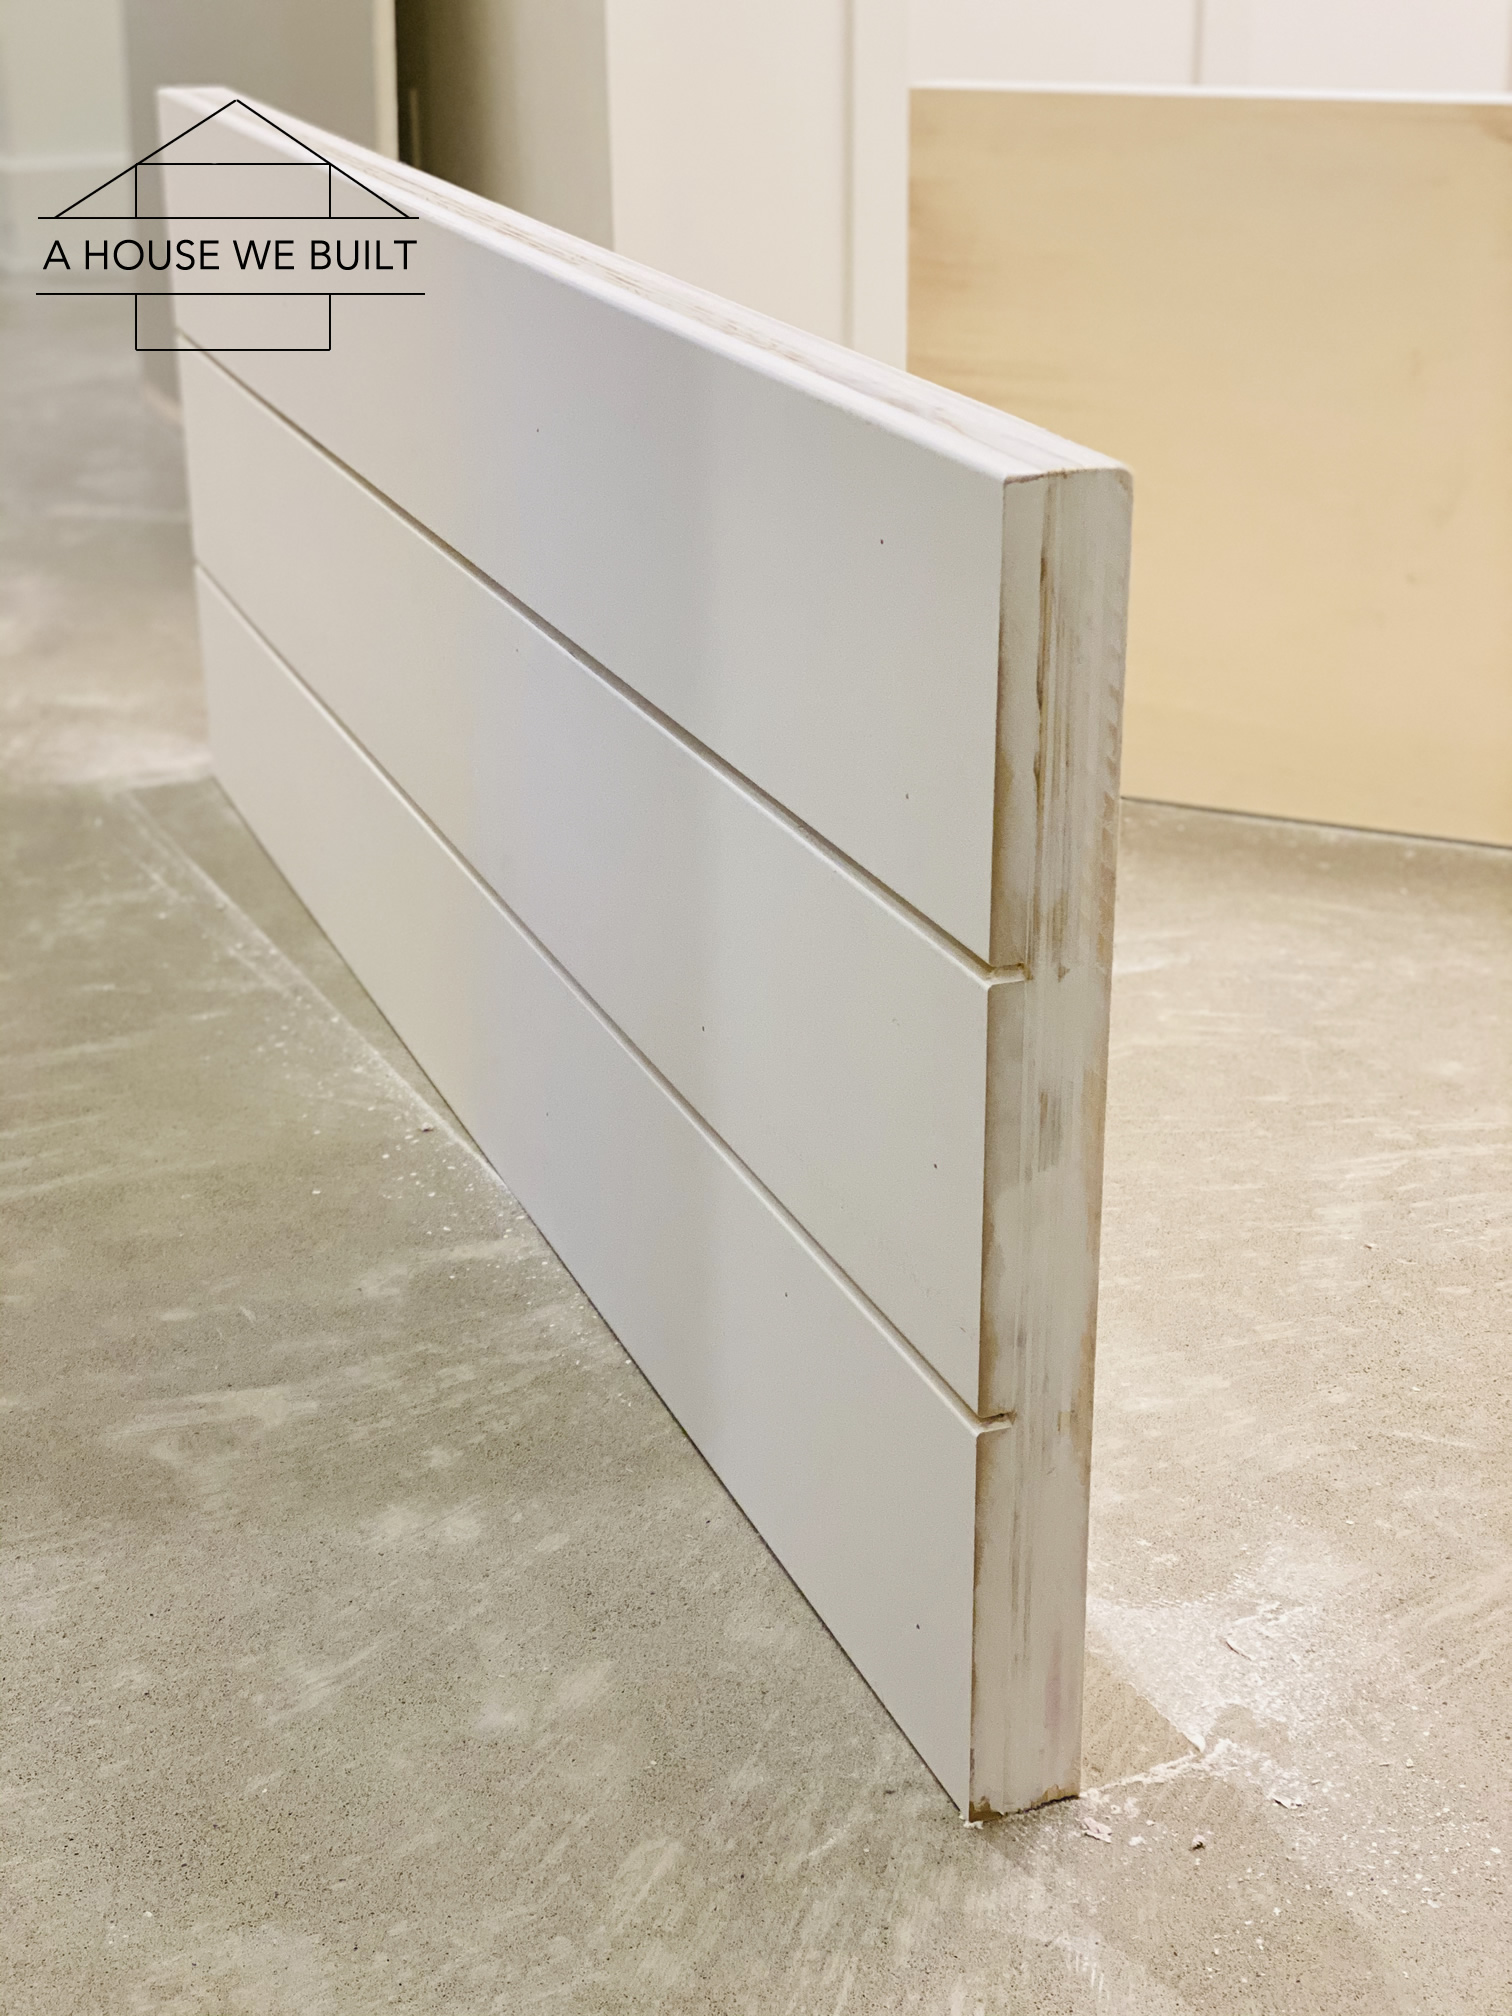
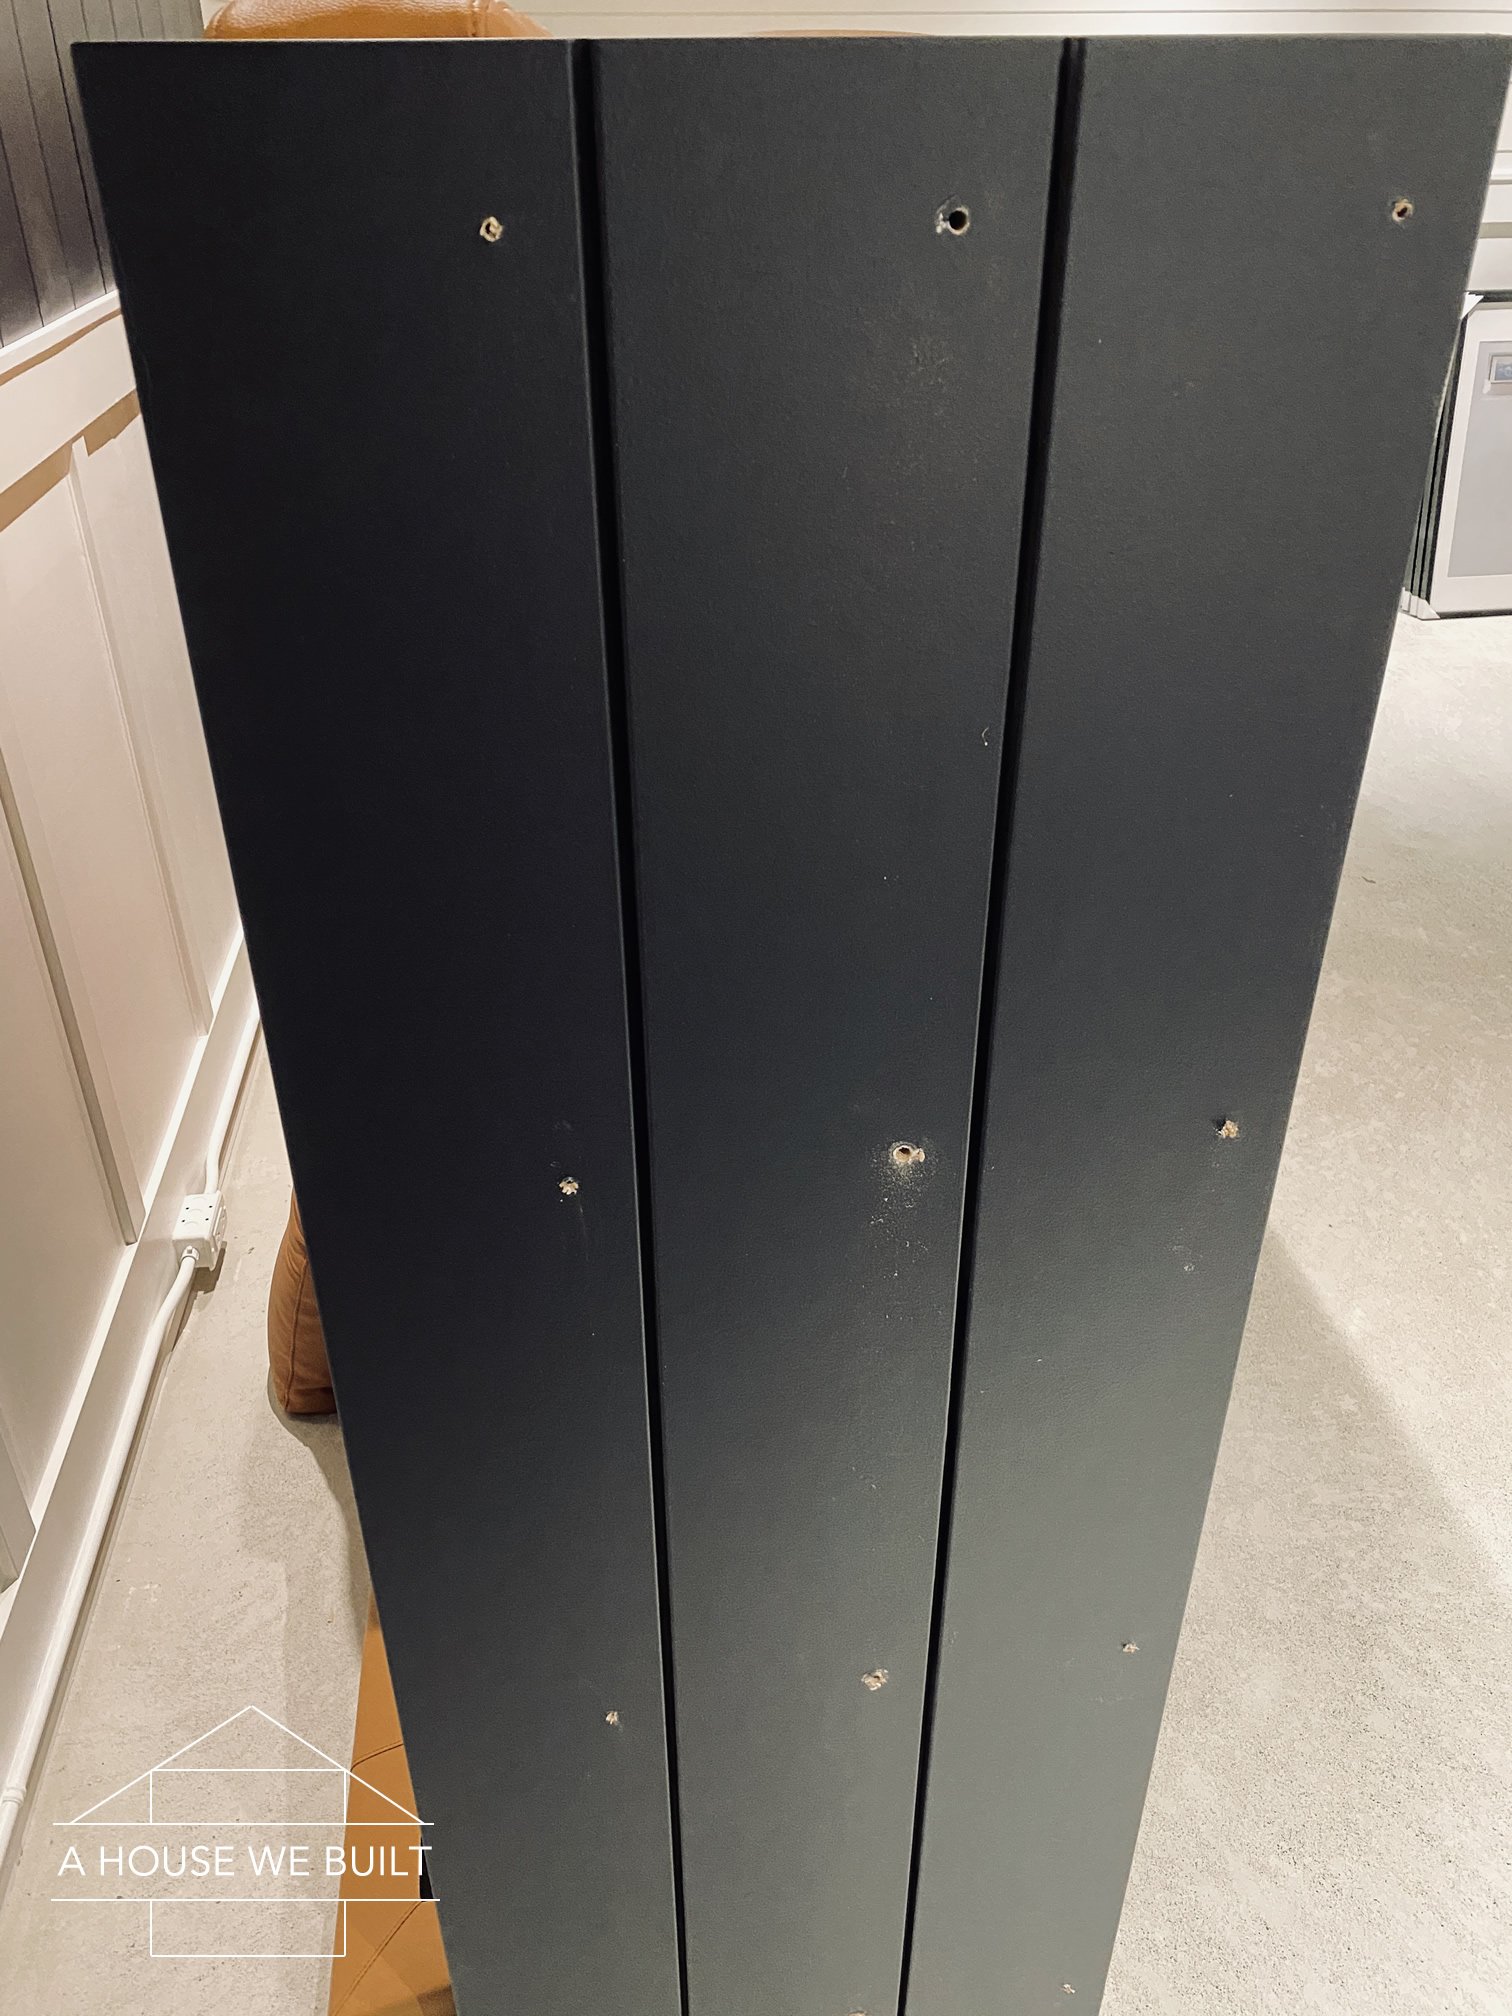
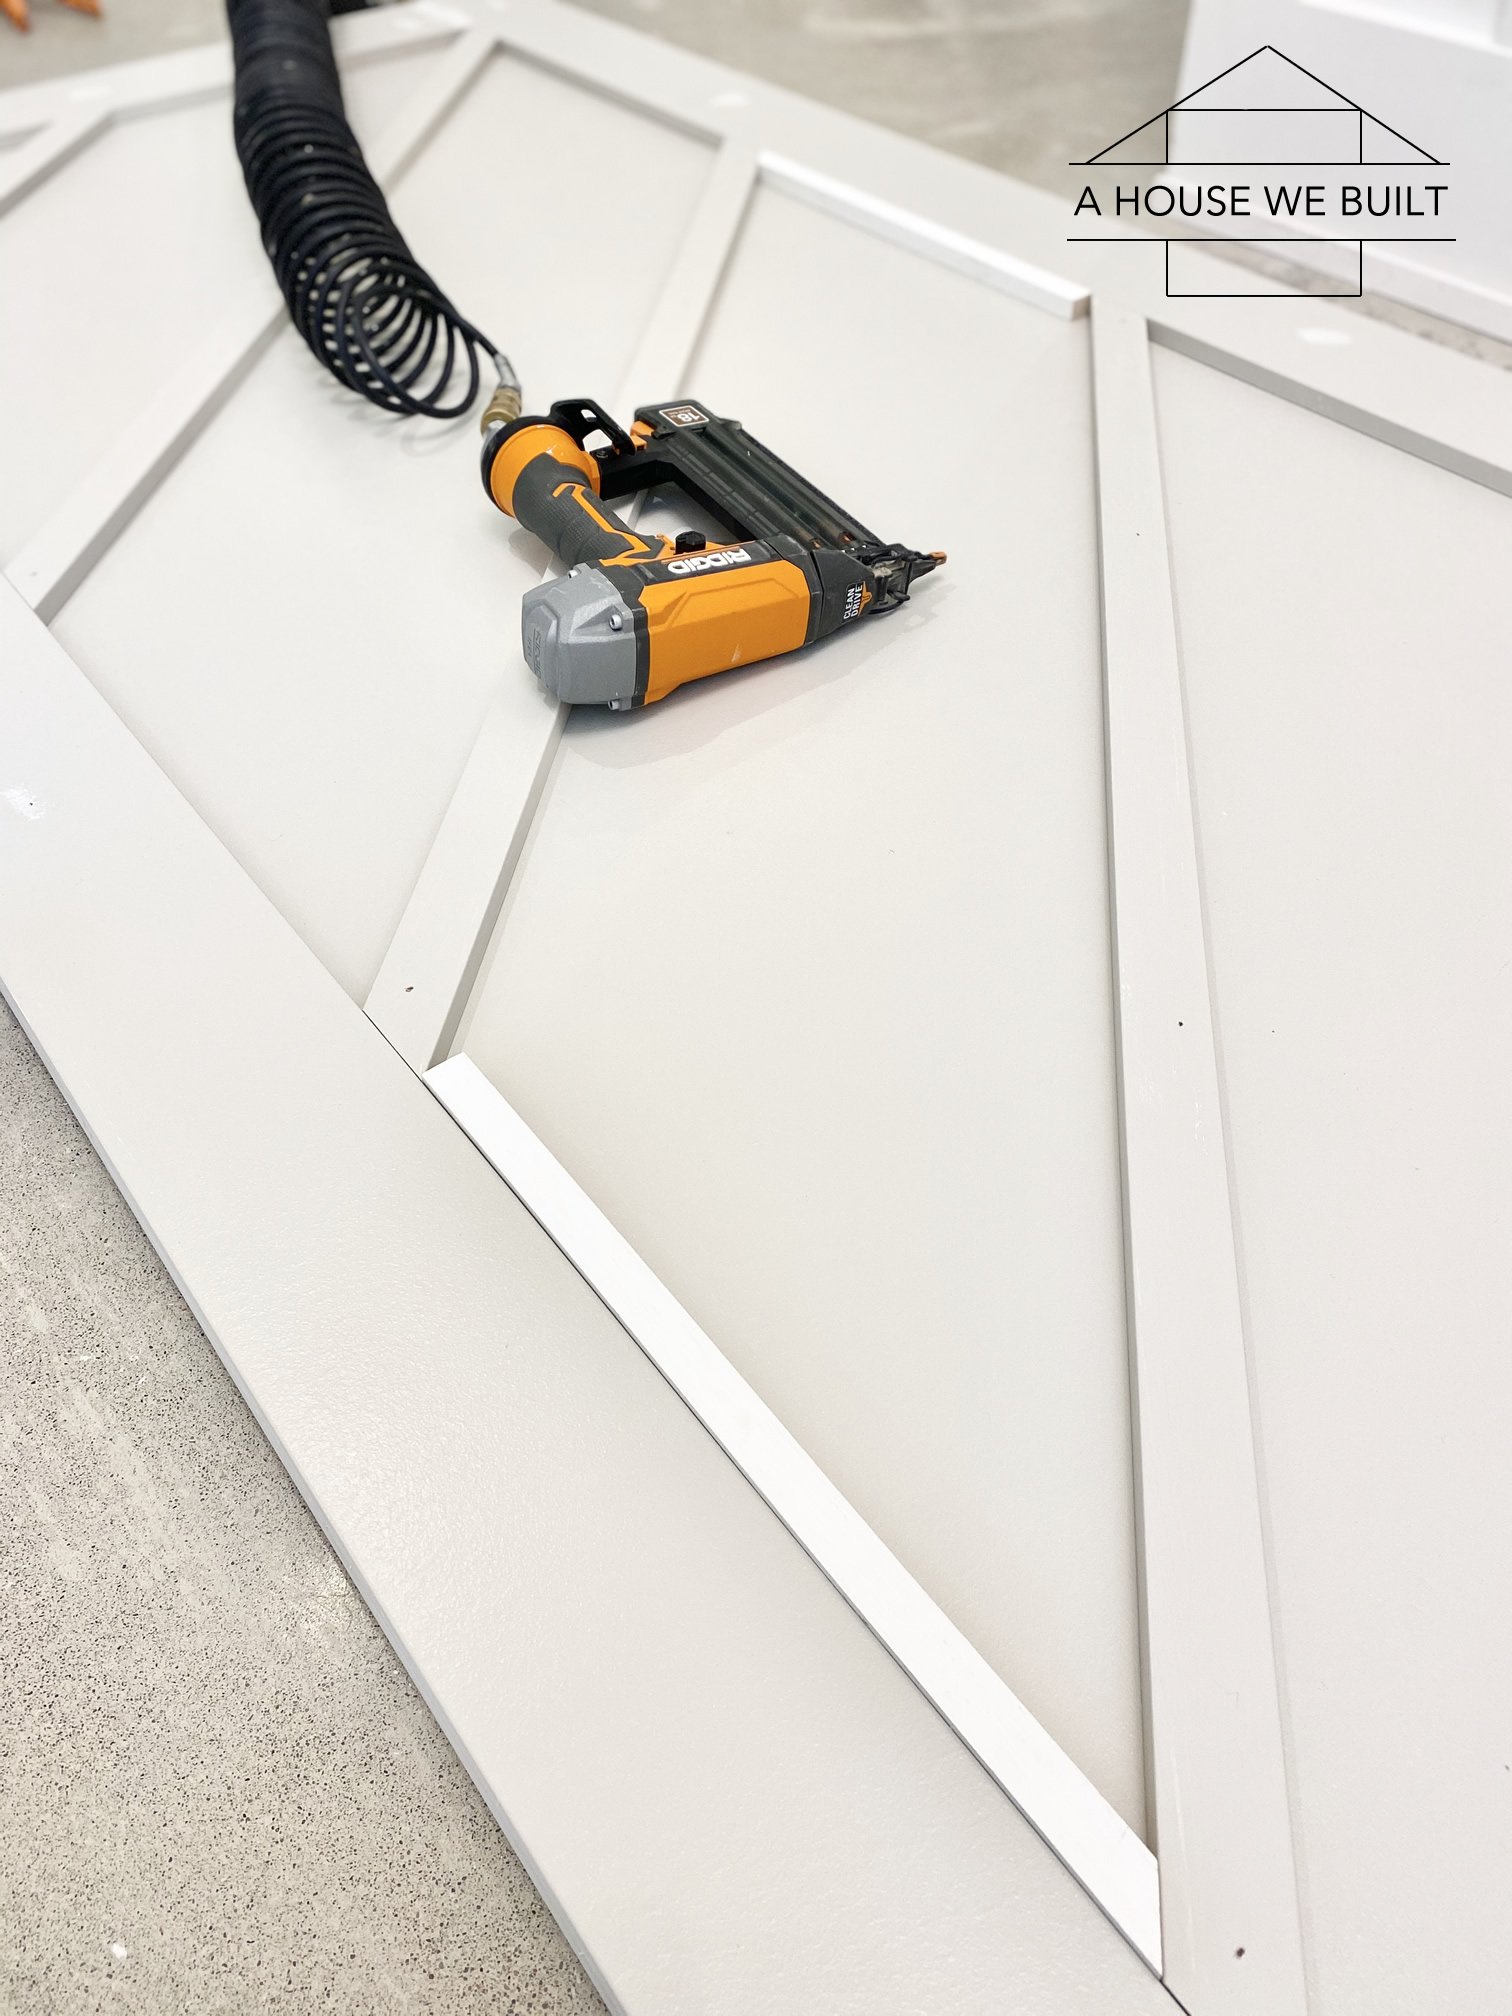
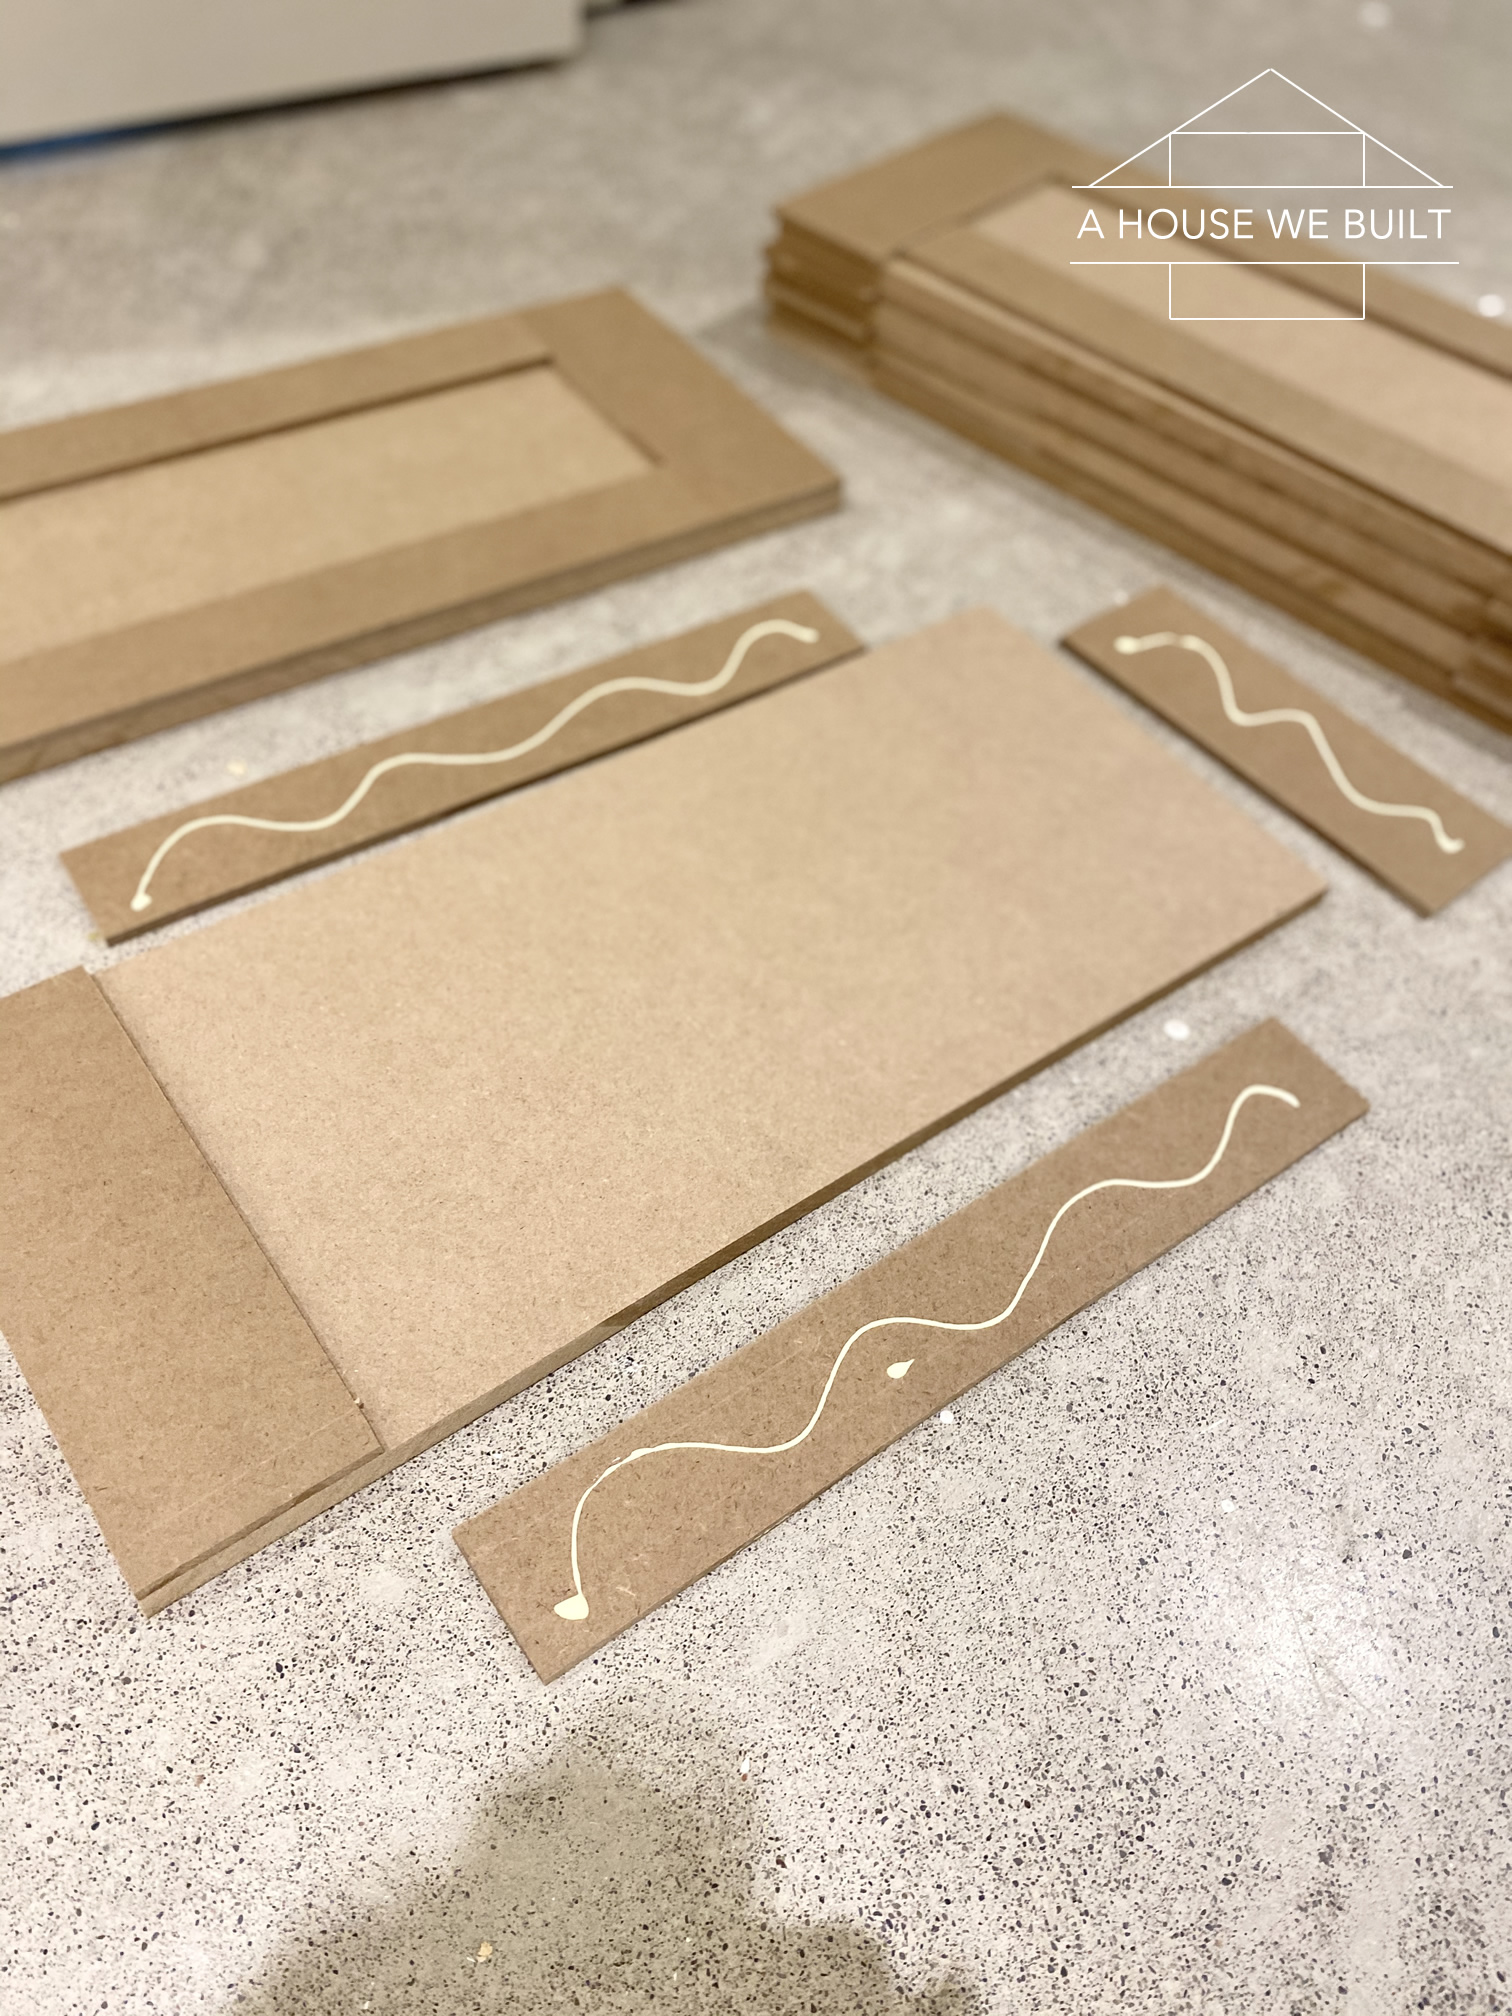
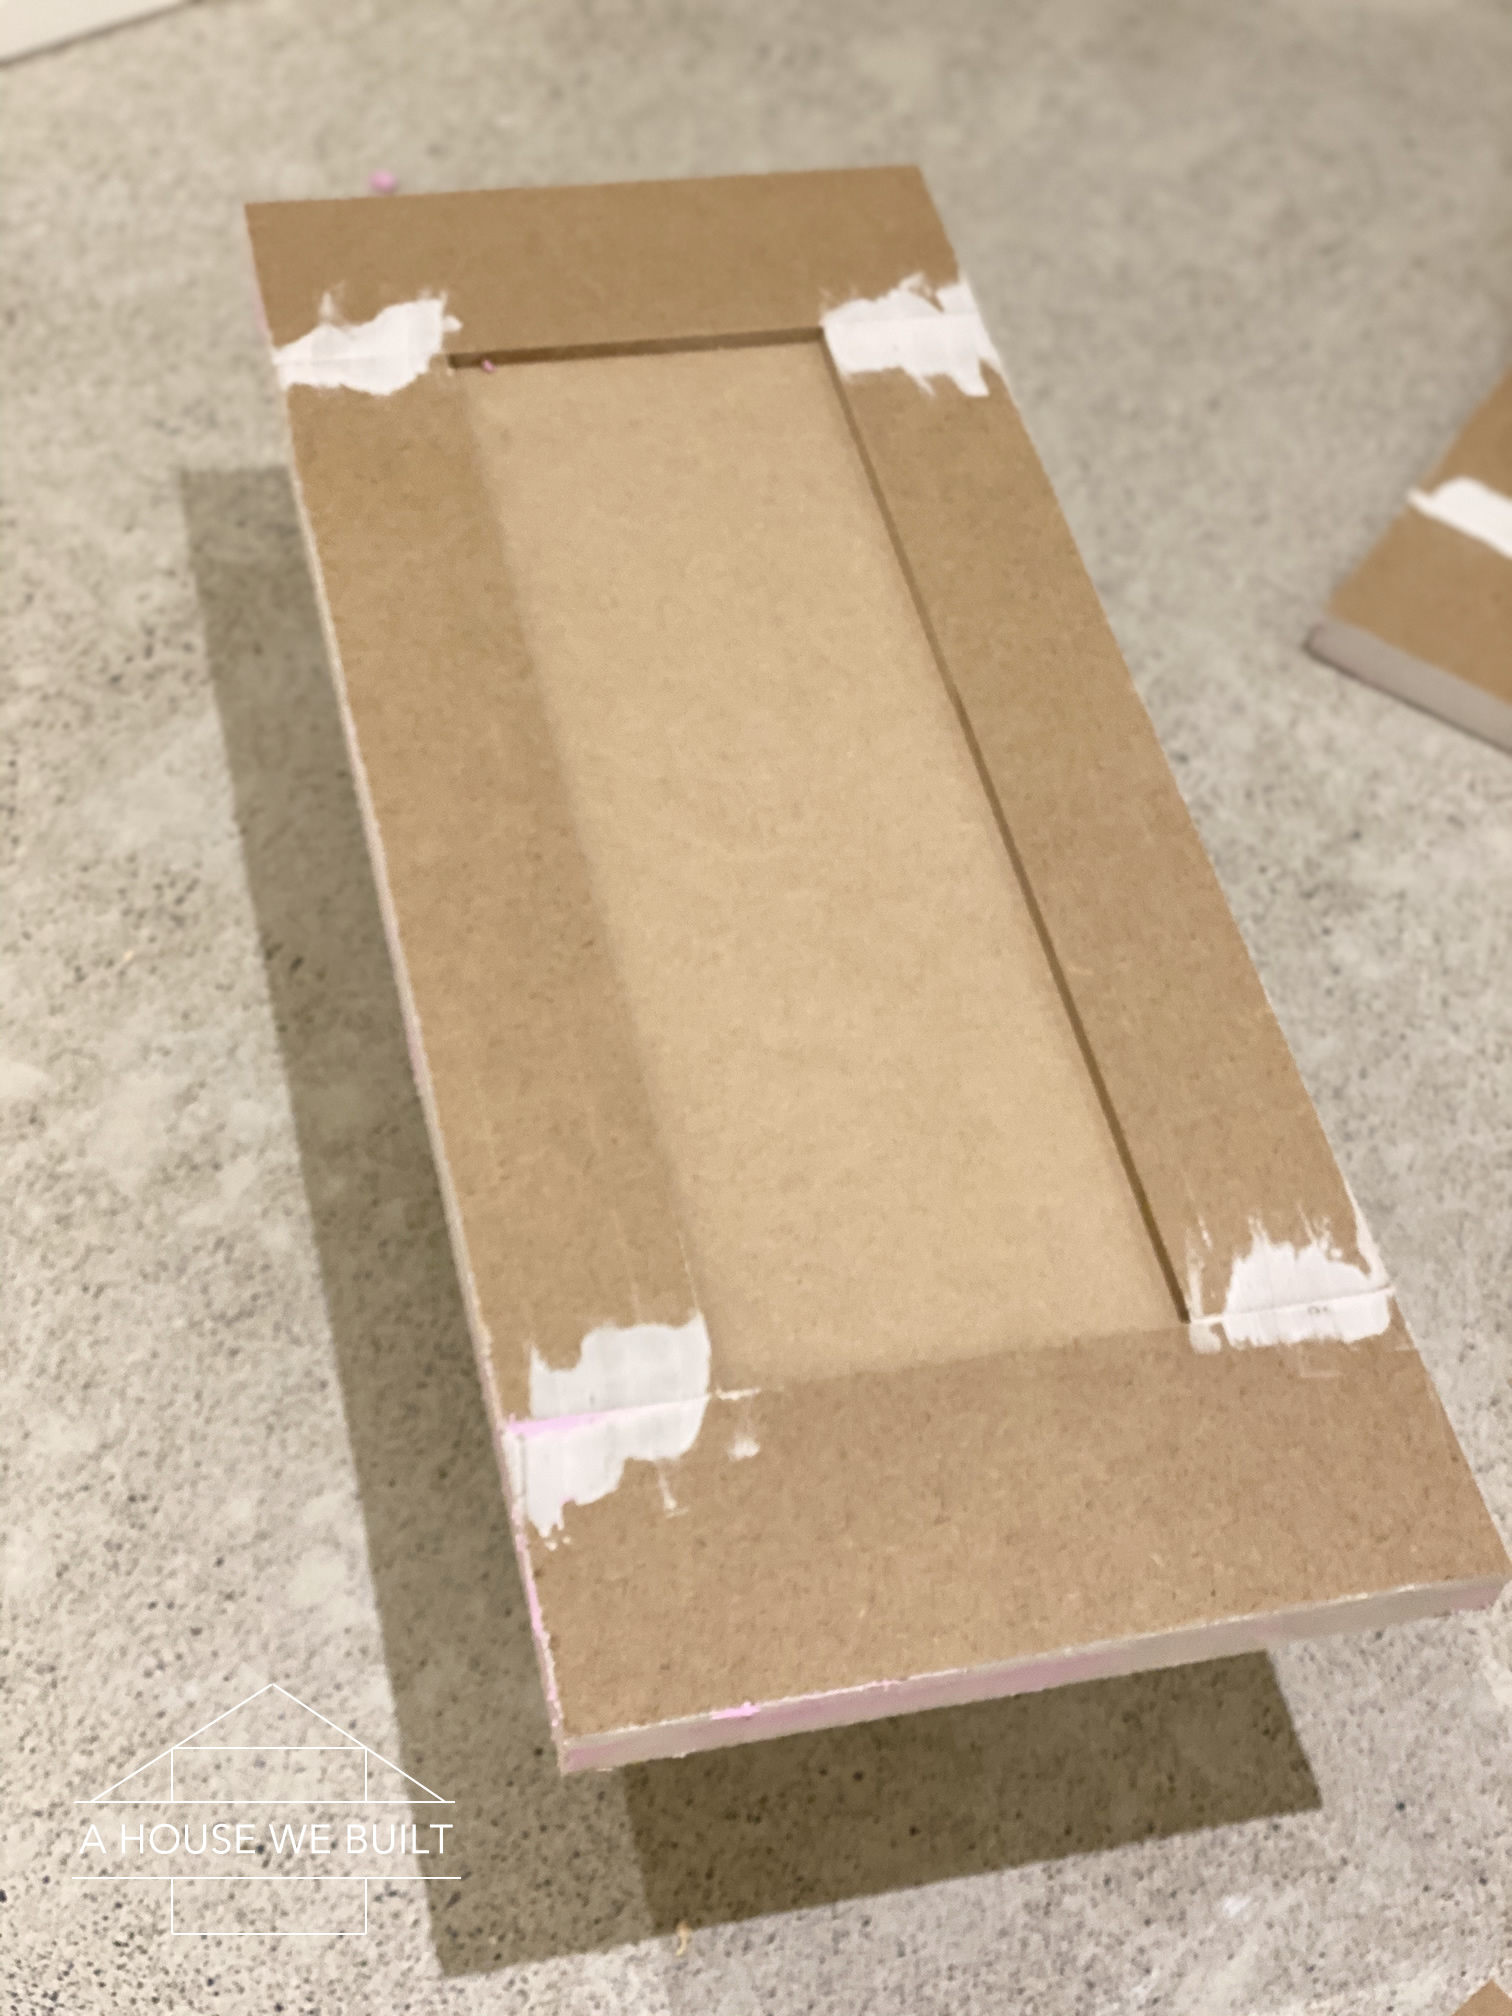
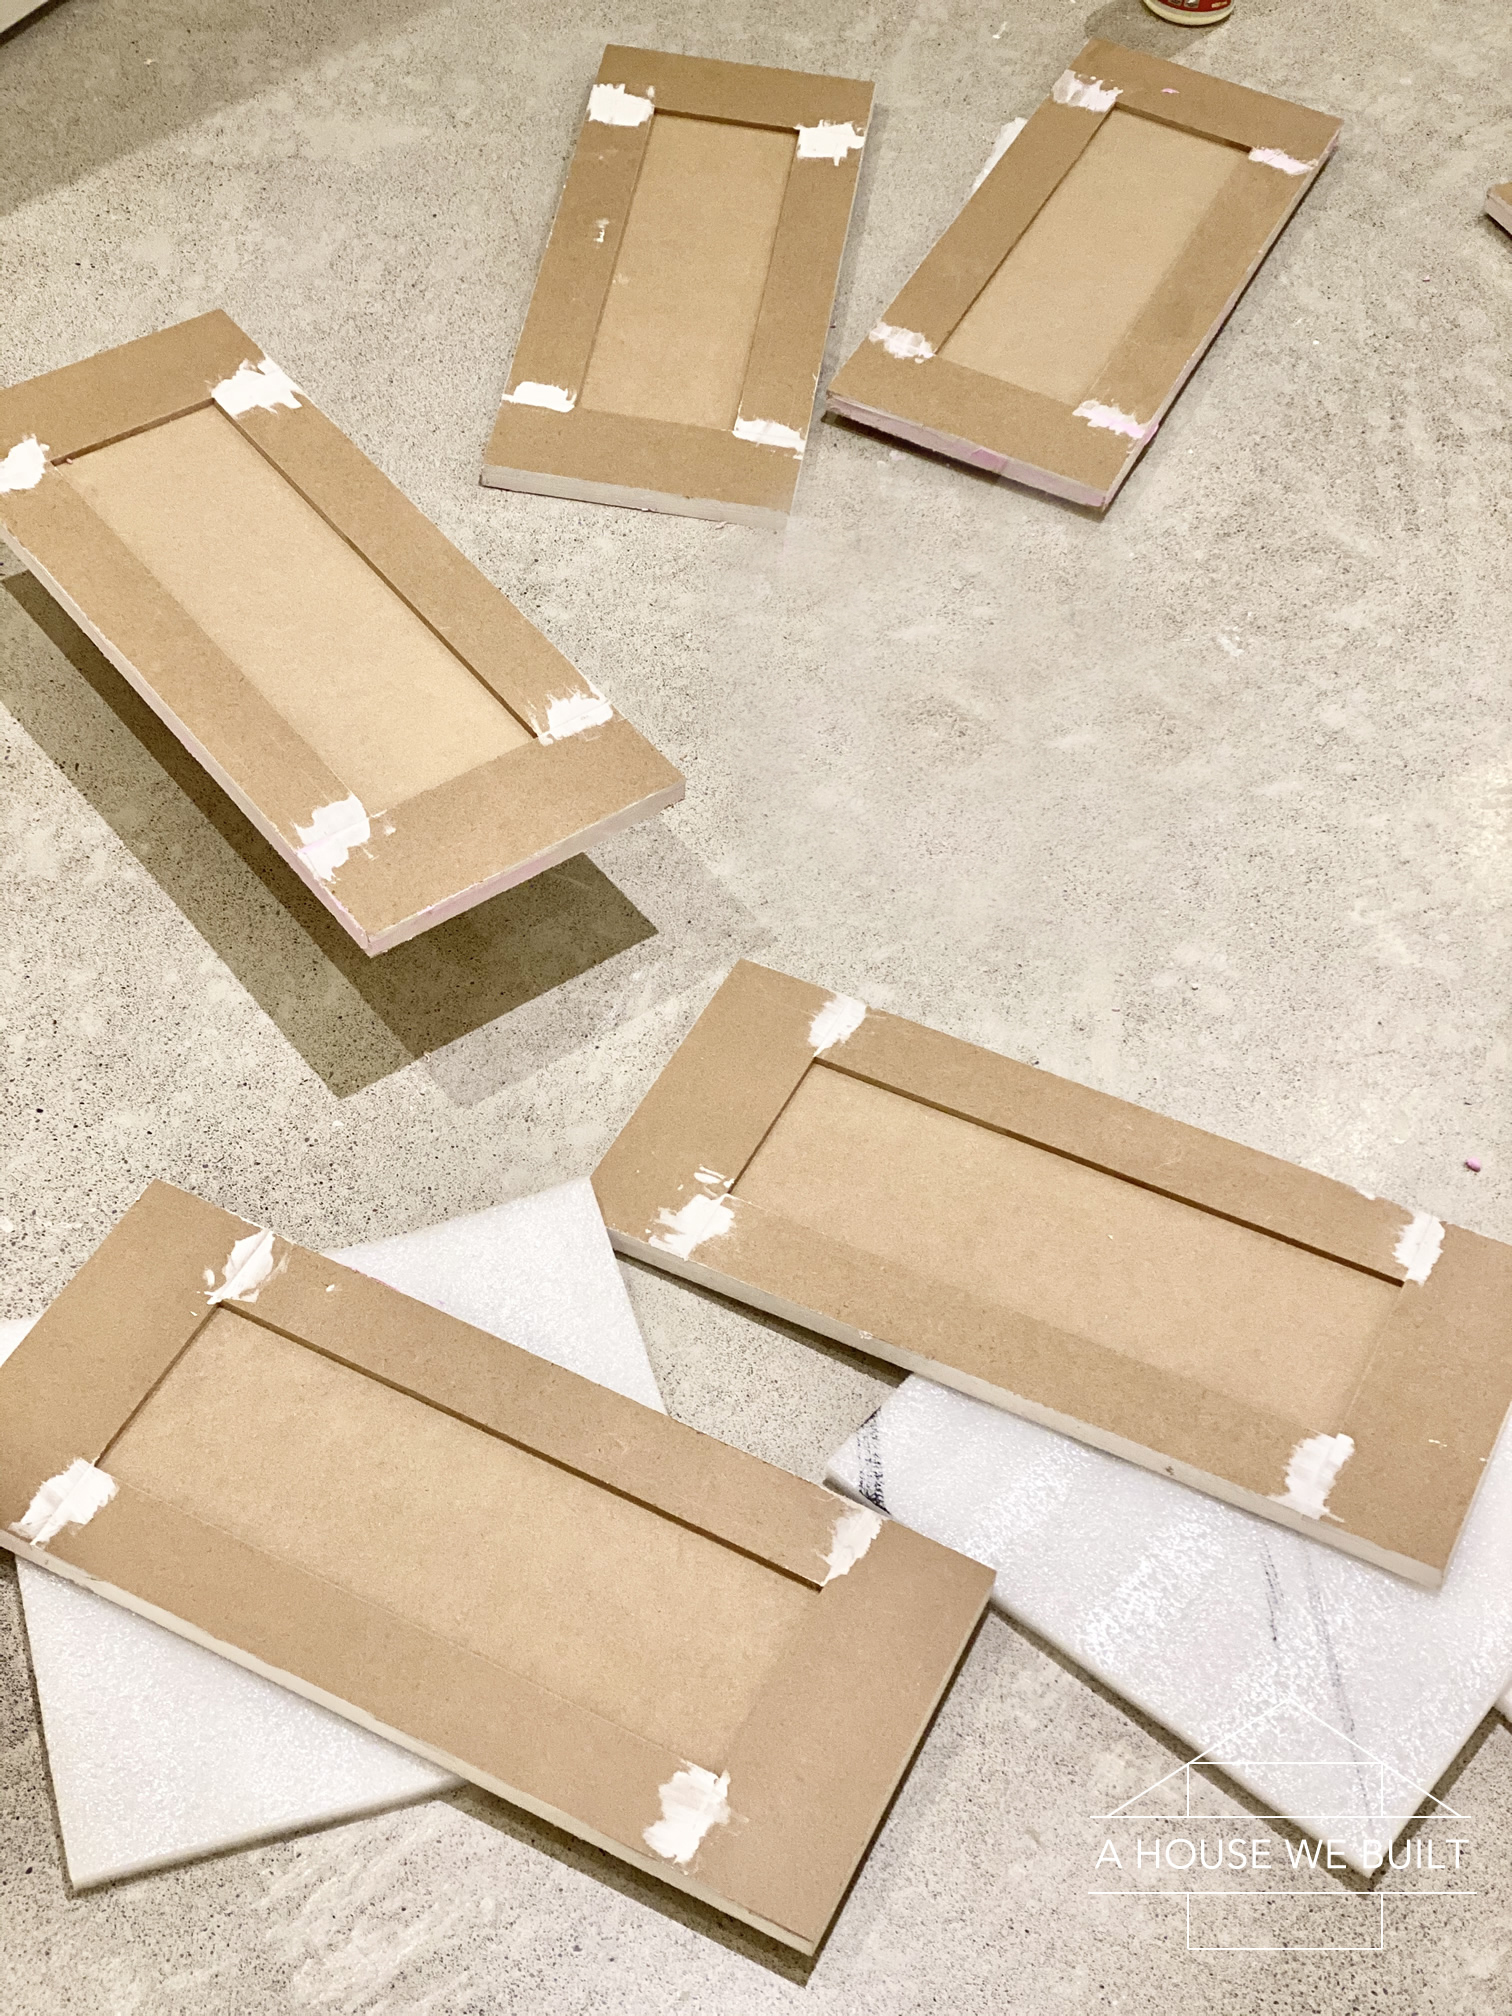
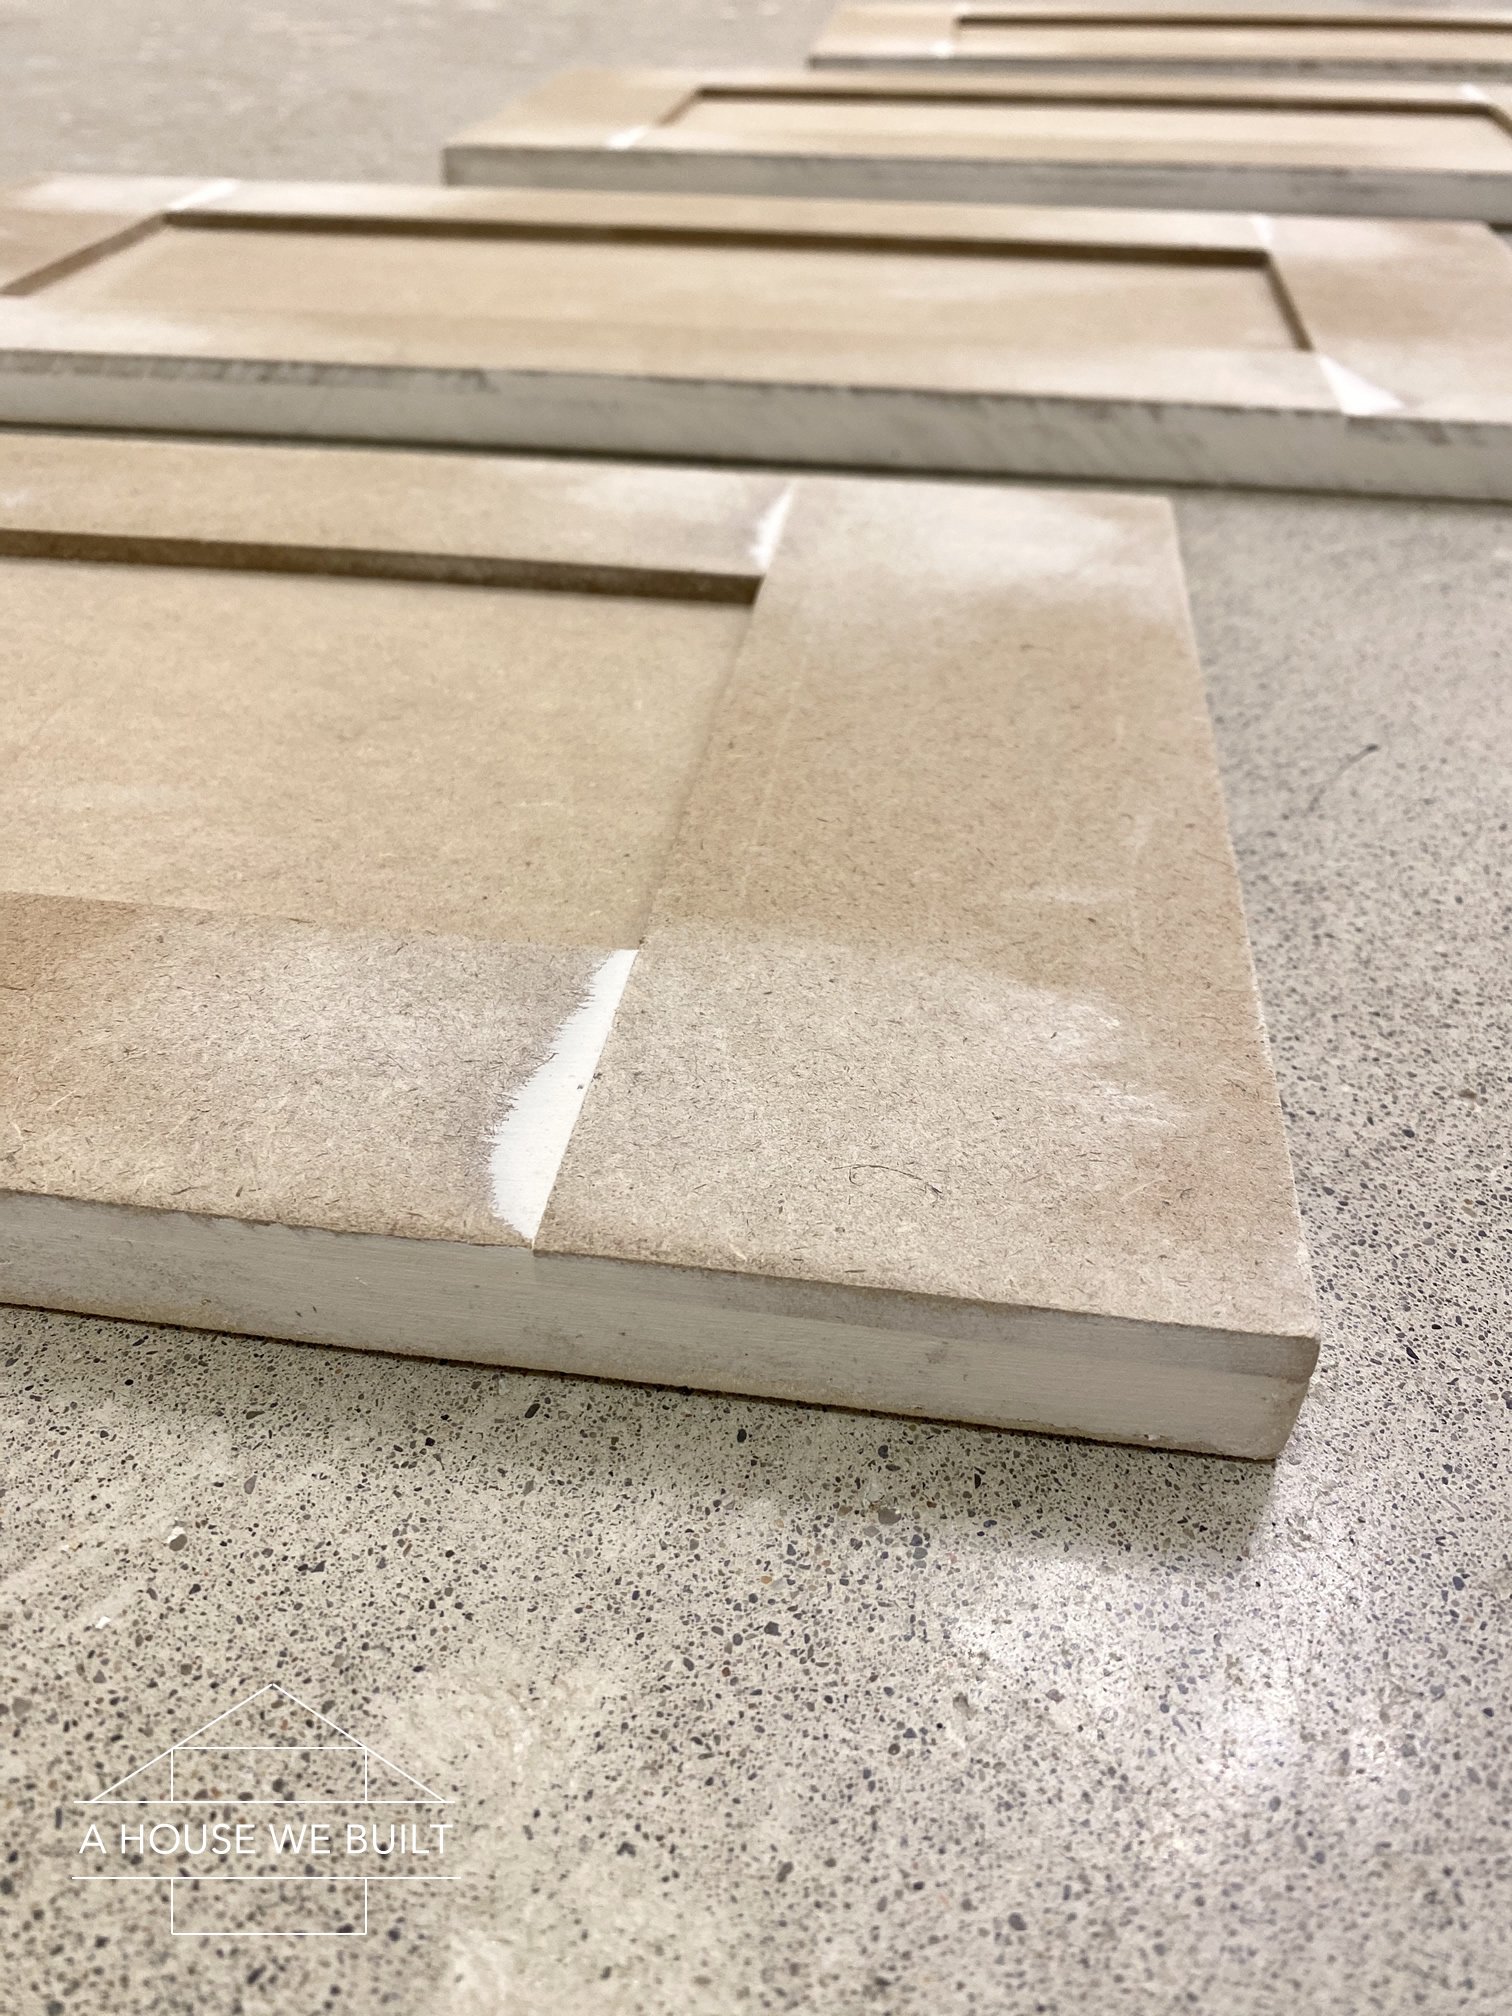
- Once you have all your door panels + support pieces, lay them face down on a perfectly flat surface, wood glue the seams between them, then wood glue the support pieces to the back at approximately 1/3 and 2/3 along the planksand let them dry overnight. The next day, we added 4 screws/door to secure them together. The reason we didn’t screw them from the start is that using rough sawn lumber means the wood has isn’t always perfectly straight and we wanted to let them dry flat without the screws pulling them in any direction. This resulted in very flat door panels.
Instructions: Final cuts
Now that your frame is complete, it’s time to cut your final misc pieces so that you can stain/paint them along with everything else. You will need to make the following:
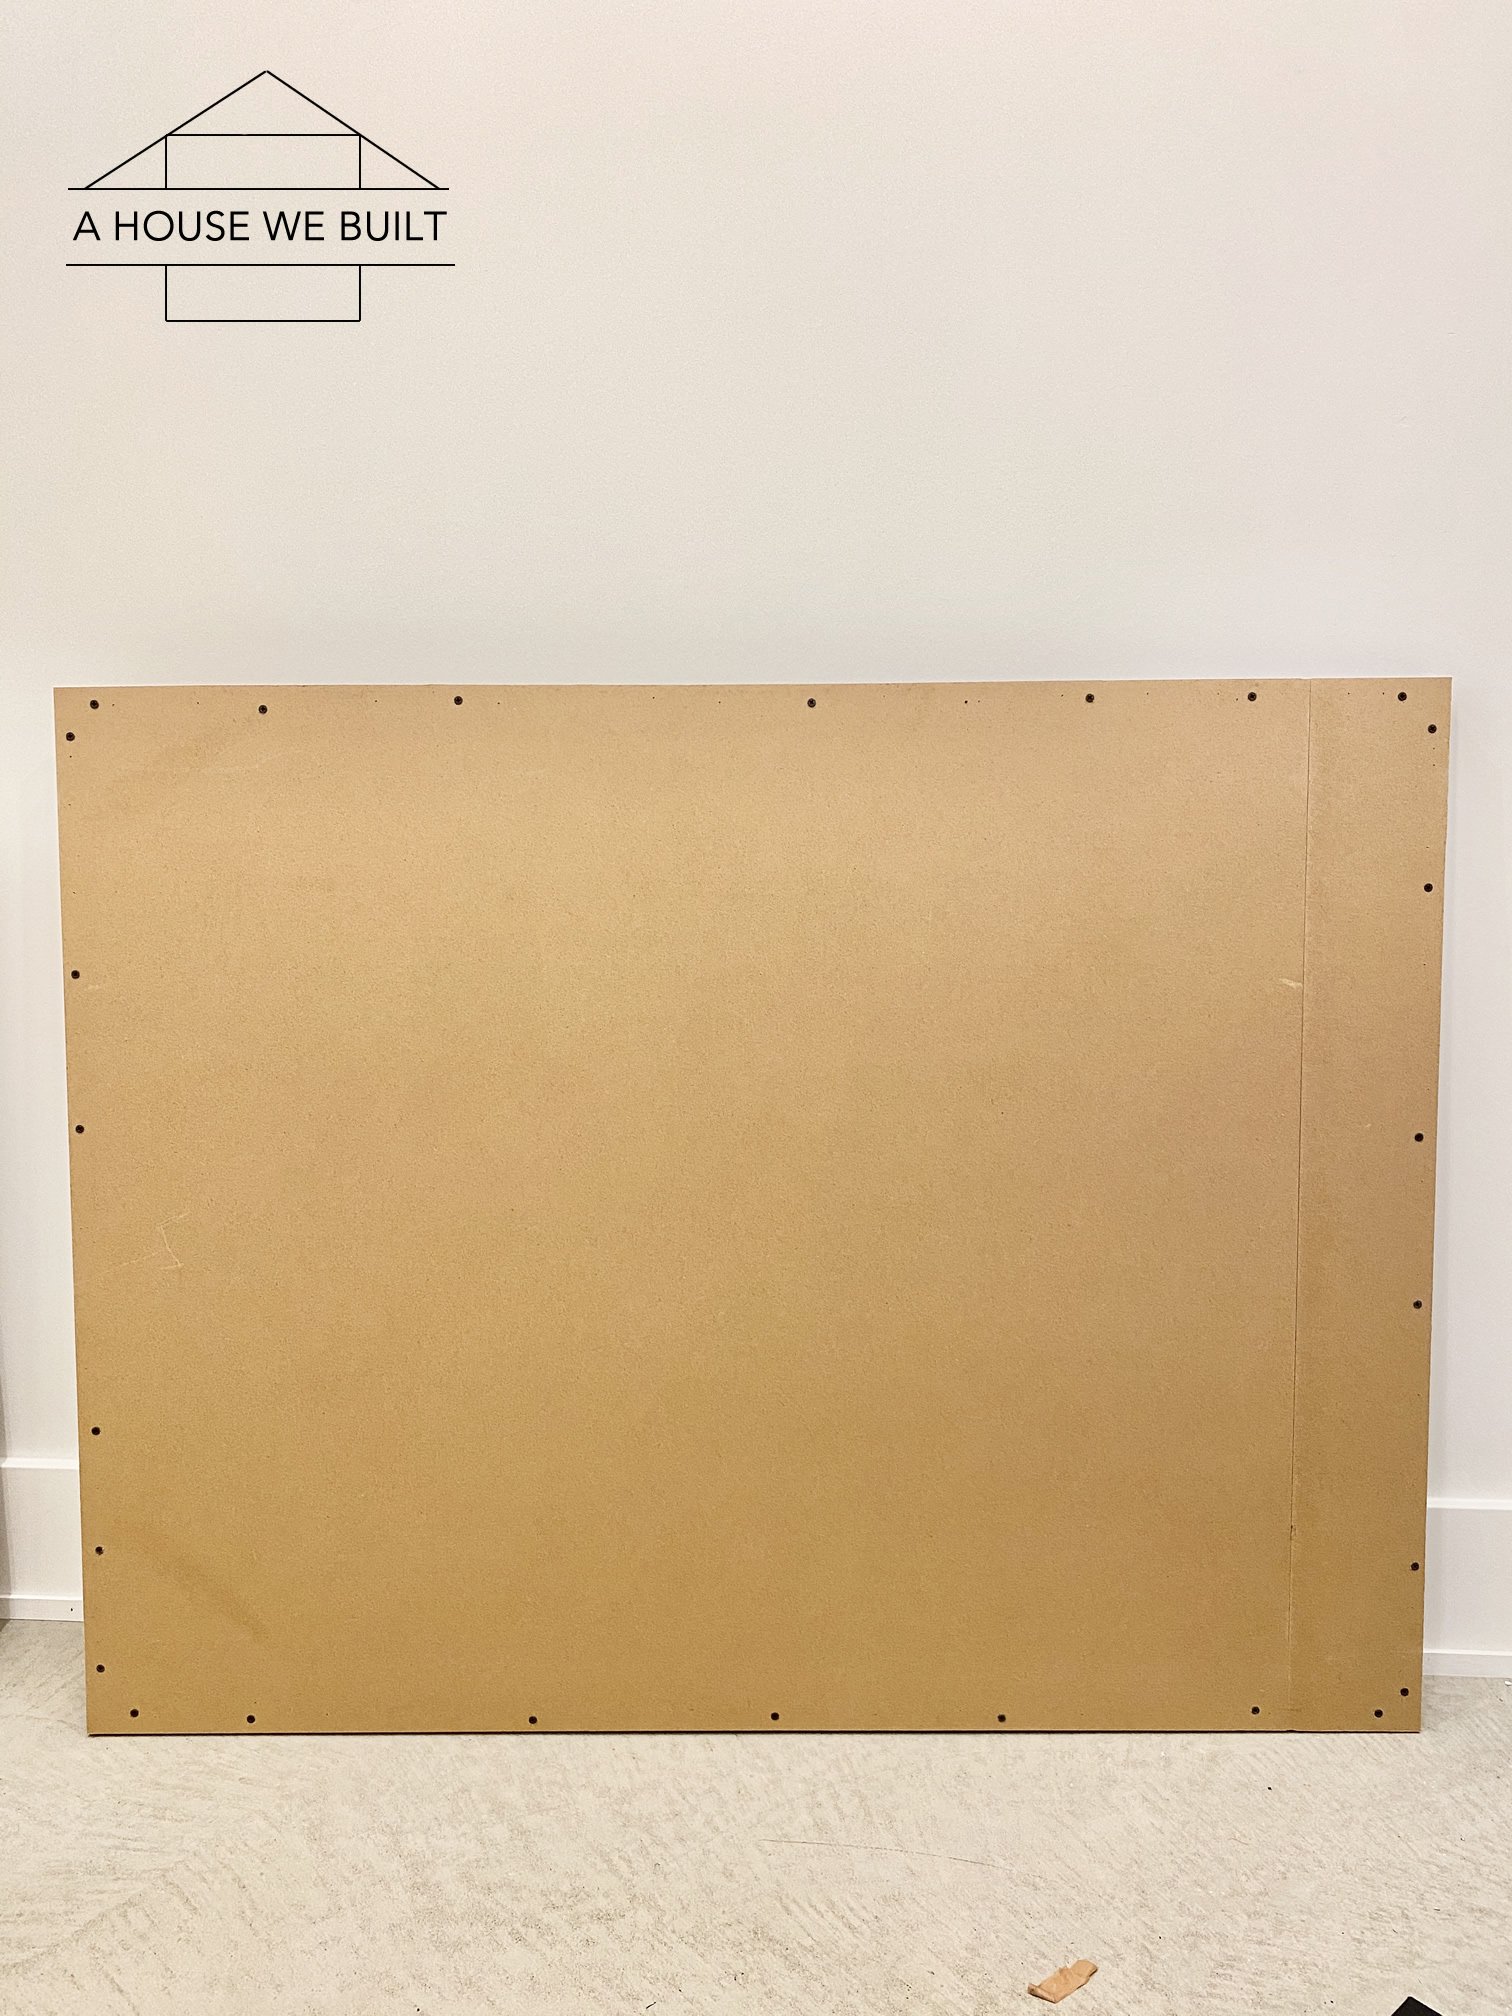
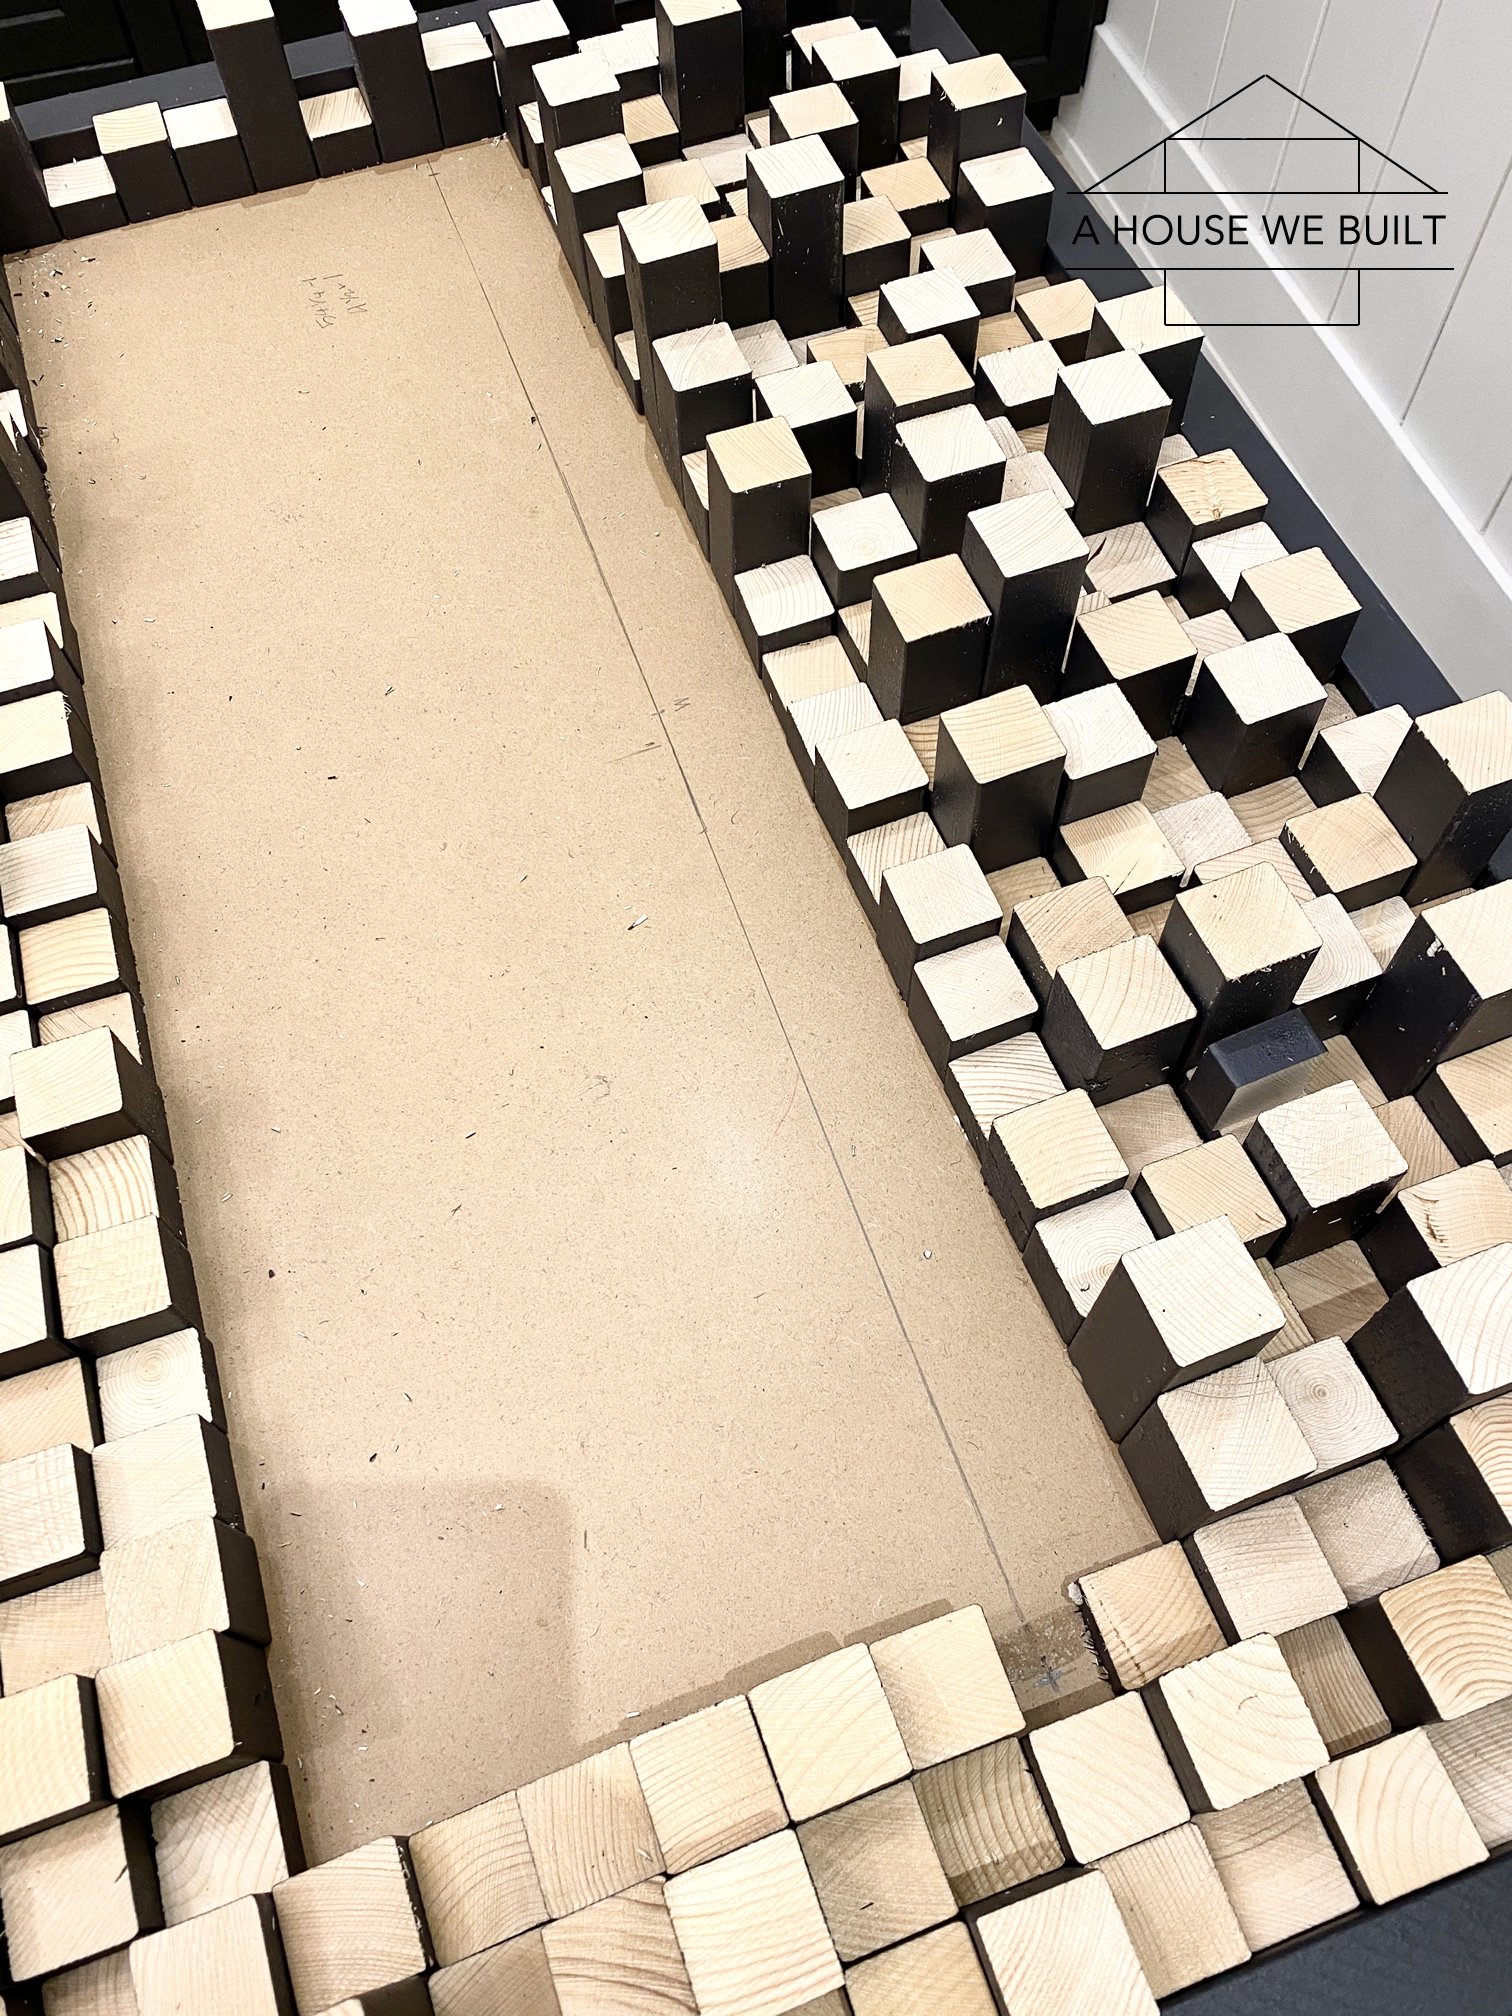
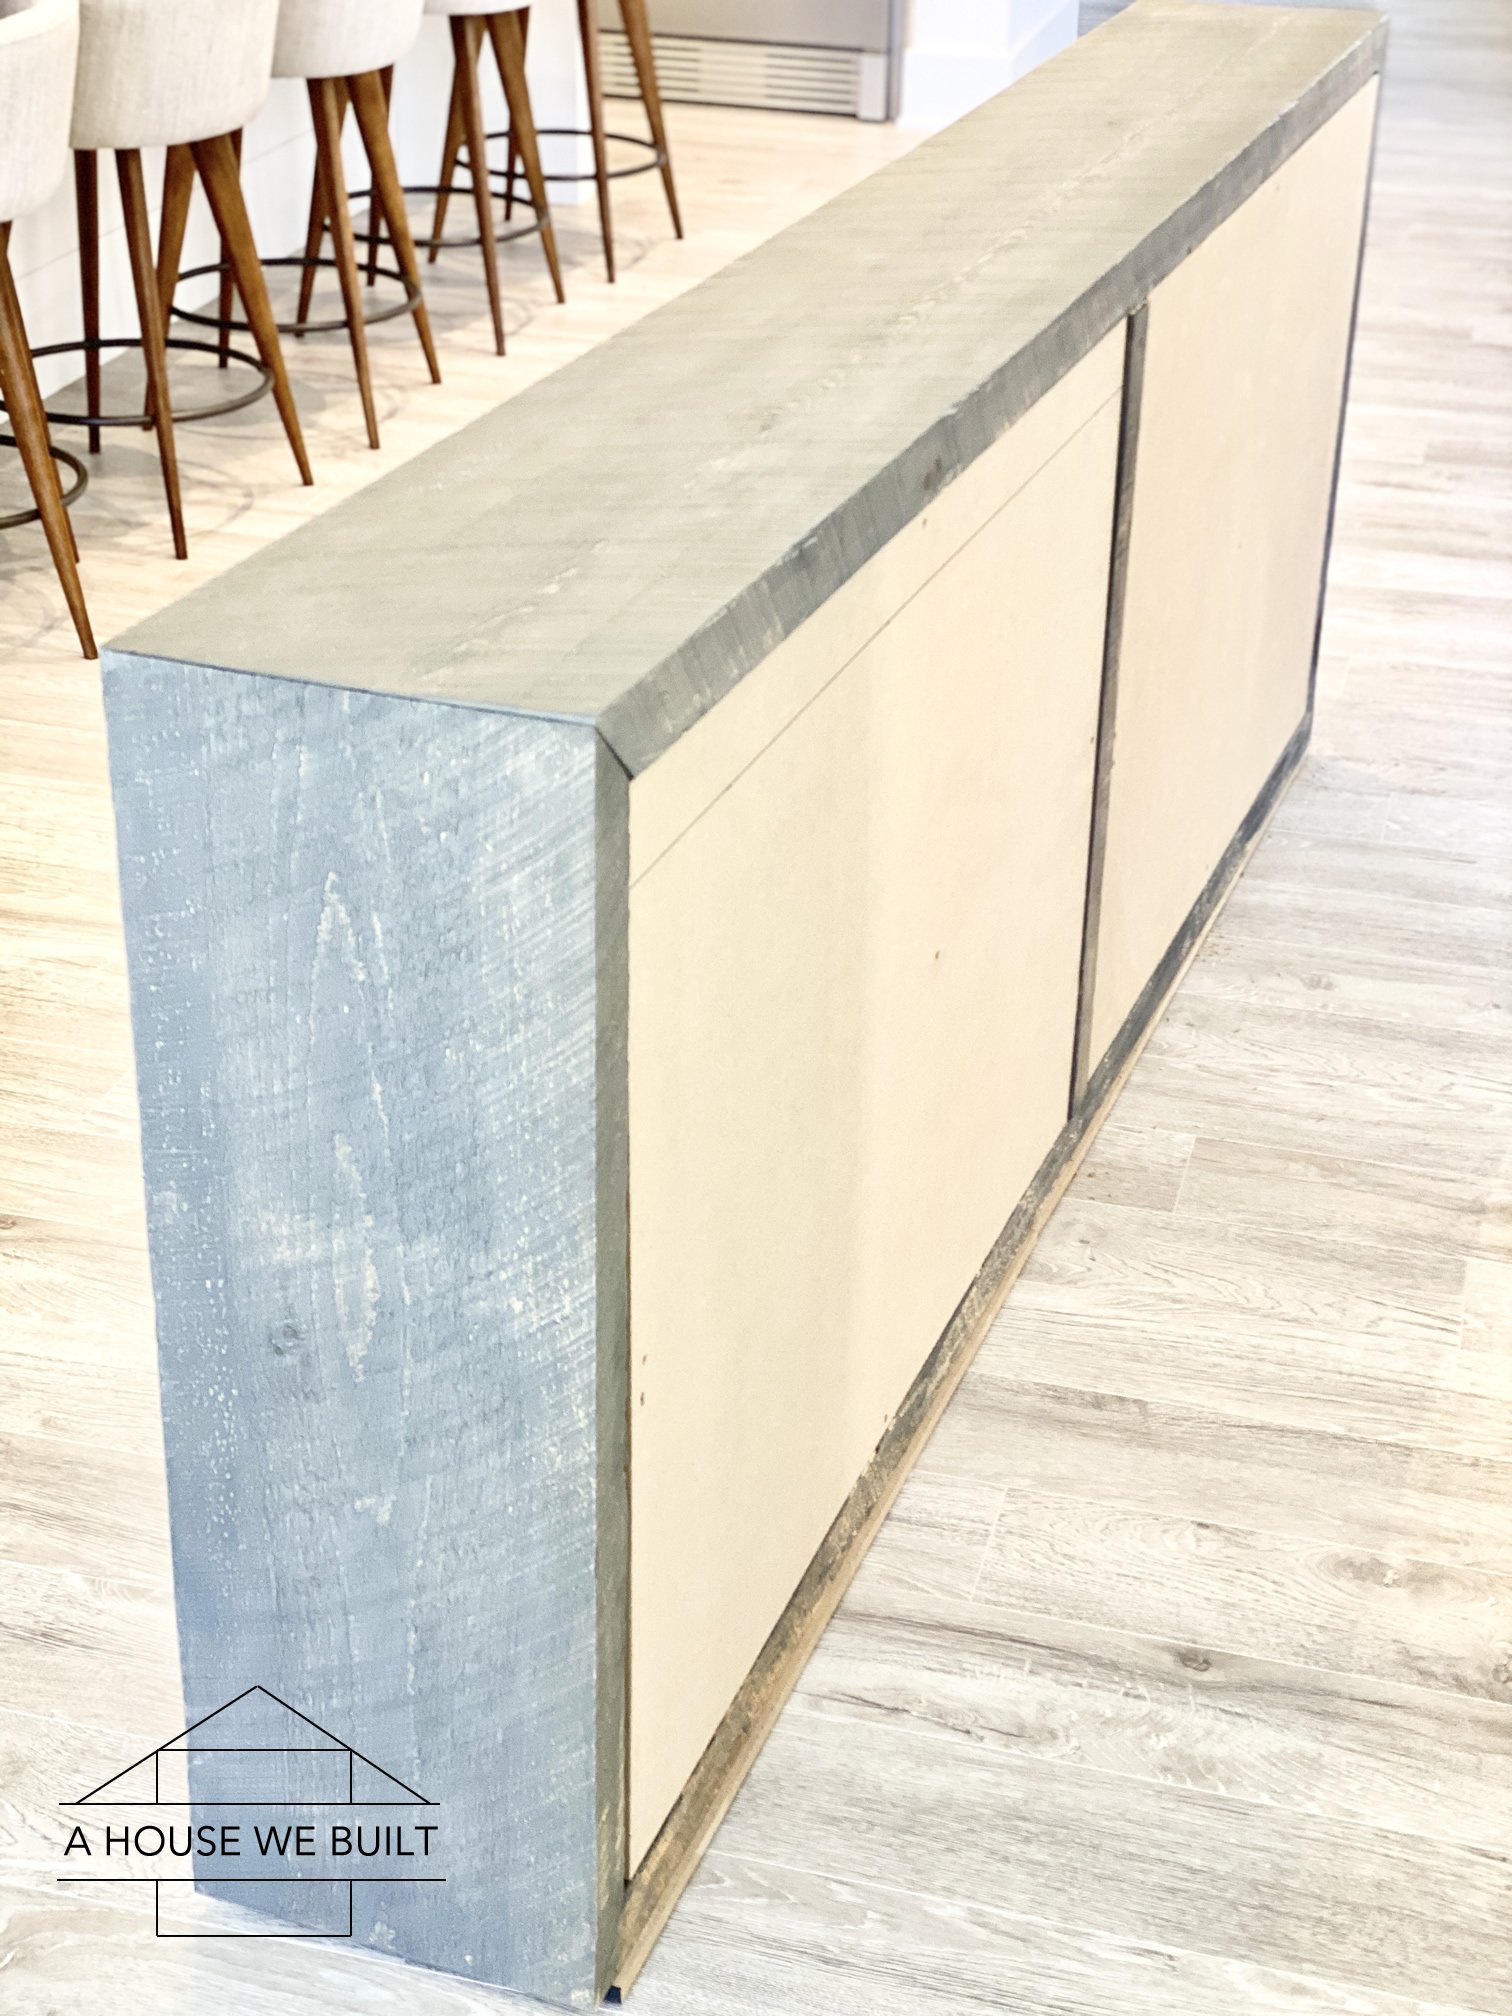
- Cut two backer panels from 1/2″ MDF for Side A and Side B.
- Cut one floor panel from 1/2″ MDF (optional). Dimensions: 2″ shorter than full length, 1″ less wide than full width. We used scrap MDF so ours is actually in two pieces but it doesn’t matter.
- Cut two 4″ strips from the 1×12 boards (for the strips that go behind the doors). The length should be the same as the doors.
- Cut four 1″ strips from the 1×12 boards for supports under the shelves (ours were about 7″).
- Cut two shelves out of your 1×12 boards for Side A and Side B at whatever the inside dimensions of your cabinet are. We actually cut this piece last after we’d fully assembled the sideboard for more accurate measurements, but you can also do it now.
- The following are optional depending on your hinges but we needed them:
– We needed four 2.5″ strips of the 1×12 board (same height as the doors) to attach the hinges to inside the frame since we chose to recess our doors by a 1/2″.
– We needed two 1″ strips of the 1×12 board to go behind the doors to prevent them from closing too far. Calculated by taking depth of the board behind the door strip, minus 1/2″ for the backer panel. Ours were 8.5″ long.
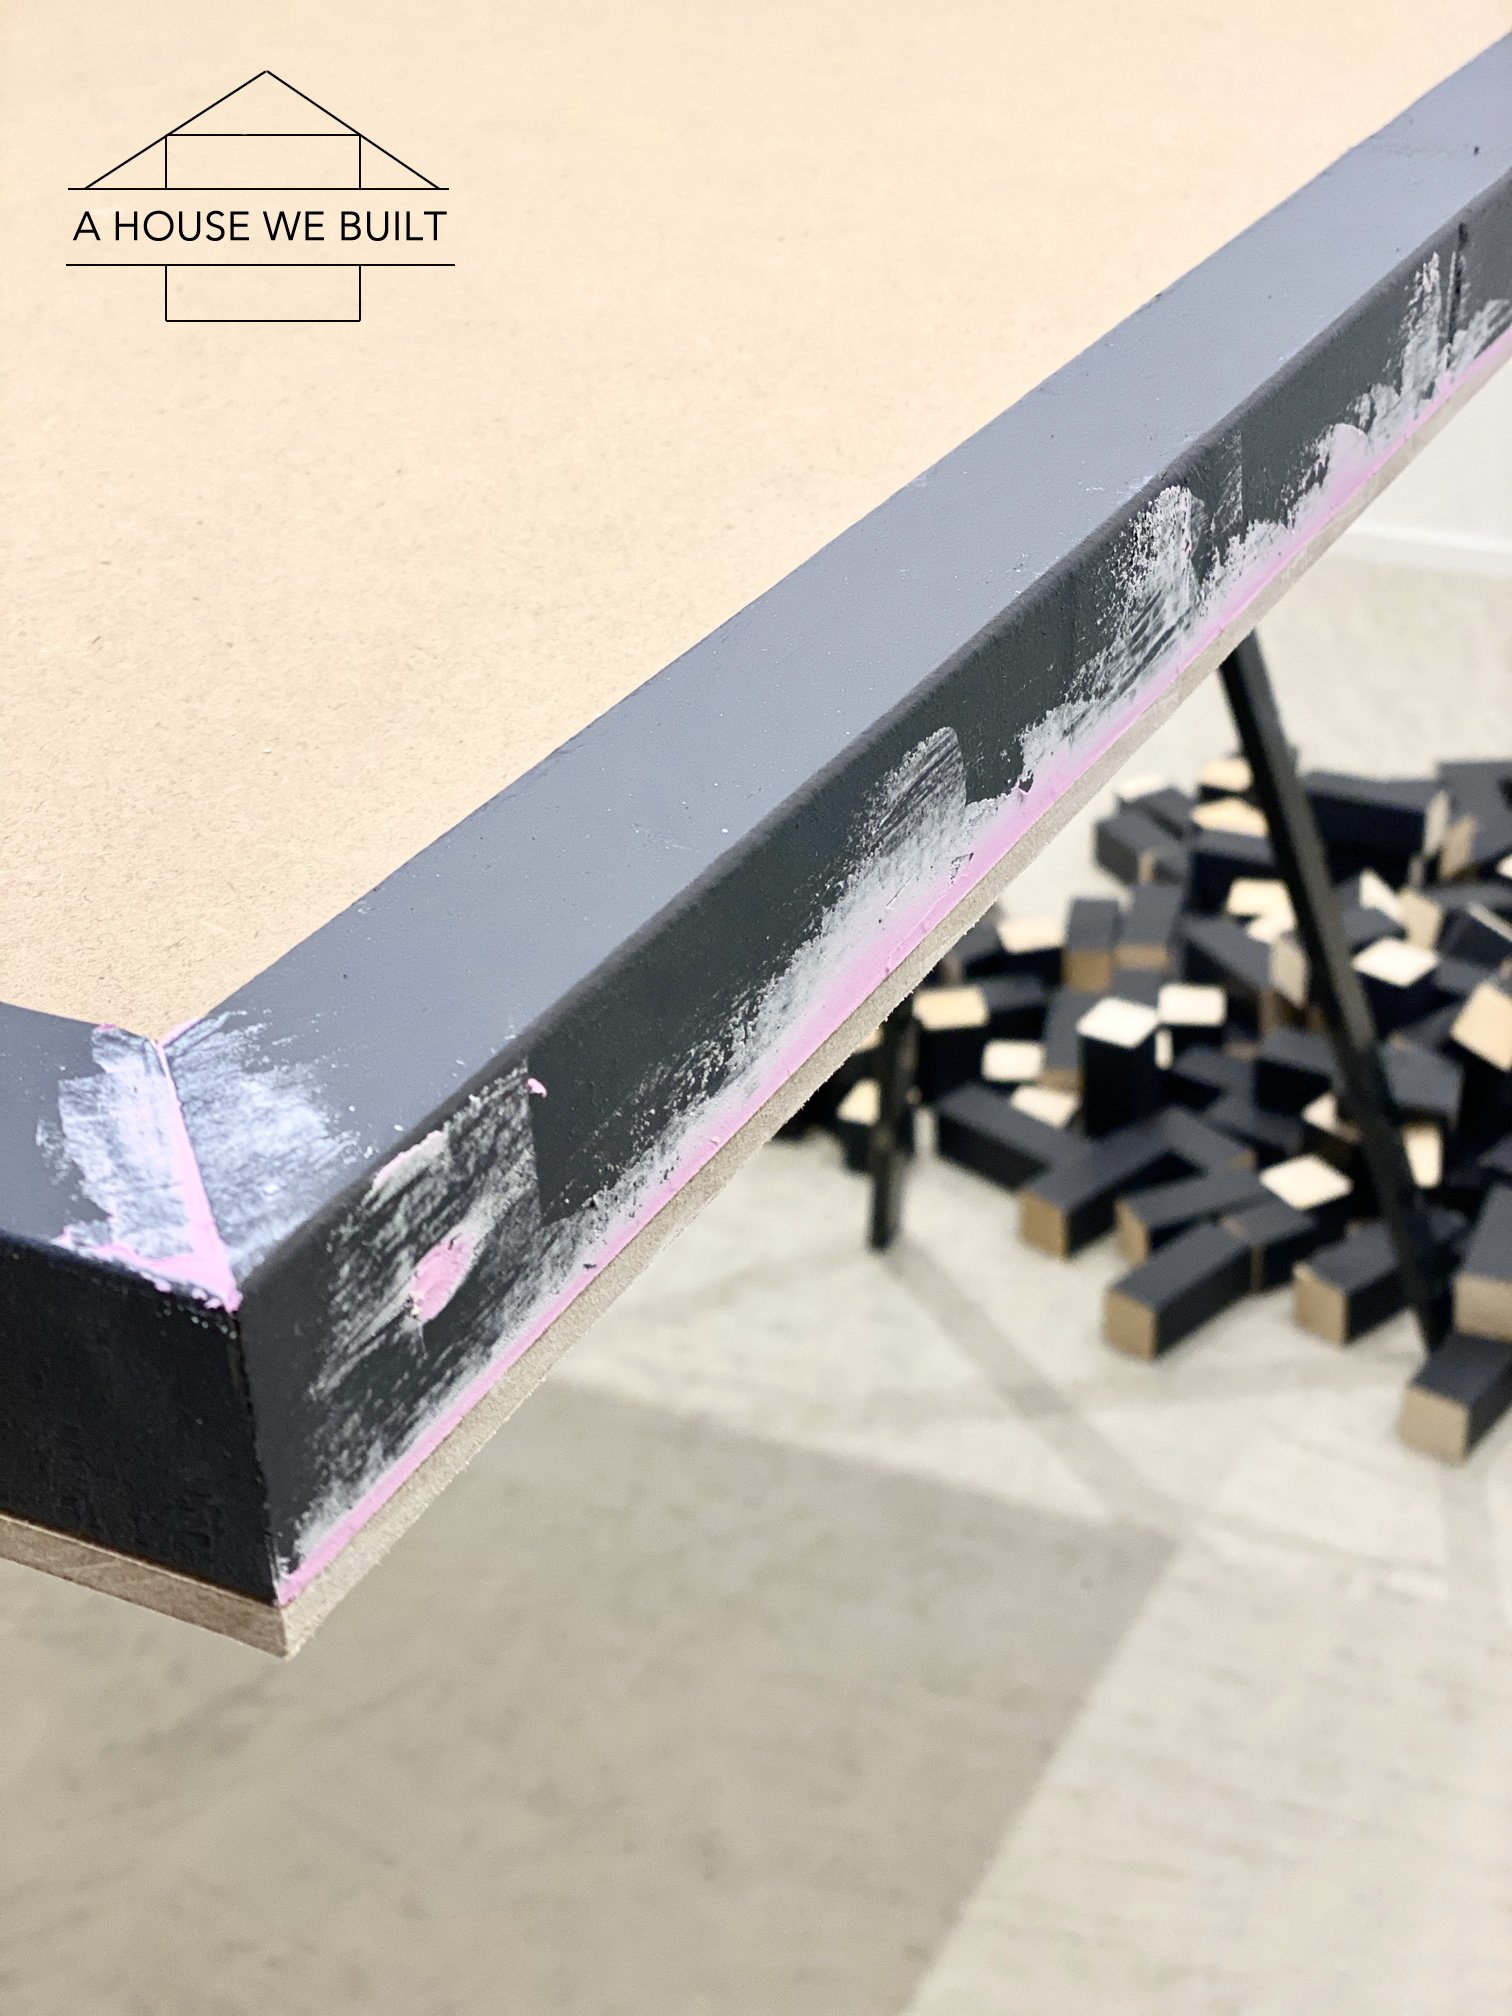
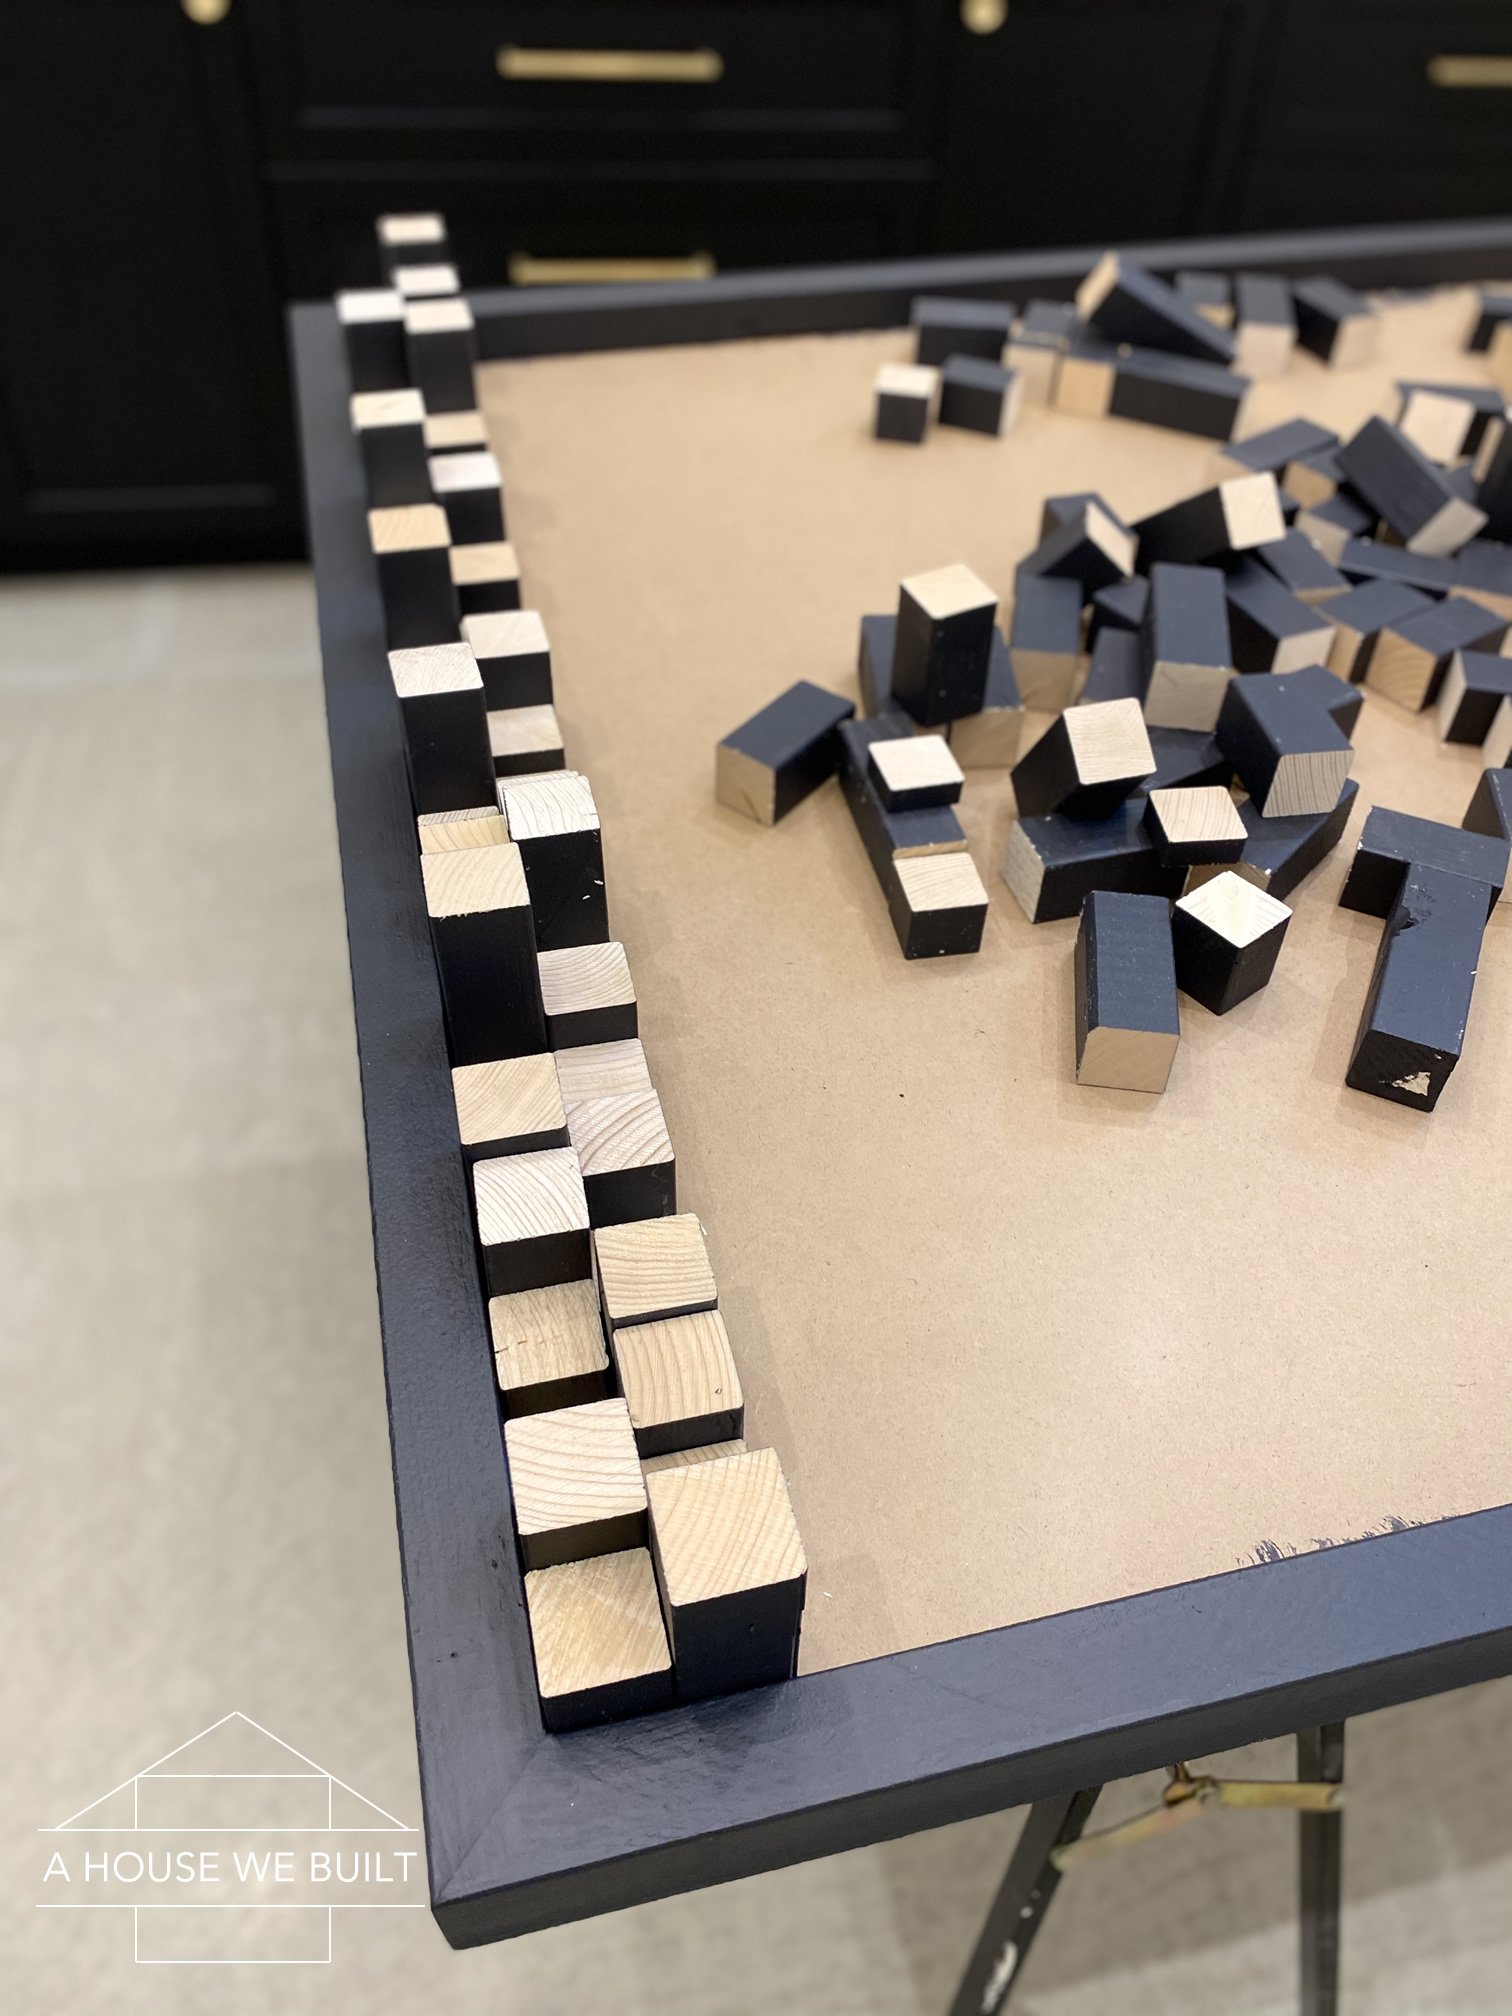
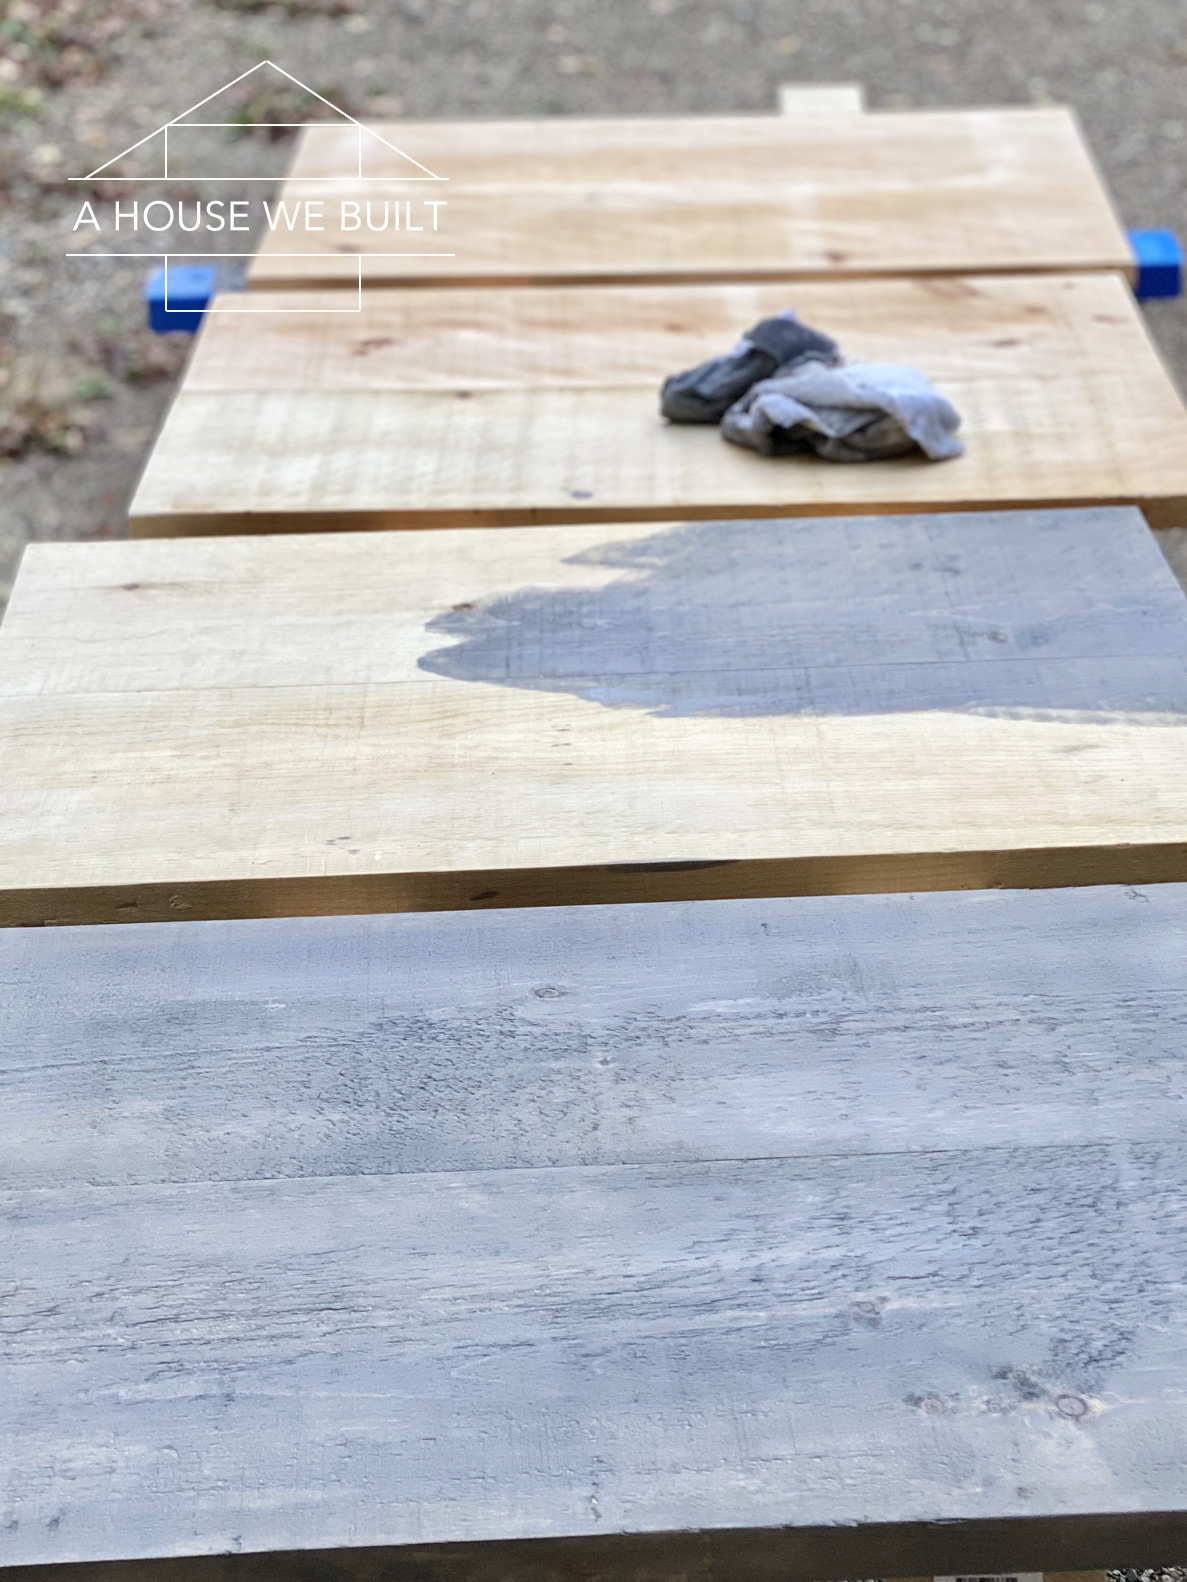
Instruction: Sanding & Staining
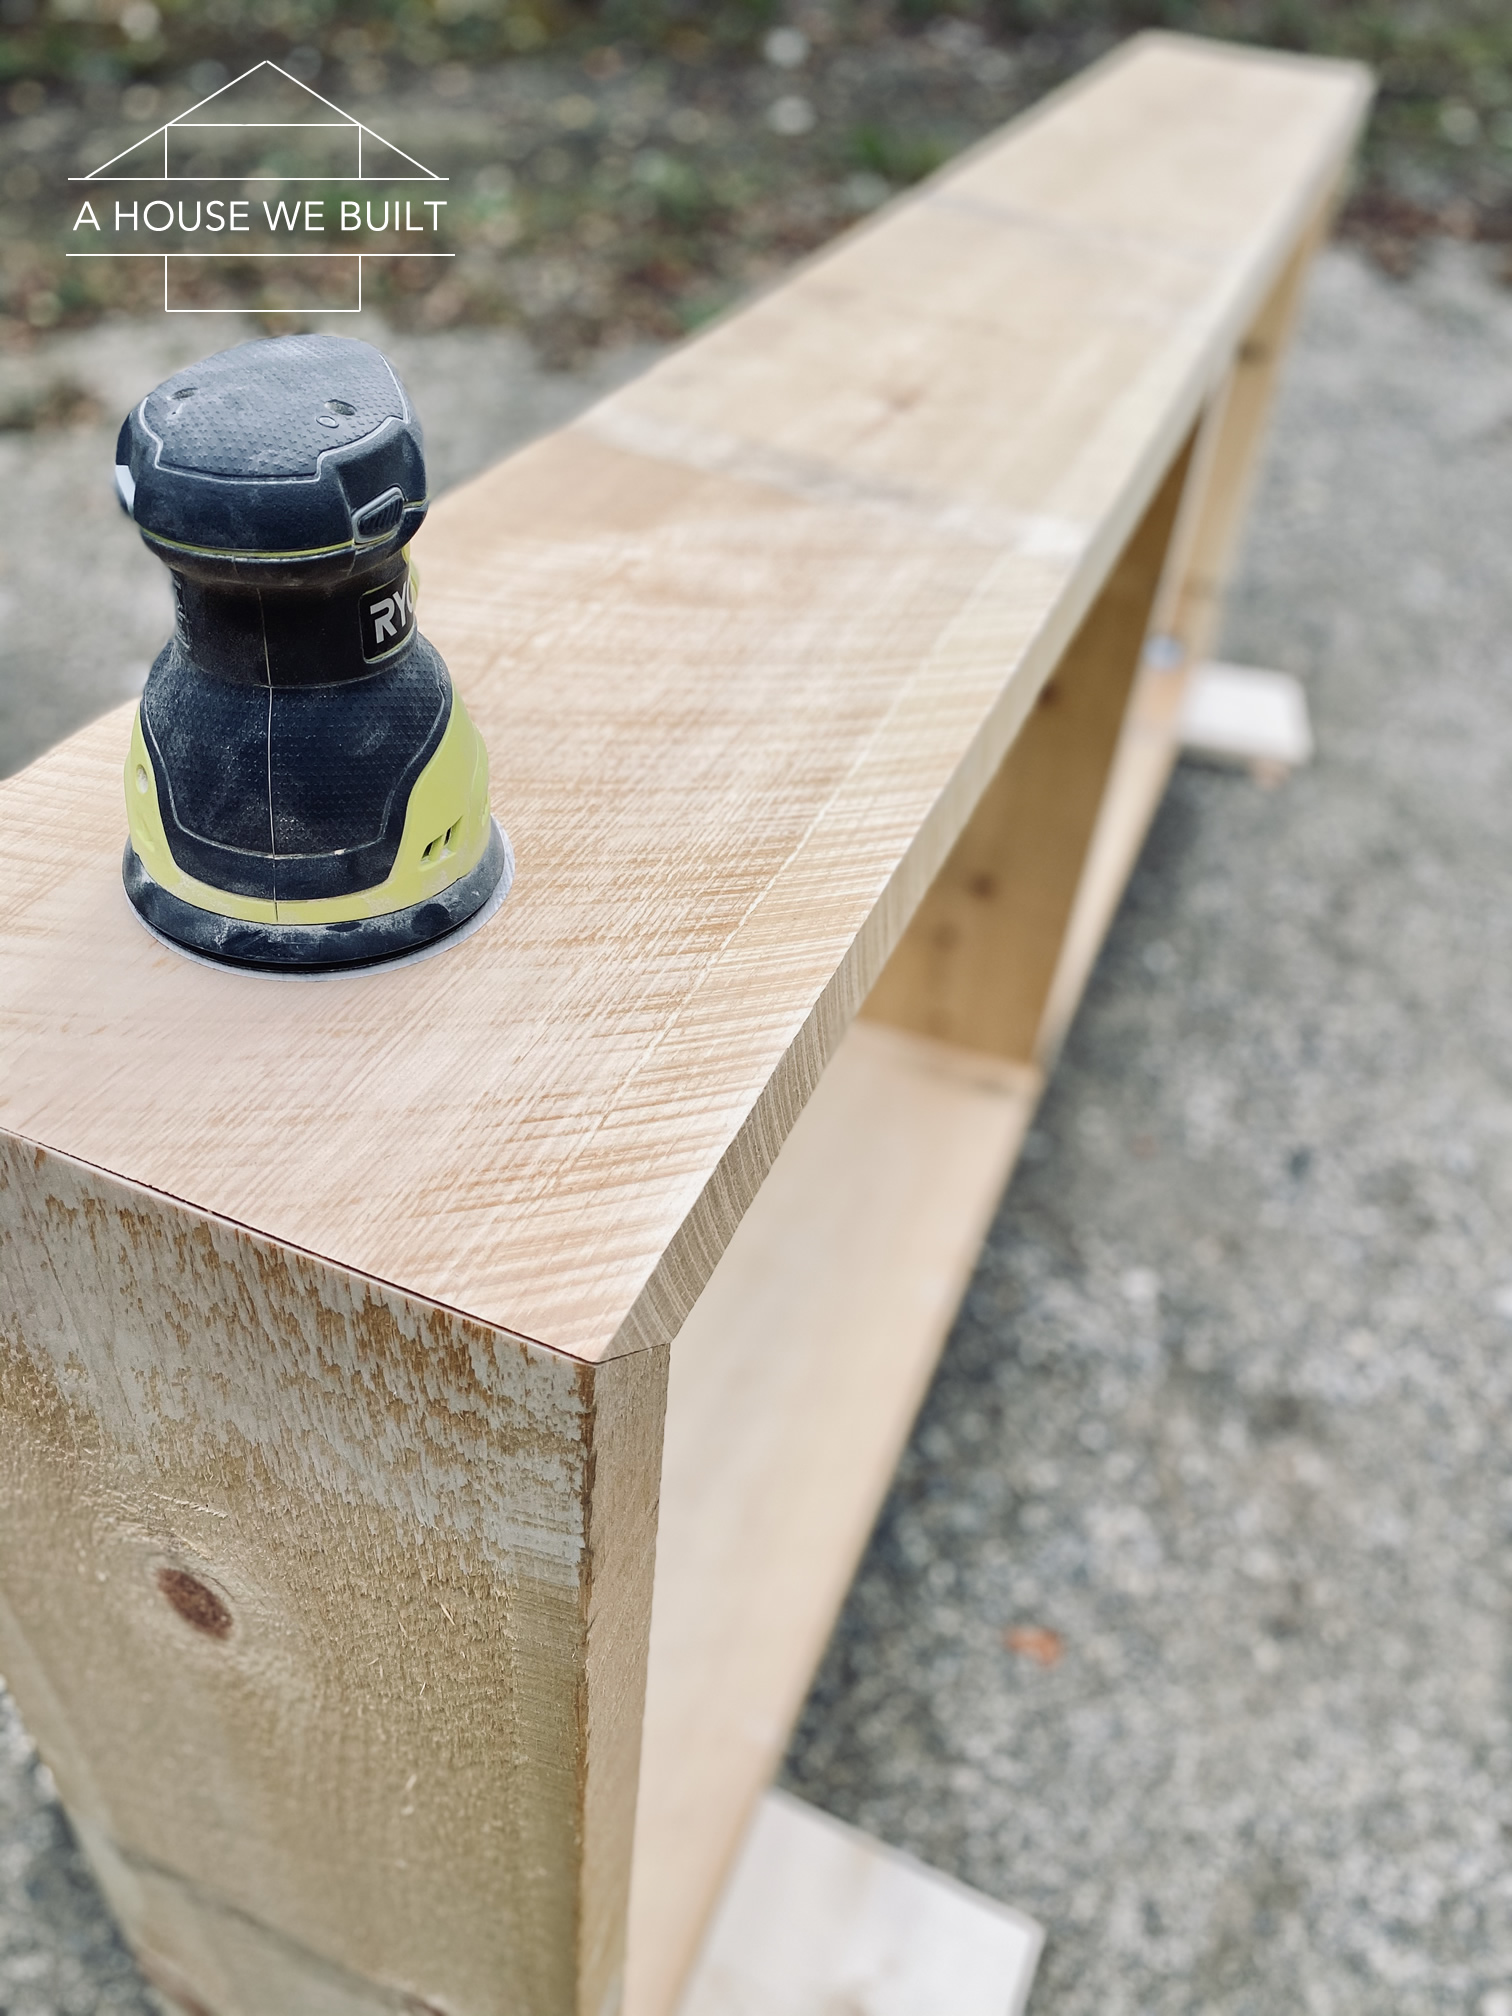
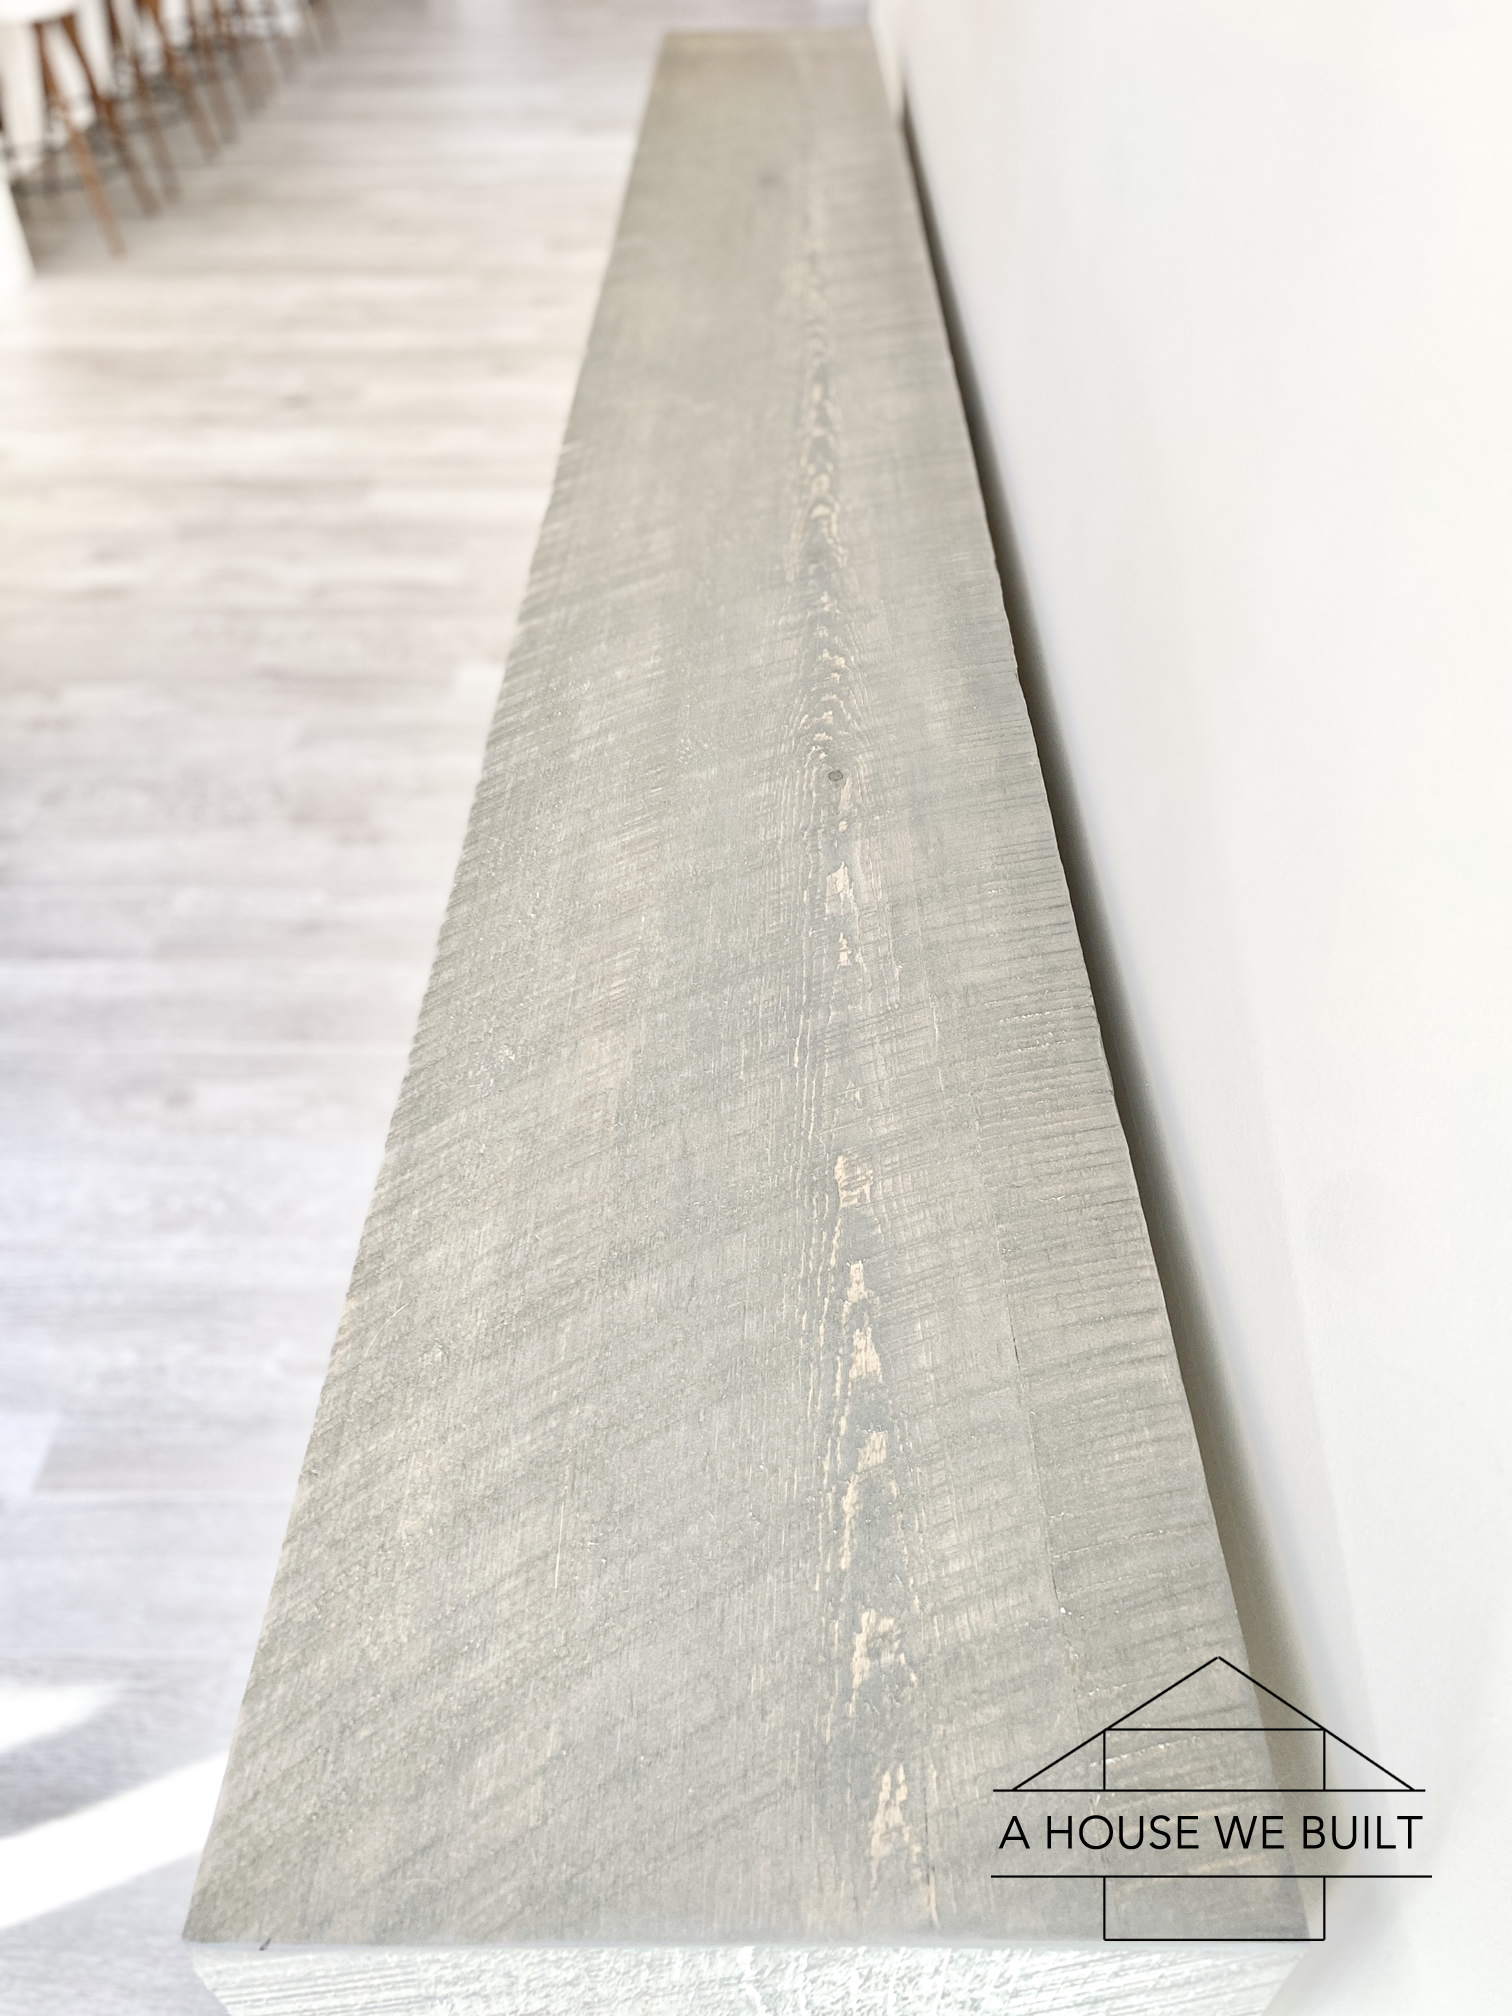
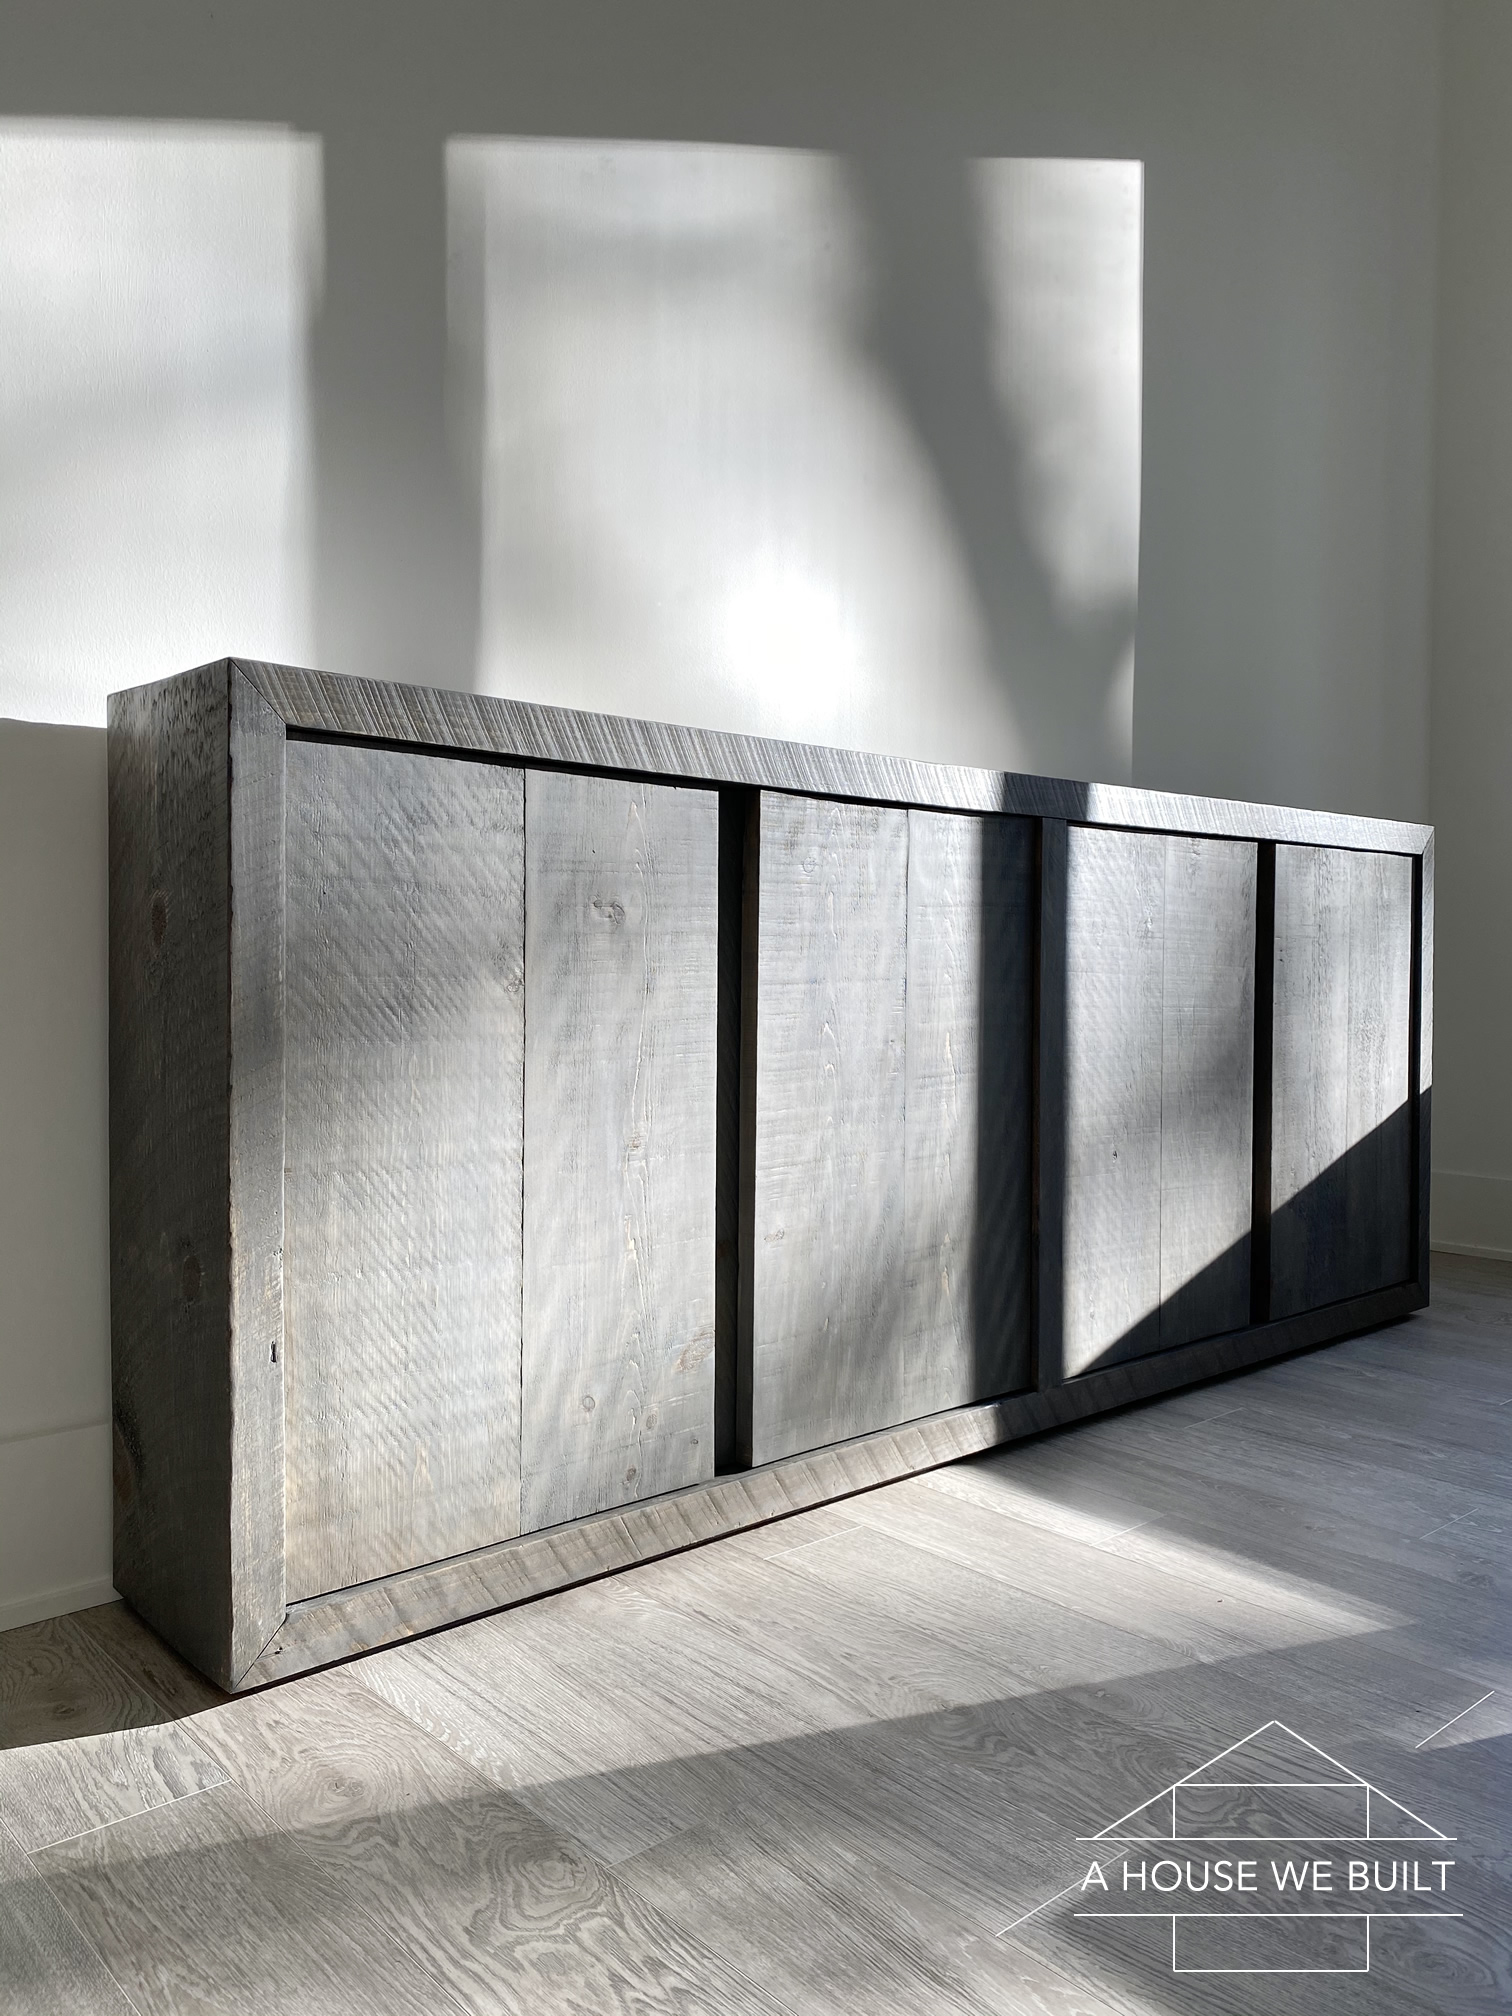
- Use an orbital sander (Home Depot | Amazon) + 150 grit sanding pads to smooth out your entire frame and doors and miscellaneous bits to your desired smoothness. Since we were using rough sawn lumber, I wanted to leave the saw marks visible so I just sanded down the roughness lightly but kept all the indentations and markings in the wood for a more rustic look. This is personal preference. Sand down all surfaces (even the inside).
- Apply pre-stain conditional (Amazon | Home Depot) to all surfaces that will be stained. This is an essential step. Every time I forget to use this, I regret it. I don’t know how it works but it just makes the stain absorb so much better. Apply using either a rag or brush. Allow it to dry for about 15 mins (or as per manufacturer’s instructions).
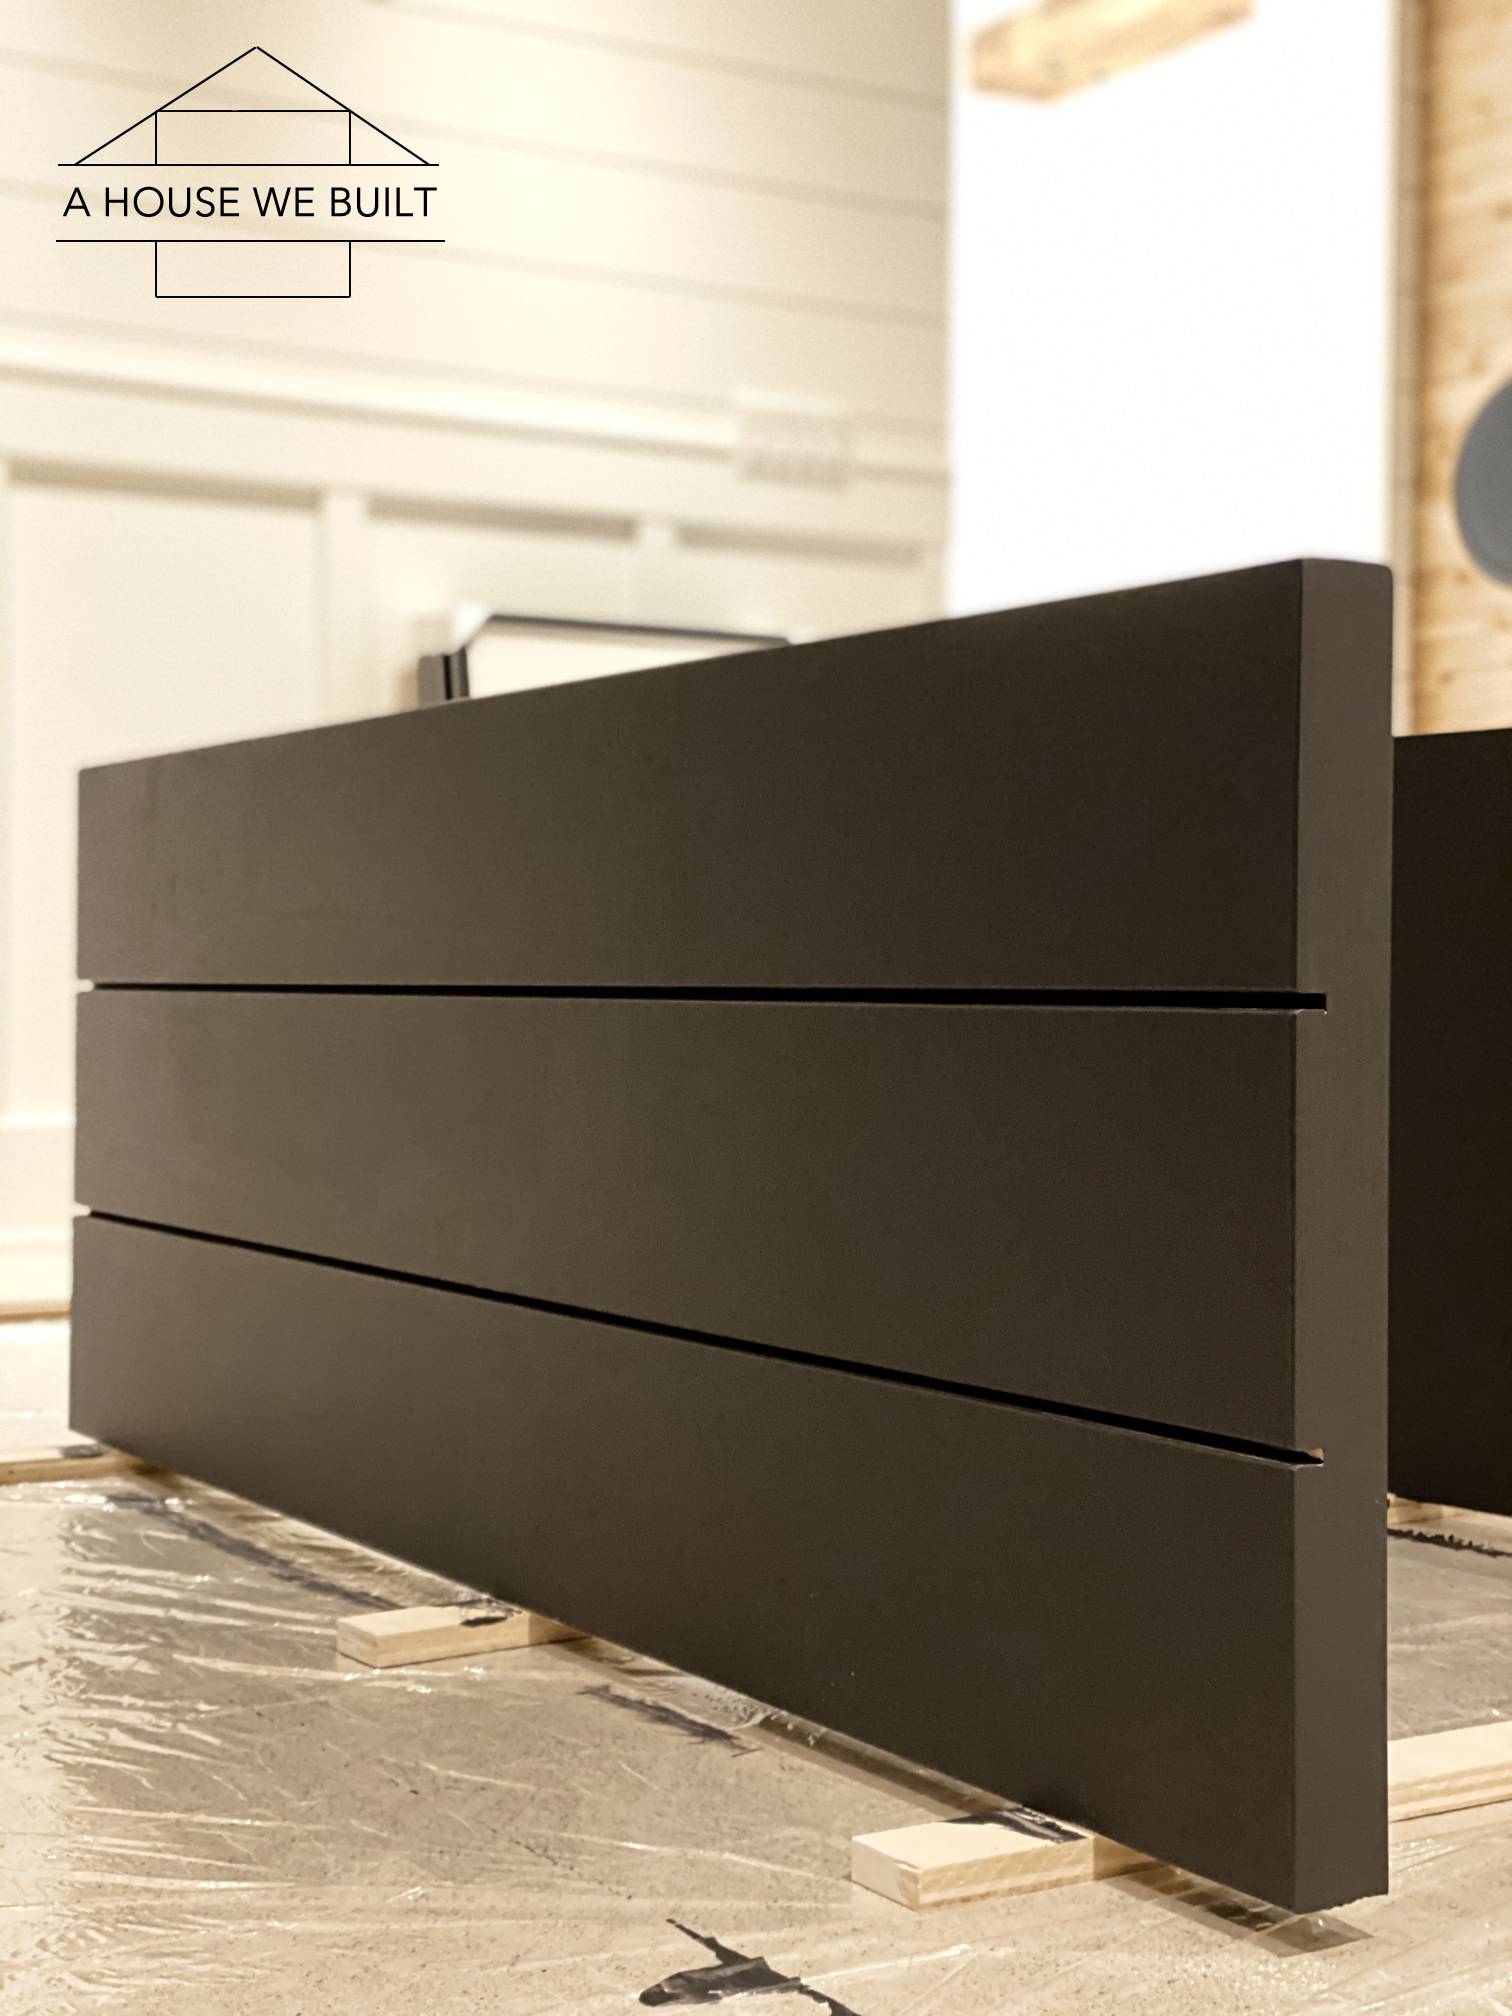
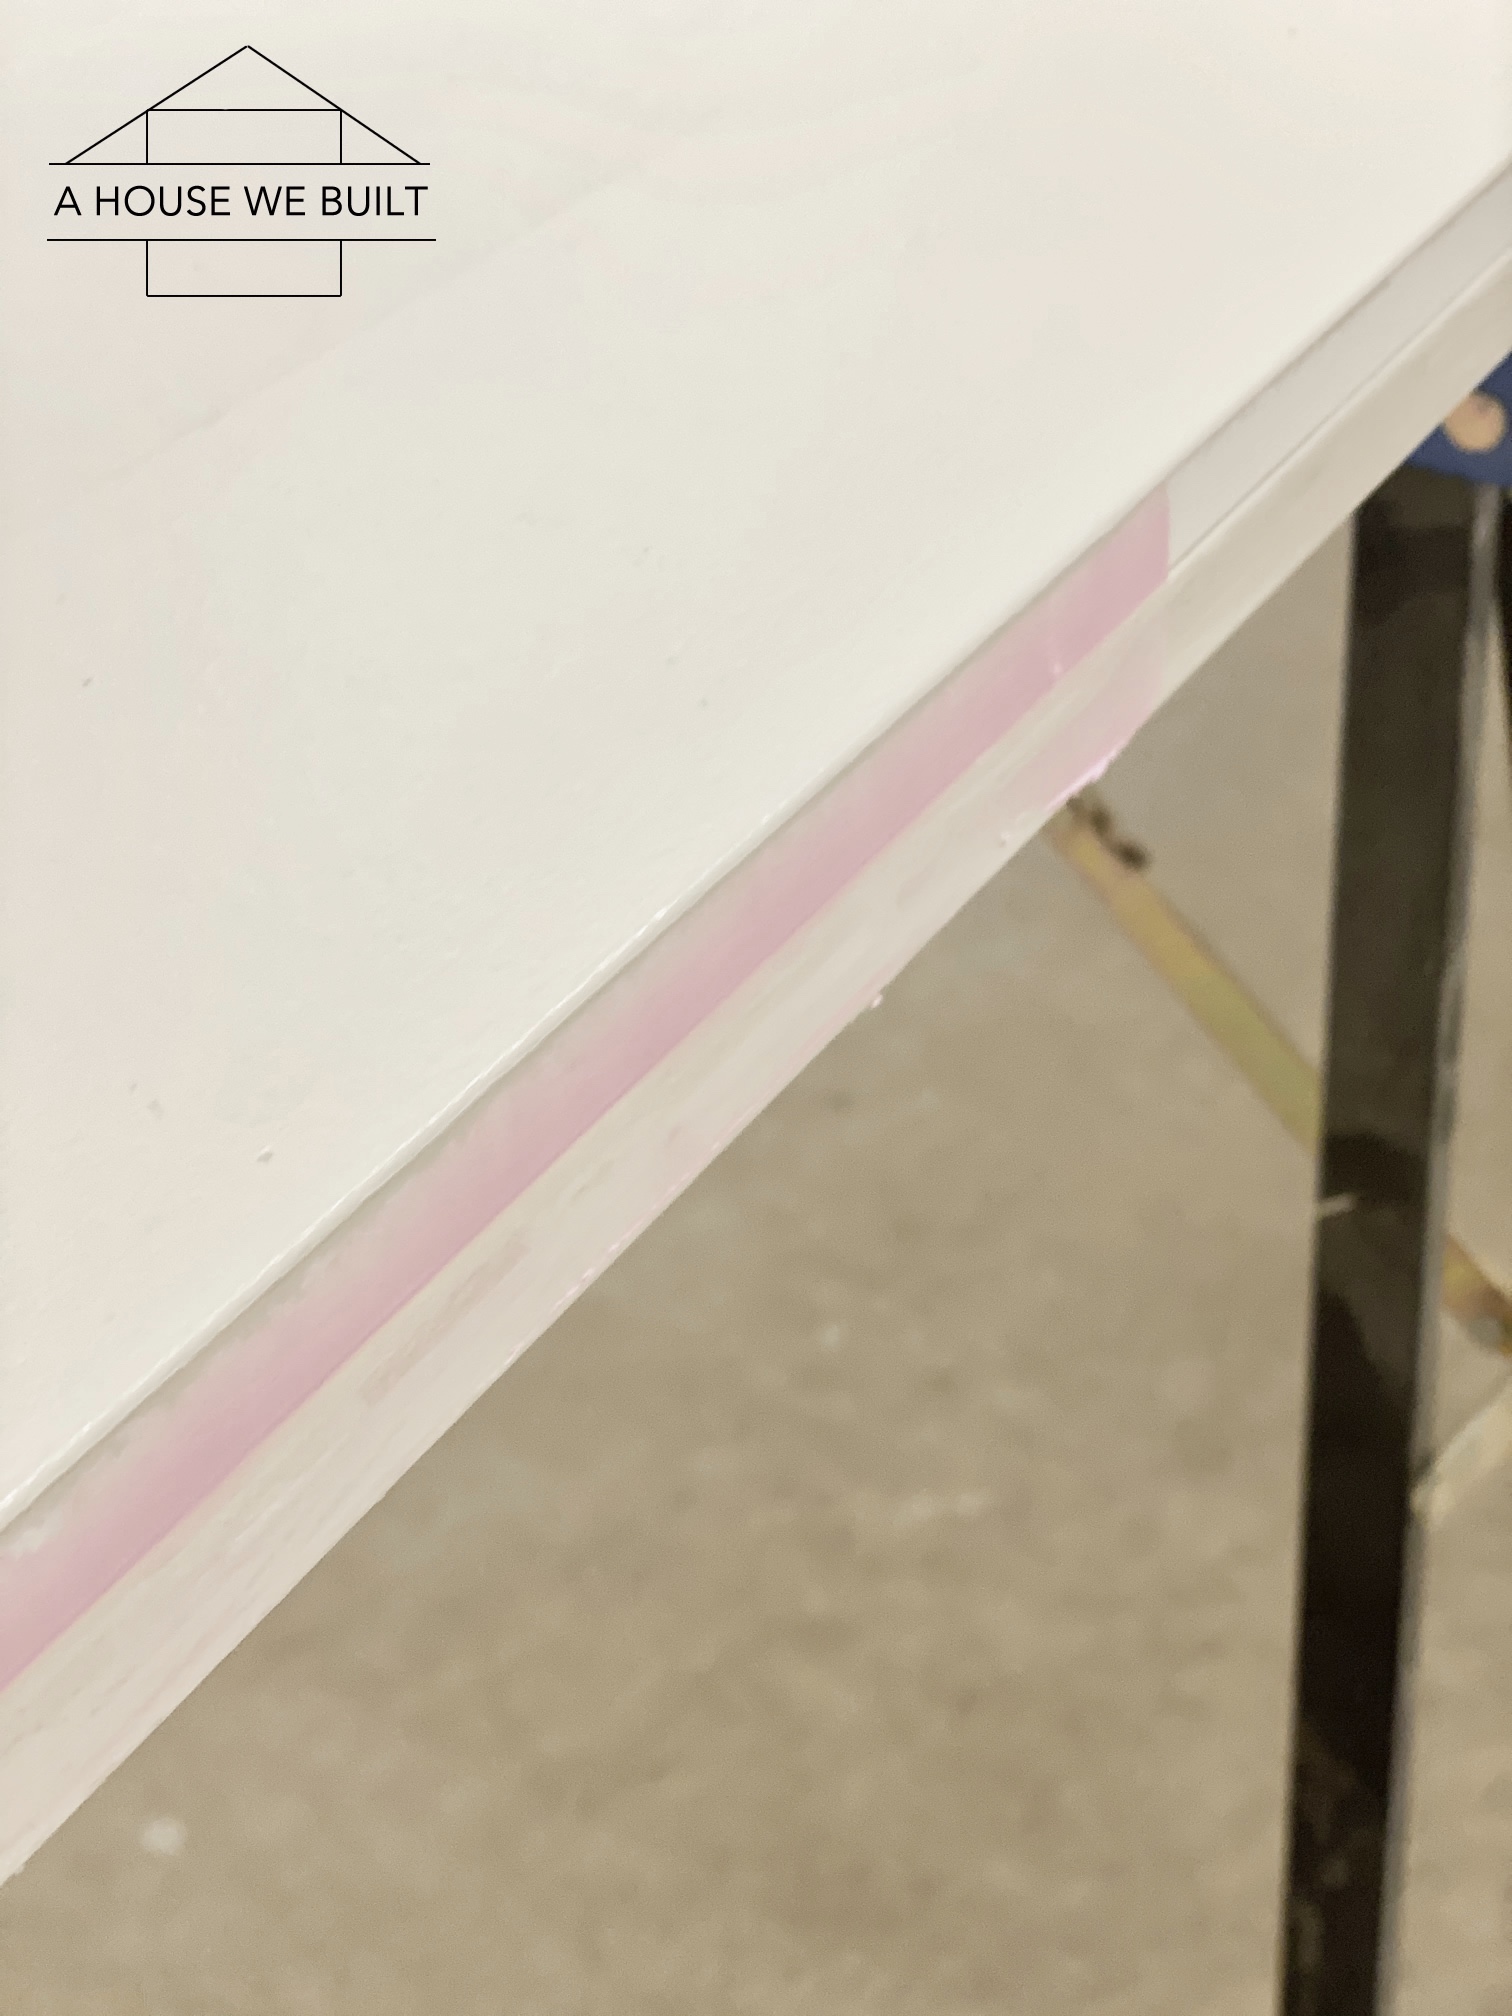
- Apply stain (Amazon | Home Depot) using a combination of a brush and rag. I applied a fairly thick coat and really rubbed it in with the rag. Allow it to sink in for however long it takes you to stain everything. Then go over everything in the same order you stained it in with a clean rag and wipe away any excess stain. Allow it to dry for as long as the manufacturer advises.
- Apply a matte top coat (Amazon | Home Depot) with a paint brush using even clean lines. I did everywhere with one coat (since my poly was triple thick) but I would have done multiple coats if I was just using normal poly. Then I did a second coat on the top surface which is the area that will see the most traffic.
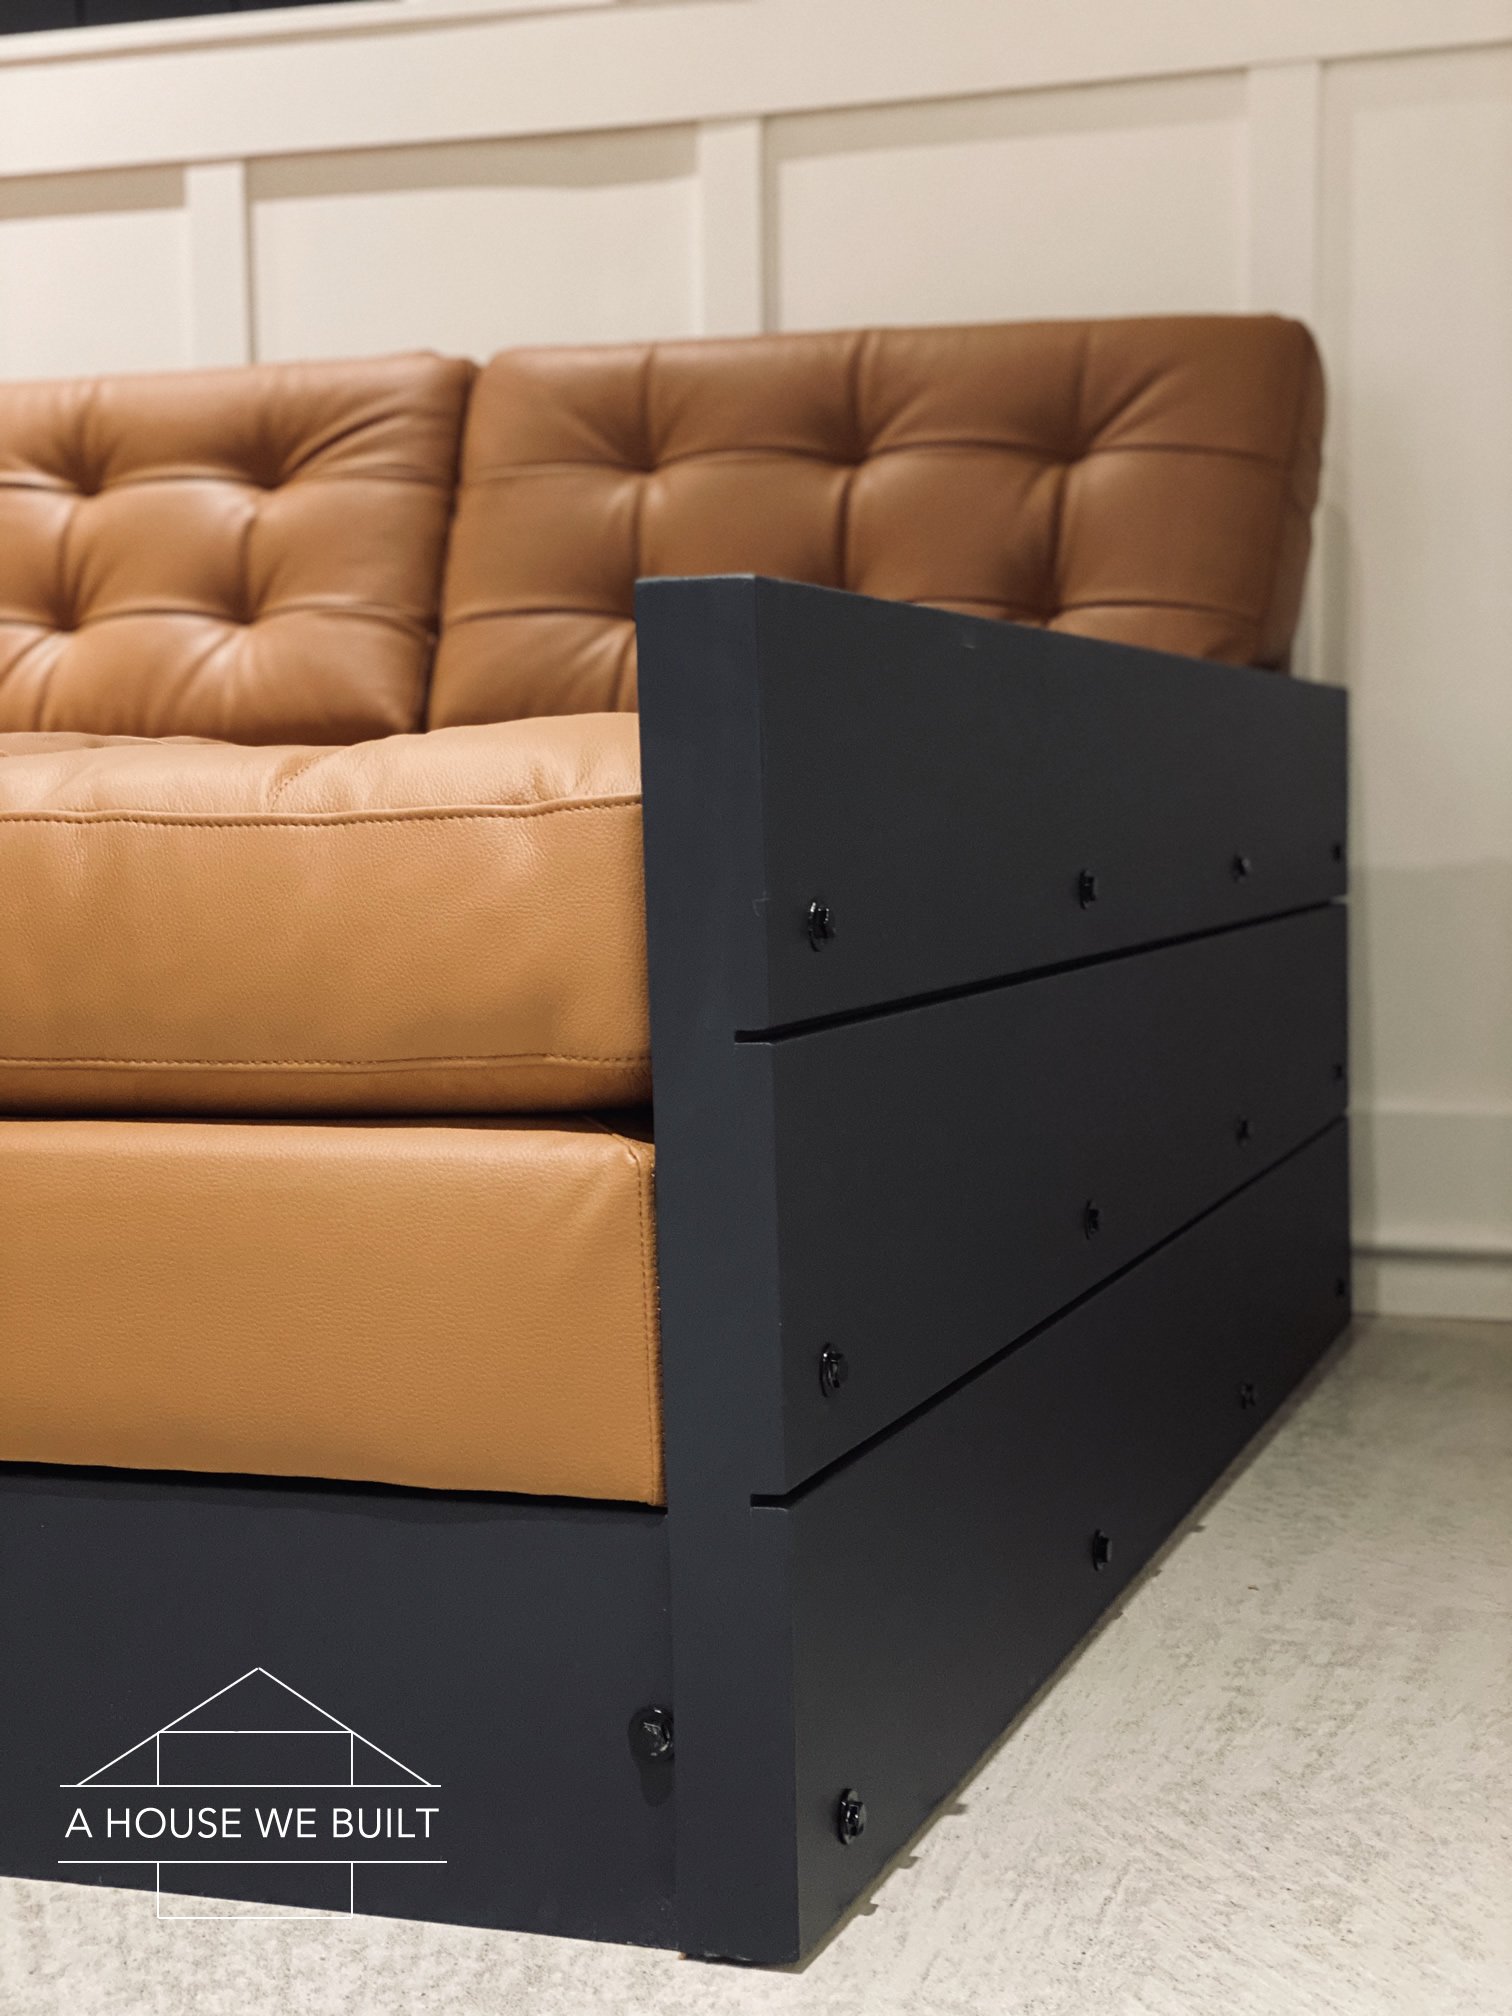
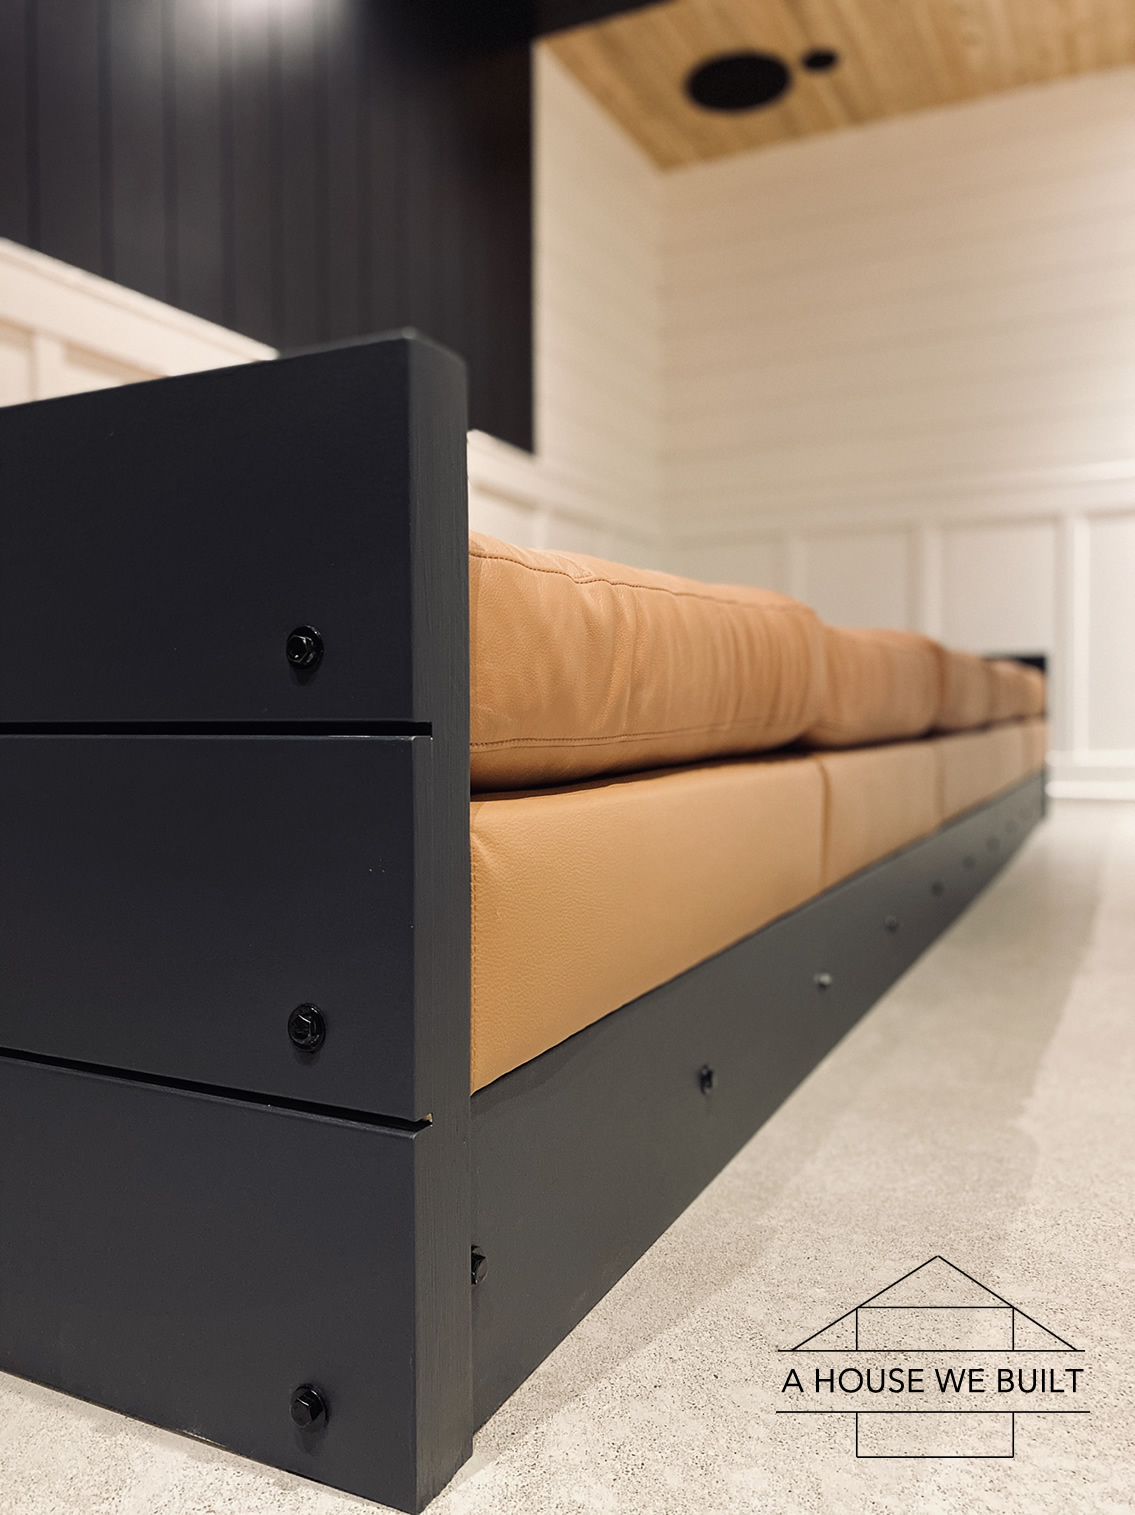
- I also separately painted the inside of both MDF backer panels black (I used leftover BM Black Panther from our theater room and sofa pit projects). This was just an optional design preference.


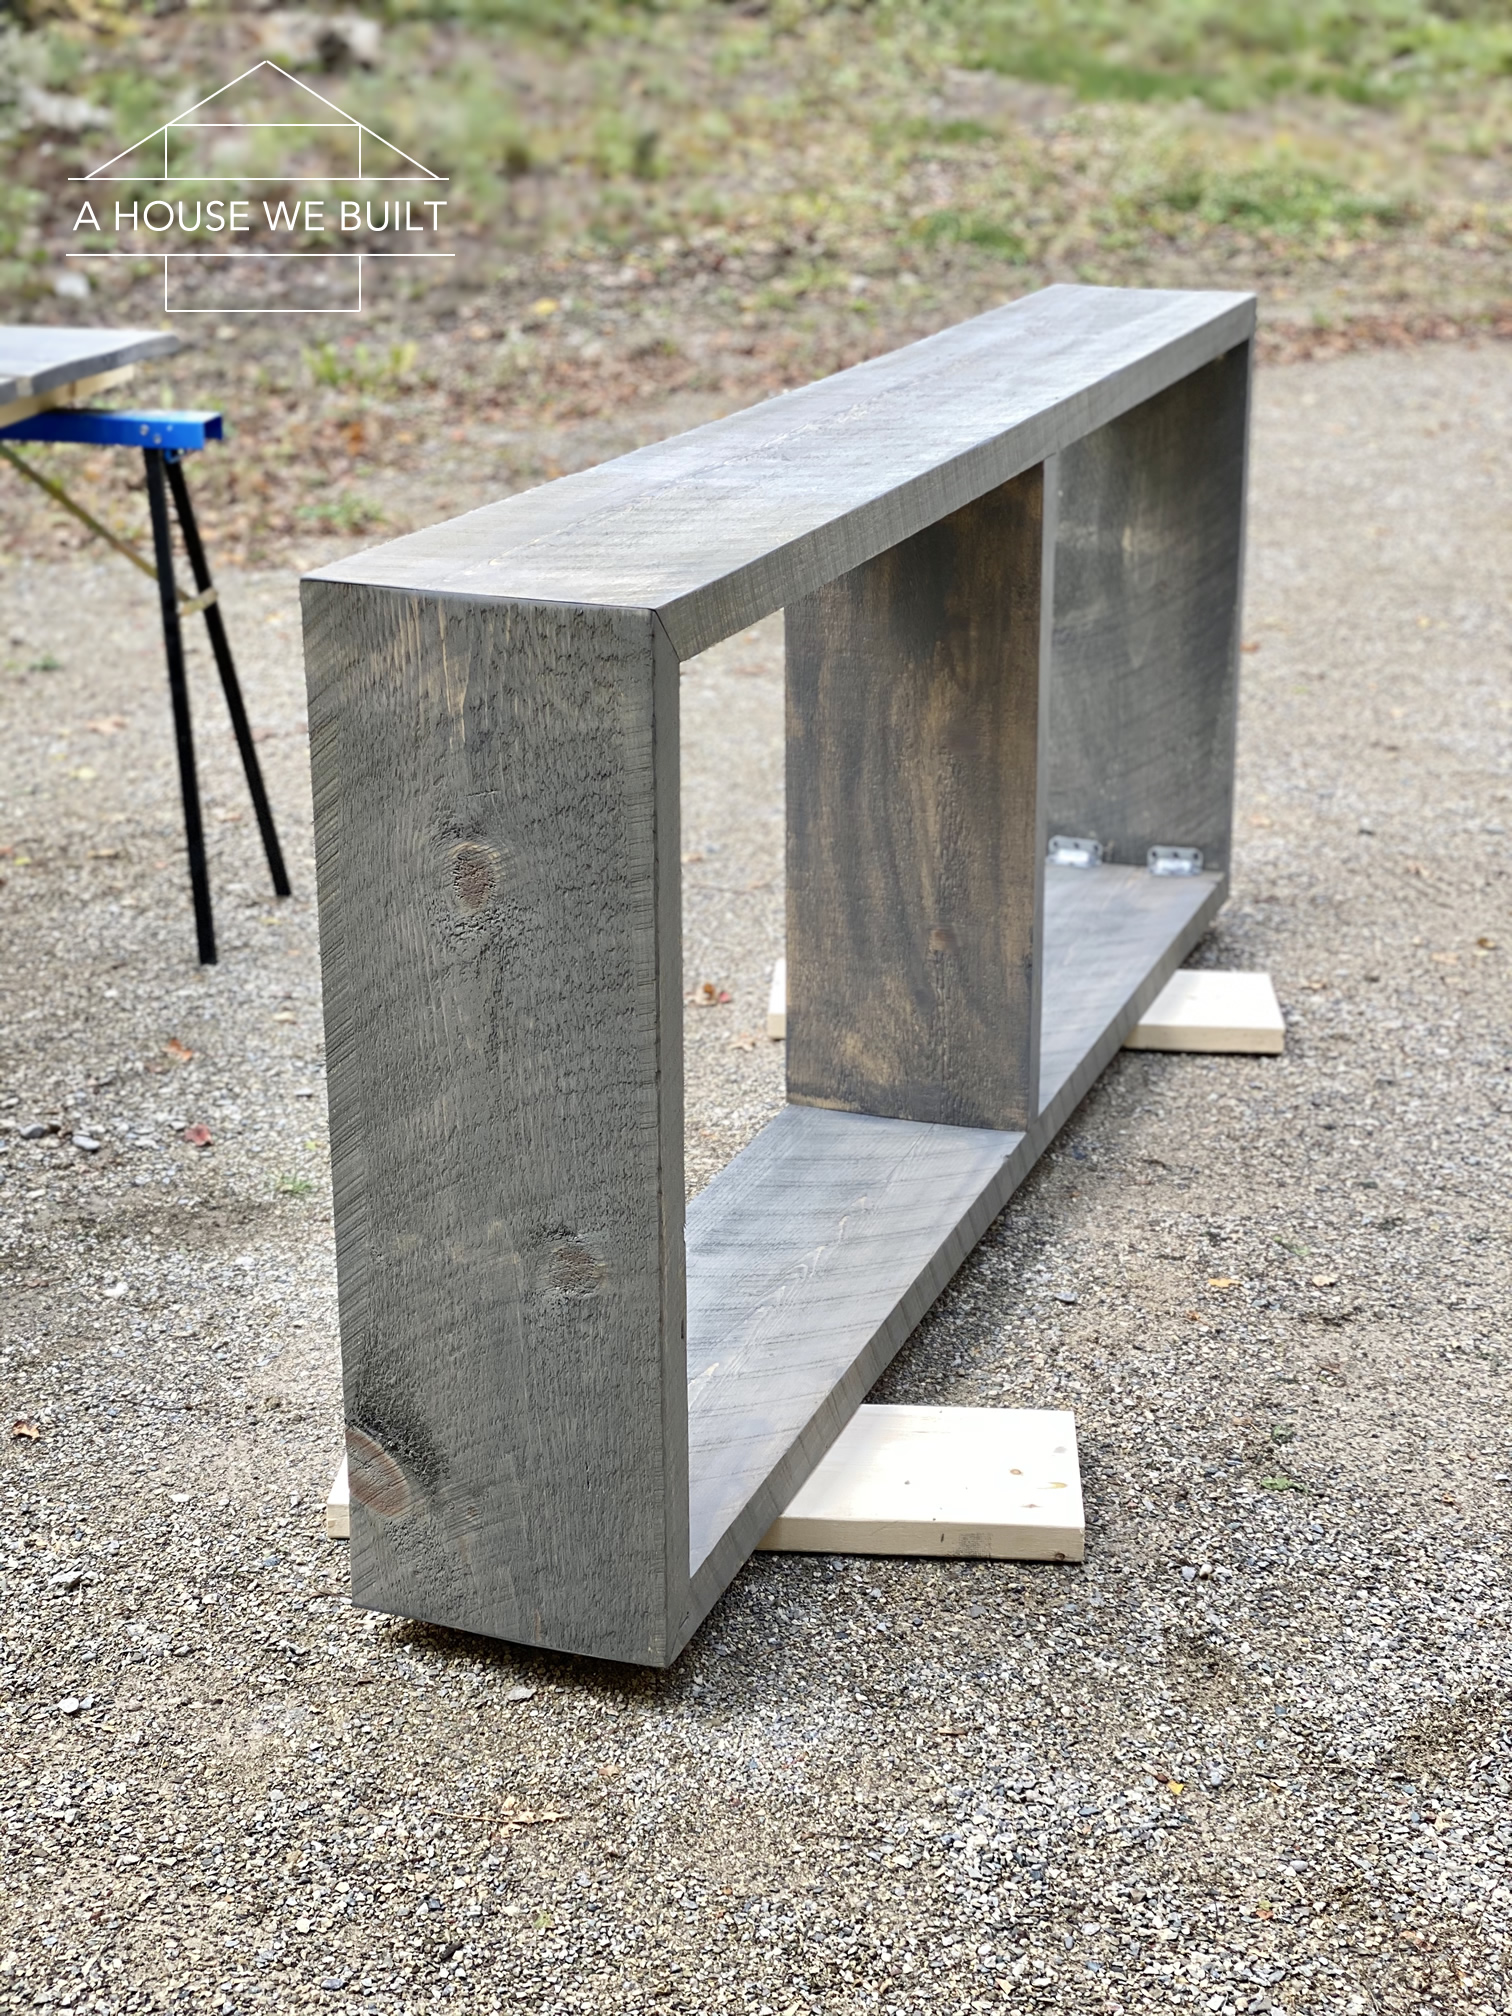
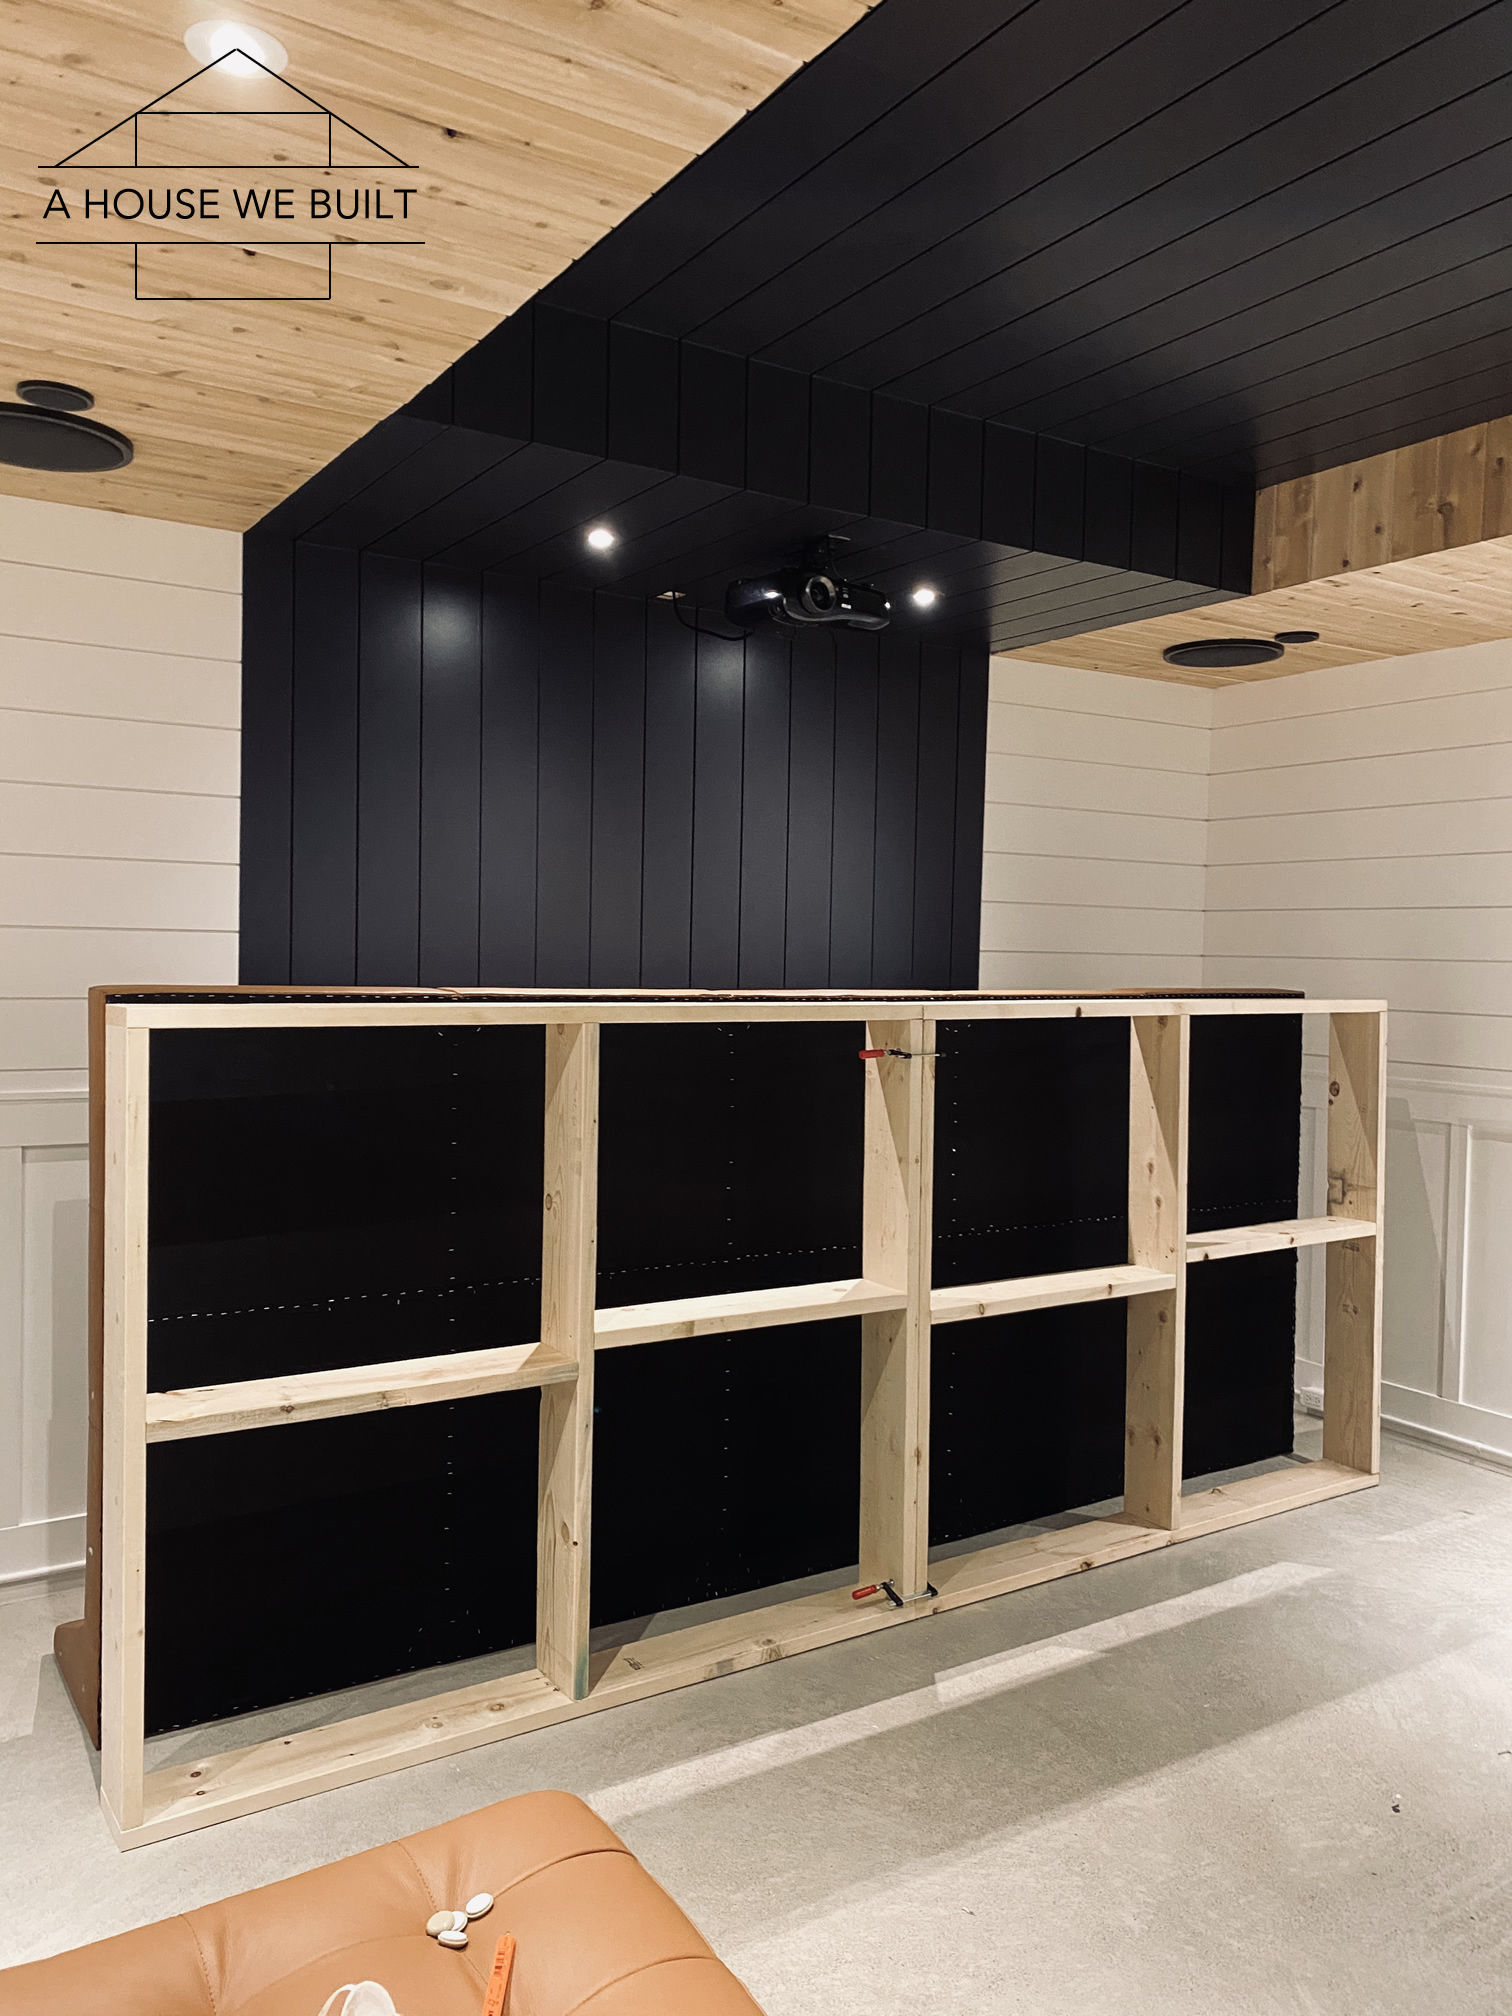
Instructions: Assembling the Sideboard
*Please see the plans above for location references for this part.
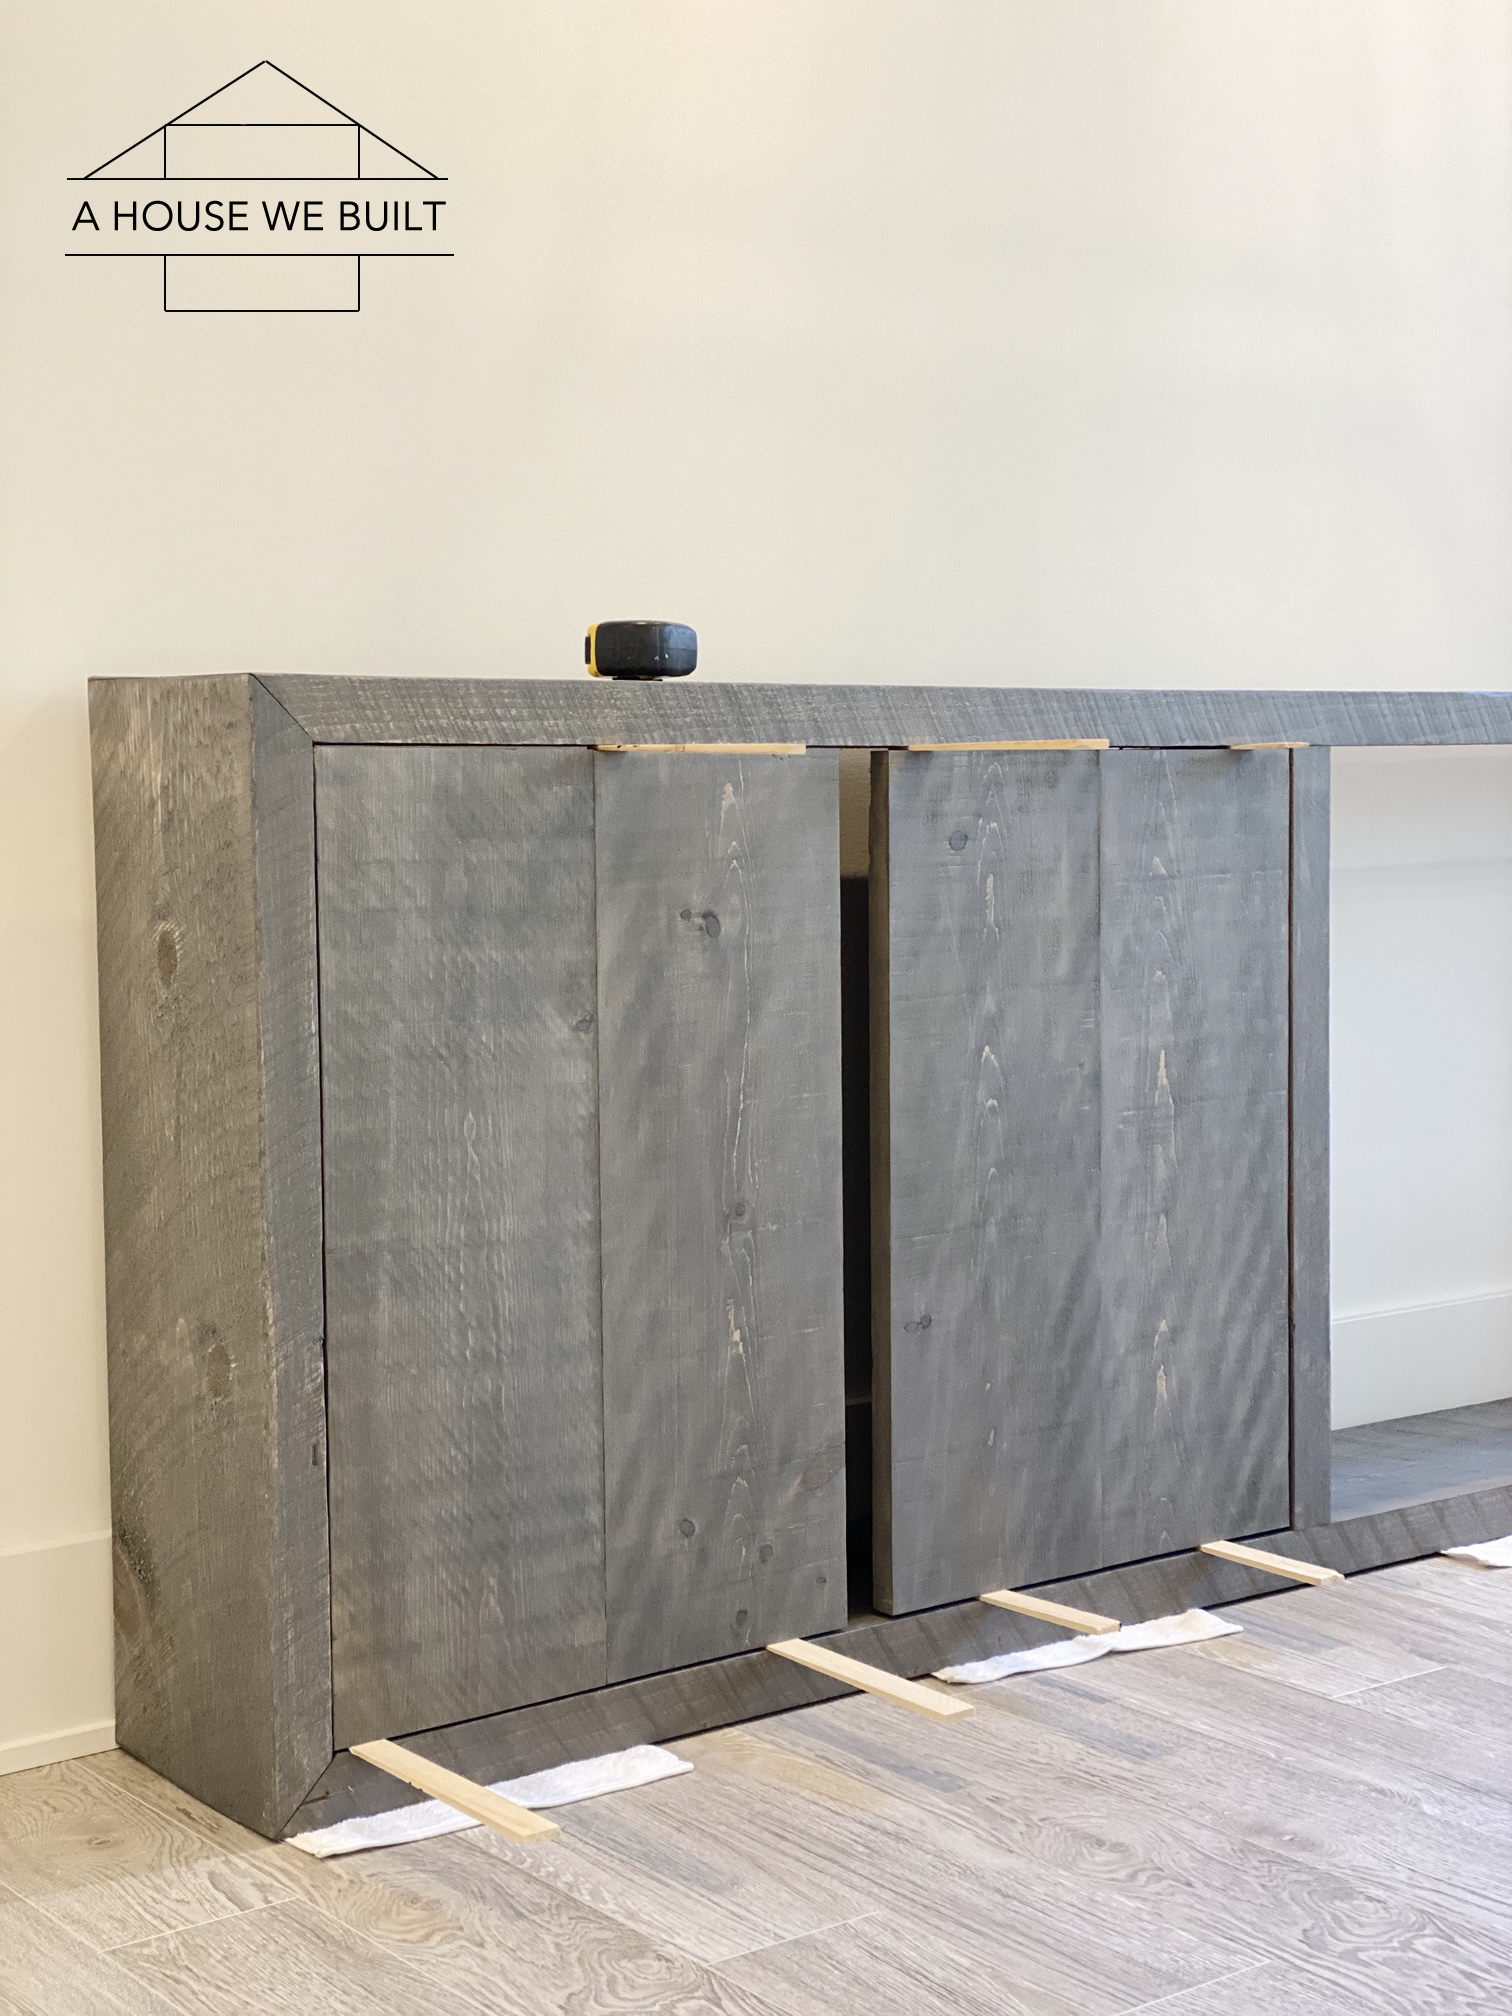
- Now that we had created our frame, our doors, and all our pieces, we moved our sideboard close to the location where we’d finally display it and did all the final work on site since it’s quite heavy and hard to move once completed.
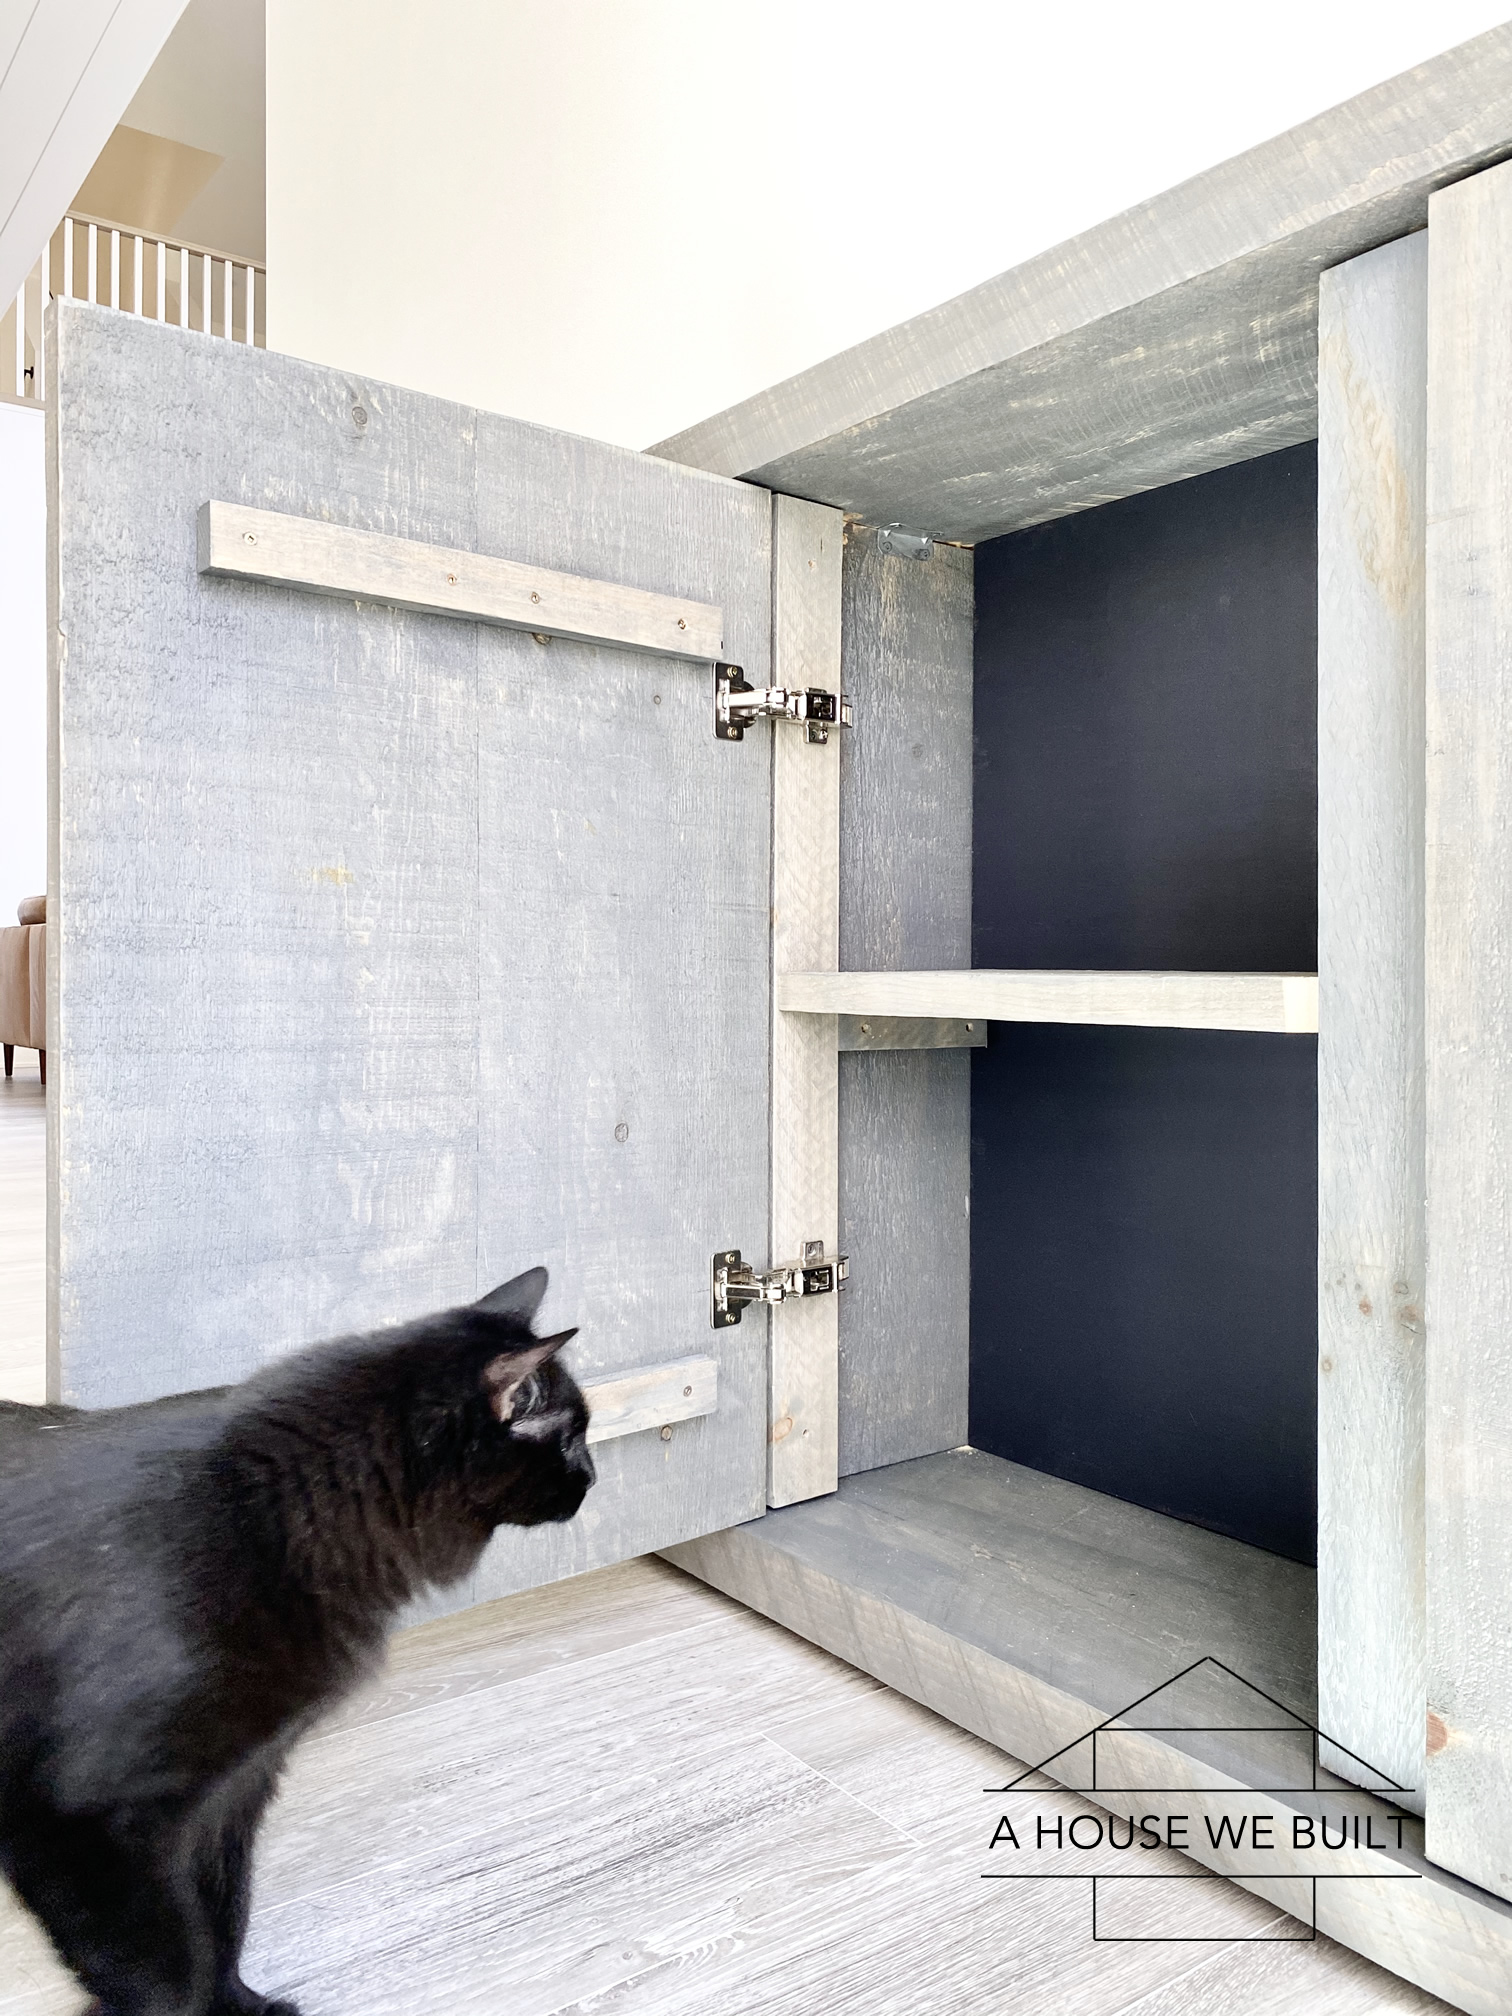
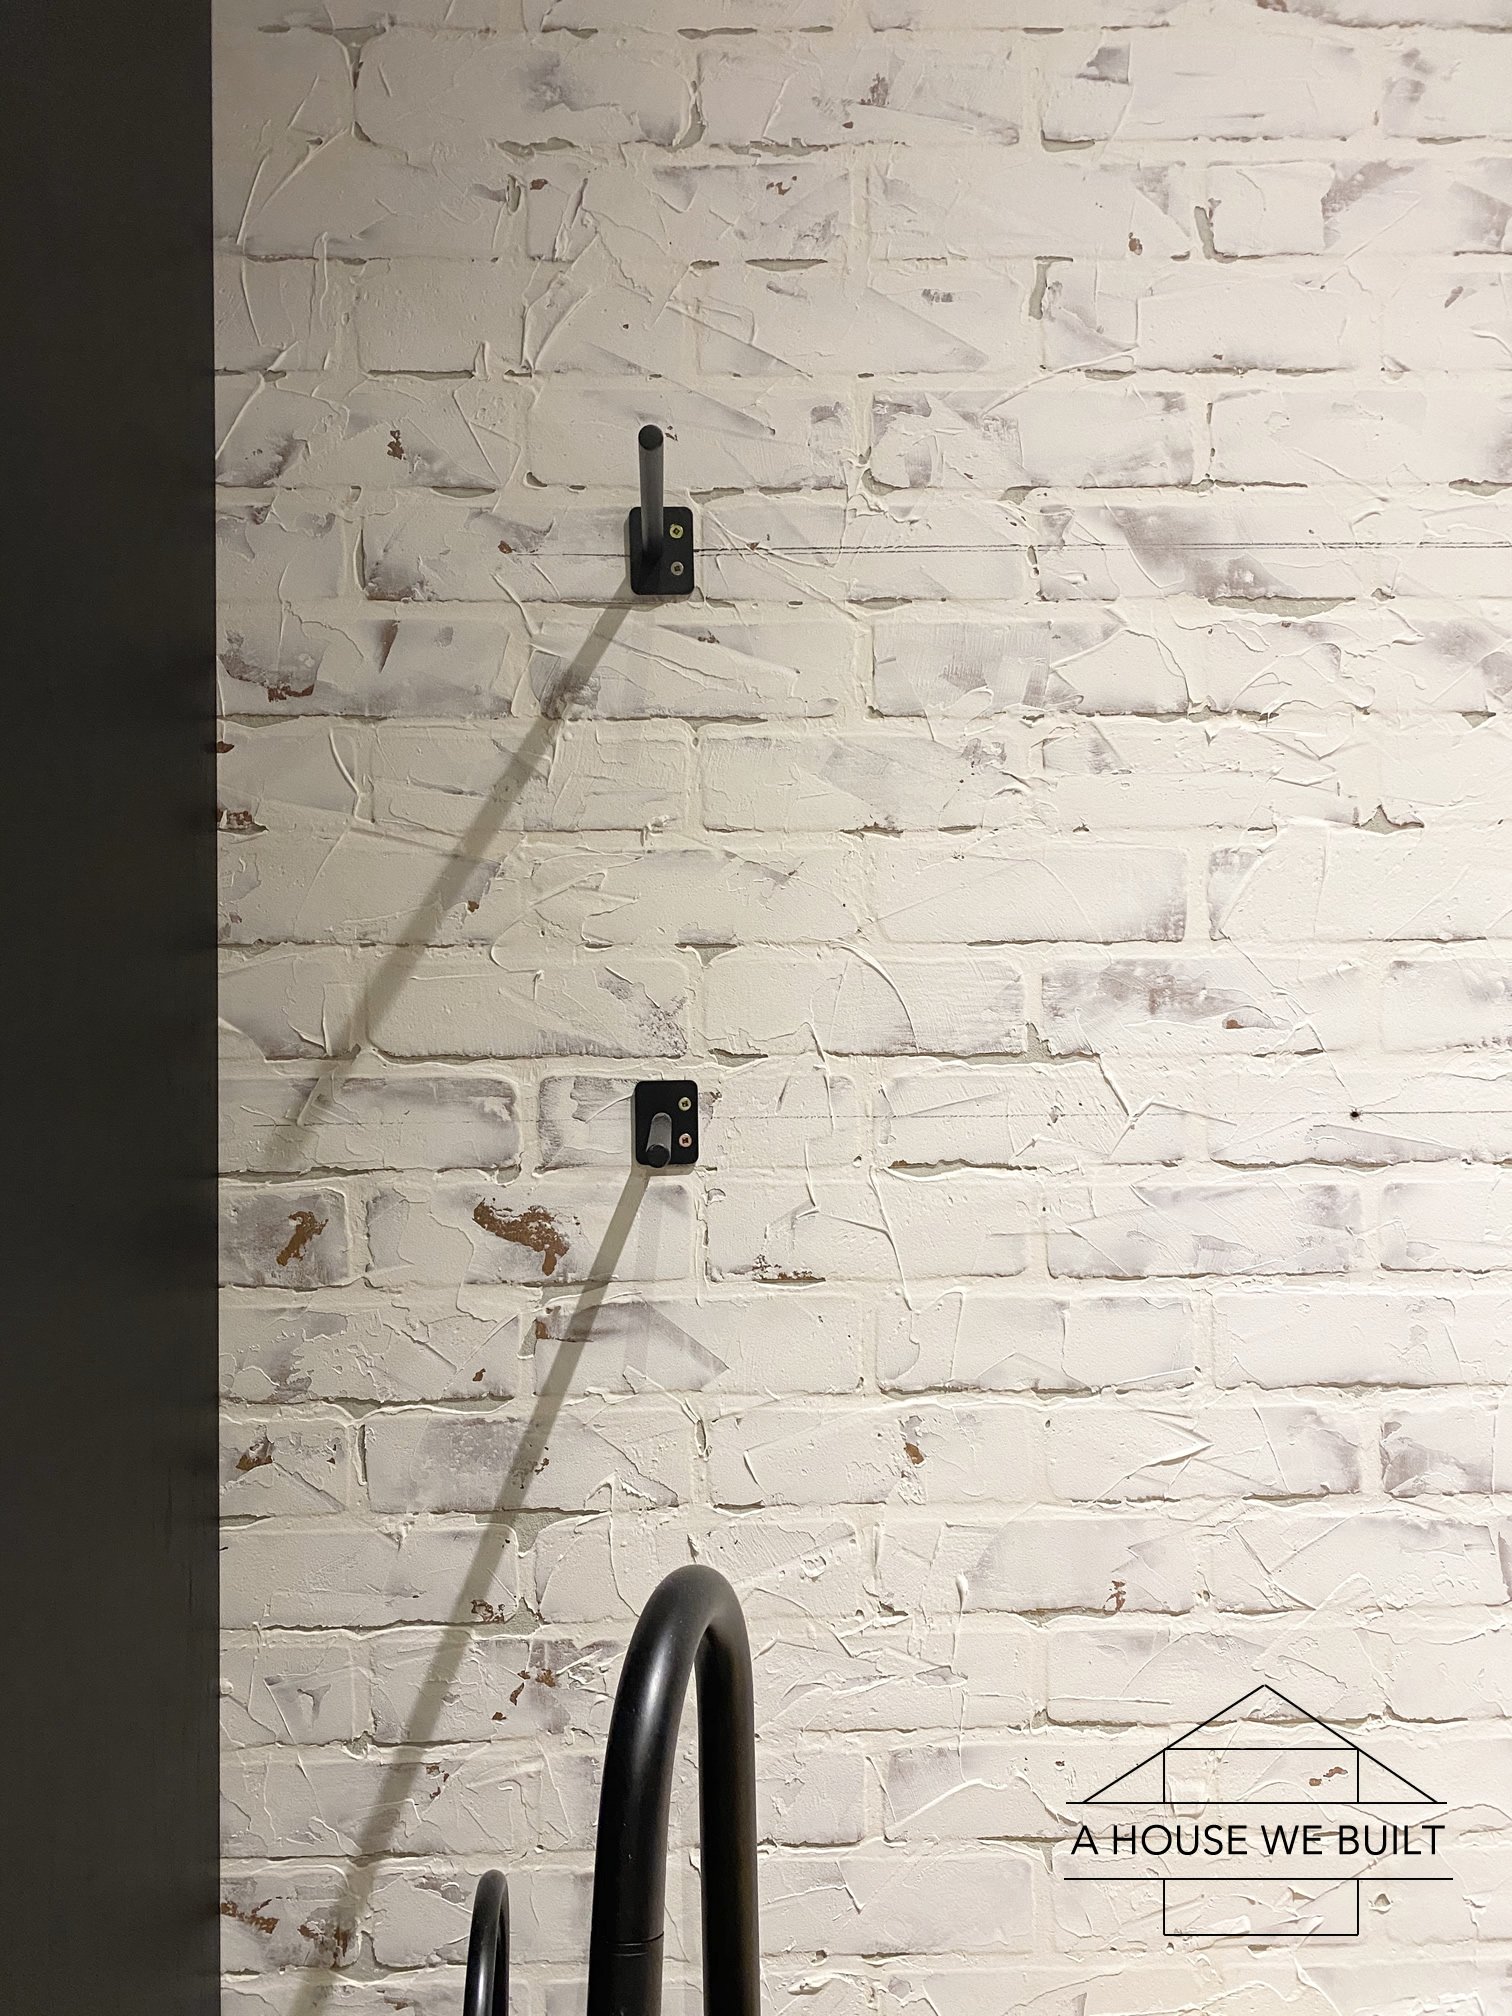
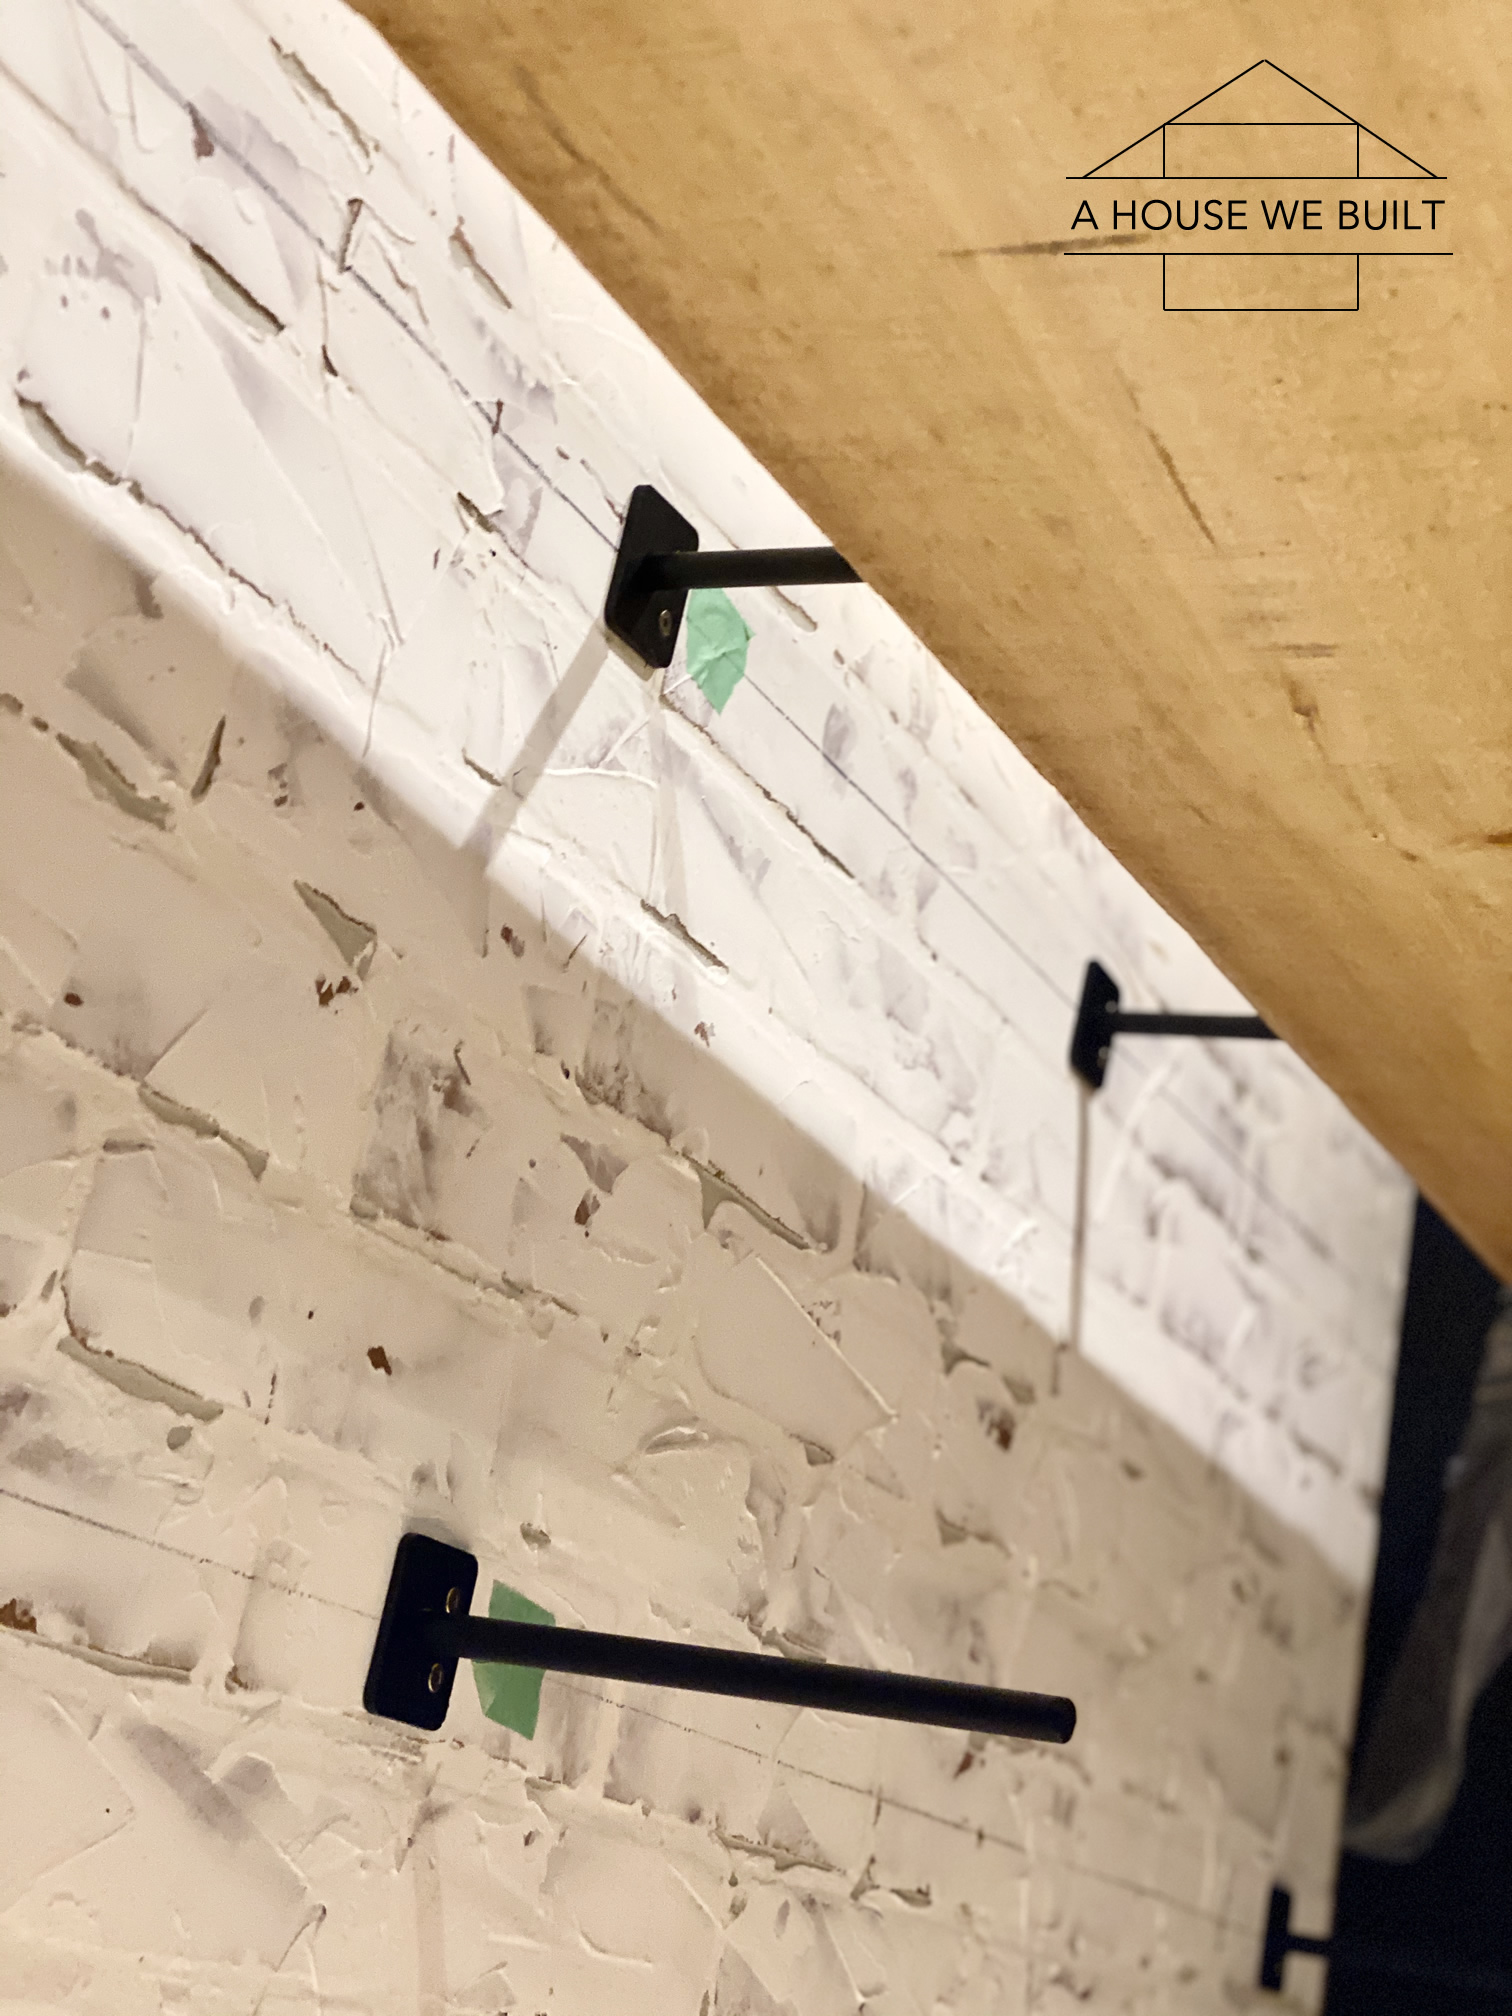
- Install the doors: We set our doors 1/2 back from the frame and installed two strips behind the doors attached to the frame to attached the hinges to. We used a concealed hinge jig (Home Depot | Amazon) to make holes for the hinges then screw them into place.
- Fasten the 4″ strip that goes behind the doors to the outer 2 doors using wood glue & screws.
- Fasten the strips to the bottom and top of the frame that go behind the doors to stop them from closing in too far.
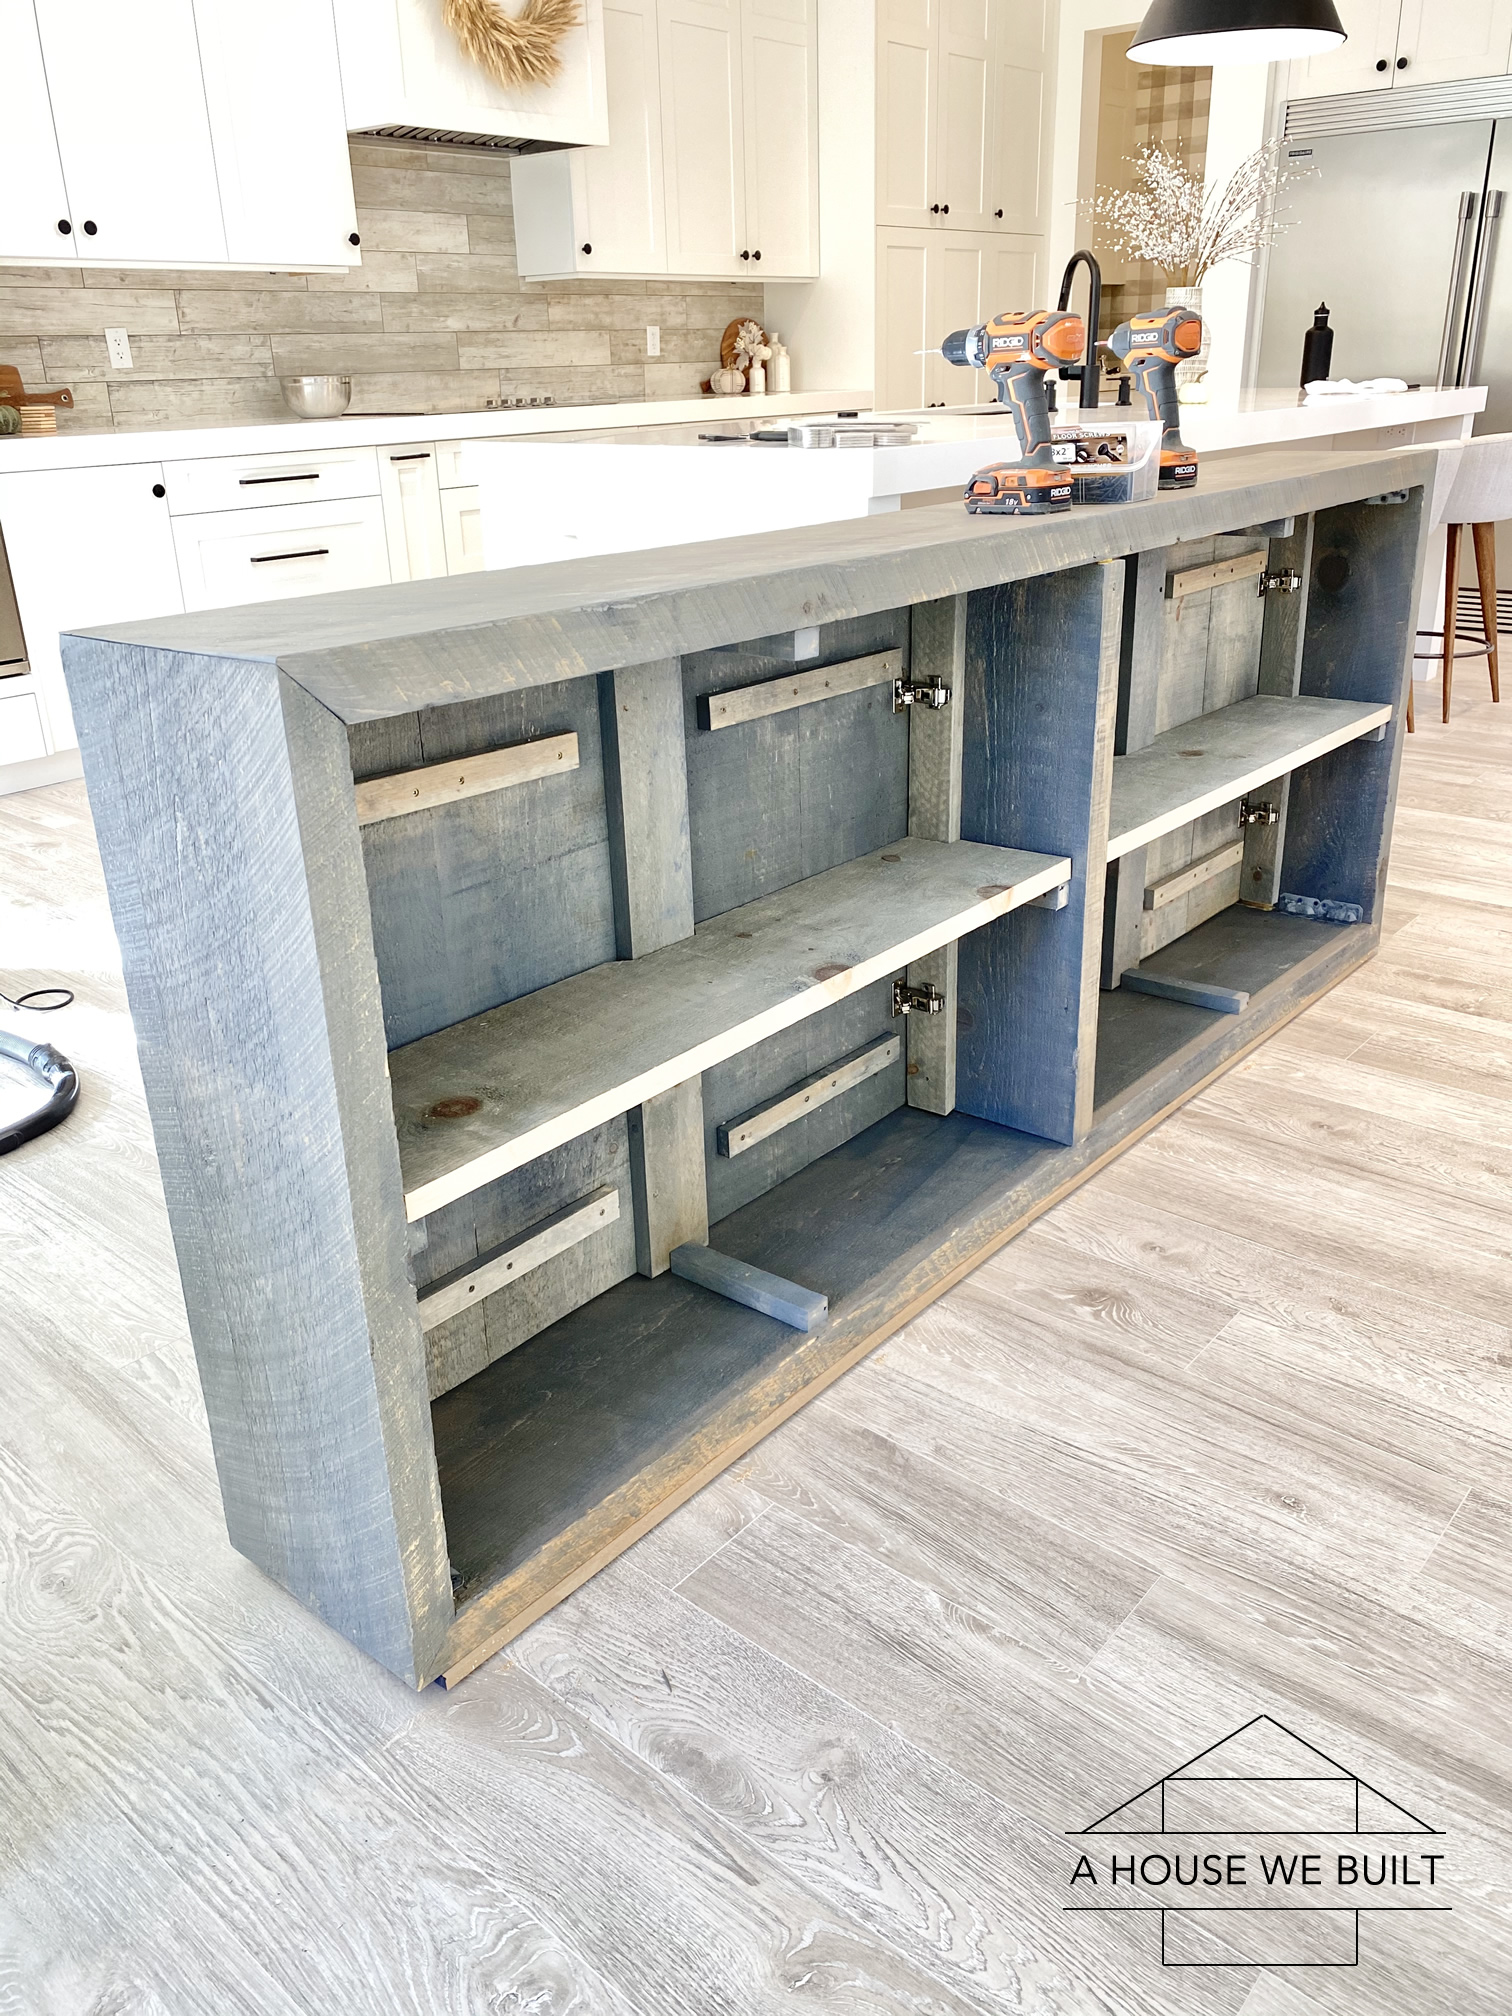
- Fasten the shelf supports behind the hinge strip at whatever height you want your shelf.
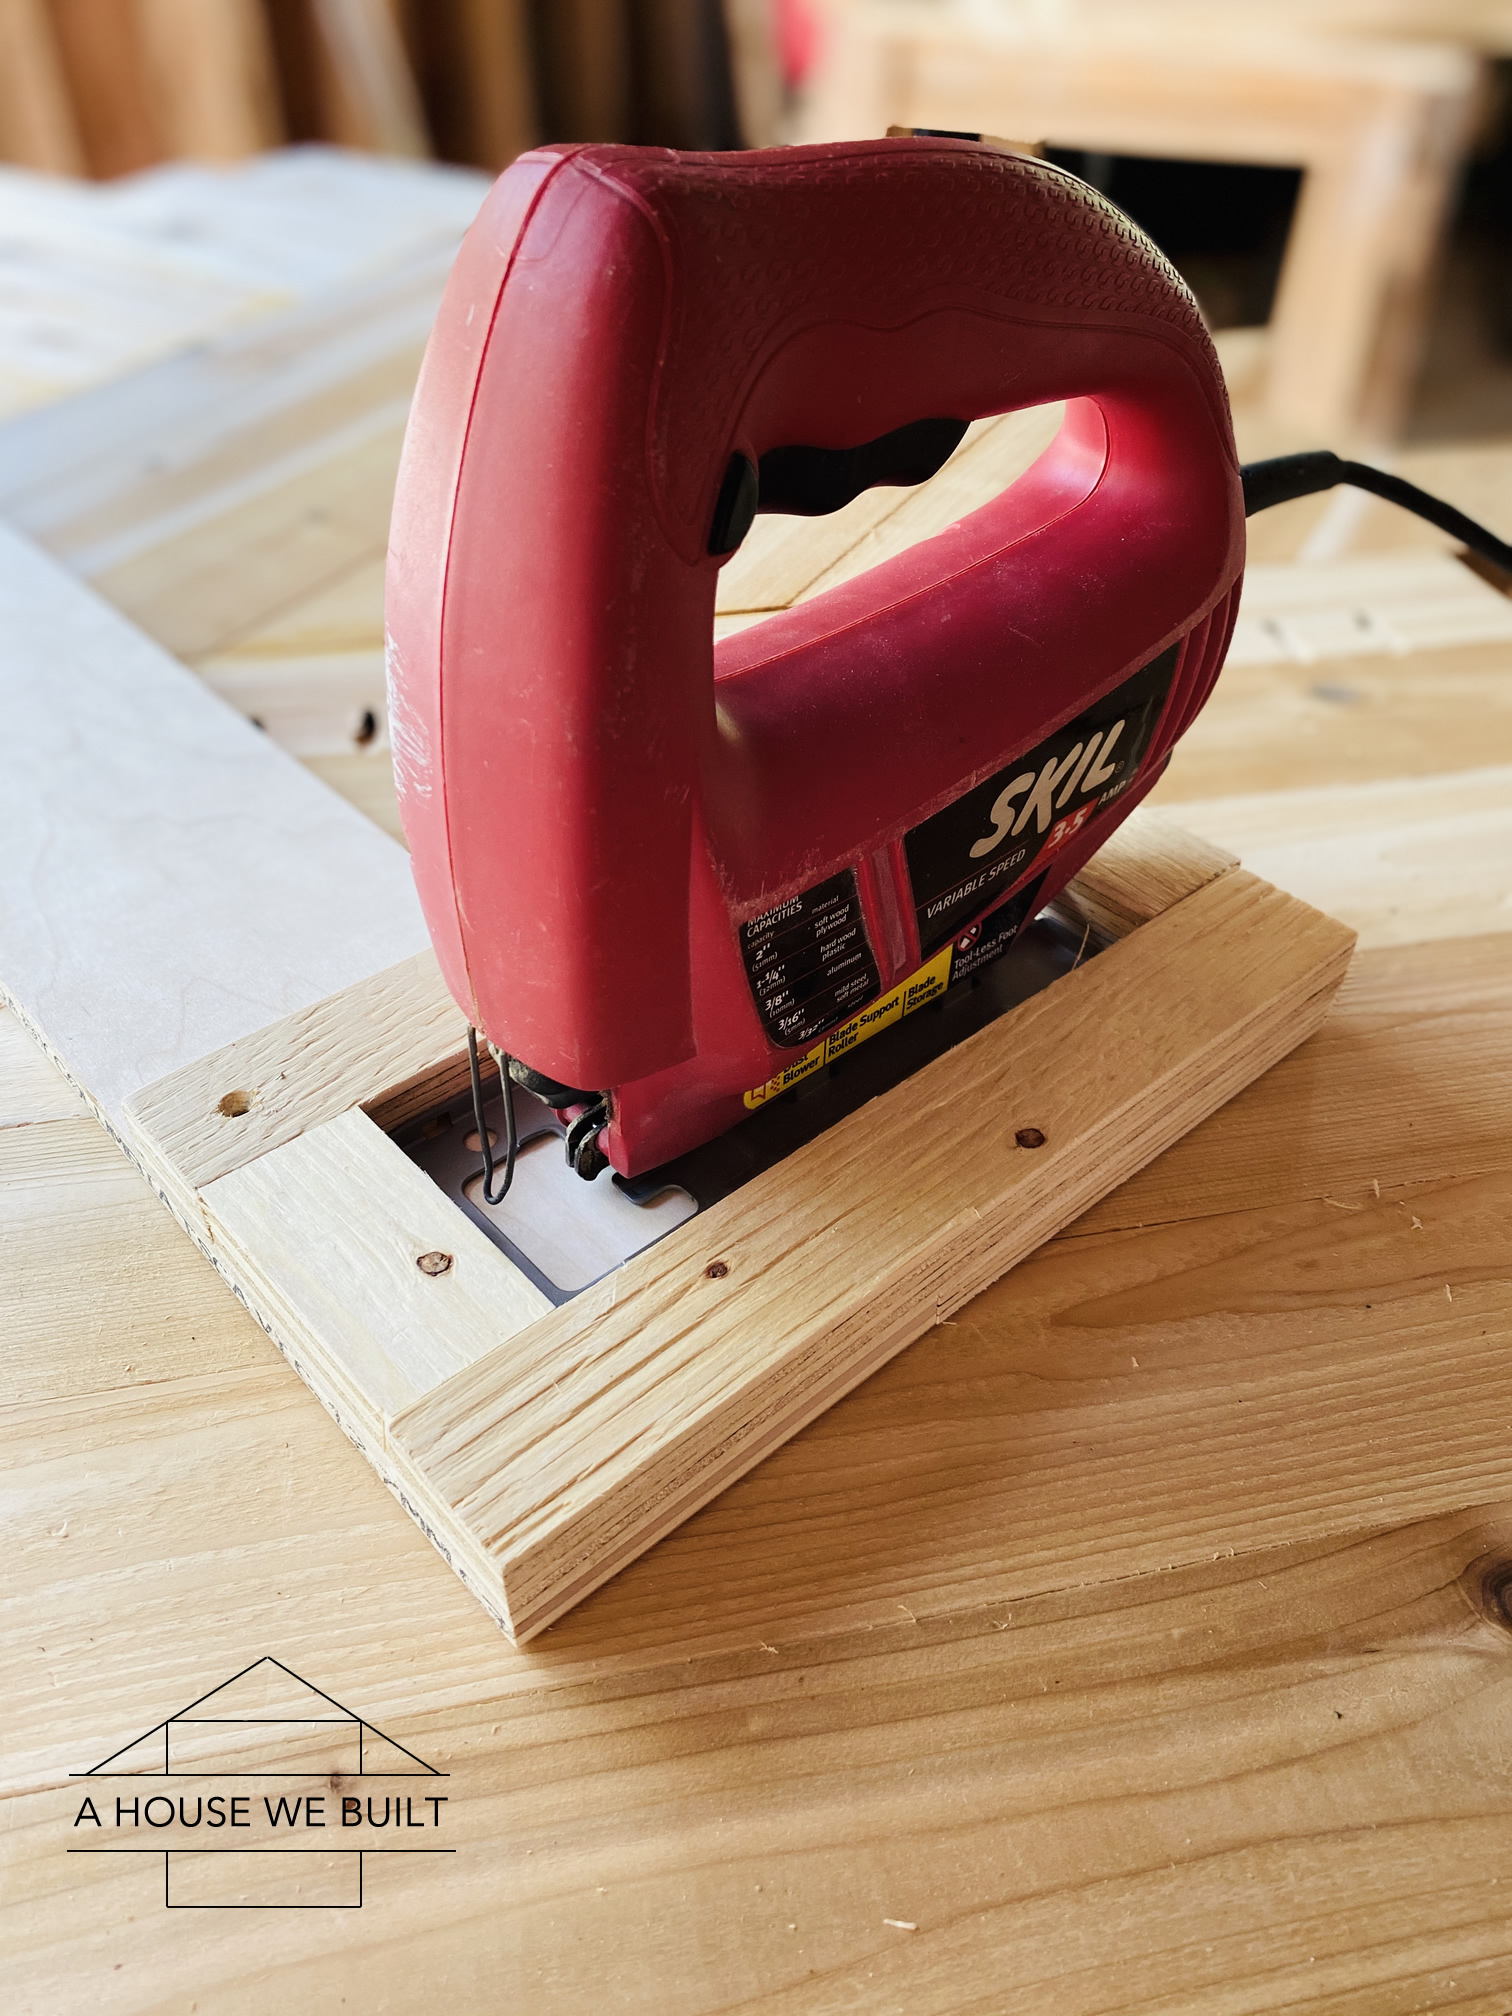
- Dry-fit your shelf then cut out a section of it with a jig saw (Home Depot | Amazon) so the strip behind the door can fully close.
- Attach the shelf to the supports with screws.
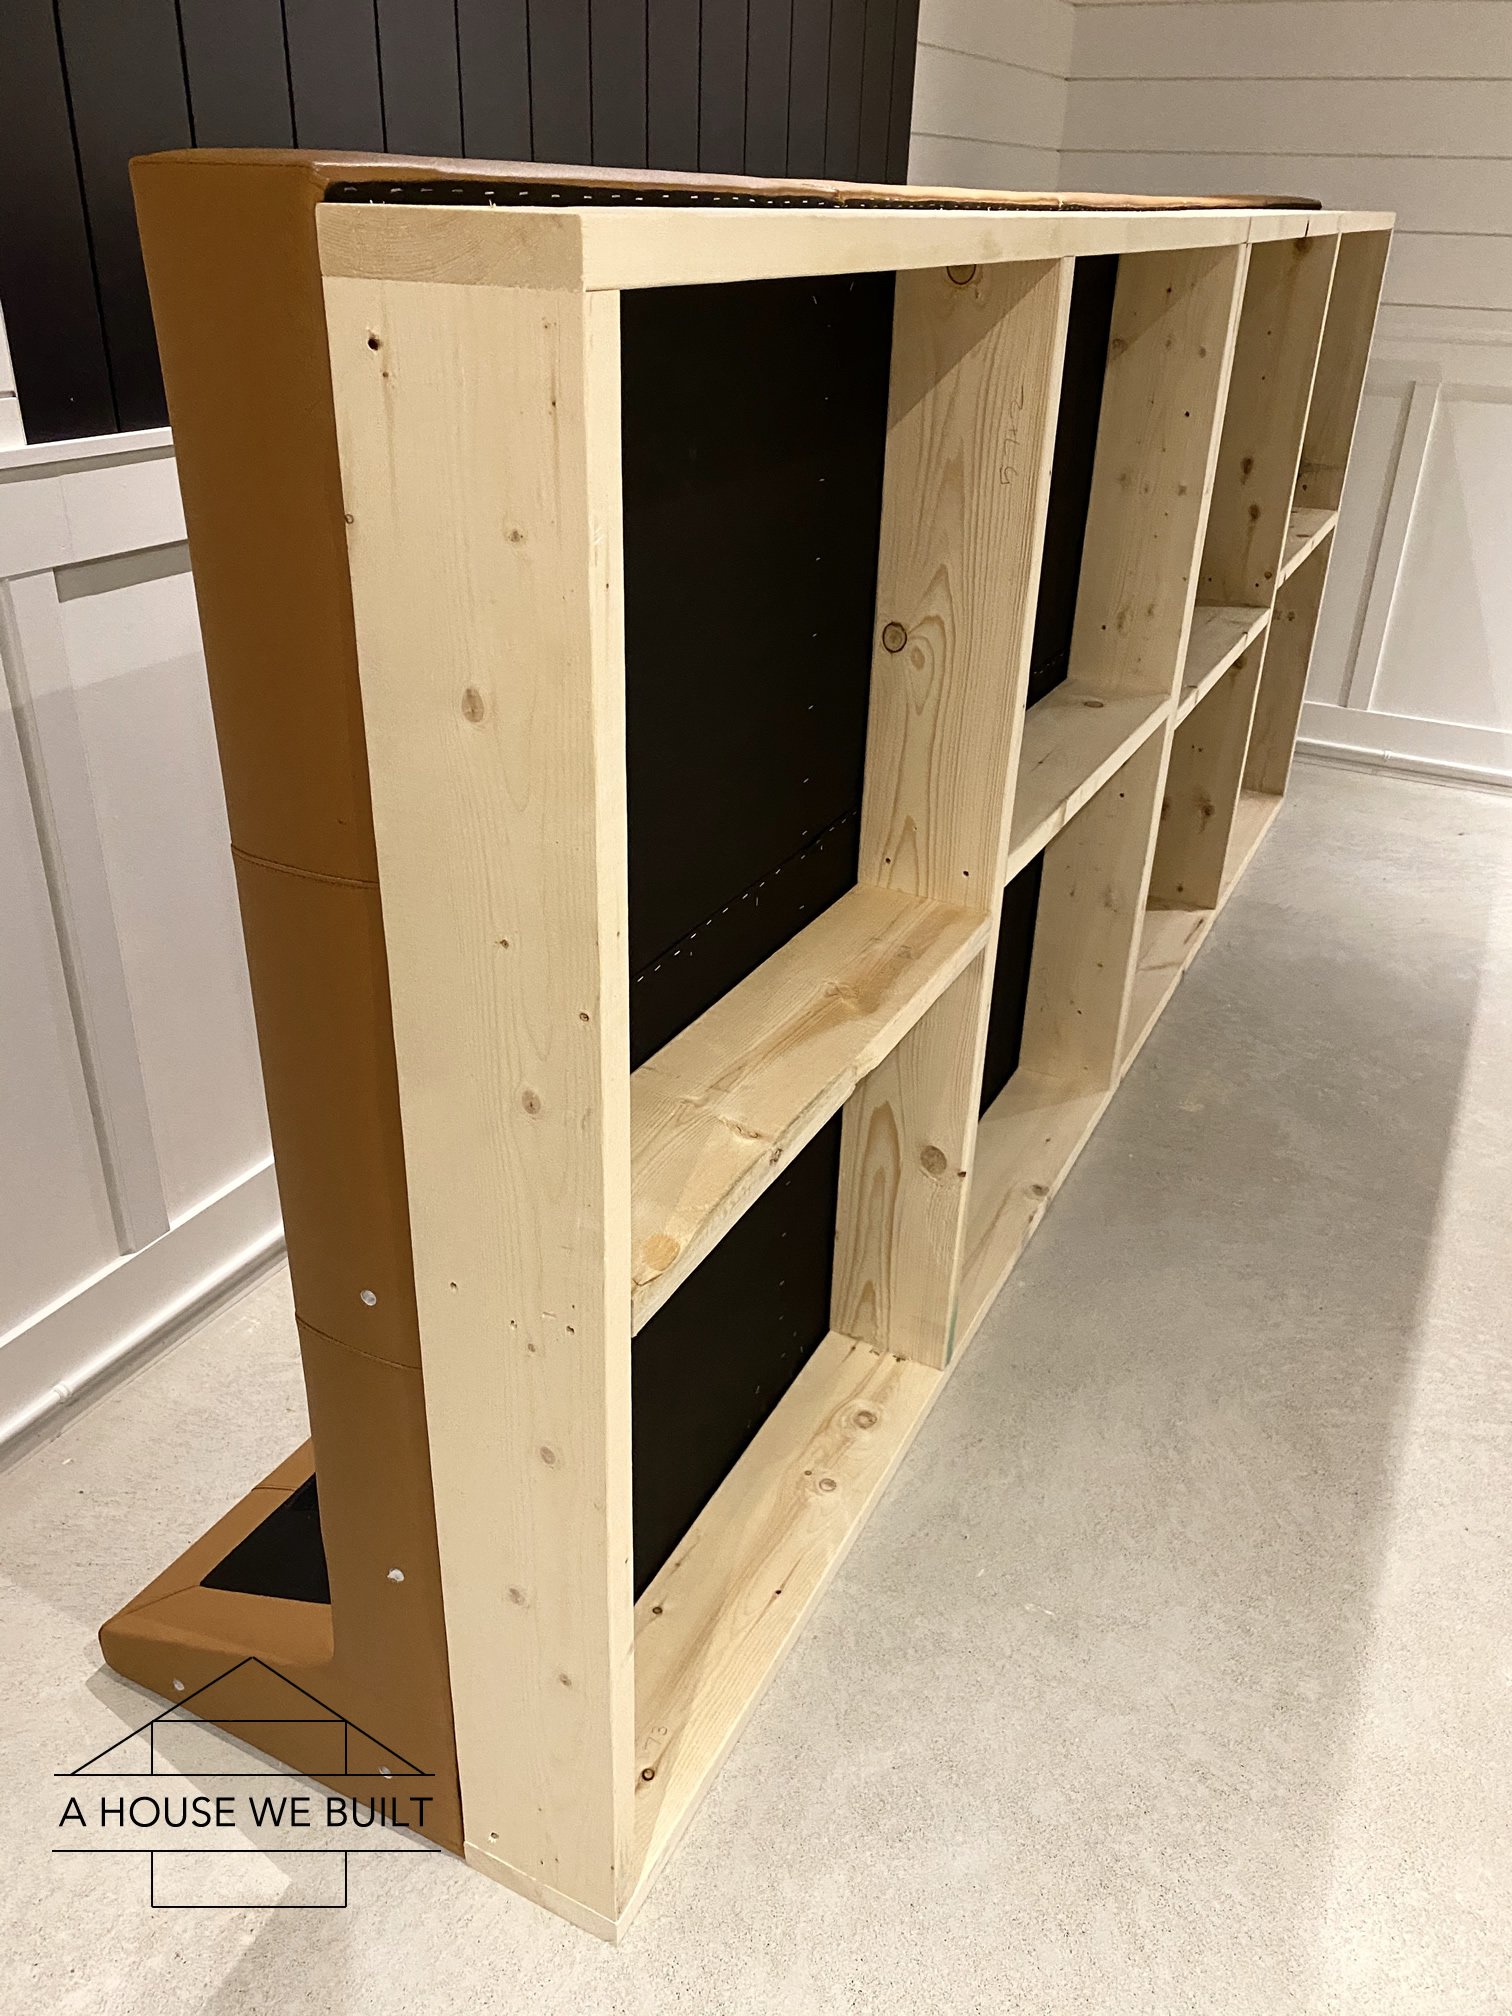
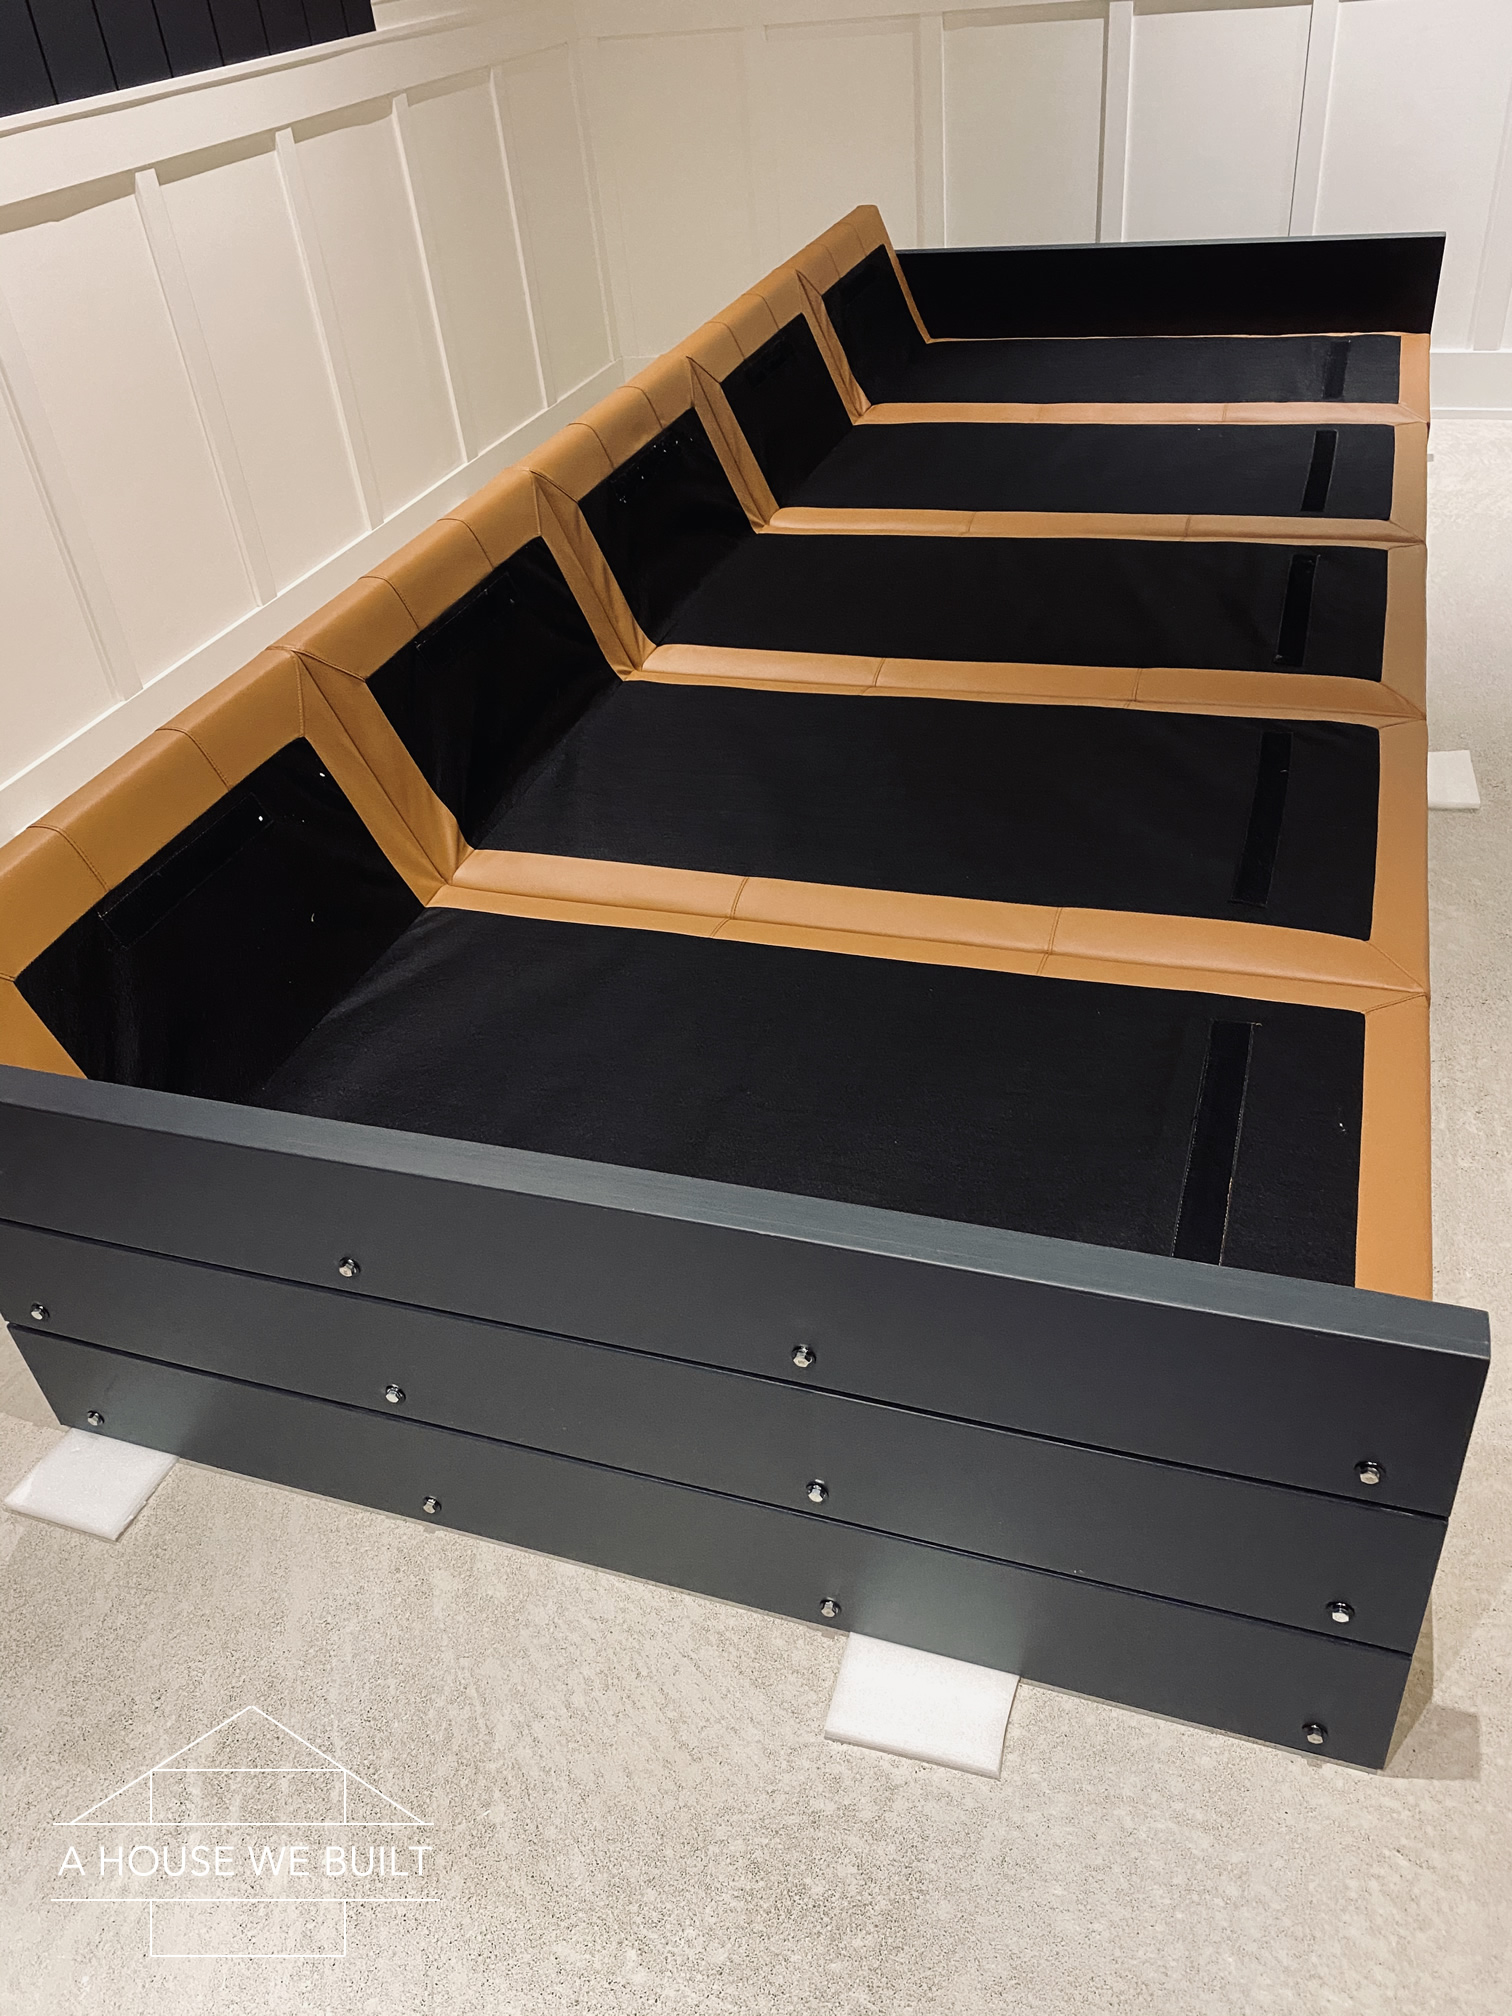
- Attach the backer panels and screw them into the various support pieces (you should be able to do one screw into the top and bottom (at the strips behind the doors), and left/right/middle along the shelf, but no screws in the 4 corners cuz there’s nothing to screw into there.
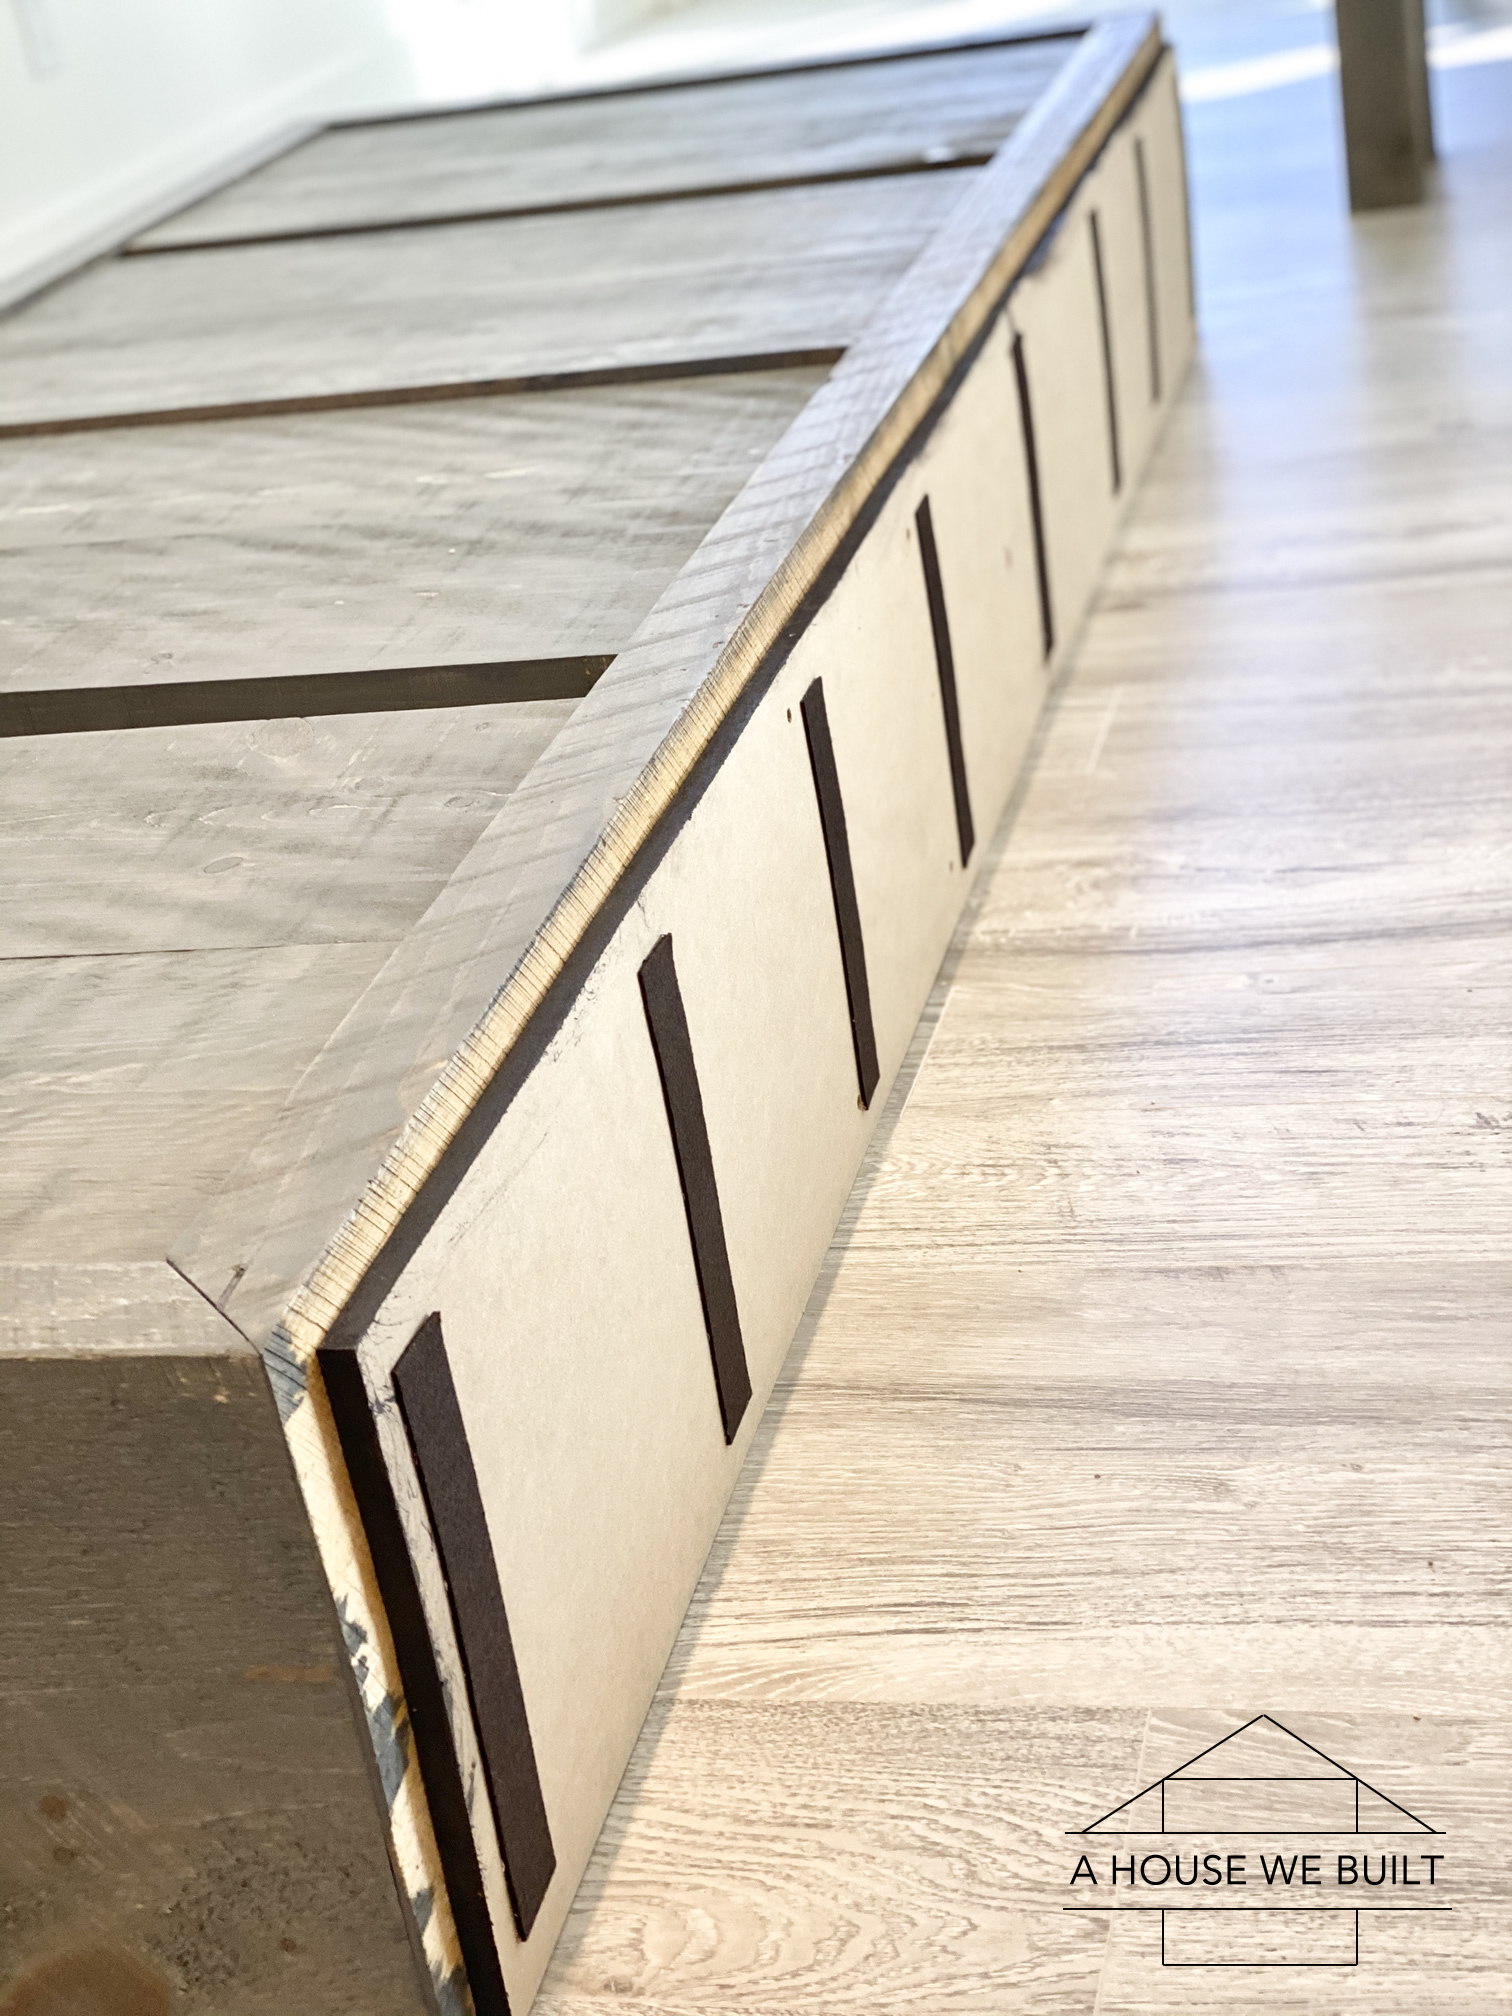
- Flip the sideboard onto its side and attach the floor panel flush to the back (should be 1″ set back from the front and two sides). Screw it directly into the bottom of the frame. Optional: add furniture pads.
If you don’t feel like doing all this work, I’ve also found some similar sideboards that are less expensive than the original RH piece we were inspired by here: Crate & Barrel | Crate & Barrel | West Elm | McGee & Co.
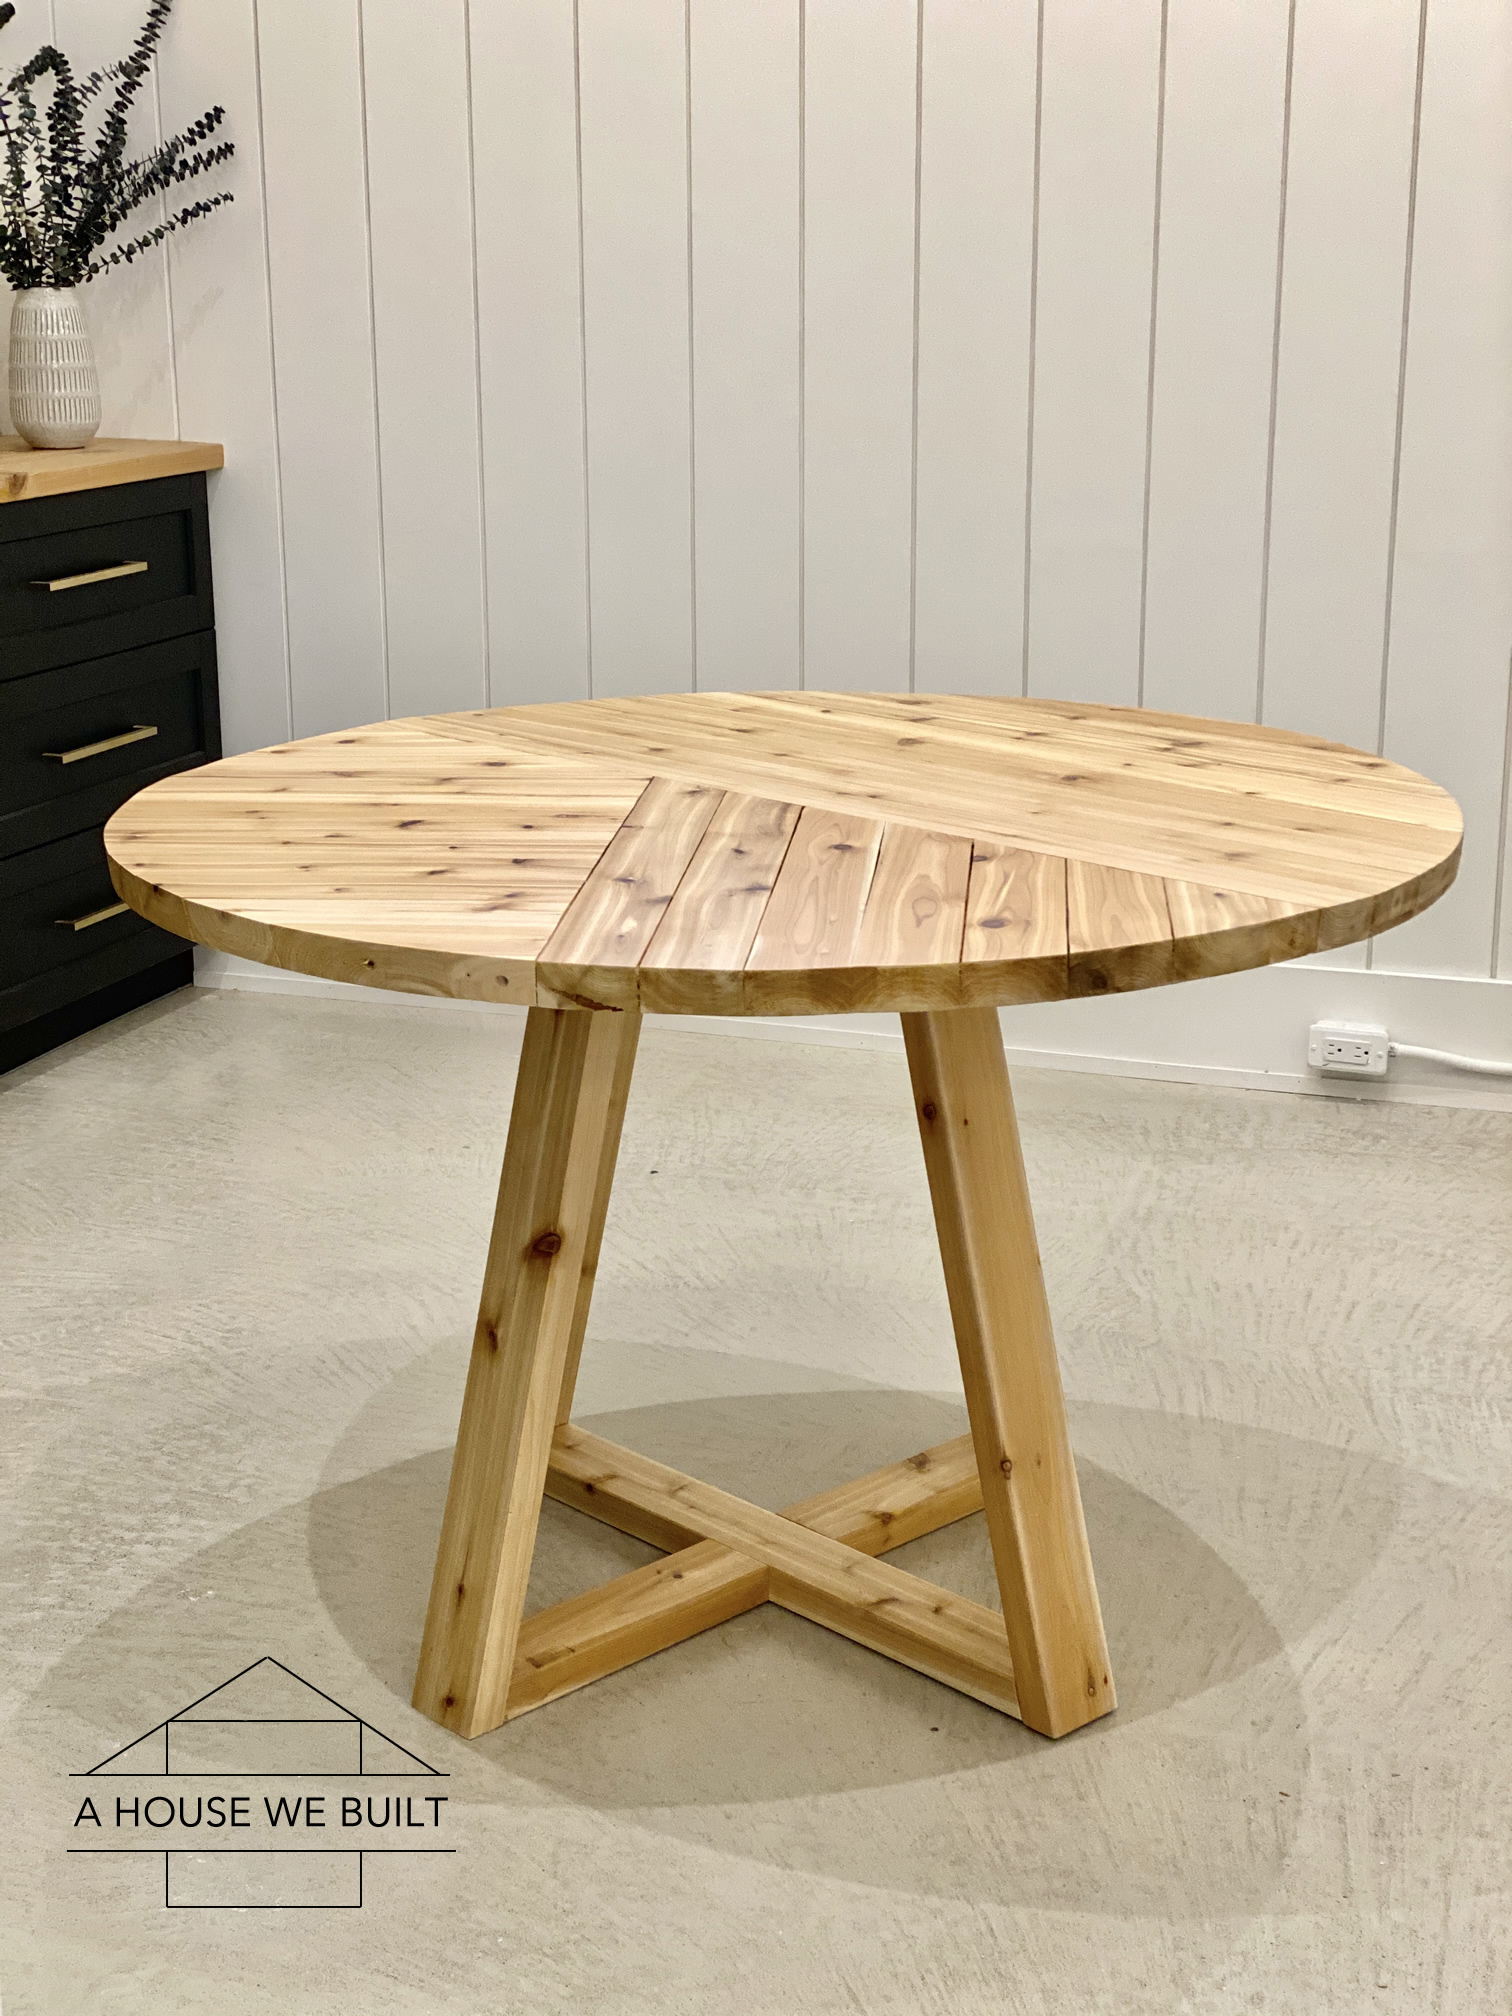
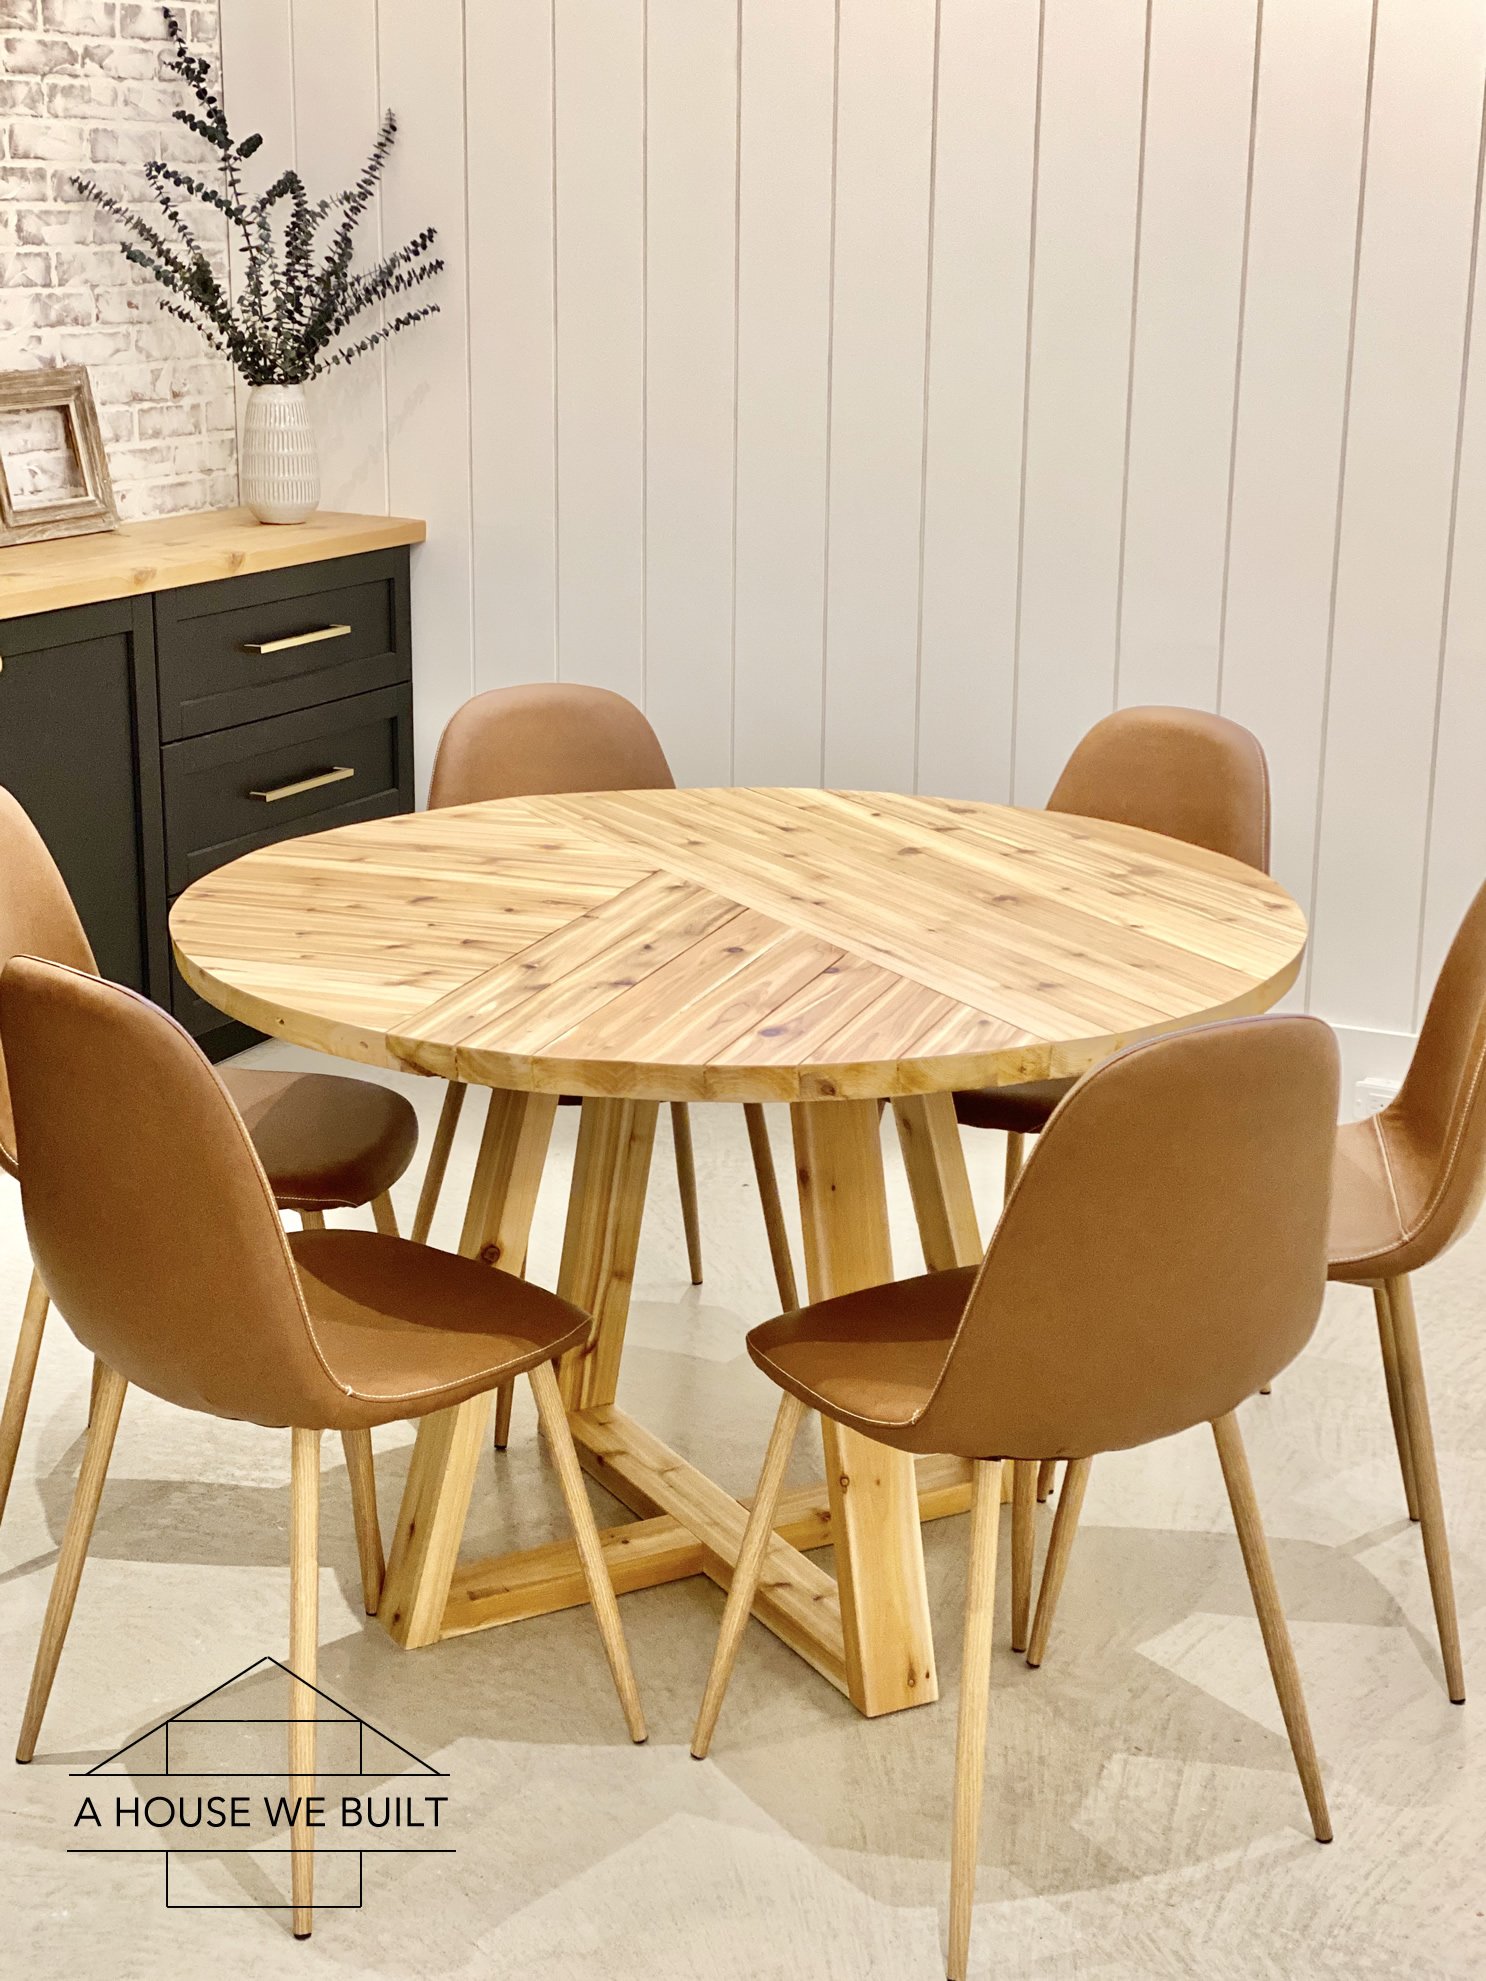
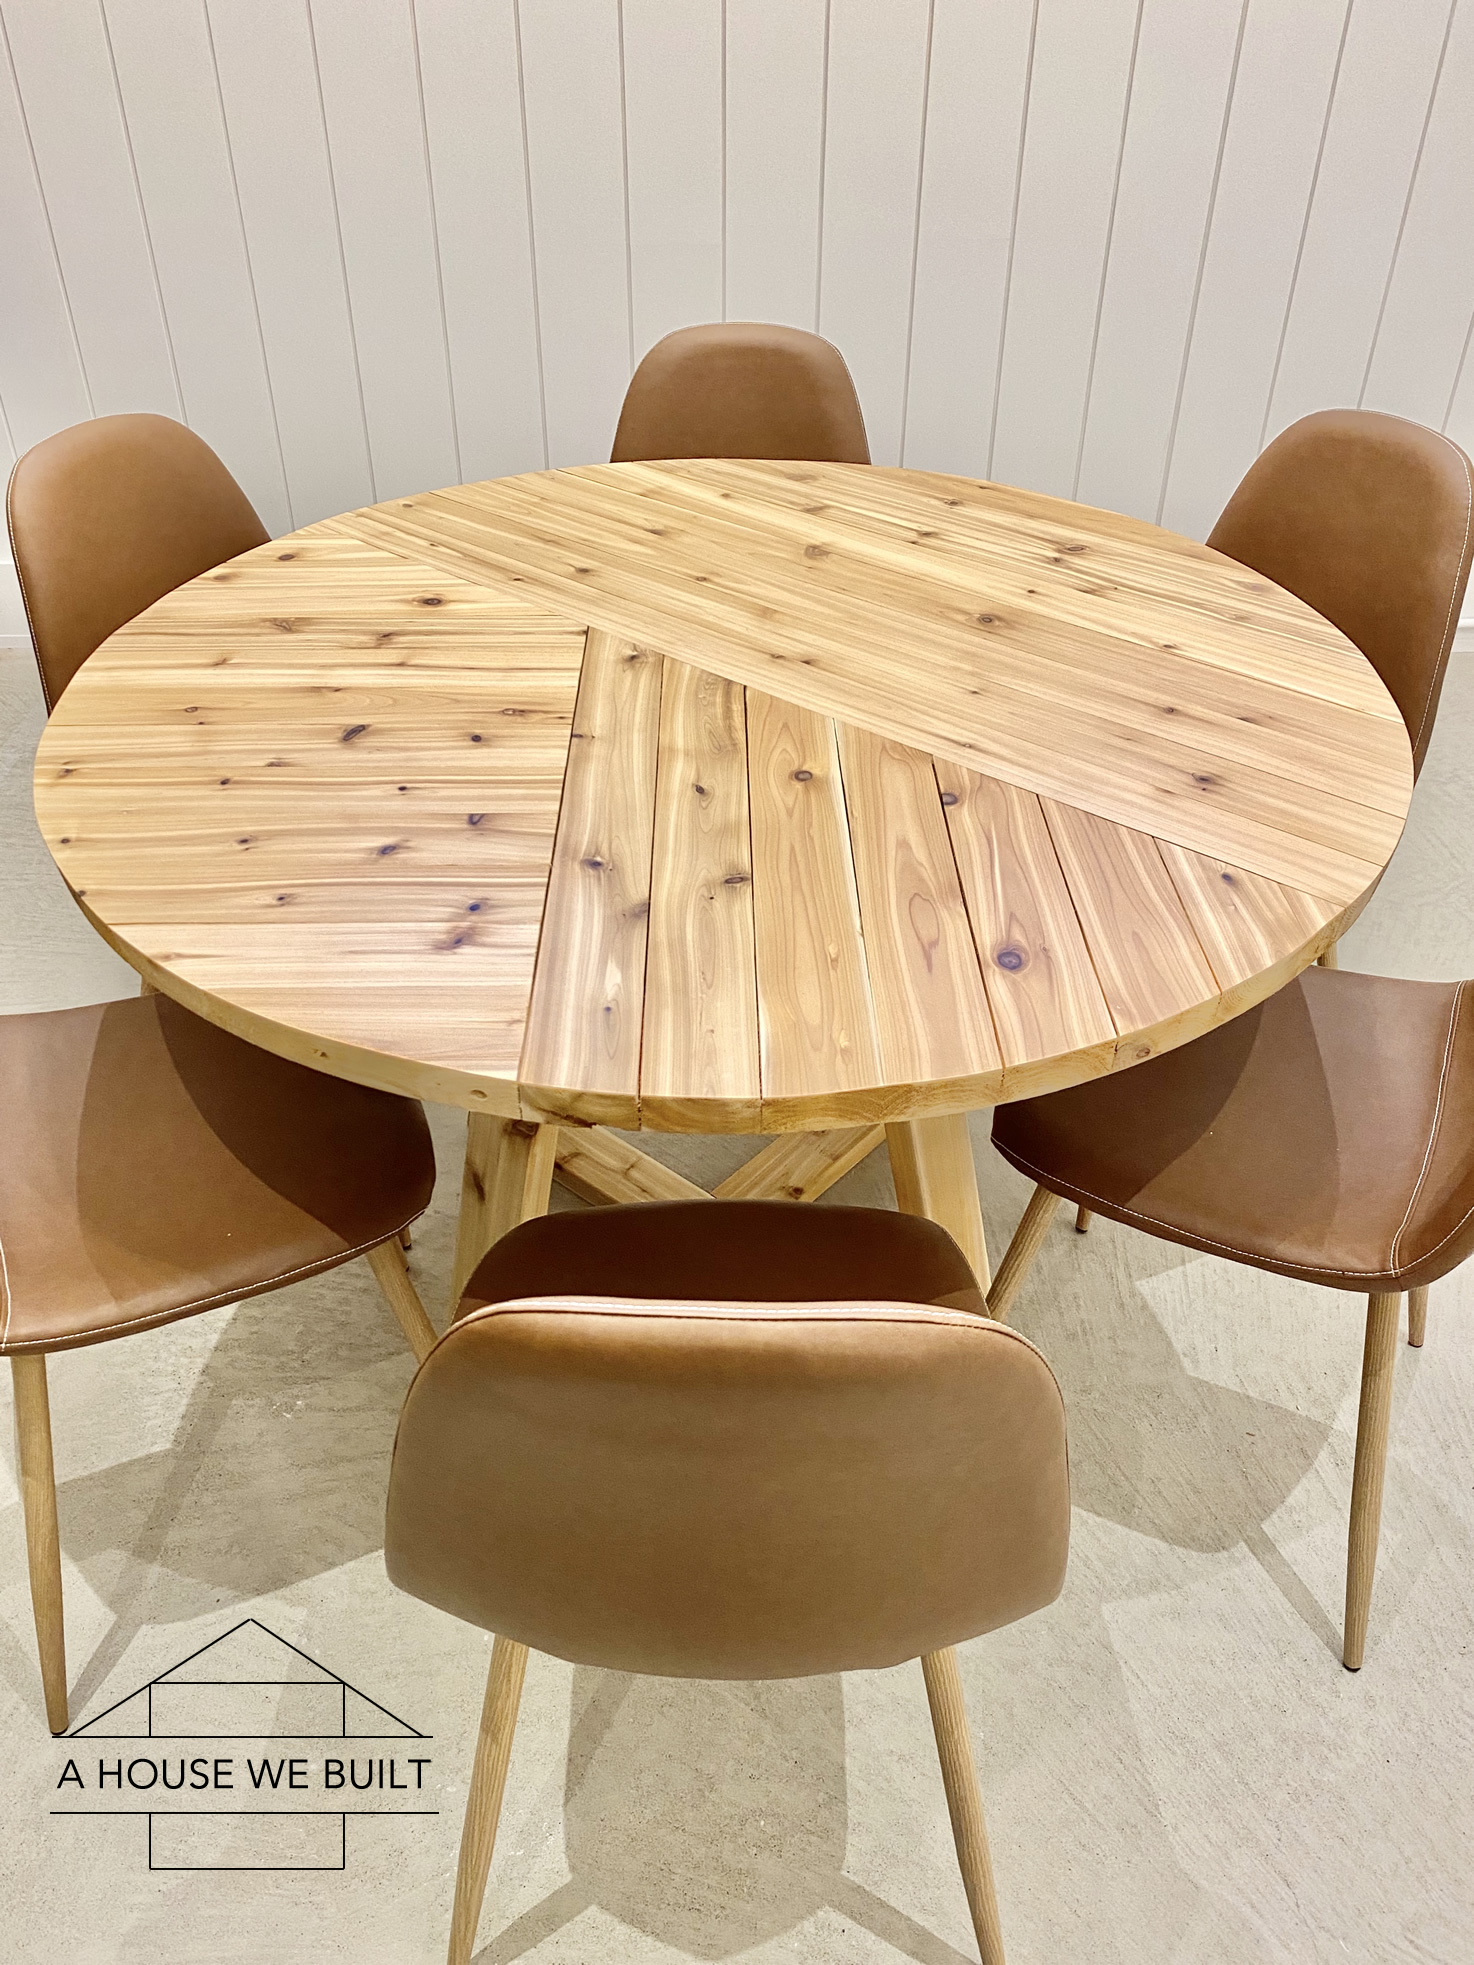
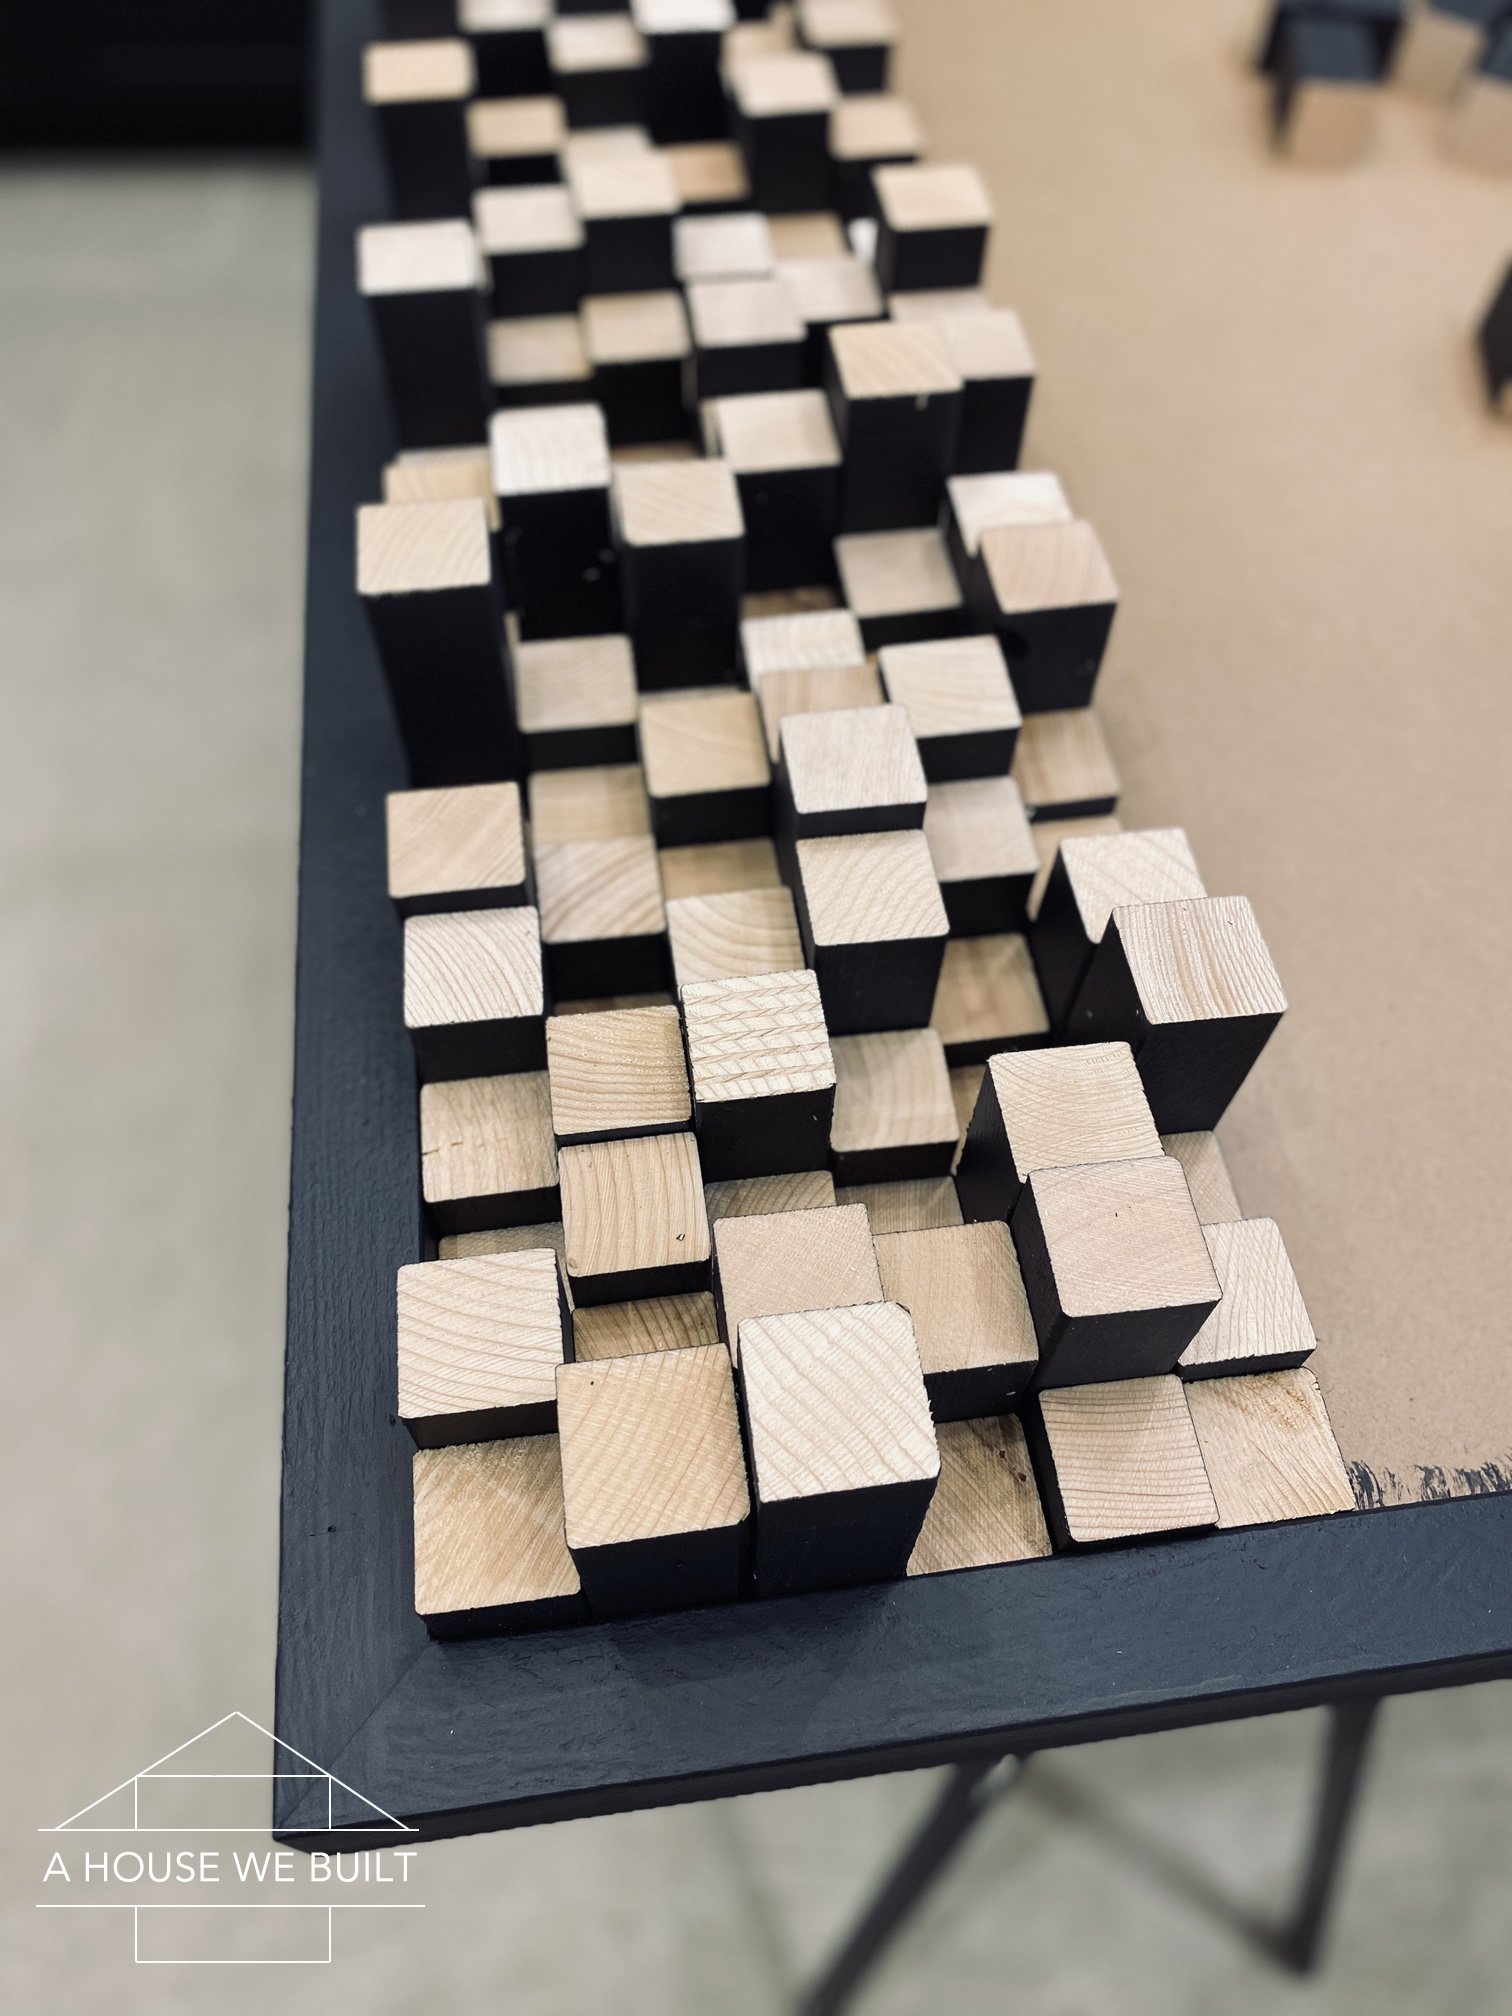
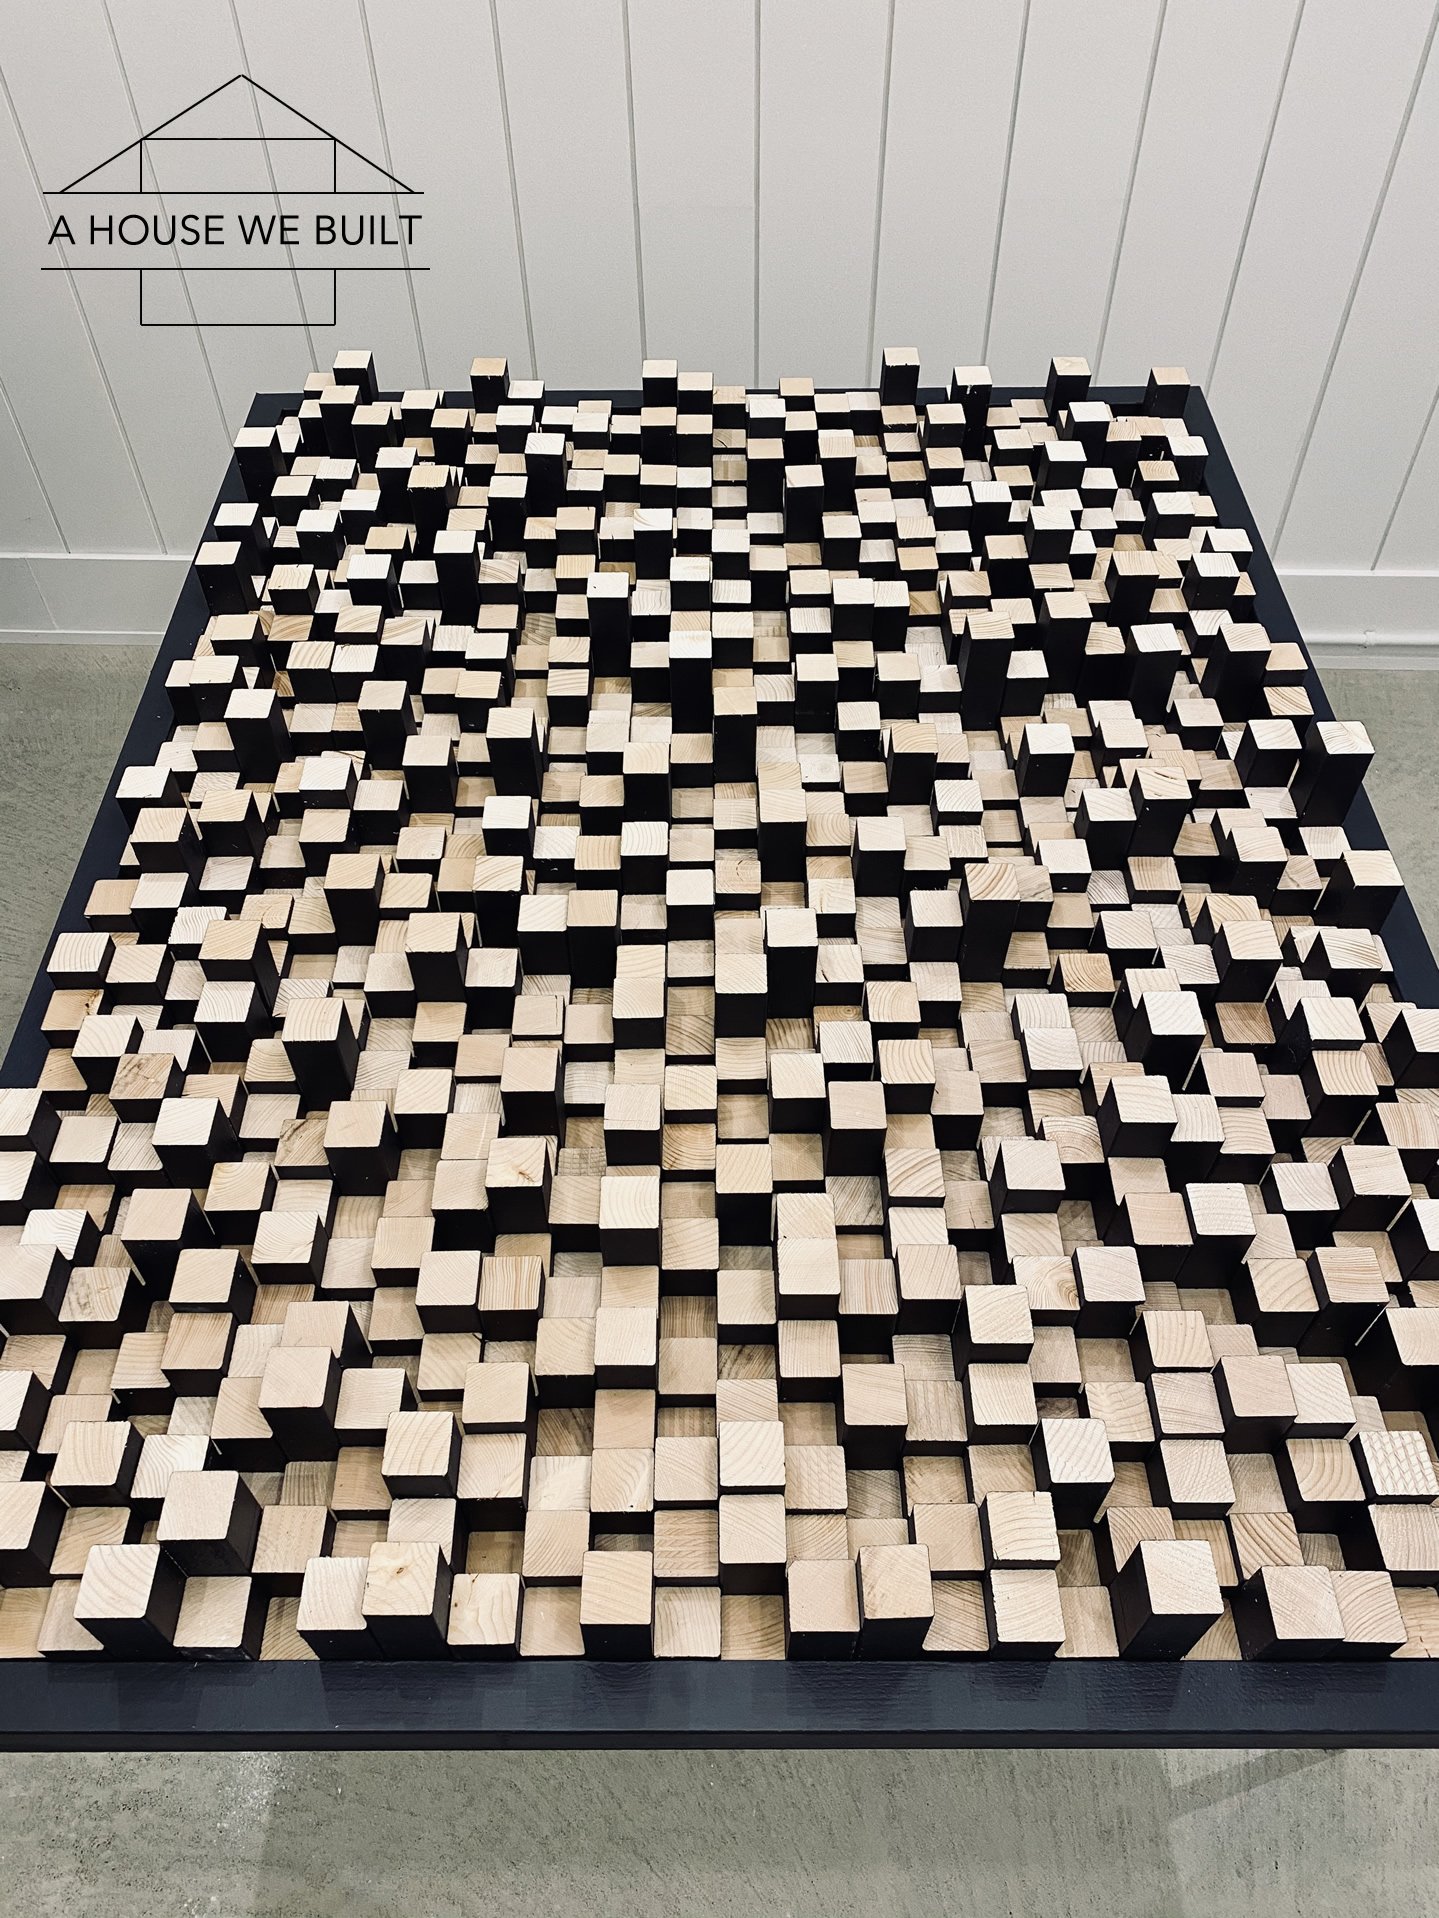
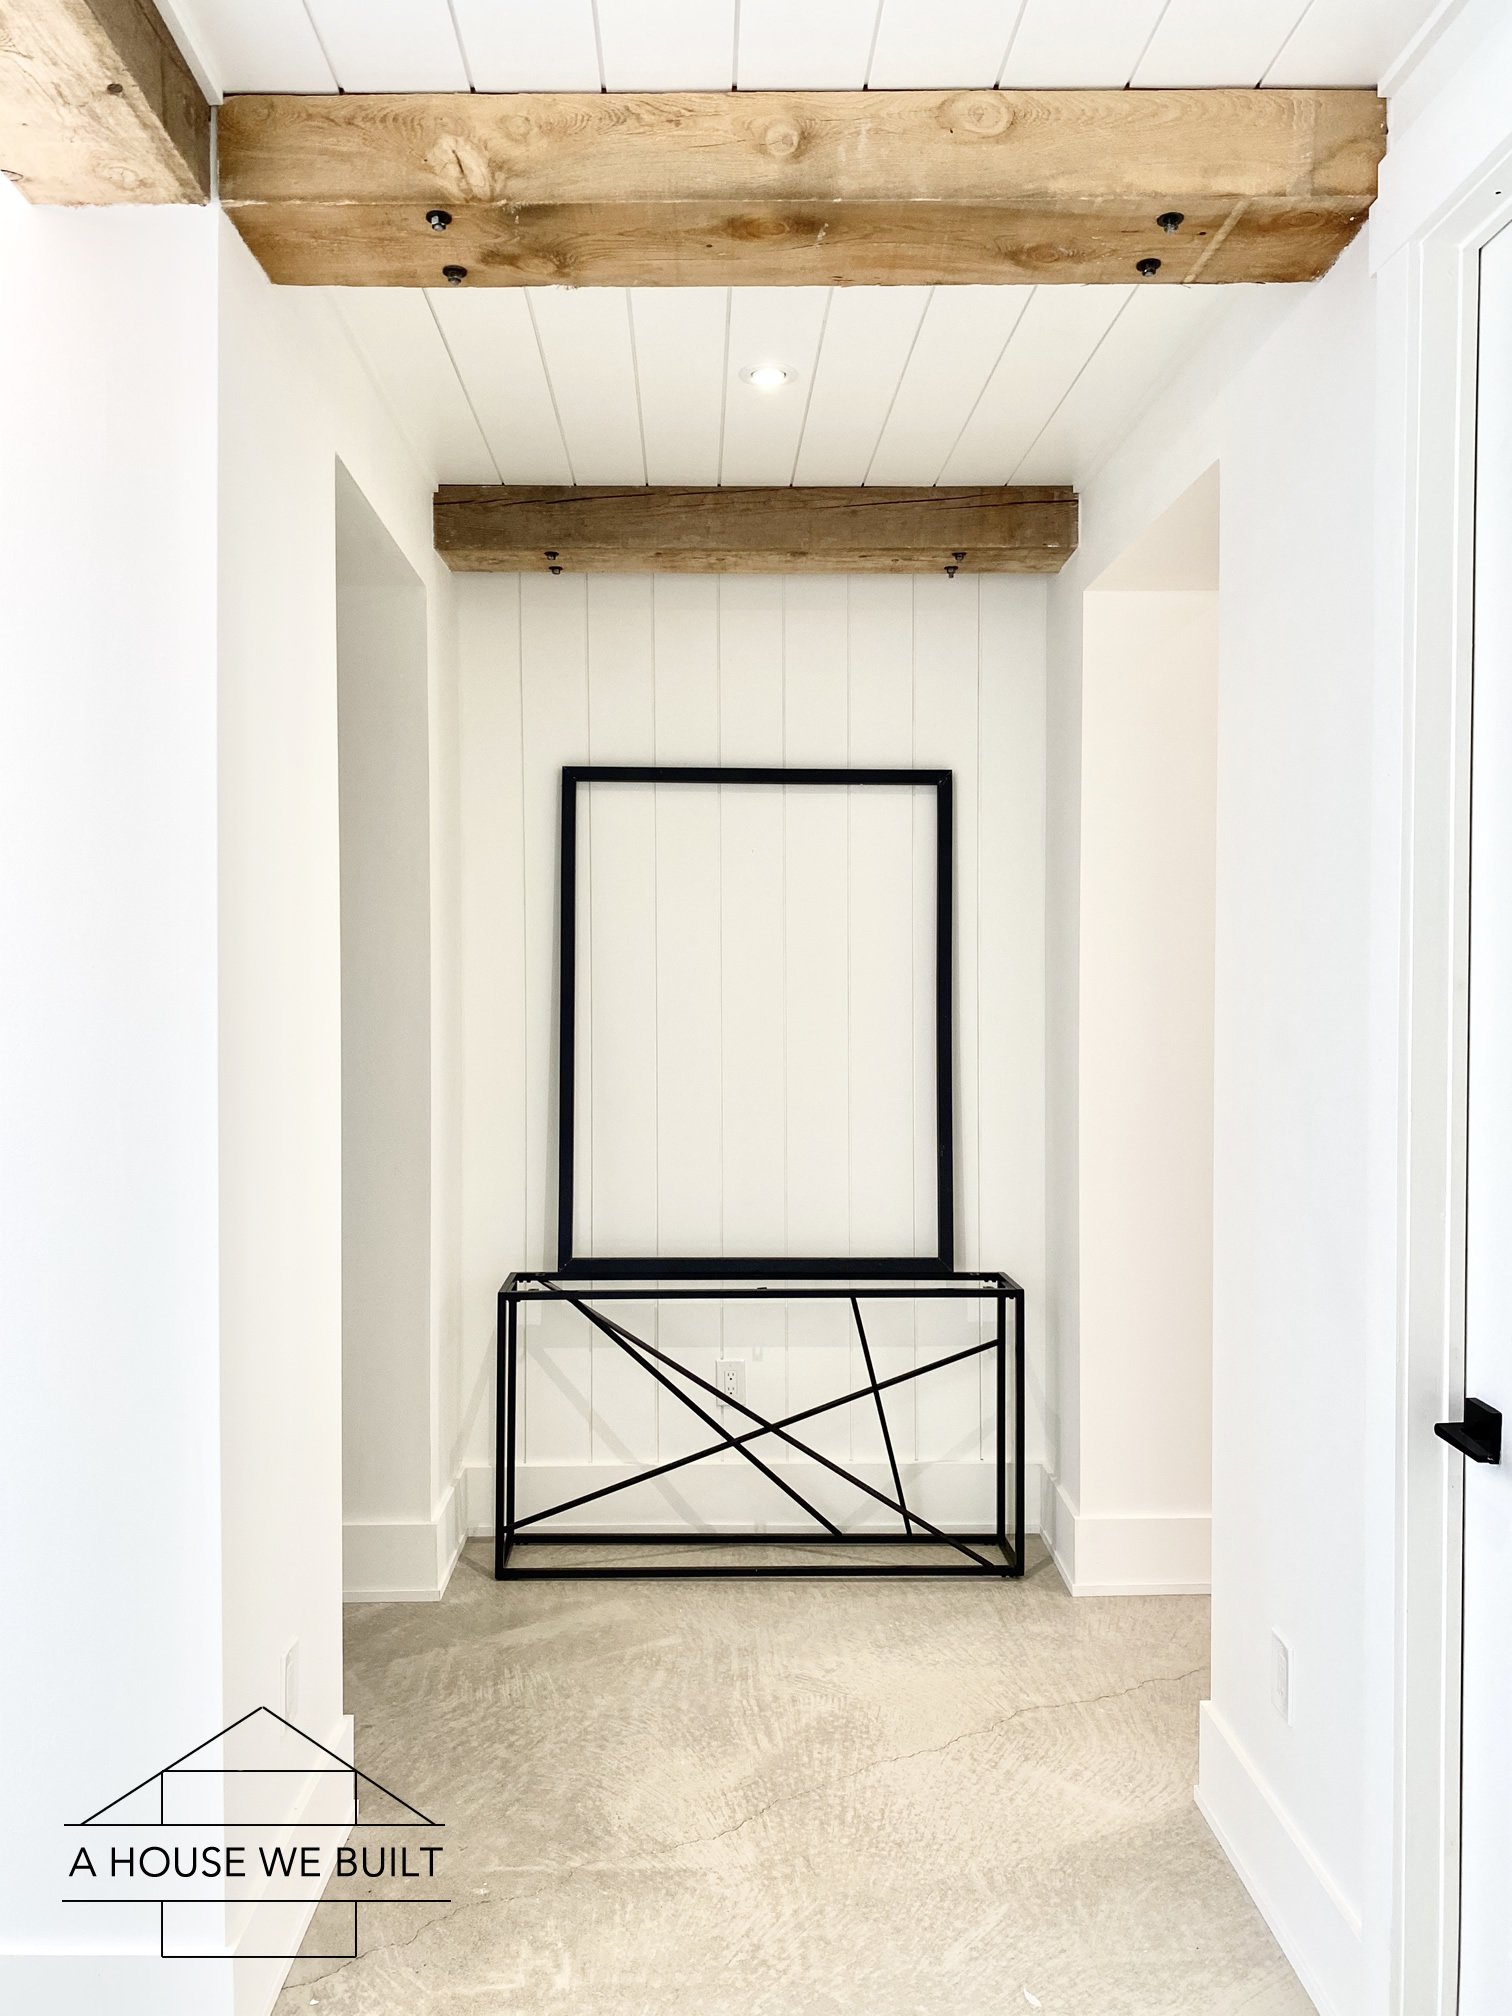
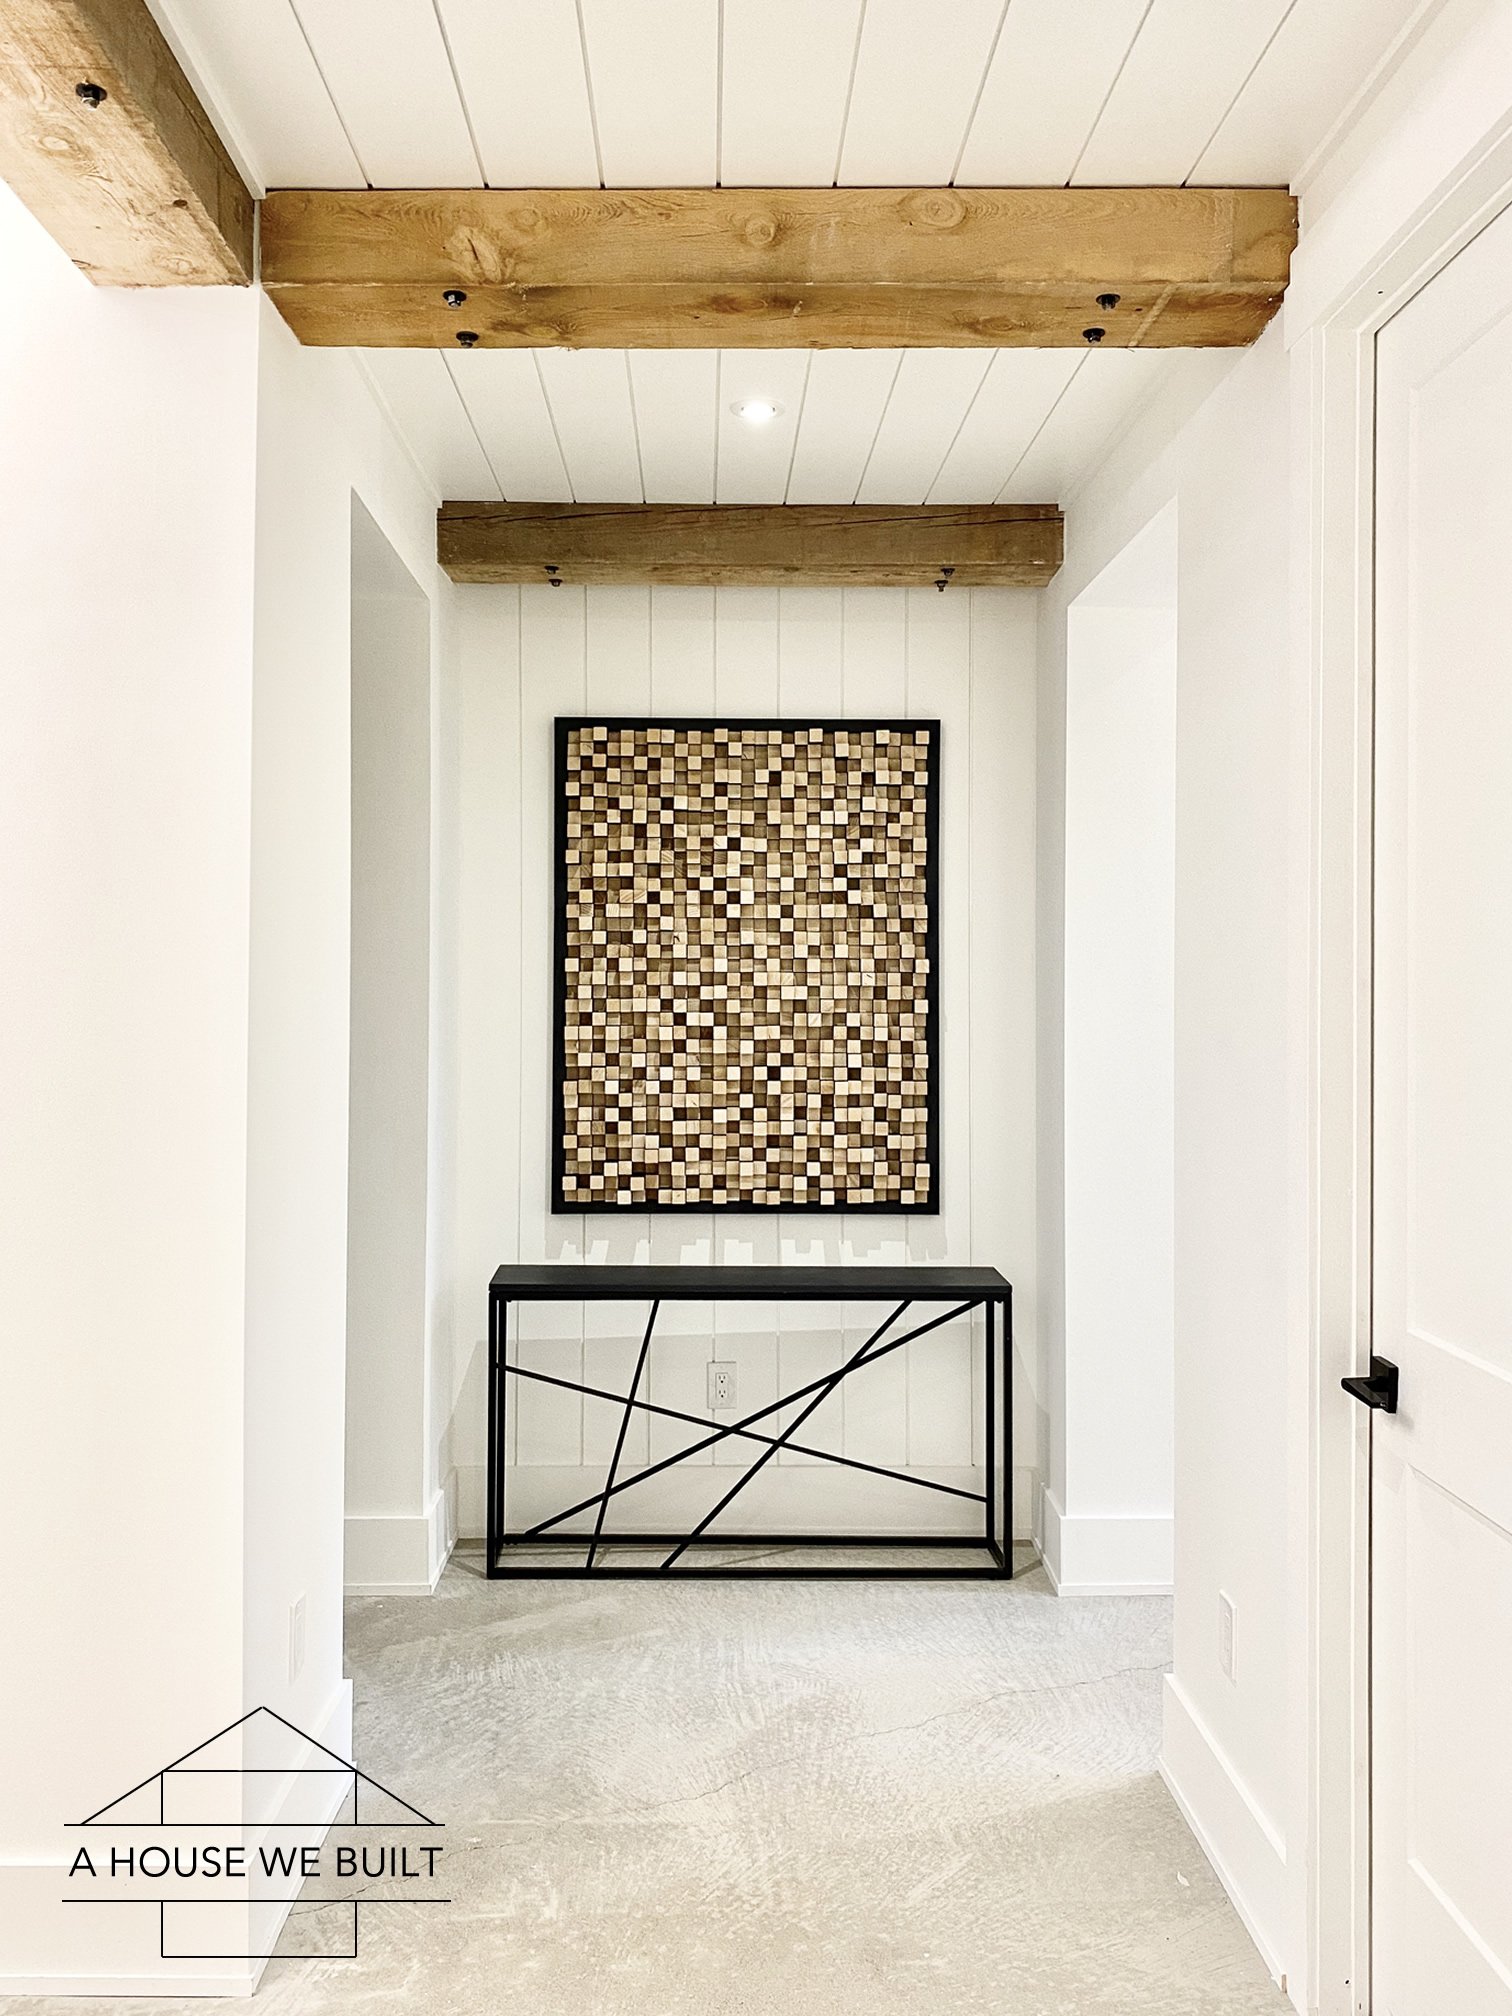
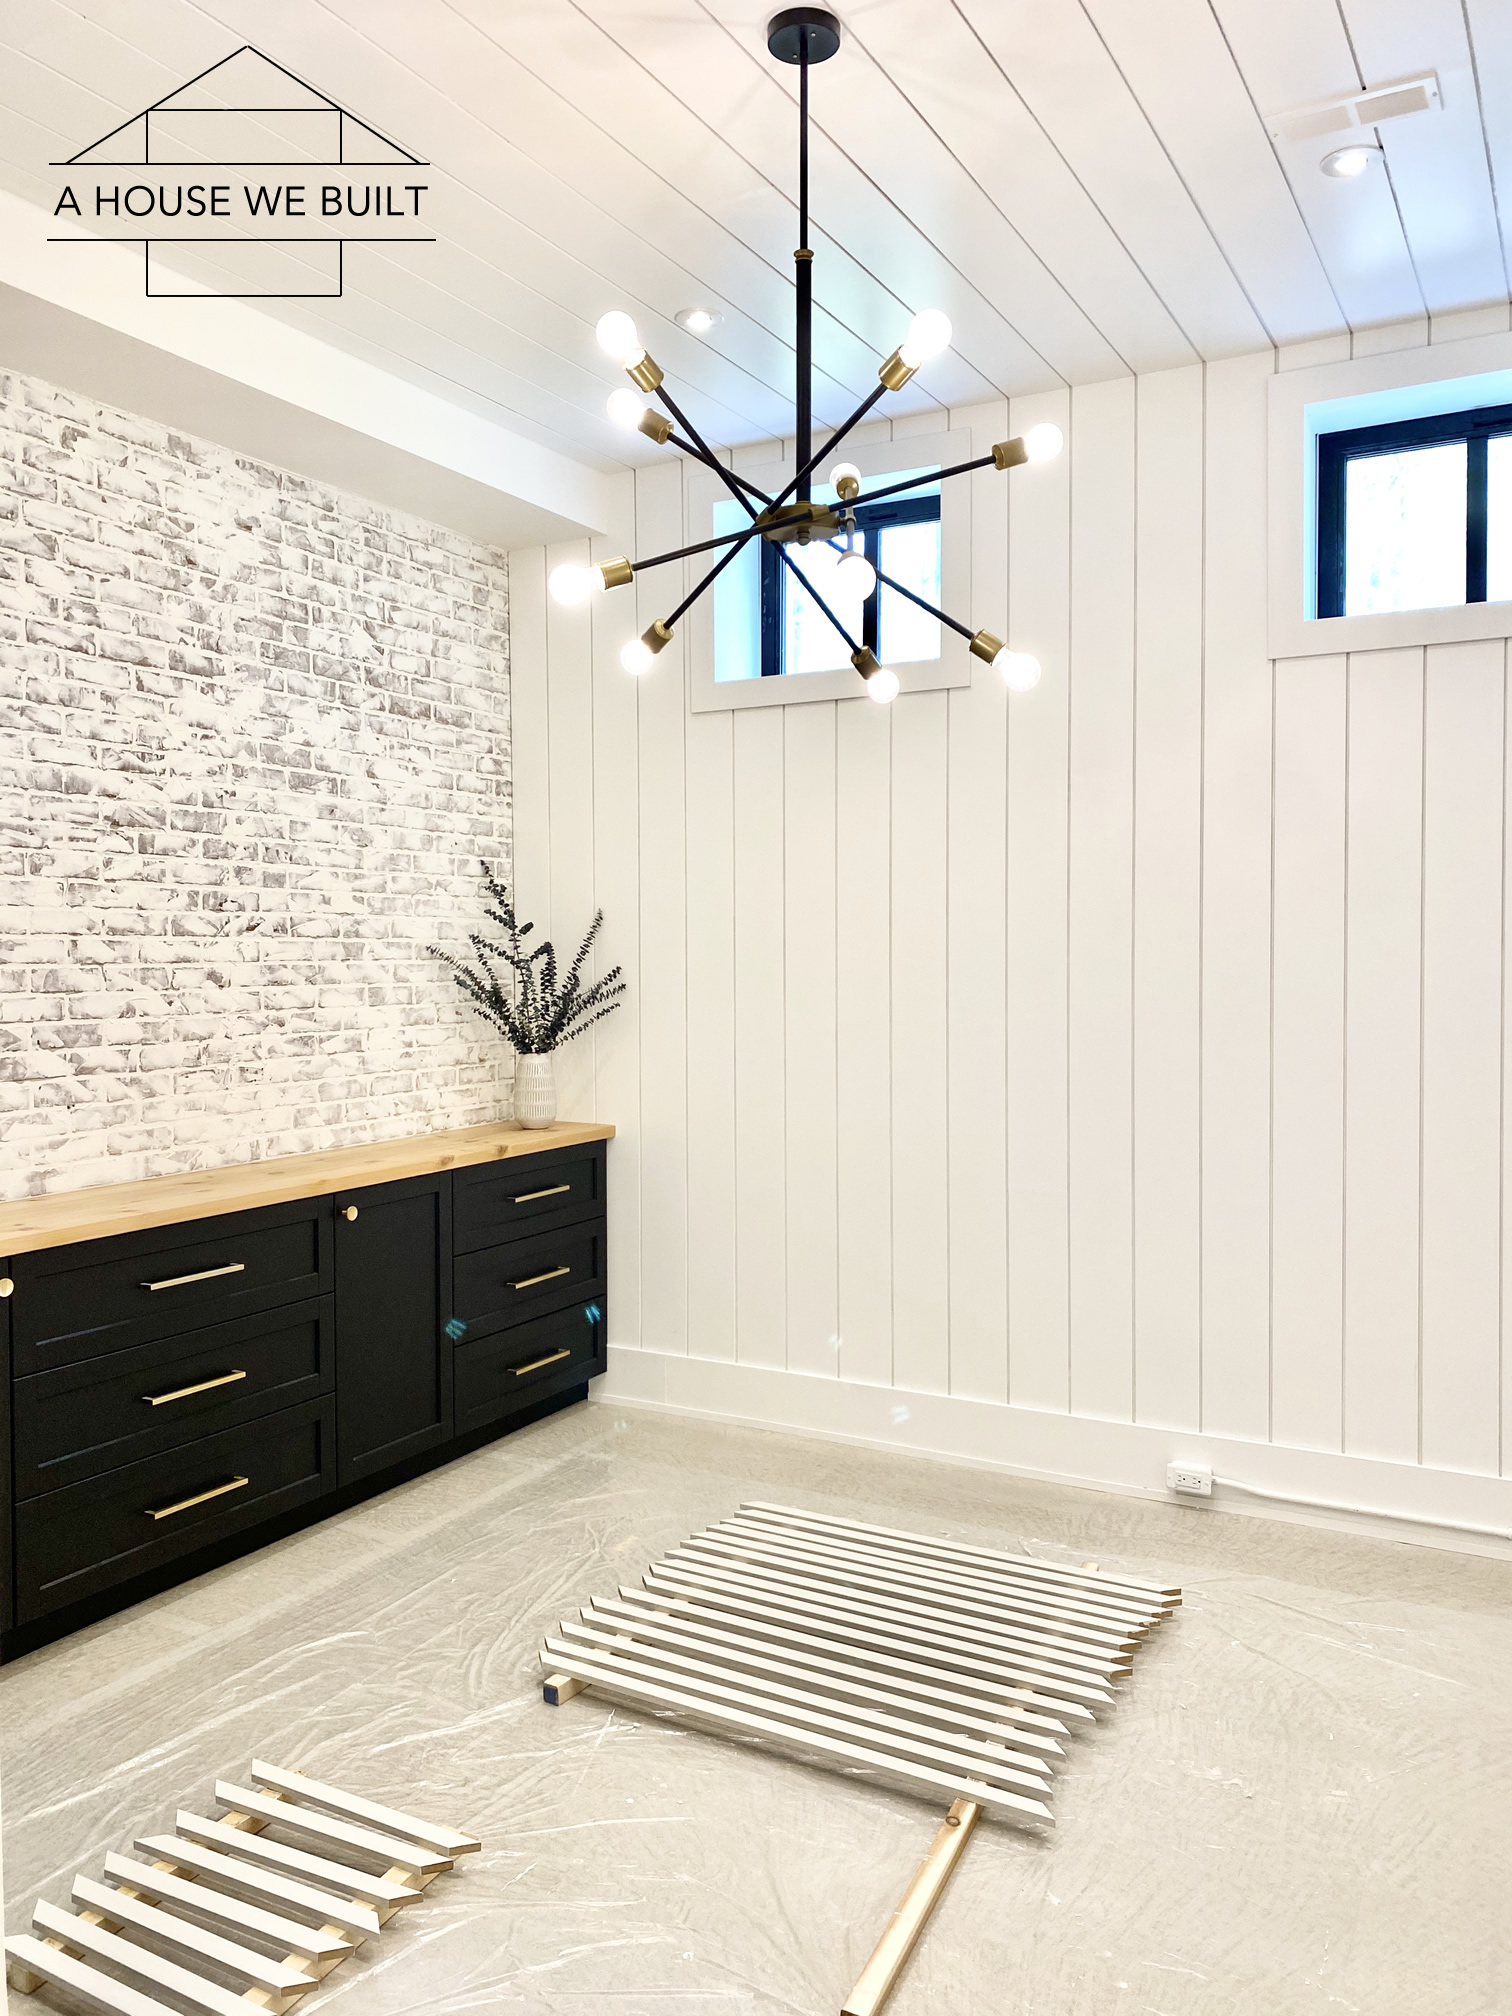
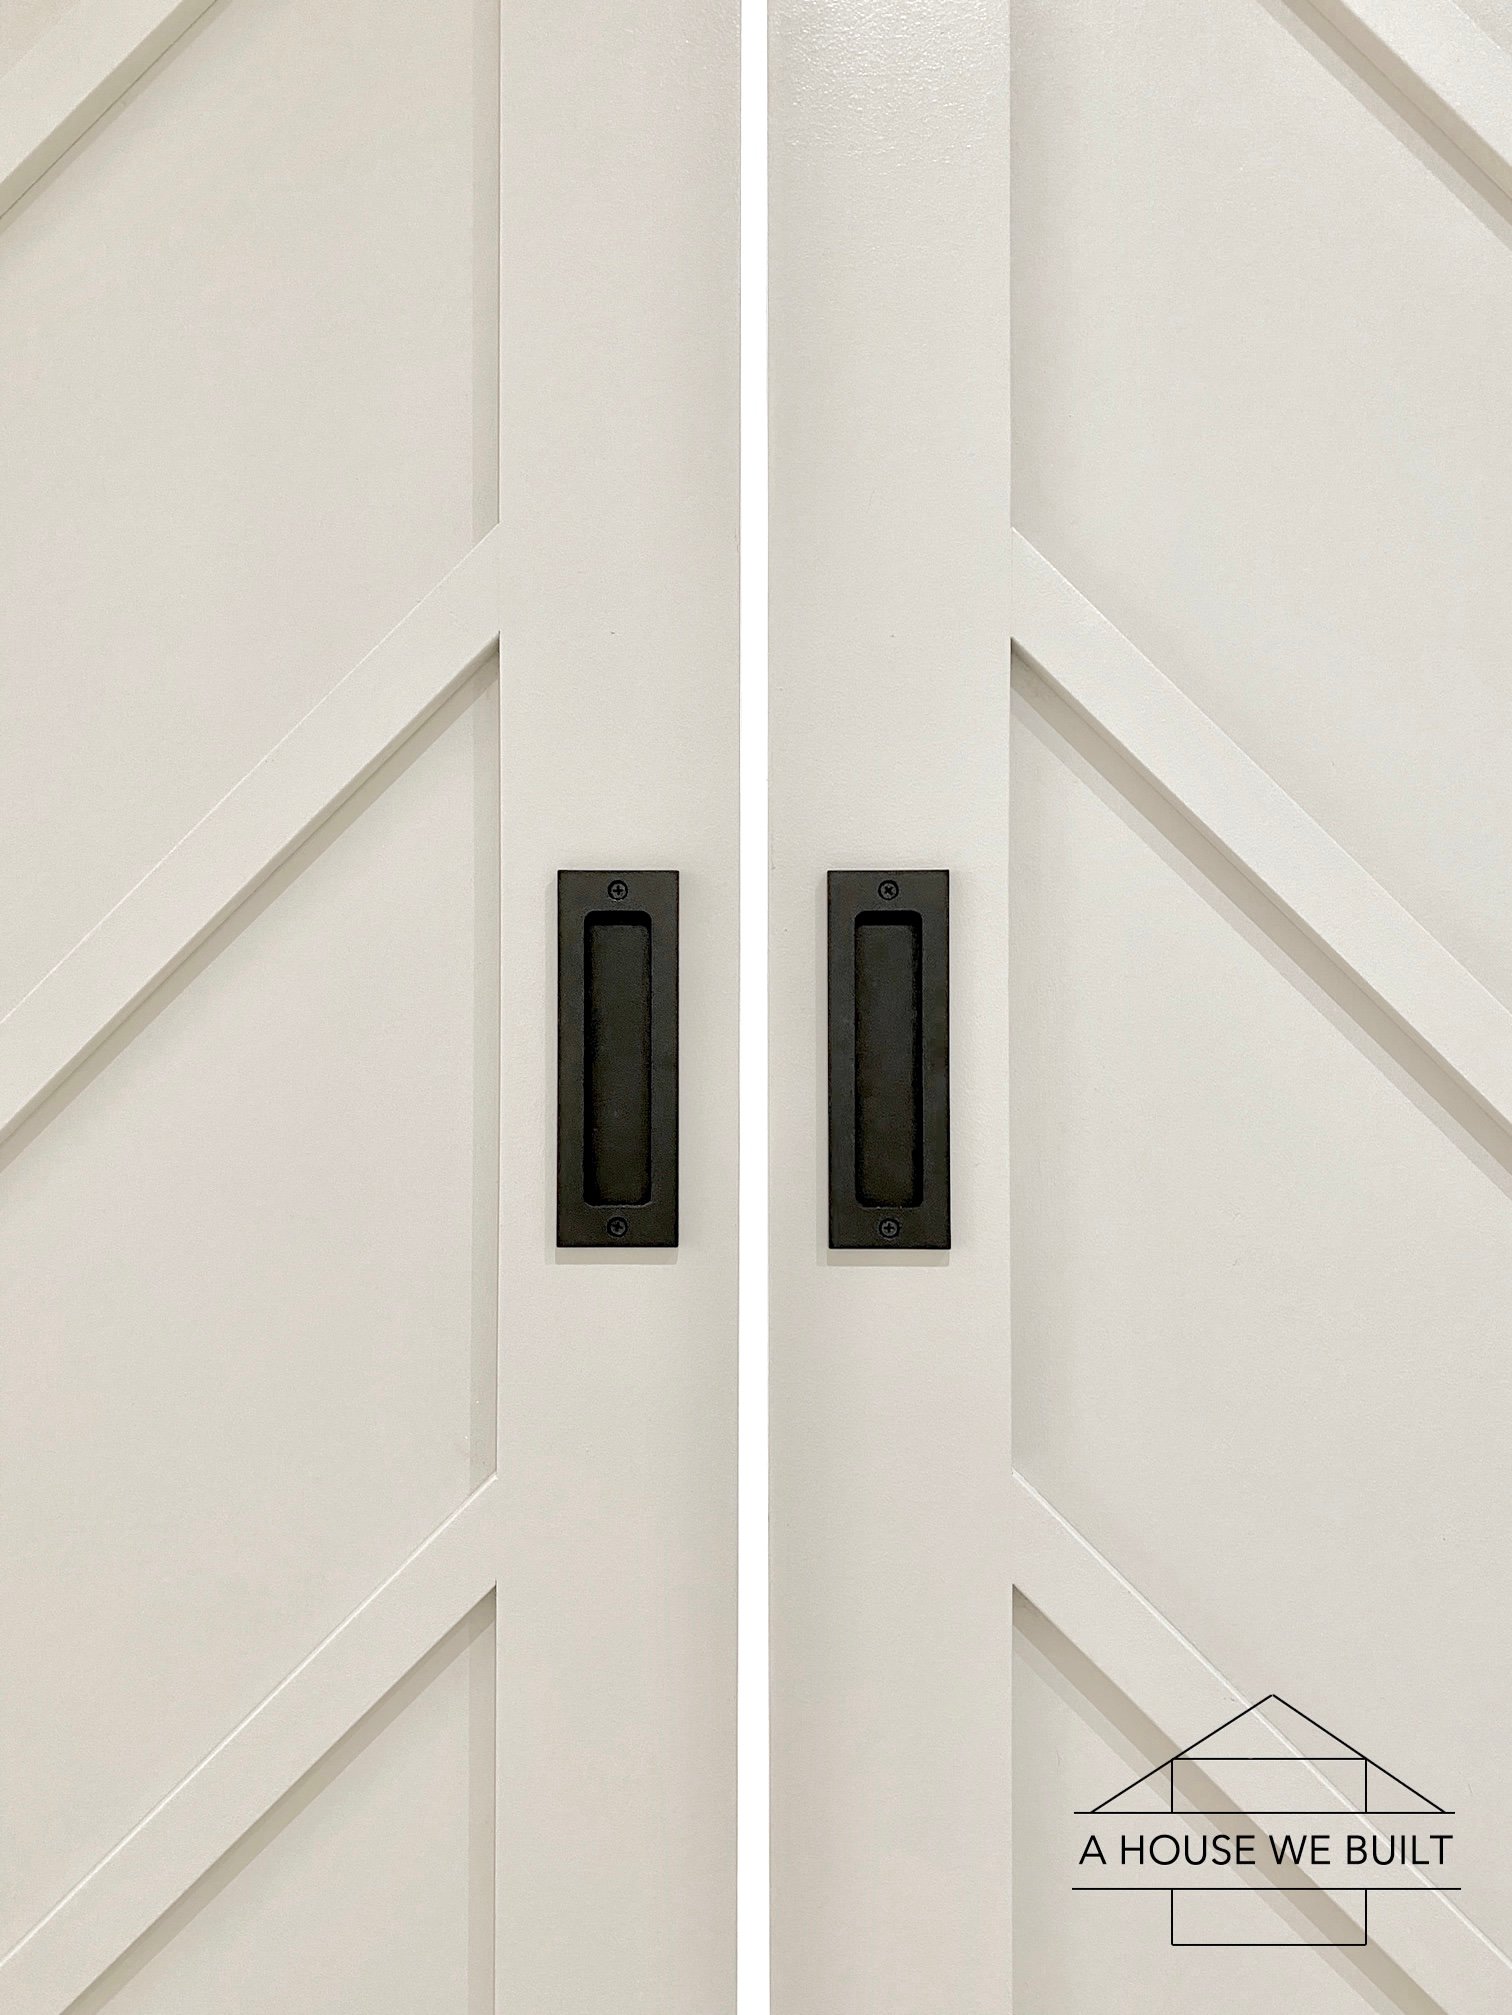
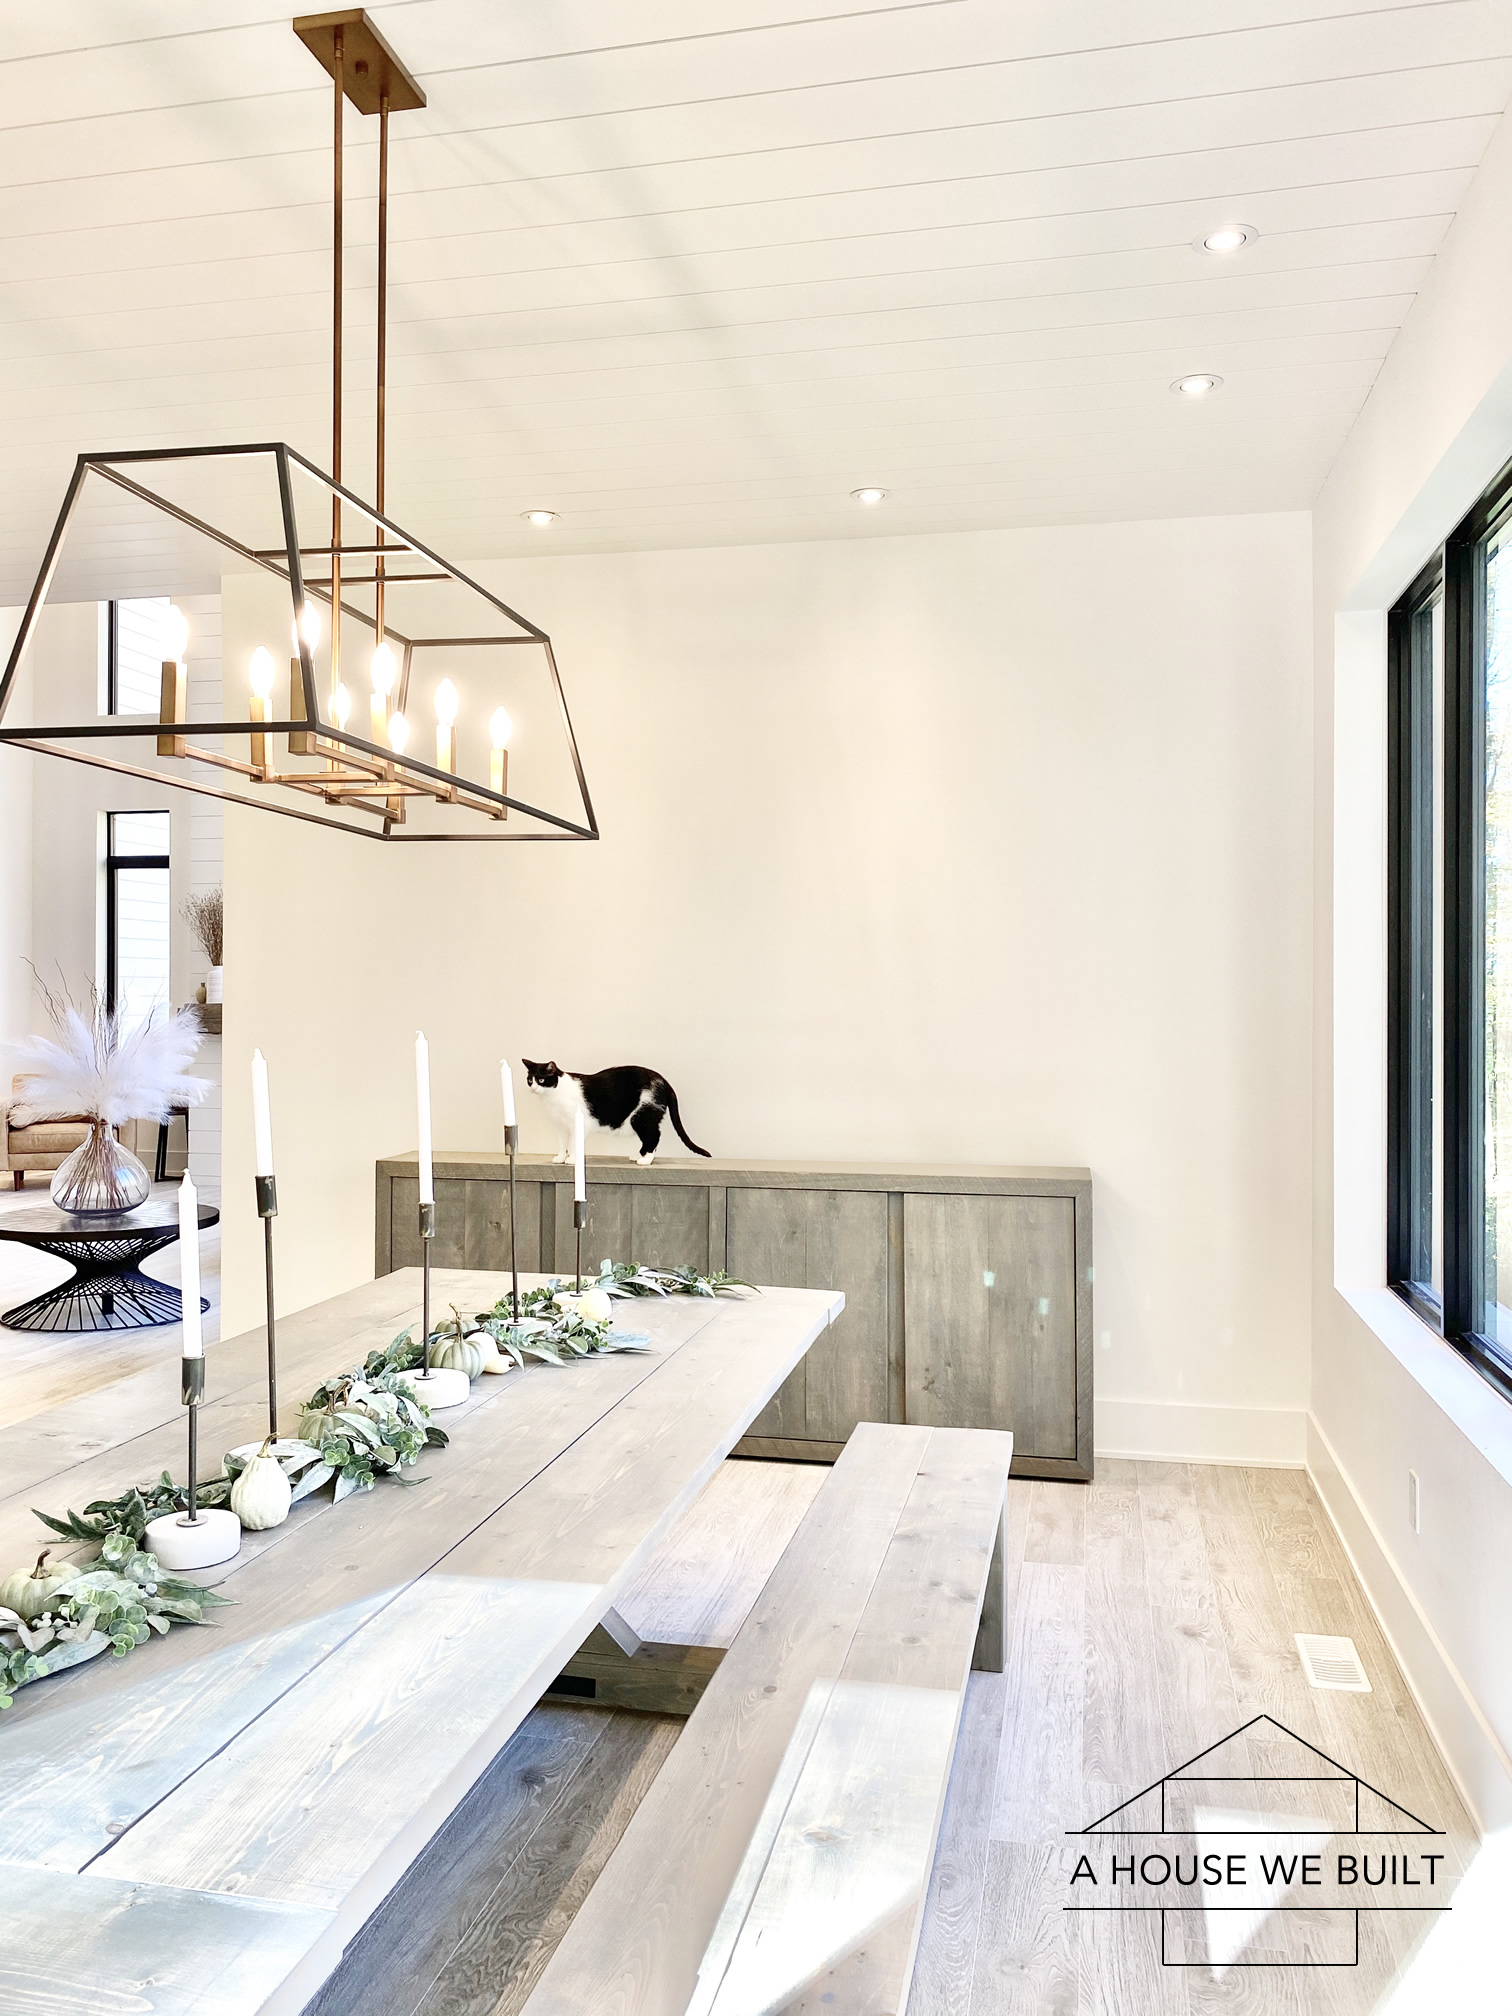
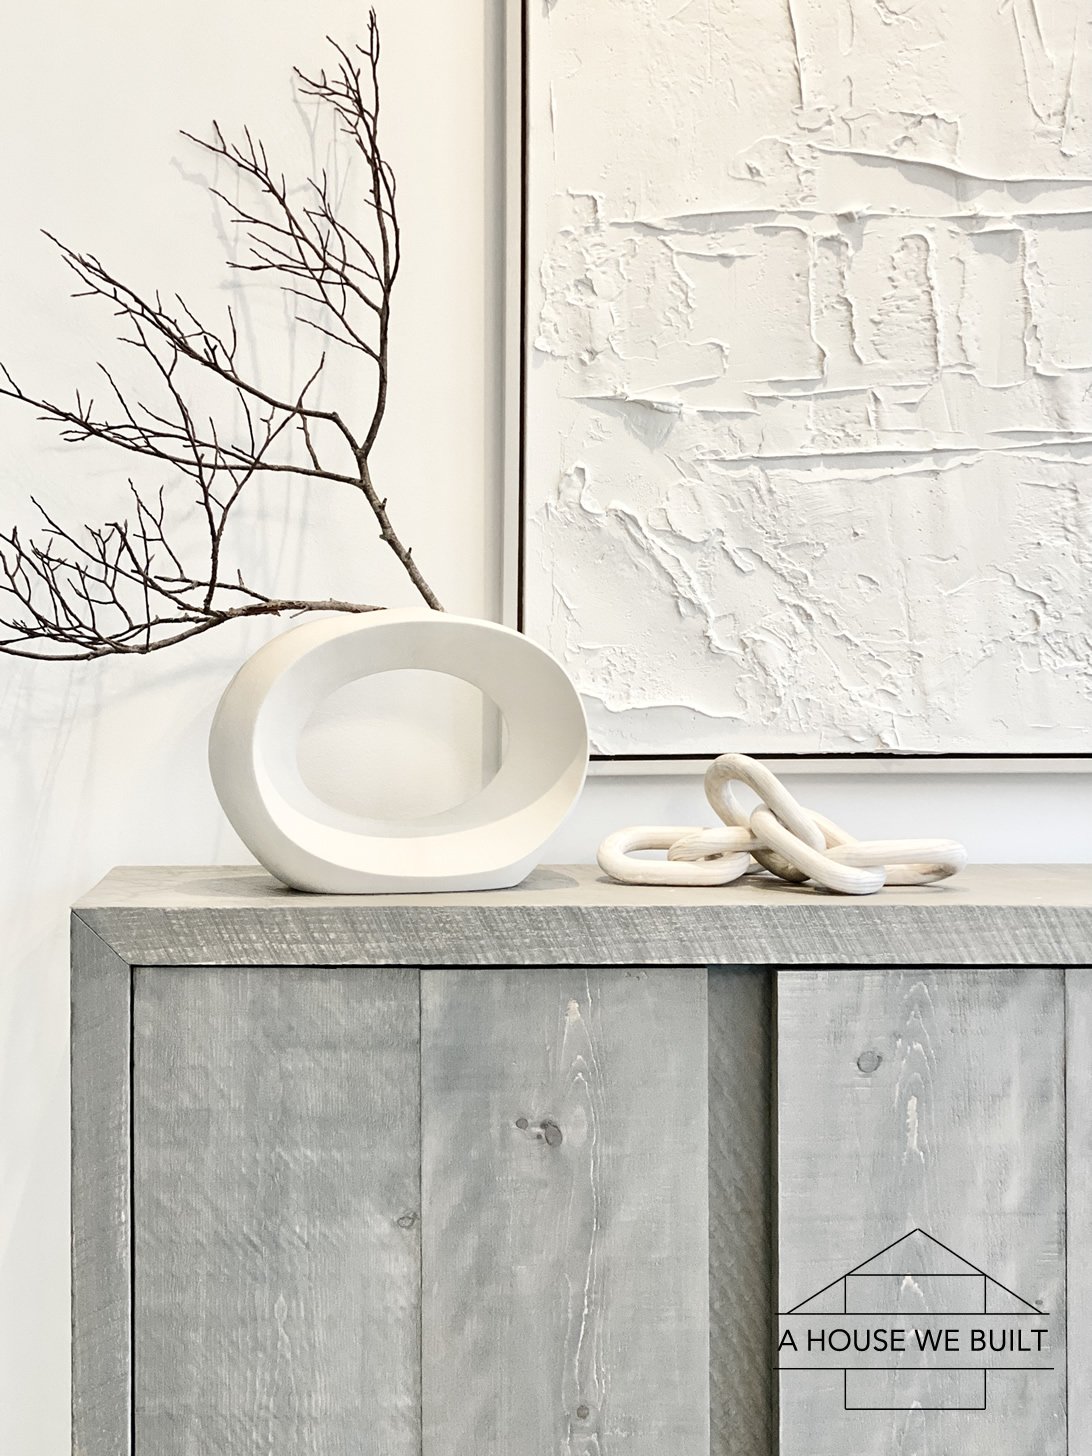
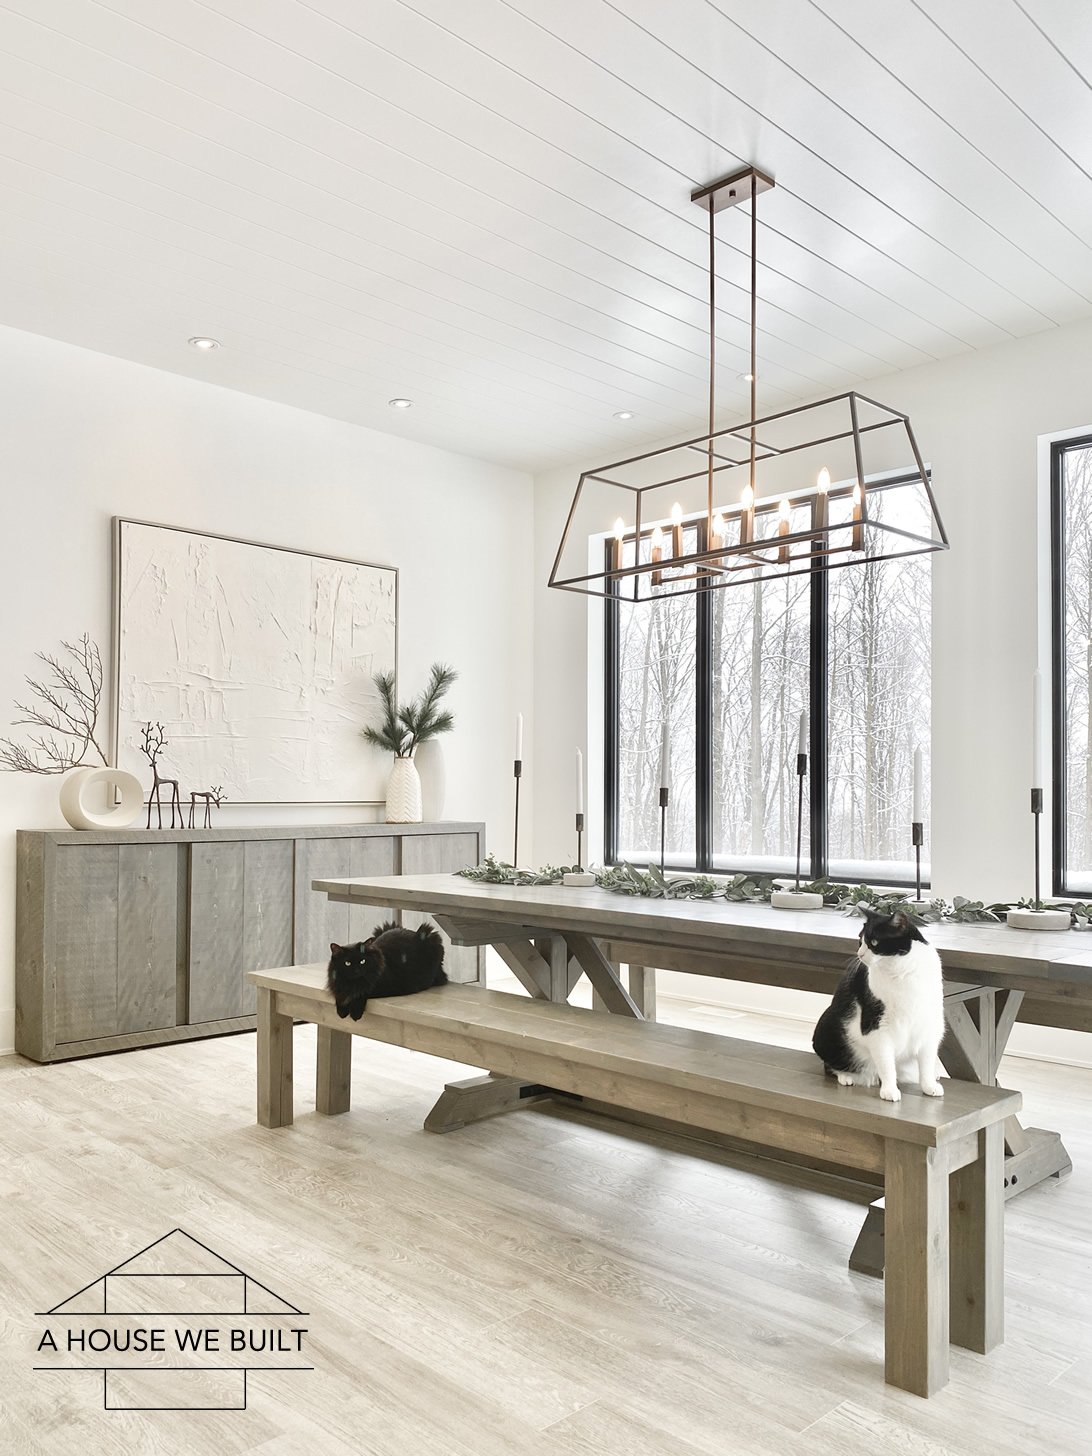
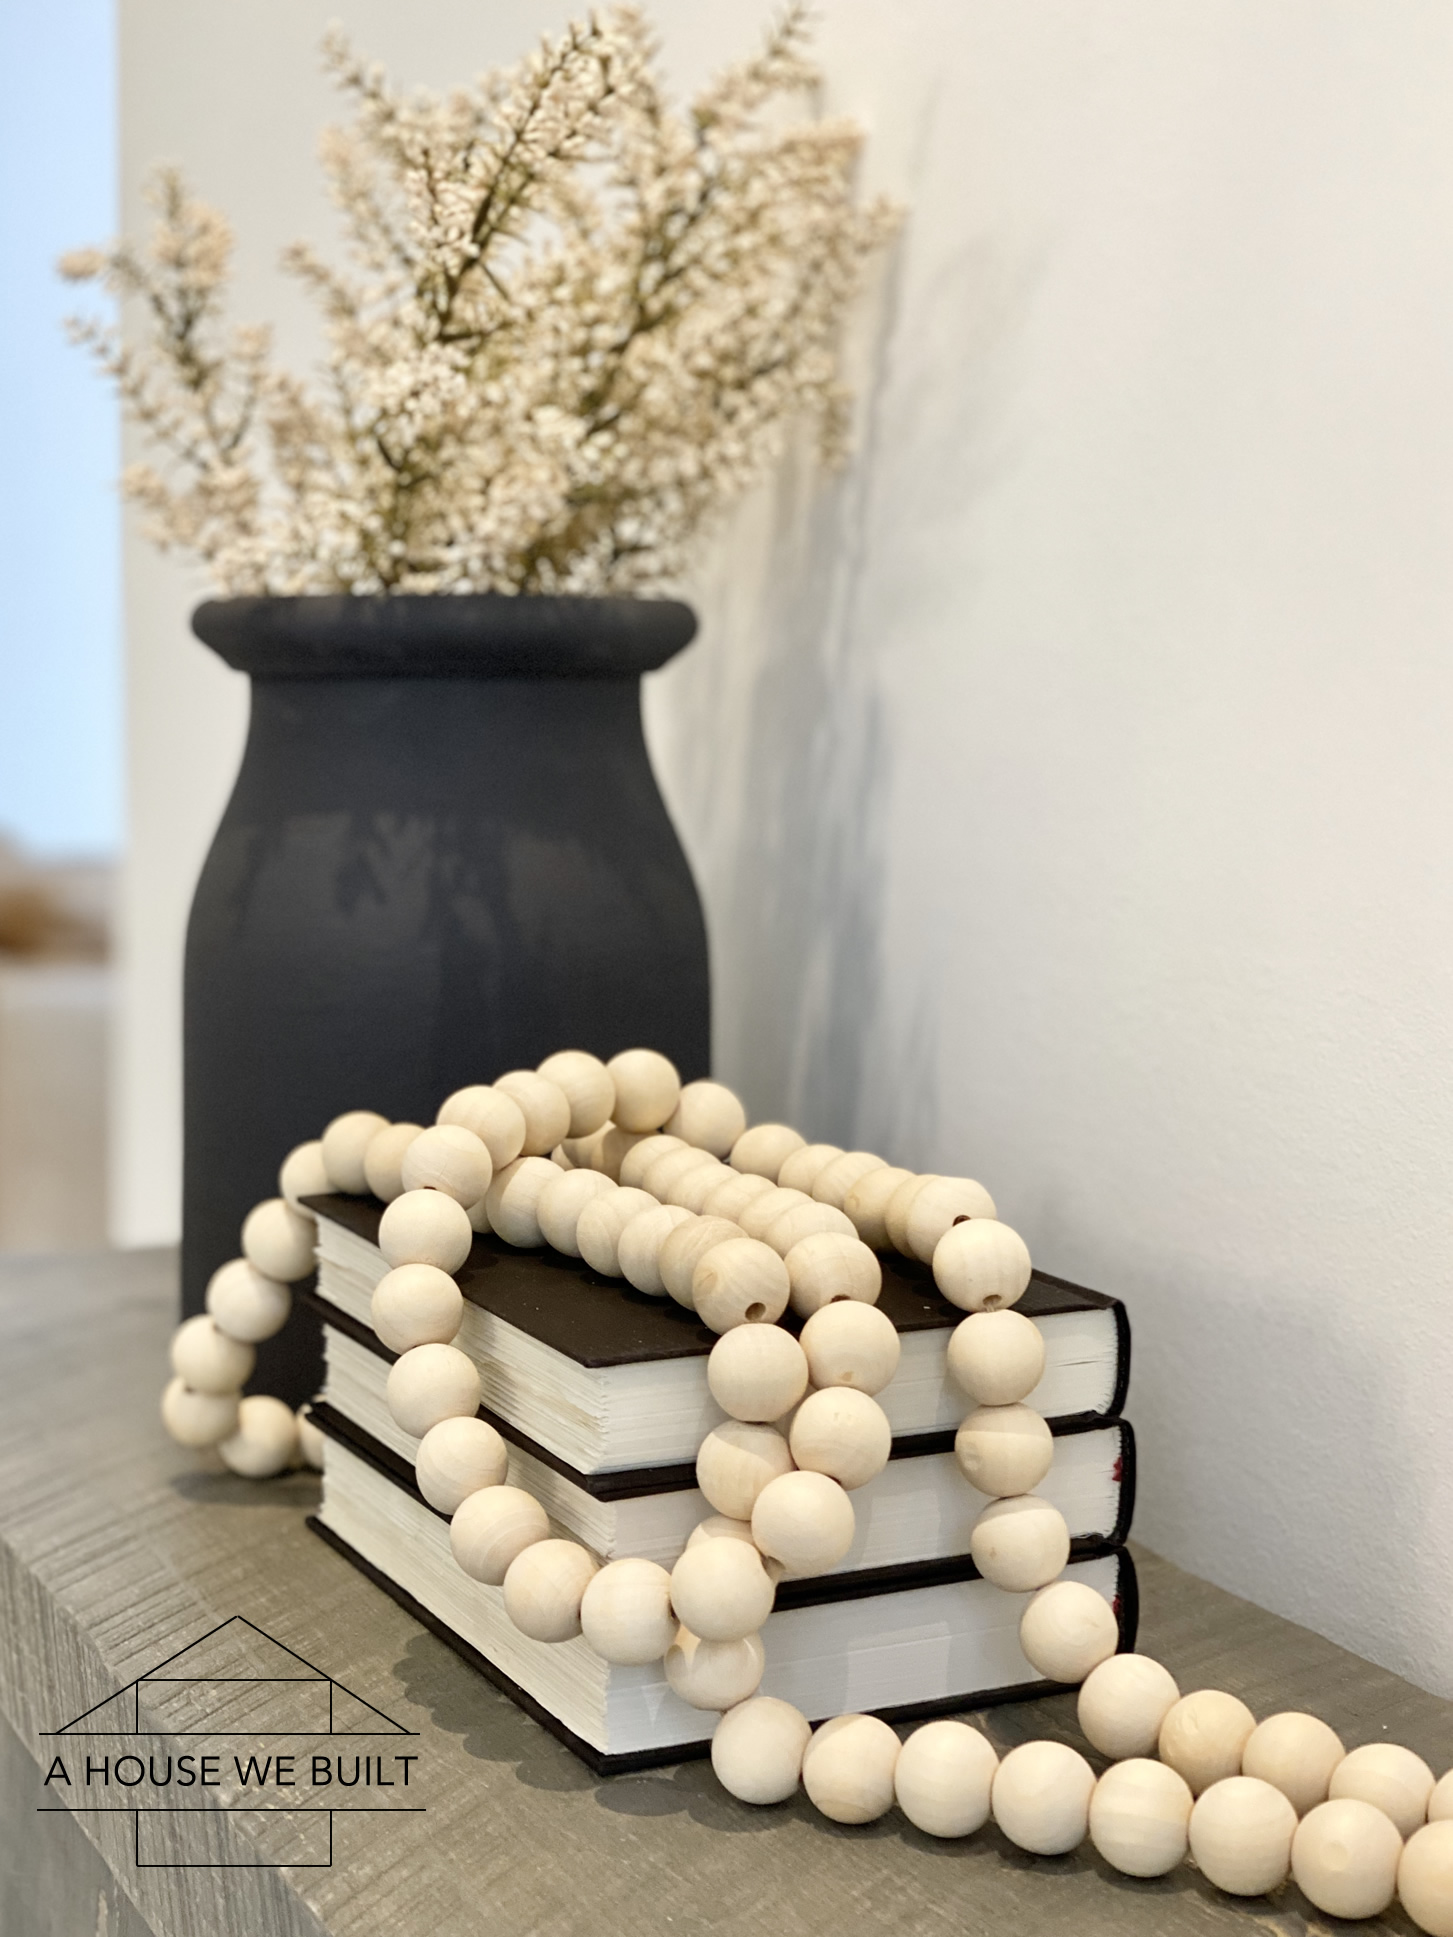
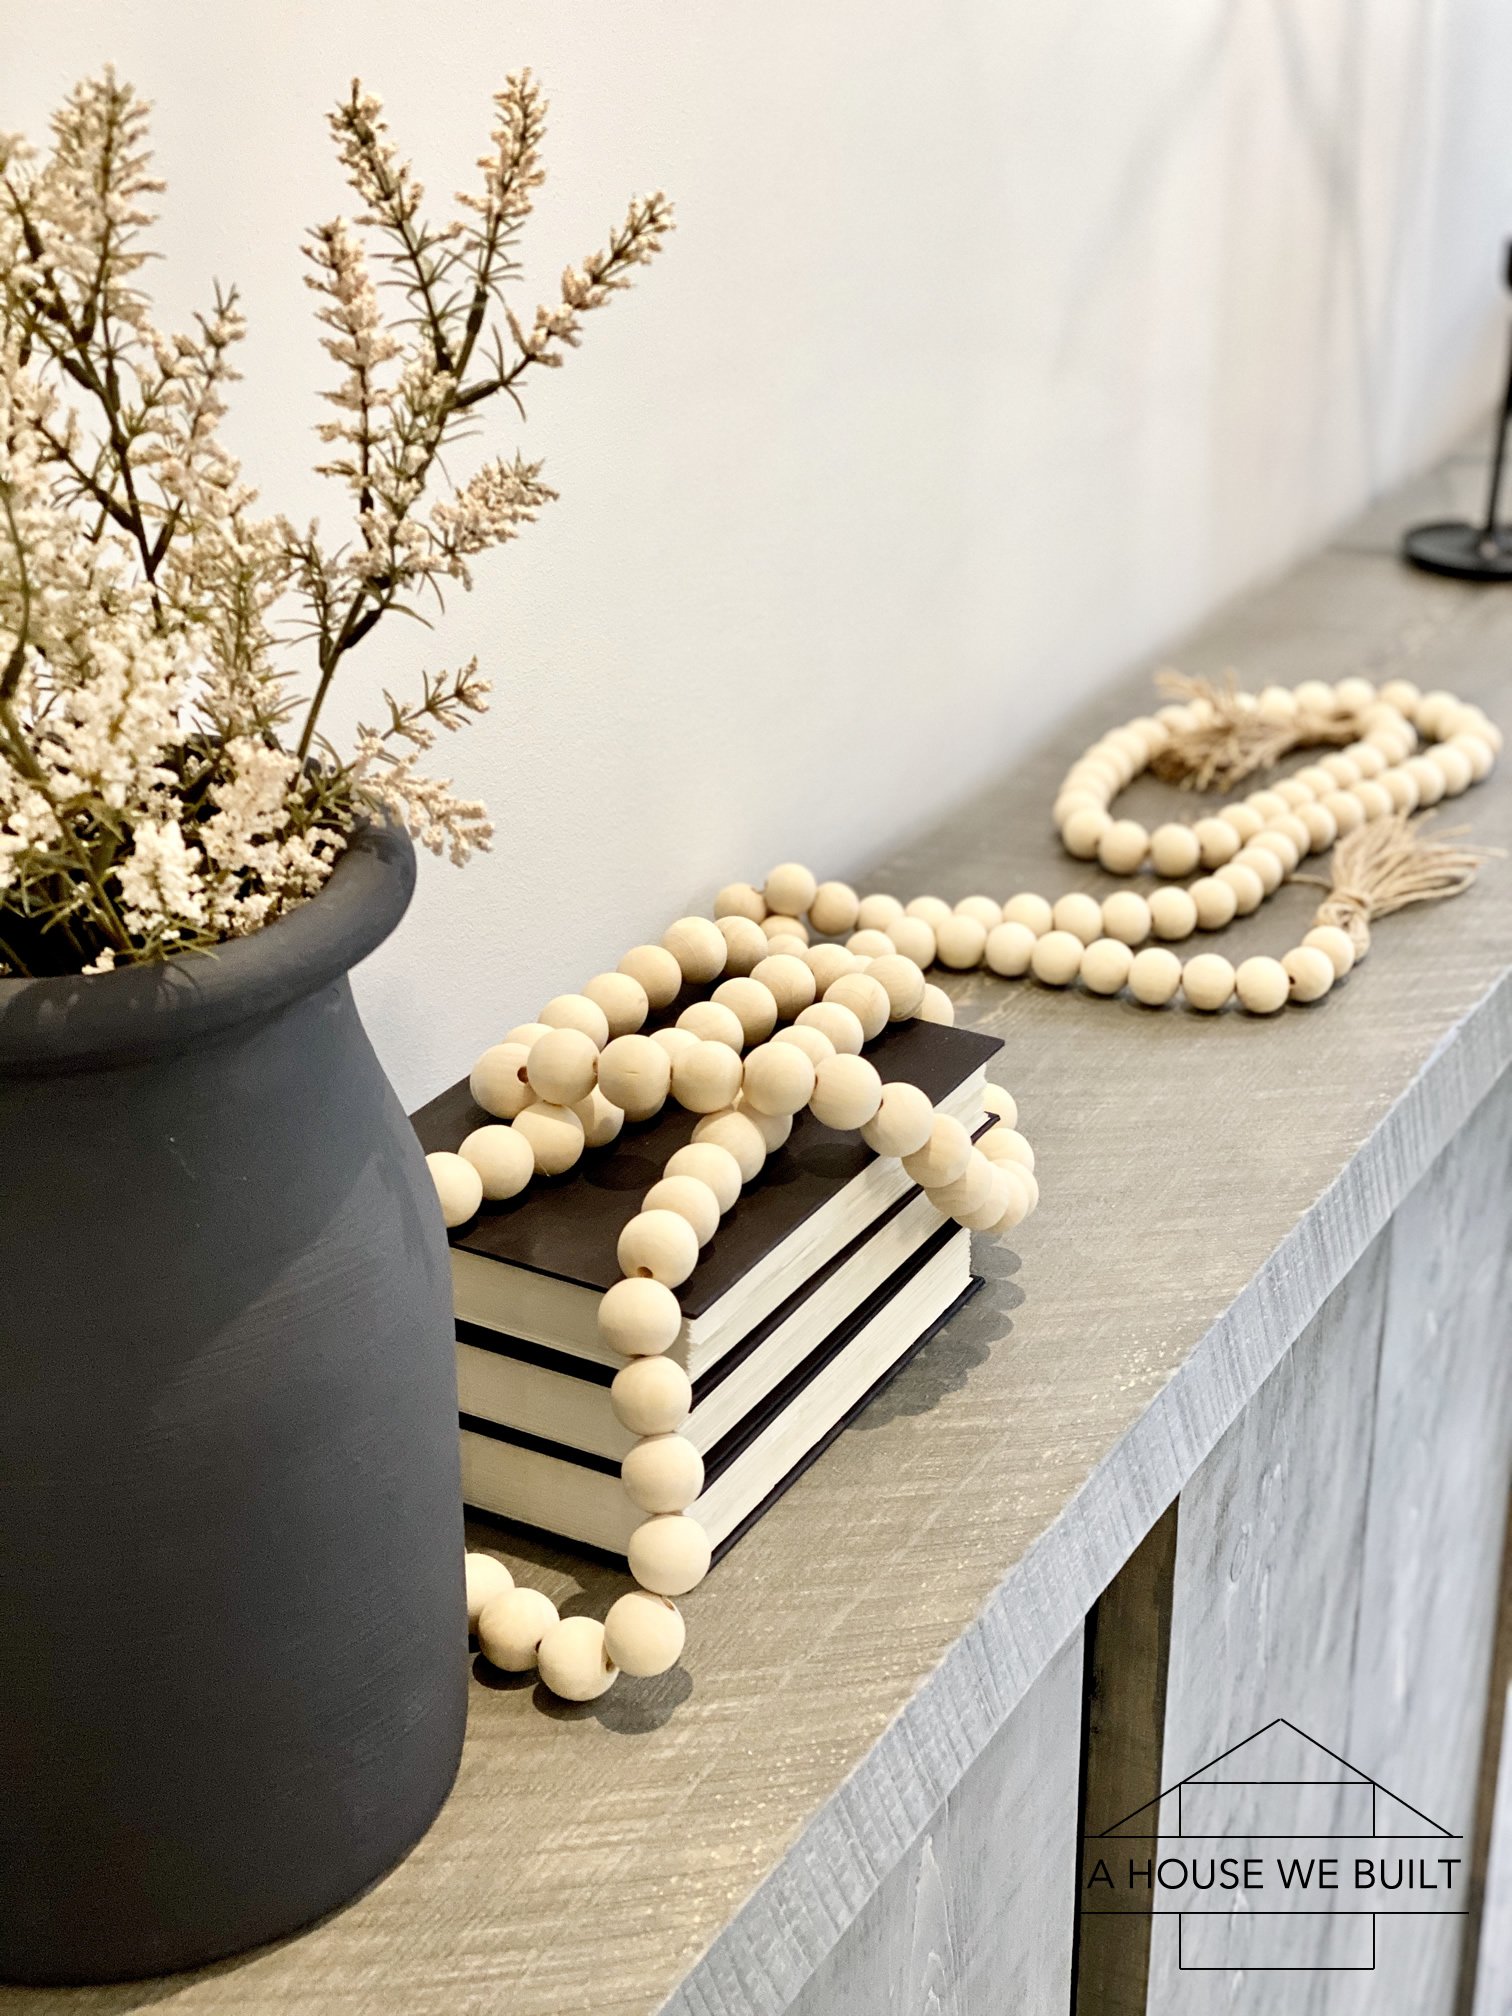
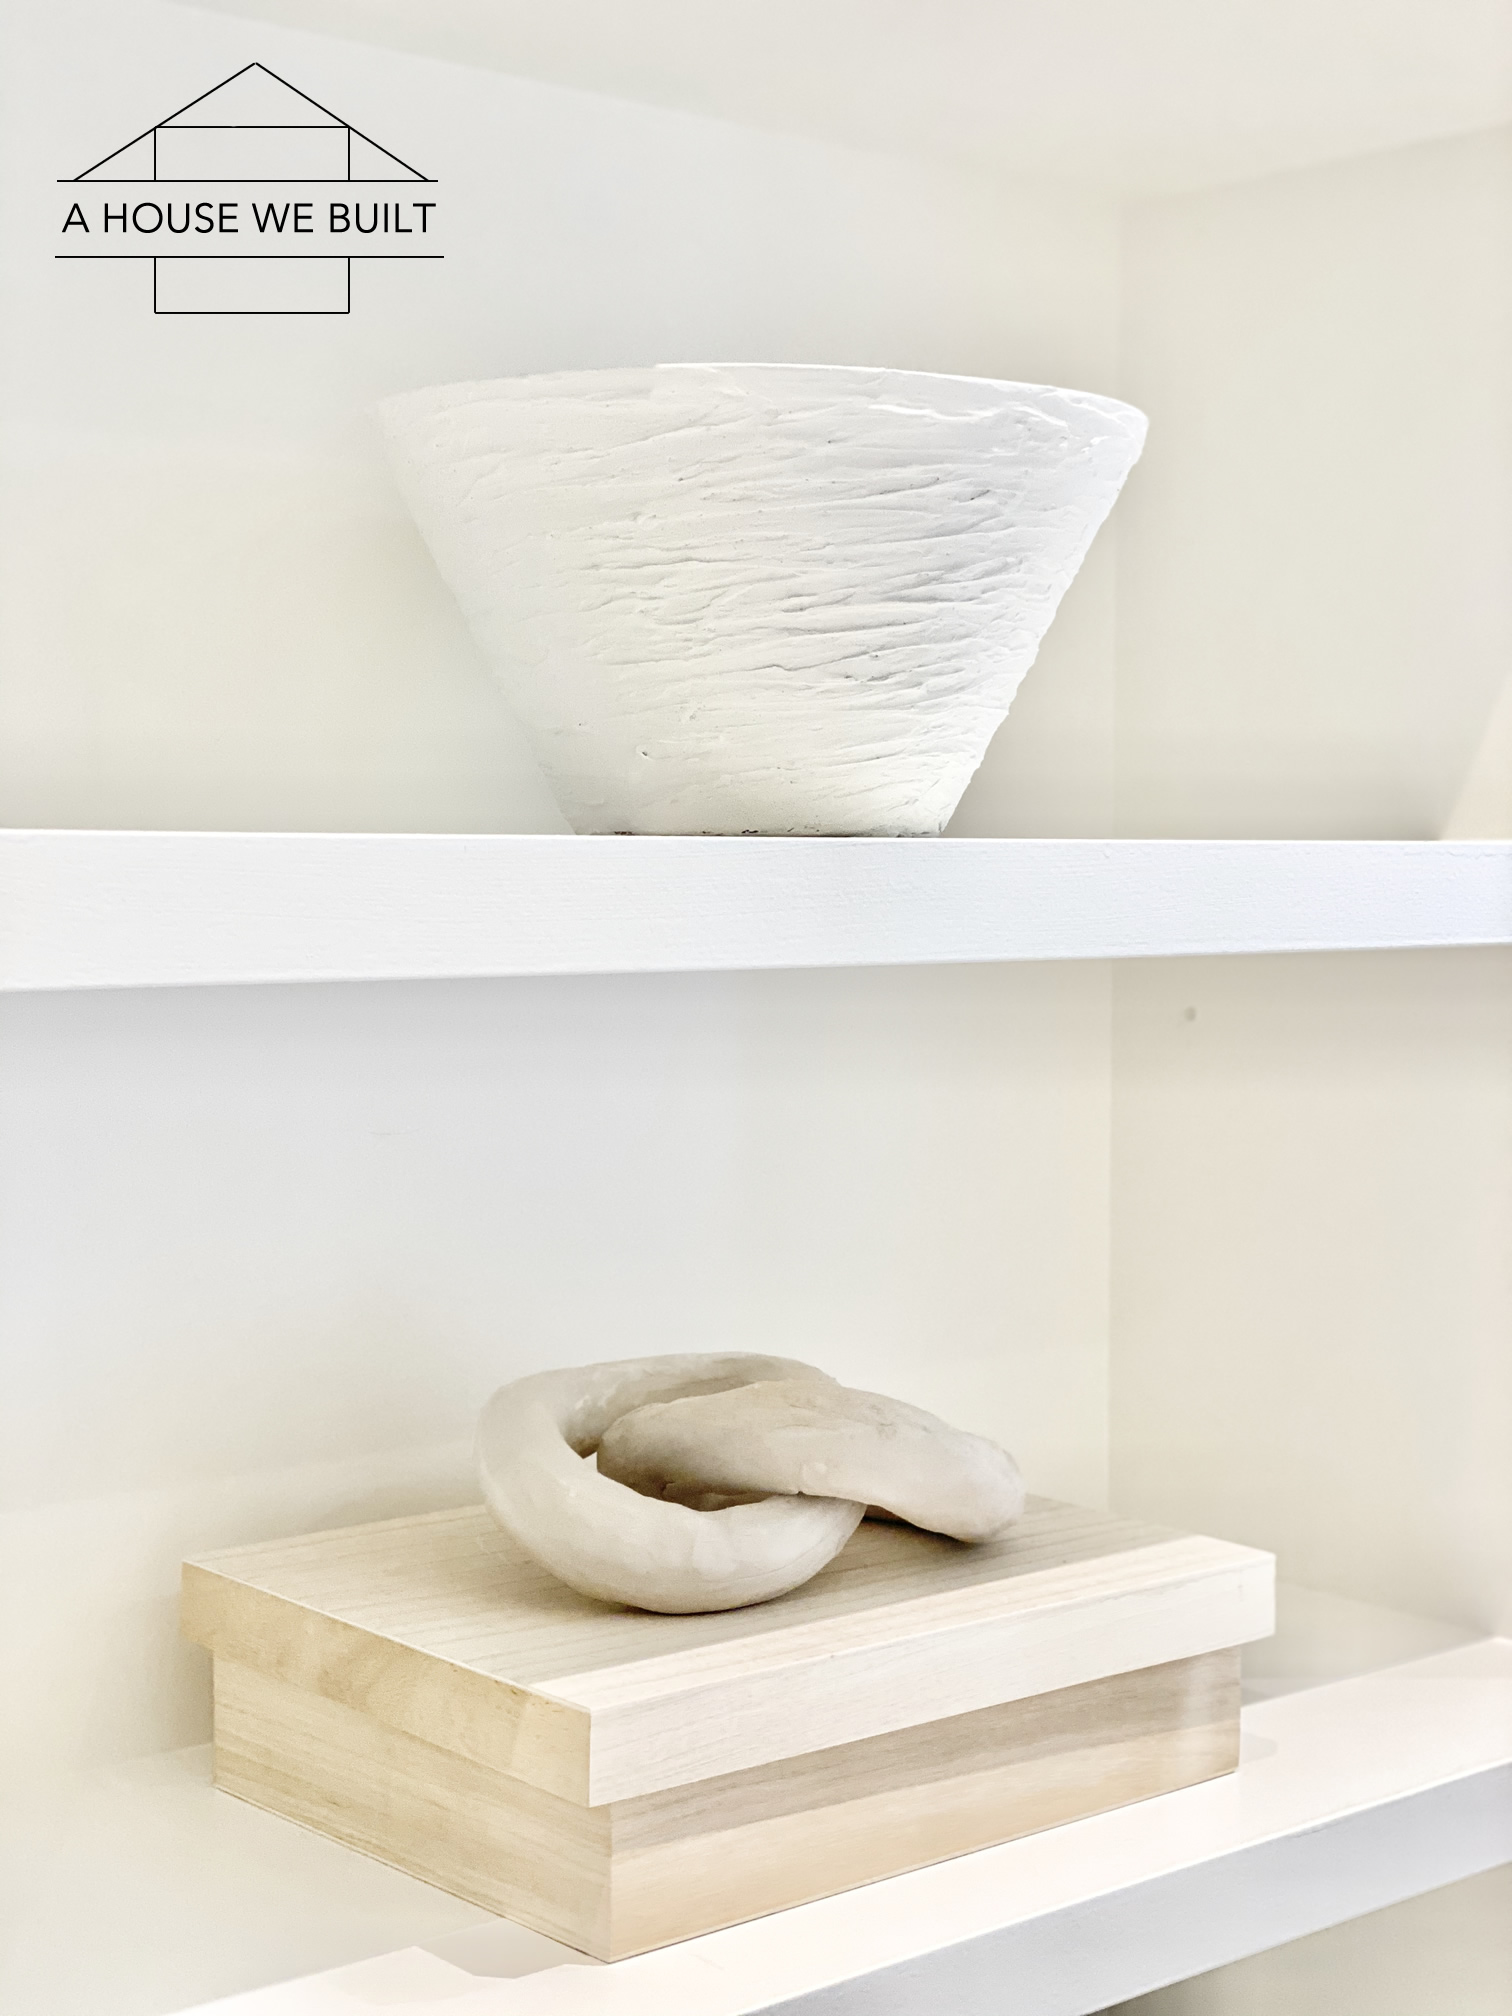
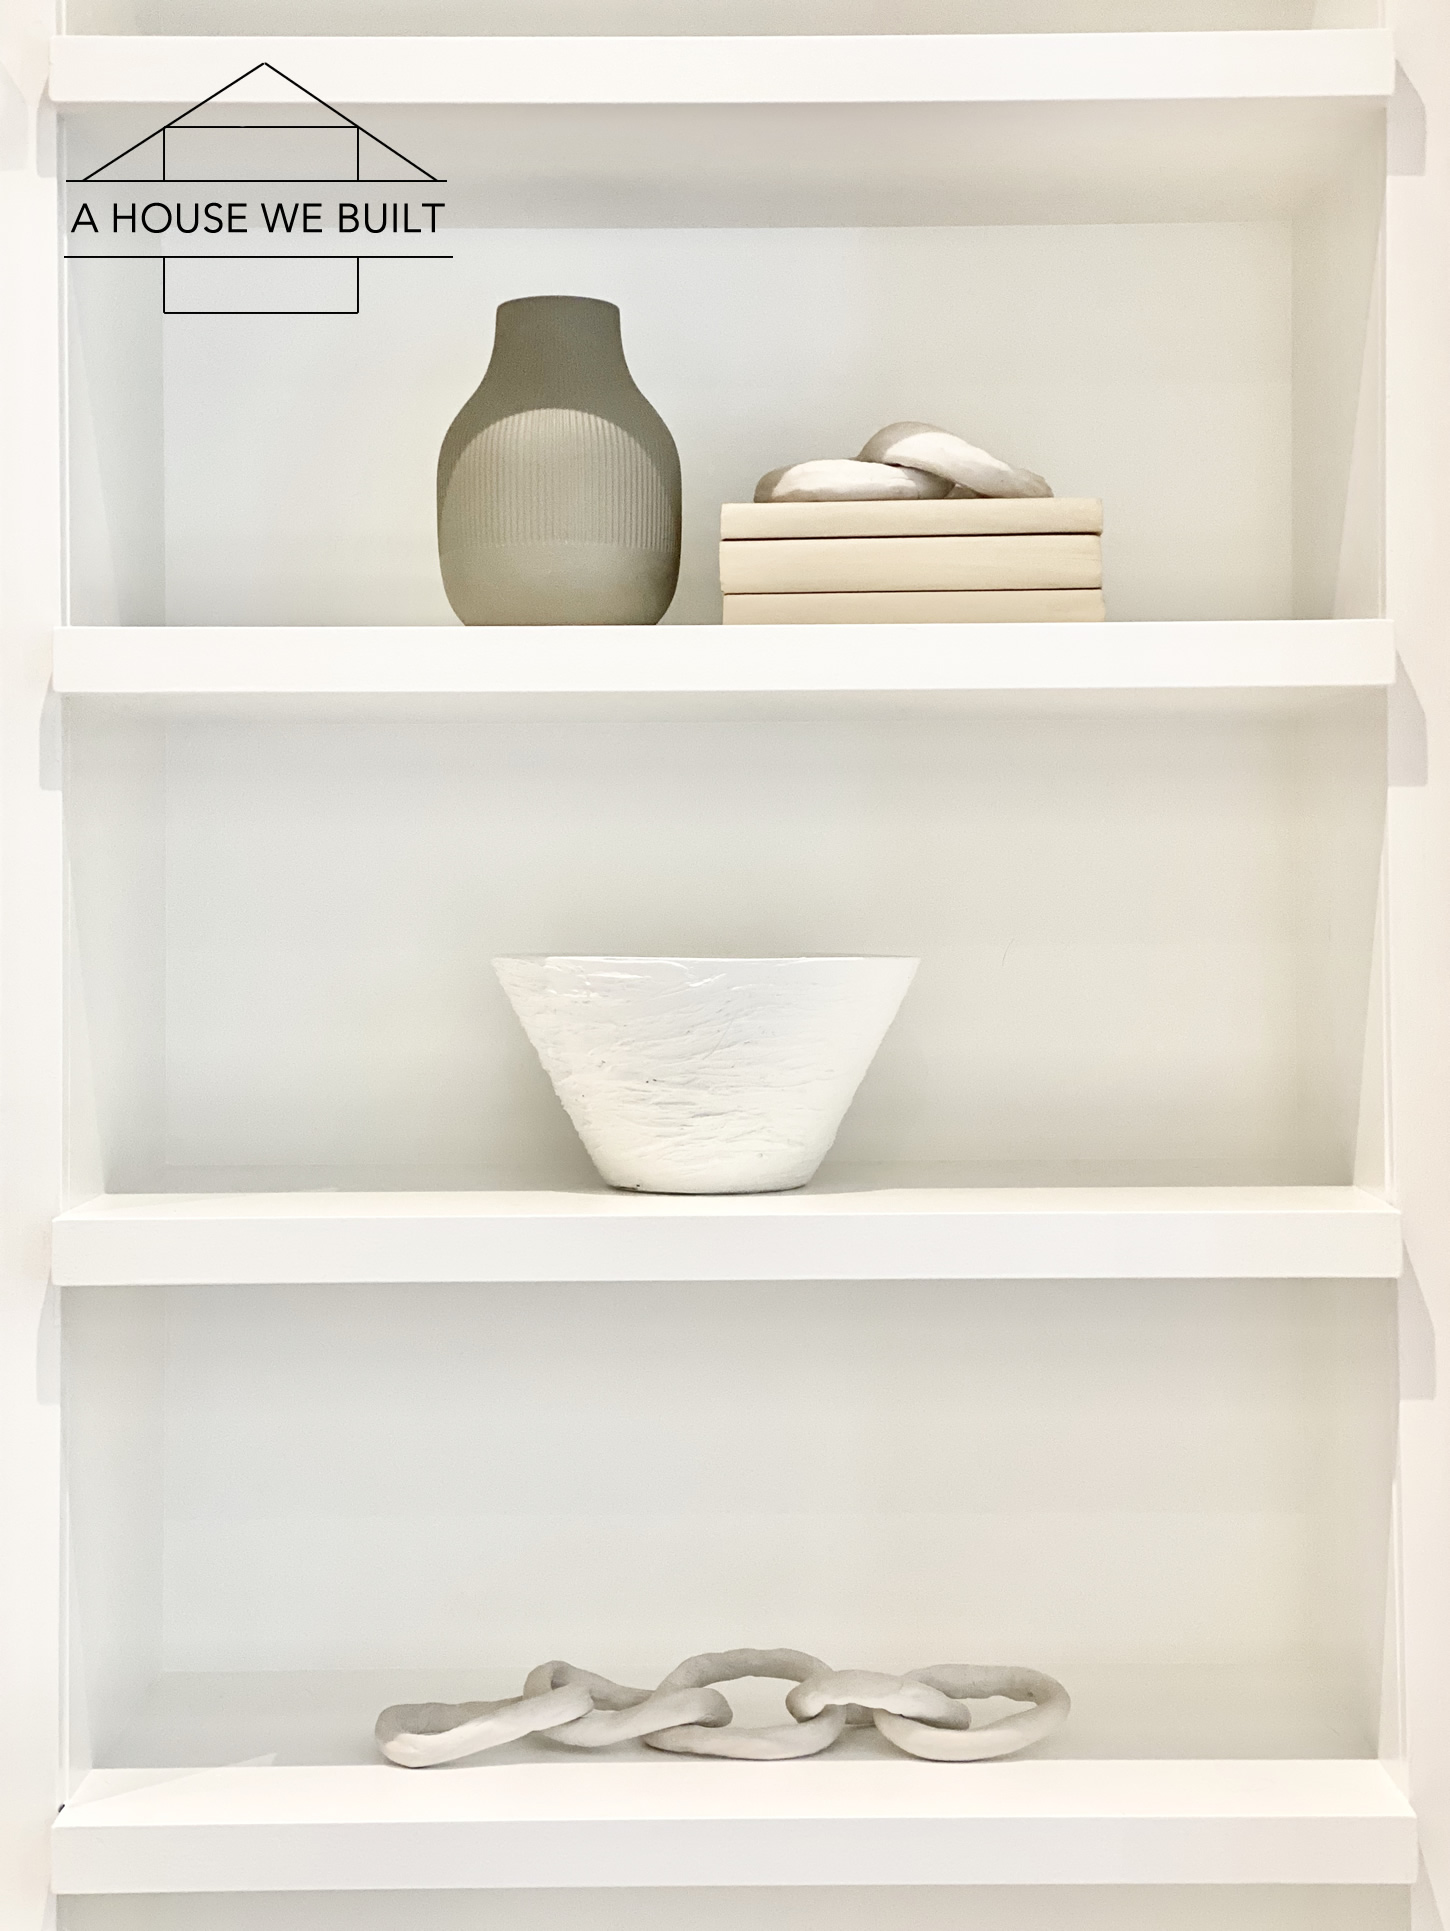
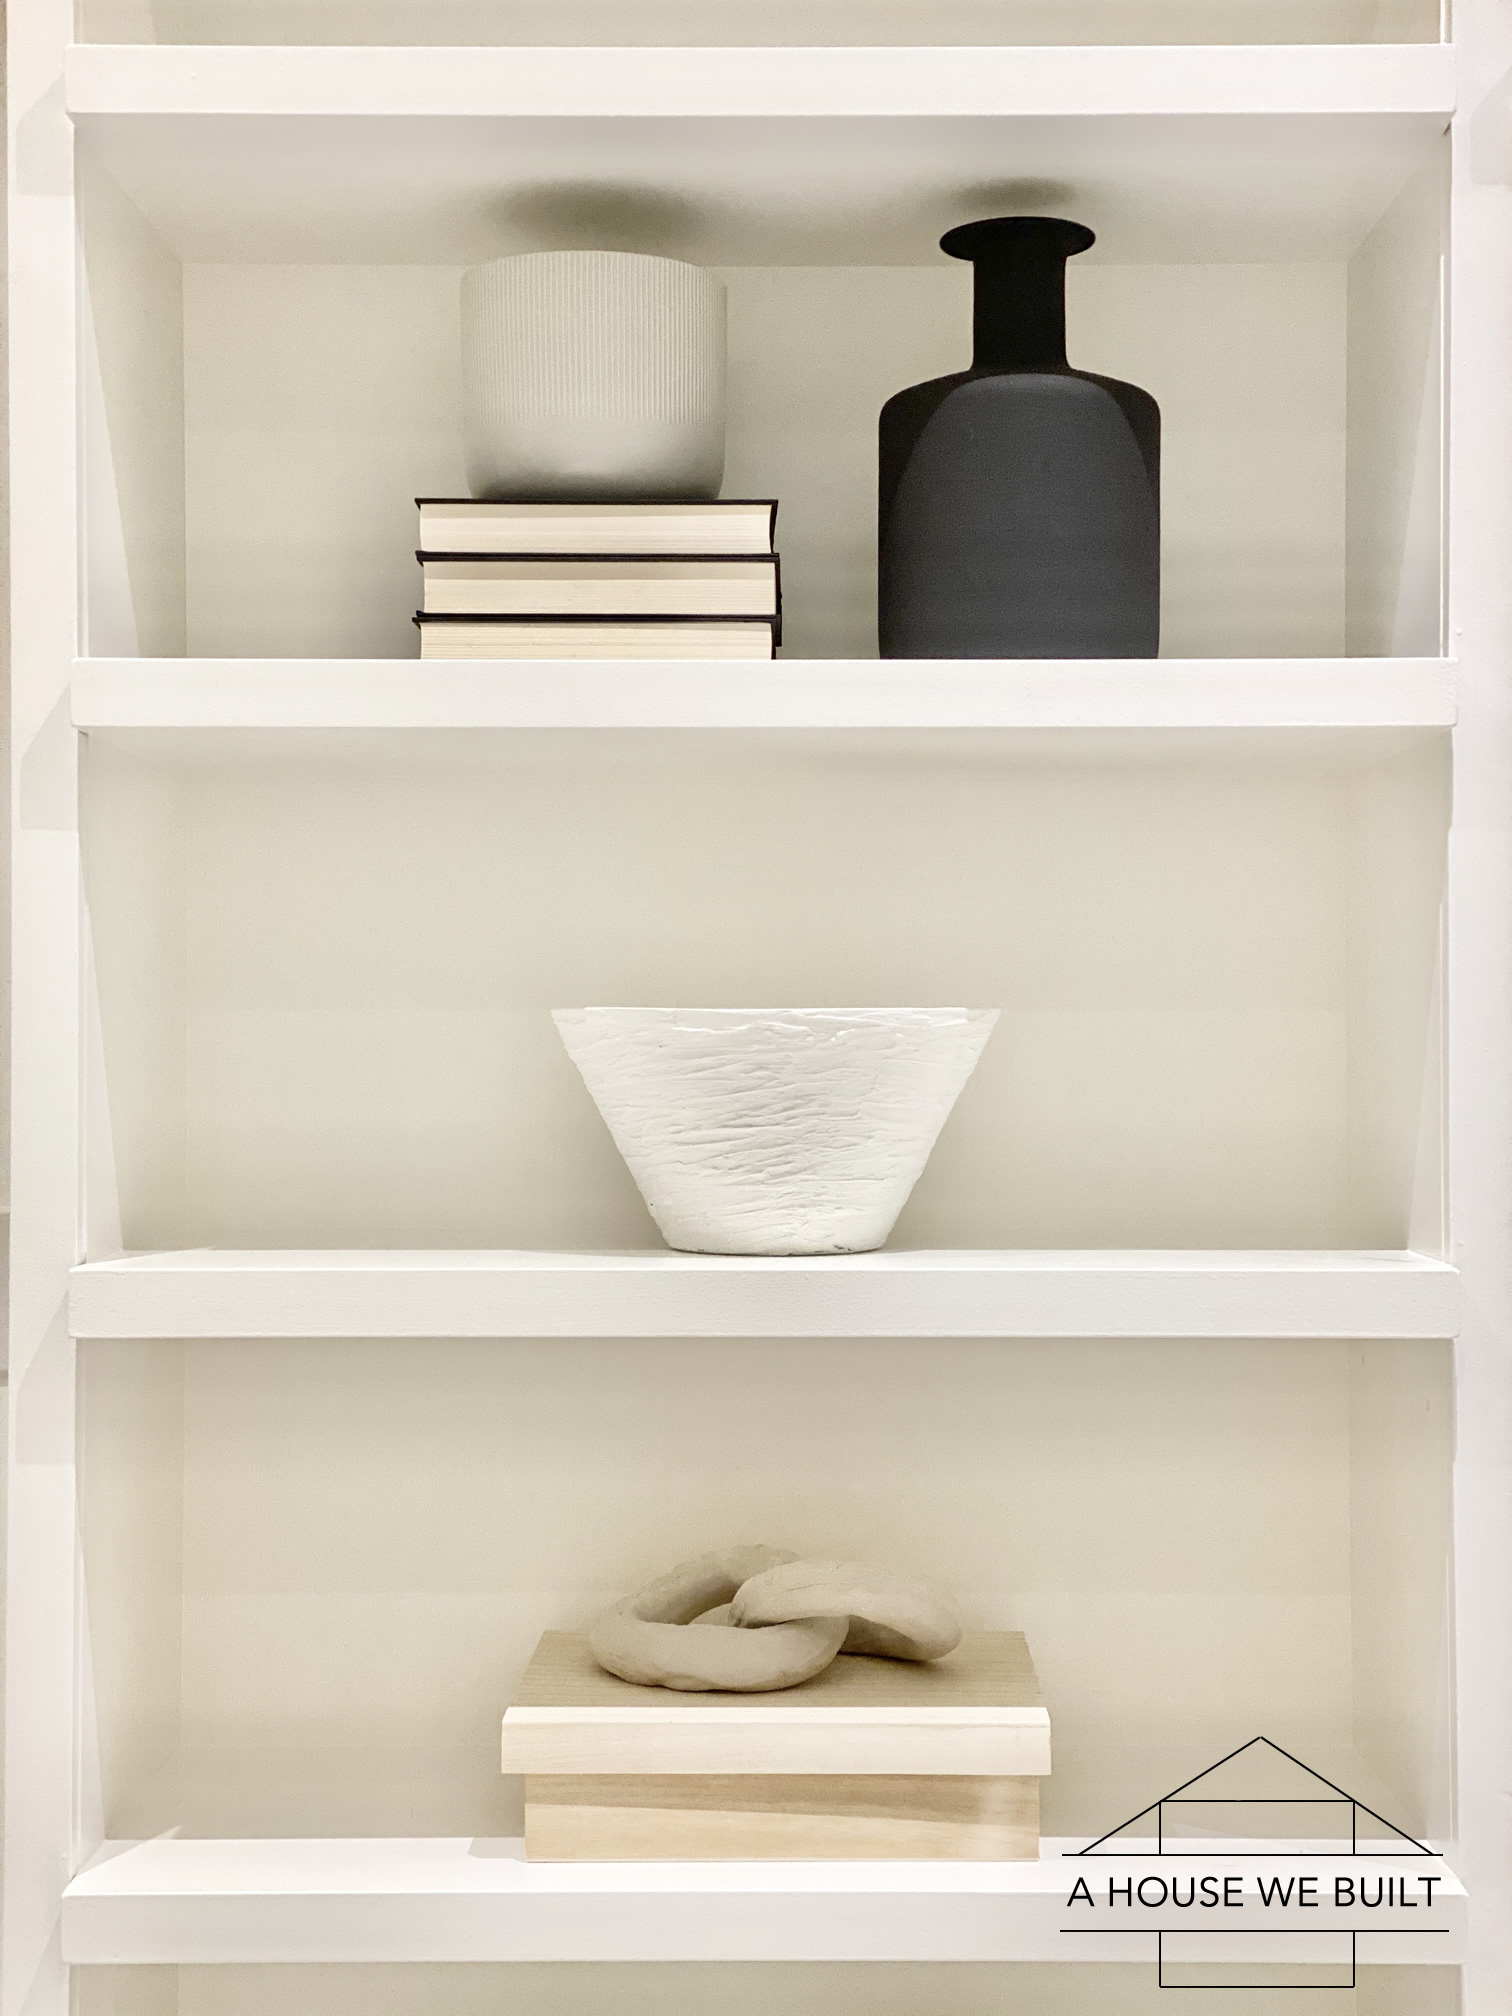
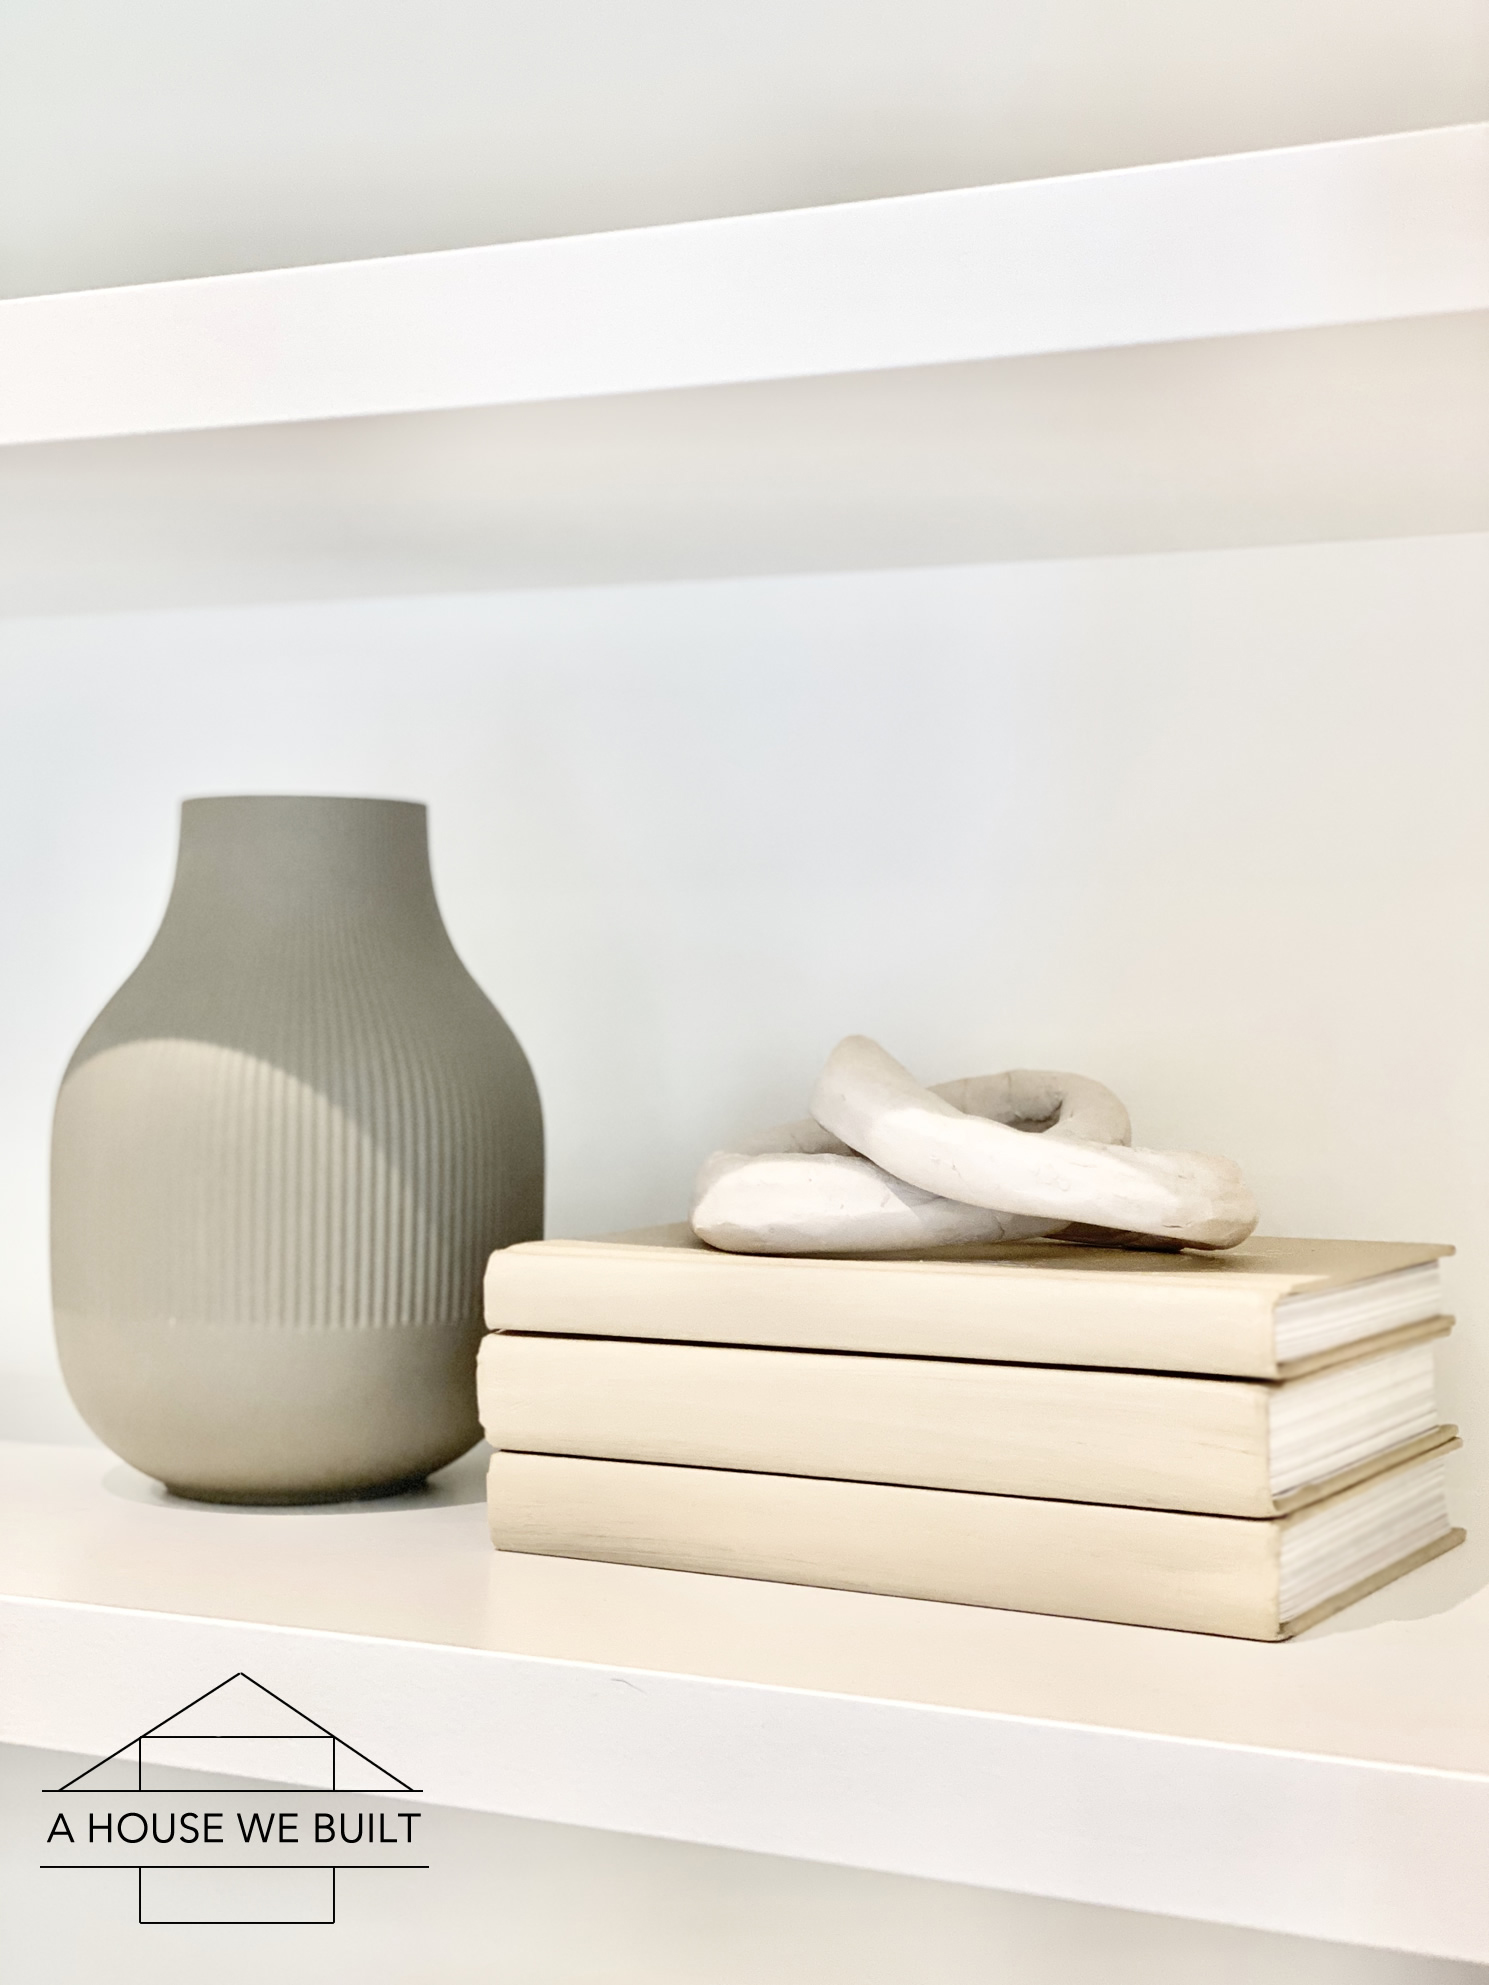
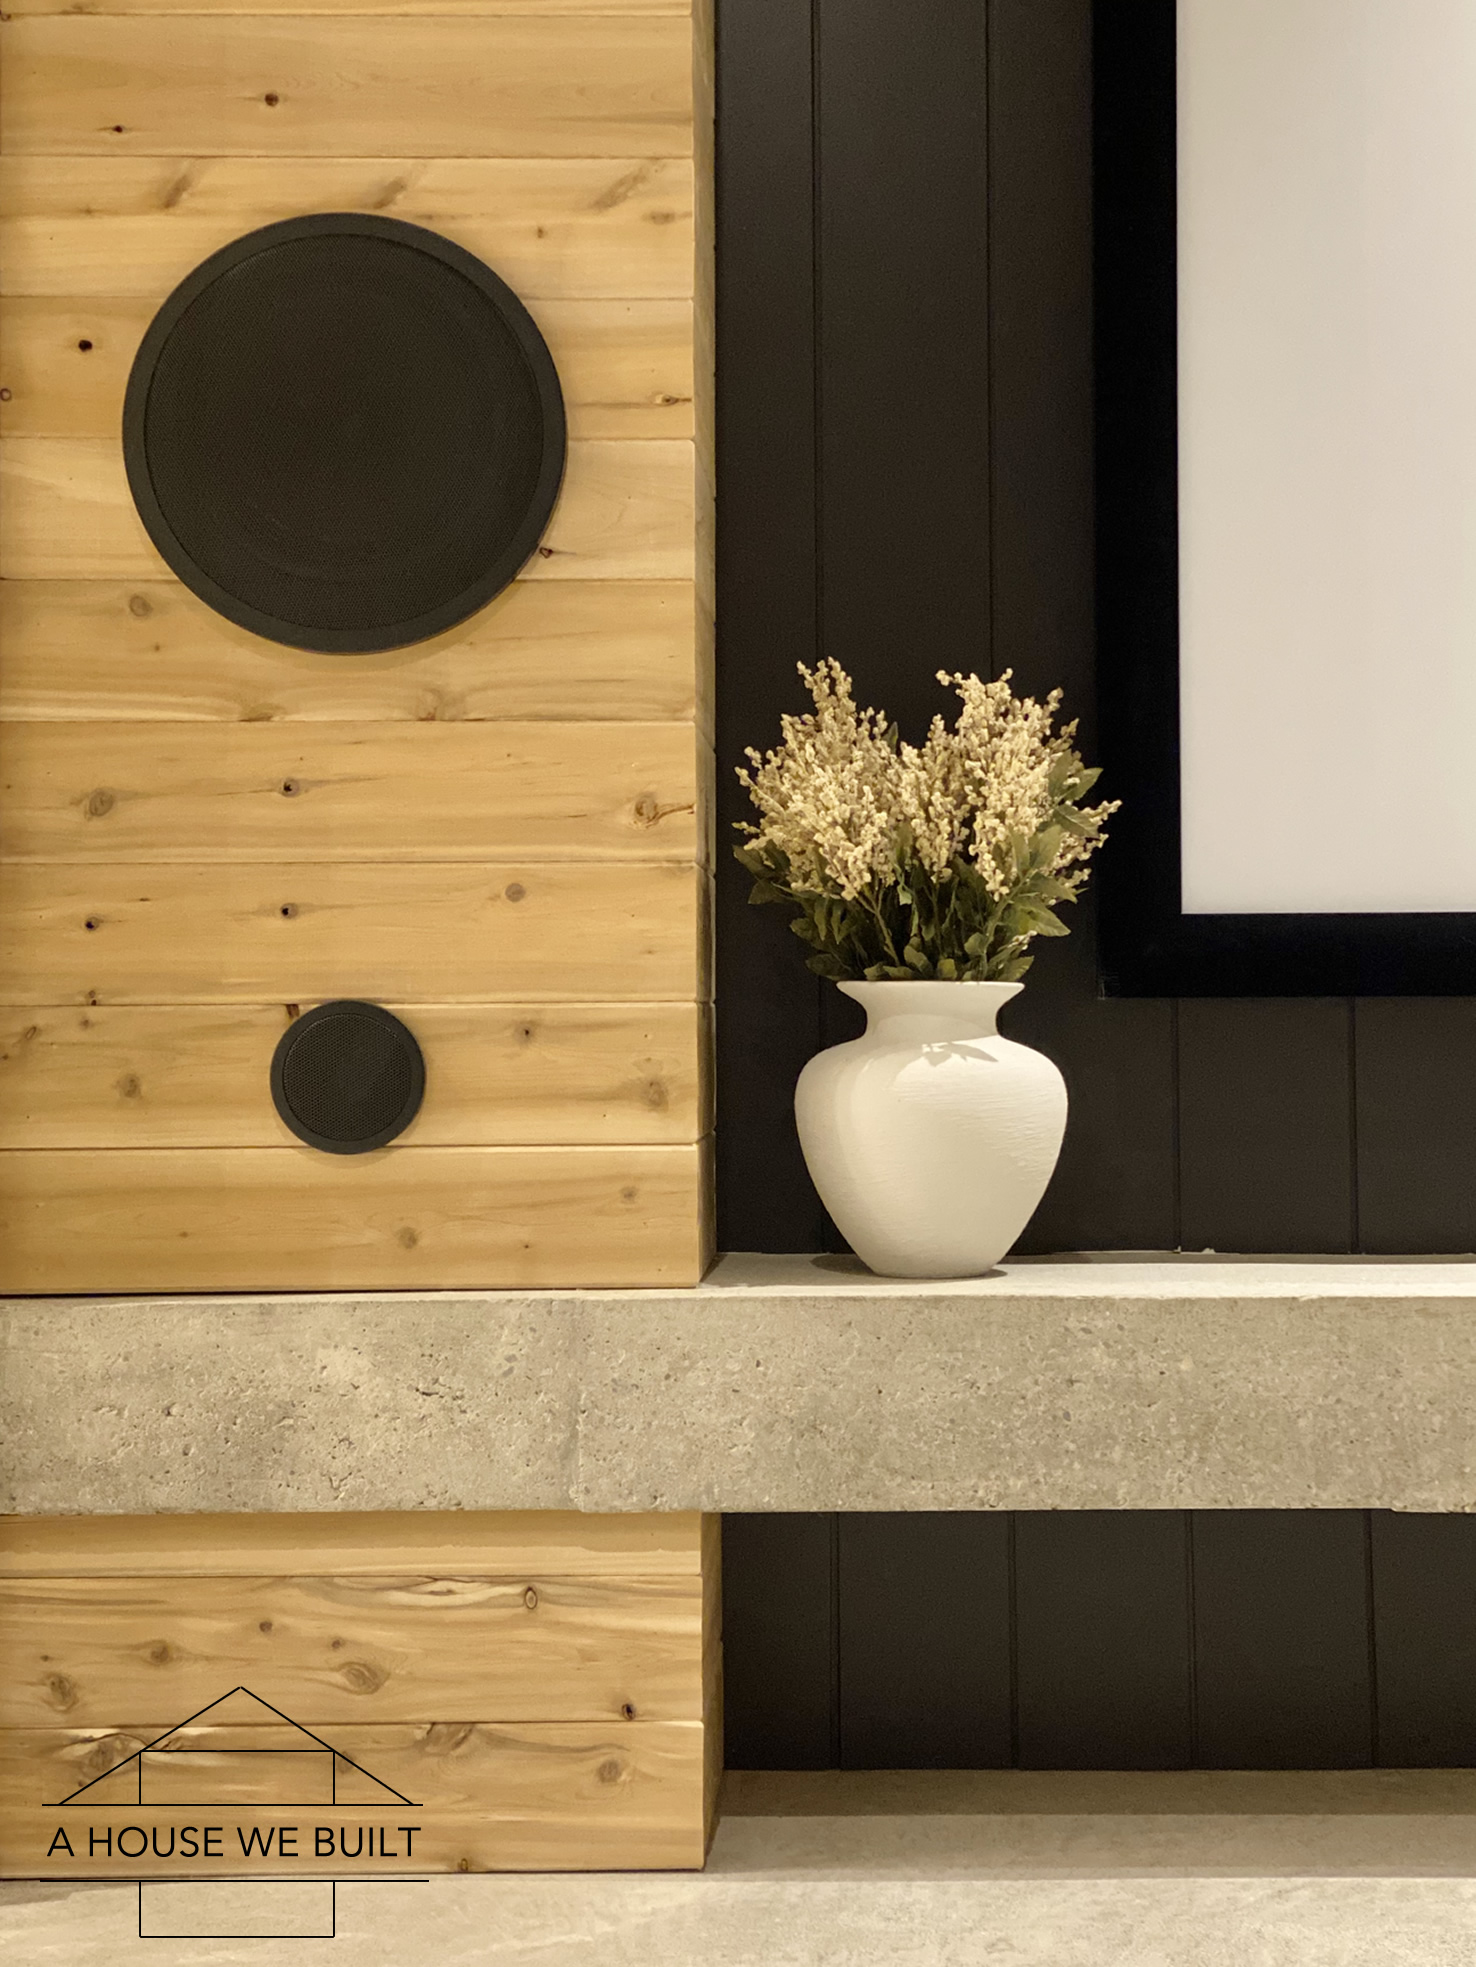
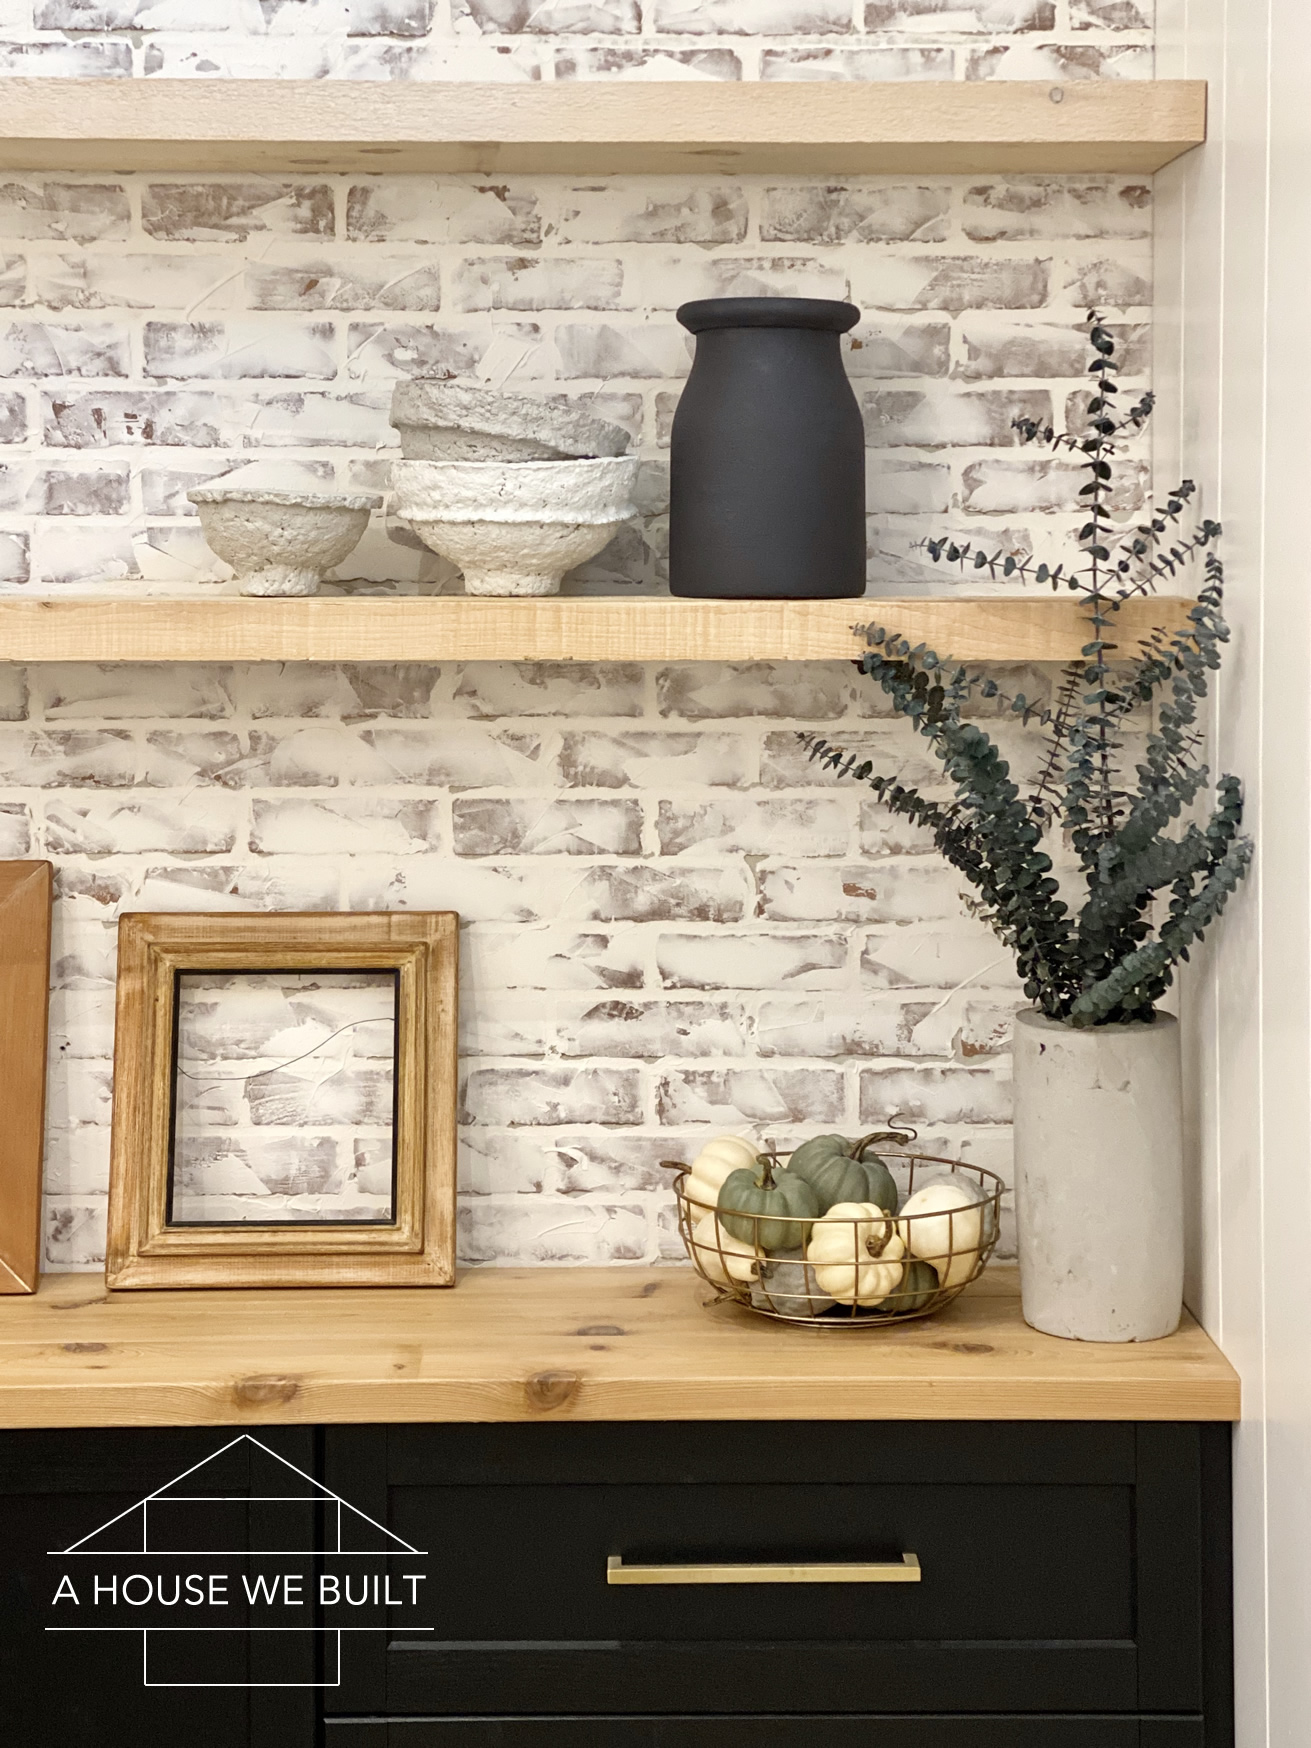
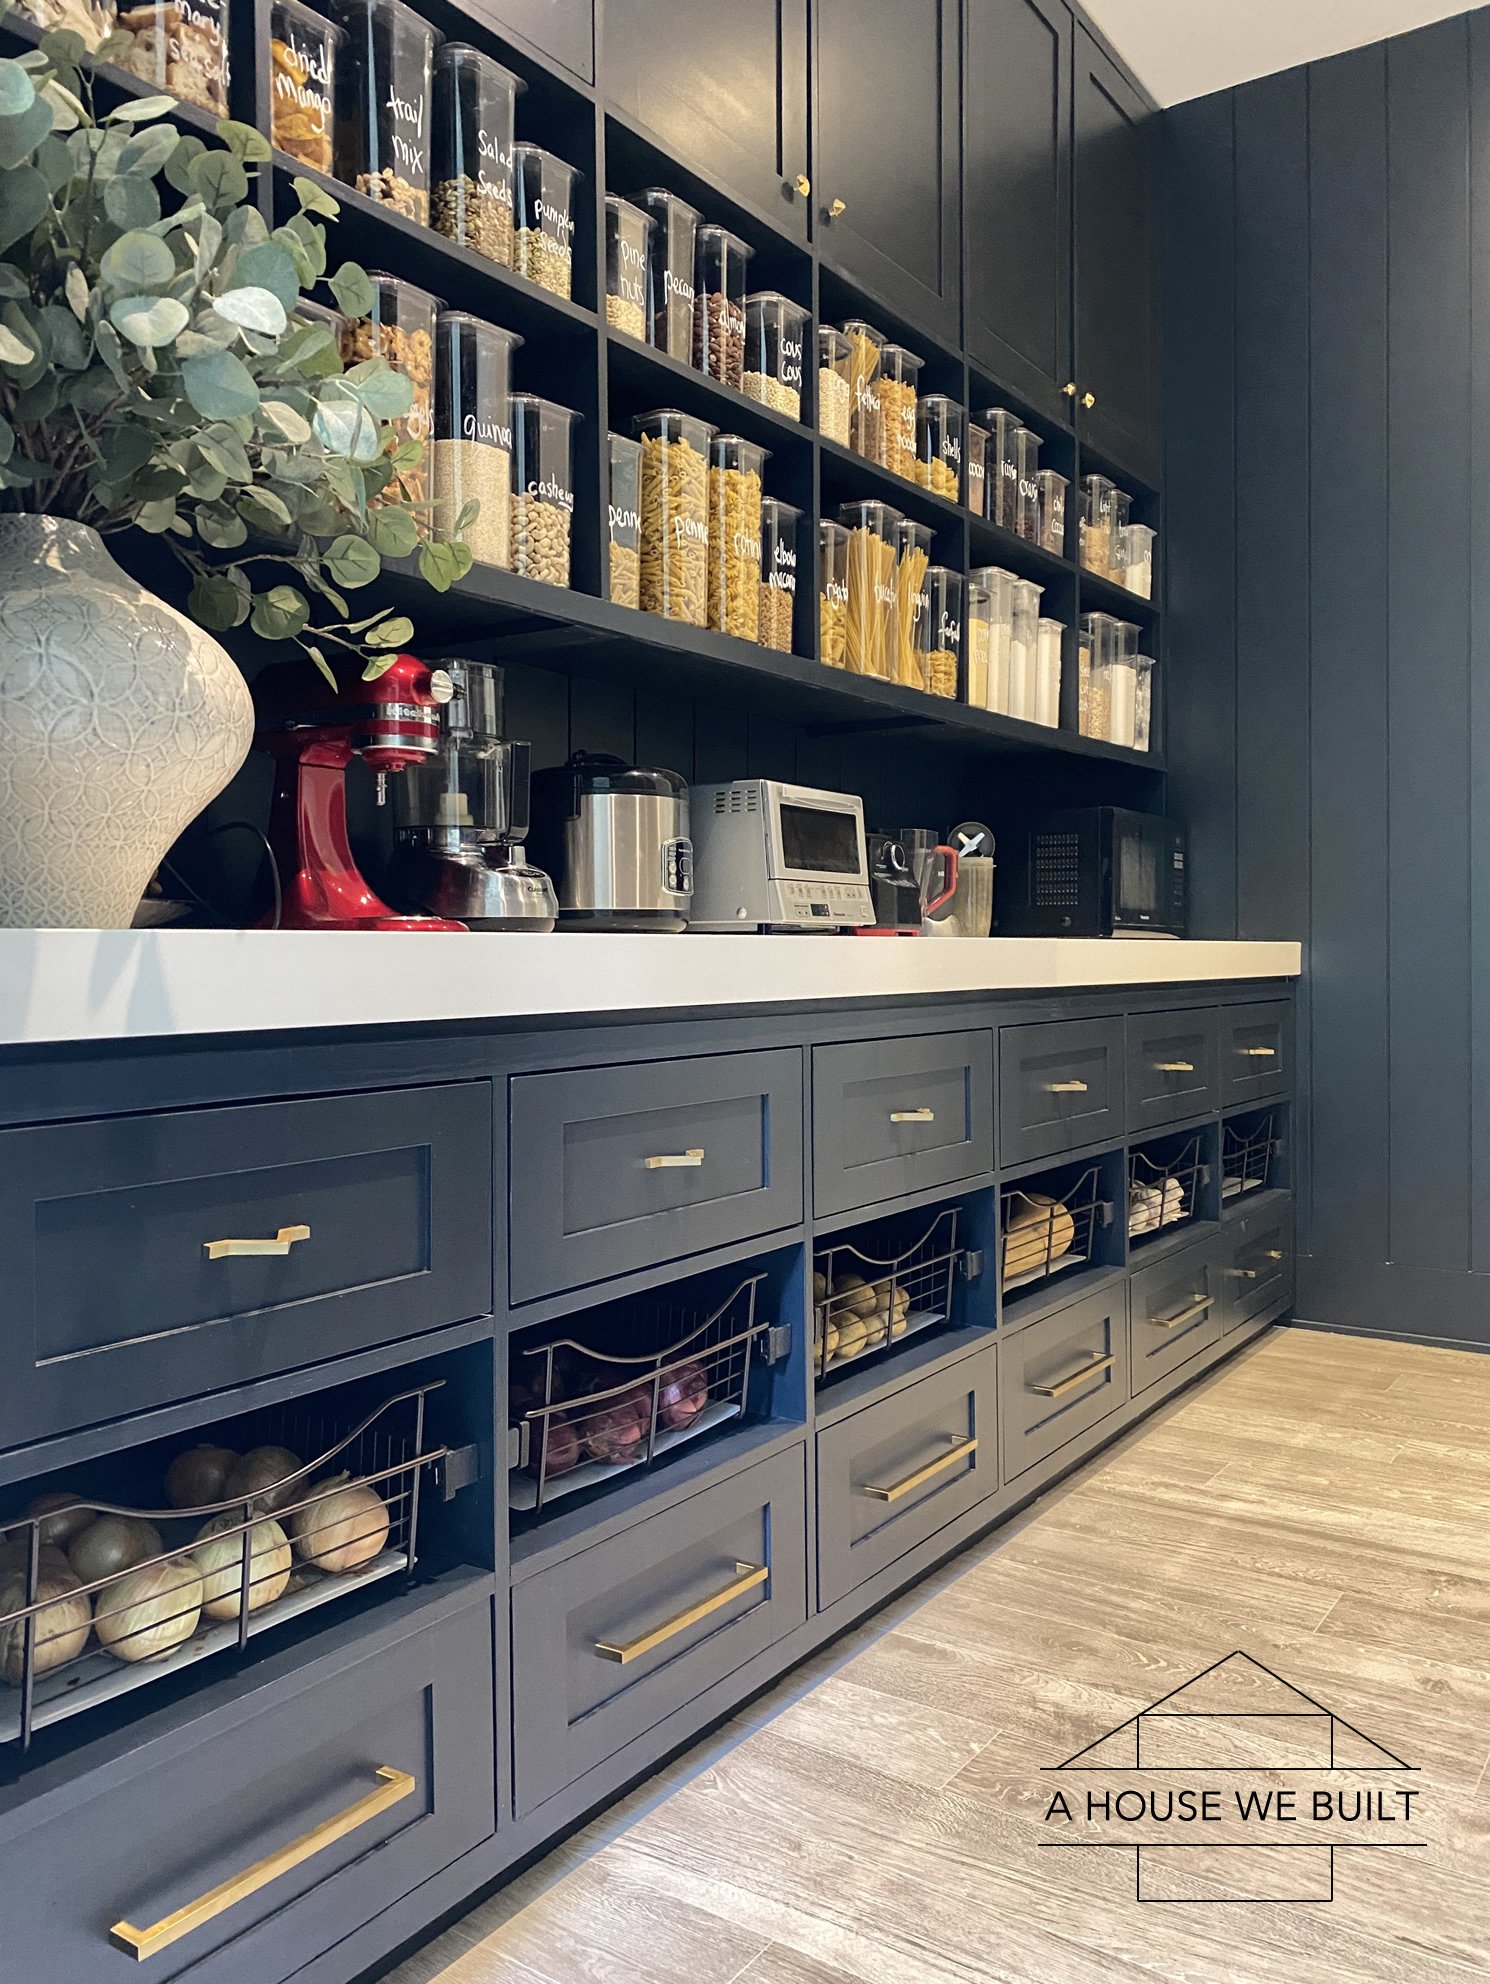
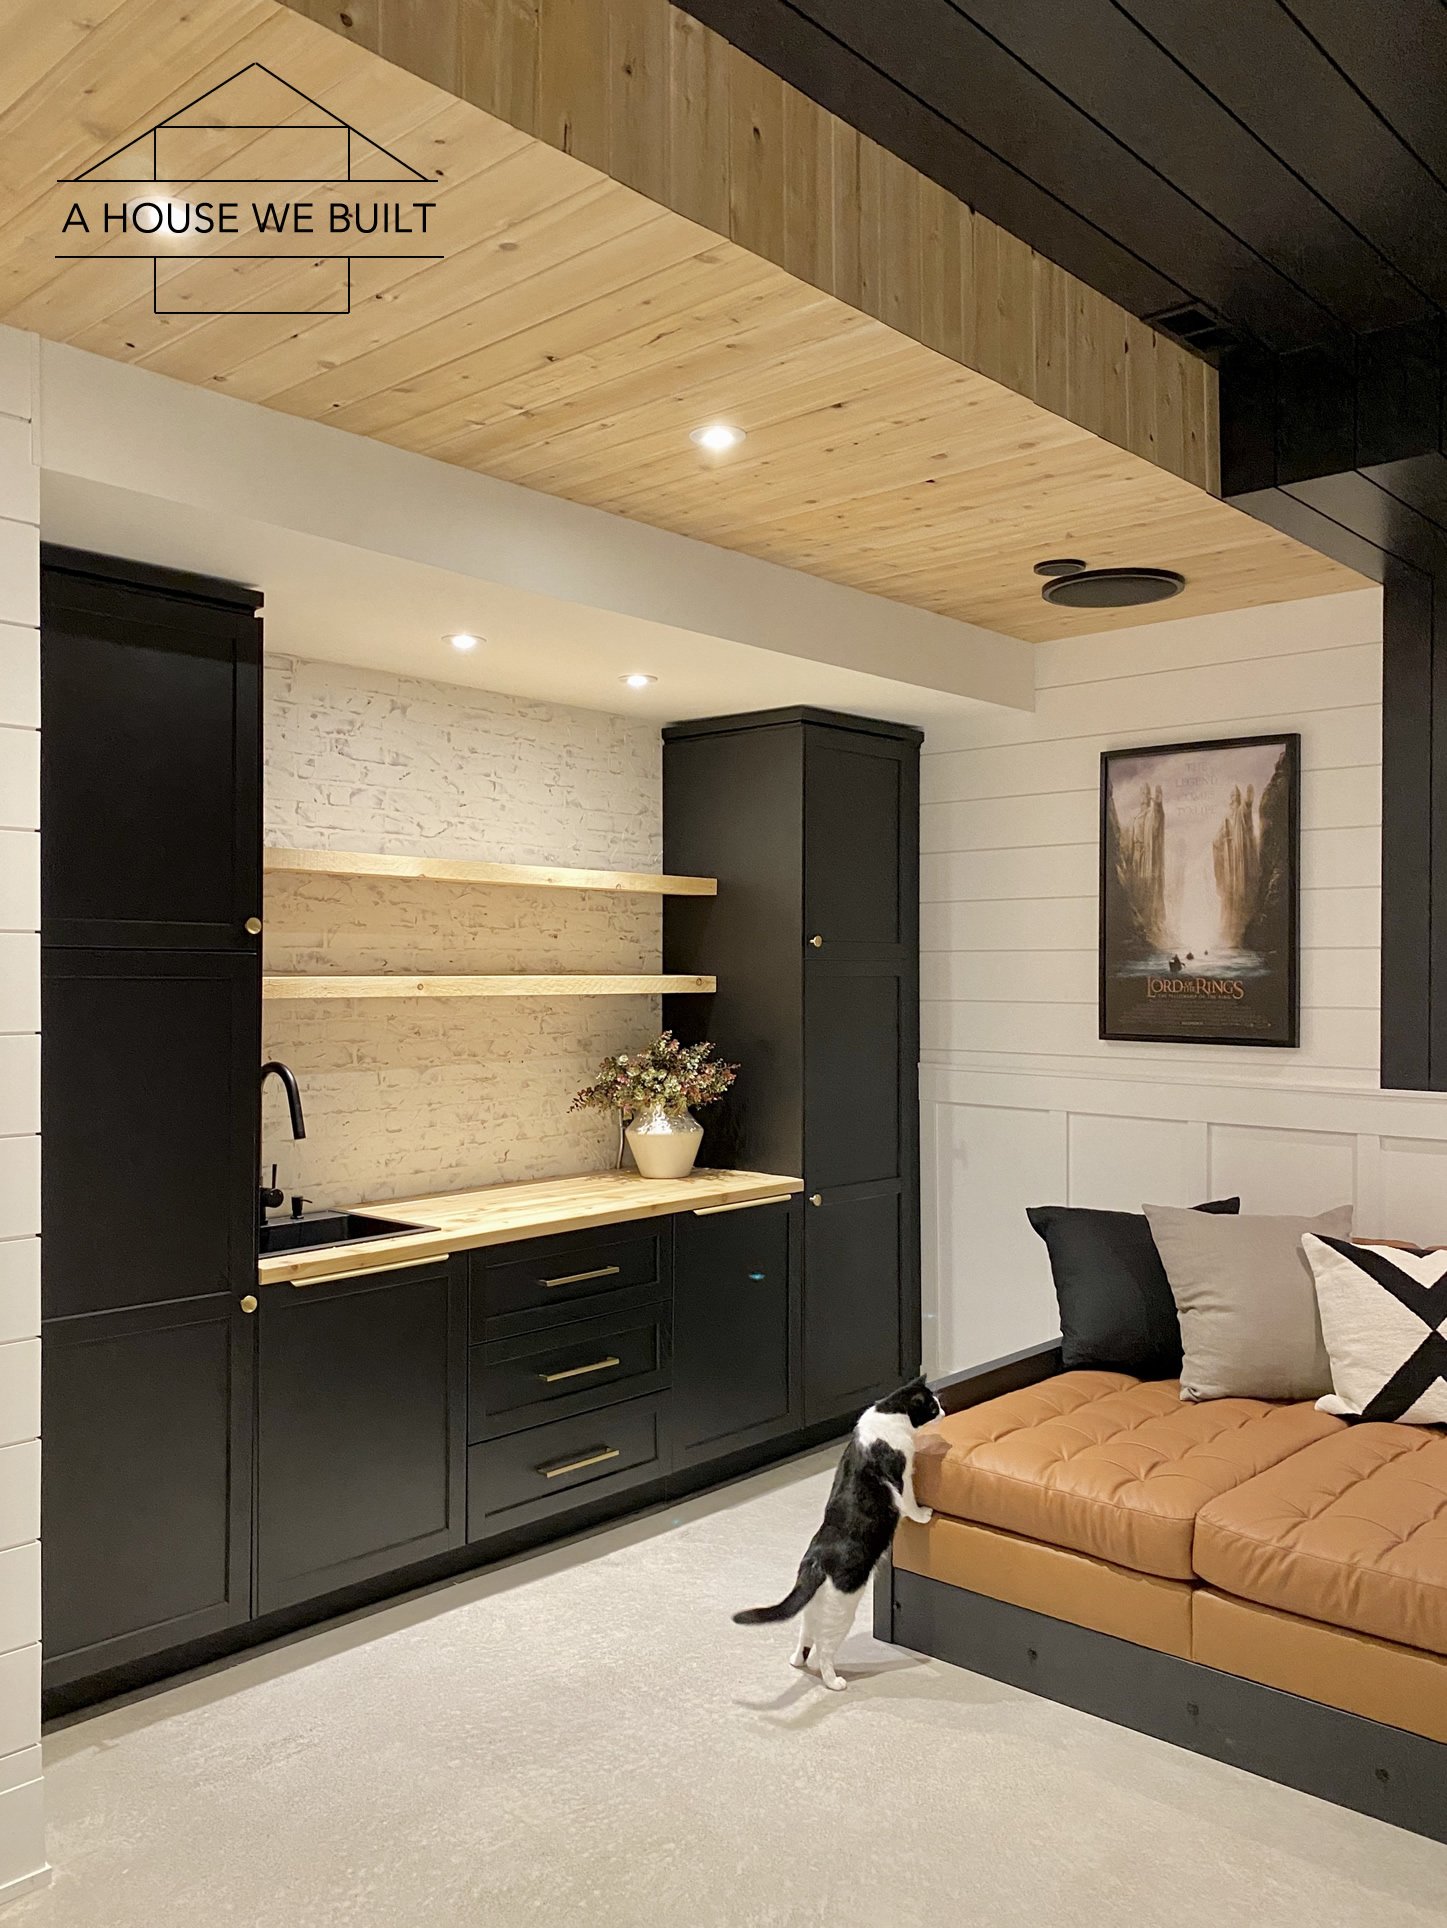
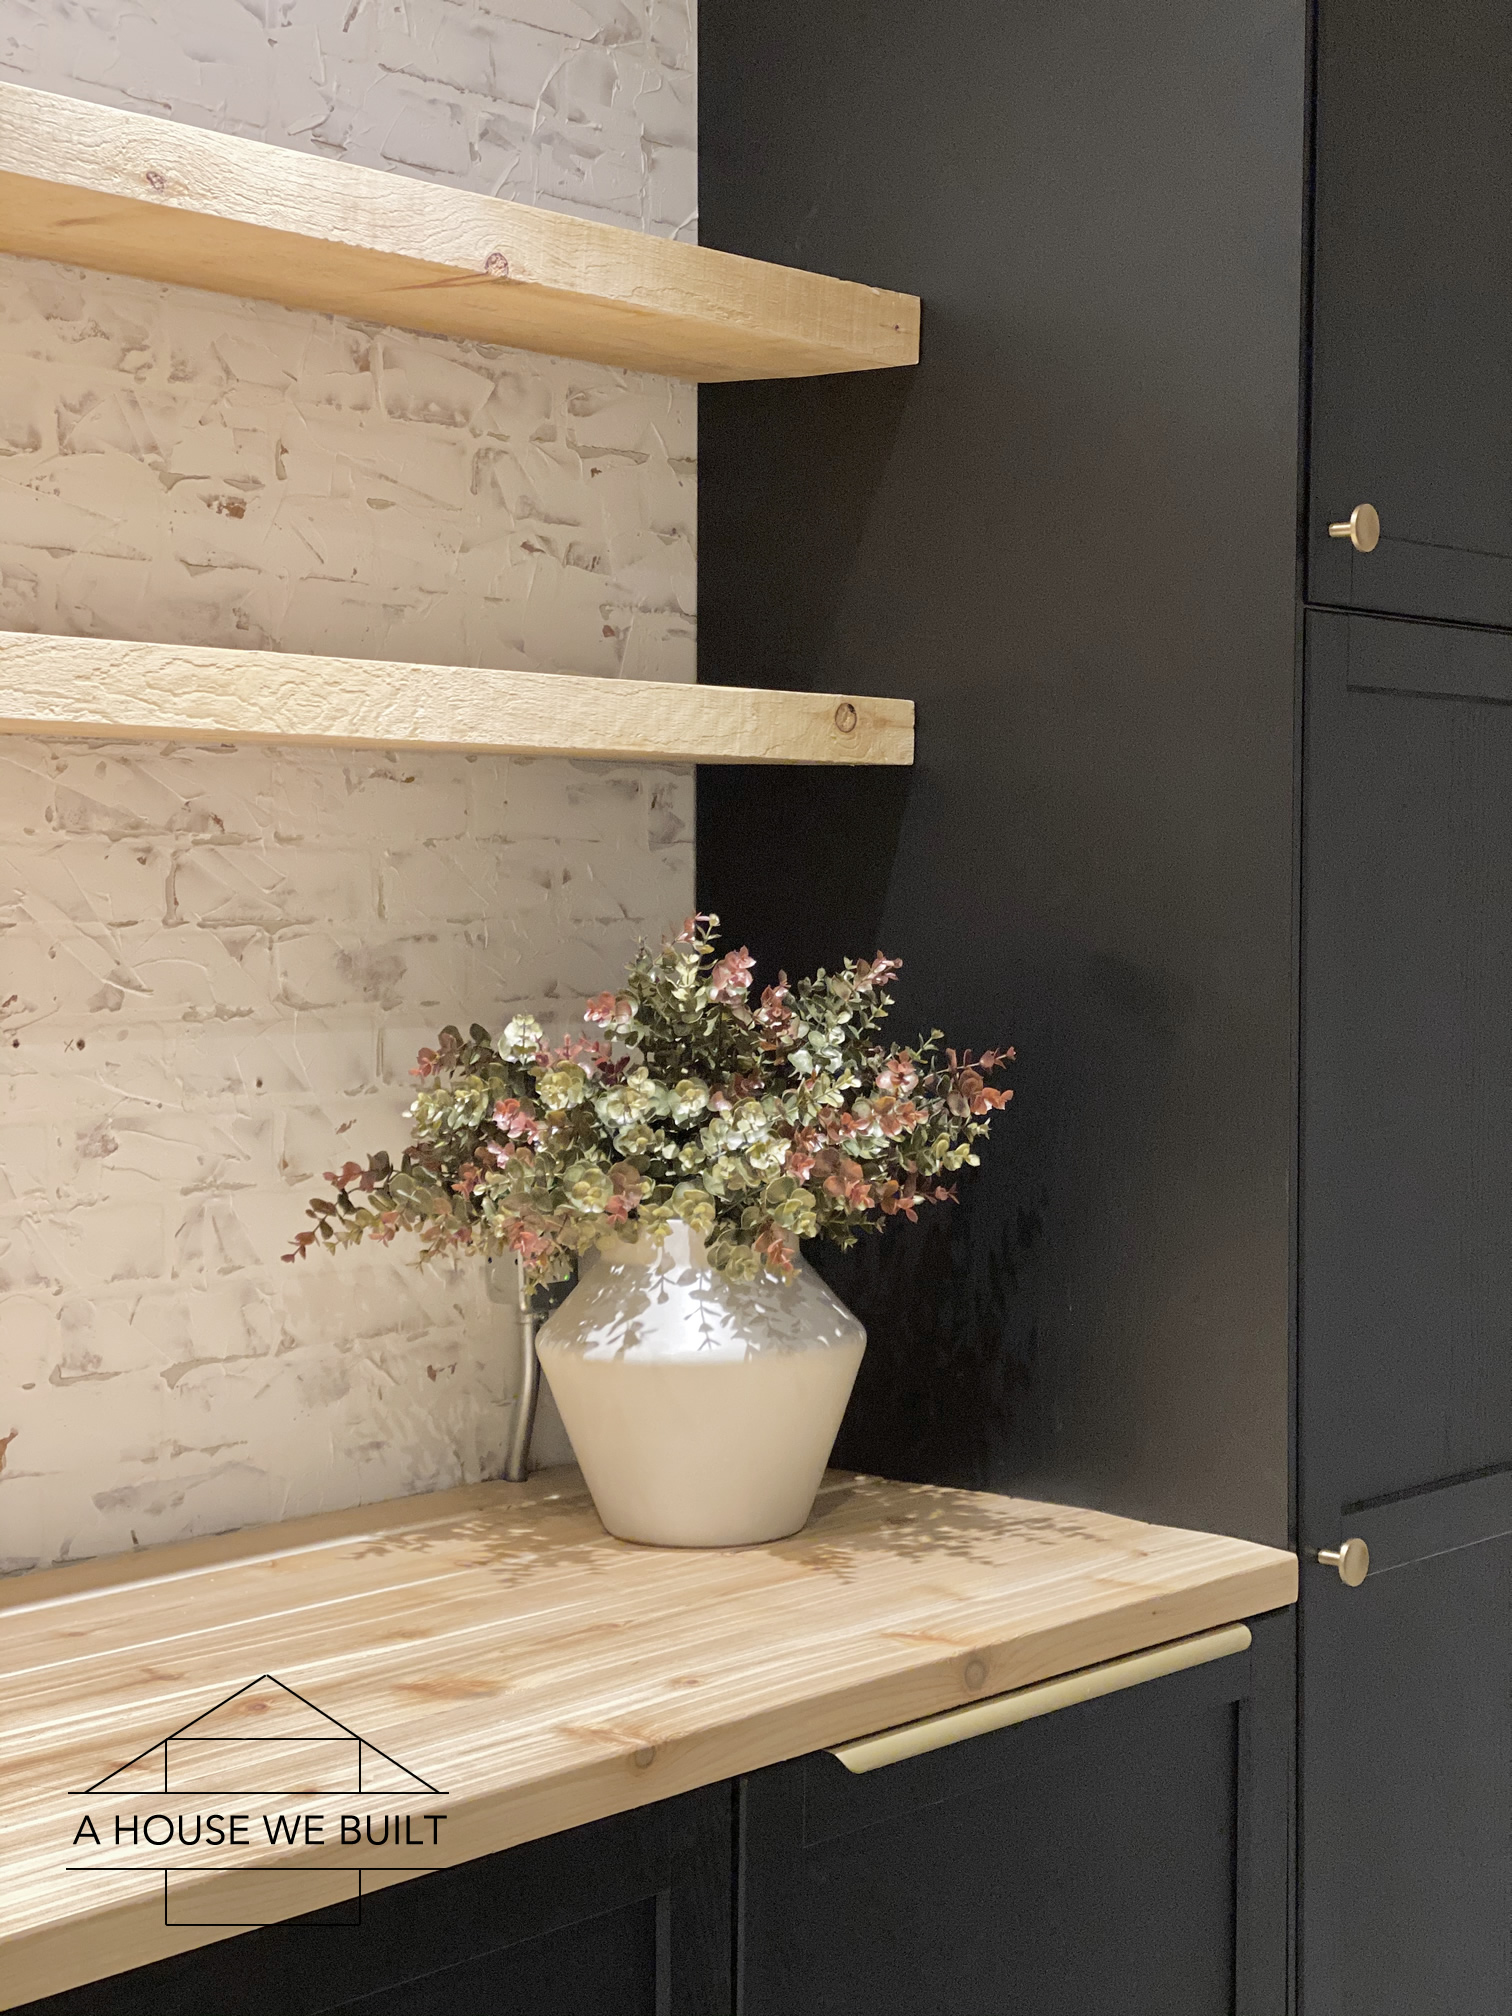
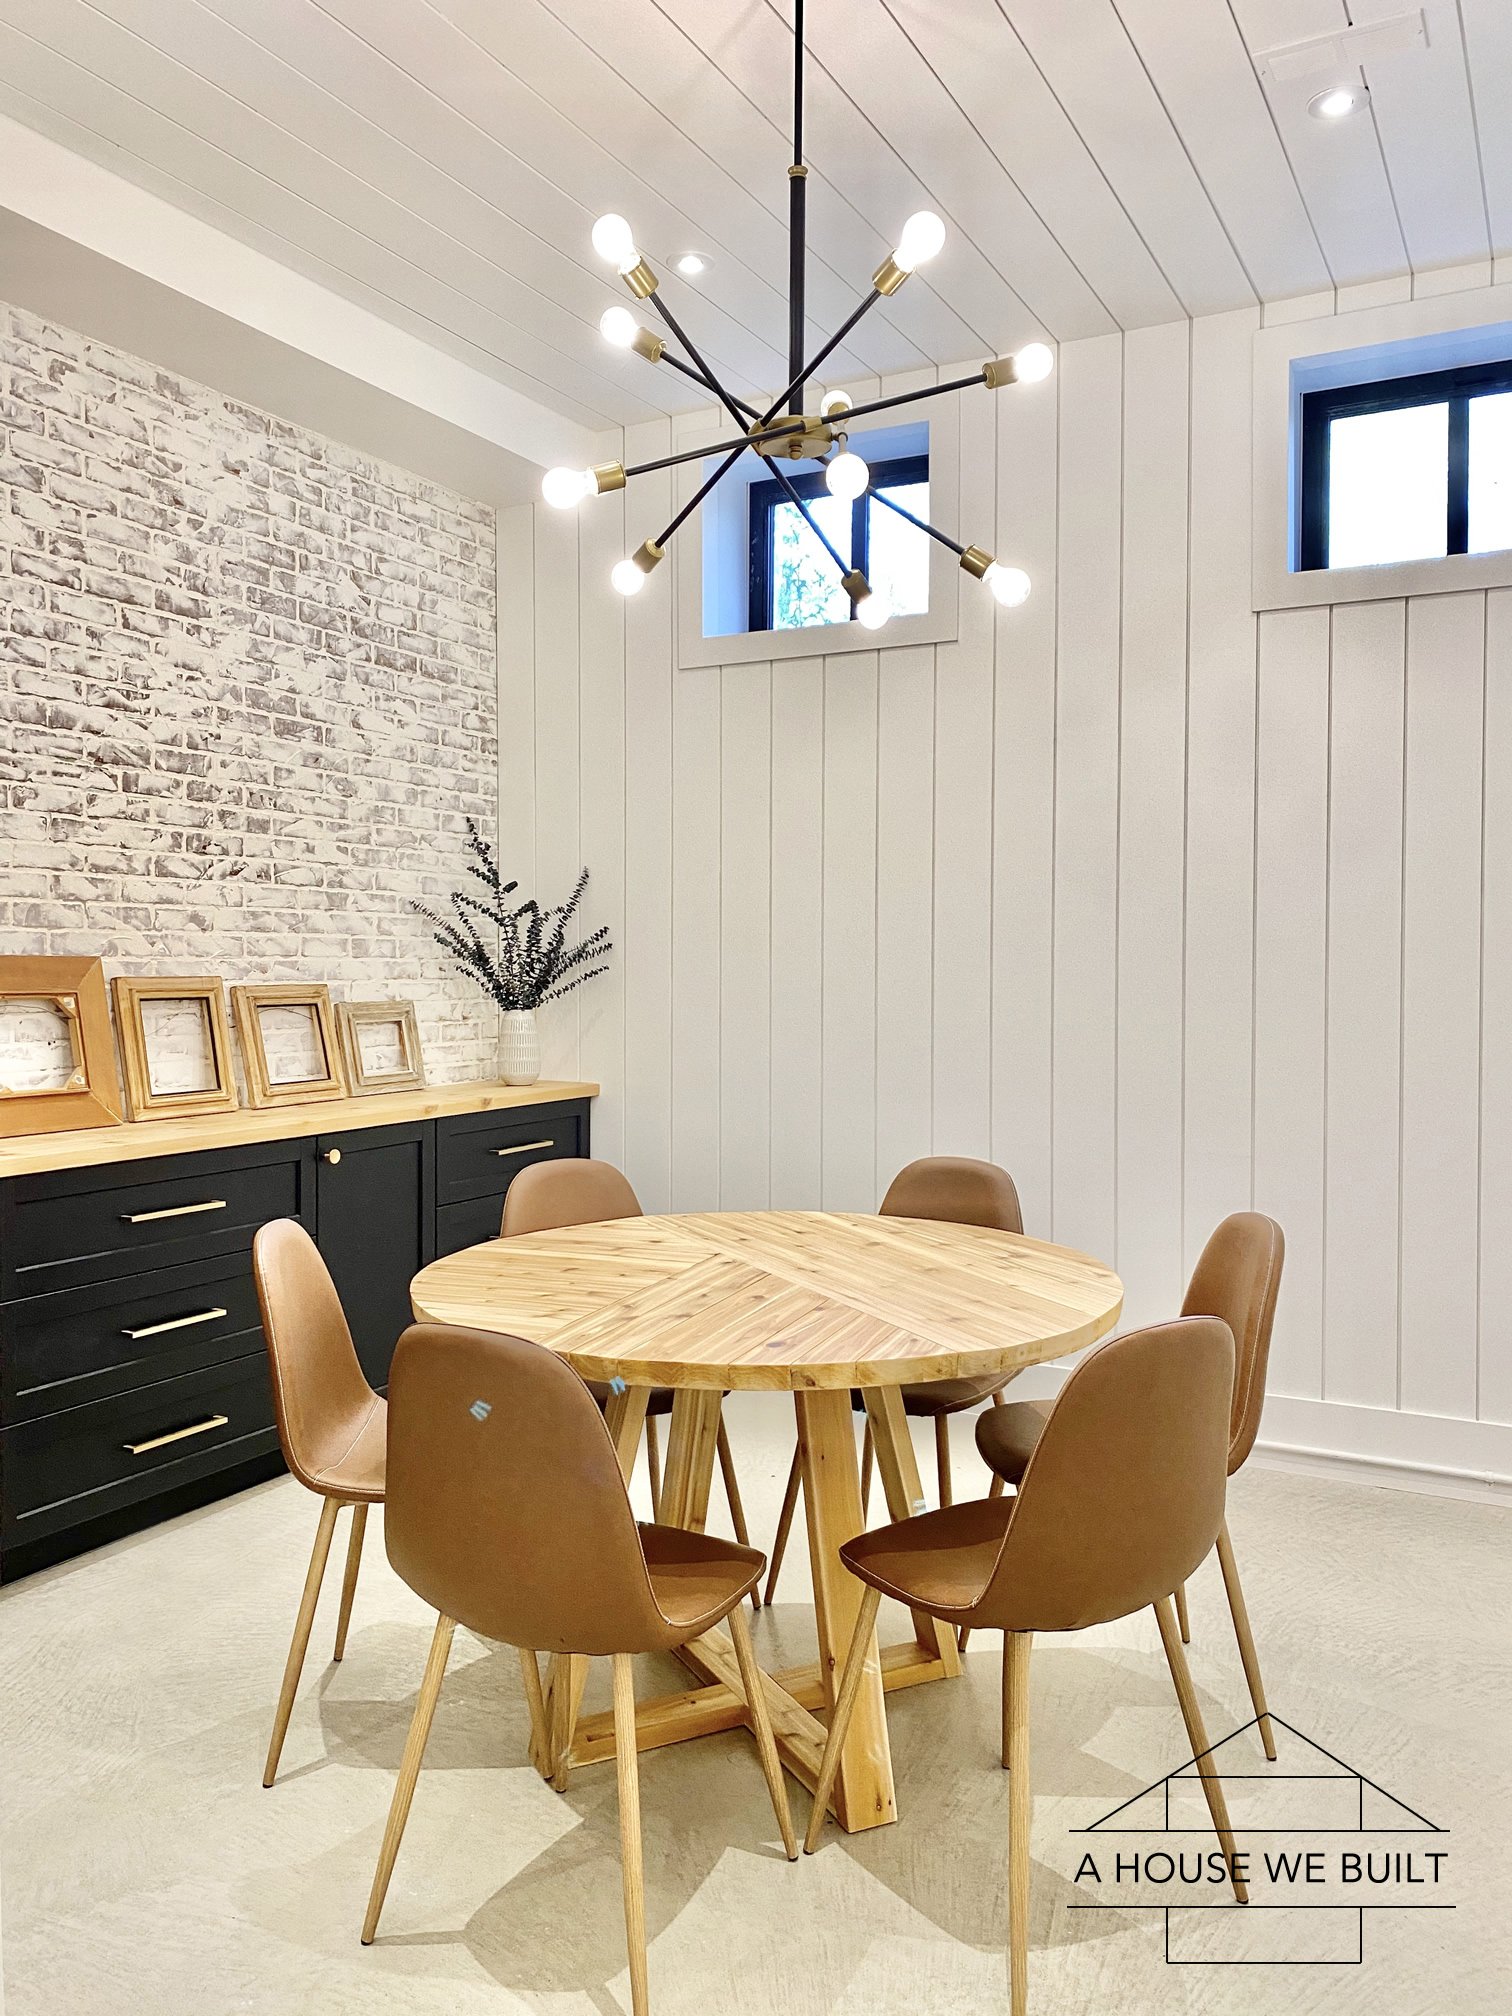
Below are some finished pictures of our sideboard:
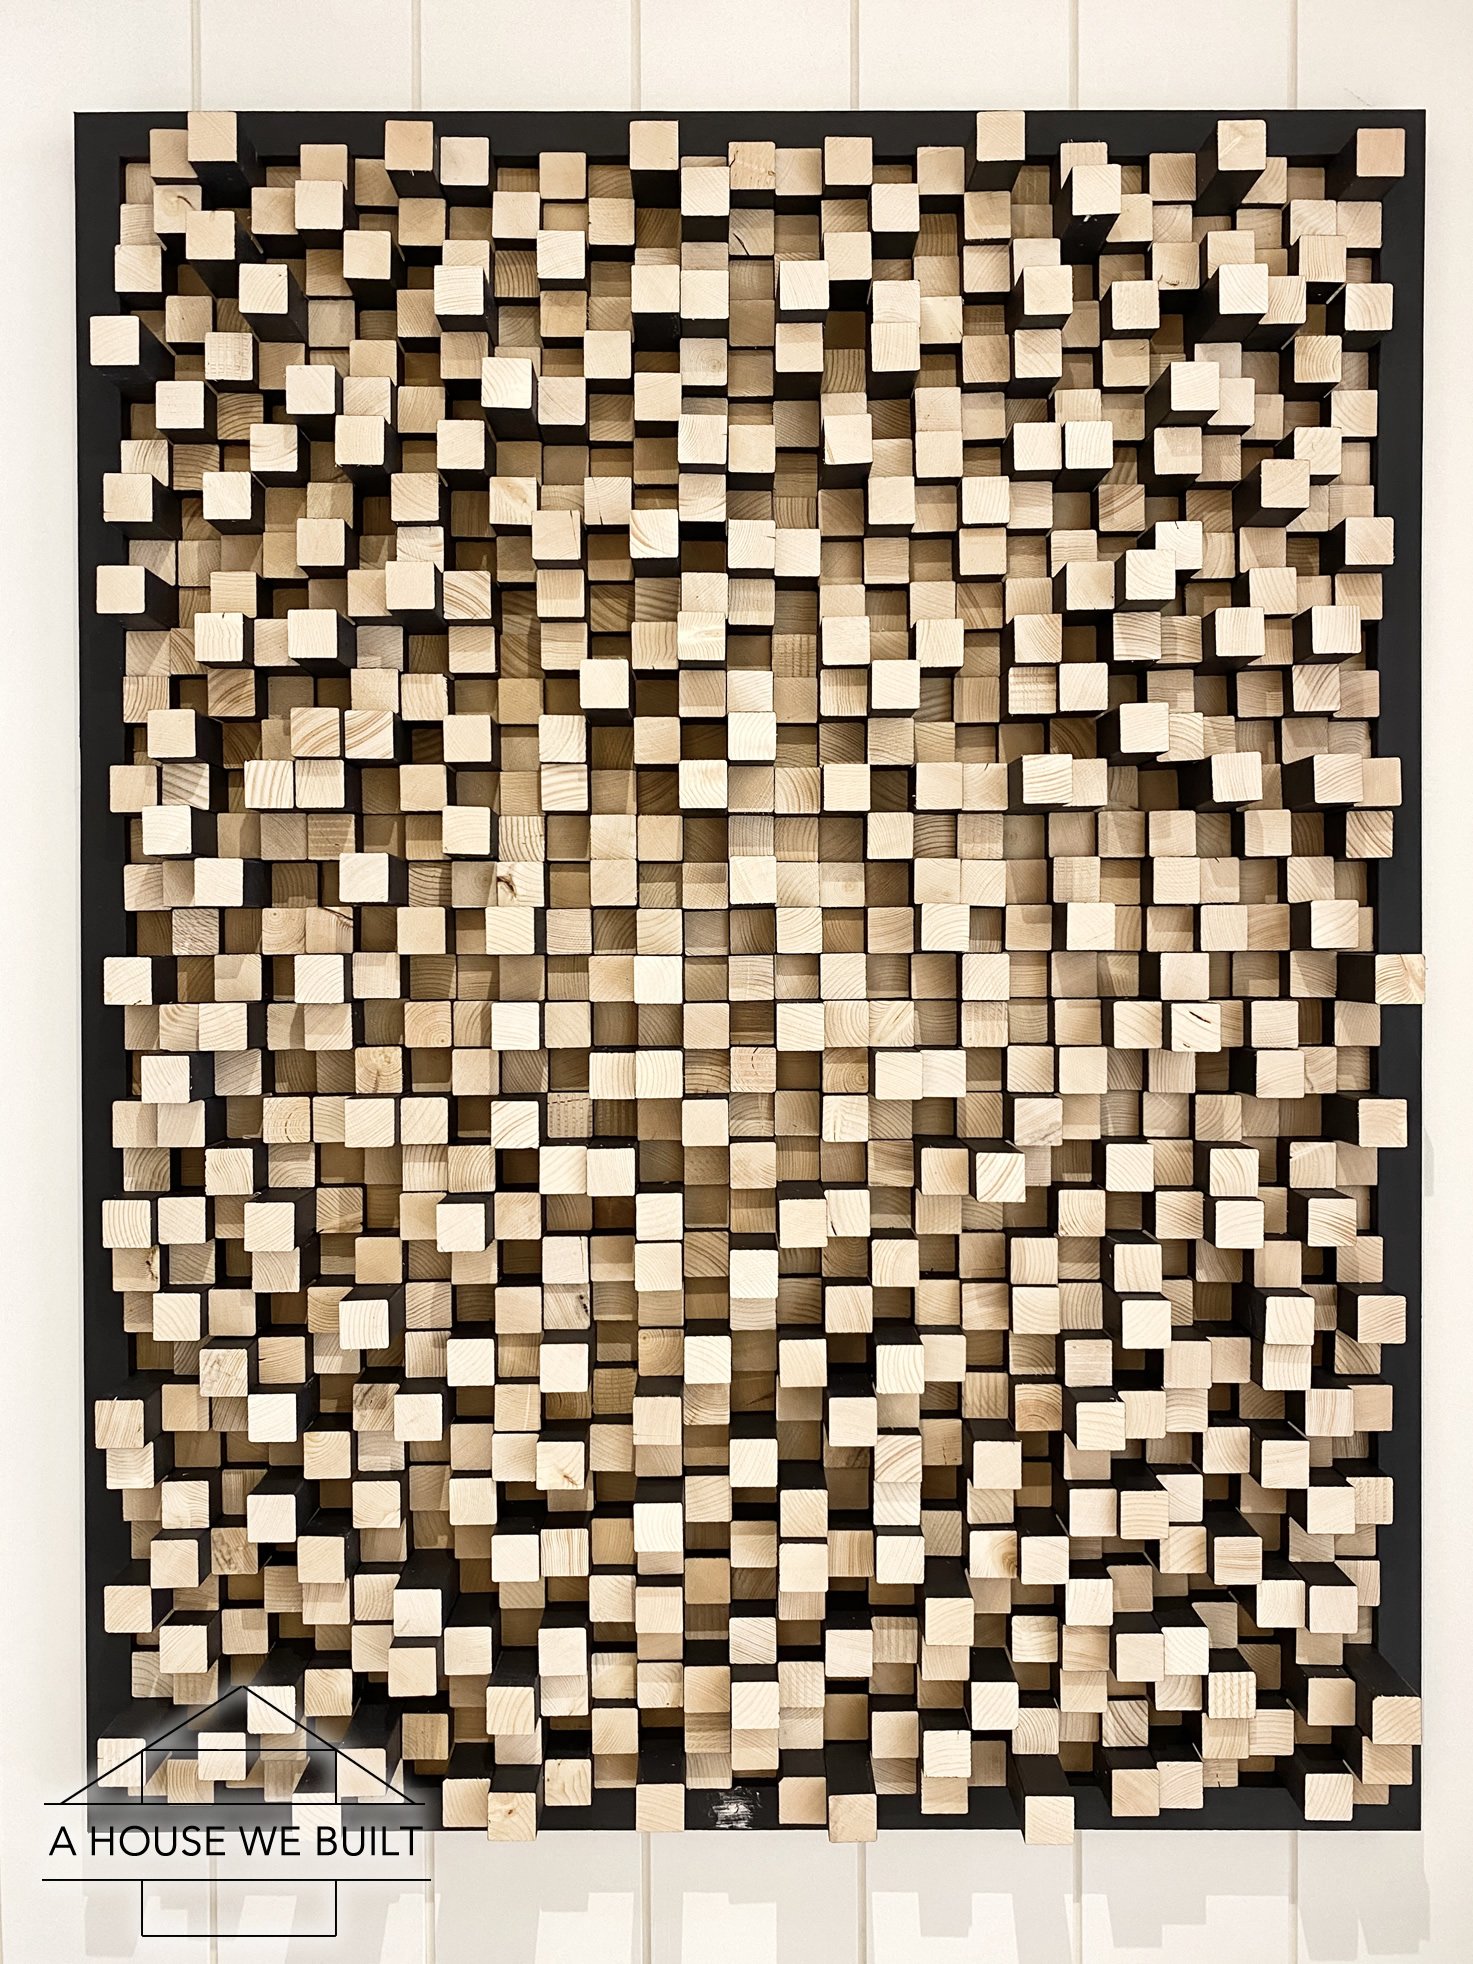
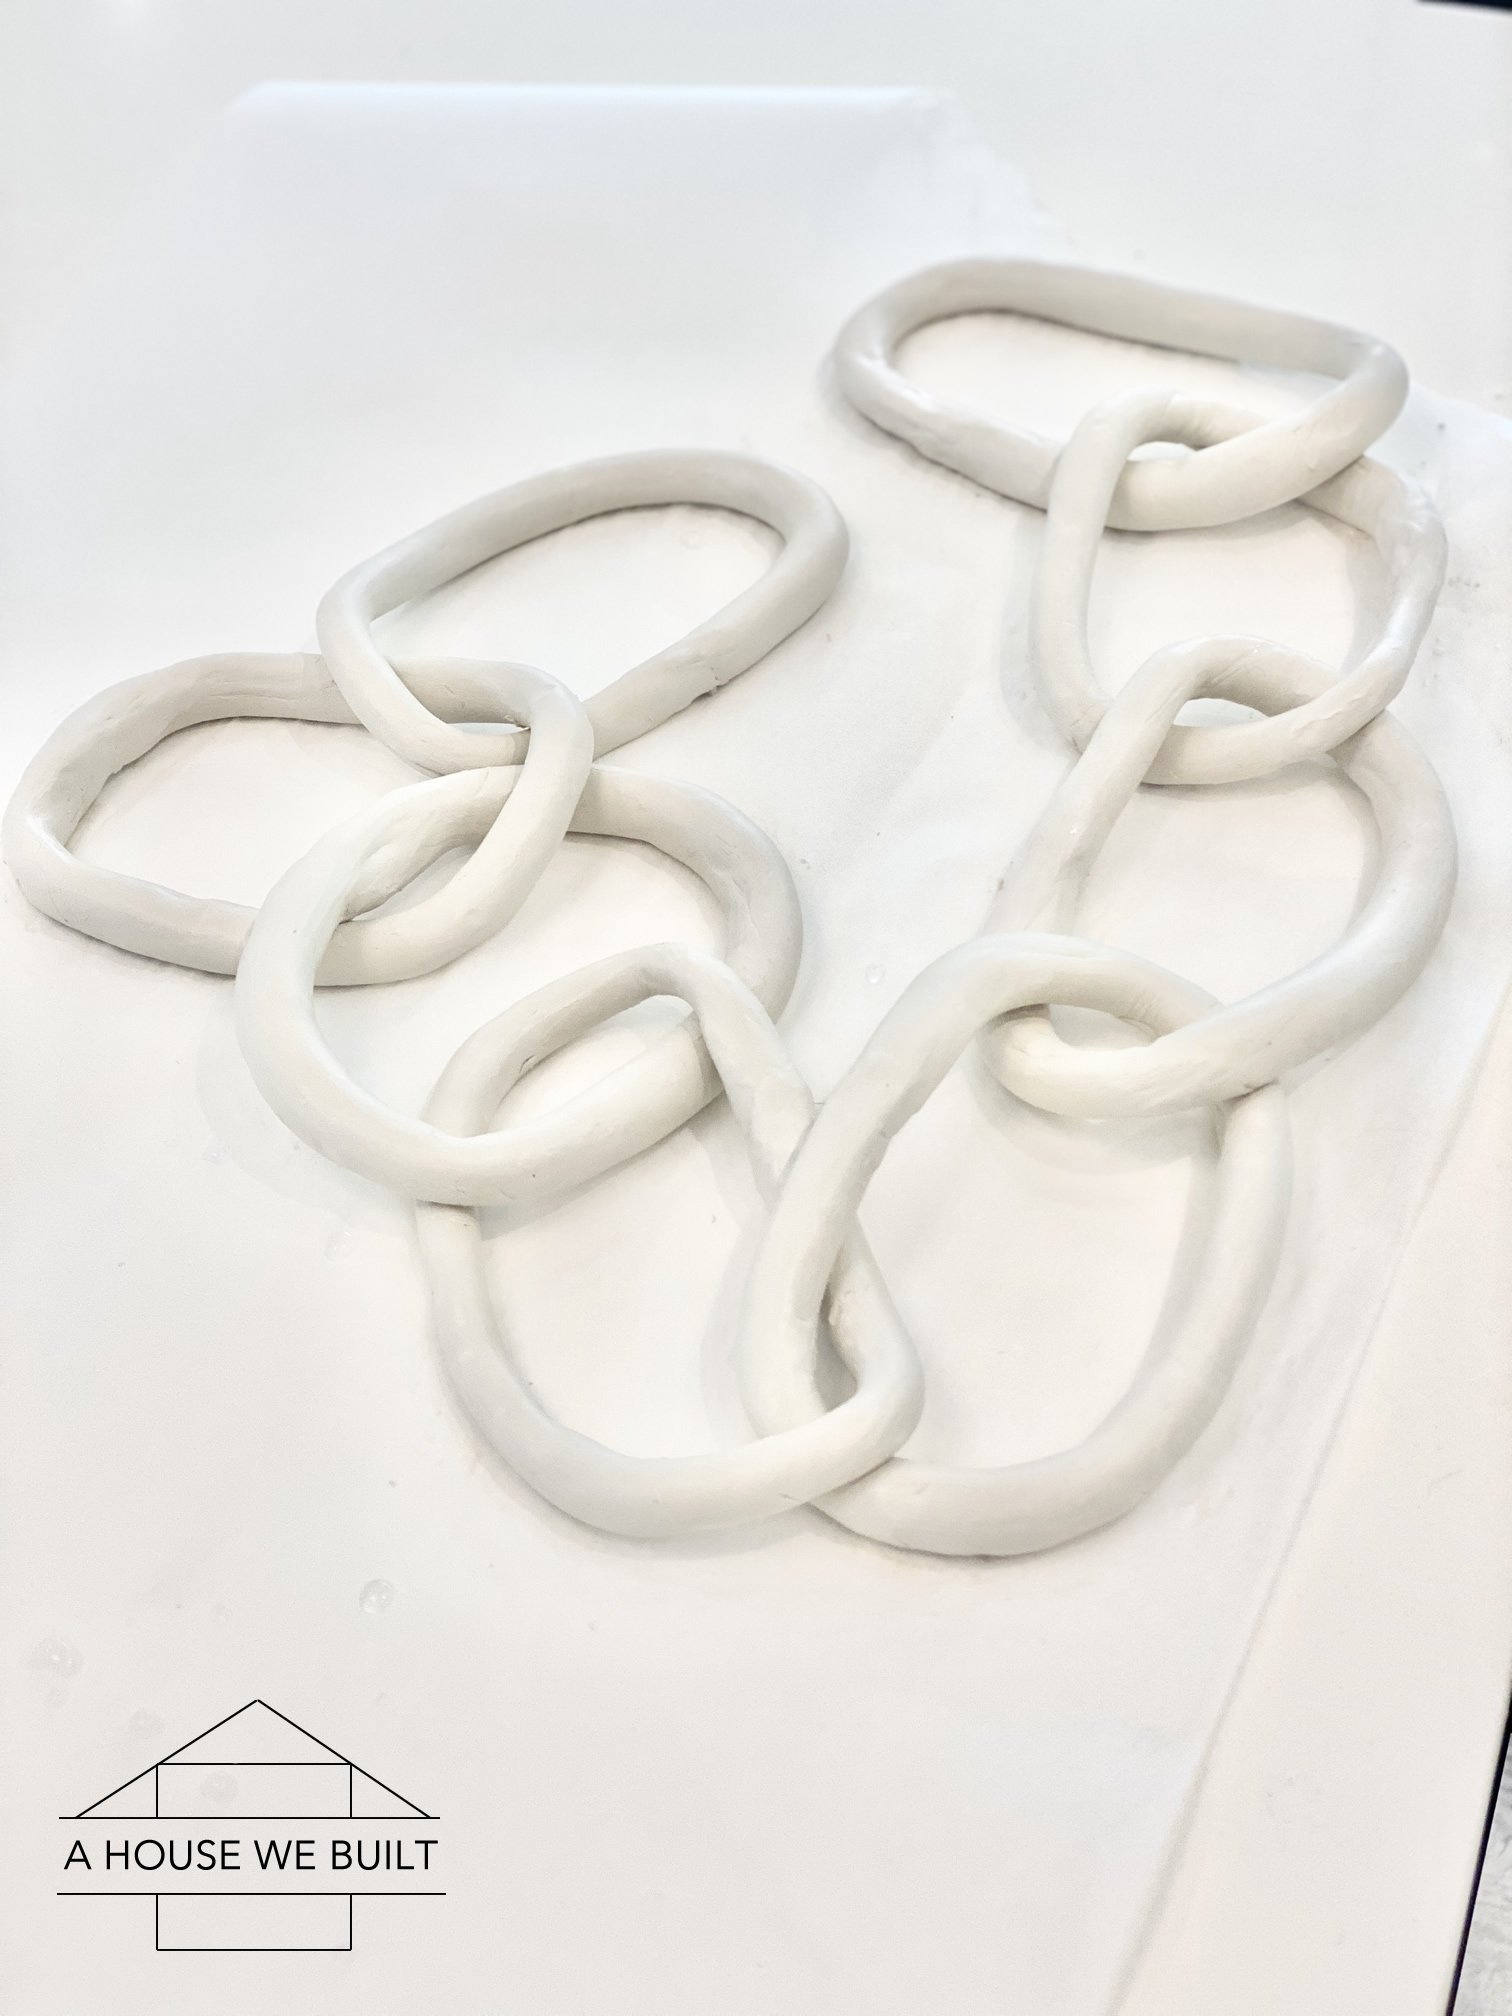
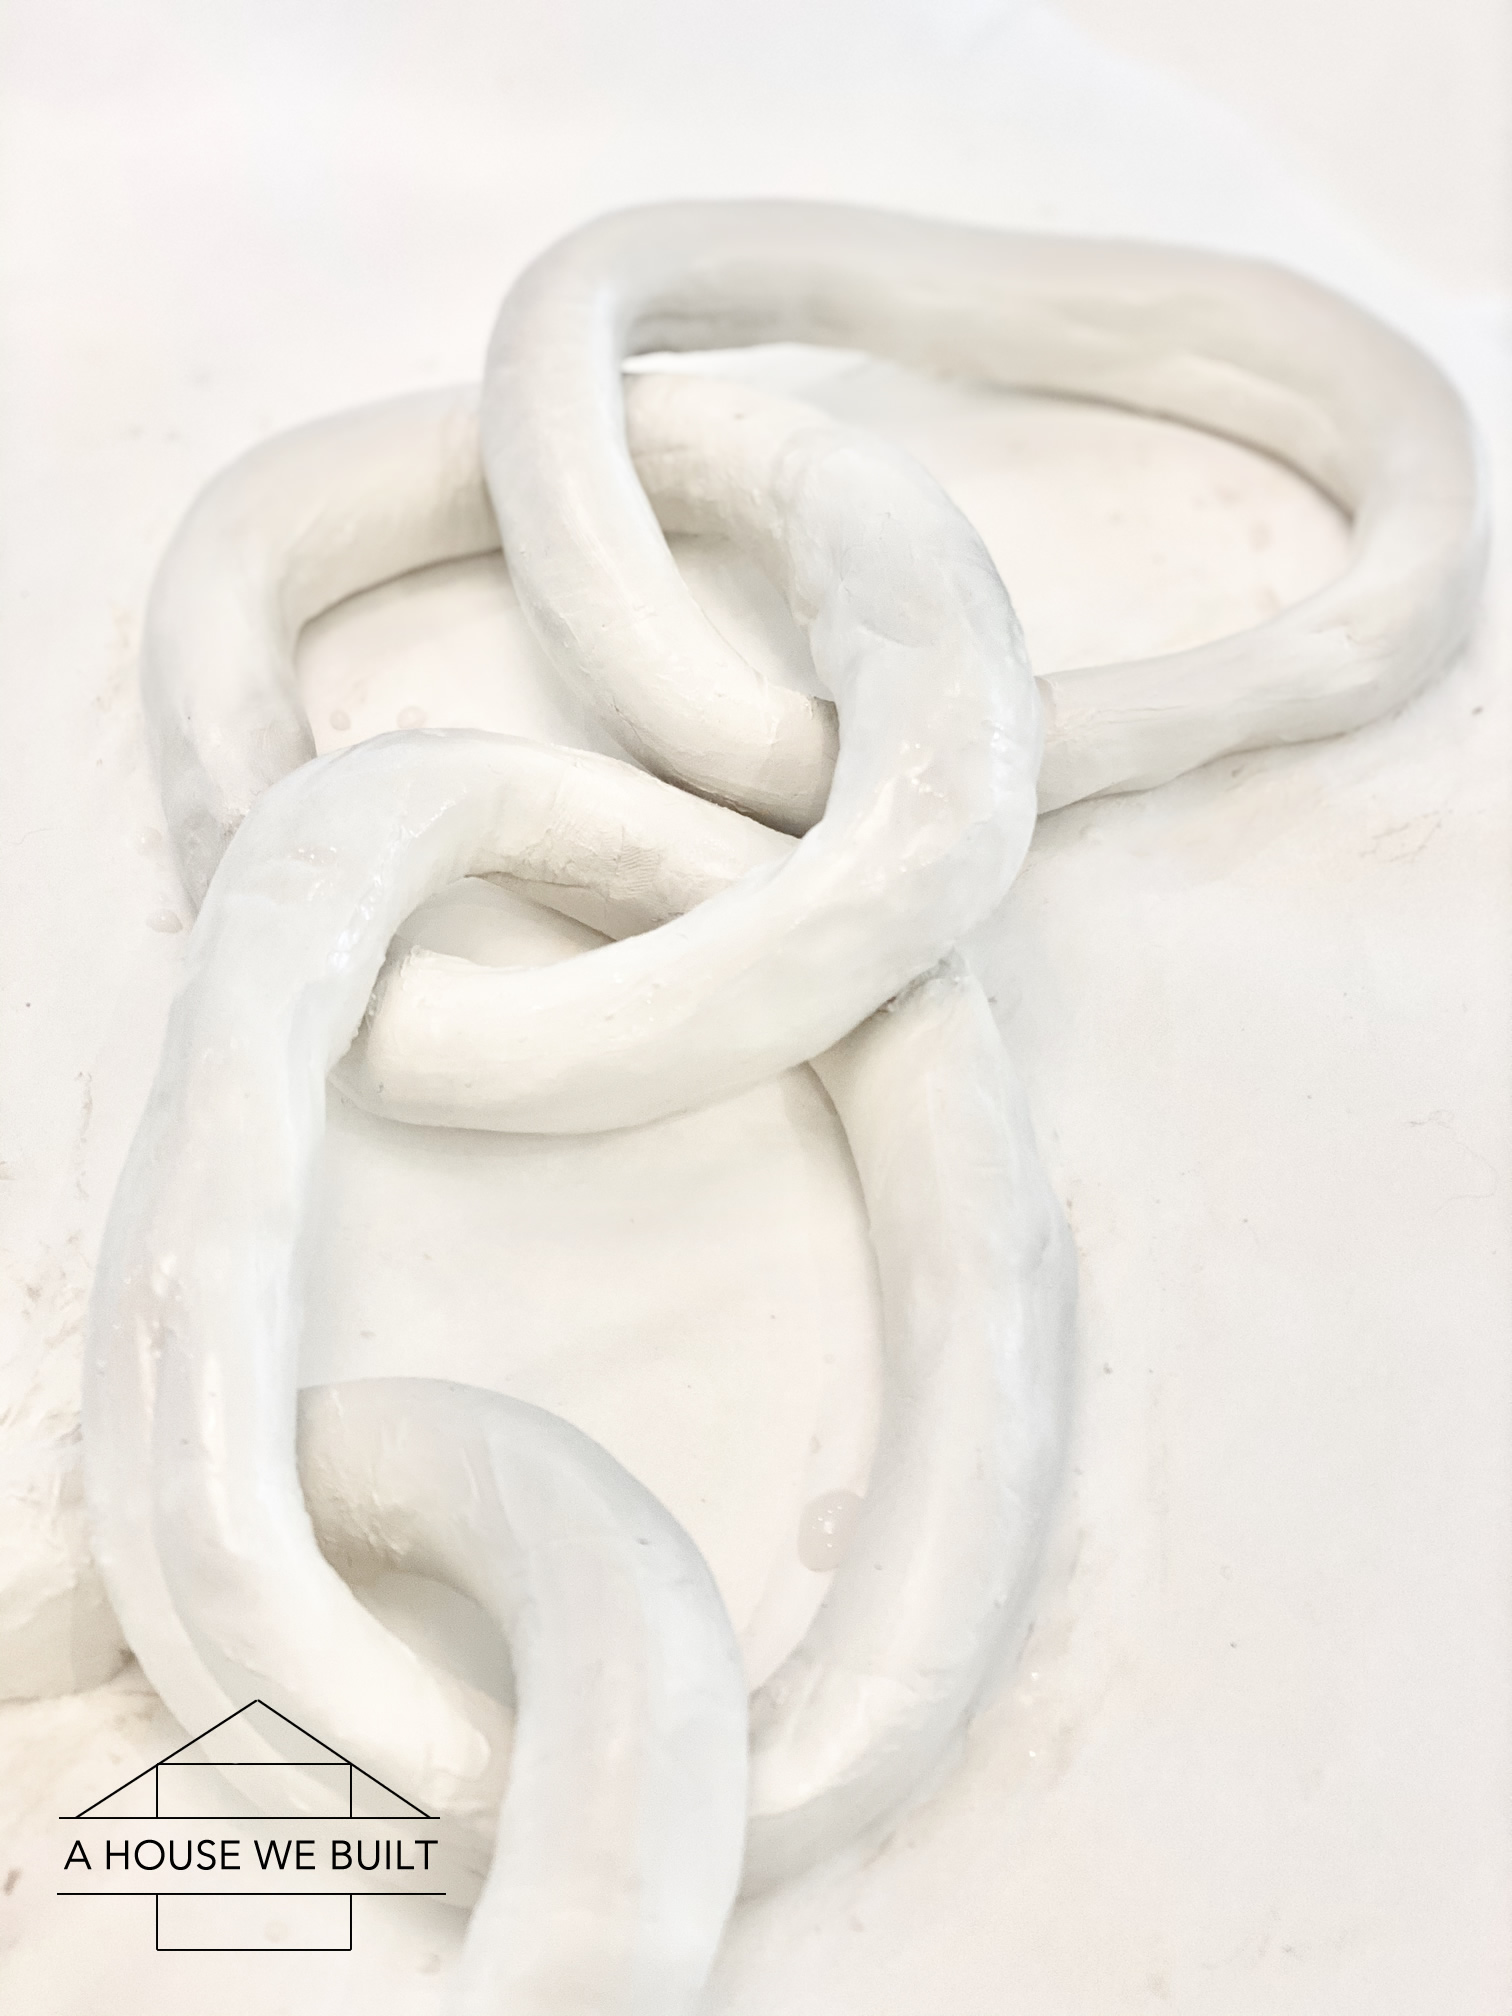
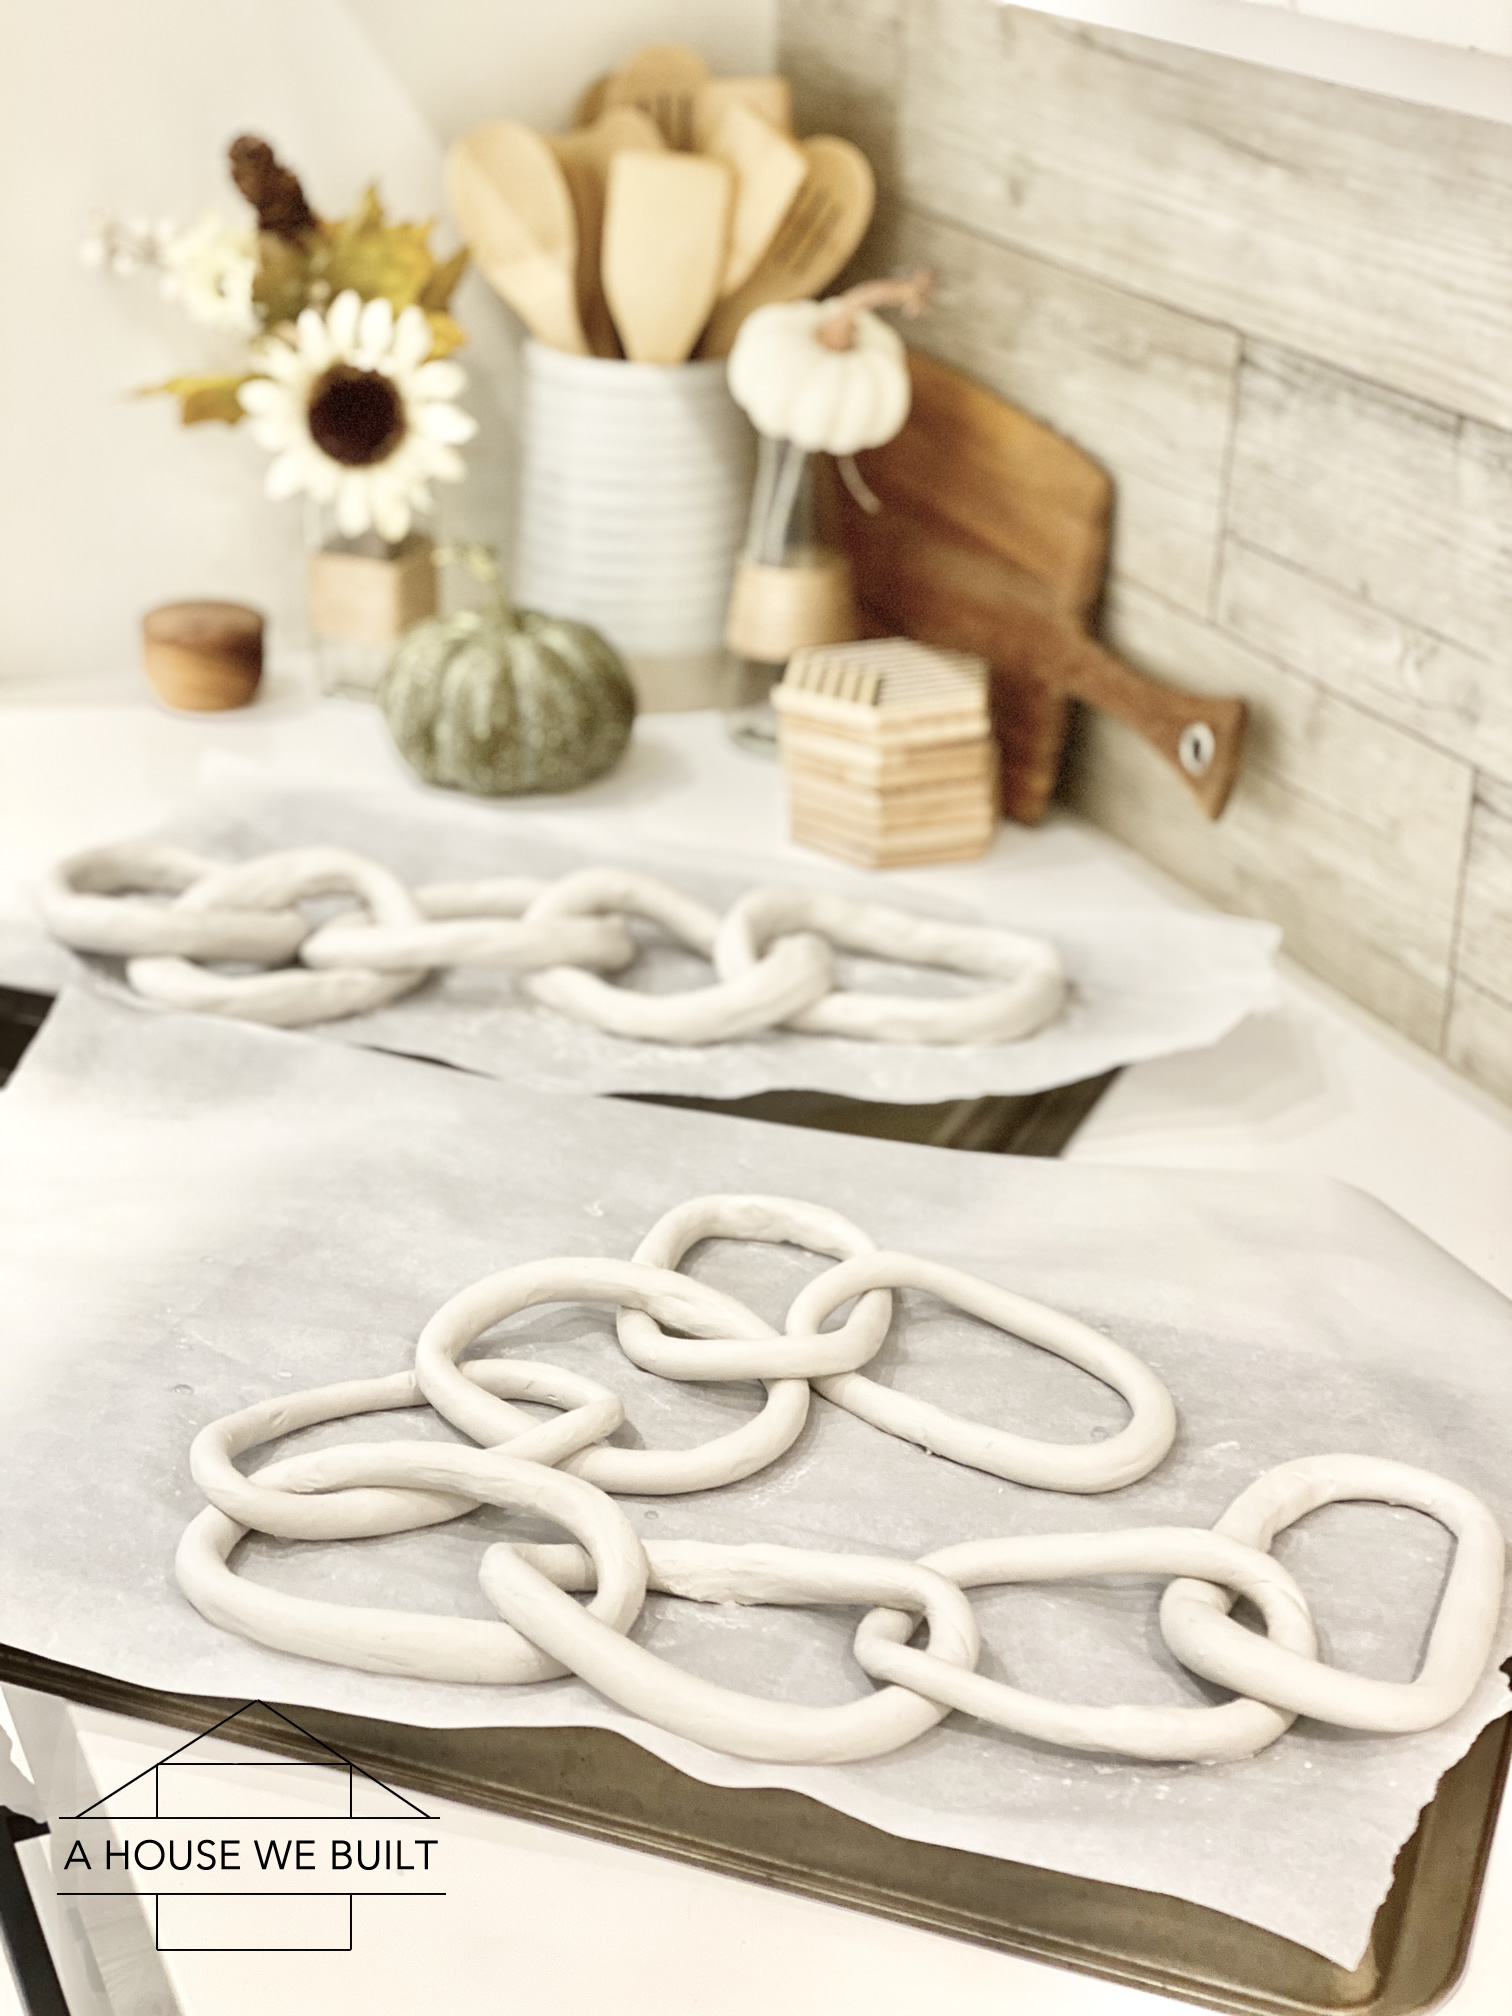
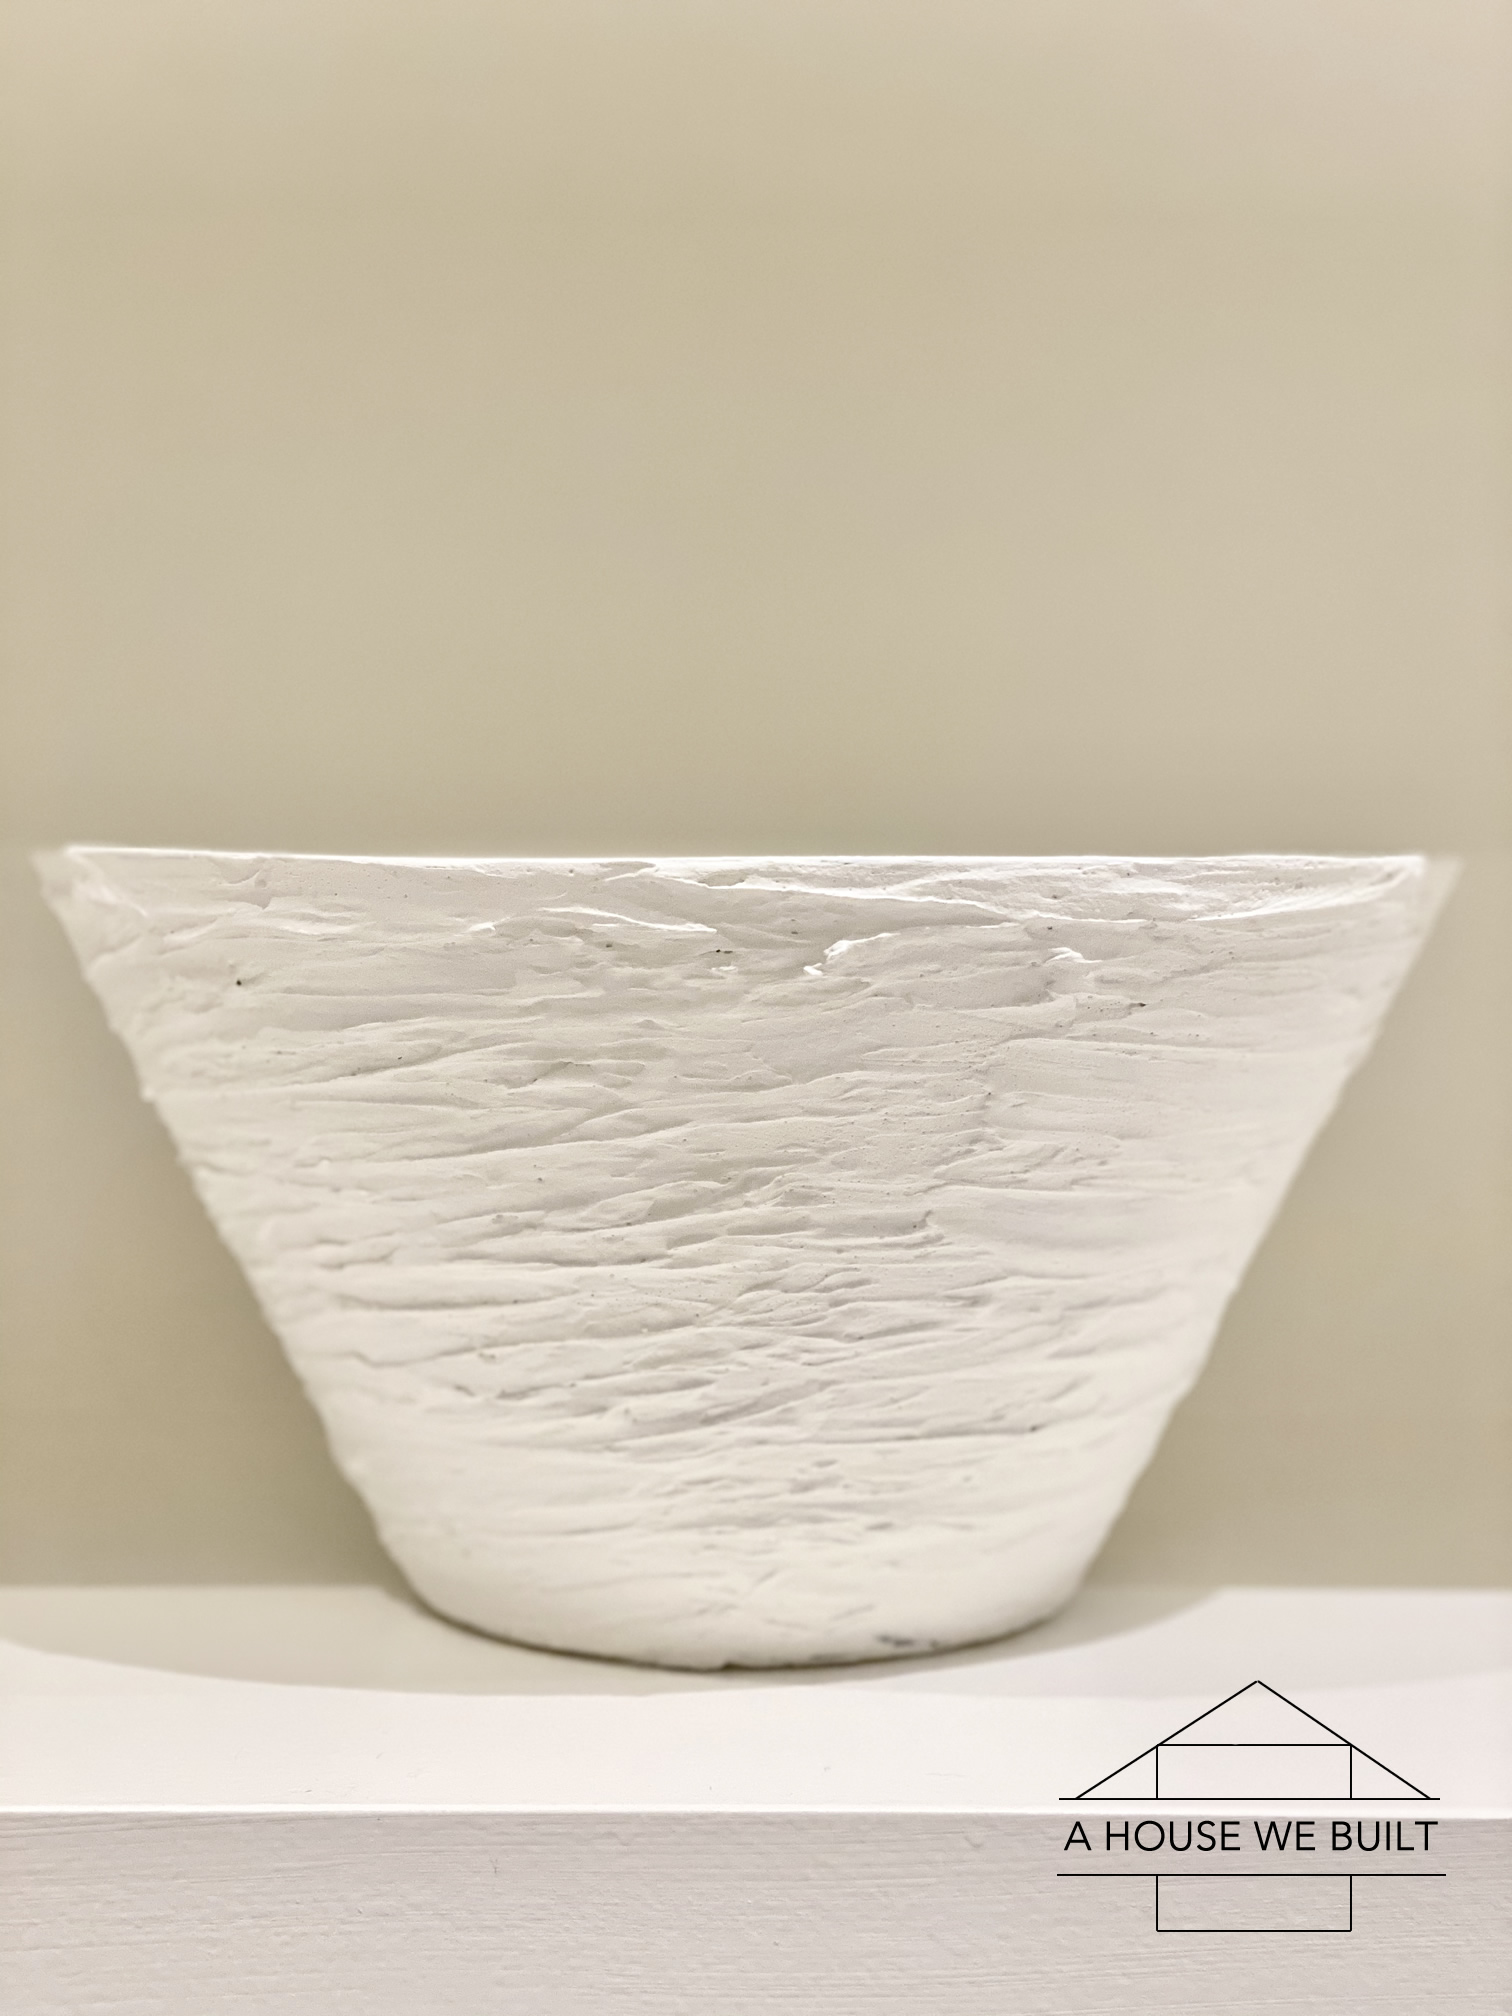
Sources: circular vase| wood links | light fixture
Tutorials: Canvas Art Tutorial | Dining Table Tutorial
For more sources from our Dining Room, click here.
For more sources from our Kitchen, click here.
For more of our DIY tutorials, click here.
To explore the other rooms in our house, click here.


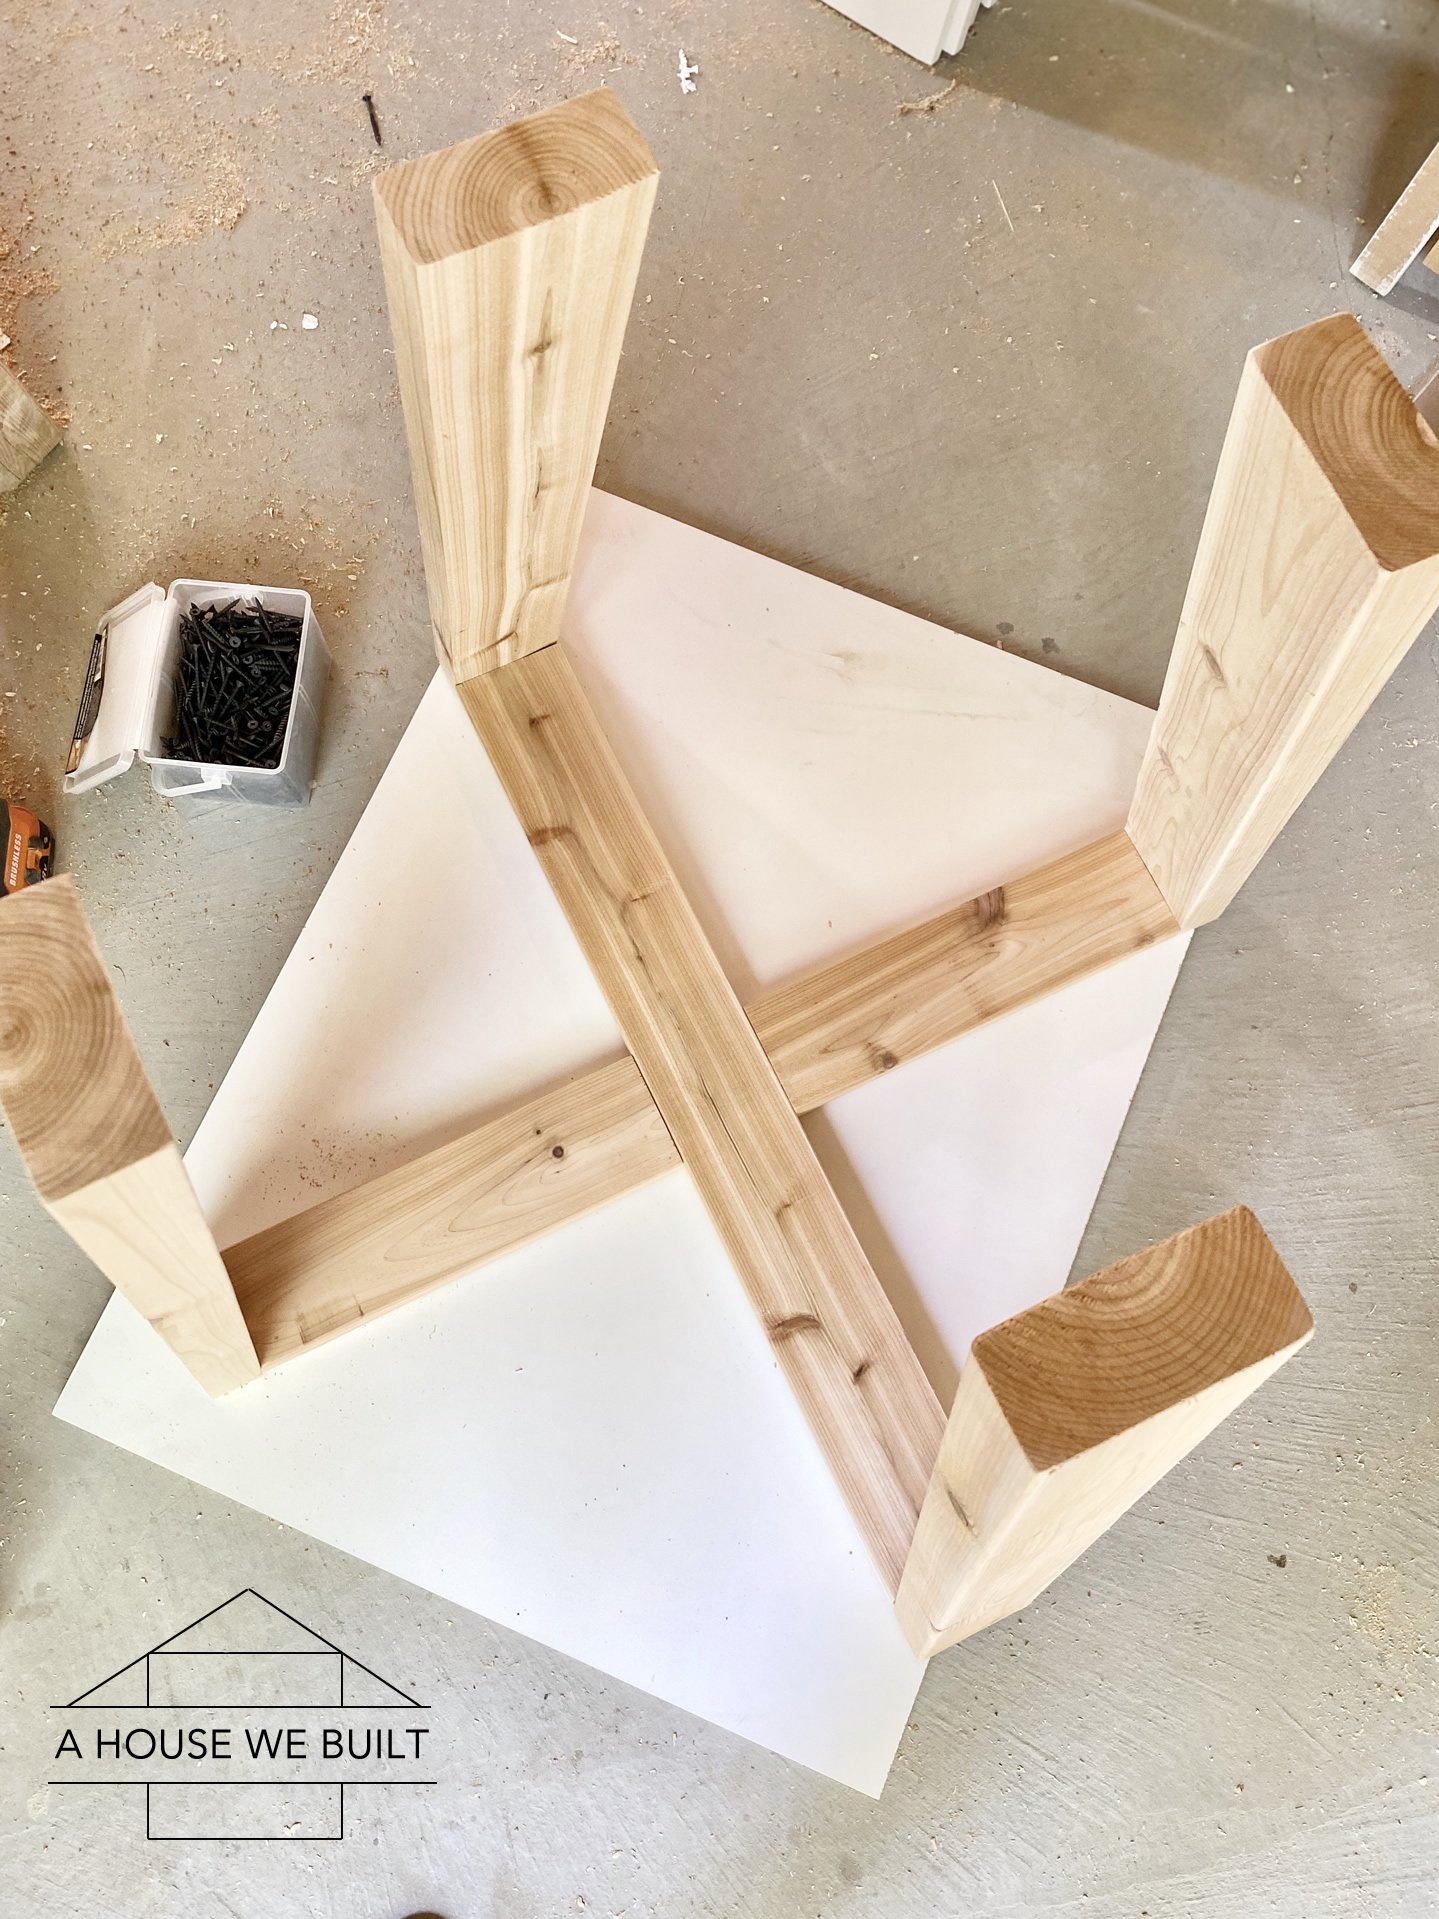
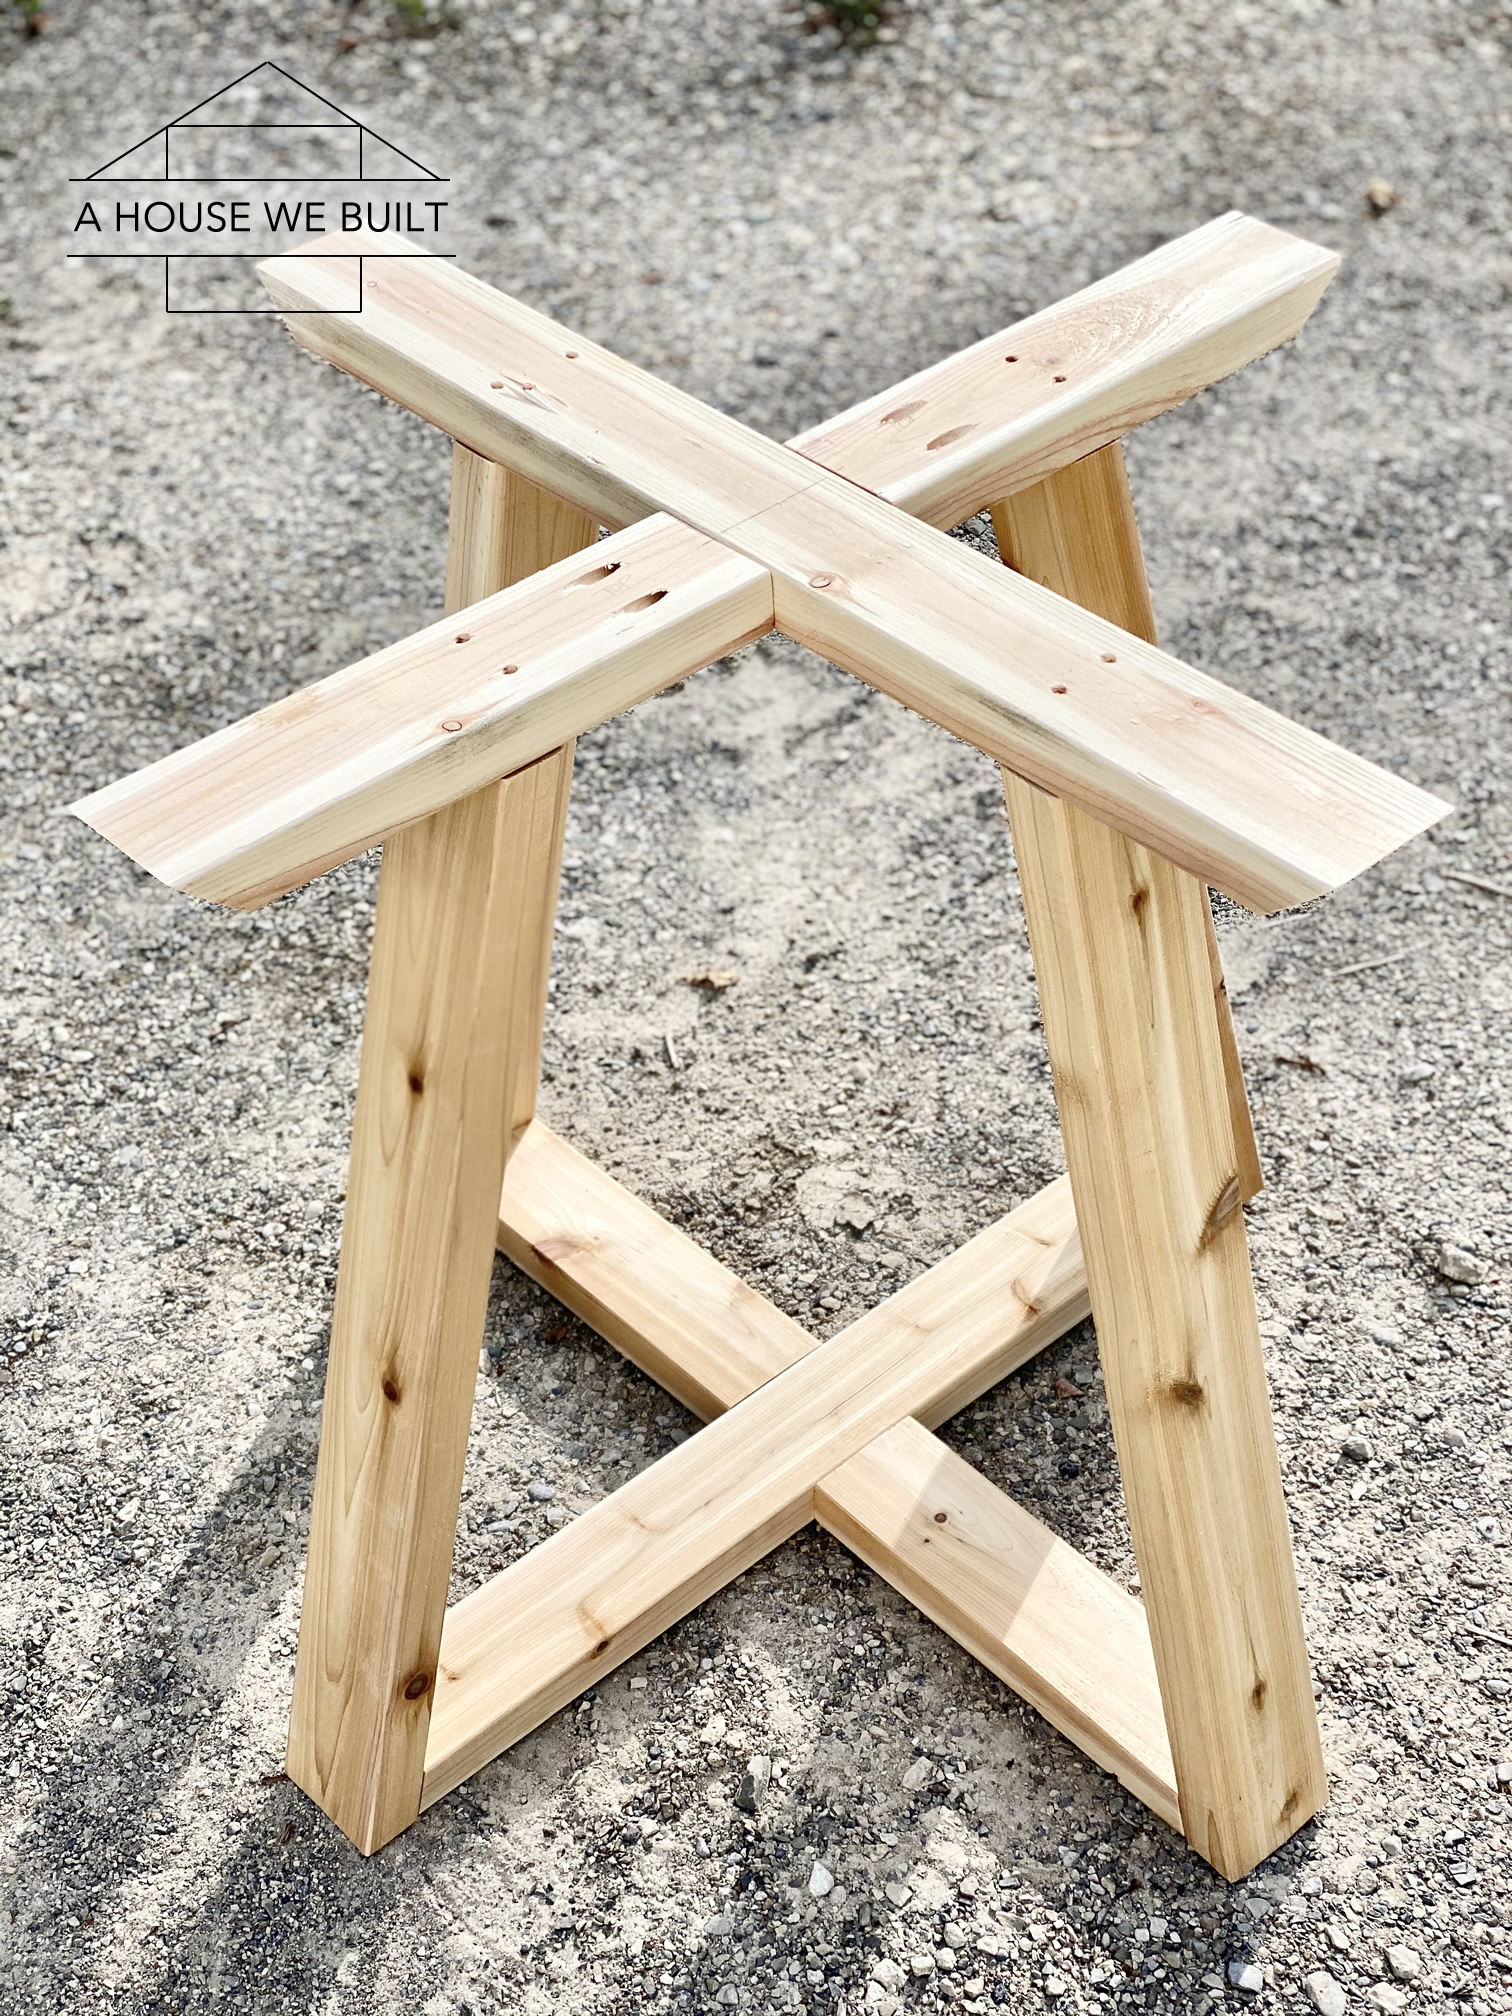
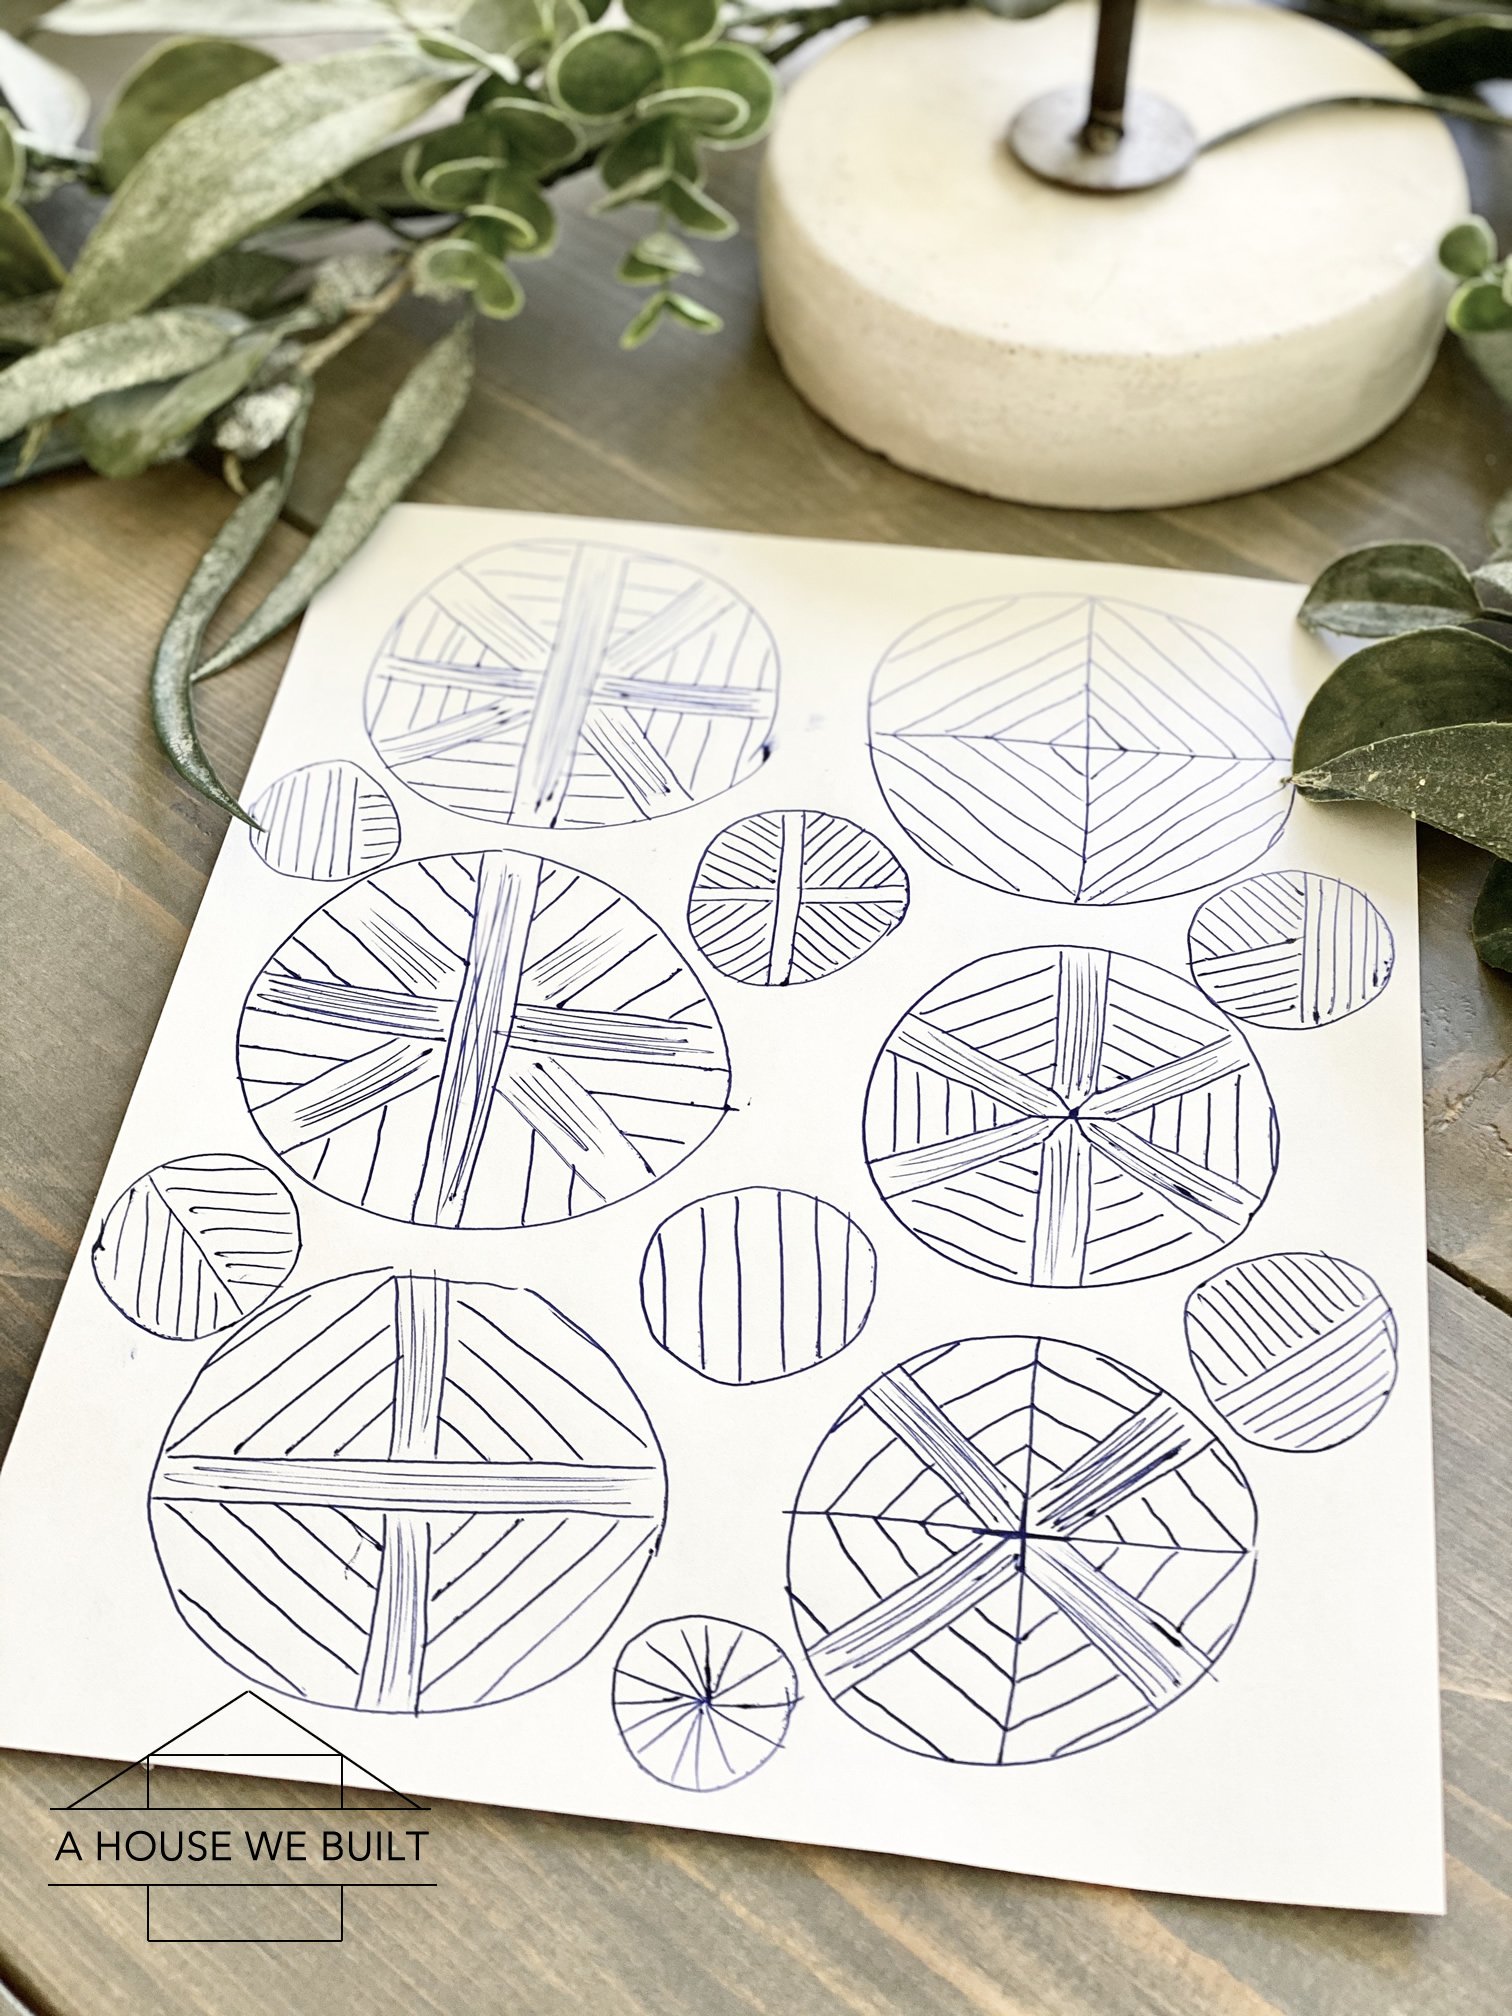 For our table design, we considered many different styles as shown in my concept sketches in the right pics. For the base, we originally planned to build a single-leg variation of our